


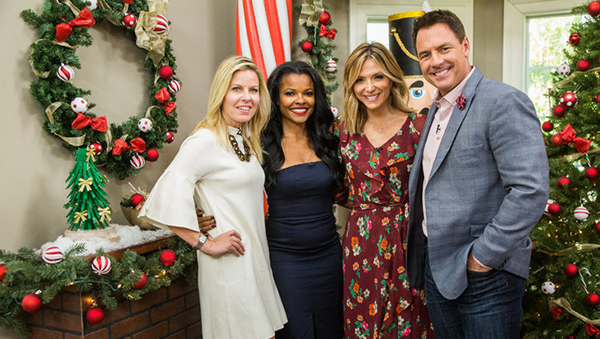
This morning on Hallmark Home & Family, one of my absolute favorite shows to watch AND visit, I shared a really simple DIY for Holiday decorating.
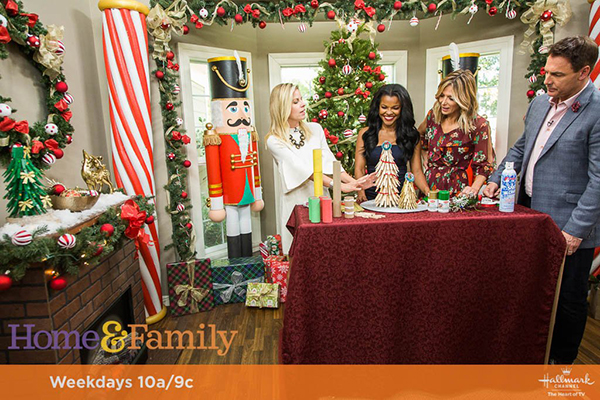
I had a lot of fun making this DIY Clothespin Christmas Tree at home, teaching the gang how to make it on set, and love how it looks in my living room.
DIY Clothespin Xmas Tree

What You'll Need
- Clothespins of various sizes, old or new
- Empty paper towel rolls, toilet paper rolls, or craft tubes
- Glue gun
- Glue sticks
- Miniature decorations (optional)
- Spray paint (optional)
Directions
- Gather your clothespins and separate them from their metal spring. This is easy to do... simply pull the handles of the clothespin in opposite directions to loosen the metal, and gently wiggle them apart.
- Prepare your tubes by removing any left over paper. If you want to eventually paint your trees, cover the tubes with tissue paper that matches the paint color you’ll be using. If you are going to keep them “natural”, no need to cover.
- Using your glue gun, start glueing the pins onto the bottom of the tube, with the “inside” portion of the pin side down. You want to glue the slanted tip of the pin to the roll, so that the bottom of the pin slants down and hits the “ground” or table surface you’re working on. Create your first layer of "branches" by gluing the pins side-by-side until you go all the way around the tube.
- Work our way up the tube creating rows of clothespins. TIP: each row you do, attach the pin in between the two below it. This makes for more realistic branches, it’s okay if you see a bit of the roll underneath.
- When you’re near the top you want to glue the middle of the clothes pin to the top area of the roll. The layer that finishes the tree off will be glued on top of this, so you want to have it pretty secure.
- Finish off the top by holding two clothespins together with glue in the middle over the roll to see how wide they needed to be set apart, when this is dry, use it as the base to finish off the top, attaching pins to it to form a peak. Use smaller pins to fill in the gaps if needed, until it creates a ‘cap’ on the tree.
- Add fun miniature decorations to your tree, or spray paint it first and then add your accessories!
Not only is stopping by the Home & Family house always so much fun, I had time after shooting to romp around the set of "The Good Place", a big family fave in my house right now. SO cute!