
Many adults still cringe when someone asks them to draw something, even a simple stick figure, because it feels intimidating.
That childhood voice saying “I can’t draw” never really goes away, does it? Most people believe artistic ability is something you’re either born with or without. Step by step drawing for adults breaks down complex images into manageable pieces that anyone can master.
These proven techniques turn intimidating subjects into easy-to-follow instructions.
With the right approach, adults can learn to create beautiful drawings they never thought possible. No exceptional talent required, just patience and simple steps.
Why Drawing Is Great for Adults
Drawing provides scientifically-backed benefits for adults beyond artistic expression. Research shows it reduces cortisol levels, lowering stress and anxiety while creating a meditative state that promotes mental clarity.
Neurologically, drawing engages multiple brain regions simultaneously, improving hand-eye coordination, spatial reasoning, and visual processing. Studies indicate it enhances memory formation and may help maintain cognitive function as we age, strengthening neural pathways associated with problem-solving.
Drawing serves as non-verbal communication, allowing adults to express complex emotions that may be difficult to articulate.
This emotional outlet can be particularly therapeutic for processing stress or trauma.
The practice develops sustained attention and patience in our distracted world. Unlike digital activities, drawing requires deliberate movements that build focus and fine motor control.
Adult drawing communities provide social connection opportunities around shared creative interests. The accessibility of basic materials makes it an inclusive activity requiring no special equipment or training to begin experiencing these documented benefits.
Step by Step Drawing for Adults :A Beginner’s Start to Sketching
Learn how to draw with simple steps, practical tips, and easy techniques perfect for adult beginners:
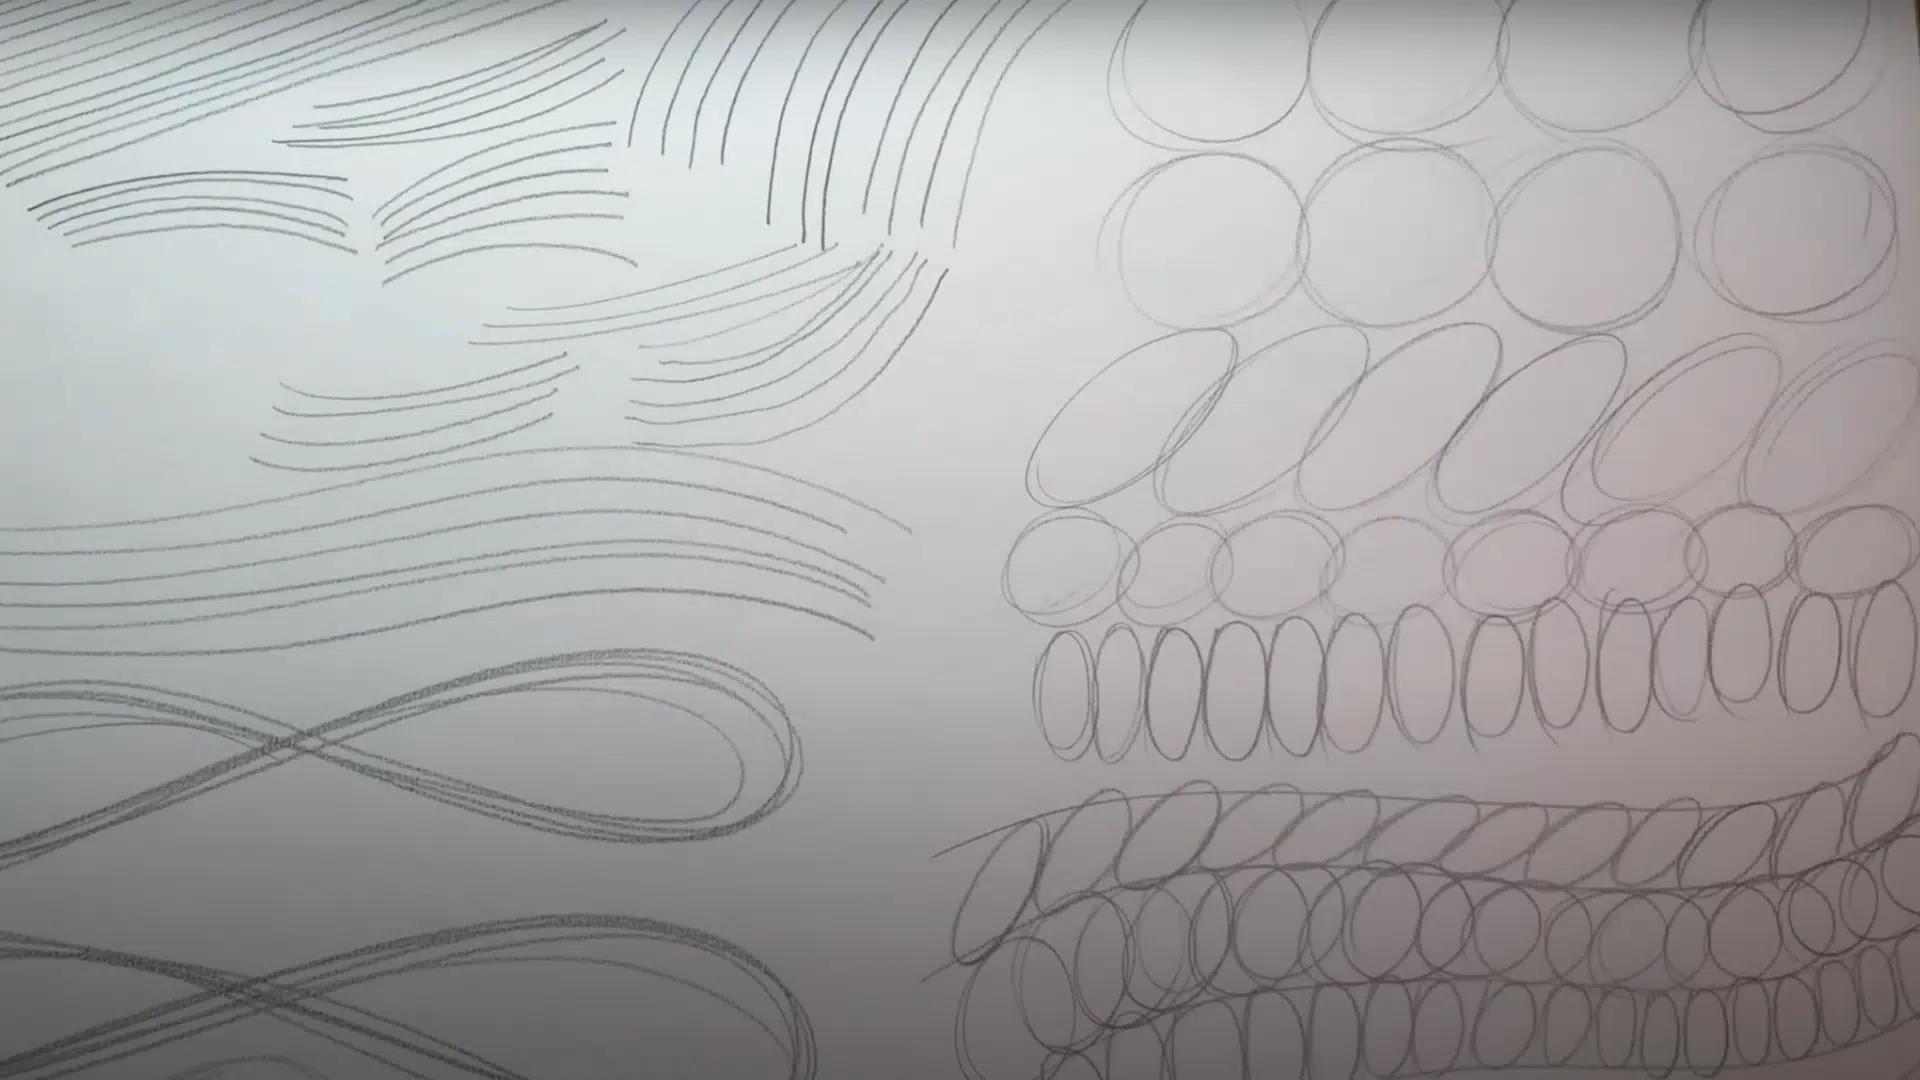
Step 1: Get Comfortable with a Warm-Up

Start by getting accustomed to the drawing tool and easing into a creative mindset. Use your pencil or pen to make marks, such as lines, scribbles, hatching, dots, and zigzags.
Experiment with pressure, direction, and flow. Let this be free and fun; there’s no right or wrong here.
Try drawing straight and curved lines of various lengths, as well as round shapes like circles and ellipses. Try drawing with your entire arm, moving from the shoulder for broader strokes. This helps loosen your muscles and improve hand-eye coordination.
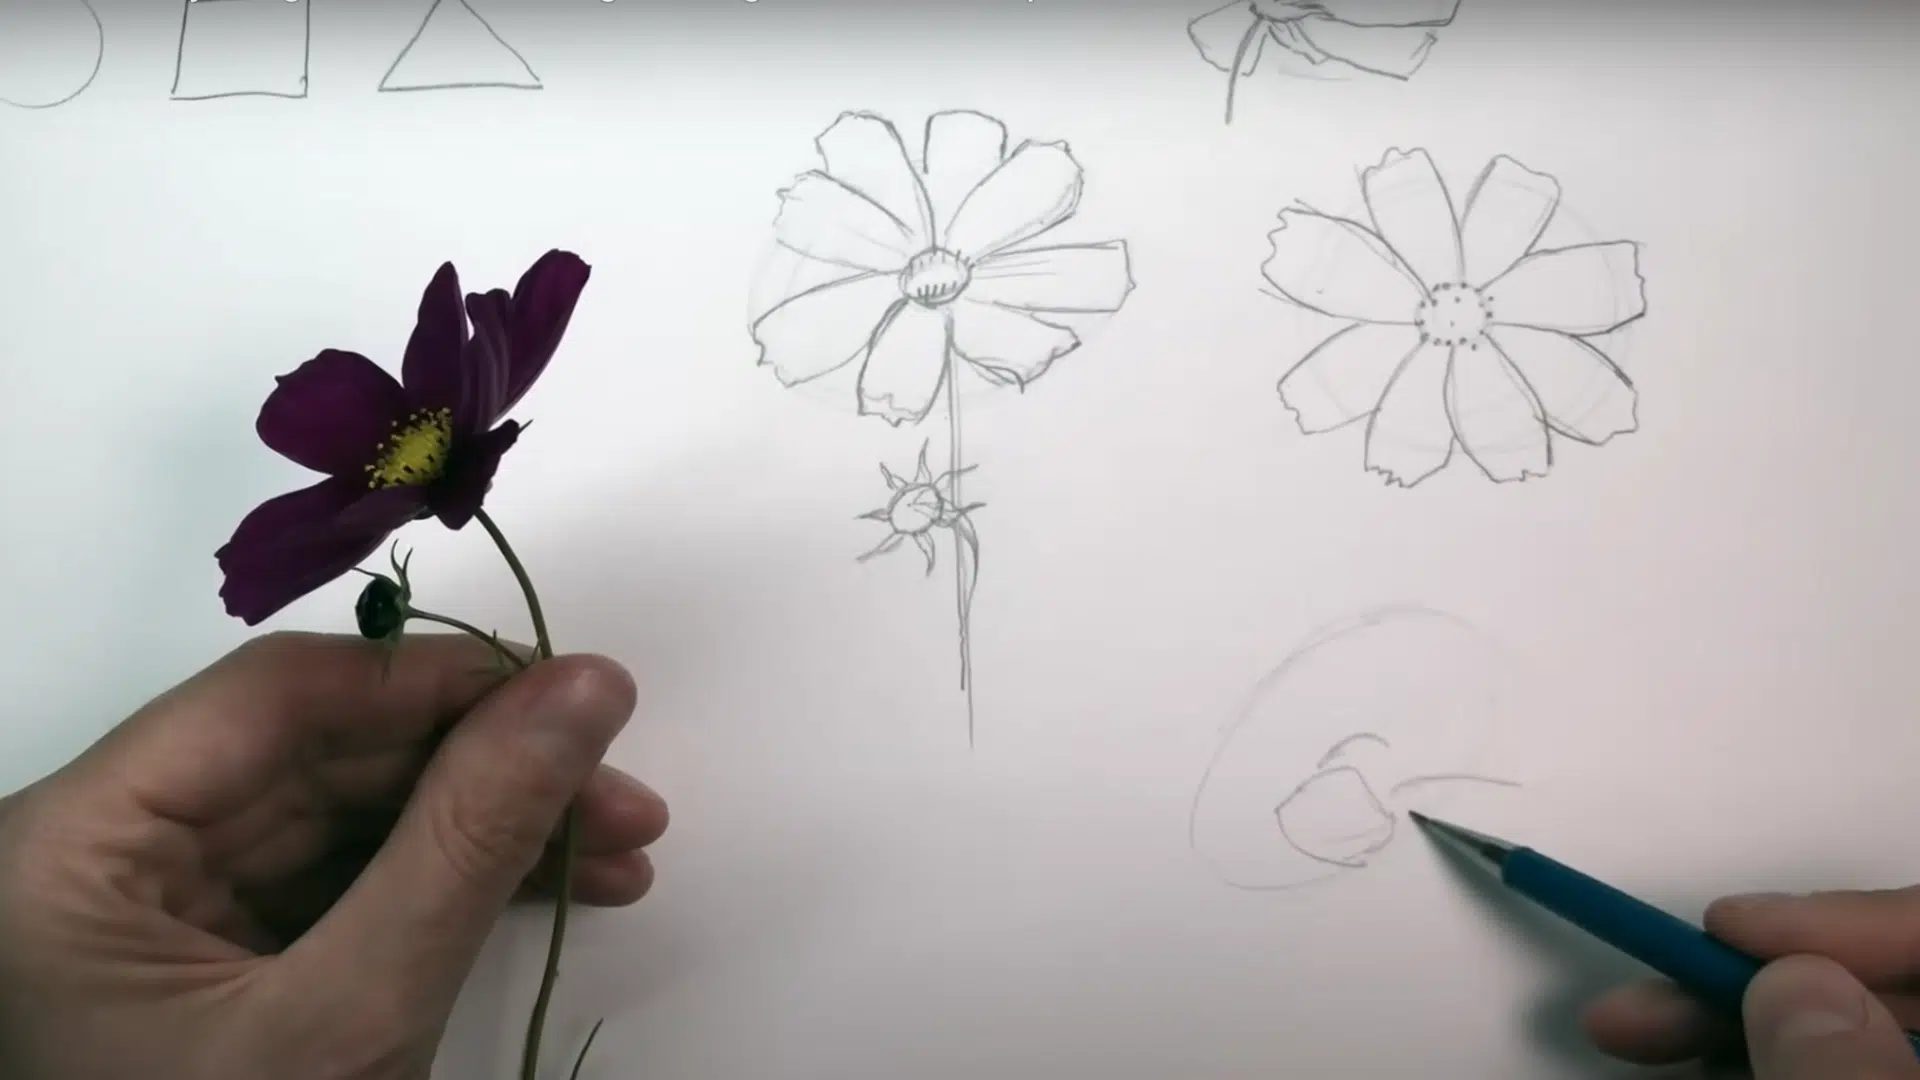
Step 2: Break Everything into Simple Shapes
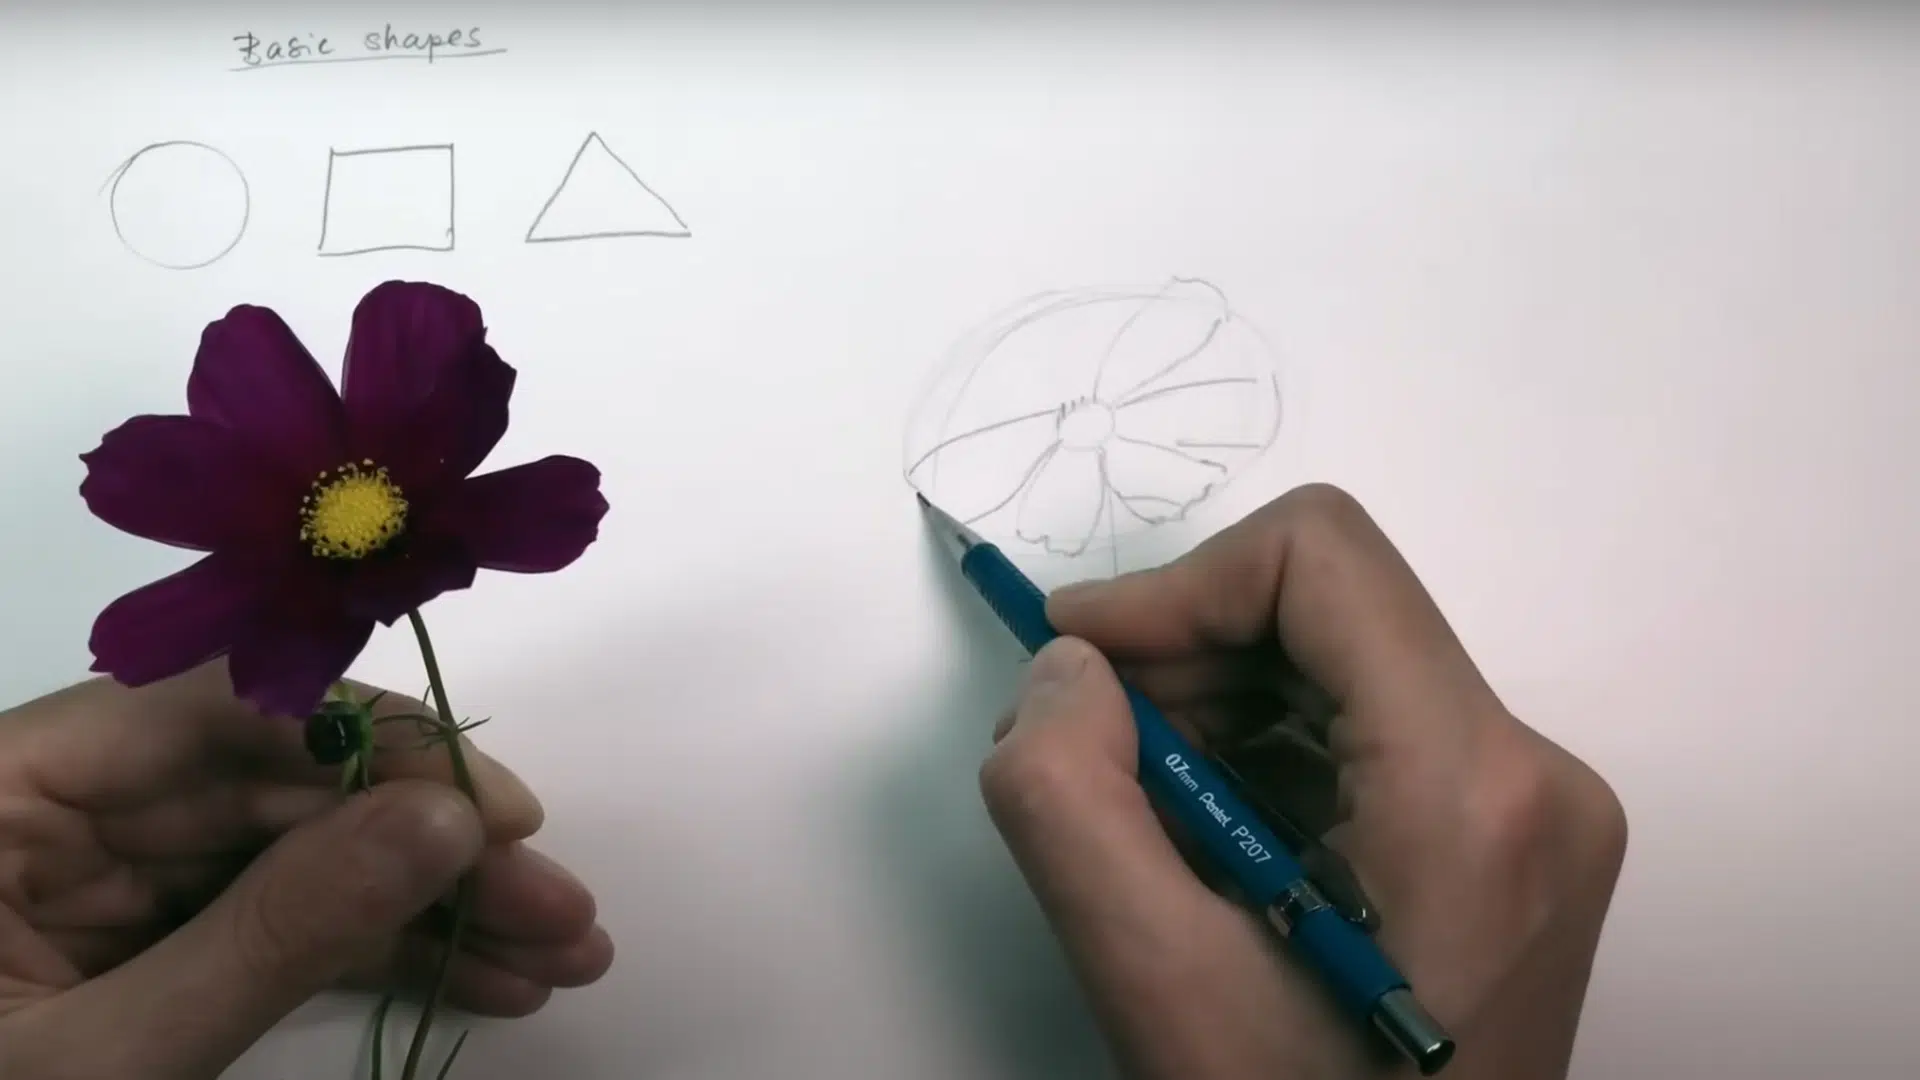
Look at your subject and reduce it to its simplest elements: circles, rectangles, and triangles. Every complex object can be simplified into basic forms.
A bird might begin as a circle for the head and an oval for the body, with triangles for the beak and tail. Lightly sketch these shapes as your foundation. Don’t worry about details yet; this is your visual roadmap.
Step 3: Create a Gesture Drawing
Build on your basic shapes with a loose and quick sketch that captures the movement, form, and proportions of your subject. Focus on fluidity rather than perfection. Keep your lines light and energetic.
This is your chance to get the overall composition and feel of the subject on paper without getting bogged down in details.
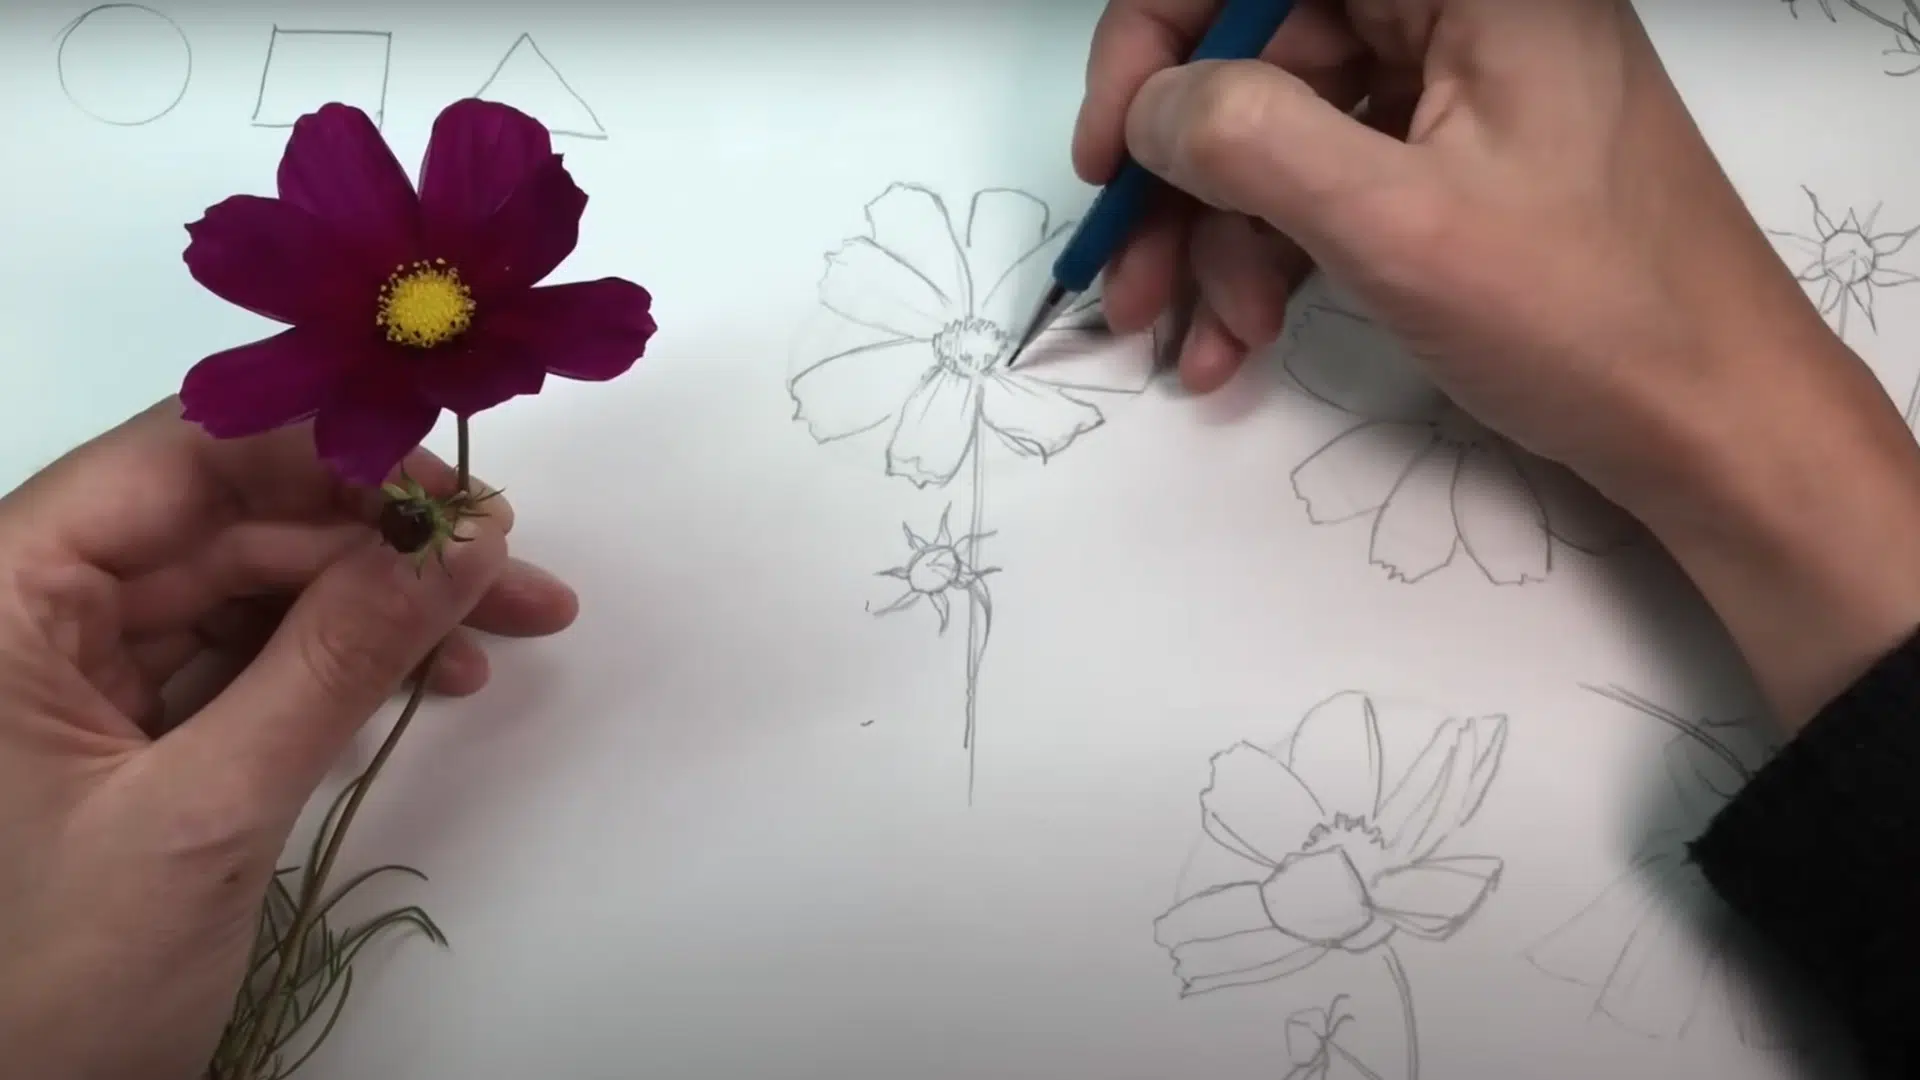
Step 4: Refine Your Sketch with Solid Lines
Now it’s time to slow down and observe carefully. Study your subject and improve the structure of your drawing.
Where are the edges? Are the proportions right? Gently correct or redraw areas as needed.
Use your pencil to compare angles and relationships. Then, go over the most accurate contour with a confident, cleaner line. This is the skeleton of your final drawing.
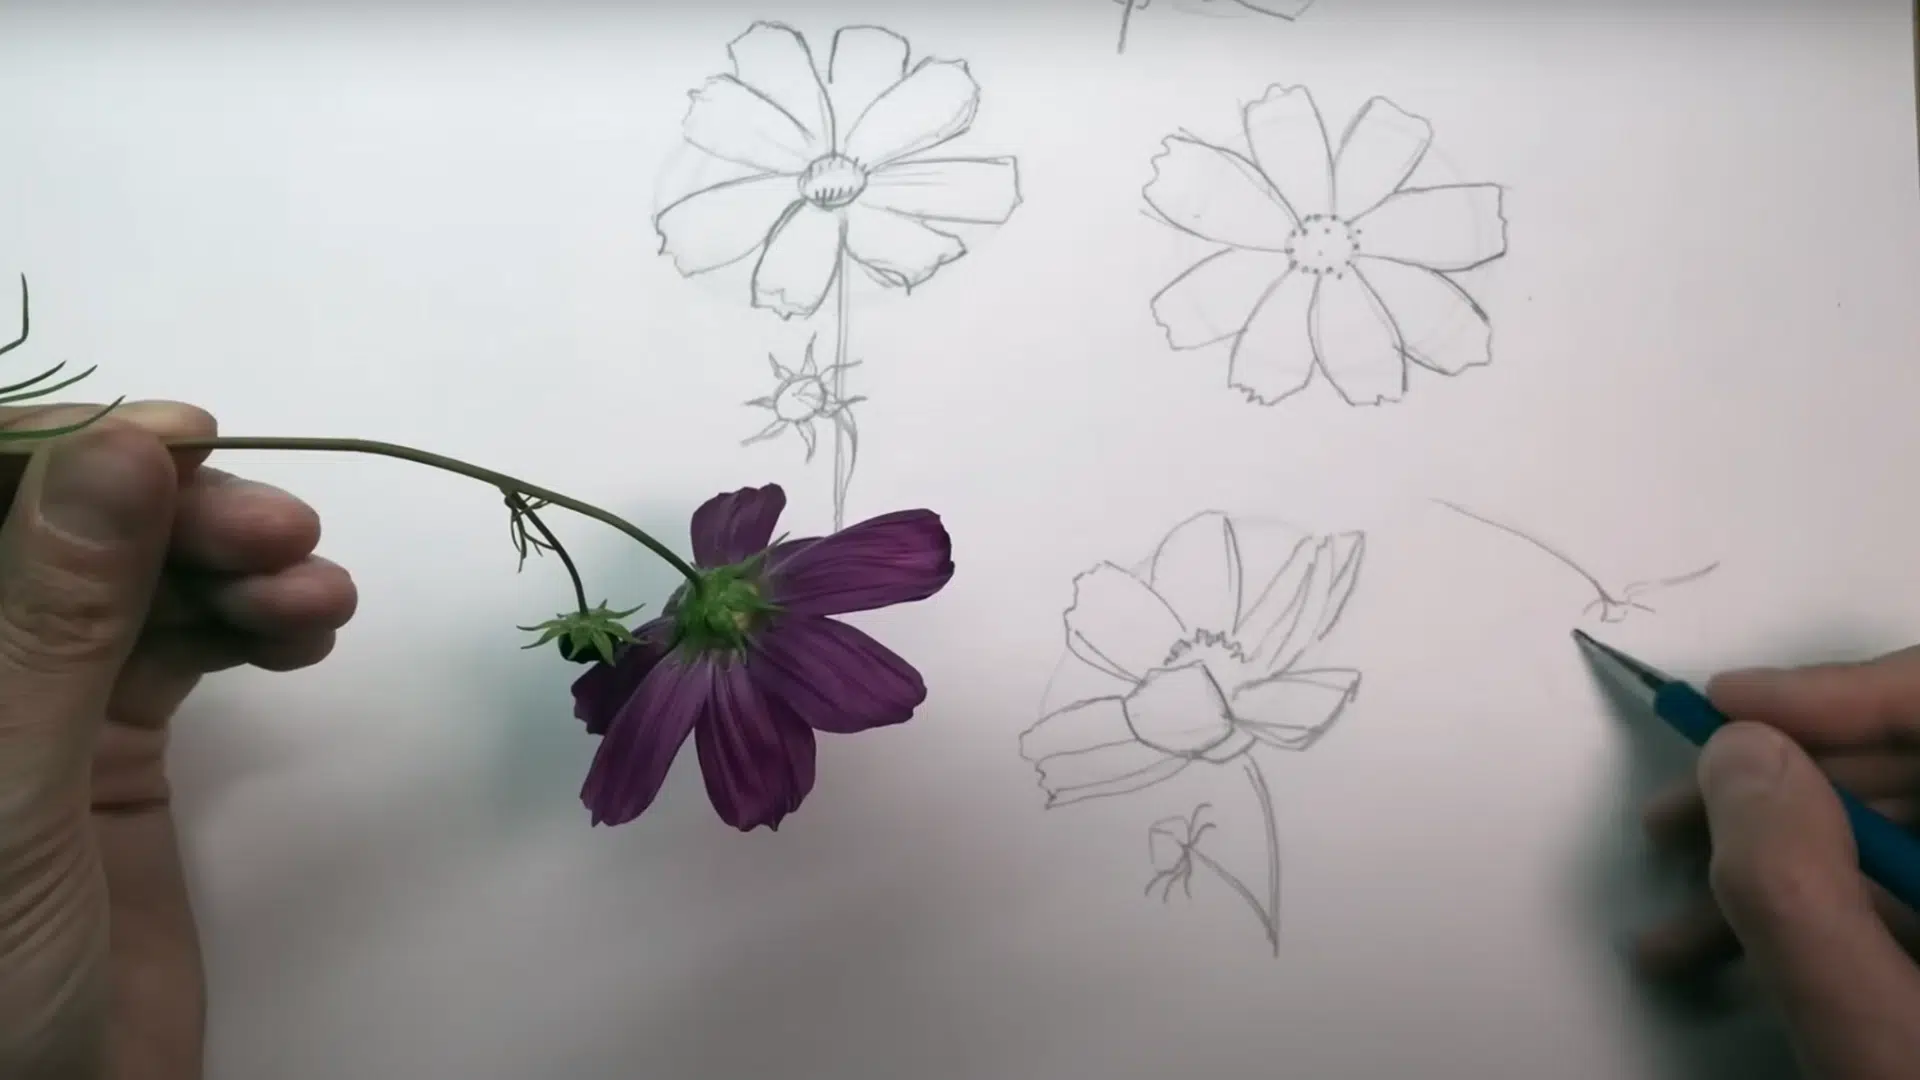
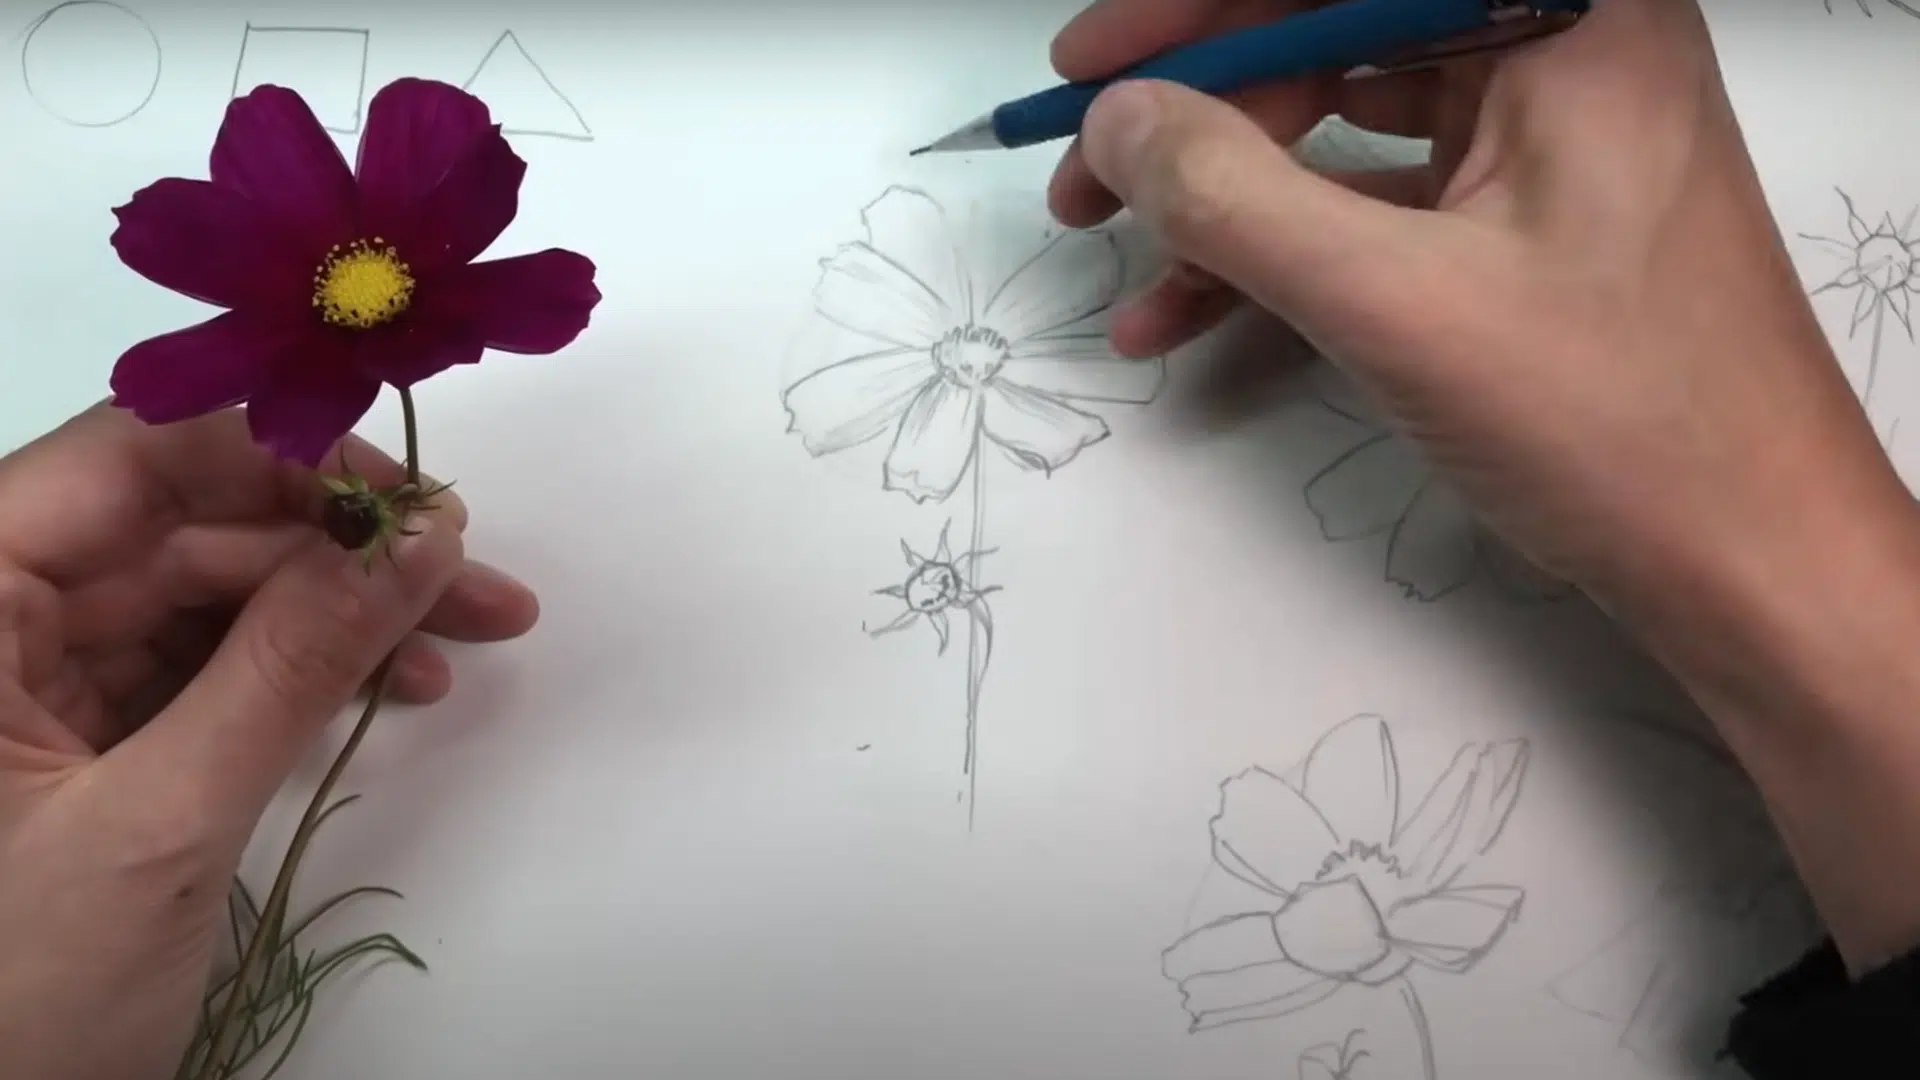
Step 5: Practice with Quick Sketches
Don’t stop at just one drawing. Practice multiple quick sketches of your subject from different angles. This builds your visual memory and makes transferring what you see onto paper more fluid.
Repetition strengthens your confidence and helps you identify key forms faster each time. These don’t need to be perfect; they’re designed to improve your hand-eye coordination.
Step 6: Add Detail, Texture, and Shadow
Once your structure feels solid, start adding just a few details. Use different types of marks, such as dots, broken lines, and hatching, to suggest texture.
Think carefully about where you want to draw the viewer’s attention, and place your details there. For shadows, squint your eyes to spot dark areas and gently shade them in to create depth.
Keep this stage light and intentional, and more.
Step 7: Mistakes Are Part of the Process
Mistakes are part of learning and growth. Don’t erase too much or get stuck trying to make a perfect drawing. Instead, start fresh or add a new layer of exploration.
The more you draw, the more natural this process will feel. Aim for short, regular sessions. Progress will come not all at once, but steadily and surely.
How to Know When Your Drawing Is “Finished”
One of the trickiest parts of drawing is knowing when to stop. Many beginners overwork their sketches, thinking more detail will make it better, but often, less is more.
Signs Your Drawing Is Ready:
- The basic structure and proportions feel solid.
- The primary forms are clear and recognizable.
- You’ve added a few focused details or textures (not everywhere).
- The shadows and highlights give enough depth without muddying the sketch.
- When you step back, the drawing feels balanced and visually complete.
Avoid Overworking It:
Adding too many lines, textures, or dark areas can make your drawing look cluttered or stiff. Instead:
- Please keep it simple, let some areas breathe.
- Leave room for suggestion; viewers’ brains will fill in the blanks.
- If you’re unsure, take a short break and look at it with fresh eyes later.
Common Mistakes and How to Avoid Them
1. Trying to draw detailed portraits or scenes right away.
Fix: Start with simple shapes and easy subjects (like a leaf, cup, or basic face). Build skills gradually.
2. Expecting perfection and getting discouraged.
Fix: Focus on progress, not perfection. Celebrate small improvements and keep practicing.
3. Skipping the foundational shapes and drawing freehand too quickly.
Fix: Use light guidelines and break subjects down into basic forms (circles, squares, lines) before adding details.
4. Drawing with hard pencils or ink too early.
Fix: Start with soft pencils (like 2B or 4B) and use a good eraser. These make sketching and adjusting easier.
5. Making heavy lines that are hard to erase or adjust.
Fix: Use light pressure during sketching. You can darken lines later as needed.
6. Drawing once in a while and expecting fast progress.
Fix: Set aside just 10–15 minutes a day. Short, consistent practice builds confidence and skill.
7. Rushing to copy without truly looking at the subject.
Fix: Slow down. Observe lines, shapes, shadows, and angles carefully before drawing.
8. Feeling frustrated by others’ advanced work.
Fix: Remember everyone starts somewhere. Compare your work to your own earlier drawings to see real growth.
Conclusion
Drawing is a skill anyone can learn, with just a pencil, some time, and a straightforward approach. By following the basics, step by step drawing for adults becomes not only manageable but also rewarding.
Start with warm-ups, build from simple shapes, and keep practicing light, loose sketches. Over time, your control and confidence will grow. Don’t worry about making every sketch perfect. What matters is consistency and staying curious.
We’d love to hear from you! Share your experience or thoughts in the comments.