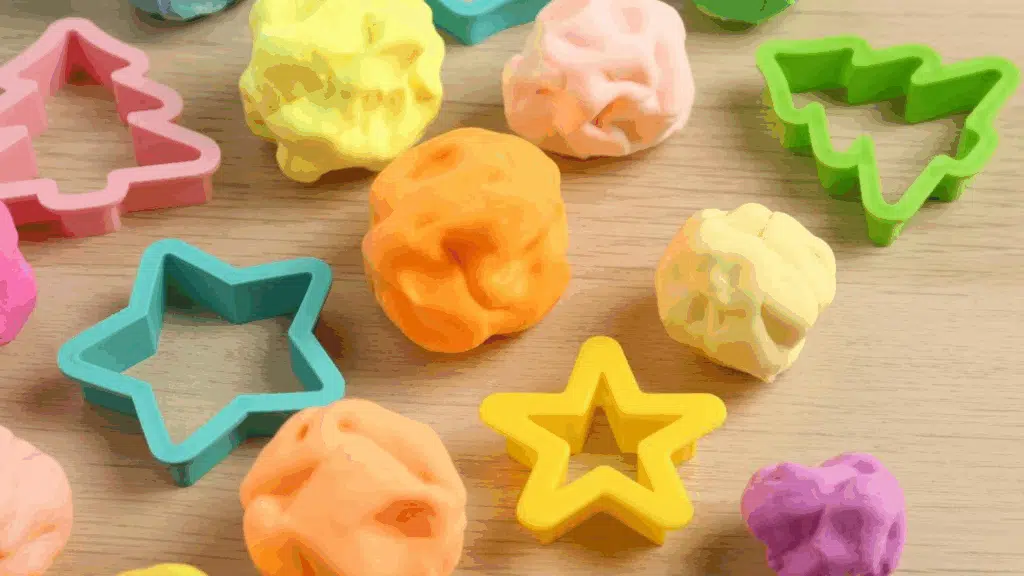
Are you tired of store-bought playdough that dries out fast and contains mysterious ingredients? Parents everywhere are finding the joy of making their own soft, safe playdough at home, without any cooking required.
Perfect for busy families, this homemade playdough no cook recipe uses simple pantry ingredients and takes just minutes to create.
Your kids will love the silky texture, and you’ll love knowing exactly what’s in it. Plus, no heat means little ones can help with every step of the process.
No matter if it’s a rainy day activity or a creative afternoon project, this gentle recipe delivers hours of squishy, moldable fun that’s completely safe for curious hands and mouths.
The Benefits of Making Homemade Playdough No Cook
Making homemade playdough, no-cook style, with your children creates magical bonding moments while delivering real developmental benefits.
Kids get hands-on learning as they measure, pour, and mix ingredients, building math skills and following directions naturally, and since there’s no heat involved, even toddlers can participate fully without danger..
They’re creating something valuable from scratch, and that sense of accomplishment is priceless. Additionally, sensory play with soft, squishy textures helps develop the fine motor skills and hand strength necessary for writing later.
Best of all, you’re spending uninterrupted time together. No screens, no distractions; just you and your child creating something extraordinary.
These simple moments often become the memories they treasure most.
Materials You Will Need to Make No-Cook Playdough
Before diving into the fun of making playdough, it’s essential to gather all your ingredients and tools. Having everything ready ensures a smooth, hassle-free experience and allows you to focus on the creative process.
Most of these materials are everyday kitchen staples, making this an easy and accessible activity.
- 2 cups all-purpose flour
- ½ cup salt
- 2 tablespoons cream of tartar
- 2 tablespoons vegetable oil or coconut oil
- 1.5 cups boiling water
- Liquid food coloring (various colors)
- Mixing bowls and spoons
- Airtight containers or Ziploc bags for storage
- Optional: gloves for mixing colors and cookie cutters for play
How to Make No-Cook Homemade Playdough
Homemade playdough no cook is a quick and fun activity that results in soft, pliable dough perfect for kids’ play.
It’s soothing to the touch, lasts for months when stored properly, and offers endless creative possibilities. Ideal for sensory play and fine motor development, this dough is a favorite for children of all ages.
Step 1: Boil and Prepare Water
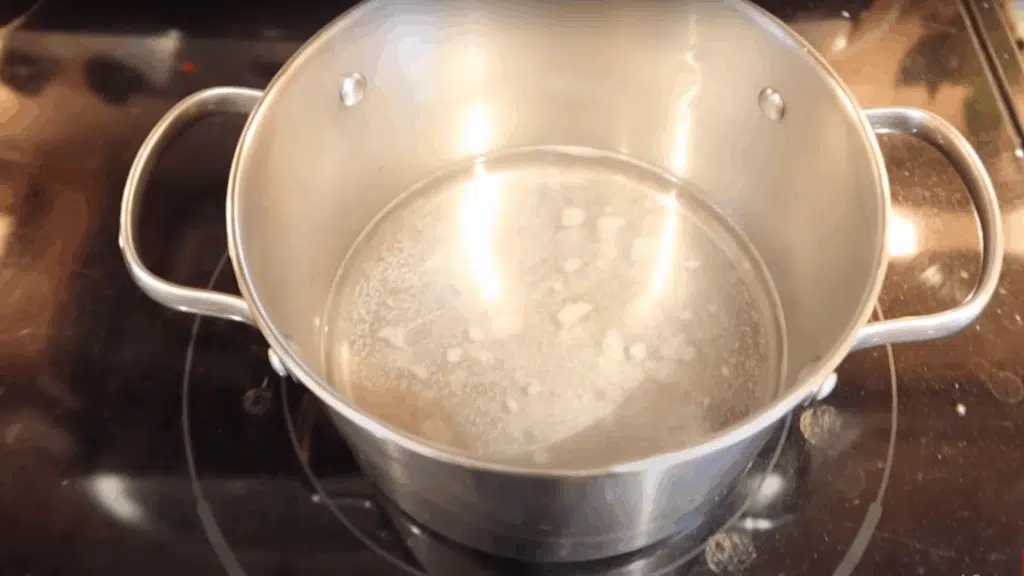
Start by boiling 1.5 cups of water until it reaches a full boil. This hot water is essential to activate the ingredients properly, eliminating the need for stovetop cooking.
Once boiled, carefully transfer the water to a large heatproof mixing container. This is the base liquid for your play-dough, so ensure it’s clean and measured precisely.
Step 2: Add Oil and Cream of Tartar
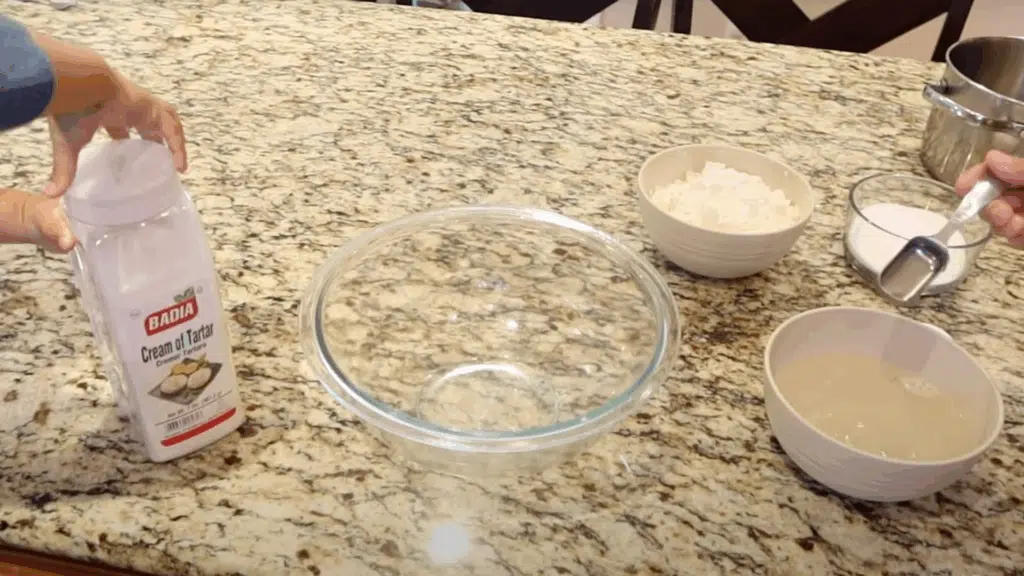
To the hot water, add 2 tablespoons of vegetable oil or coconut oil; either works fine. Stir gently to distribute the oil, then add 2 tablespoons of cream of tartar.
This ingredient boosts elasticity and acts as a natural preservative. Stir the mixture thoroughly again, ensuring that everything dissolves evenly, before proceeding to the dry ingredients.
Step 3: Mix Flour and Salt
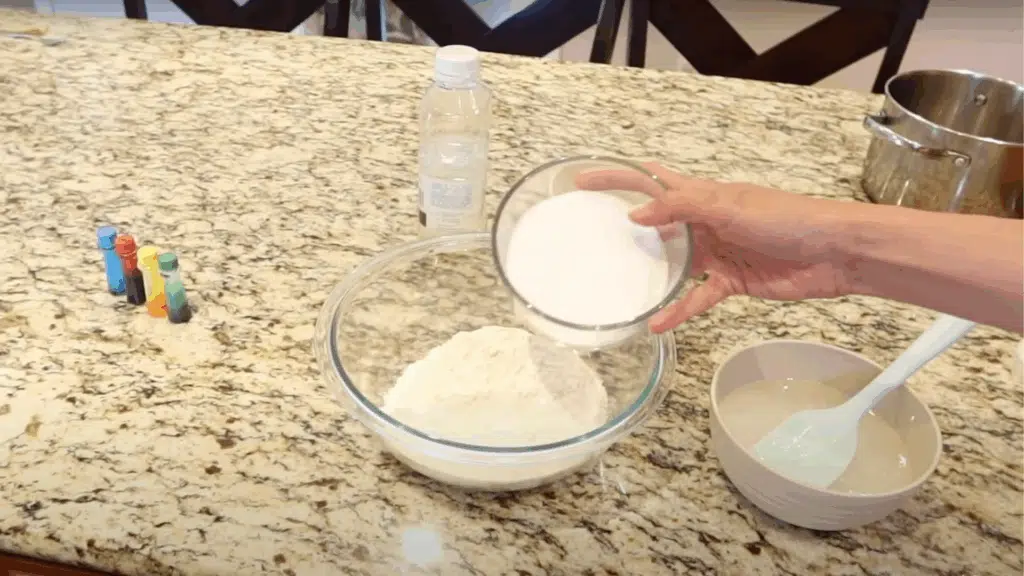
In a separate large bowl, mix 2 cups of all-purpose flour with ½ cup of salt. The flour forms the dough’s base structure, while the salt gives texture and helps preserve the dough.
Combine both ingredients well with a spoon or whisk, ensuring there are no lumps, before incorporating them into the warm liquid mixture.
Step 4: Combine Wet and Dry Mixtures
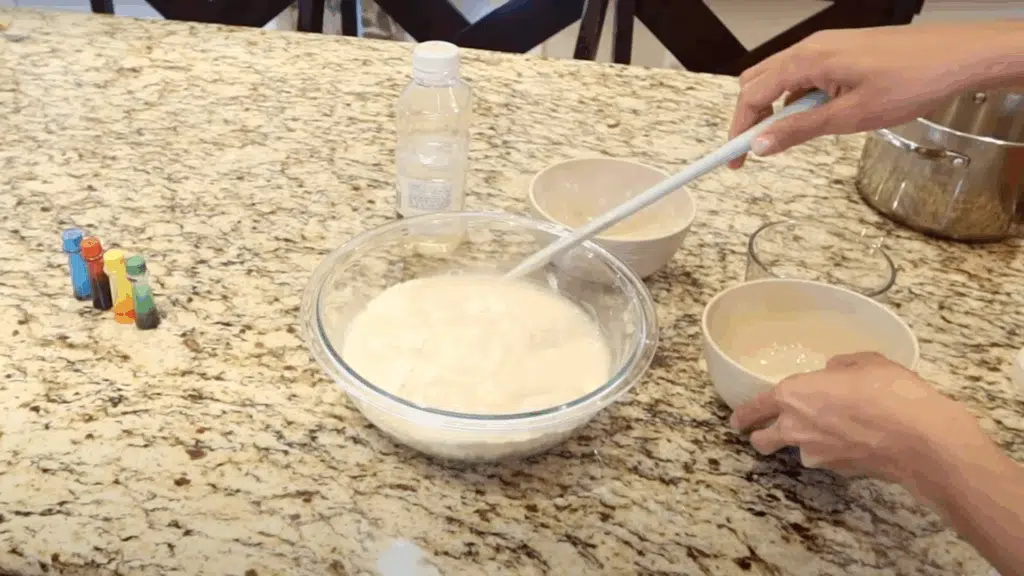
Gradually pour the warm liquid (from Step 2) into the flour and salt mixture. Stir the mixture using a spoon or spatula until it begins to form a dough.
The consistency should start thickening quickly. Once it’s hard to mix with a spoon, it’s time to transition to kneading by hand to bring the dough together smoothly.
Step 5: Knead to Desired Consistency
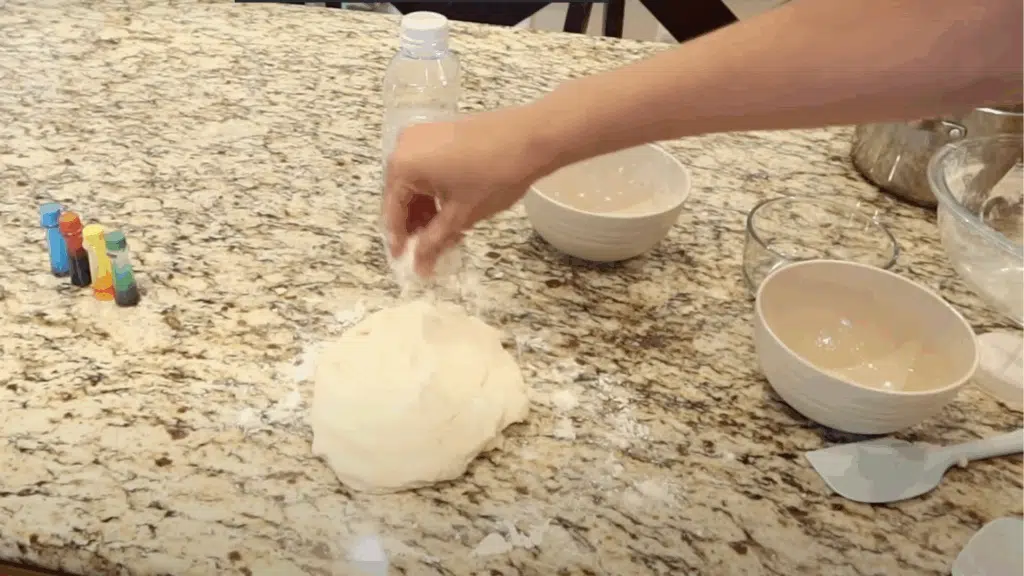
Dust a countertop with flour and knead the dough for 2–3 minutes. Add more flour if the dough feels sticky; sprinkle lightly until it feels smooth and soft.
This is the most hands-on and fun part. Continue kneading until the dough becomes pliable, non-sticky, and has a play-dough-like texture. This step is crucial for perfect consistency.
Step 6: Add Food Coloring
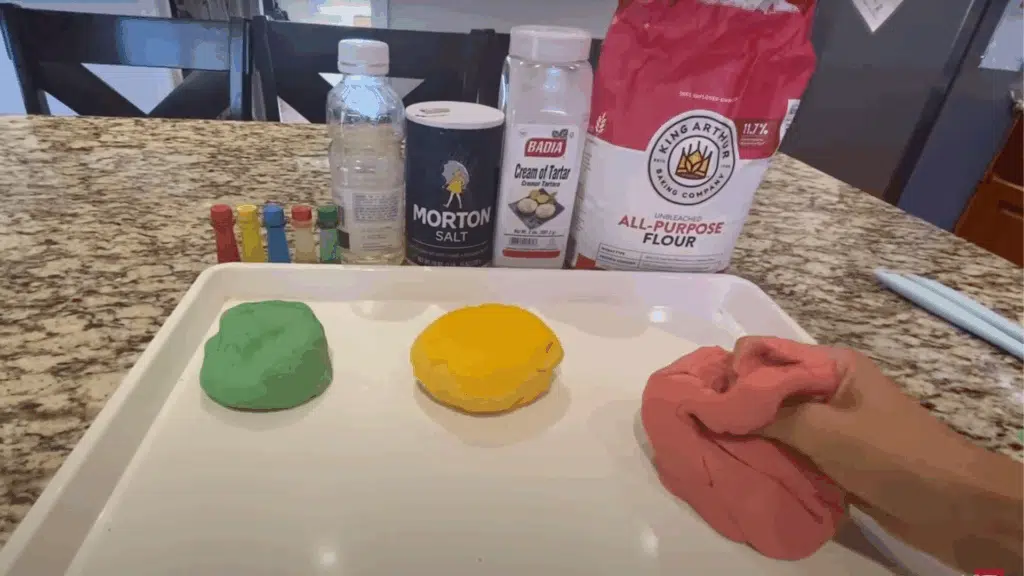
Divide the dough into separate portions according to the number of colors you want. Add a few drops of food coloring to each, then knead thoroughly until the color is fully blended.
Adjust intensity by adding more drops. Wash your hands between colors to avoid mixing. Kids love choosing and creating vibrant hues for their personal dough batch.
Step 7: Store and Play
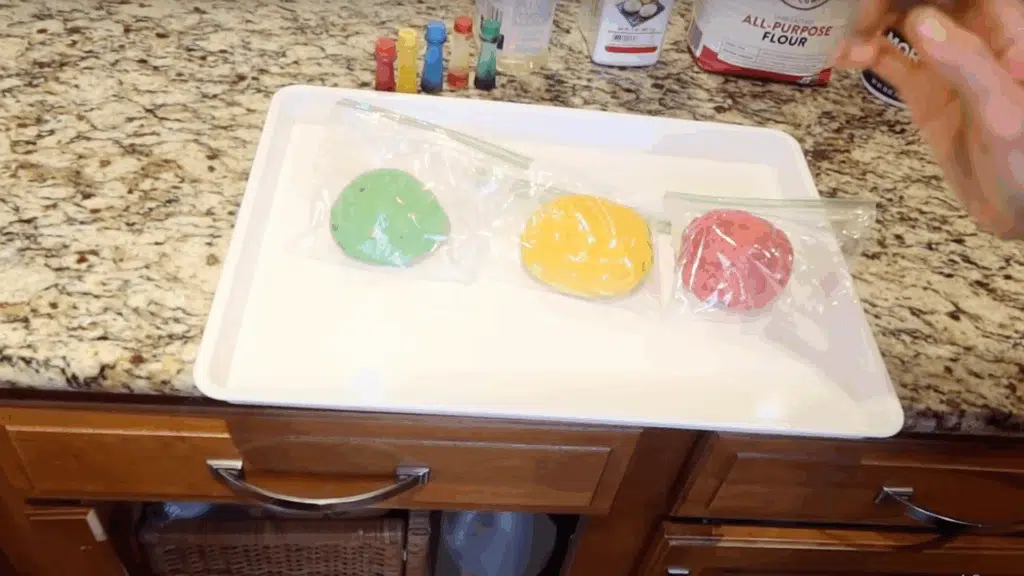
Once colored, store each dough ball in its own Ziploc bag or airtight container. Keep them in the refrigerator to extend shelf life; they’ll last for months!
To use, let the dough warm up in your hands or add a drop of water if it’s too dry. Excellent for sensory play, fine motor skills, and keeping kids creatively engaged for hours.
Tips for Homemade Playdough No Cook Recipe
Making homemade playdough, no-cook style, is surprisingly simple, but a few key tips can make the difference between okay dough and perfect, salon-quality results.
These insider secrets will help you avoid common pitfalls and create the softest, most pliable playdough every single time.
- Start with room temperature water: Cold water makes mixing harder, and hot water can create lumps. Lukewarm works best for smooth blending.
- Add food coloring to the wet ingredients first: Mix the color into your water and oil before adding the dry ingredients. This prevents streaky, uneven coloring.
- Knead longer than you think: Spend at least 3-5 minutes kneading. The dough transforms from rough to silky with proper work.
- Store in airtight containers: Mason jars or sealed plastic containers keep your dough fresh for weeks. Room temperature storage works perfectly.
- Let it rest if too stiff: Sometimes, dough needs 10-15 minutes to fully hydrate before reaching ideal consistency.
Conclusion
Creating this homemade playdough no cook recipe isn’t just about craft time; it’s about giving your family something genuinely better.
Your kids will remember these moments long after the playdough is gone.
The laughter during mixing, the excitement of choosing colors, and the pride of creating something together, that’s the real magic here.

