Ever watched birds hop around your yard and wished they’d stick around longer?
A homemade bird feeder changes everything. You don’t need fancy tools or expensive materials to create something birds actually want to visit.
An old milk carton, some peanut butter, or scrap wood from your garage works perfectly fine. The best part is you can build one in under an hour while spending almost nothing.
This guide shows you how to build a simple wooden feeder, plus seven creative alternatives using items you already own.
You’ll learn which seeds attract specific birds, where to hang your feeder for maximum activity, and how to keep everything clean and safe all year long.
Why a Bird Feeder is Essential for Your Backyard?
A bird feeder does more than just add life to your outdoor space. It creates a haven for local birds, especially when food becomes scarce during winter or migration periods.
When you set up a diy bird feeder, you help support the ecosystem while giving yourself a front-row seat to nature’s beauty. Birds visiting your yard control insects, pollinate plants, and spread seeds.
For families, building and maintaining feeders becomes a teaching moment. Kids learn about wildlife, responsibility, and the environment.
It’s a simple project that brings joy, education, and real benefits to your backyard.
Best Bird Seed Types for Your Feeder
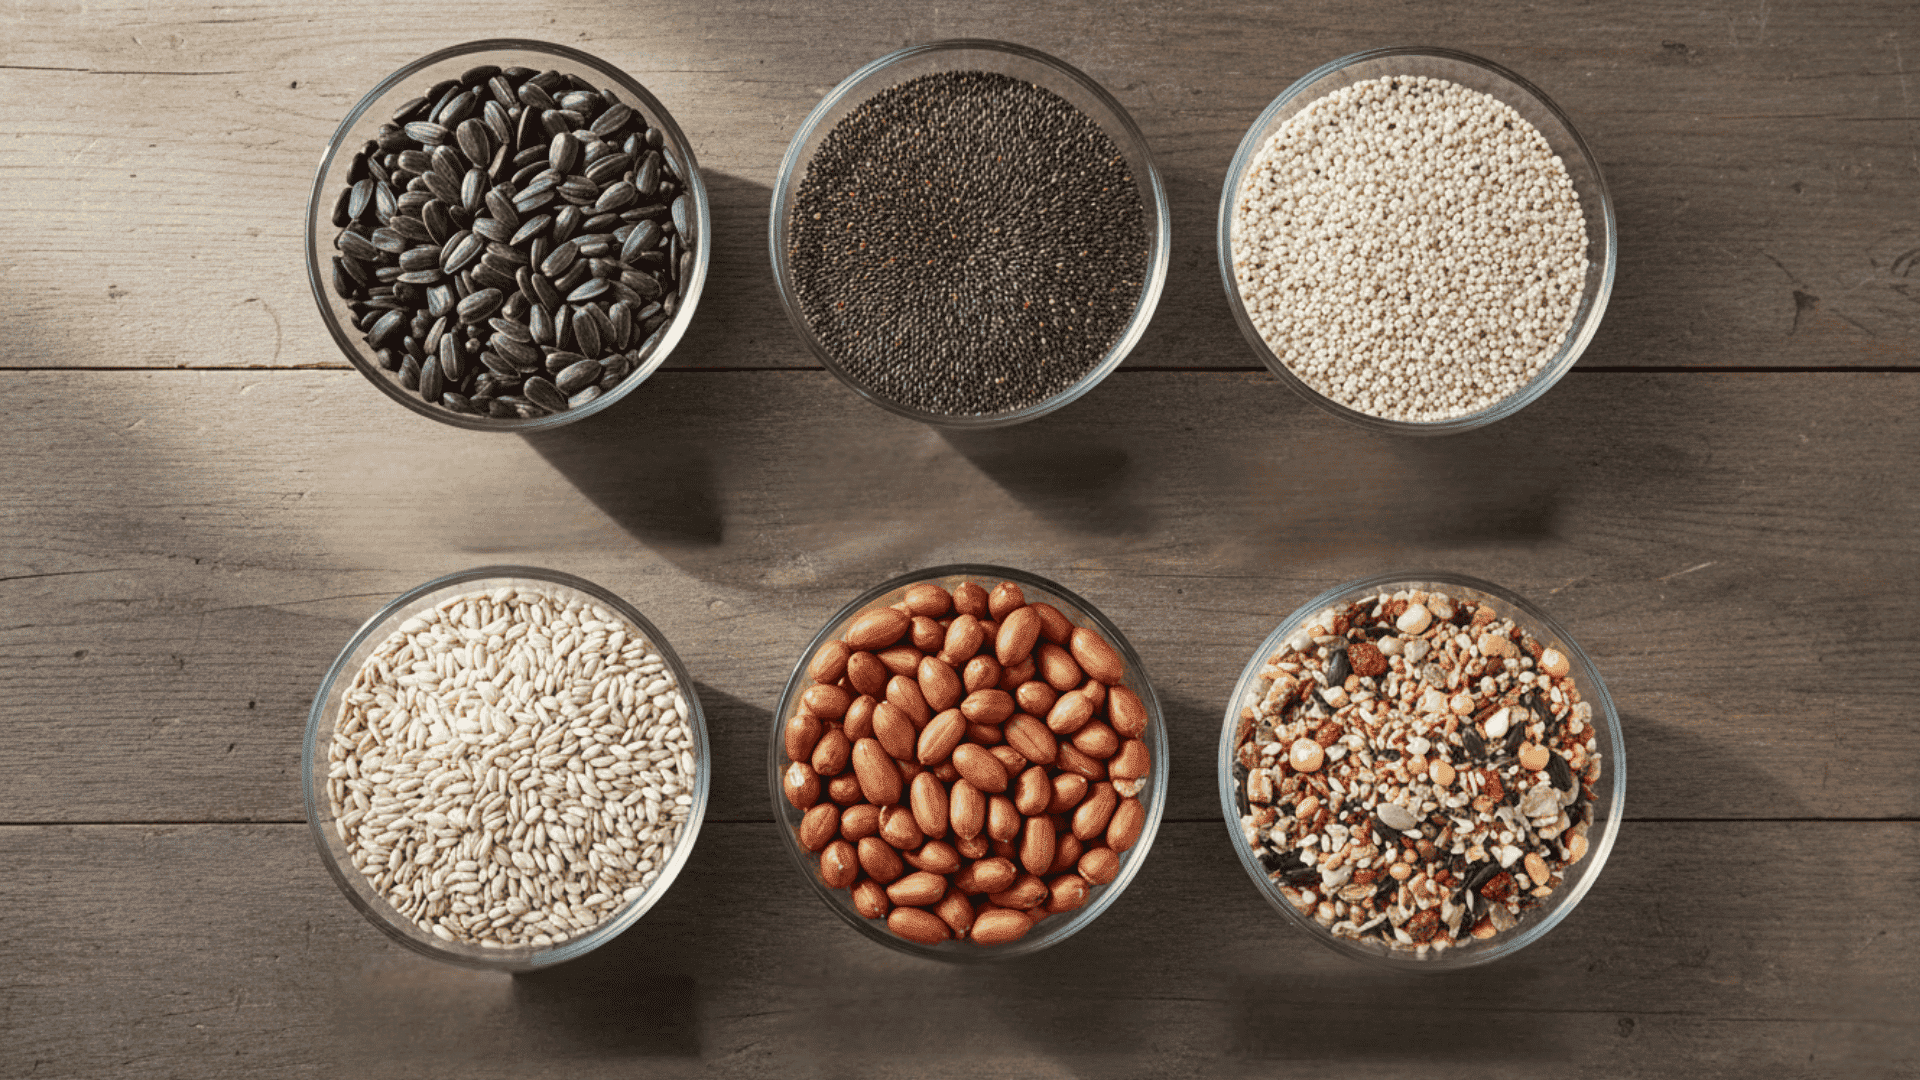
Choosing the right seed makes all the difference in attracting birds to your diy bird feeder. Different bird species prefer different types of food, so knowing what to offer helps you see more variety in your backyard.
- Black Oil Sunflower Seeds: These attract the most bird species, including cardinals, chickadees, and finches. The high fat content gives birds energy, and the thin shells make them easy to crack open.
- Nyjer Seeds: Goldfinches and pine siskins love these tiny oil-rich seeds. Use a special tube feeder with small holes to prevent waste since these seeds are more expensive.
- White Proso Millet: Ground-feeding birds like sparrows, juncos, and doves prefer this affordable option. Scatter it on platform feeders or directly on the ground for best results.
- Safflower Seeds: Cardinals and grosbeaks enjoy these, while squirrels and blackbirds usually avoid them. This makes safflower a smart choice if unwanted visitors keep raiding your feeder.
- Peanuts (Unsalted): Woodpeckers, jays, and nuthatches go wild for these protein-packed treats. Offer them whole in mesh feeders or chopped in platform feeders during the winter months.
- Mixed Seed Blends: These attract a variety of species and offer something for everyone. Check the ingredient list and avoid cheap blends filled with red millet or wheat that birds often ignore.
Pro Tip: Start with black oil sunflower seeds in your diy bird feeder. They attract the widest variety of birds and work in almost any feeder design.
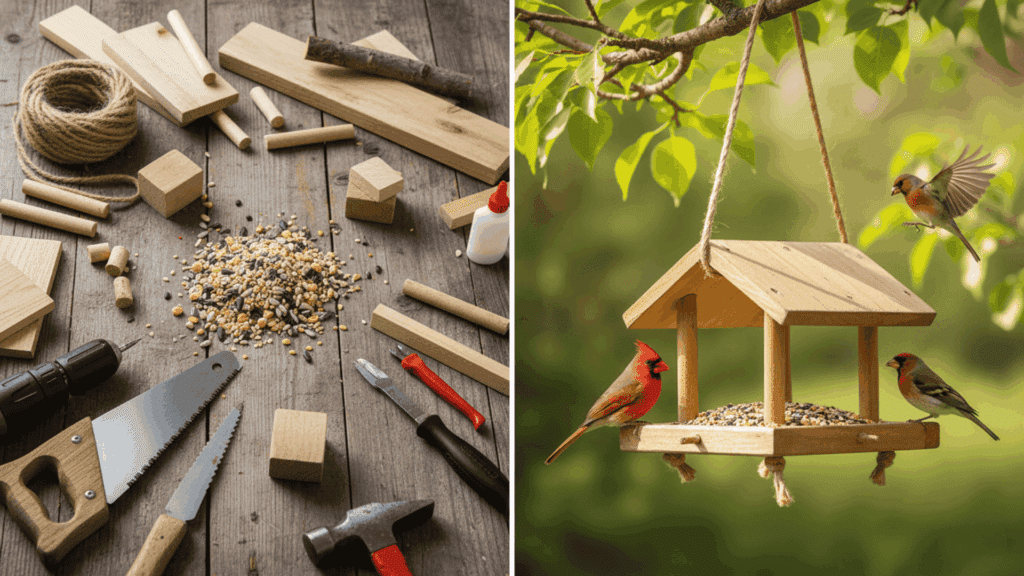
Step-by-Step: How to Make a Simple Bird Feeder
Building a diy bird feeder from wood is easier than you think. Follow these steps to create a sturdy feeder that will last for years.
Tools and Materials Needed:
| Category | Items | Purpose |
|---|---|---|
| Basic Tools | Saw, drill, hammer, screwdriver, measuring tape | Cut wood to size, create holes, assemble parts, and measure accurately |
| Primary Materials | Wood (cedar or scrap wood), screen mesh, rope or chain, screws, copper nails, router | Build the feeder structure, create drainage, hang the feeder, and add finishing touches |
| Bird Seed | Mixed seeds, sunflower seeds, nyjer seeds | Attract different bird species and provide proper nutrition |
| Alternative Supplies | Peanut butter, toilet paper rolls, pine cones, clay pots, milk cartons | Create simple, quick feeder designs without power tools |
Pro Tip: Cedar wood works best because it resists rot and weather damage. But scrap wood from old projects works just fine if you treat it properly.
Step 1 . Prepare the Wood Pieces
Start by cutting two identical side pieces from your scrap wood using a saw. Measure twice and cut once to avoid mistakes.
Once cut, use sandpaper to smooth all edges and surfaces. This prevents splinters and gives your feeder a clean, finished look that is safe for birds to perch on.
Step 2. Create the Channels for Glass
Now use a router to carve channels along the inner edges of your side pieces. These grooves will hold the glass panels that store the bird seed.
Make each channel slightly wider than the glass thickness to allow for expansion when temperatures change. This small detail prevents cracking during hot or cold weather.
Step 3. Assemble the Frame
Drill pilot holes in the corners to prevent the wood from splitting. Then attach the side pieces together using screws to form a rectangular frame.
Make sure everything lines up straight, and the corners meet at right angles. A stable frame is the foundation of a durable diy bird feeder.
Step 4. Install the Bottom
Cut a piece of window screen mesh to fit the bottom of your frame. This mesh allows water to drain out, keeping the seed dry and fresh.
Secure the screen using a stapler, making sure it sits flat and tight. Good drainage prevents mold and keeps birds healthy.
Step 5. Attach the Roof
Cut two roof pieces and attach them at an angle to create a peak. Let the roof overhang the sides by about an inch to shield the seed from rain and snow.
Drill a small hole at the top center and thread a chain or rope through it. Your feeder is now ready to hang in your backyard.
Video Tutorial
Special thanks to Family Handyman for providing valuable insights in their video, which I referenced while creating this guide.
Bird Feeder Distance Guidelines: The 5 7 9 Rule
The 5 7 9 rule helps you place your diy bird feeder at safe distances to protect birds from predators and window strikes.
Position feeders at least 5 feet off the ground to keep cats away, 7 to 10 feet from dense shrubs where predators hide, and 9 to 10 feet from tree trunks to stop squirrels from jumping on.
Keep feeders either within 3 feet of windows or farther than 15 feet away to prevent deadly collisions.
Following these simple distance guidelines creates a safer feeding station that birds will visit confidently all year long
Creative Bird Feeder Designs from Household Items
If you want something different from a traditional wooden feeder, try these creative alternatives. These projects use everyday items you probably already have at home. Each design takes less than 30 minutes to complete and works just as well as store-bought feeders.
1. Recycled Toilet Paper Roll Feeder
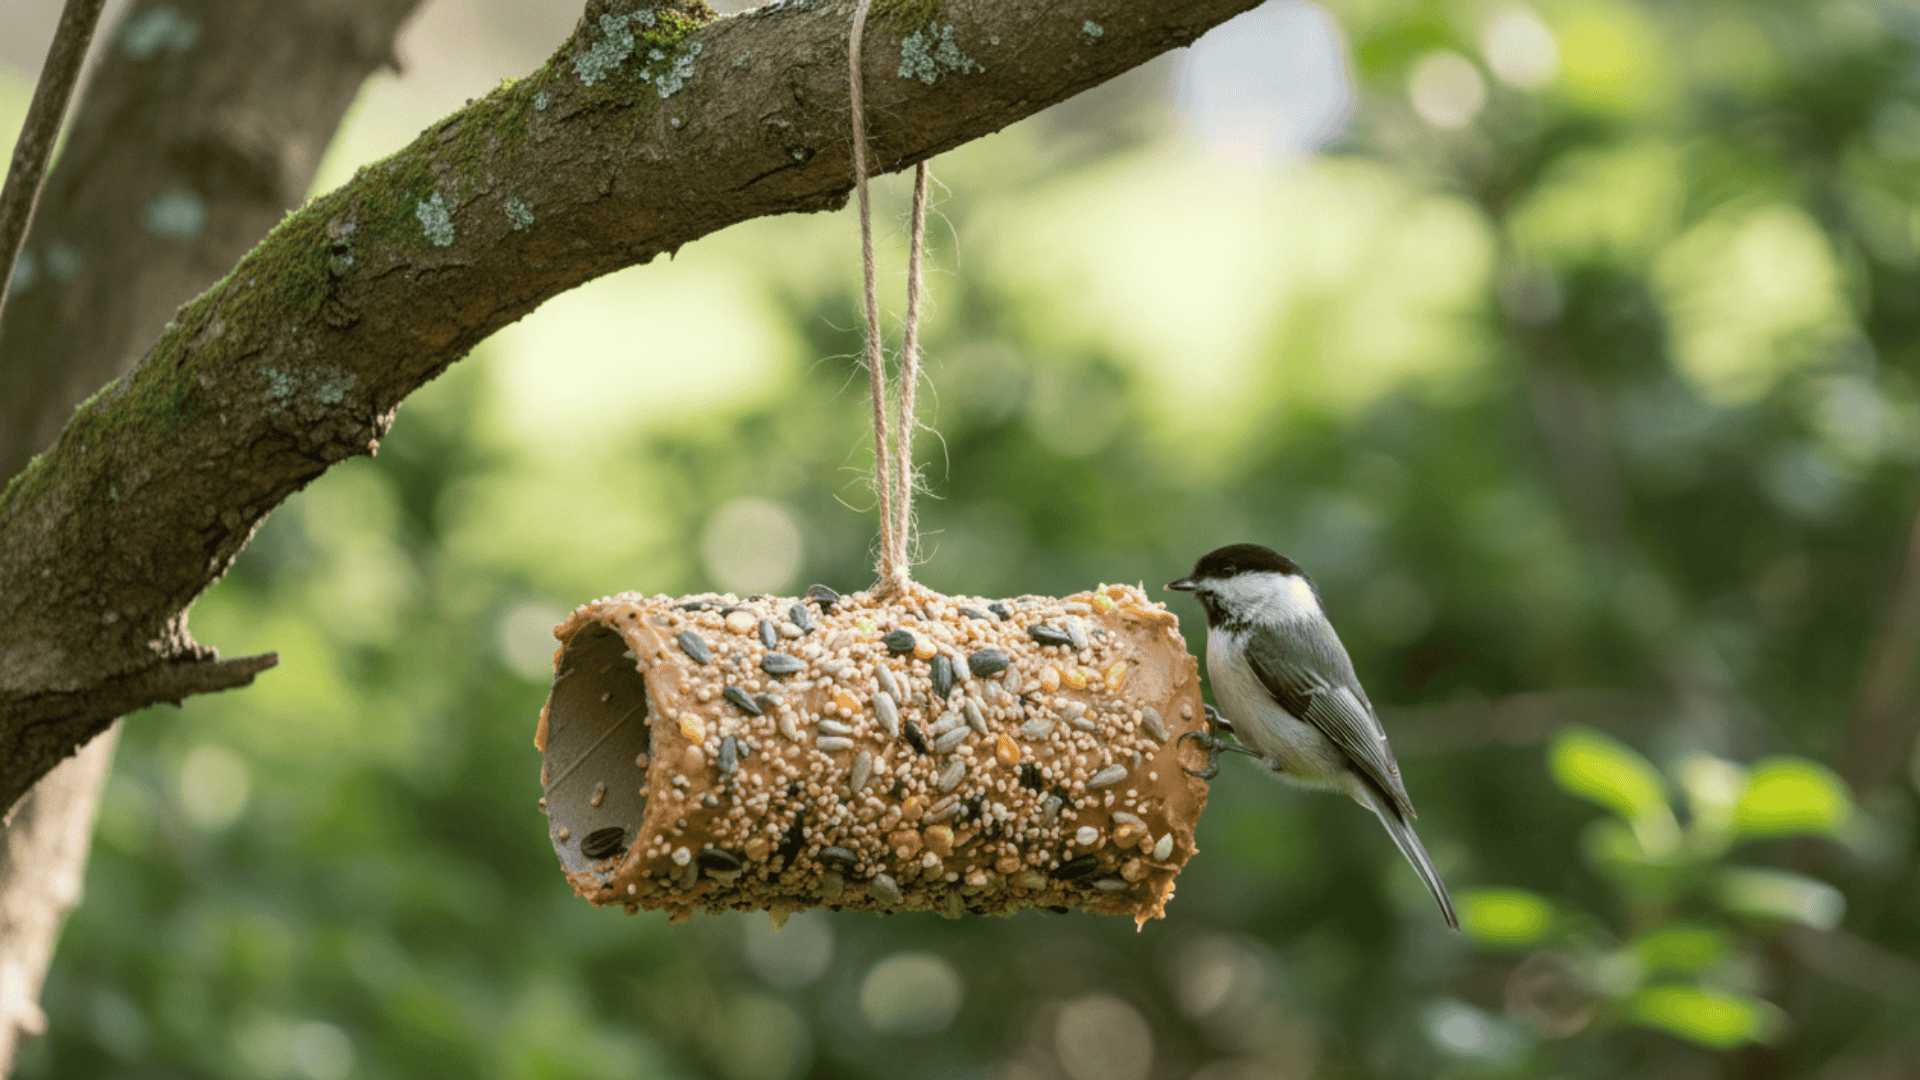
This is the simplest diy bird feeder you can make with kids. The cardboard roll breaks down naturally over time, making it eco-friendly and bird-safe. Birds love landing on it to peck at the seeds stuck to the sides.
Steps to Make It:
- Spread peanut butter all over the toilet paper roll using a butter knife
- Pour bird seed onto a plate and roll the coated tube through it until fully covered
- Thread a string through the center and tie a knot at the top
- Hang from a tree branch and watch the birds arrive
2. Pine Cone Bird Feeder

Pine cones make perfect natural feeders because their scales hold seeds in place. You can find them for free in parks or your own yard. This design looks great hanging from trees and blends right into the natural environment.
Steps to Make It:
- Tie a string around the top of a large pine cone
- Coat the entire cone with peanut butter, getting into all the crevices
- Roll the cone in mixed bird seed until completely covered
- Hang from a sturdy branch where you can see it from your window
3. Clay Pot Bird Feeder
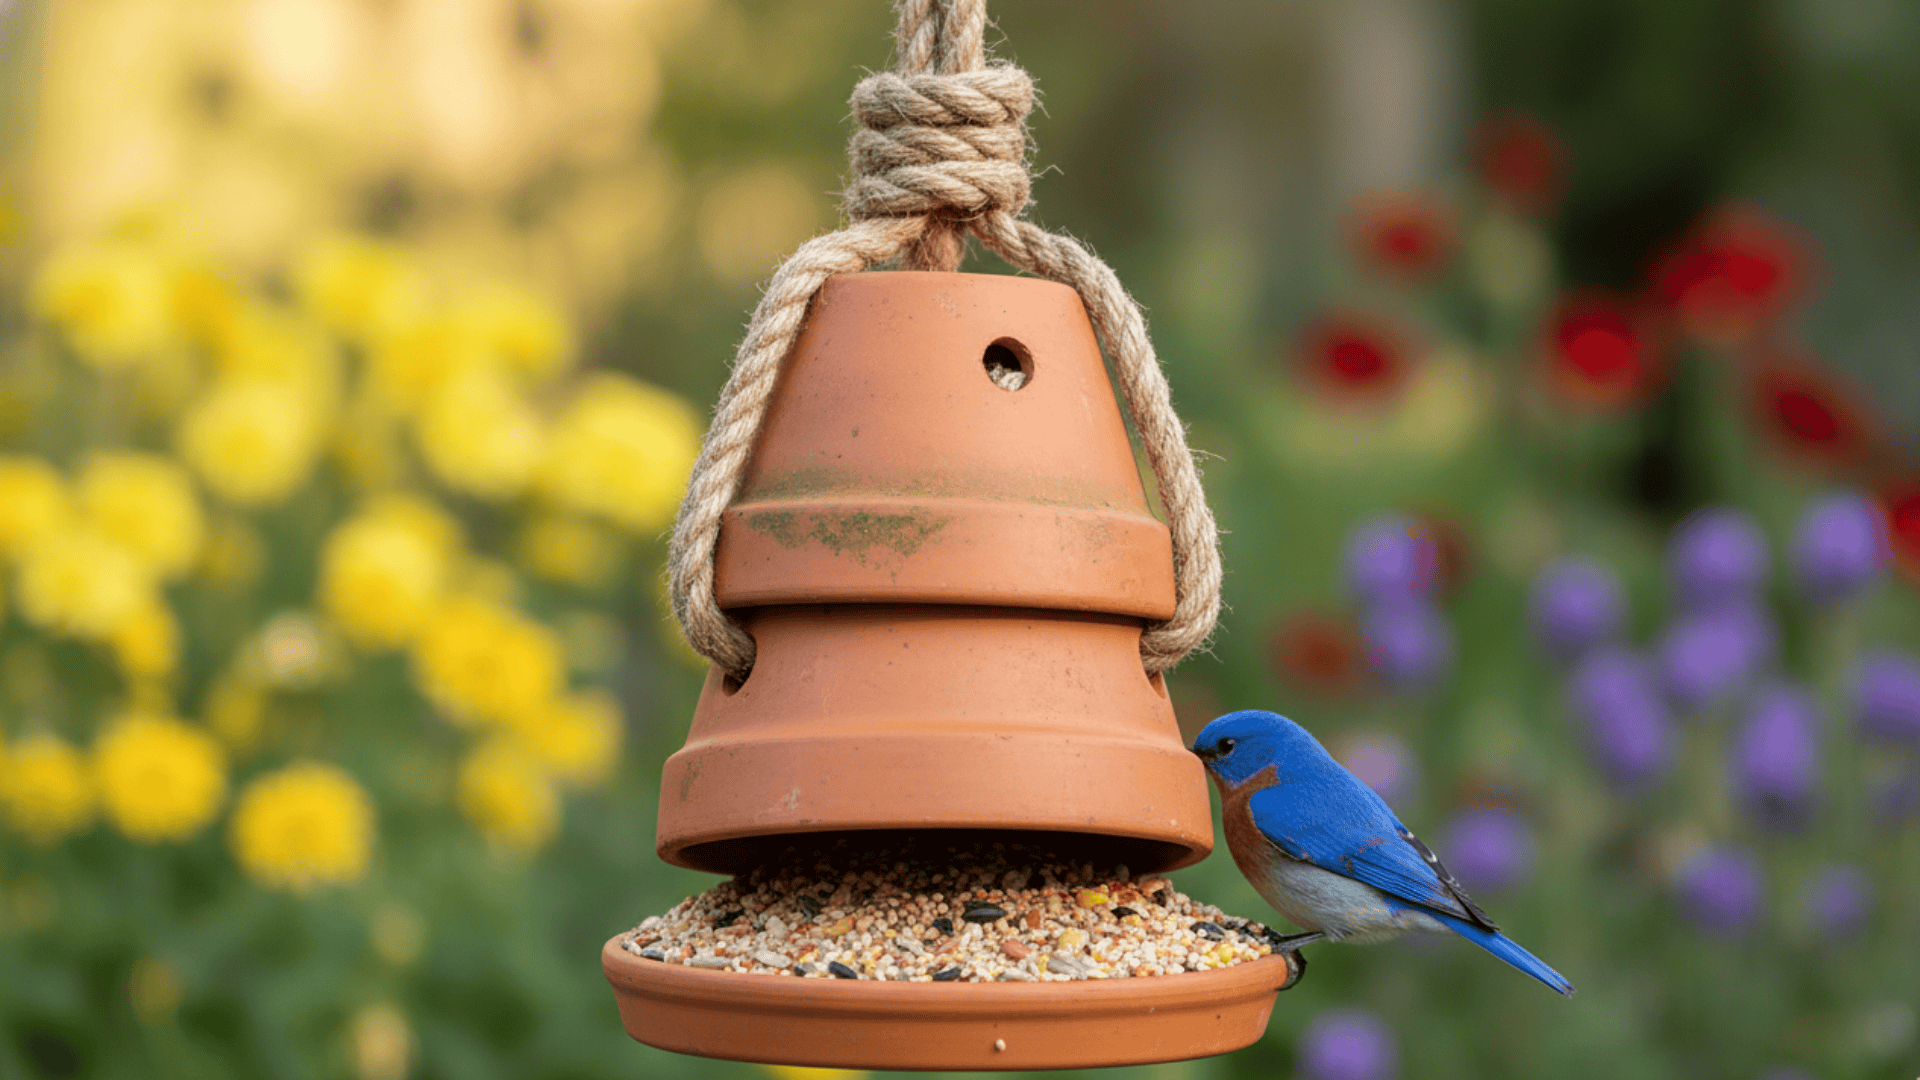
Terracotta pots create a charming rustic look in any garden. The natural material keeps seeds dry and provides multiple feeding stations. This design holds more seed than most simple feeders, meaning fewer refills.
Steps to Make It:
- Thread a strong rope through the drainage hole of a small clay pot
- Tie a knot at the bottom to keep the pot from sliding down
- Place a small saucer or plate inside the pot opening to hold seeds
- Fill with bird seed and hang at eye level for easy viewing
4. Milk Carton Feeder
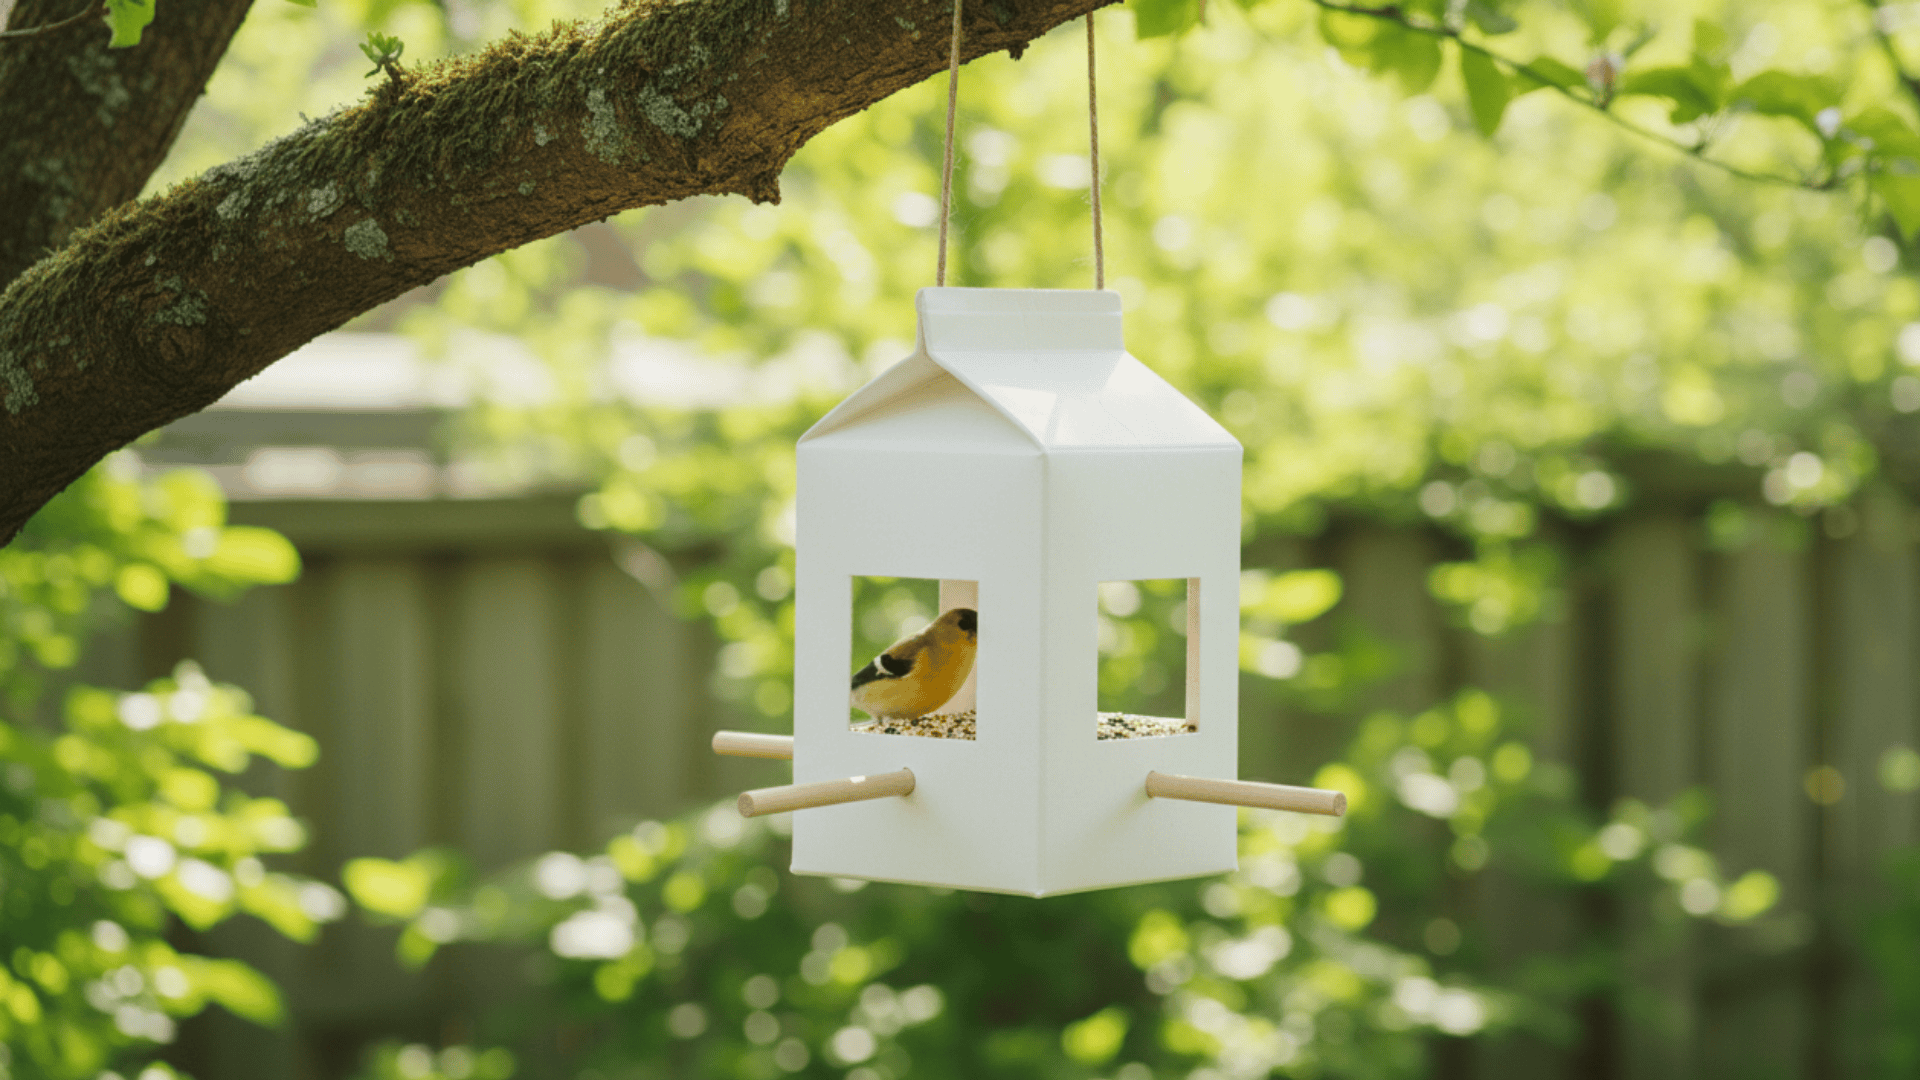
Do not throw away that empty milk carton. It makes an excellent weatherproof feeder that protects seeds from rain. The plastic or cardboard material is easy to cut and customize to your liking.
Steps to Make It:
- Clean and dry an empty milk carton thoroughly
- Cut rectangular openings on opposite sides, leaving 2 inches at the bottom
- Poke a small hole below each opening and insert a wooden dowel for perching
- Fill the bottom with seed, poke holes in the top for string, and hang securely
5. Wooden Spoon Bird Feeder
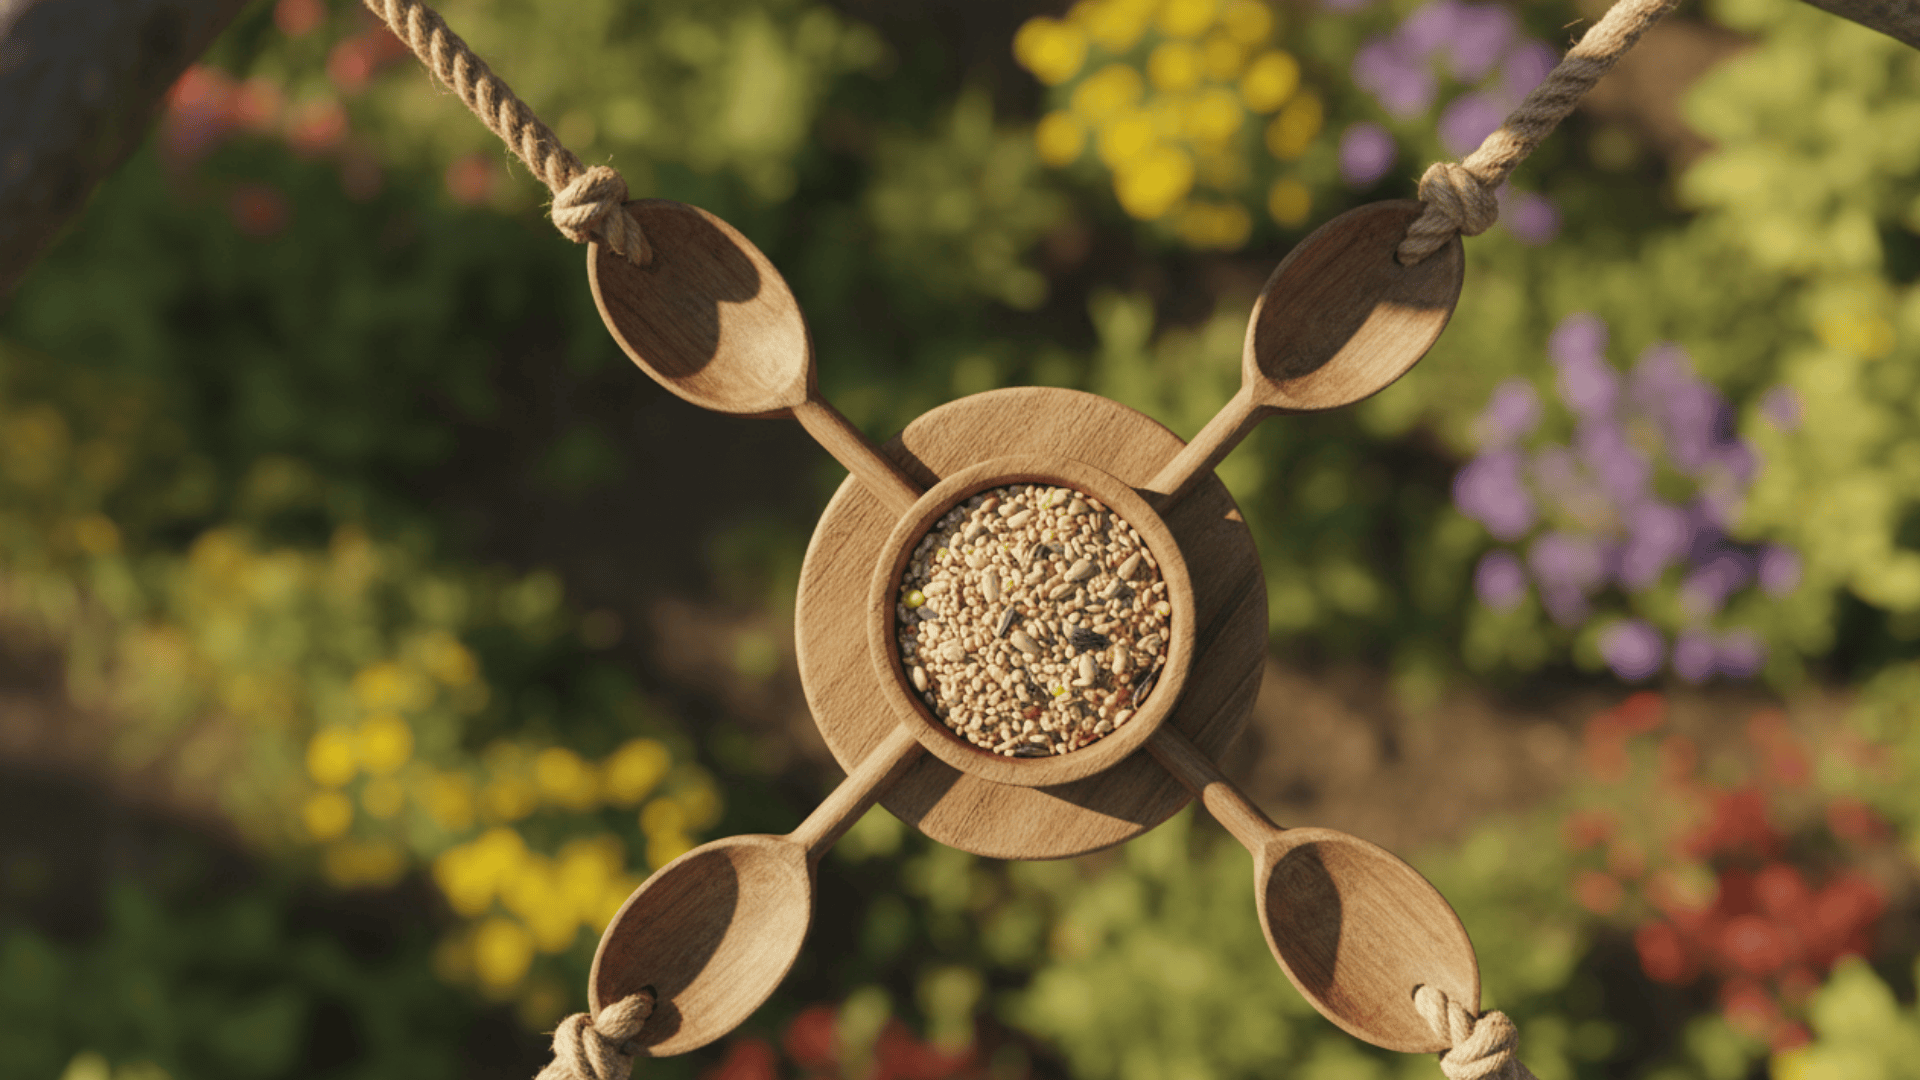
Old wooden spoons get a second life as a unique diy bird feeder. The spoons act as perches and seed holders at the same time. This design looks artistic and functional, hanging in your garden.
Steps to Make It:
- Drill holes through the handles of 4 wooden spoons
- Attach the spoons to a small wooden base or platform using screws
- Position them pointing outward at equal distances around the base
- Add a shallow tray in the center for seeds and attach a hanging rope on top
6. Wire Frame Feeder
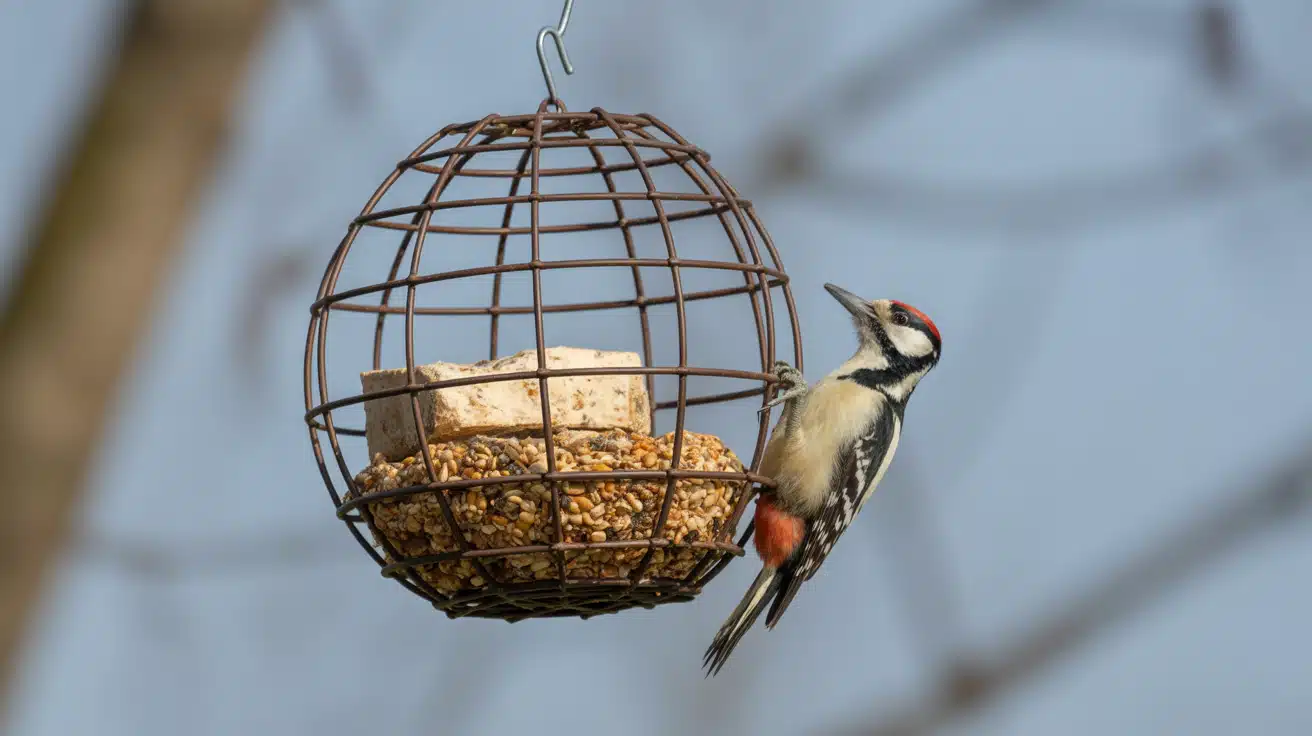
Wire is bendable and waterproof, making it ideal for outdoor feeders. You can shape it into any design you want. This option works well if you prefer a modern, minimalist look.
Steps to Make It:
- Bend thick wire into a basket or cage shape using pliers
- Secure the ends by twisting them together tightly
- Cut a piece of mesh screen to fit the bottom for drainage
- Fill with seeds and hang using a wire hook attached to the top
7. Gourd Bird Feeder
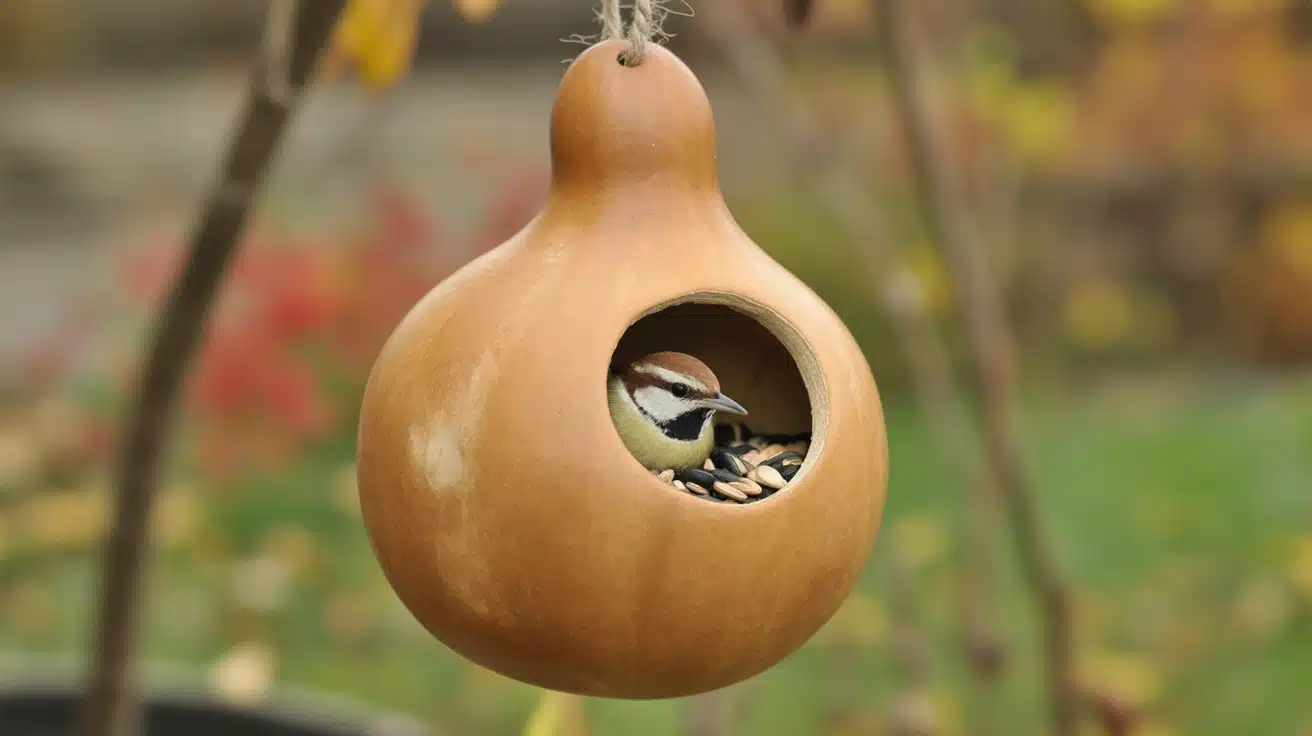
Dried gourds are nature’s ready-made bird houses and feeders. They last for months outdoors and provide shelter along with food. Many bird species especially love these natural designs.
Steps to Make It:
- Let a gourd dry completely until it feels light and hollow
- Cut a circular entrance hole about 2 inches wide using a knife
- Scoop out all the seeds and dried pulp from inside
- Fill the bottom with bird seed and hang using twine tied around the neck
8. Cucumber Bird Feeder
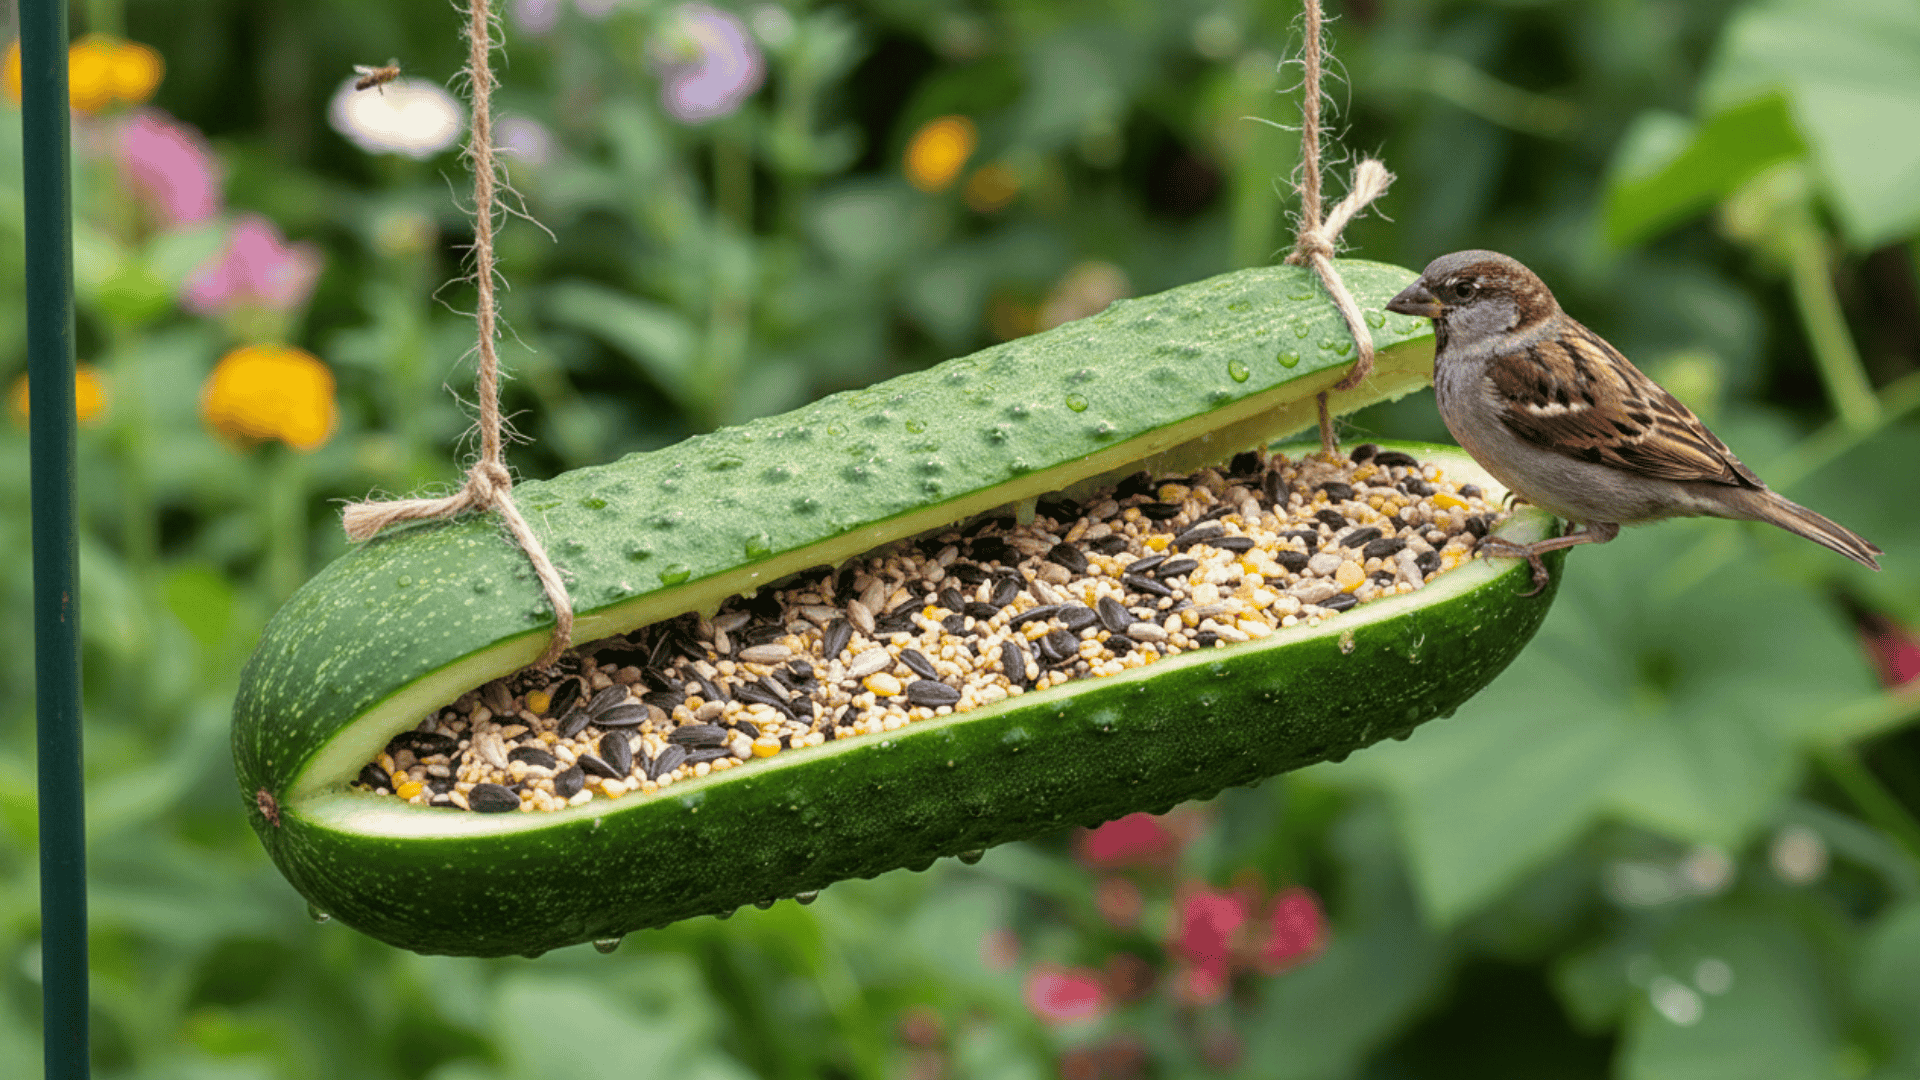
This fresh option is perfect for summer when cucumbers are abundant. Birds appreciate the moisture content during hot days. Just remember this feeder will not last as long as others, but it is fully compostable.
Steps to Make It:
- Cut a cucumber in half lengthwise
- Scoop out the seeds and some flesh to create a hollow channel
- Press bird seed firmly into the hollowed sections
- Poke holes at both ends, thread with string, and hang in a shaded spot
How to Clean and Maintain Your Bird Feeder?
A clean feeder keeps birds healthy and coming back for more. Regular maintenance prevents disease and ensures your diy bird feeder stays in good working condition for years.
- Clean Your Feeder Every Two Weeks: Remove old seed, scrub with hot soapy water, rinse thoroughly, and let it dry completely before refilling.
- Check for Mold and Moisture: Inspect the feeder after rain and discard any wet or clumped seed immediately to prevent harmful mold growth.
- Disinfect Monthly with Vinegar Solution: Mix one part white vinegar with nine parts water, soak the feeder for 10 minutes, then rinse and dry well.
- Remove Seed Shells and Debris: Clear out empty husks and droppings from the feeding area weekly to keep the space sanitary for visiting birds.
- Rotate Feeding Locations Seasonally: Move your feeder to a new spot every few months to prevent ground contamination and give the area underneath time to recover.
Where to Place Your DIY Bird Feeder for Success?
Location matters just as much as the feeder itself. Hang your diy bird feeder about 5 to 6 feet off the ground where birds feel safe, but you can still watch them easily.
Place it near shrubs or trees so birds have quick escape routes if predators appear, but keep it at least 10 feet away from dense bushes where cats might hide.
Position the feeder at least 15 to 20 feet from windows to prevent collision accidents. Avoid placing it in direct afternoon sun, which can spoil the seed quickly.
If squirrels are a problem in your area, hang the feeder away from branches they can jump from. The right spot turns your feeder into a busy bird hub that attracts visitors all year long.
The Bottom Line
Building a diy bird feeder brings nature right to your doorstep.
You now have everything you need to start your first project, from basic wooden designs to creative ideas using household items. Pick whichever style fits your skill level and available materials.
Remember to place your feeder in a safe spot, choose quality seeds, and clean it regularly to keep your feathered visitors healthy and happy.
Ready to get started? Grab some supplies this weekend and build your first feeder. Once you see that first bird land and start eating, you’ll understand why so many people love this simple hobby.
What design will you try first? Share your results in the comments below!