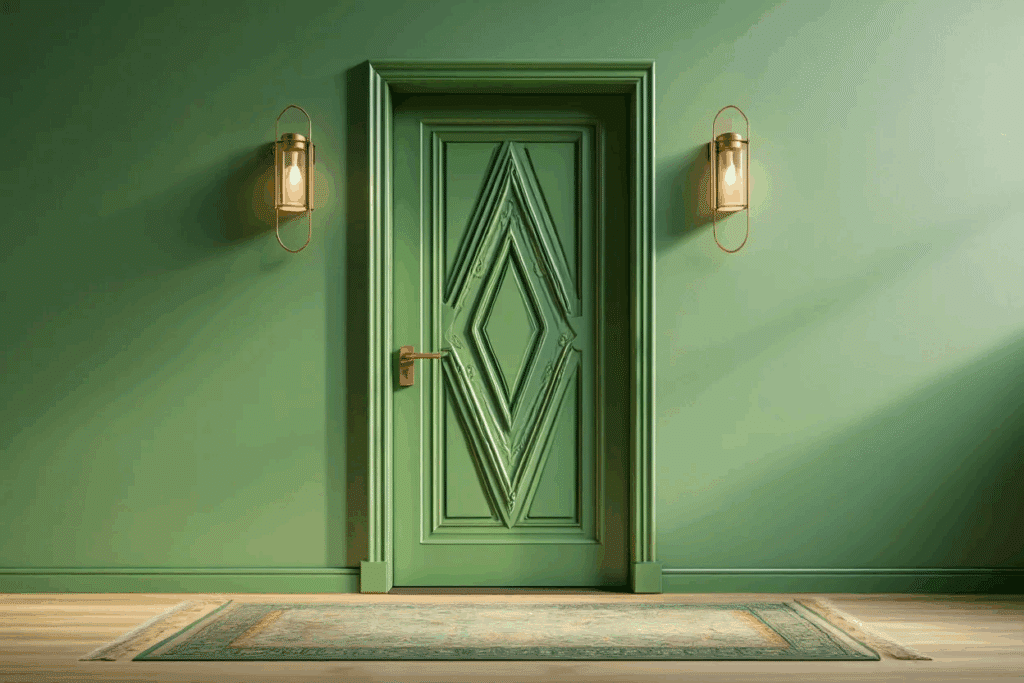
Want to know a secret about those plain hollow doors in homes? They’re actually perfect for makeovers. Most folks think these basic doors are boring and can’t look good without spending lots of money.
But that’s not true at all. Homeowners often feel stuck with the ugly hollow doors in their houses. They look cheap and bring down the whole room. But a simple weekend project can change everything.
These lightweight doors can be transformed with basic tools and materials people might already have.
The smooth surface makes them easy to work with, and their simple design means they can match any style a person wants.
Ready to see how these budget-friendly items can make a big difference in a home? Let’s get started with cheap hollow core door makeover now.
Why Choose Cheap Hollow Core Door Makeovers?
Hollow core door makeovers are a smart and budget-friendly way to upgrade your home’s look.
These doors are common in many houses because they are lightweight, easy to install, and much cheaper than solid wood doors. Here’s why giving your hollow core doors a makeover is a great idea:
- Affordable: Hollow core doors cost much less than solid wood doors, so you can update several doors in your home without spending a lot of money.
- Easy to Work With: Because they are lightweight, hollow core doors are simple to remove, paint, or add trim and molding to. This makes DIY projects faster and easier, even for beginners.
- Custom Looks: With a little creativity, you can make hollow core doors look expensive and stylish. Adding paint, trim, wallpaper, or new hardware can give them a high-end, custom appearance.
- Quick to Install: Their lightweight also means one person can usually handle installation or upgrades without help, saving time and effort.
- Ready to Paint: Many hollow core doors come pre-primed, so you can paint them any color you like right away, making it easy to match your home’s style.
- Great for Interior Spaces: They work well for bedrooms, closets, bathrooms, and other indoor spaces where you don’t need heavy-duty doors.
In short, hollow core door makeovers are a simple, cost-effective way to refresh your home’s style and make your doors look brand new.
Essential Tools and Materials for Your Door Makeover
| Tools | Materials |
|---|---|
| Sandpaper (medium and fine) | Wood filler |
| Scraper or card scraper | Varnish remover (optional) |
| Putty knife | Liquid Nails adhesive |
| Miter saw | Finish nails (1-1/4″ or 1-1/2″) |
| Nail gun or hammer | Spackling paste |
| Measuring tape | Primer and paint |
| Caulking gun | Door hardware (optional) |
| Paint sprayer or brushes |
Cheap Hollow Core Door Makeover: Step-by-Step Guide
Follow these straightforward steps to transform your old hollow core doors into stylish, updated pieces that fit your budget.
Step 1: Remove the Existing Finish
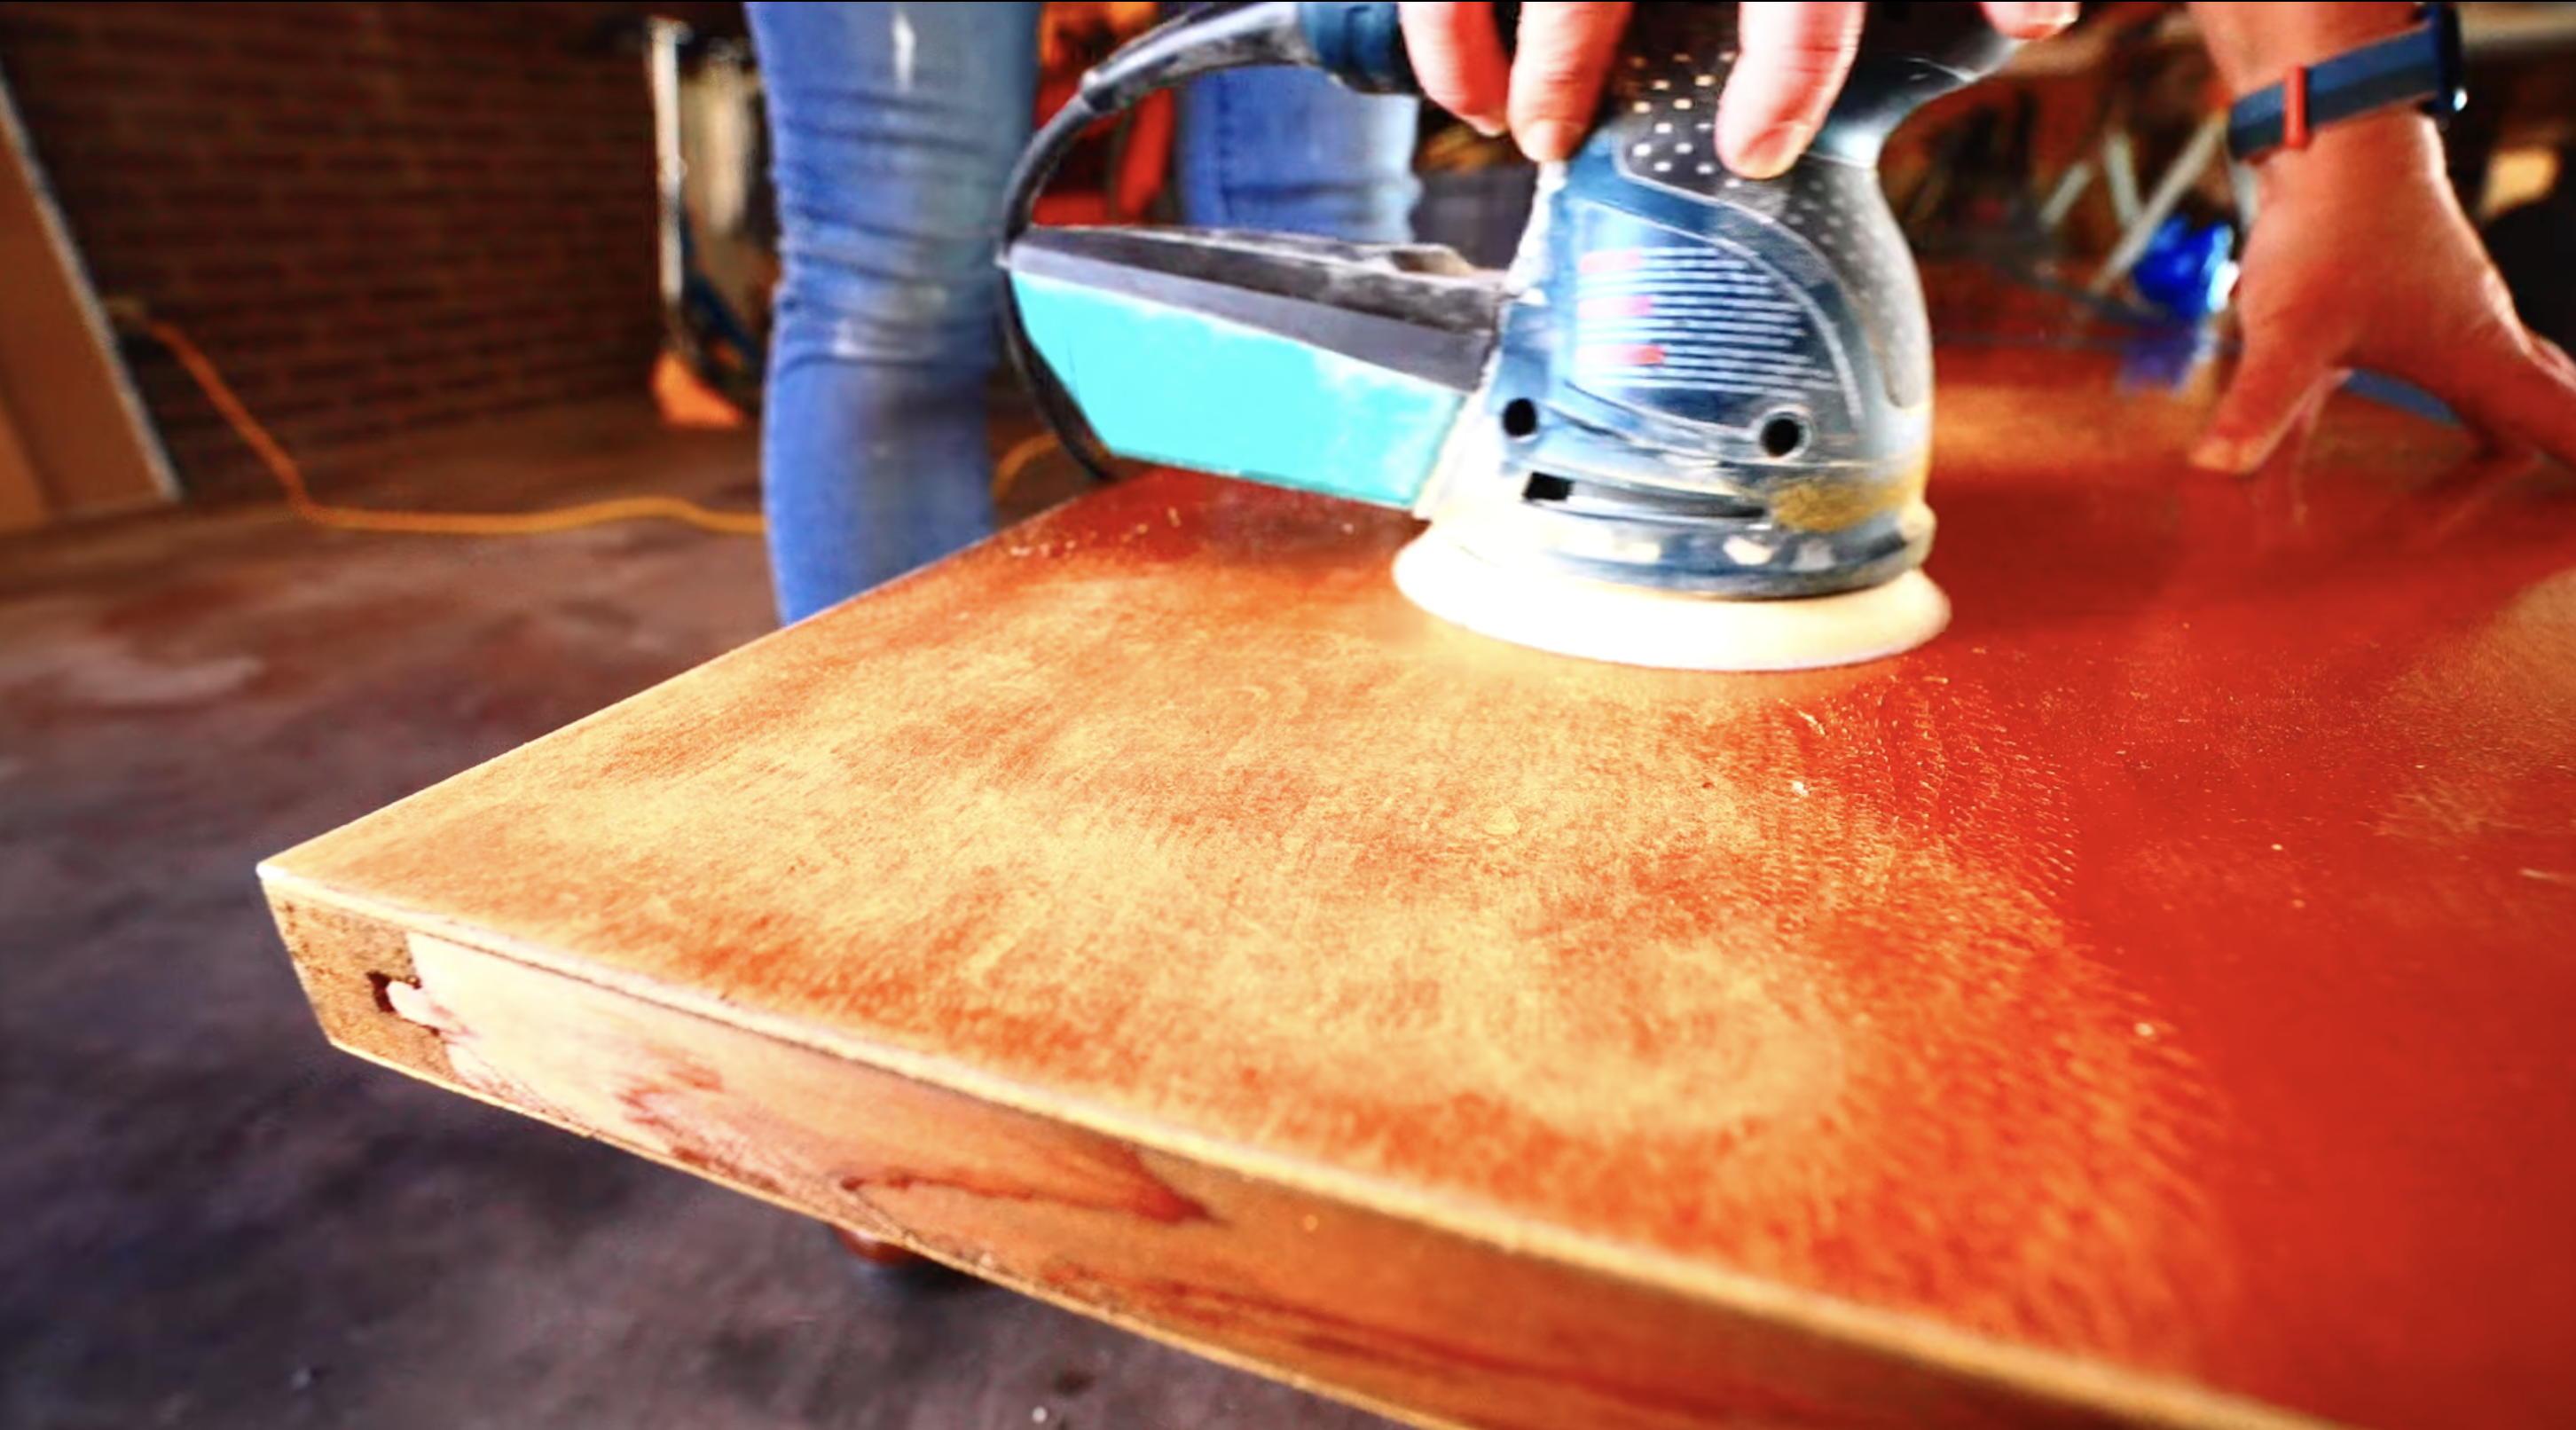
Use medium-grit sandpaper to sand down the door finish, ensuring even pressure for a smooth surface. For tough areas where the finish is hard to remove, apply varnish remover in a well-ventilated area.
Let it sit for a few minutes, then use a scraper to gently lift the old finish off. This will prepare the door for new trim and paint.
Step 2: Patch Holes
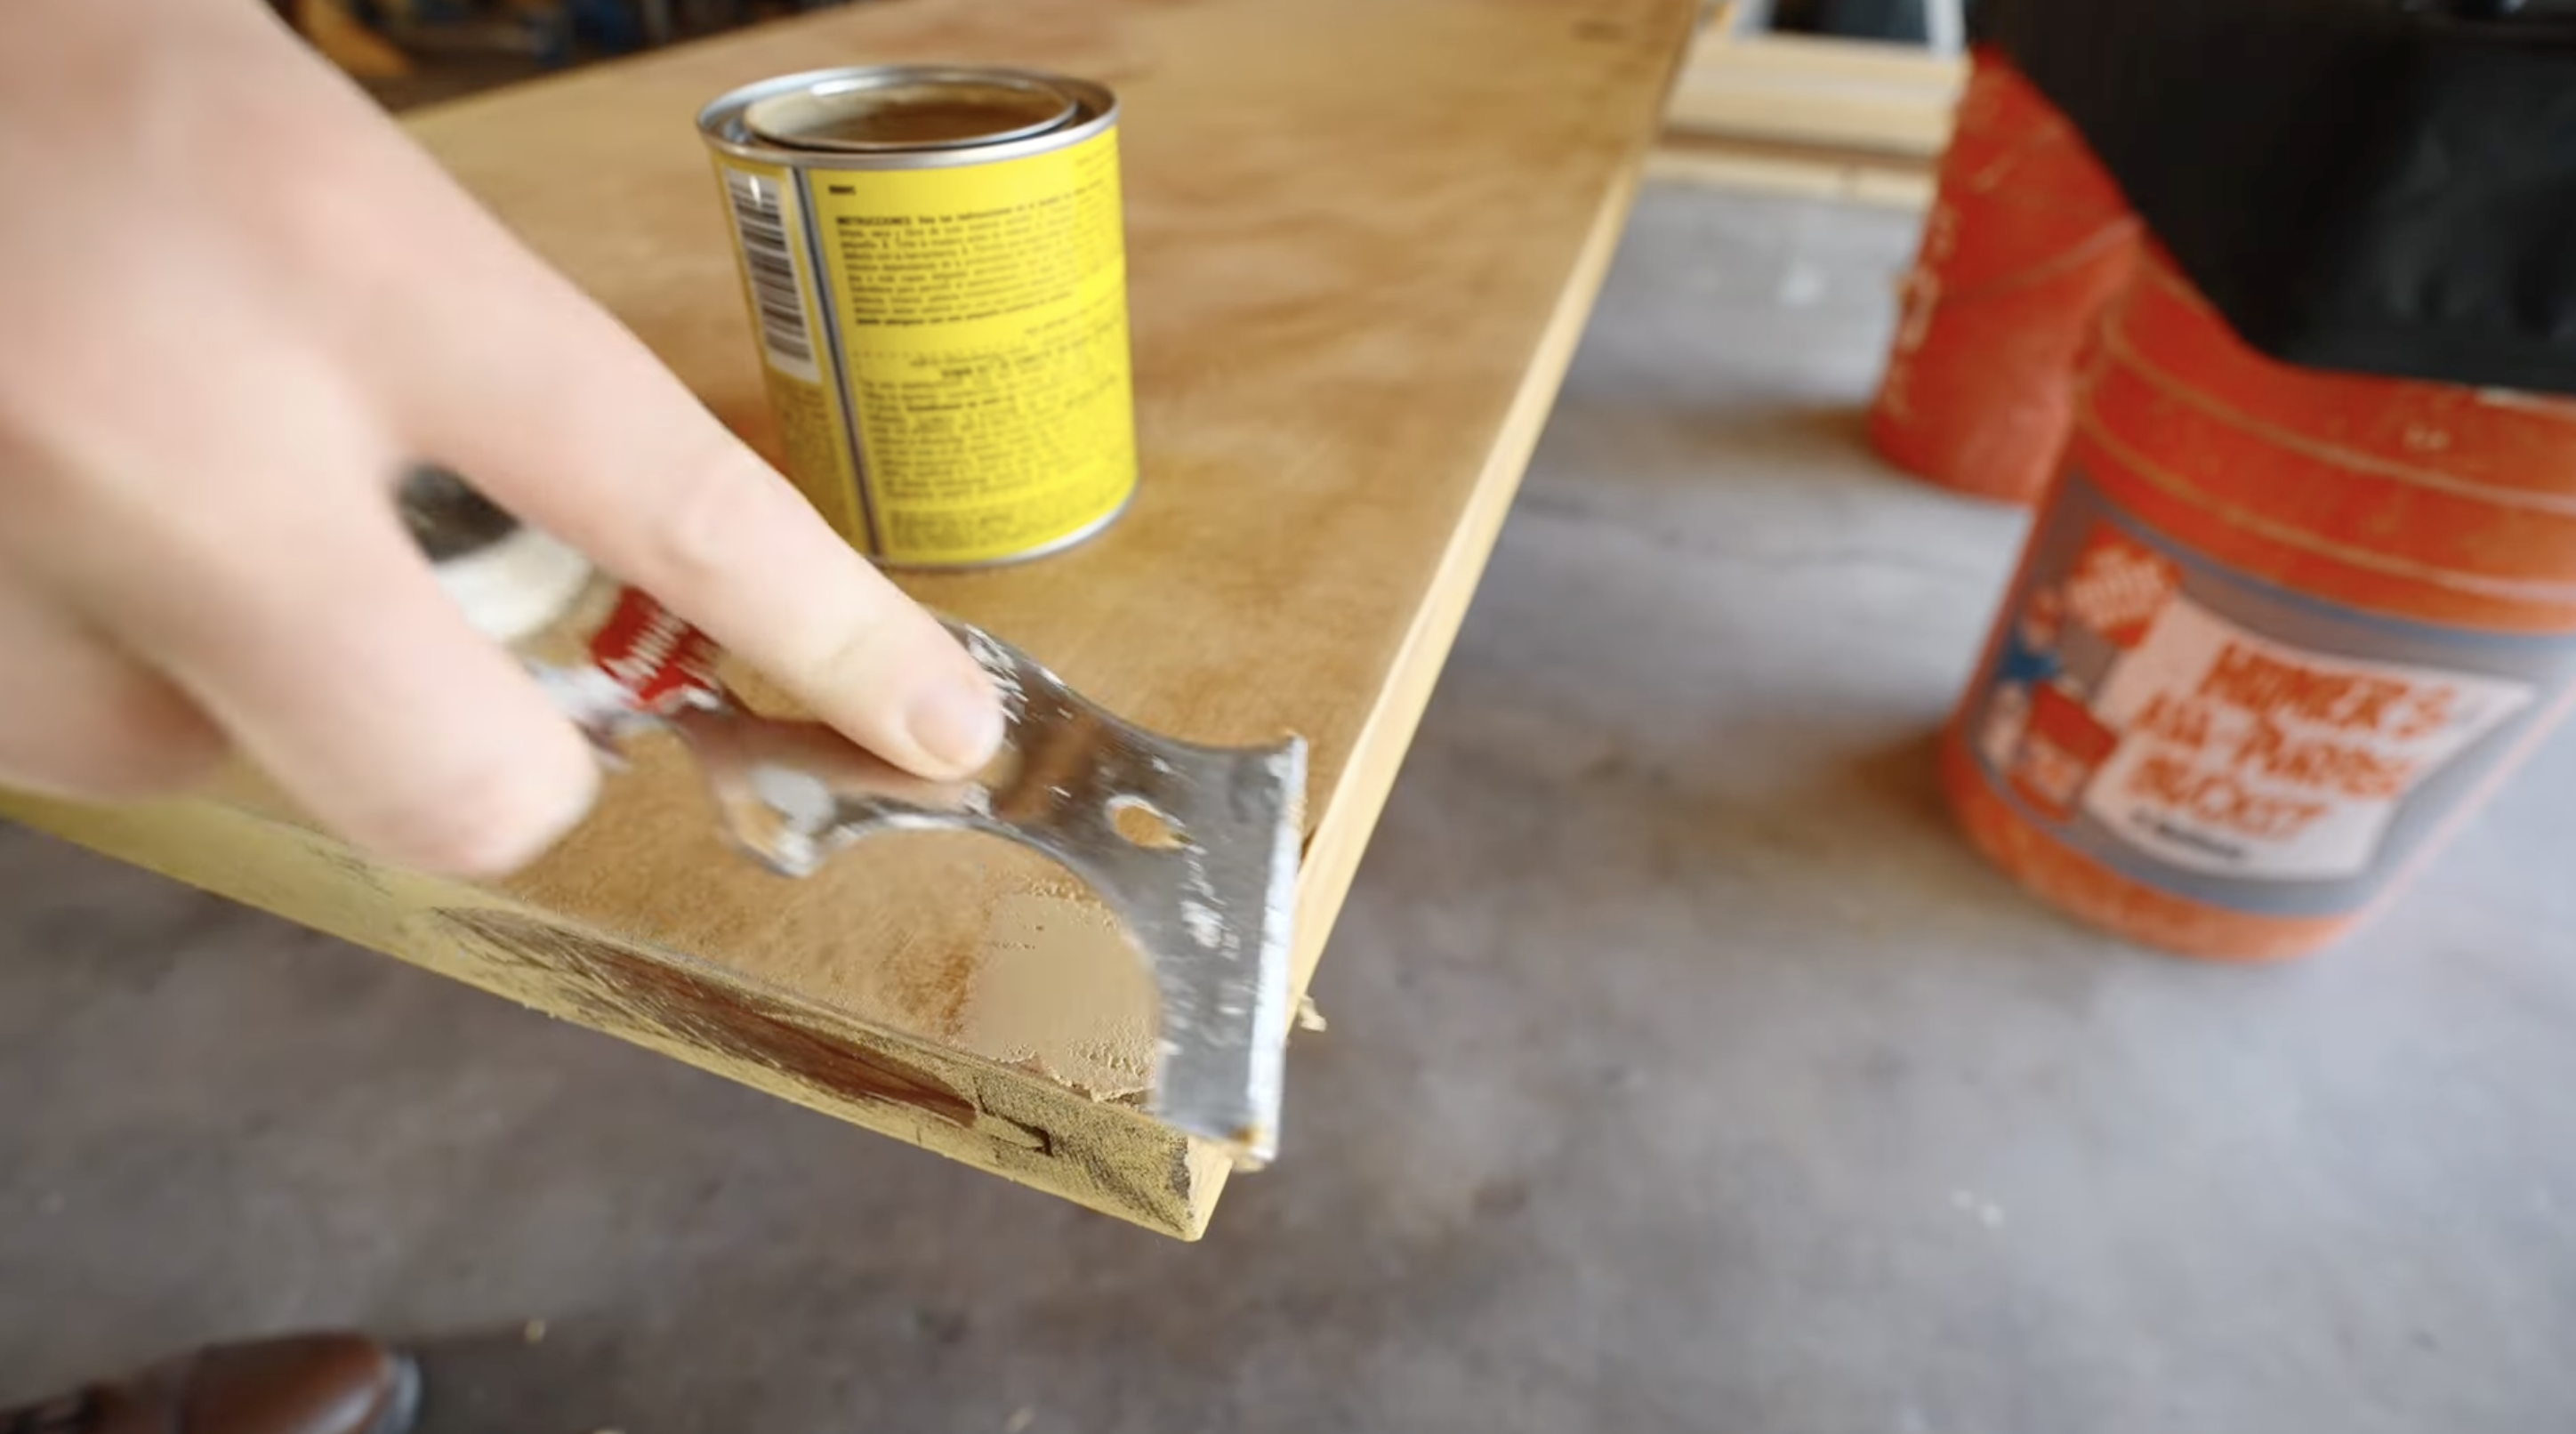
Fill any holes or imperfections with wood filler, applying it with a putty knife. Smooth it out as much as possible to match the door’s surface.
Allow the filler to dry completely, then sand it down with fine-grit sandpaper until it’s smooth and even. This ensures a flawless surface for the next steps in your door makeover.
Step 3: Measure and Cut the Trim
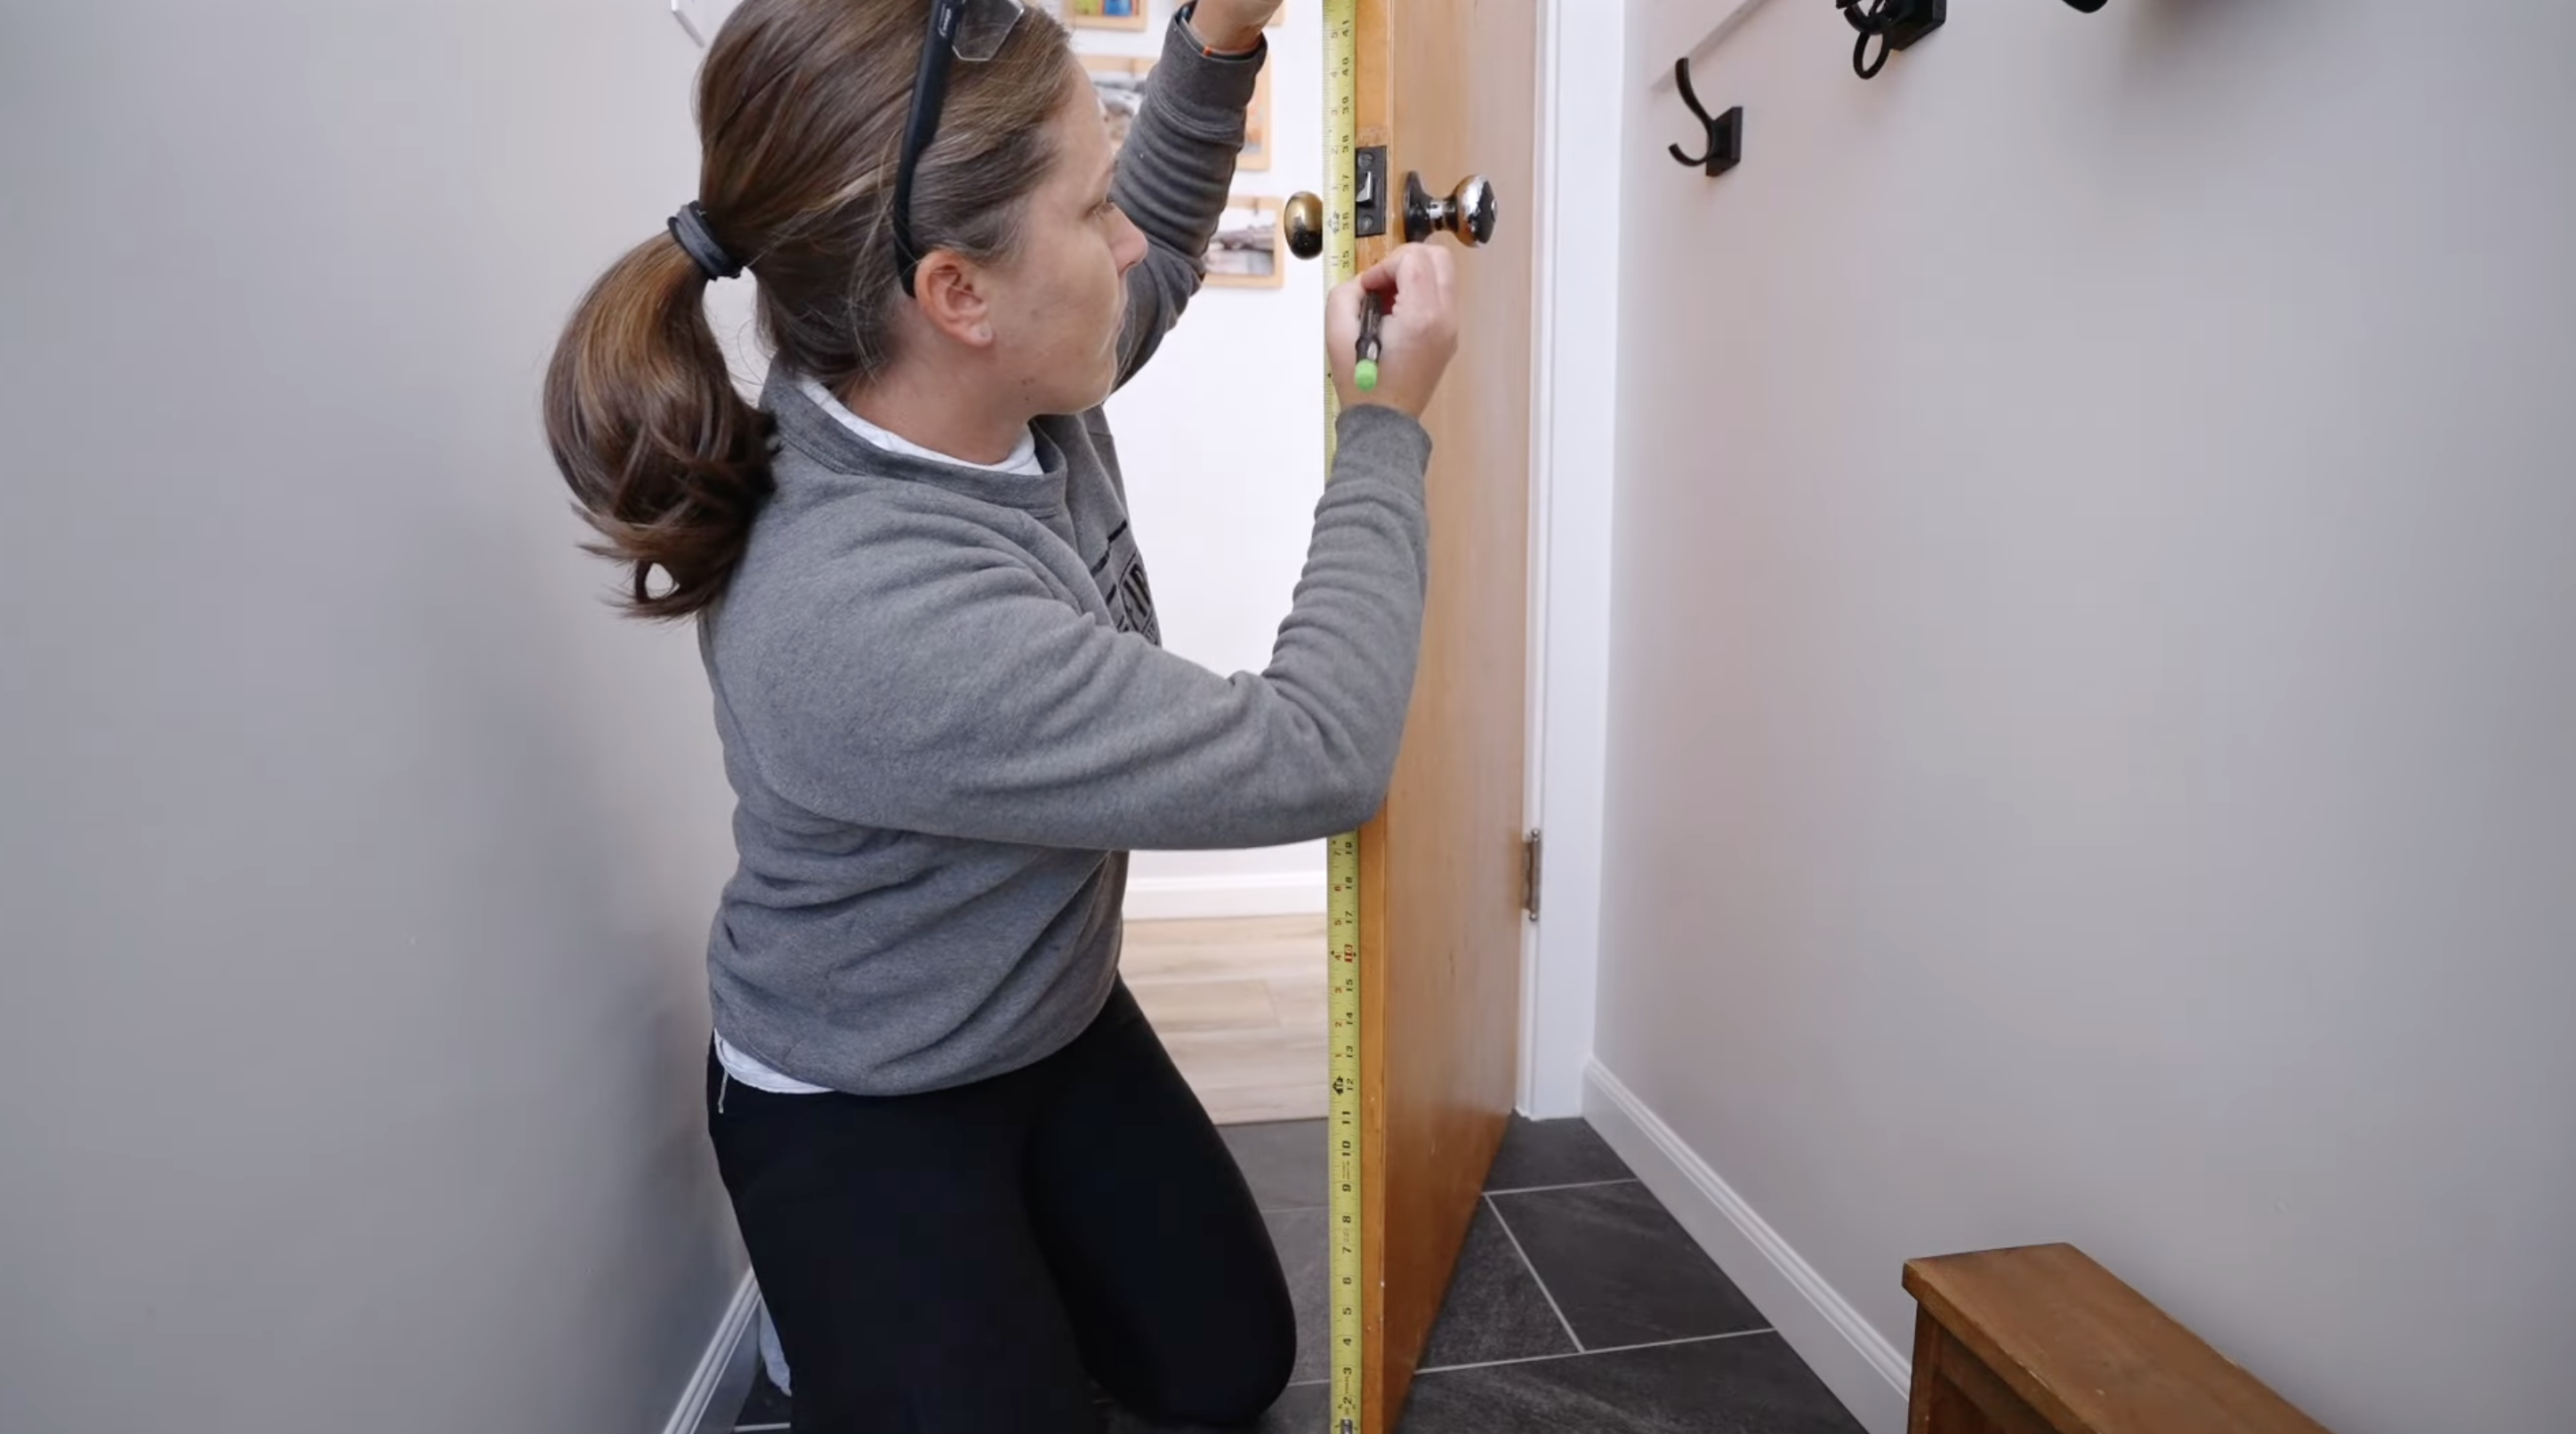
Measure the width of the door and subtract 5 inches from each side for the edge trim. For the horizontal trim, subtract 5 inches from both the top and bottom.
After that, measure the remaining gap to ensure the trim pieces are cut to the correct size for a perfect fit.
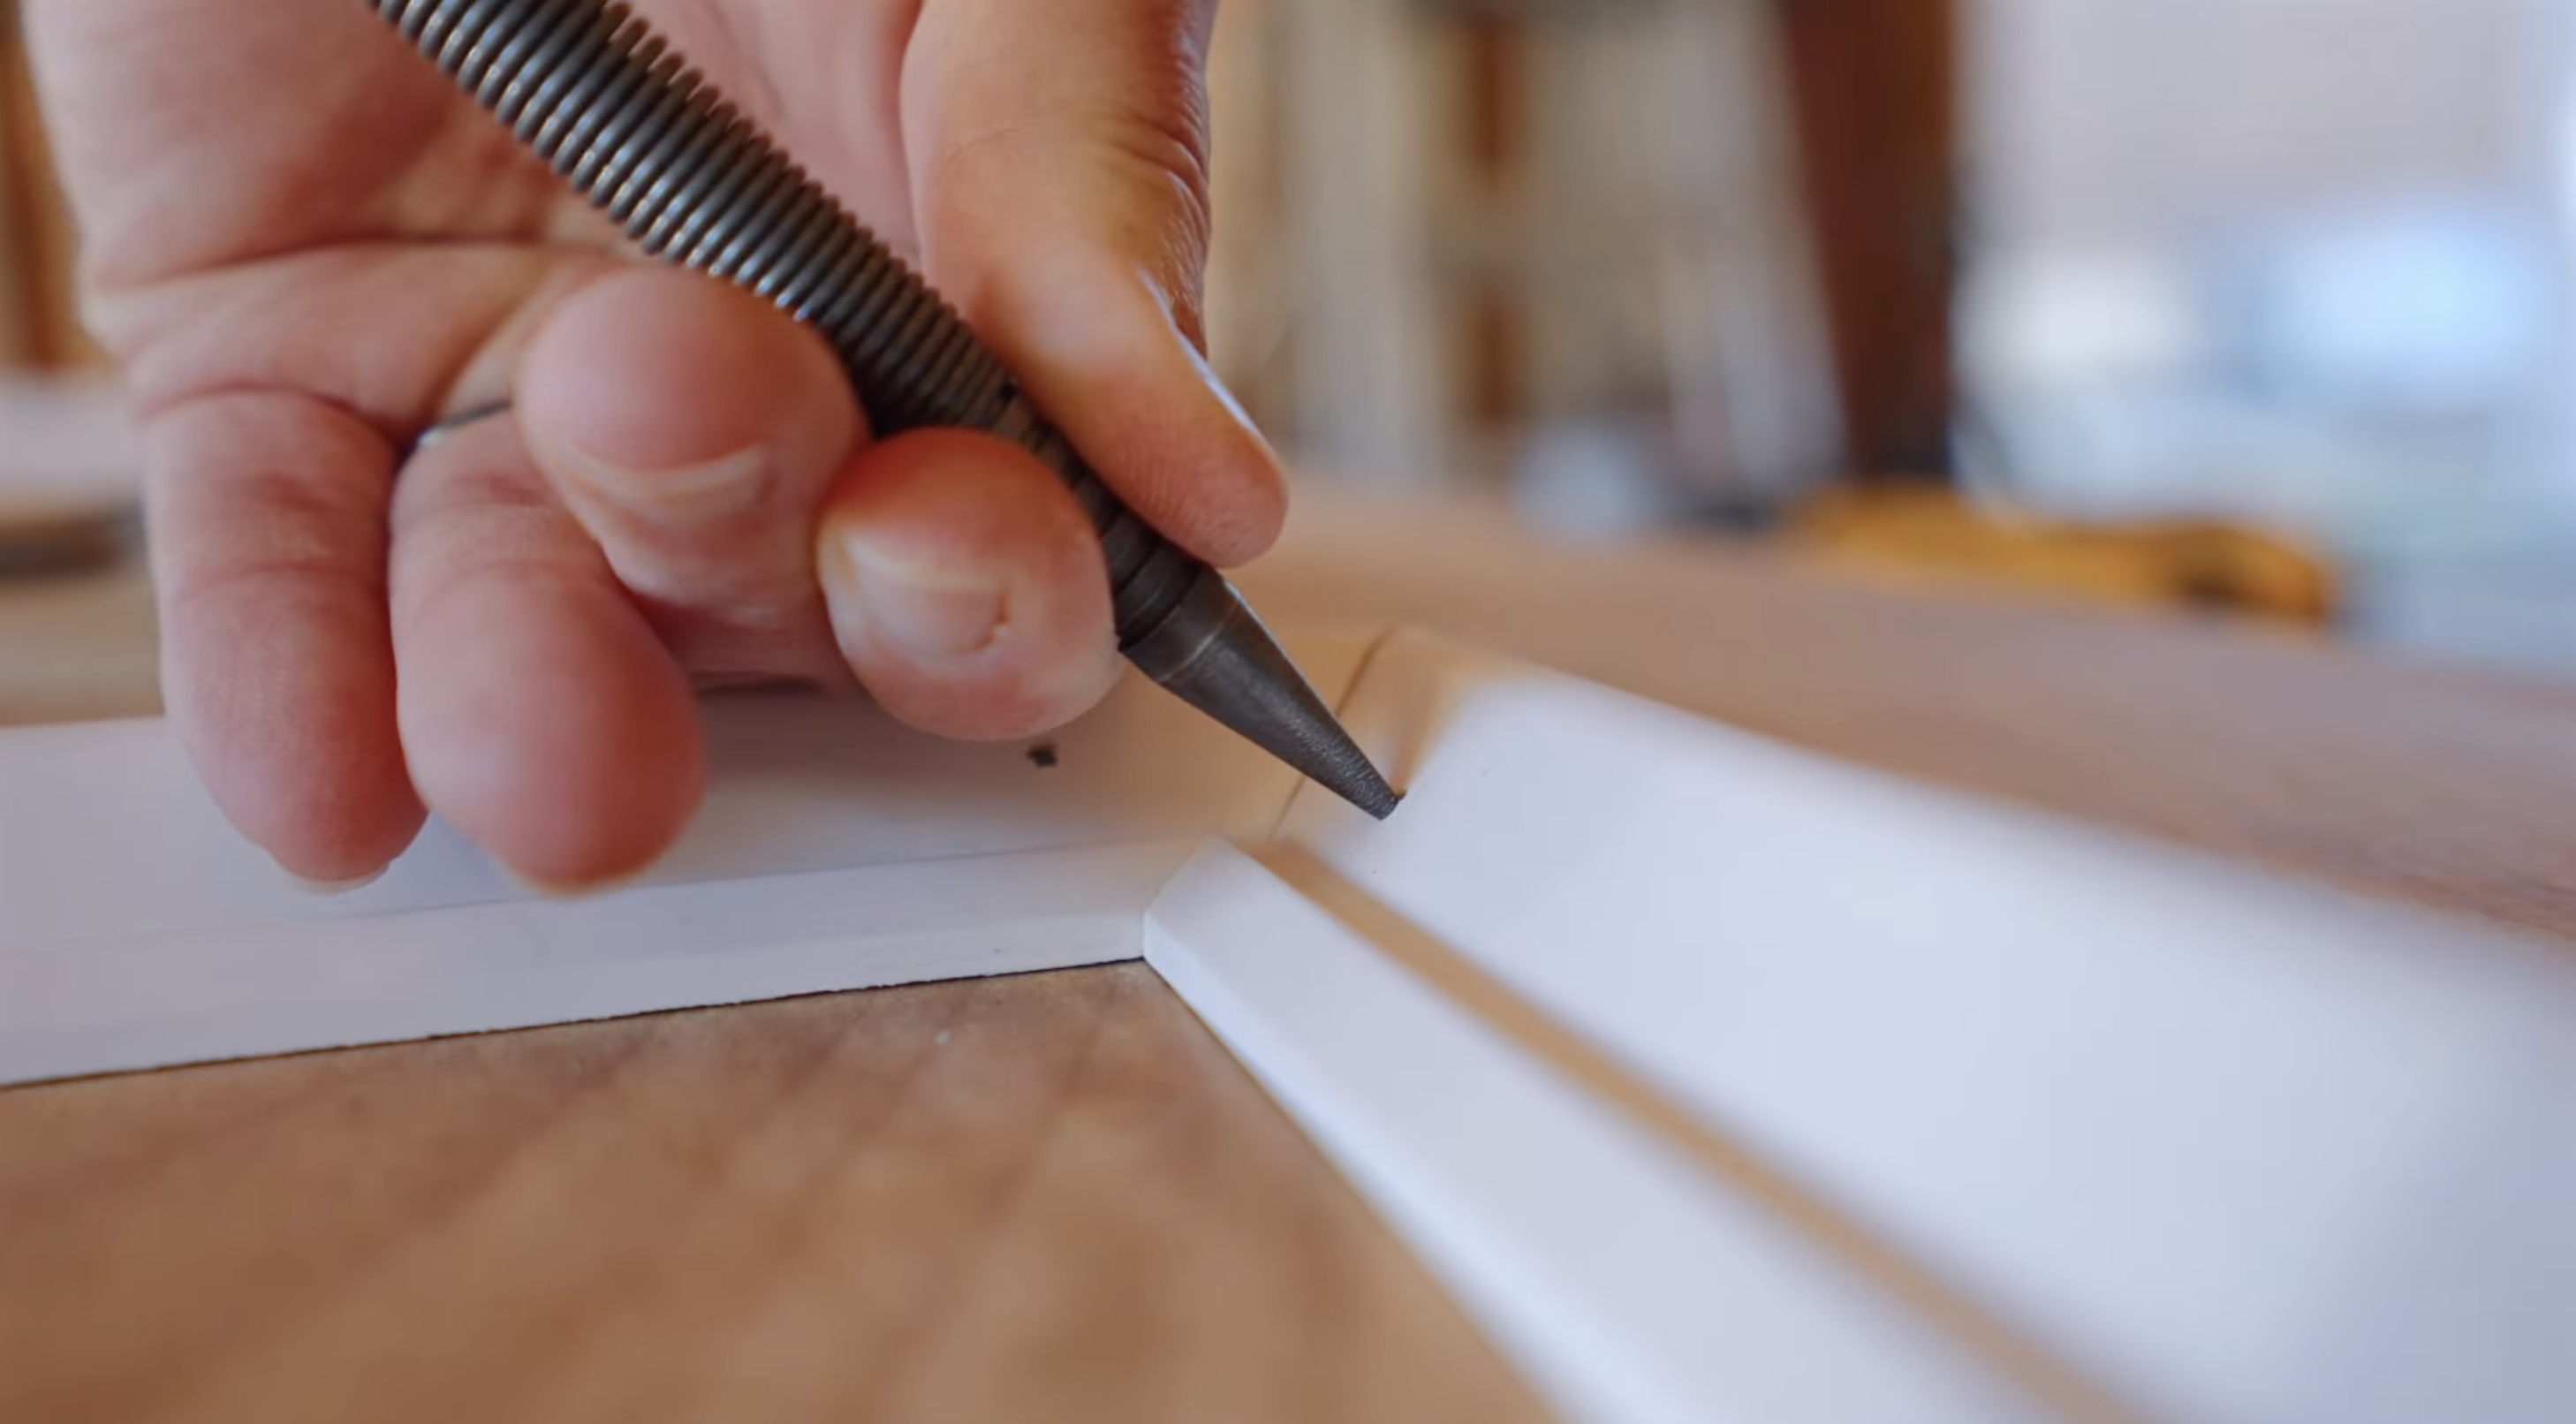
Step 4: Cut the Trim Pieces
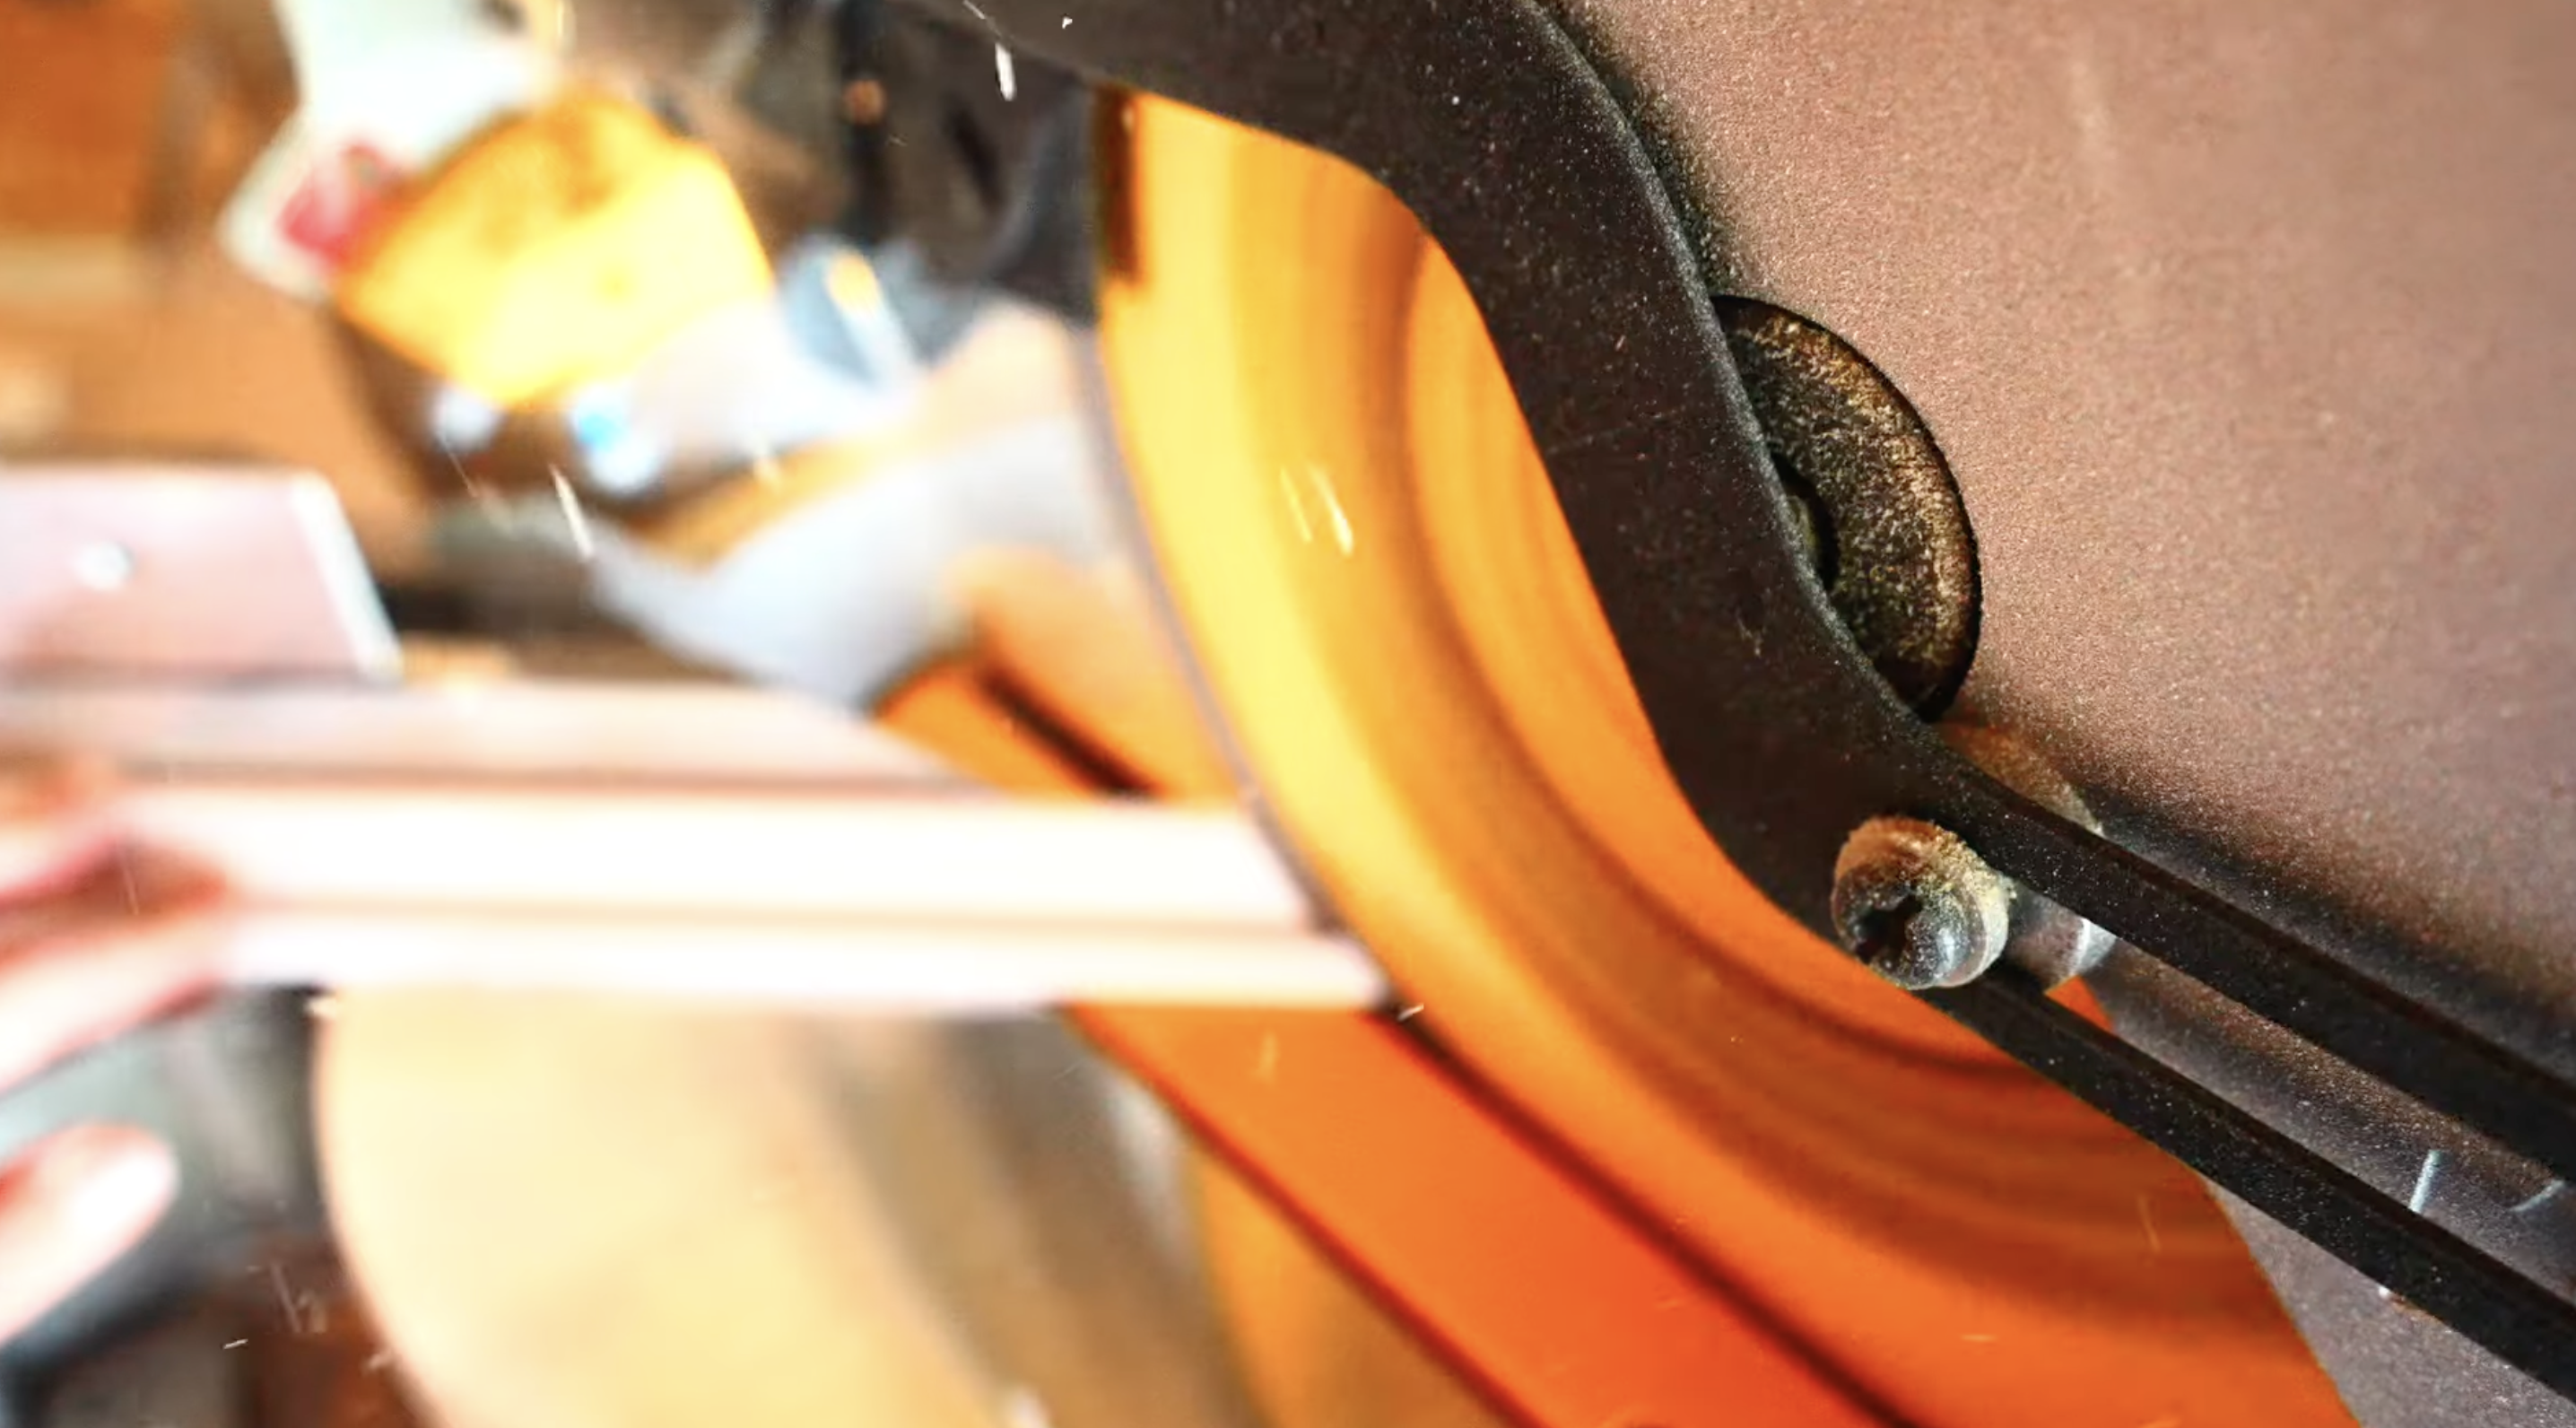
Cut the trim pieces at 45° angles at the corners using a miter saw for a clean, professional finish.
Make sure to double-check your measurements before cutting, and if any pieces are off, re-cut them to ensure a perfect fit.
Step 5: Attach the Trim
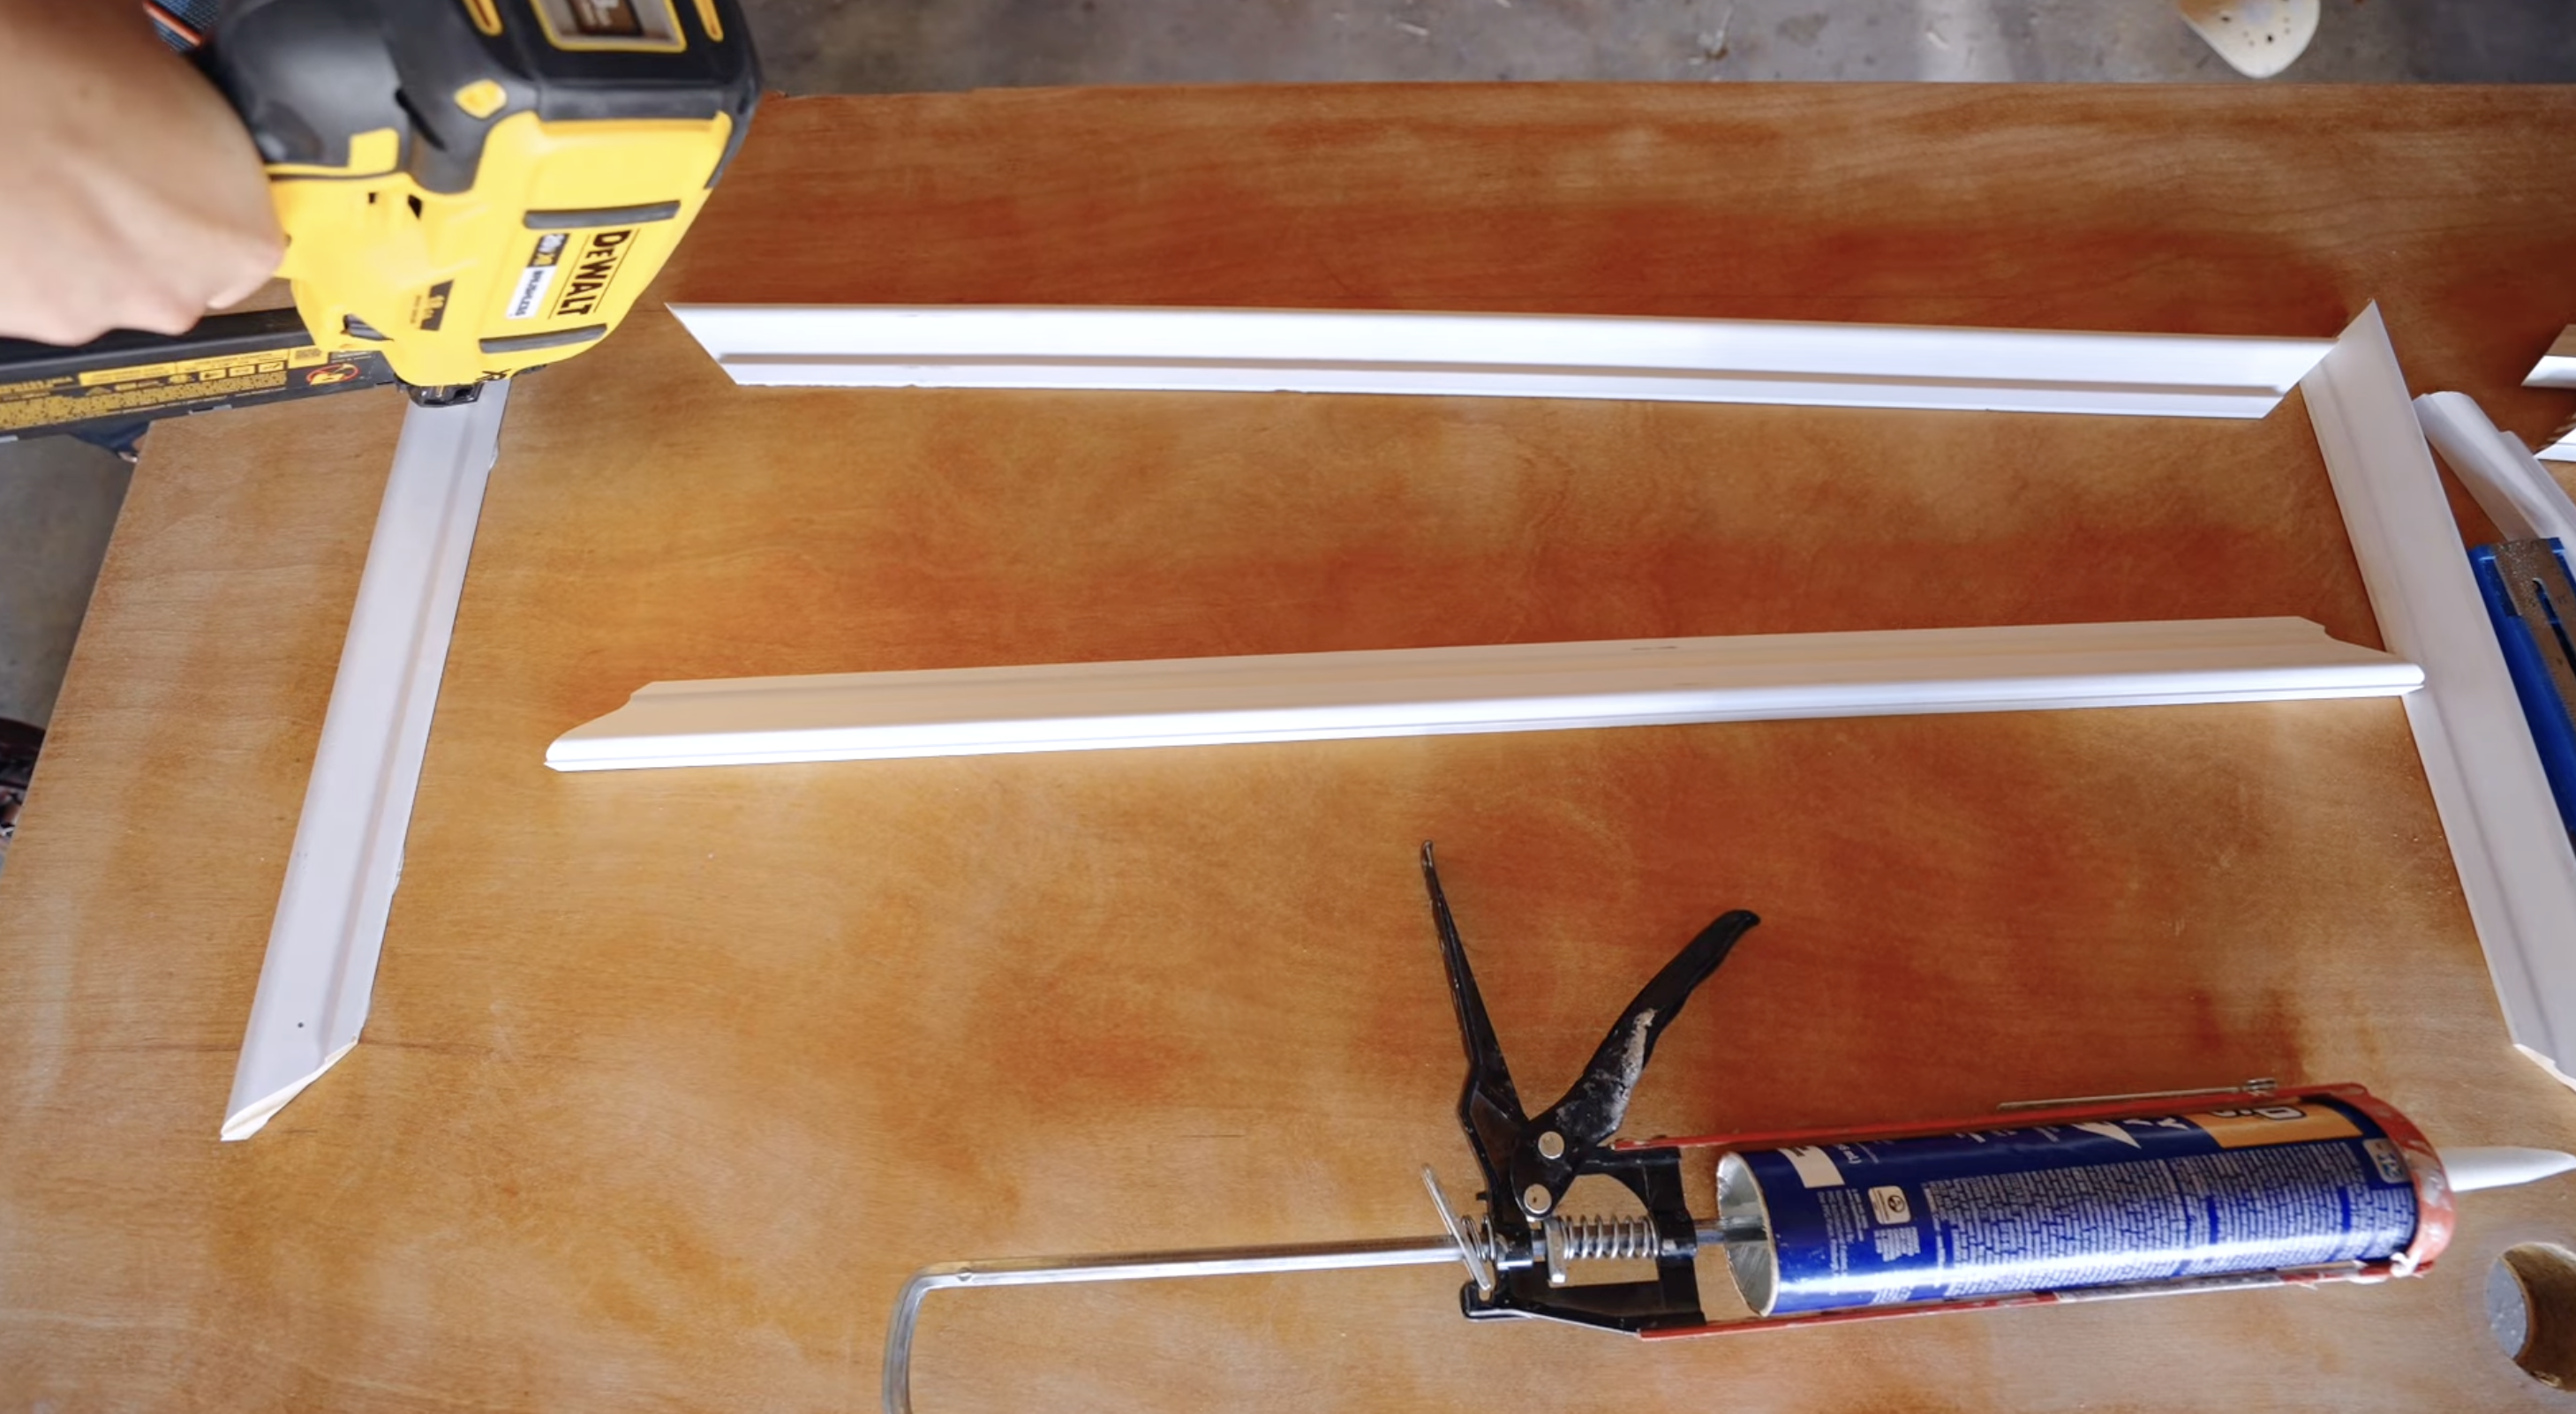
Apply Liquid Nails to the back of each trim piece and press them firmly into place on the door.
Use finish nails to secure the trim, ensuring the nails are placed discreetly along the edges for a clean, seamless look.
Step 6: Fill Nail Holes and Caulk
Fill any nail holes with spackling paste and smooth it out using a putty knife. Once dry, sand it down for a smooth surface.
Apply caulk to seal any gaps or seams between the trim and the door, giving it a polished, seamless finish.
Step 7: Paint the Door
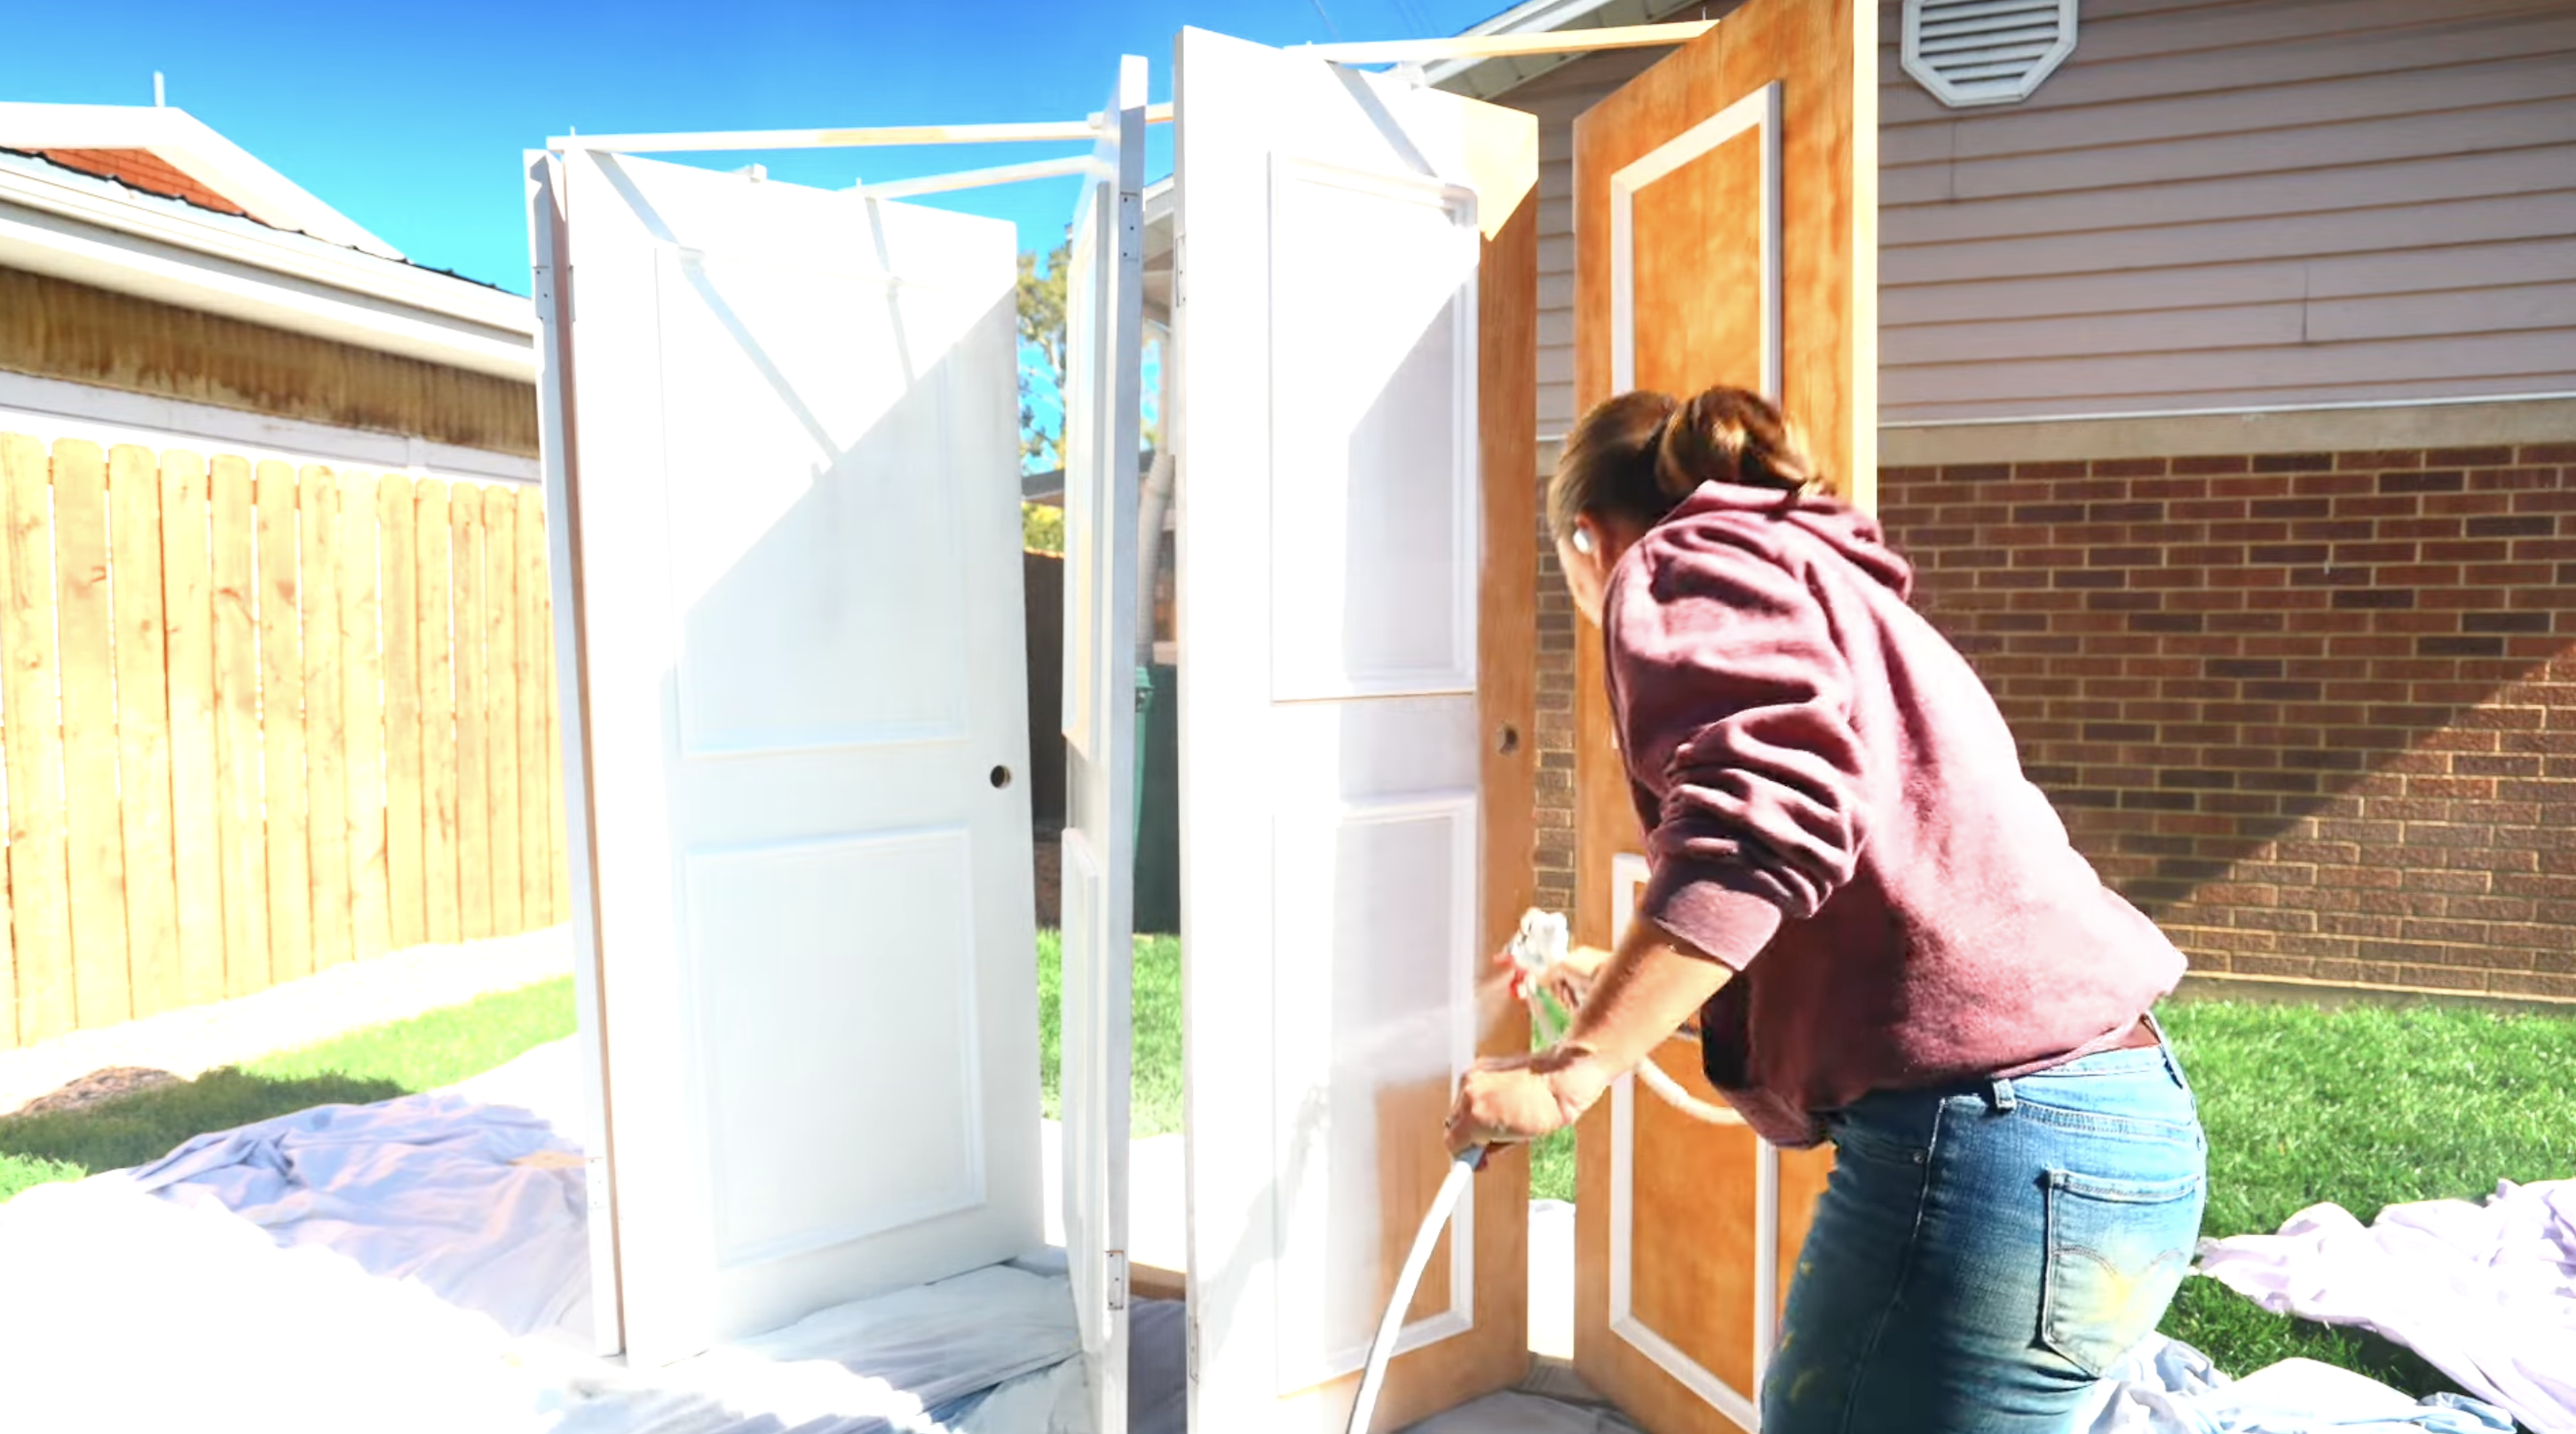
Prime the door and trim to ensure good paint adhesion. Once the primer is dry, apply a few coats of your desired paint, allowing each coat to dry completely before applying the next.
Once the final coat is dry, reinstall the door hardware for a finished, refreshed look image of ideas?
Simple and Affordable Door Makeover Ideas
Convert your doors with these simple and budget-friendly makeover ideas. Upgrade the look of your home without breaking the bank by using easy techniques like painting, adding trim, or updating hardware.
1. Paint Your Door
A fresh coat of paint is a simple and affordable way to update any door. You can choose a bold color for a statement or a neutral shade for a classic look.
Make sure to clean, sand, and prime the door first to help the paint stick better and last longer. This is a quick DIY project that works for both interior and exterior doors.
2. Add Decorative Molding or Trim
Adding molding or trim to a plain door can make it look custom and stylish. You can use inexpensive wood or MDF strips to create patterns or panels.
Once attached, paint over the molding for a smooth, high-end finish. This method is great for turning basic doors into more elegant, expensive-looking ones without much cost.
3. Apply Peel-and-Stick Wallpaper or Contact Paper
Peel-and-stick wallpaper or contact paper is a fast way to add color, pattern, or texture to your door. It’s perfect for renters or those who want to change up their look without permanent changes easily.
Simply measure, cut, and stick the paper to your door. It’s easy to remove or replace whenever you want a new look.
4. Install Beadboard or Paneling
Beadboard or thin paneling adds texture and a classic look to doors, especially in spaces like closets, bathrooms, or pantries. It’s easy to install by attaching the panels with adhesive and nails.
You can paint or stain the panels to match your room’s decor. This update gives your door a charming, rustic appearance.
5. Create a Chalkboard or Writable Door
Turn your door into a chalkboard or whiteboard for an interactive surface. Perfect for kitchens, offices, or kids’ rooms, you can use it for writing notes, menus, or drawings.
Apply chalkboard or whiteboard paint over the door, and let it cure. This gives your space a fun and functional update, especially for families.
6. Add Corkboard or Magnetic Panels
Corkboard or magnetic panels are great for creating an organization center on your door. You can pin up notes, photos, or reminders to stay organized.
It’s a practical solution for home offices, kitchens, or bedrooms where quick access to important information is needed.
7. Swap Out or Upgrade Door Hardware
Changing the doorknobs, handles, or hinges on your door is a quick and easy way to give it a fresh, modern look.
There are many styles and finishes to choose from, so you can customize the look to fit your space. This simple update can make a big difference in how your door looks and functions.
Common Problems and How to Fix Them
1. The paint doesn’t go on smoothly, leaving streaks or patches.
Fix: Make sure the door is clean and primed. Use a high-quality brush or paint sprayer and apply thin, even coats of paint. Allow each coat to dry before applying the next one.
2. The trim pieces are too long or short, or they don’t align correctly.
Fix: Double-check your measurements before cutting. Use a miter saw for precise angle cuts, and re-cut any pieces that don’t fit properly.
3. Nail holes or visible gaps between the trim and the door after installation.
Fix: Fill nail holes with spackling paste, smooth it out, and sand once dry. Use caulk to fill gaps between the trim and door for a seamless finish.
4. The door feels sticky after sanding or removing varnish.
Fix: Clean the door with a tack cloth to remove dust. If using varnish remover, follow the instructions carefully and let the surface dry completely before proceeding.
5. Caulk or wood filler dries uneven or lumpy.
Fix: Apply filler or caulk in thin layers. Smooth it immediately with a damp cloth before it dries. Sand the wood filler after it has dried for a smooth finish.
Additional Tips to Upgrade the Look of Your Hollow Core Doors
- Add Decorative Hardware: Upgrade the doorknobs, handles, and hinges with stylish, modern hardware to add personality and charm.
- Use Two-Tone Colors: Paint the door with a two-tone look by combining contrasting colors on the trim and the door itself for a bold statement.
- Install a Faux Glass Panel: If your door has a solid surface, consider adding a faux glass panel using frosted film or decorative inserts for a more elegant appearance.
- Textured Finishes: Try using textured paint or wallpaper on the door’s surface for a unique, luxurious feel without the high cost.
- Decorative Panels: Add wood panels or raised molding to give the door a more custom, high-end look. Simple square or rectangular patterns can elevate the door’s design.
- Stain for a Natural Look: Instead of painting, consider staining the door to showcase the wood’s natural grain for a sophisticated, timeless look.
- Update the Door’s Profile: Change the door’s shape slightly by trimming the edges or adding a new bevel for a more modern or traditional style.
The Bottom Line
Plain hollow core doors can become stunning focal points with just a few simple changes. These cheap hollow core door makeover projects prove that home improvement doesn’t require expensive materials or professional skills.
By applying a fresh coat of paint, adding decorative trim, or using contact paper, you convert not just a door but the entire feel of your room.
Remember, the best makeovers start with proper preparation and measurements. Take time to plan your project, gather supplies, and follow the steps carefully.
Which of these ideas will you try first? Start with something simple, like new hardware or paint, then work up to more creative options. Your home deserves these small but meaningful improvements that reflect your personal style.