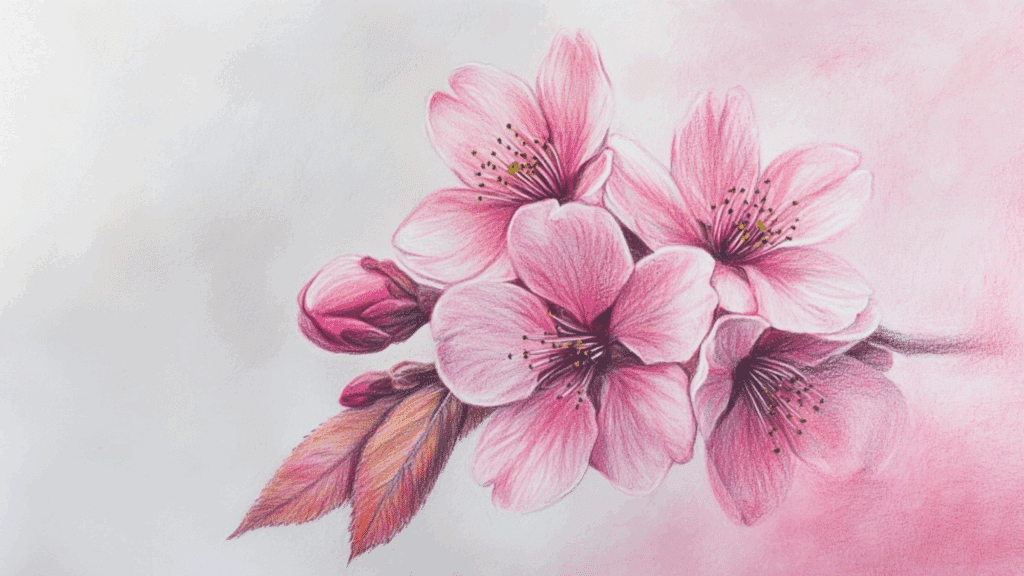
Think drawing cherry blossoms is just basic flower sketching?
Most people assume cherry blossoms are simple; draw some pink petals and branches. Dead wrong.
These delicate flowers have hidden complexities that separate amateur doodles from breathtaking artwork.
Certain simple tricks can change basic cherry blossom attempts into stunning botanical art. The difference between beginner sketches and professional drawings often comes down to understanding these overlooked details.
Step-by-Step Tutorial of Cherry Blossom Drawing
This cherry blossom drawing easy tutorial breaks down each step clearly, helping you sketch delicate flowers with confidence.
With just a pencil and pen, you’ll learn how to create beautiful blossoms in minutes.
Step 1: Gather Your Tools
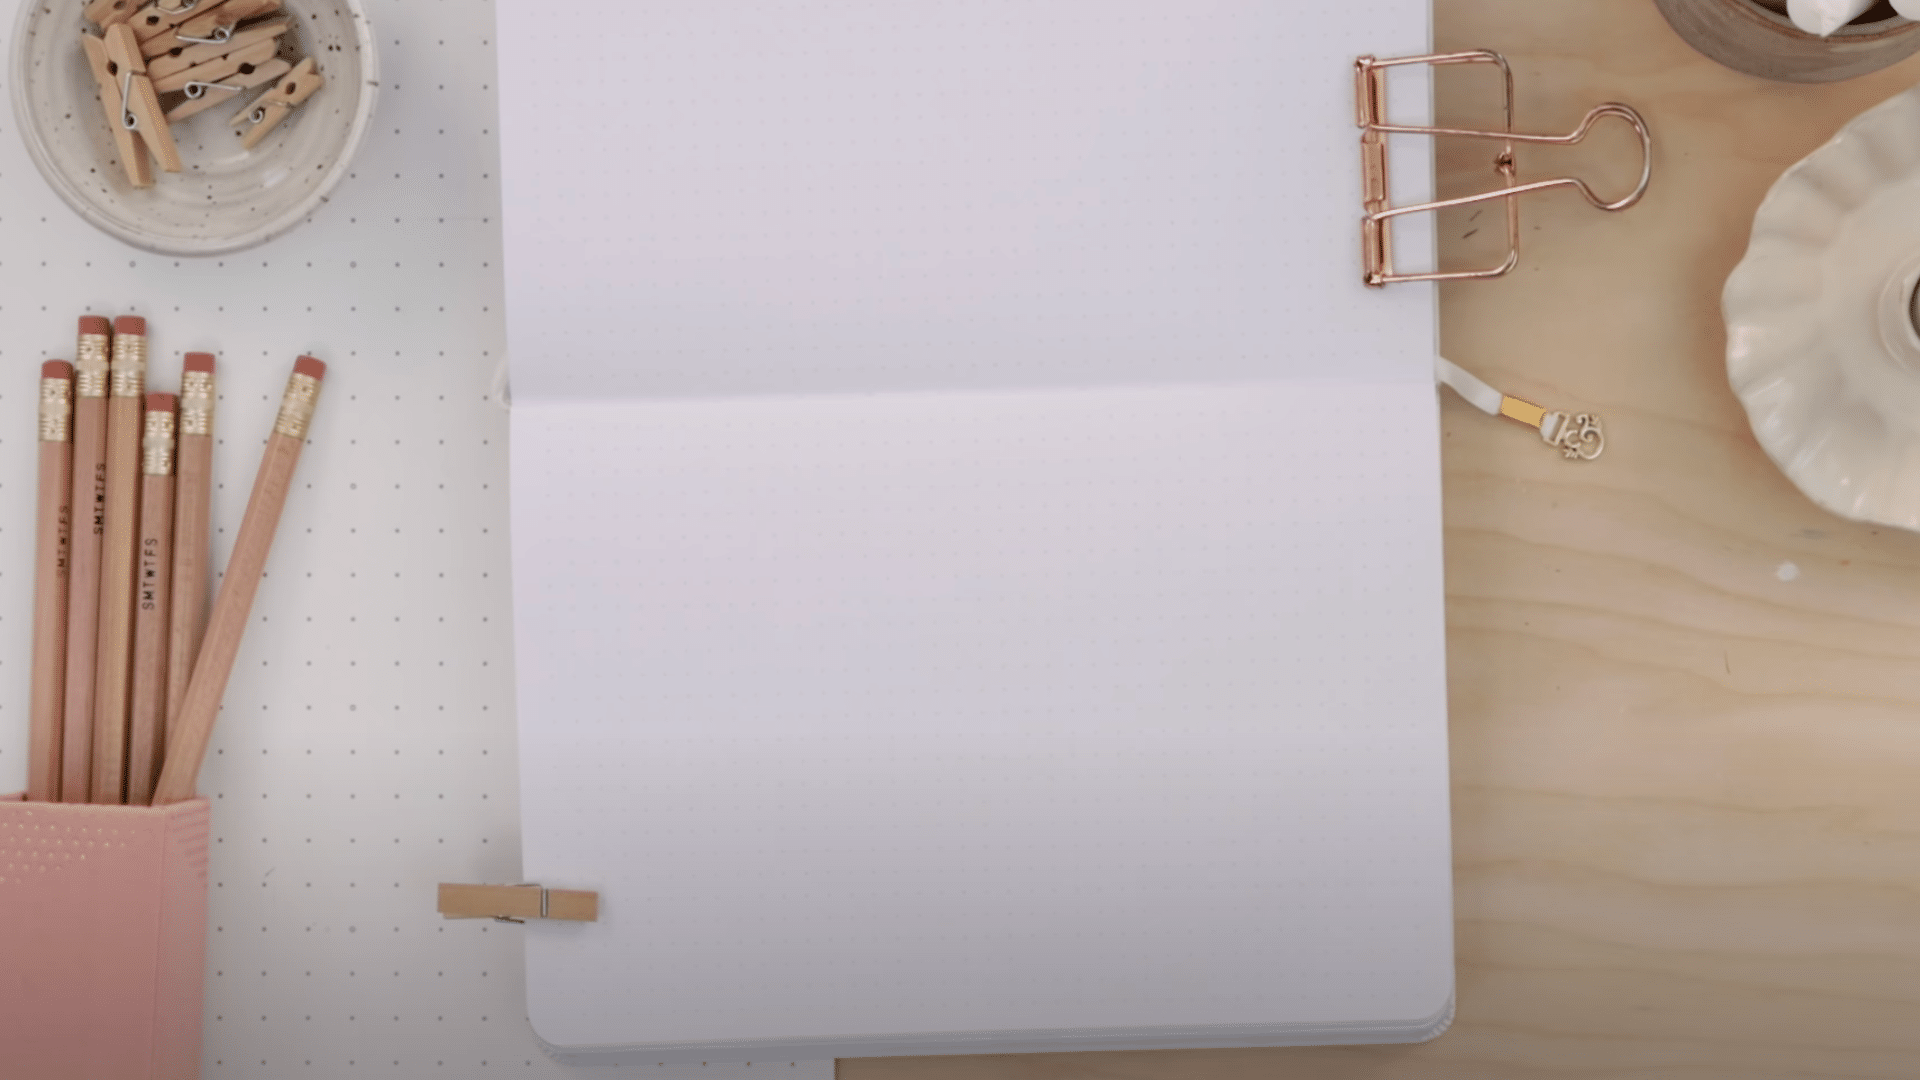
For this cherry blossom drawing easy project, you’ll need a pencil, eraser, a fine liner with both thick and thin nib sizes, and smooth paper or a sketchbook.
A bullet journal or any notebook with clean pages works well, too.
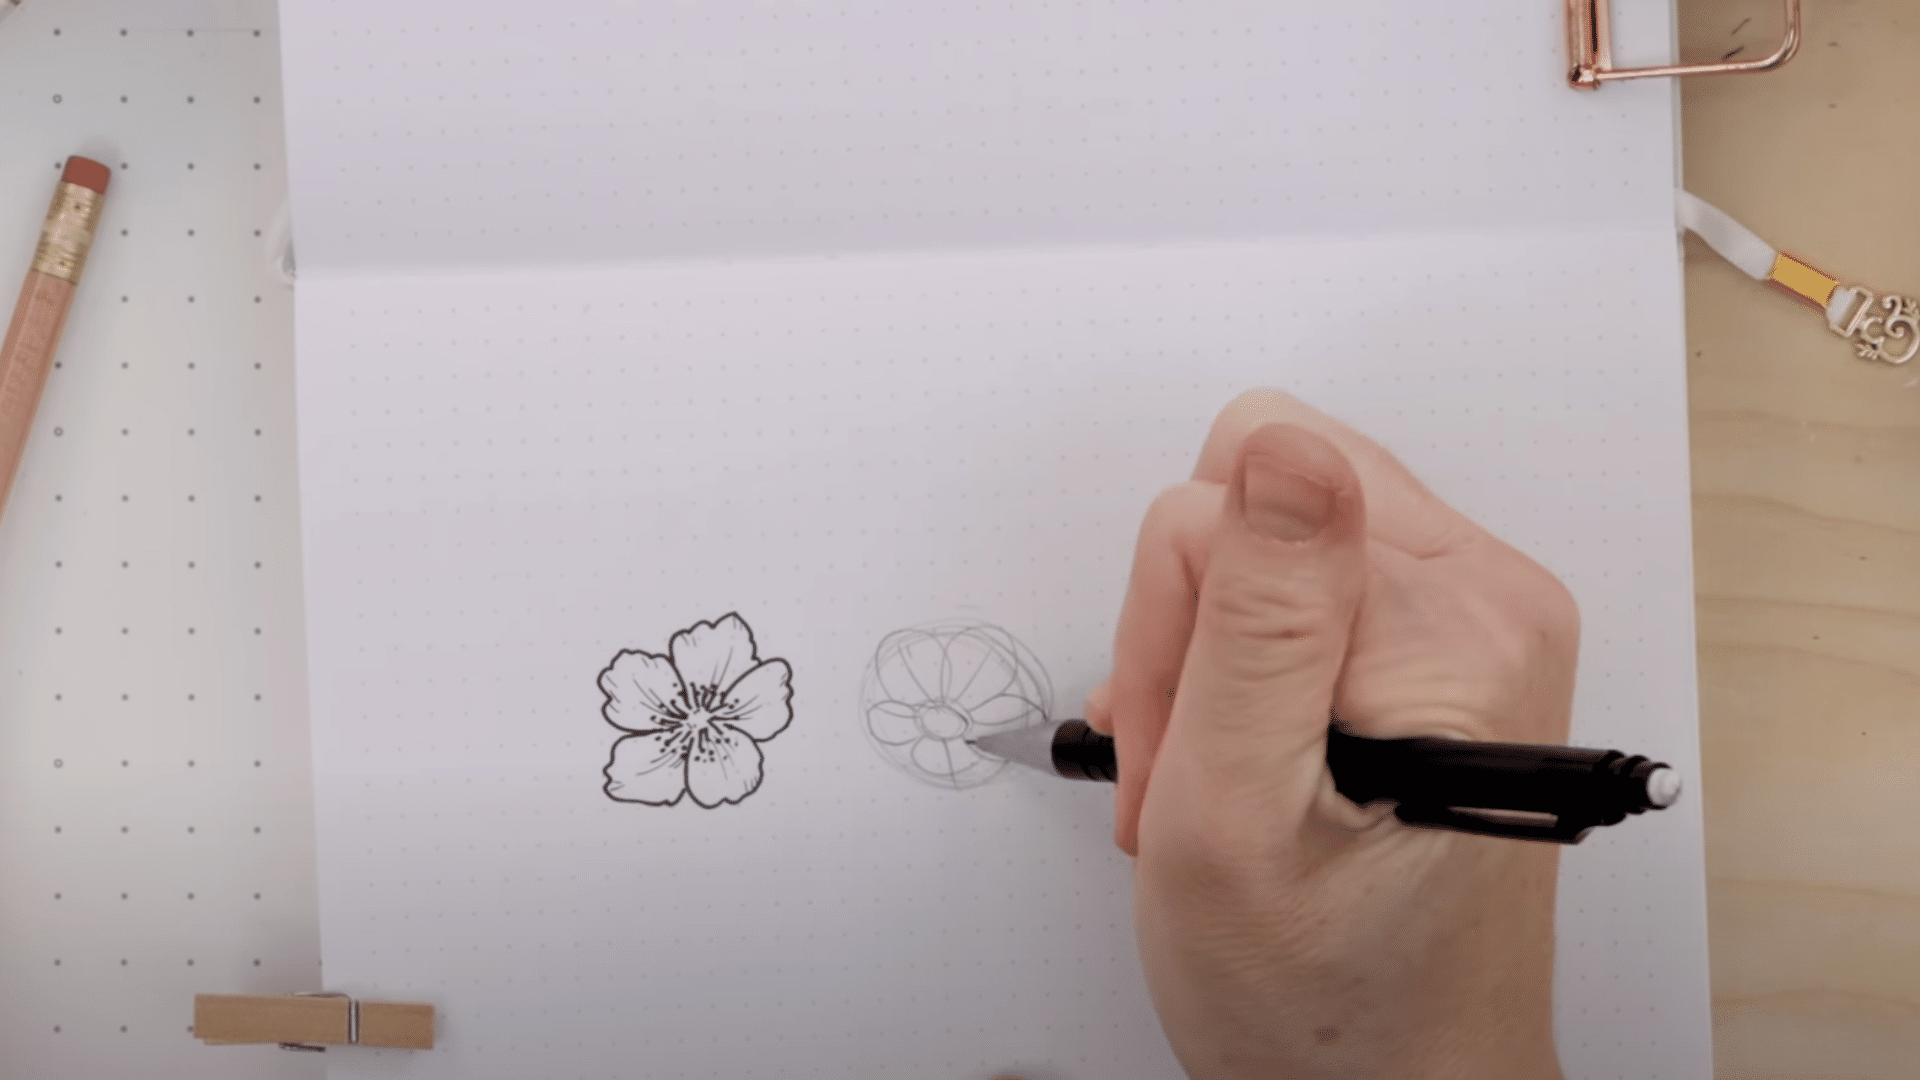
Step 2: Start with a Basic Guide
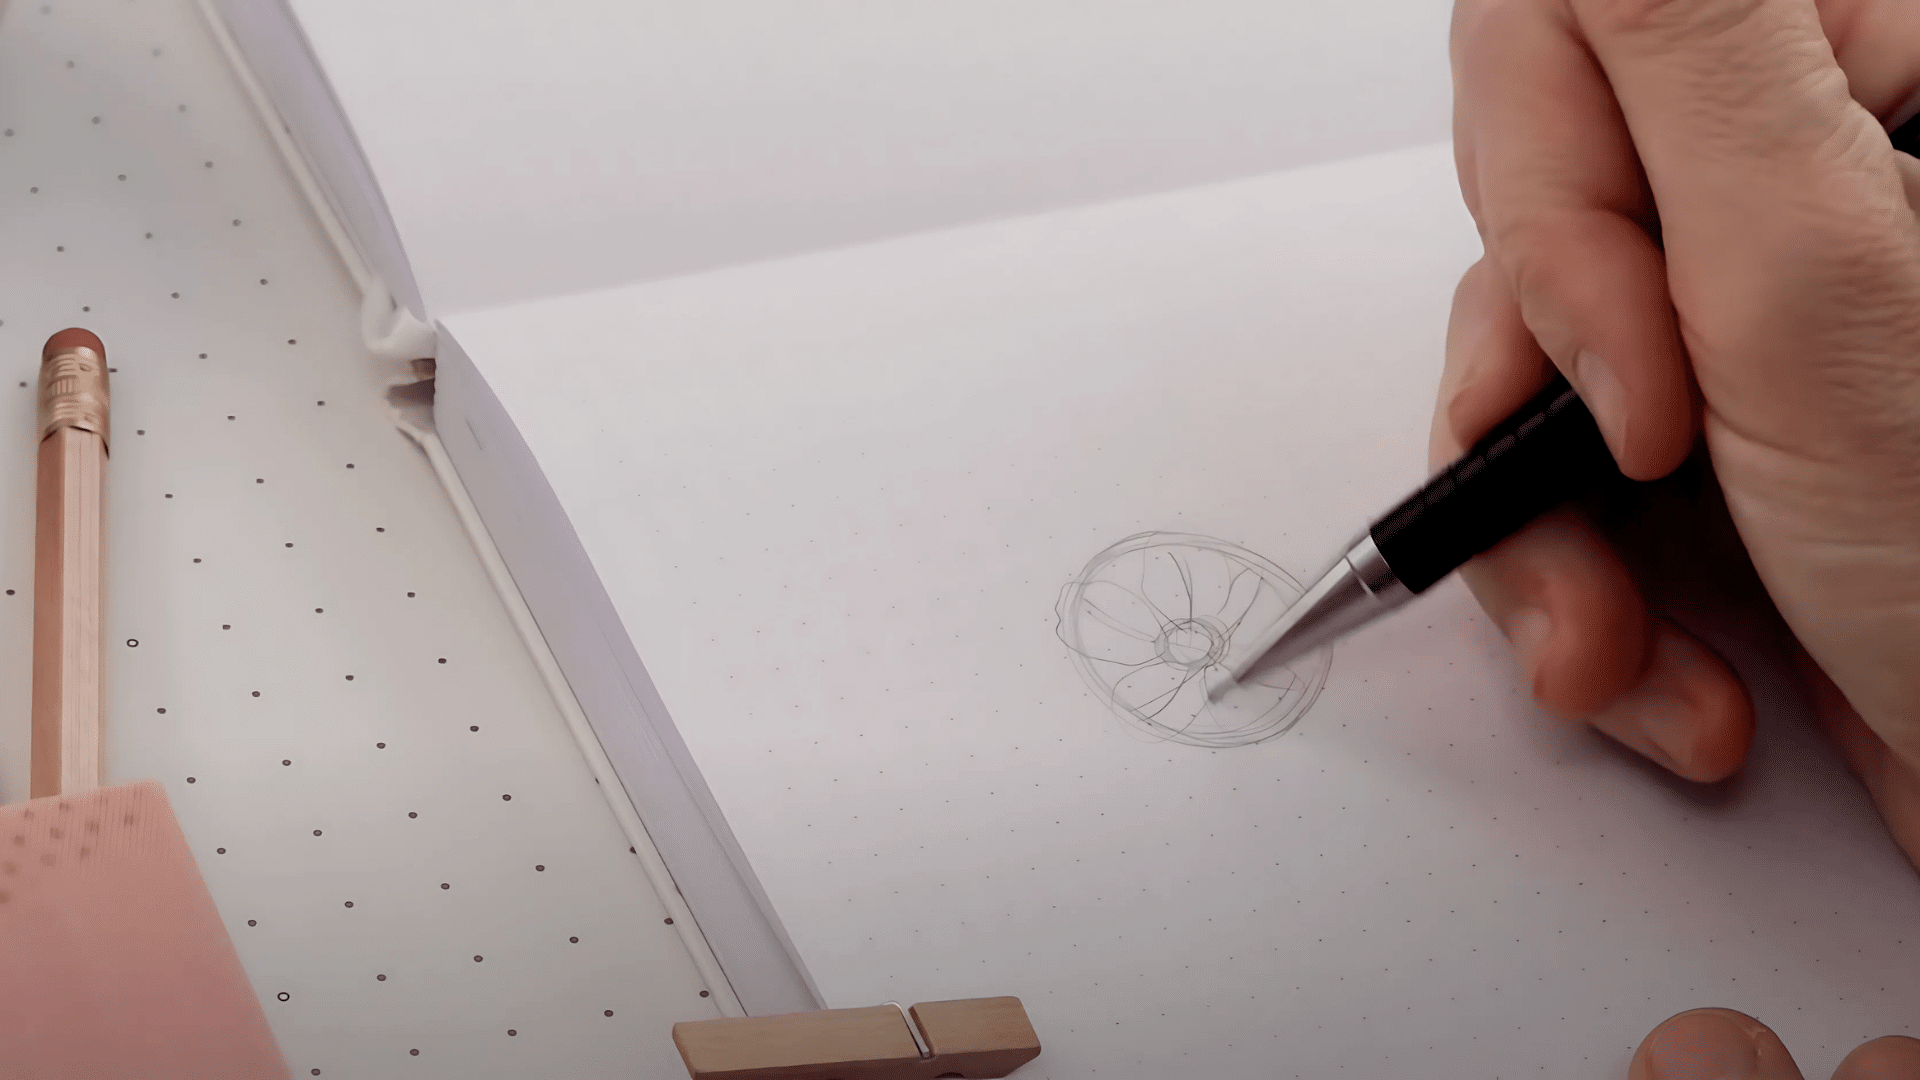
Begin by drawing a circle to set the size of your flower. Add a smaller circle in the center.
Then, draw a wide X across the shape and add one more line at the top to create five-petal spaces. These are just guides to help place each petal evenly.
Step 3: Sketch the Petals
Using the guide lines, draw five soft oval shapes for the petals.
Adjust the edges slightly to make them wavy or uneven to give a more natural look. These base lines also help when you start adding light shading later.
Step 4: Add Flower Details
Now draw the stamen at the center using short lines in a circular shape. Add small dots around those lines to complete the look.
This gives your cherry blossom drawing an easy style and softness.
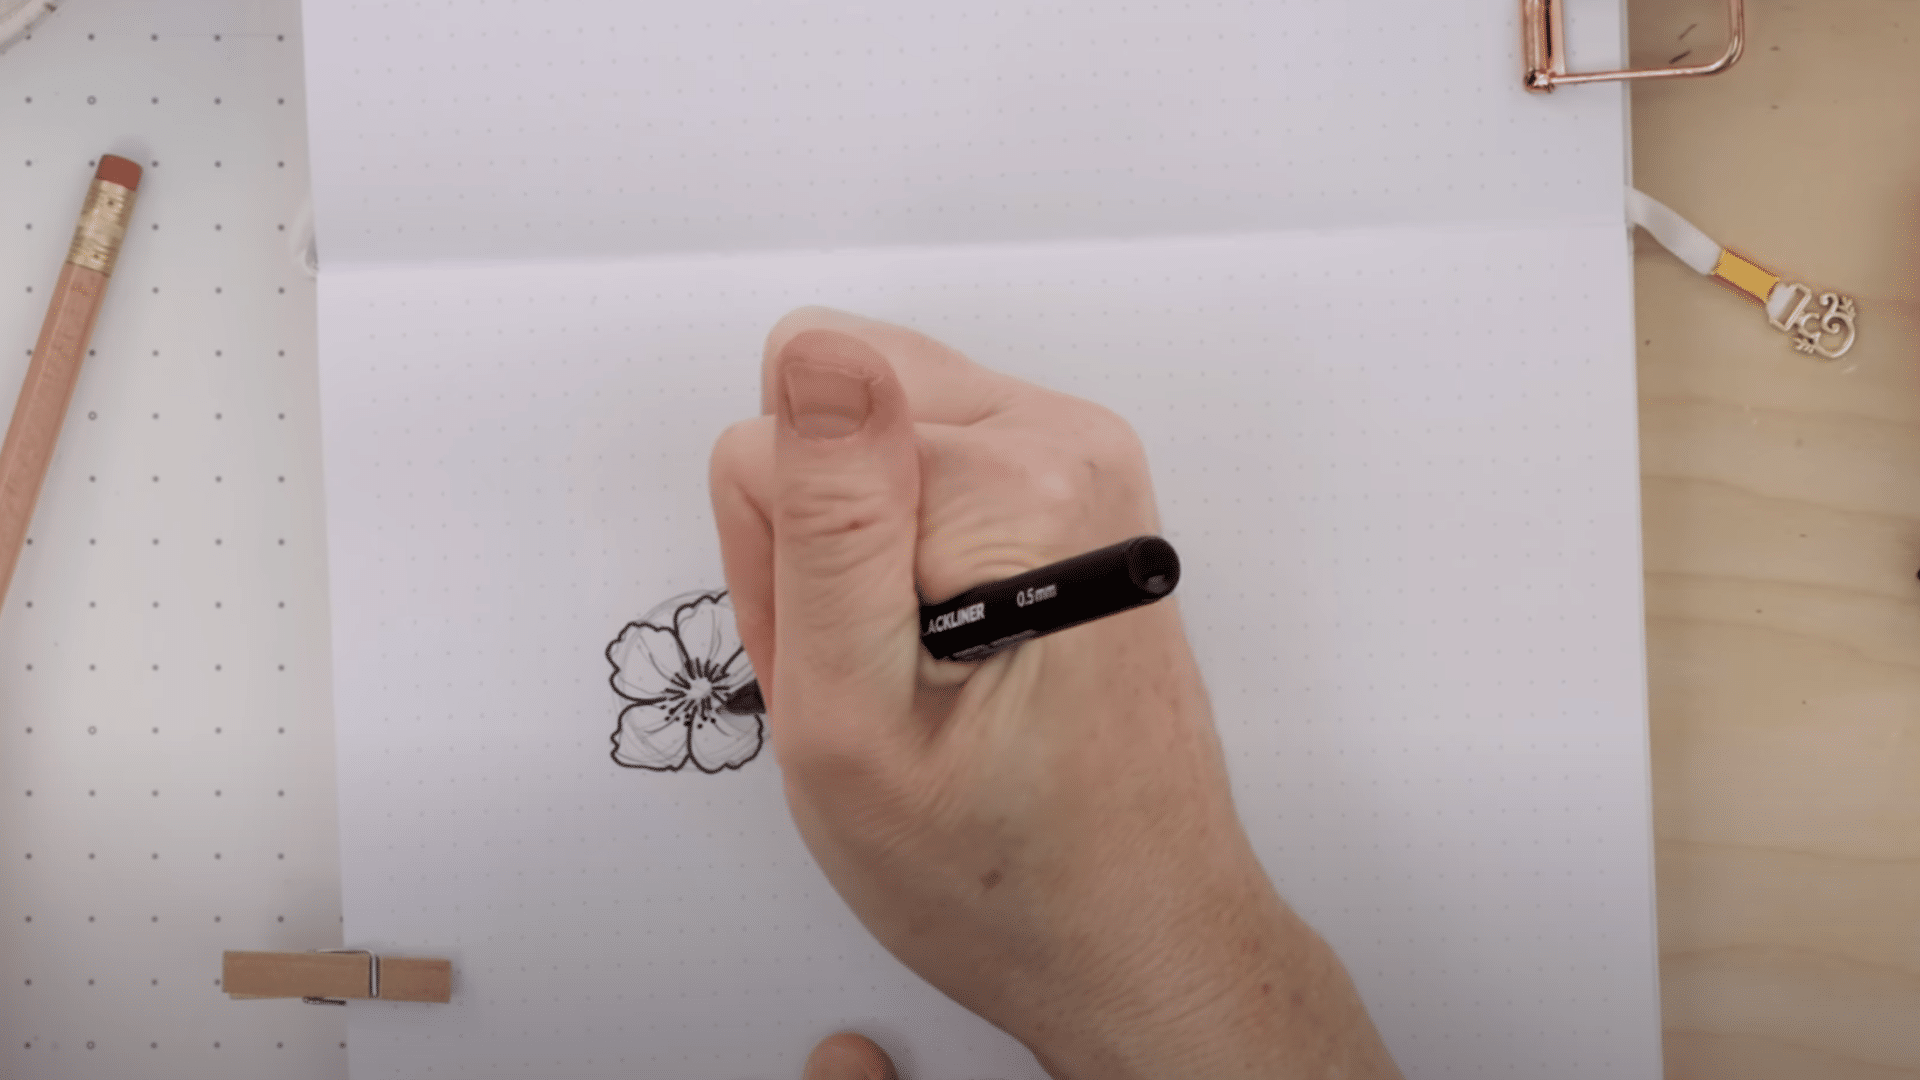
Step 5: Trace and Shade the Flower
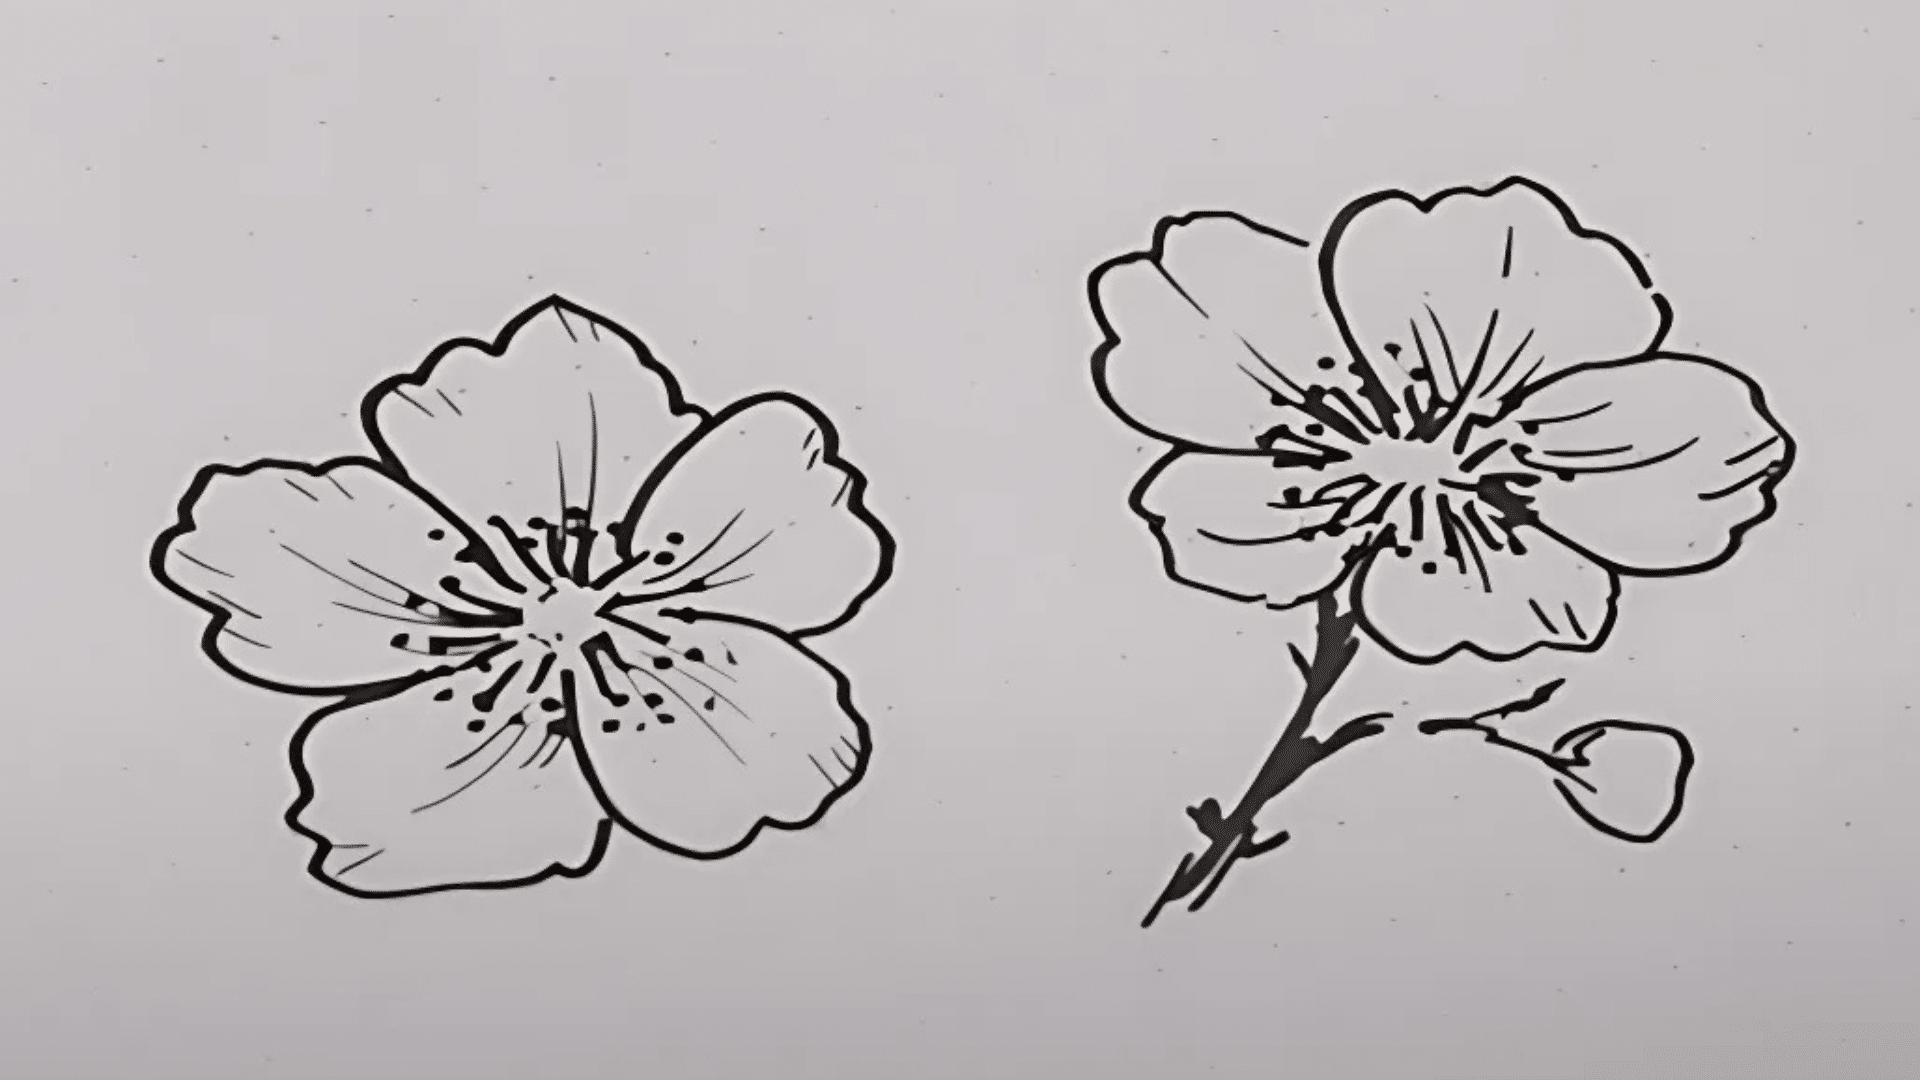
Go over your pencil sketch with the thicker fine liner. Use the thinner pen to add light shading inside the petals and around the edges.
A few simple lines help the petals show more shape and texture without looking heavy.
Step 6: Draw Angled Blossoms
To draw a flower from an angle, start with an oval instead of a full circle. Place the inner circle lower and add the X lines again.
Petals at the bottom will look shorter because of the tilt. Trace and shade the same way for a full cherry blossom drawing, easy layout.
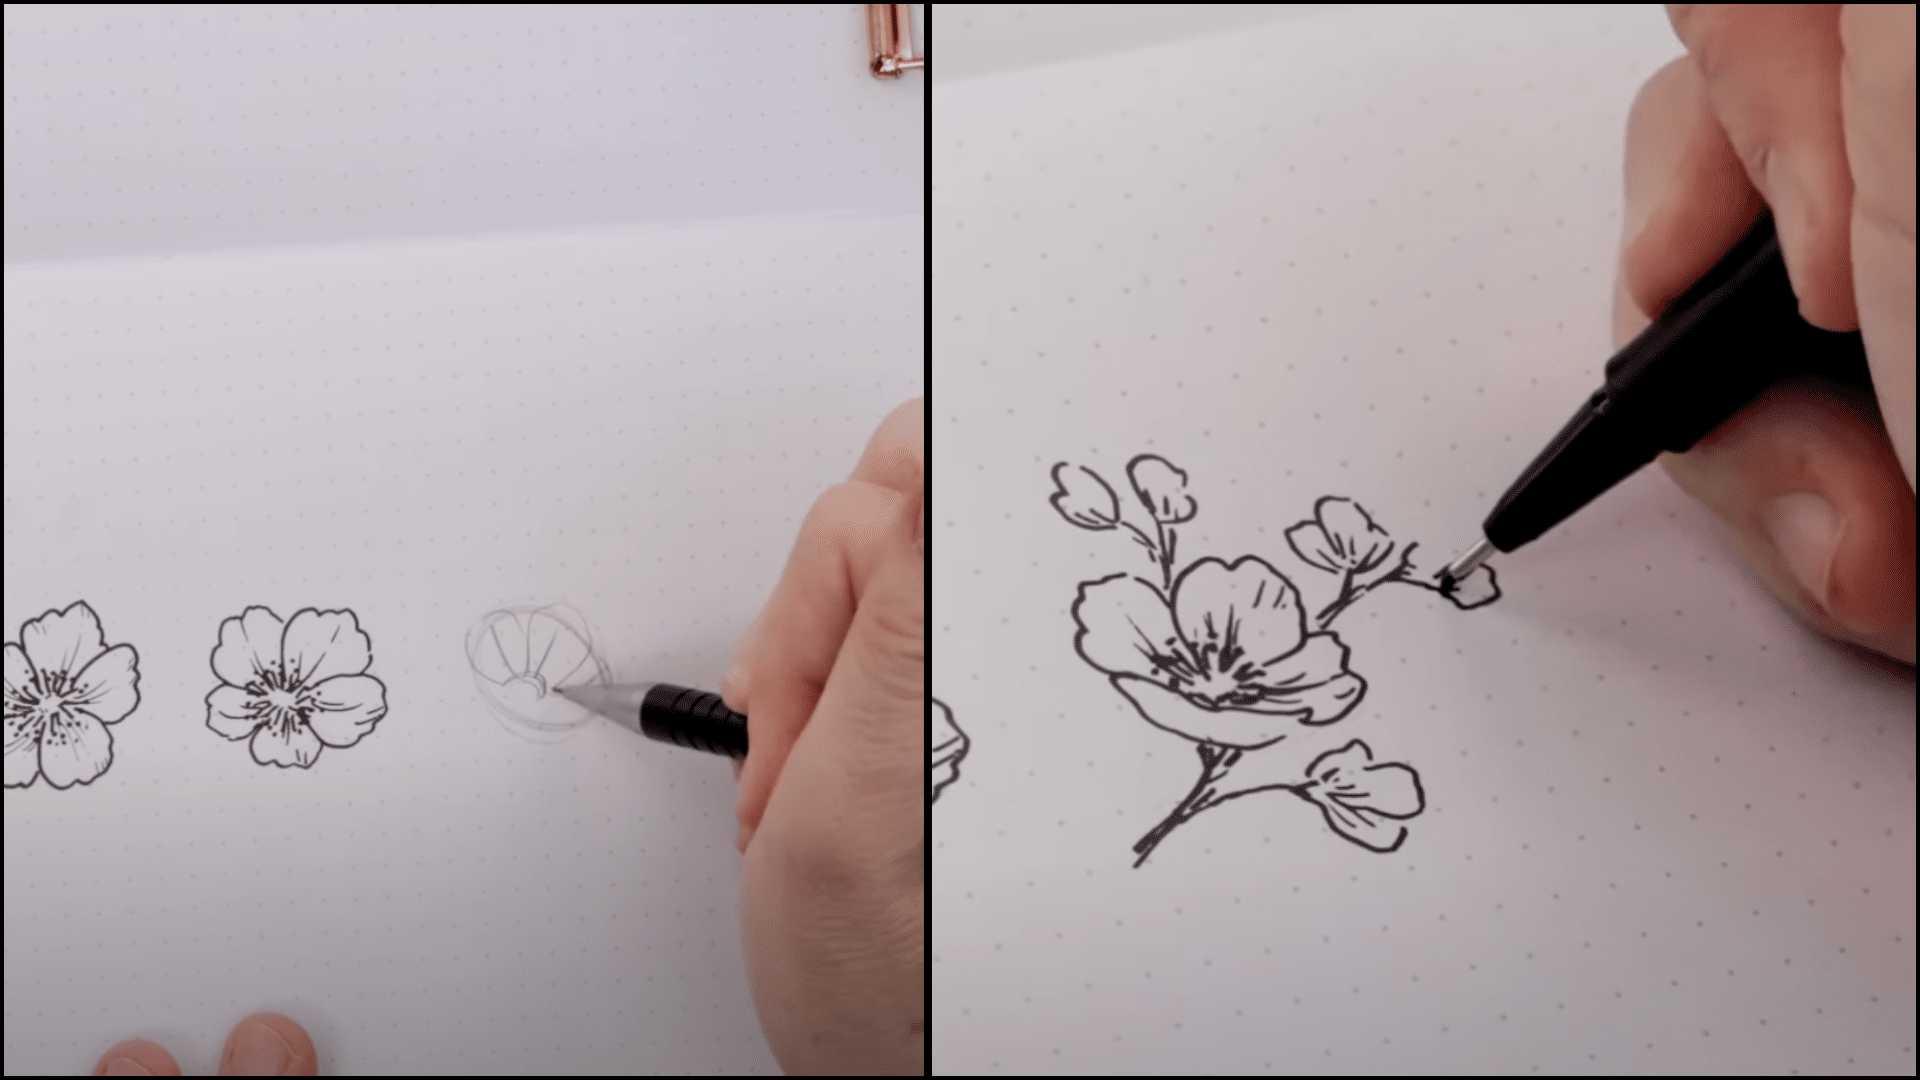
Step 7: Build a Small Cherry Blossom Scene
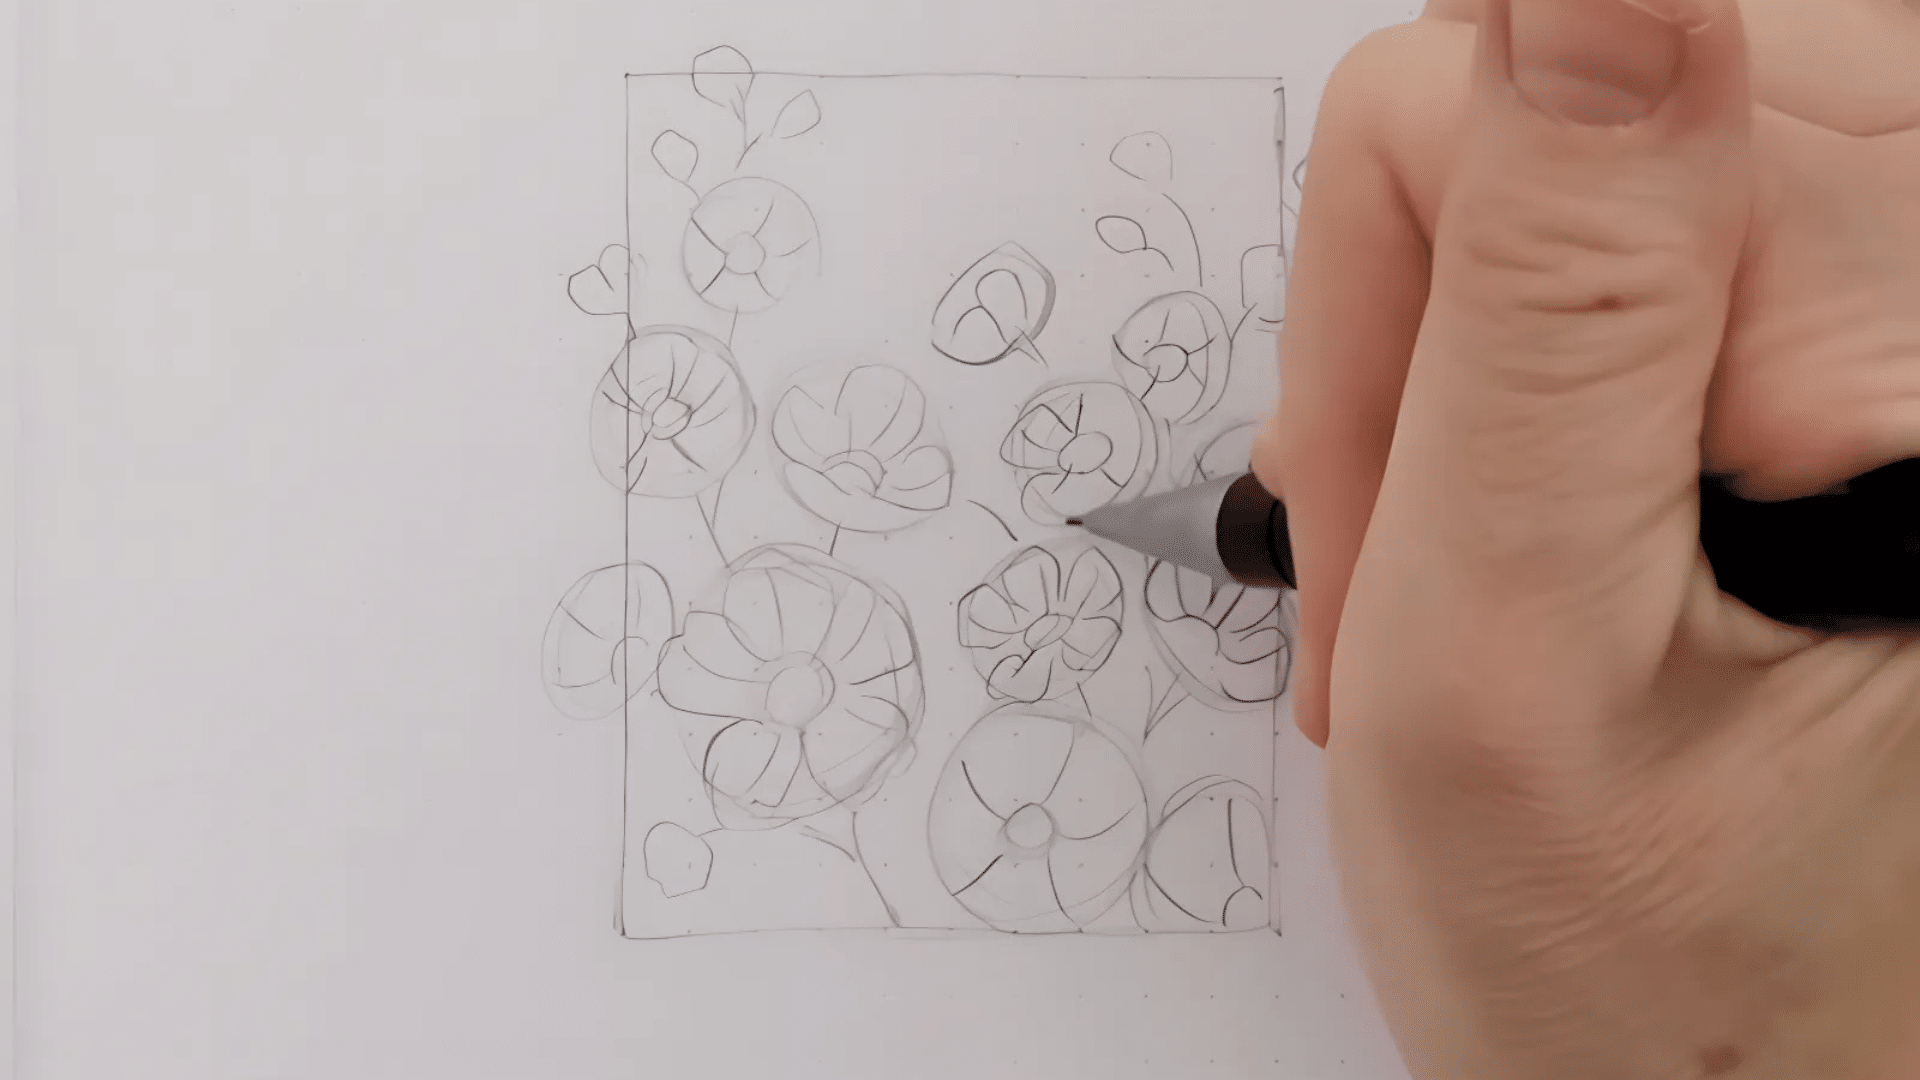
Now that you’ve practiced, draw a rectangle in your notebook.
Sketch two flower stems with blossoms getting smaller toward the top. Mix fully open flowers, tilted ones, and small buds. This helps your cherry blossom drawing easy design look more natural.
Step 8: Add Finishing Touches
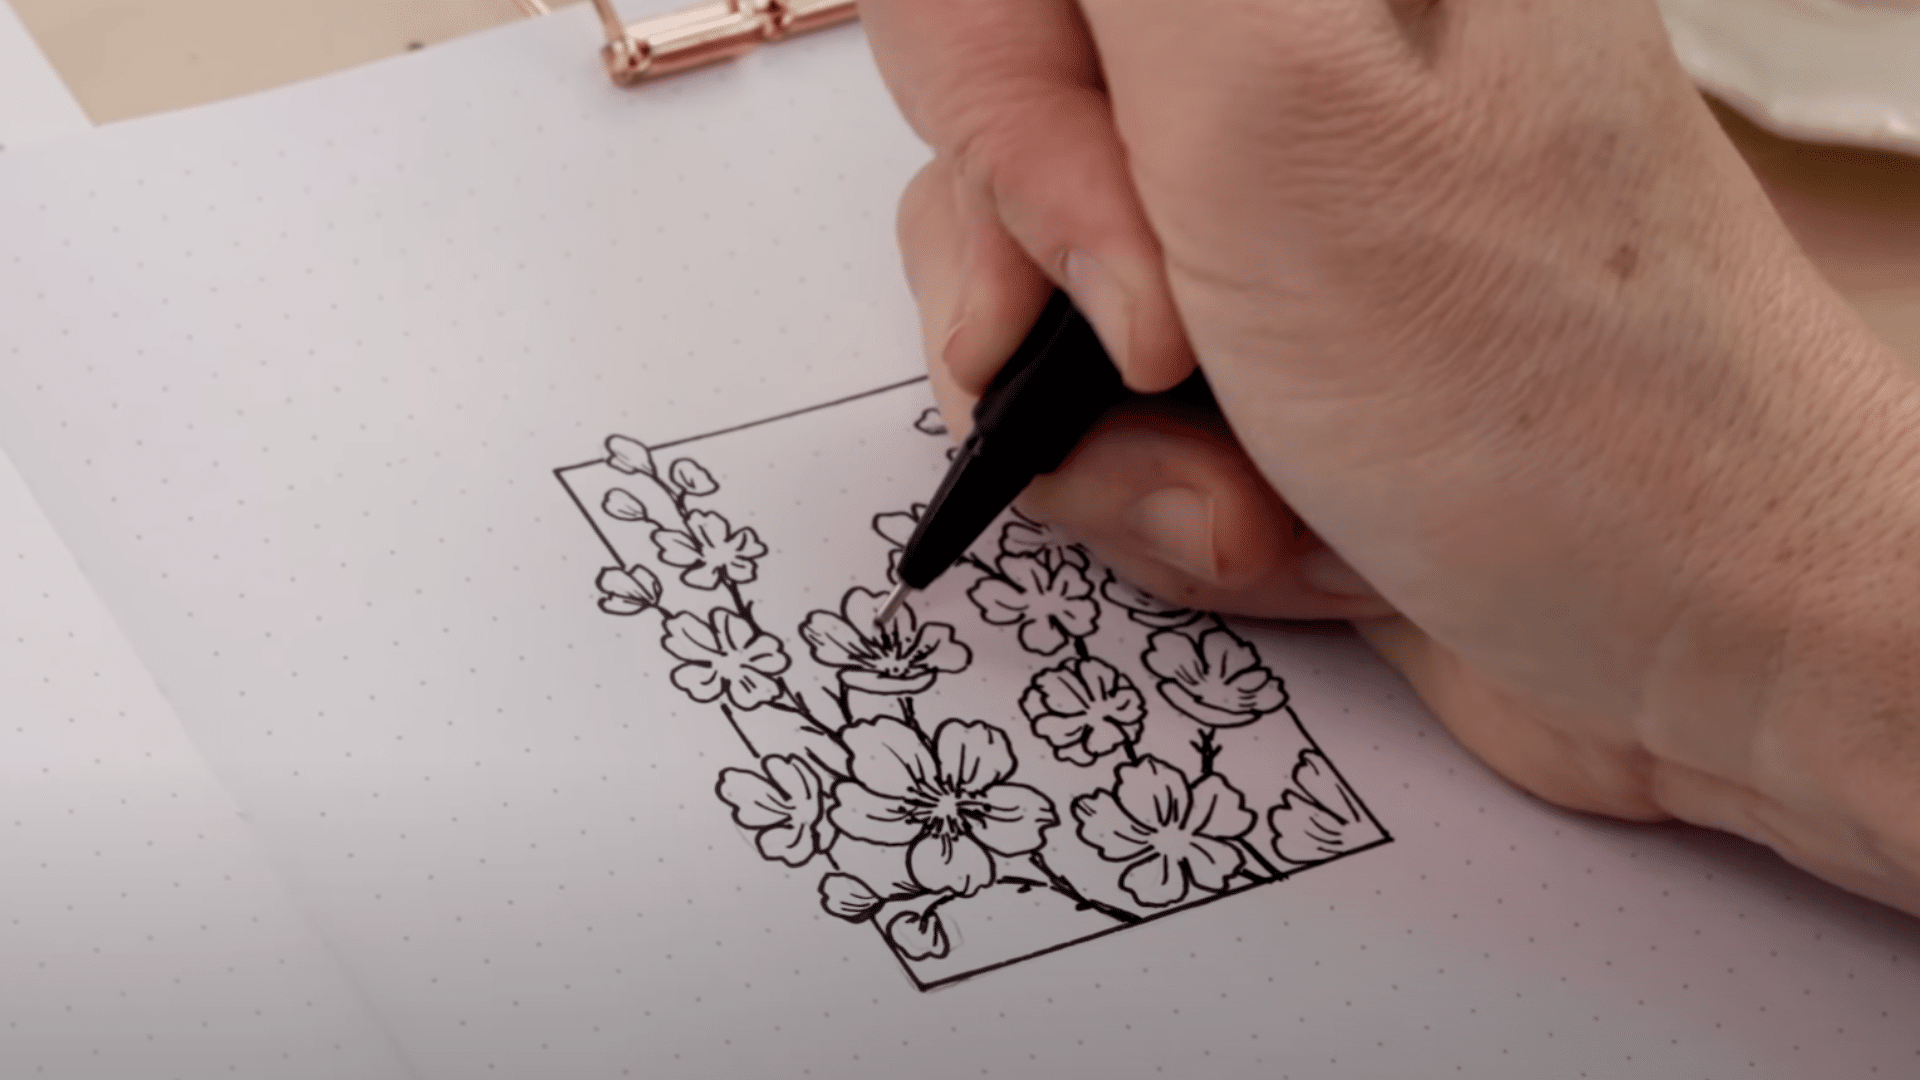
Once you’re done with your sketch, trace everything in pen and erase leftover pencil marks. Add thin lines in the petals for extra detail and draw simple branches behind the flowers to connect them.
Don’t forget to add a label under the illustration, write “Cherry Blossom” to complete the page.
Useful Tips for Cherry Blossom Drawing
These tips for cherry blossom drawing can help those who are just starting with their artistic rendezvous and want to achieve perfection in no time.
- Start with a guide circle to help size and place your petals evenly.
- Use soft, oval shapes for petals and make the edges a little wavy for a natural look.
- Draw a small circle of lines in the center to create the stamen, then add dots around it.
- Use a thicker pen for outlines and a thinner one for adding simple lines and shading.
- To show flowers from the side, begin with an oval and place the center lower inside it.
- Erase pencil lines after inking to keep your drawing clean and neat.
Bottom Line
This cherry blossom drawing easy tutorial is perfect for anyone who wants to enjoy calm, creative time without needing advanced skills. It’s ideal for quick sketching in your journal, making greeting cards, or simply practicing floral art.
By mixing petal shapes, tilting the blossoms, and playing with size, you can build beautiful, flowing designs that feel natural and personal.
If this cherry blossom drawing easy tutorial inspired you, feel free to share your artwork or comment with your favorite blossom style.