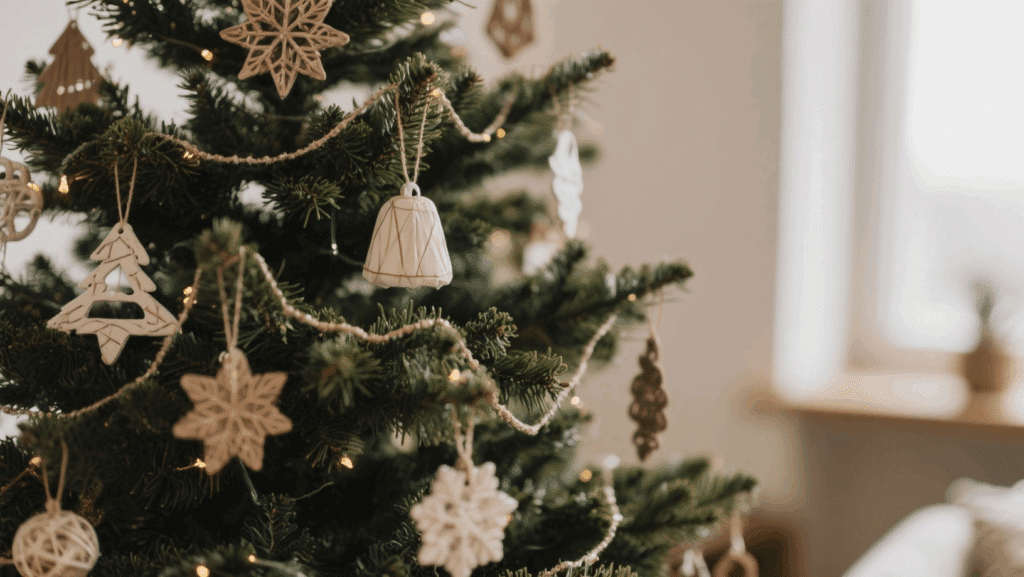
Store-bought ornaments can be expensive and often lack that personal touch that makes a Christmas tree truly special.
Plus, finding unique decorations that reflect your family’s personality isn’t always easy.
Making your own DIY Christmas ornaments solves this problem perfectly.
Homemade decorations add warmth and character to your tree while saving money.
This blog shares simple, creative Christmas DIY ornaments that can be used in many ways.
You’ll find projects using materials you probably already have at home. From natural wood slices to glittery pinecones, these ornaments will change your tree into something truly one-of-a-kind.
Getting Started with Basic Materials & Prep
Before jumping into any Christmas project, gather the right supplies to make the process smoother.
Most of these materials are budget-friendly and easy to find at craft stores or around your home.
| Material | Purpose |
|---|---|
| Hot glue gun & glue sticks | Secure decorations and embellishments firmly |
| Scissors & craft knife | Cut paper, fabric, ribbon, and other materials |
| Ribbons & twine | Hang ornaments and add decorative touches |
| Paints & brushes | Add color and personalize your designs |
| Clear sealant spray | Protect finished ornaments from damage |
| Glitter & sequins | Add sparkle and festive shine to projects |
| Cardstock & felt | Create base shapes and soft textures |
| Wire & pipe cleaners | Form structures and bendable shapes |
| Beads & buttons | Add dimension and decorative details |
| Mod Podge | Seal and finish decoupage projects |
Christmas Ornaments DIY Projects: Easy, Creative, and Tree-Ready
Now that you have your materials ready, it’s time to get creative. These projects range from simple to slightly more involved, but all deliver beautiful results.
It doesn’t matter if you prefer natural, glittery, or classic styles; you’ll find something perfect for your tree.
1. Cinnamon Stick Stars

These earthy stars smell wonderful and add a natural touch to your tree. You’ll need cinnamon sticks, twine, and hot glue for this simple project.
Step 1: Arrange the sticks – Lay five cinnamon sticks in a star pattern on your work surface.
Step 2: Glue the joints – Apply hot glue at each joint where the sticks meet. Hold firmly for a few seconds.
Step 3: Add hanging loop – Tie twine around one point and create a loop for hanging.
2. Salt Dough Ornaments

This classic recipe yields ornaments that kids love to decorate. Mix flour, salt, and water to form a dough that bakes into lasting keepsakes.
Step 1: Make the dough – Combine 2 cups of flour, 1 cup of salt, and 1 cup of water. Knead until smooth.
Step 2: Roll and cut – Roll the dough to ¼-inch thickness. Use cookie cutters to create shapes.
Step 3: Bake and decorate – Poke holes for hanging. Bake at 250°F for 2 hours. Paint when cool.
3. Pinecone Ornaments
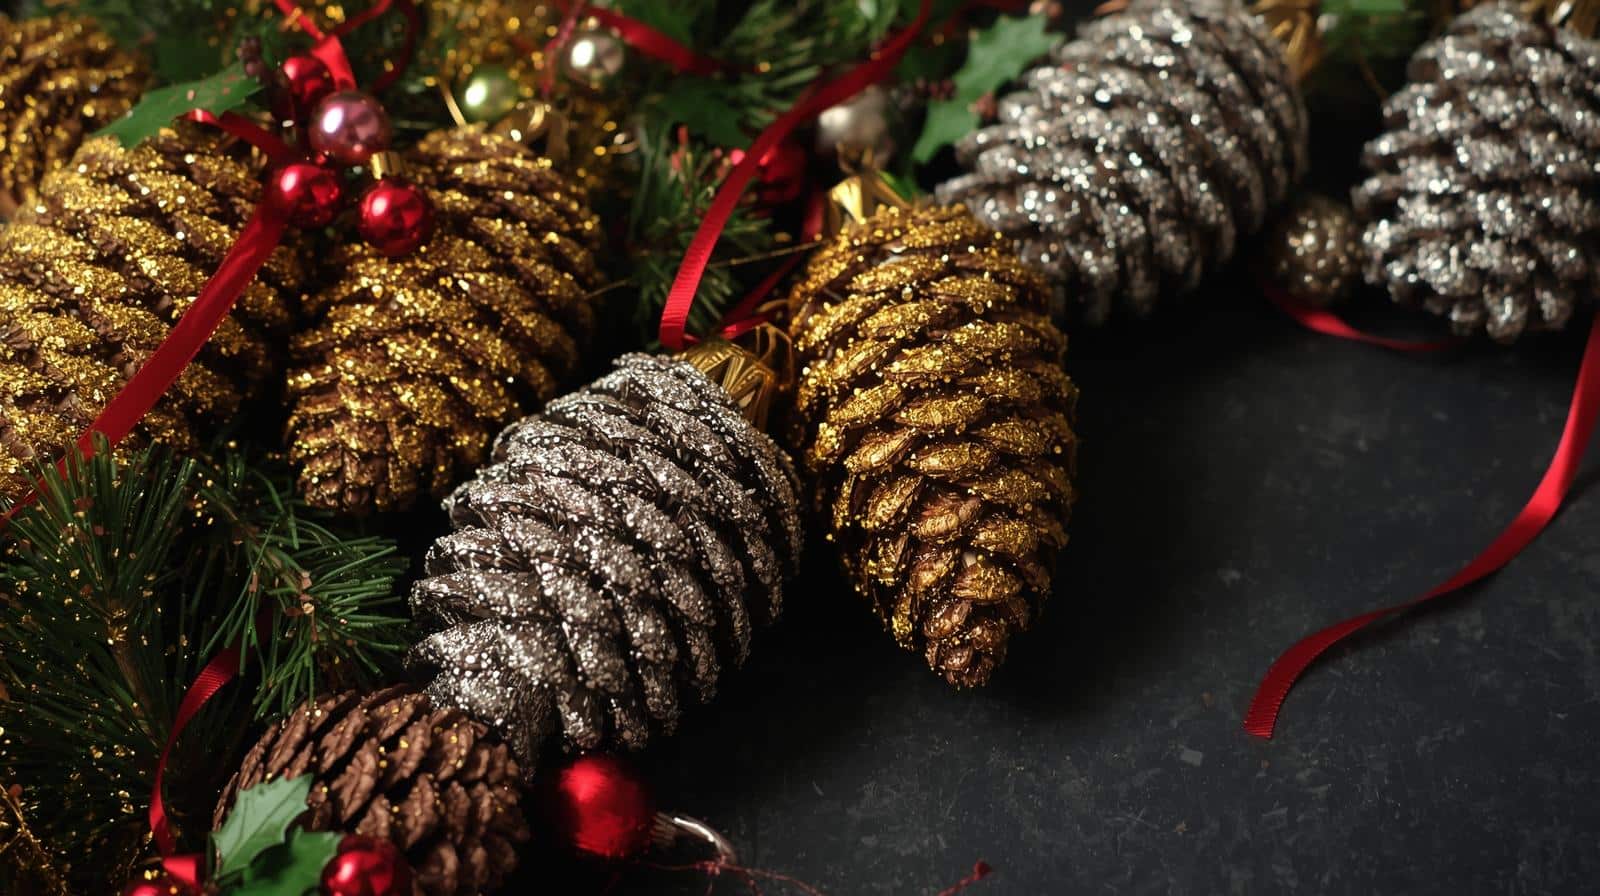
Convert ordinary pinecones into festive decorations with paint and glitter. Collect pinecones from your yard or local park for free materials.
Step 1: Clean the pinecones – Brush off dirt and bake at 200°F for 30 minutes to remove bugs.
Step 2: Paint the tips – Apply white or colored paint to the edges for a snowy effect.
Step 3: Add sparkle – Sprinkle glitter while the paint is wet. Attach ribbon or twine for hanging.
4. Paper Snowflakes
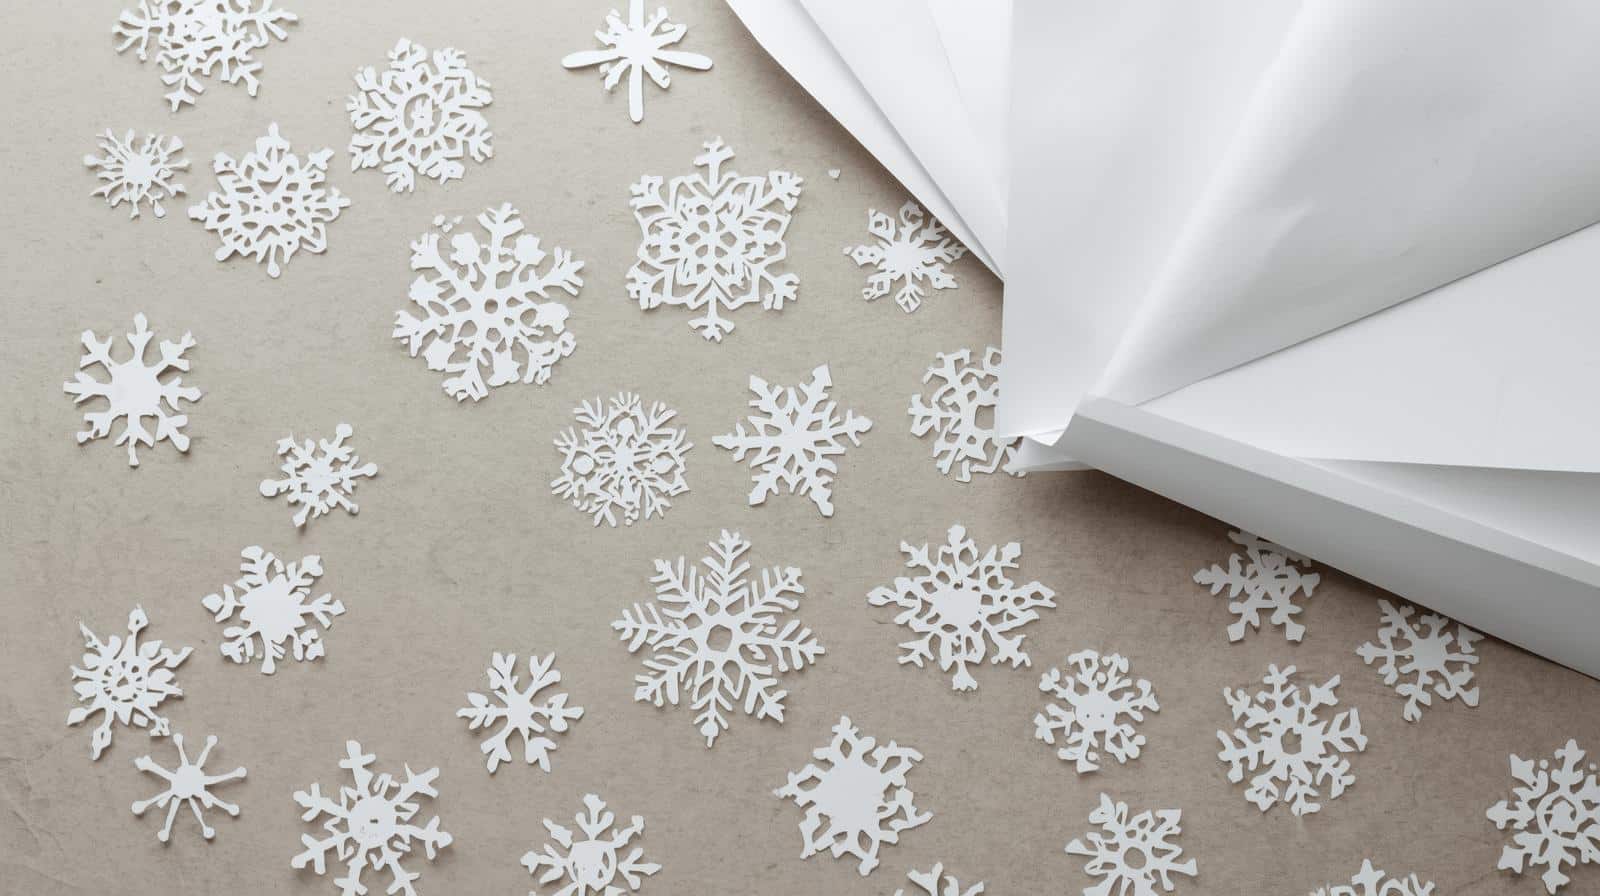
Classic paper snowflakes never go out of style. White coffee filters work beautifully and create soft, lacy patterns.
Step 1: Fold the paper – Fold a coffee filter or paper circle in half three times.
Step 2: Cut designs – Snip small shapes along the folded edges. Vary your cuts for different patterns.
Step 3: Unfold and hang – Carefully open your snowflake. Thread the fishing line through the top for hanging.
5. Wooden Slice Ornaments
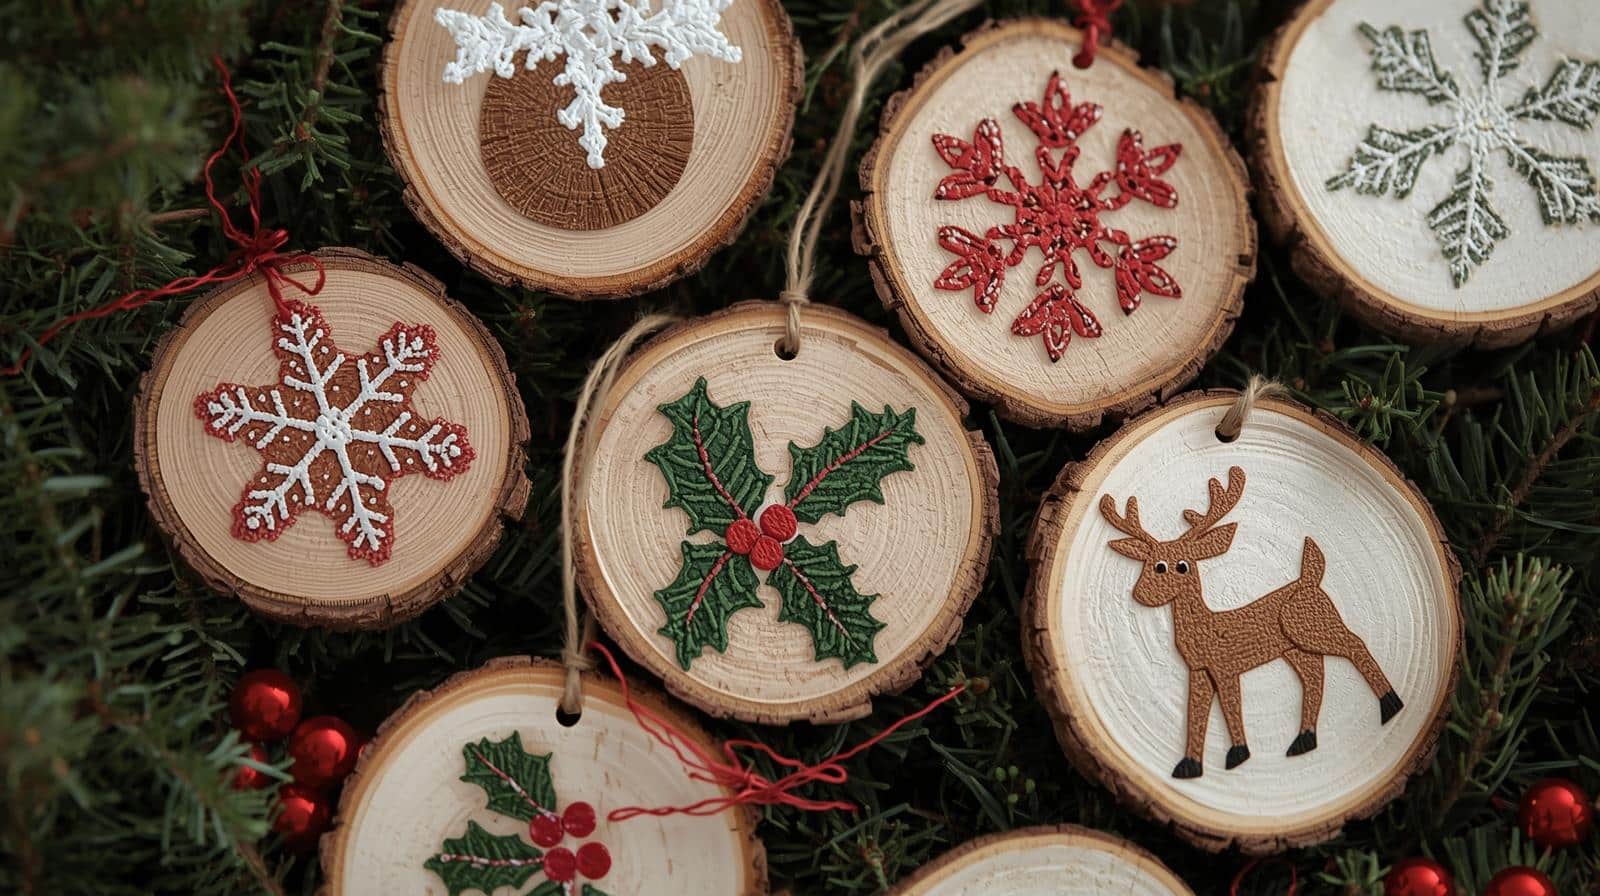
Wood slices offer a natural canvas for painting or burning designs. Small branches from pruning work perfectly for this project.
Step 1: Prepare the slices – Cut branches into ½ inch slices. Sand the surfaces smooth.
Step 2: Create your design – Paint festive images, write names, or use wood burning tools for patterns.
Step 3: Seal and hang – Apply clear sealant spray. Drill a small hole and add a piece of twine for hanging.
6. Felt Gingerbread Men

Soft felt gingerbread men look adorable and won’t break if dropped. Use brown felt and white embroidery thread for classic appeal.
Step 1: Cut the shapes – Trace and cut two gingerbread man shapes from brown felt per ornament.
Step 2: Stitch together – Use blanket stitch around edges with white thread. Leave a small opening for stuffing.
Step 3: Stuff and finish – Fill lightly with cotton. Stitch closed and add a ribbon loop at the top.
7. Wine Cork Reindeer
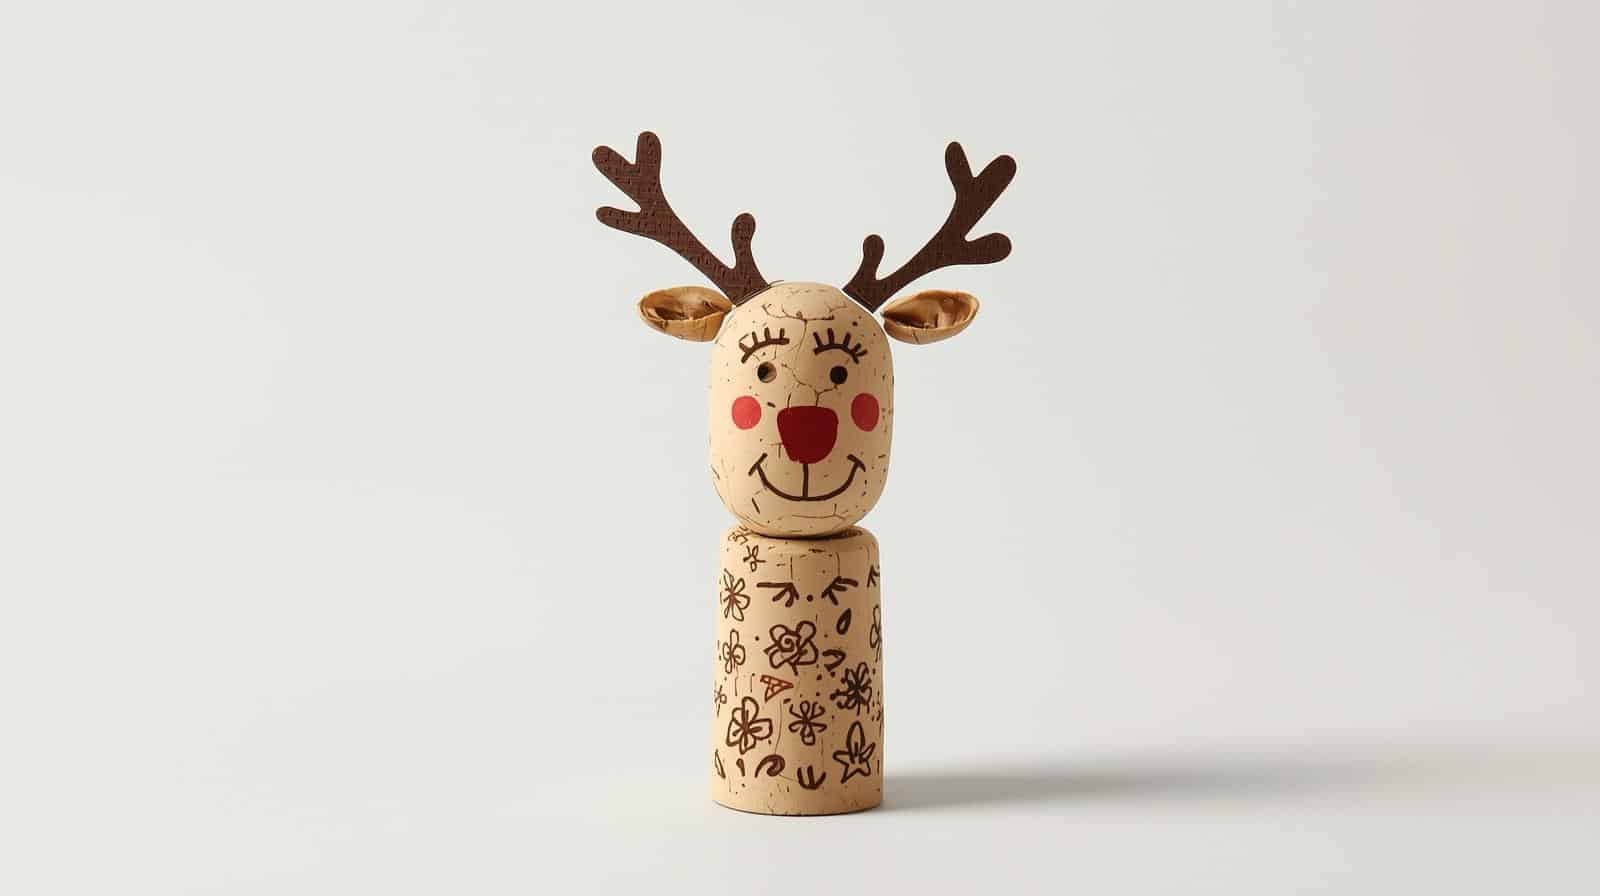
Save wine corks throughout the year for these cute reindeer. Small twigs make perfect antlers for this playful design.
Step 1: Prepare the cork – Glue two small twigs into the top for antlers.
Step 2: Add features – Glue on googly eyes and a red pom-pom nose.
Step 3: Attach hanger – Wrap wire or ribbon around the middle and create a hanging loop above.
8. Button Wreath Ornaments

Colorful buttons in various sizes create miniature wreaths. Green buttons work best, but any color combination looks festive.
Step 1: Form the base – Cut a small ring from cardboard or use a metal washer.
Step 2: Glue buttons – Hot glue buttons around the ring, overlapping slightly for fullness.
Step 3: Add bow – Tie a small ribbon bow at the bottom. Attach a string at the top for hanging.
9. Mason Jar Lid Ornaments
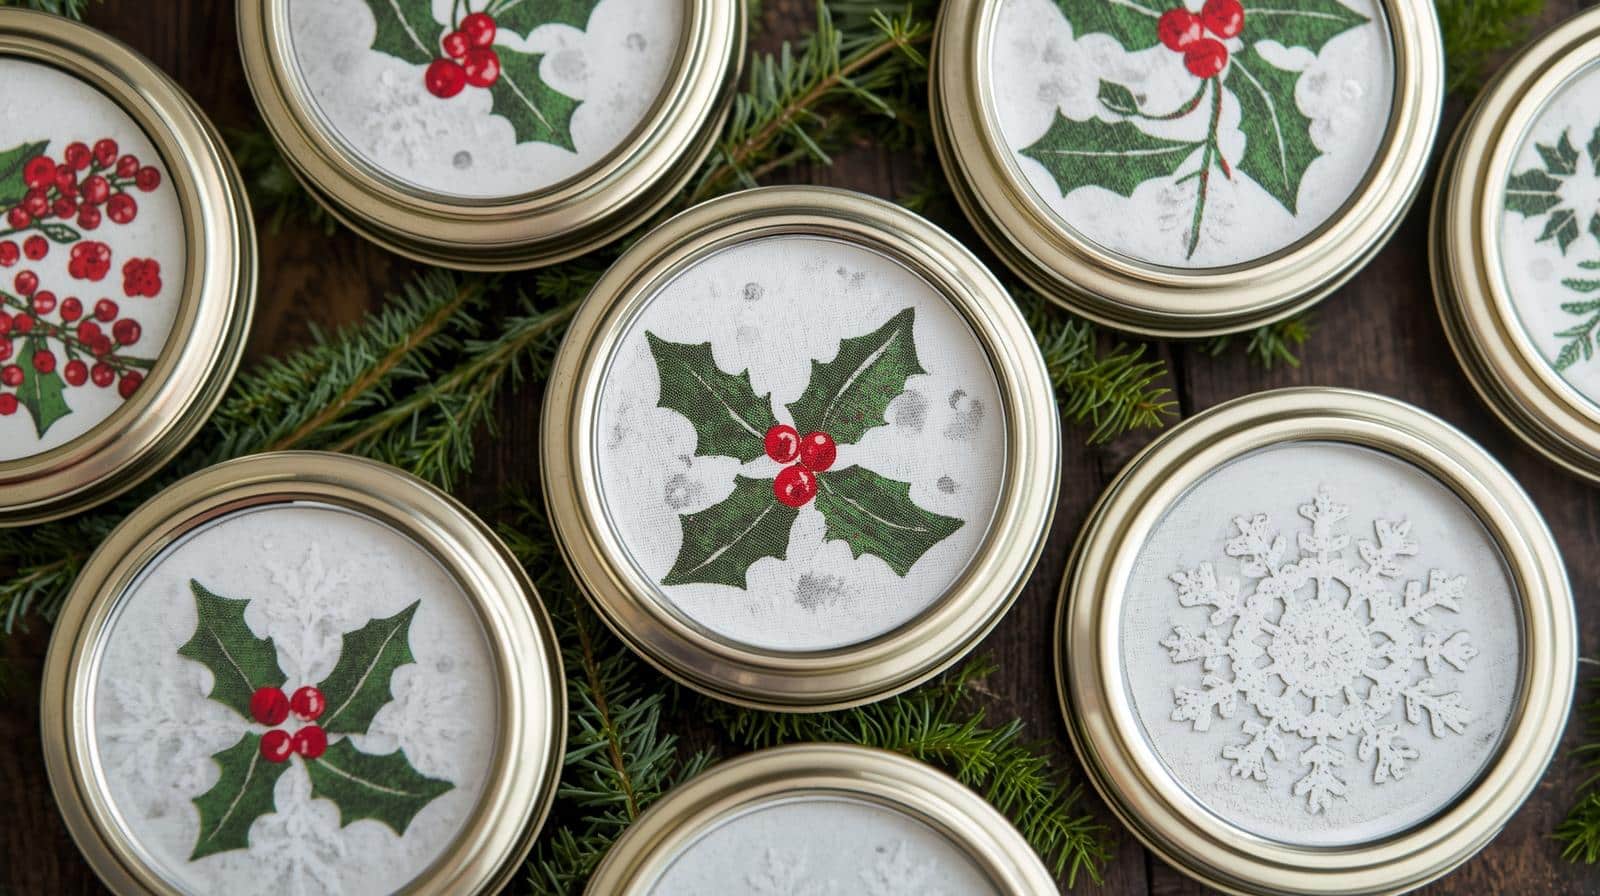
Repurpose mason jar lids into mini snow globe ornaments. The ring and flat lid work together to frame small scenes.
Step 1: Create the scene – Glue small figurines or bottle brush trees to the flat lid insert.
Step 2: Add snow – Sprinkle fake snow or glitter around the base of your scene.
Step 3: Seal and hang – Screw the ring back on. Attach the ribbon through the screw holes for hanging.
10. Popsicle Stick Snowflakes
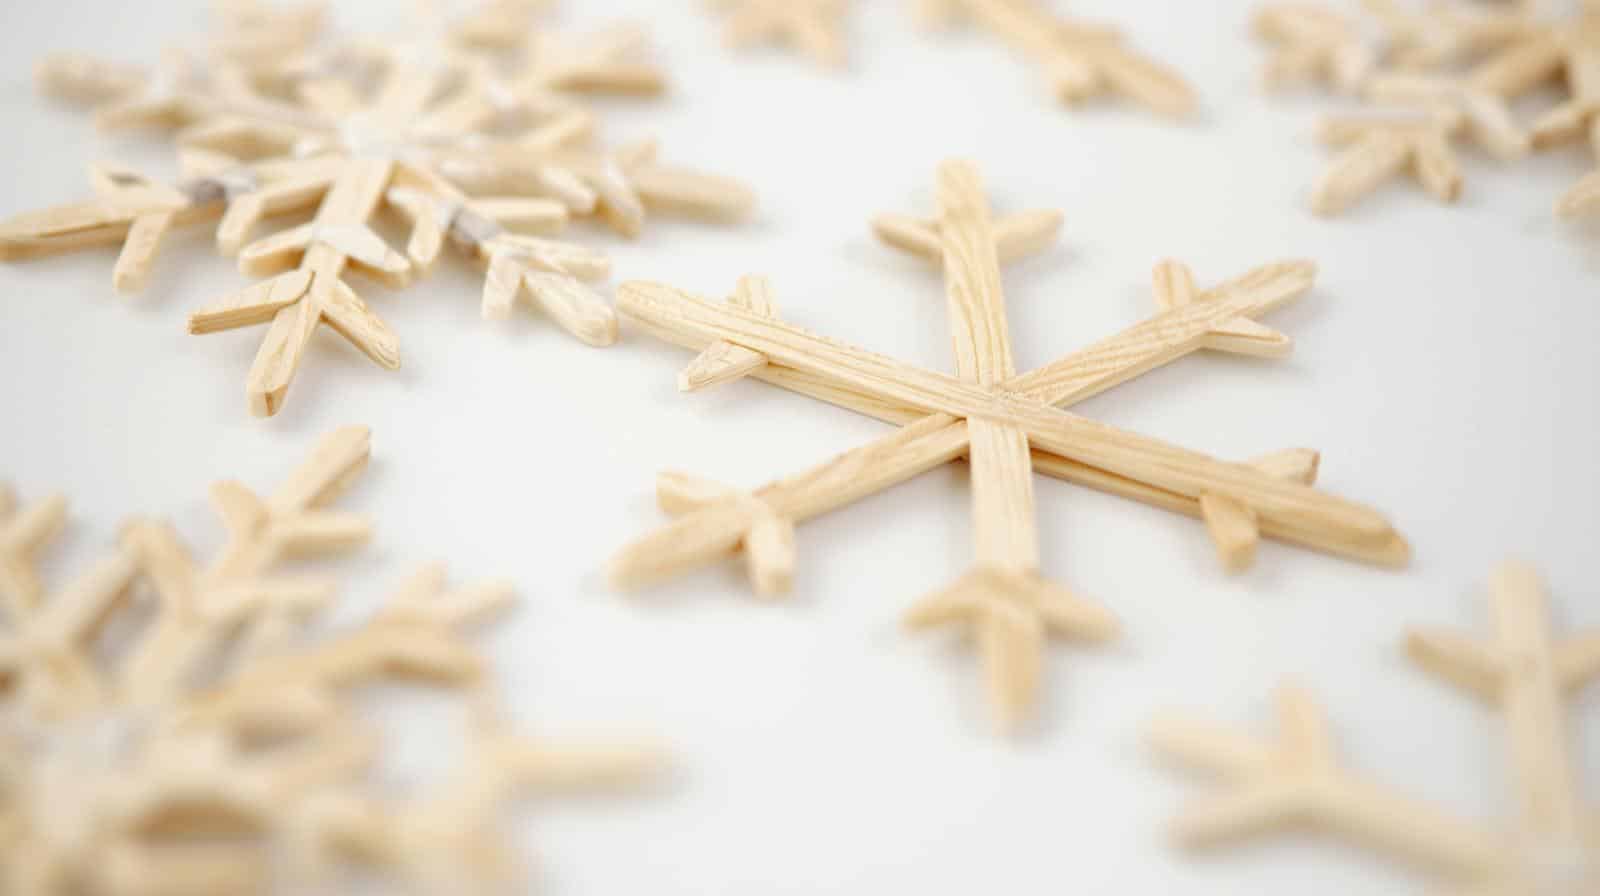
Colorful popsicle sticks form geometric snowflakes that kids can easily make. Paint them white or leave them in their natural wood tones.
Step 1: Arrange sticks – Lay four sticks in a star pattern, overlapping at the center.
Step 2: Glue together – Apply hot glue at the center where all sticks meet.
Step 3: Decorate – Add smaller stick pieces between main arms. Paint and glitter as desired. Add hanging string.
11. Orange Slice Ornaments
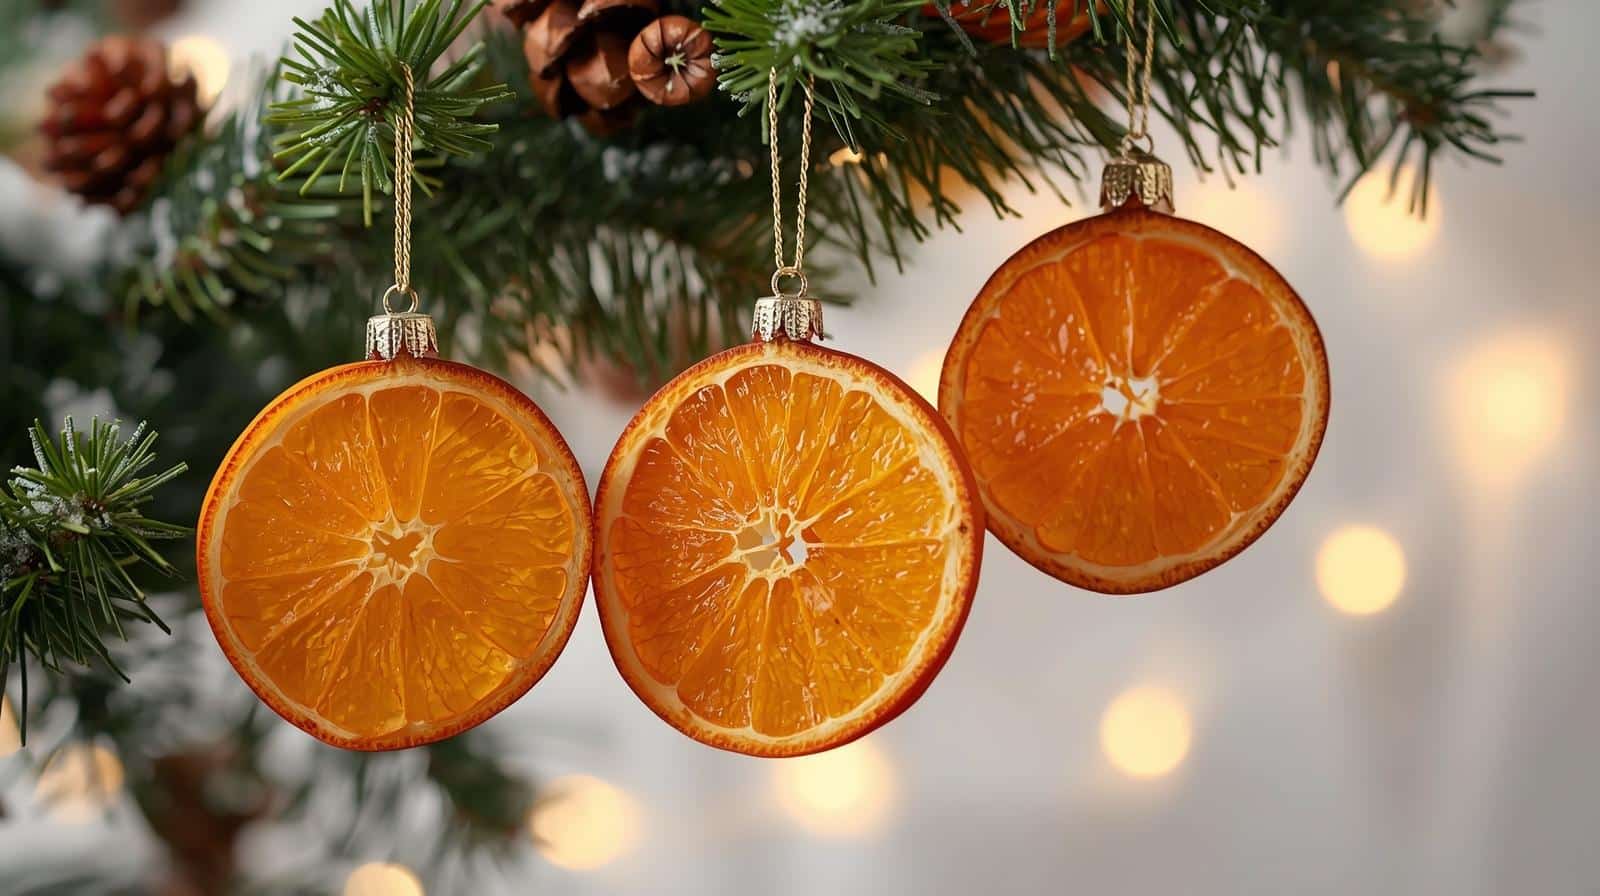
Dried orange slices smell wonderful and look beautiful when light shines through them. Slice oranges thinly for the best results.
Step 1: Slice and dry – Cut oranges into ¼ inch slices. Bake at 200°F for 3-4 hours until dry.
Step 2: Cool completely – Let slices cool on wire racks overnight to finish drying.
Step 3: String and hang – Thread ribbon or twine through the top of each slice for hanging.
12. Yarn Ball Ornaments
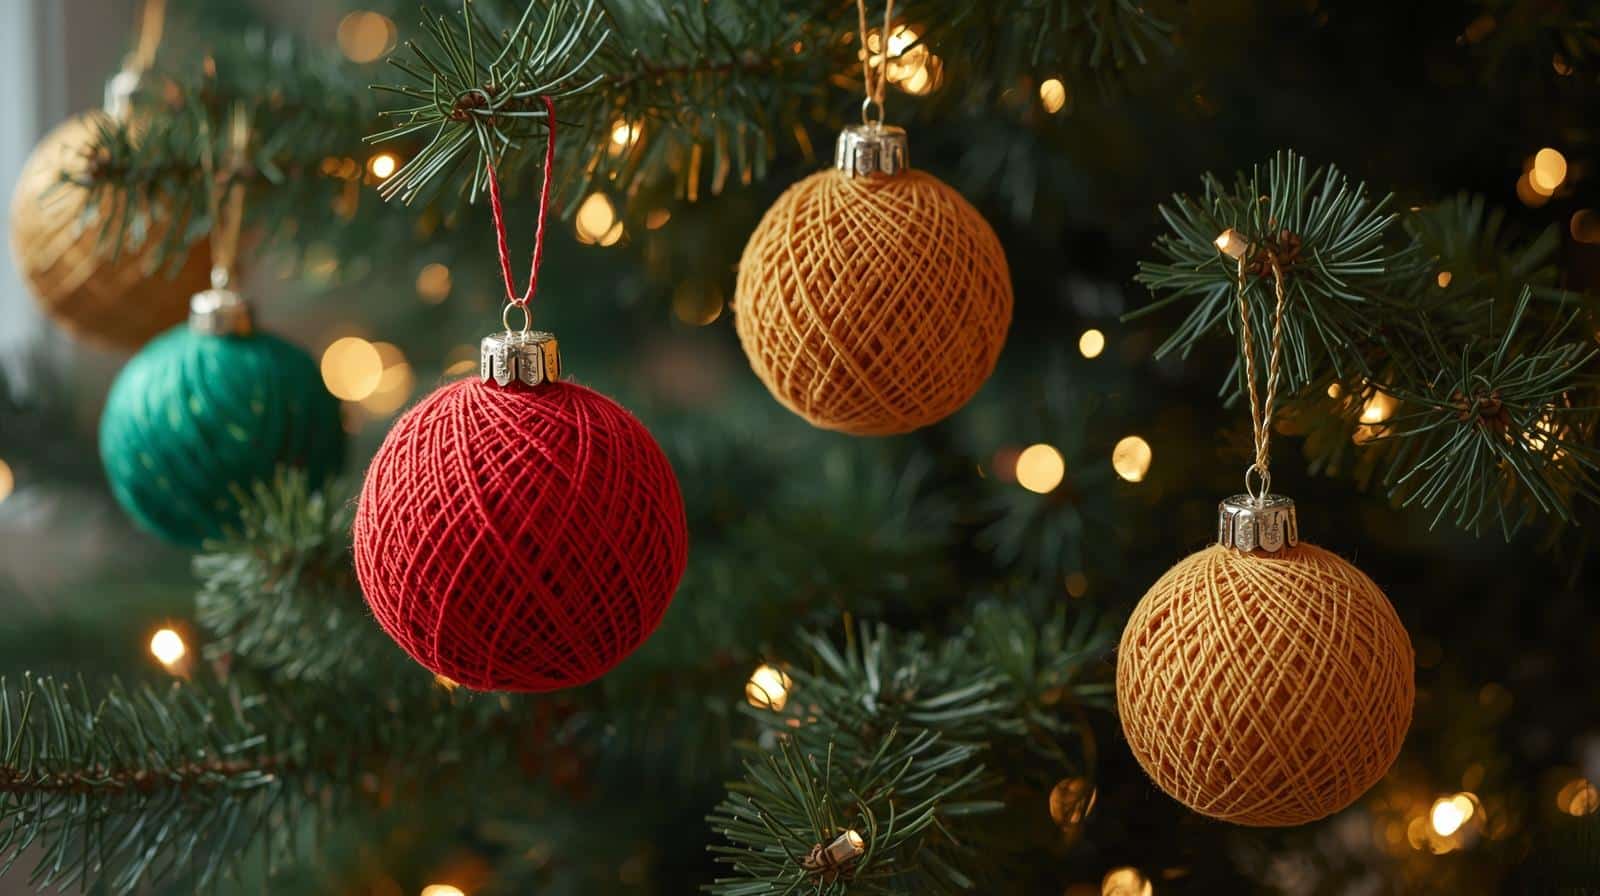
Wrap balloons with yarn soaked in glue to create hollow spheres. These lightweight ornaments come in any color you choose.
Step 1: Prepare balloon – Blow up a small balloon. Mix equal parts glue and water in a bowl.
Step 2: Wrap with yarn – Dip the yarn into the glue mixture. Wrap the balloon around in random directions. Let dry overnight.
Step 3: Pop and finish – Pop the balloon and remove it. Attach a ribbon loop for hanging your yarn ball.
13. Photo Transfer Ornaments
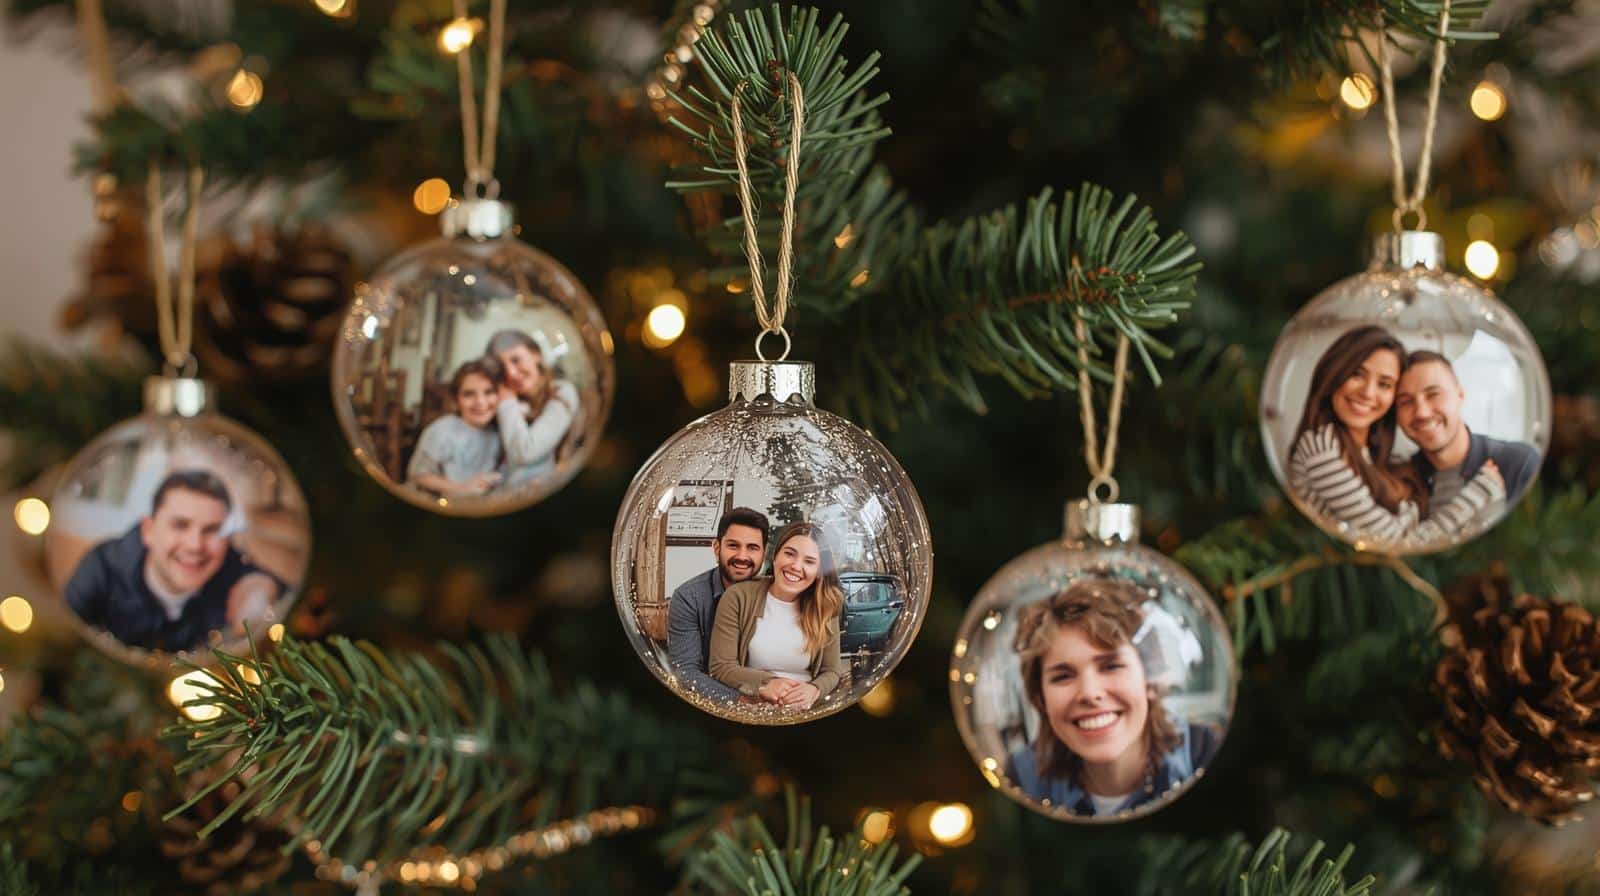
Turn favorite family photos into lasting ornaments using wood slices. These make meaningful gifts for grandparents and relatives.
Step 1: Prepare the image – Print the photo on regular paper. Paint Mod Podge on the wood slice.
Step 2: Transfer photo – Place the image face down on a wet coat of Mod Podge. Press firmly and let dry completely overnight.
Step 3: Reveal image – Dampen paper with water and rub away gently. The photo transfers to wood. Seal and add a hanger.
14. Bottle Brush Tree Ornaments
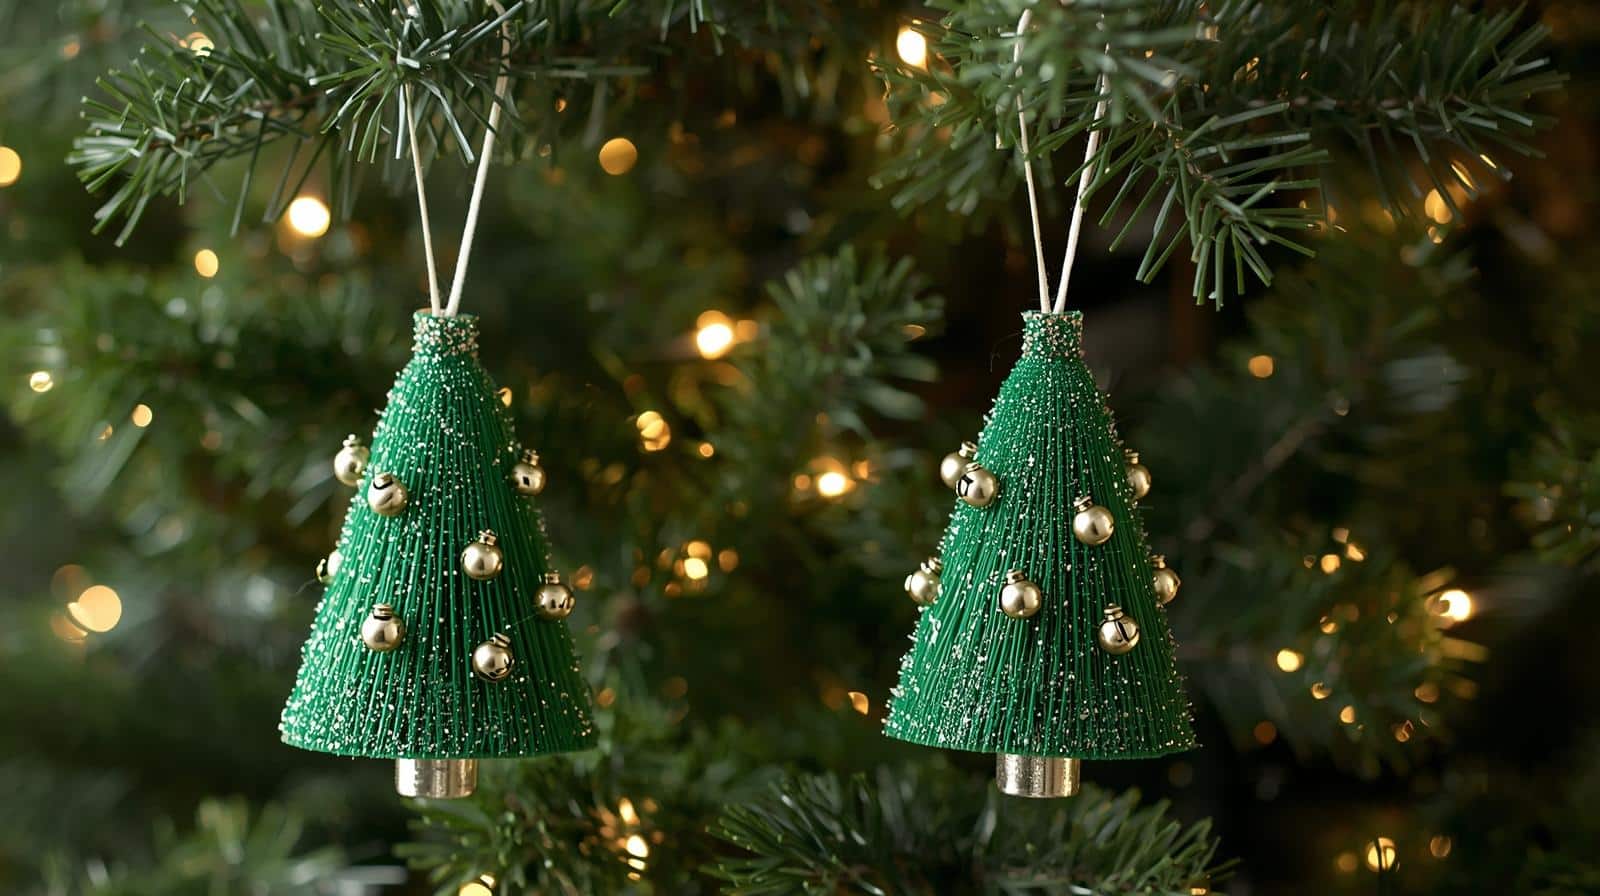
Miniature bottle brush trees add vintage charm to your decorations. Glue them to various bases for different looks.
Step 1: Choose your base – Use wood slices, jar lids, or thick cardboard circles as foundations.
Step 2: Secure the tree – Hot-glue a small bottlebrush tree to the center of your base.
Step 3: Add details – Sprinkle fake snow around the base. Attach small decorations or beads. Add ribbon for hanging.
15. Beaded Candy Canes

String red and white beads on pipe cleaners to form striped candy canes. These sparkle beautifully on the tree.
Step 1: Thread beads – Alternate red and white beads on a red pipe cleaner, leaving space at the ends.
Step 2: Form a cane shape – Bend the beaded pipe cleaner into a candy-cane shape.
Step 3: Secure ends – Twist the bottom end to hold the beads in place. Form a top into a hook for hanging.
16. Fabric Scrap Ornaments
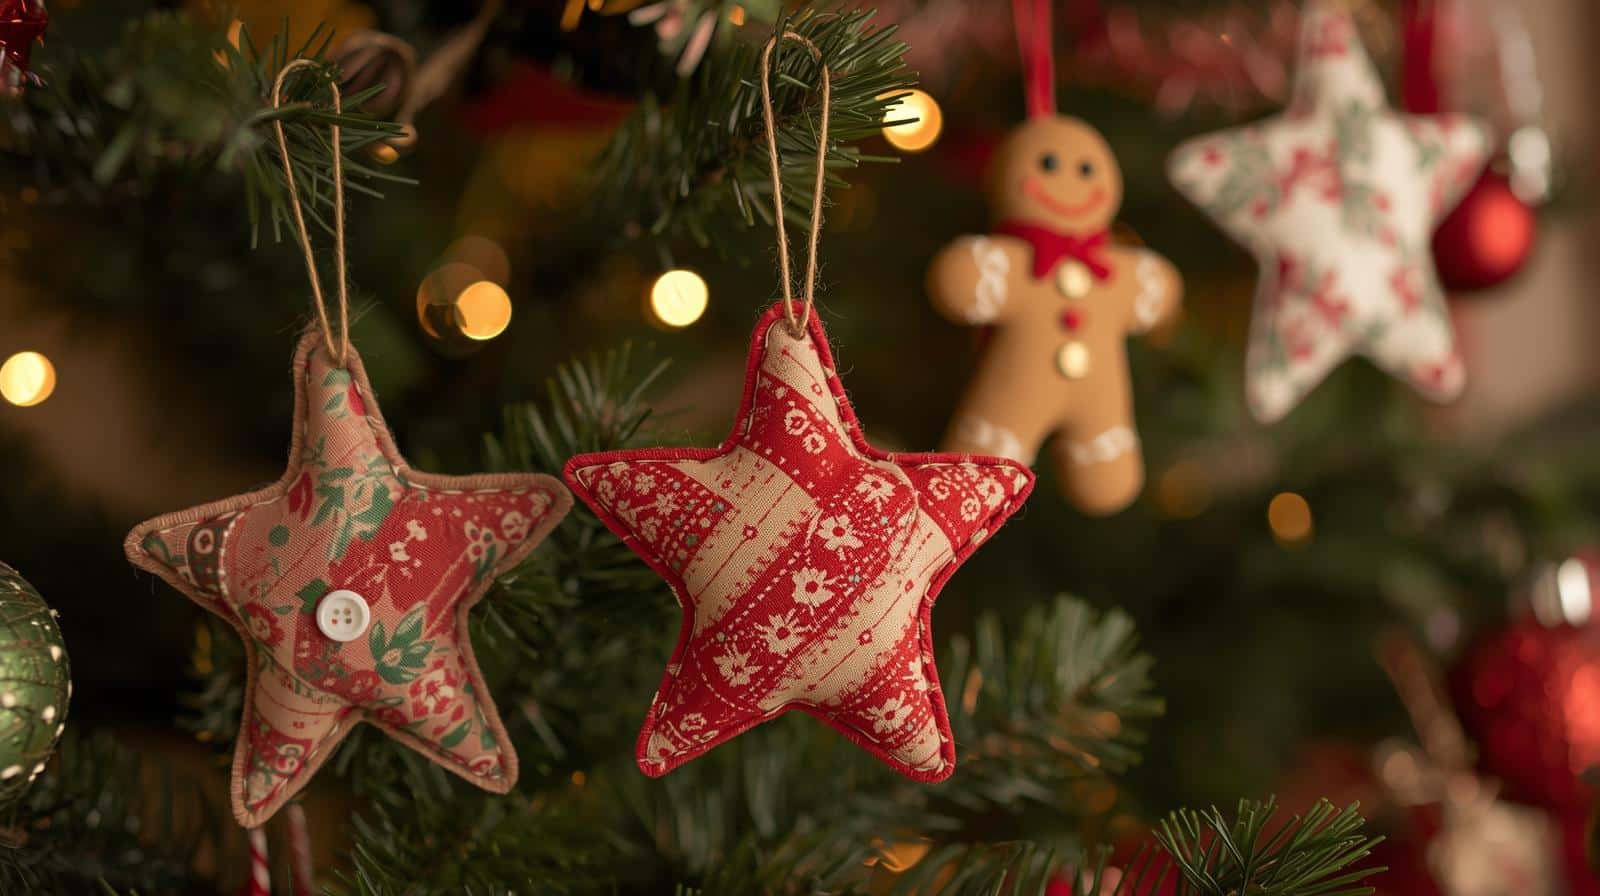
Use leftover fabric scraps to create quilted ornaments. Christmas prints and plaids work exceptionally well for festive designs.
Step 1: Cut shapes – Cut two matching shapes from fabric. Cut one from batting or felt for the middle.
Step 2: Layer pieces – Place batting between fabric pieces with right sides facing out.
Step 3: Stitch edges – Sew around edges, leaving an opening. Add a ribbon loop before closing the final section with stitches.
17. Clay Initial Ornaments
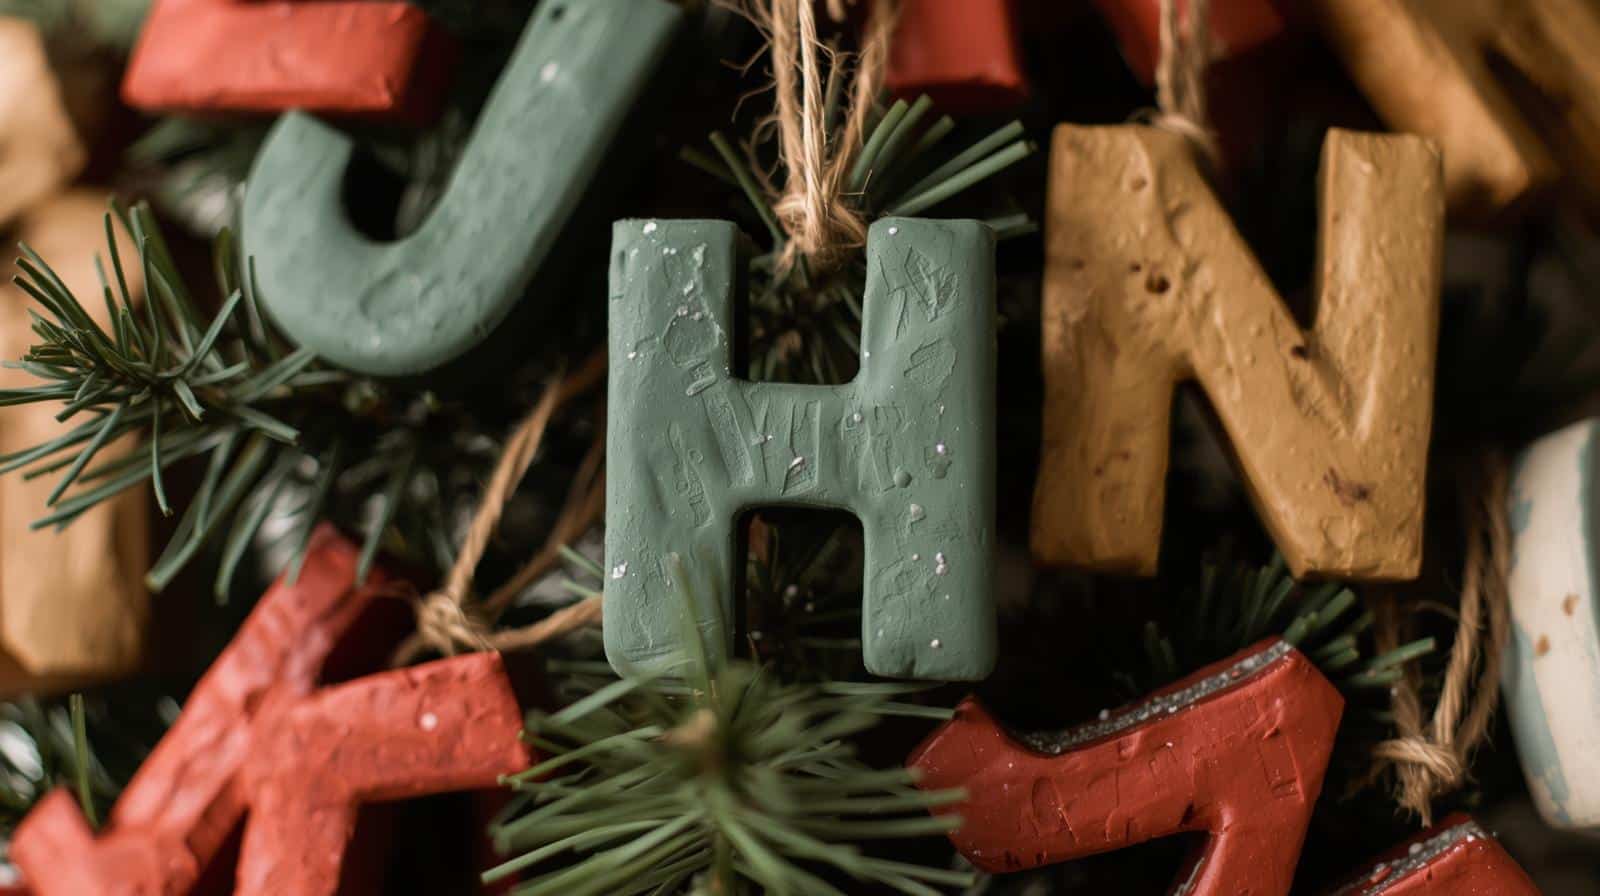
Air-dry clay forms into personalized letter ornaments for each family member. These work wonderfully as gift tags, too.
Step 1: Roll the clay – Roll air-dry clay to ¼ inch thickness on parchment paper.
Step 2: Cut and shape – Use letter cookie cutters or cut freehand with a knife. Poke hanging hole.
Step 3: Dry and paint – Let dry 24 hours. Paint in your favorite colors and seal with a clear coat. Add ribbon.
18. Sequin Ornament Balls
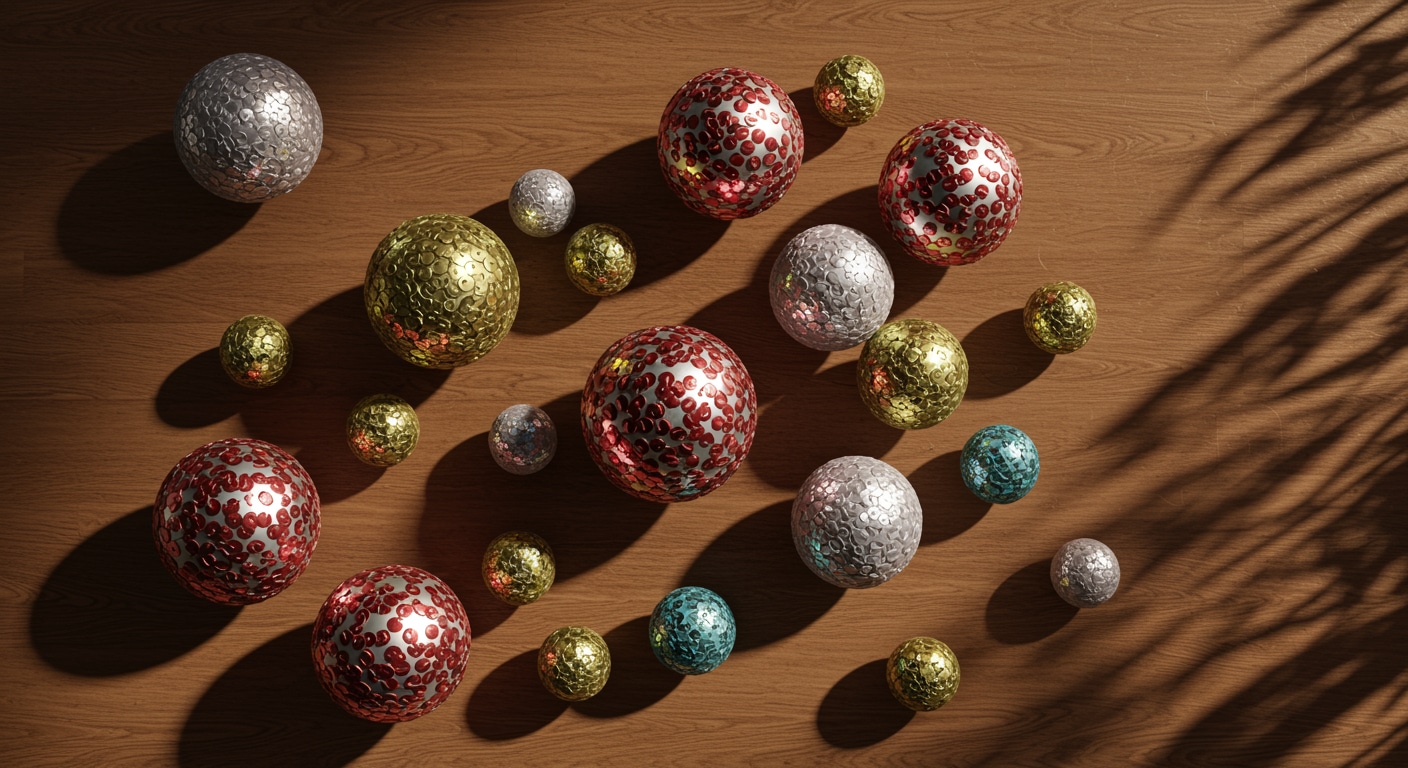
Cover foam balls with colorful sequins for glamorous ornaments. These catch light beautifully, adding sparkle to your tree.
Step 1: Pin sequins – Push straight pins through the centers of the sequins into a foam ball. Overlap slightly for coverage.
Step 2: Cover completely – Continue adding sequins in rows until the entire ball is covered.
Step 3: Add topper – Glue decorative ribbon or a small ornament cap at the top. Insert wire or ribbon for hanging.
19. Burlap and Lace Ornaments
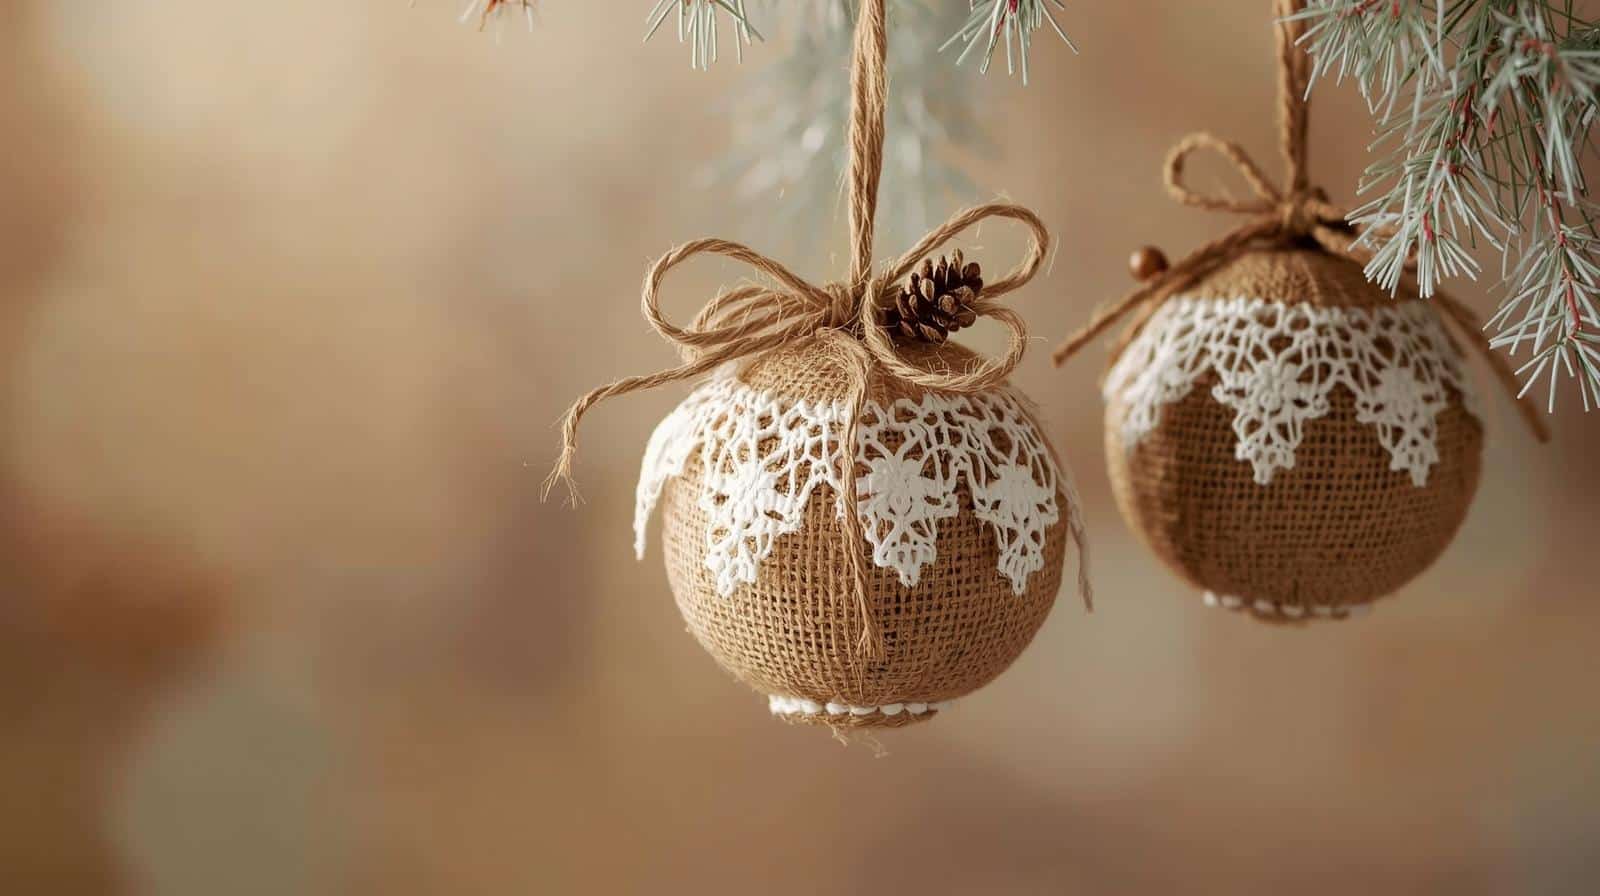
Combine burlap with lace for farmhouse-style decorations. Natural materials create warmth and texture on your tree.
Step 1: Cut circles – Cut matching circles from burlap and lace, about 3 inches across.
Step 2: Layer materials – Place lace over burlap. Stitch or glue along the edges to secure the layers together.
Step 3: Embellish the center – Add a button, a small pinecone, or a twine bow at the center. Attach a hanging string at the top.
Wrapping it Up
Making Christmas ornaments DIY converts your holiday decorating into something special and personal.
Each handmade piece carries memories and tells a story that store-bought decorations simply can’t match. Plus, crafting together brings families closer during the busy holiday season.
So gather your loved ones, pick a few projects from this list, and start making decorations you’ll treasure for years.