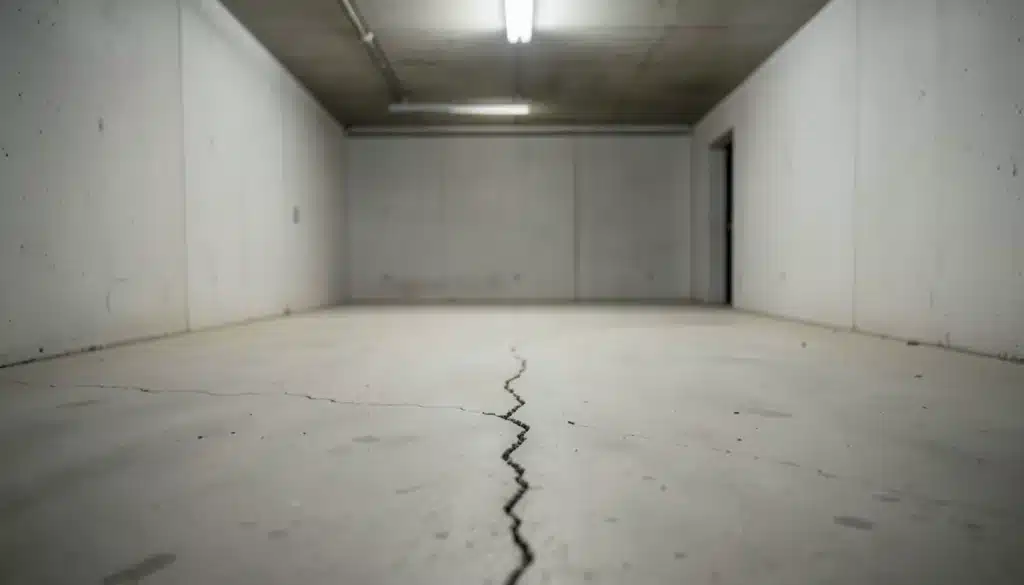
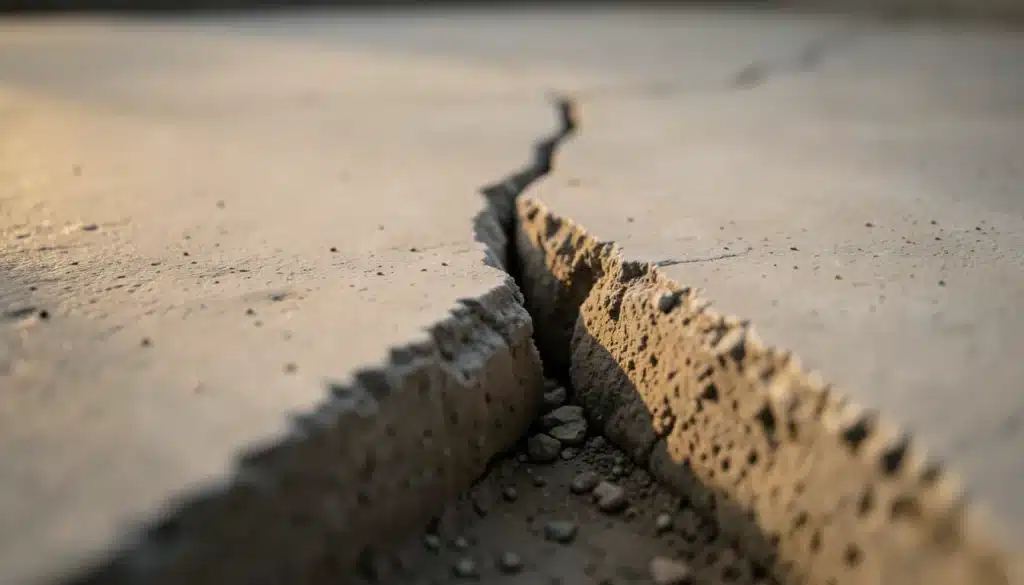
A crack in your floor catches your eye. You stare at it for a second. Is it serious? Should you call someone, or just leave it? That moment of not knowing is frustrating, and honestly, very common.
Floor cracks are one of those things that look simple on the surface but can mean very different things. It all depends on the size, shape, and location of the crack.
Some need nothing more than a quick seal. Others are quietly signaling something is wrong far beneath the slab. The key is knowing the difference.
This guide covers the causes, the types, and the smartest ways to fix them.
What Is a Floor Crack?
A floor crack is a split, gap, or break in a concrete slab or floor surface, and it can show up in a basement, garage, or ground-level floor.
Cracks smaller than 0.3mm wide are generally considered a normal part of concrete settling. Anything larger, anything that leaks, or any crack that keeps growing is worth paying closer attention to.
What Causes Floor Cracks?
Floor cracks rarely appear without a reason. Something physical triggers them, and knowing that reason is the only way to fix the problem correctly the first time.
- Concrete Shrinkage: As fresh concrete dries, it loses water and pulls apart slightly, forming small surface cracks in the process.
- Soil Movement: When the ground beneath the slab shifts due to rain, drought, or erosion, the concrete above loses support and begins to crack.
- Hydrostatic Pressure: Groundwater builds up around and under a slab, and that pressure slowly forces its way through, breaking the concrete from below.
- Heavy Loads: Too much weight concentrated in one spot can exceed the slab’s design capacity.
- Temperature Changes: Concrete expands in heat and contracts in cold, and without proper joints, that repeated movement has nowhere to go except into a crack.
- Poor Construction: Missing control joints, too much water in the mix, or a slab poured too thin all make concrete far more likely to crack early on.
Types of Floor Cracks
Not every crack you see tells the same story. The type, pattern, and placement of a floor crack give you real clues about its cause and the urgency of addressing it.
1. Hairline Cracks
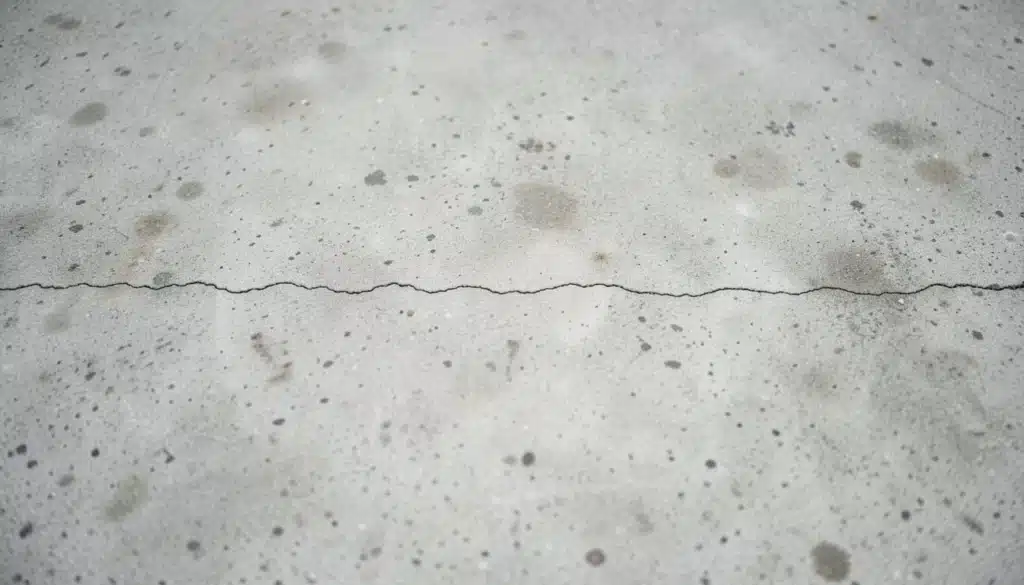
These are very thin cracks, usually under 1/16 inch wide, that form as concrete cures. They are generally cosmetic and do not threaten the structure. That said, sealing them early prevents moisture from entering the slab.
2. Shrinkage Cracks
Shrinkage cracks spread in a random or web-like pattern across the slab surface during the first few weeks after pouring. They form when concrete loses moisture too quickly or when the mix contains too much water. Most are not structural, but they create open paths for water over time.
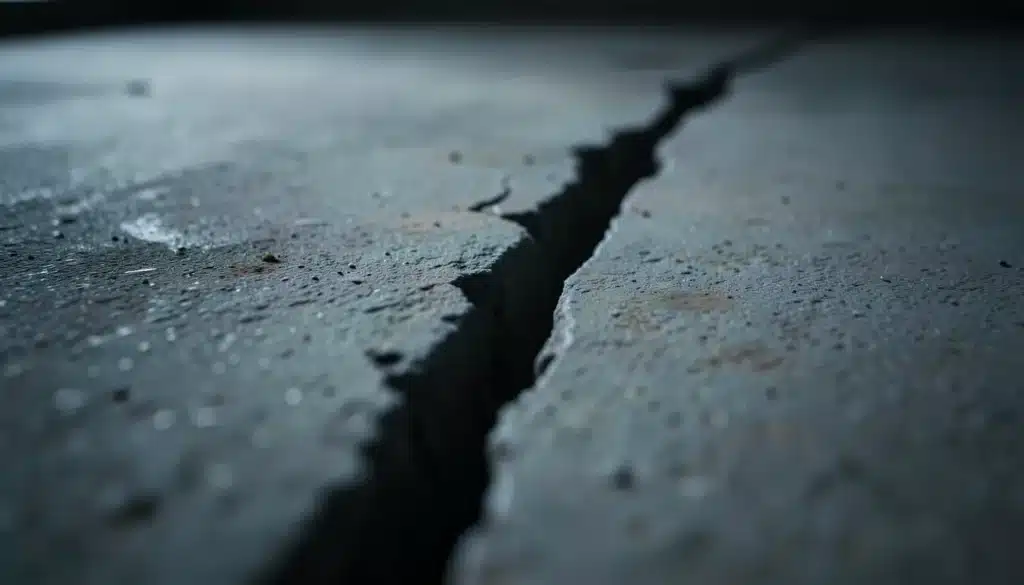
3. Settlement Cracks

These form when the soil under the slab compresses unevenly, allowing the concrete to drop into the gap. One side of the crack is often higher than the other. Without attention, they grow wider, create uneven surfaces, and become both a trip hazard and a structural concern.
4. Heaving Cracks
Heaving happens when soil beneath the slab expands and pushes the concrete upward. This is most common in areas with clay-rich soil that swells when water is absorbed. In colder climates, frozen ground can do the same thing. These cracks tend to spread and need a professional to fix them properly.
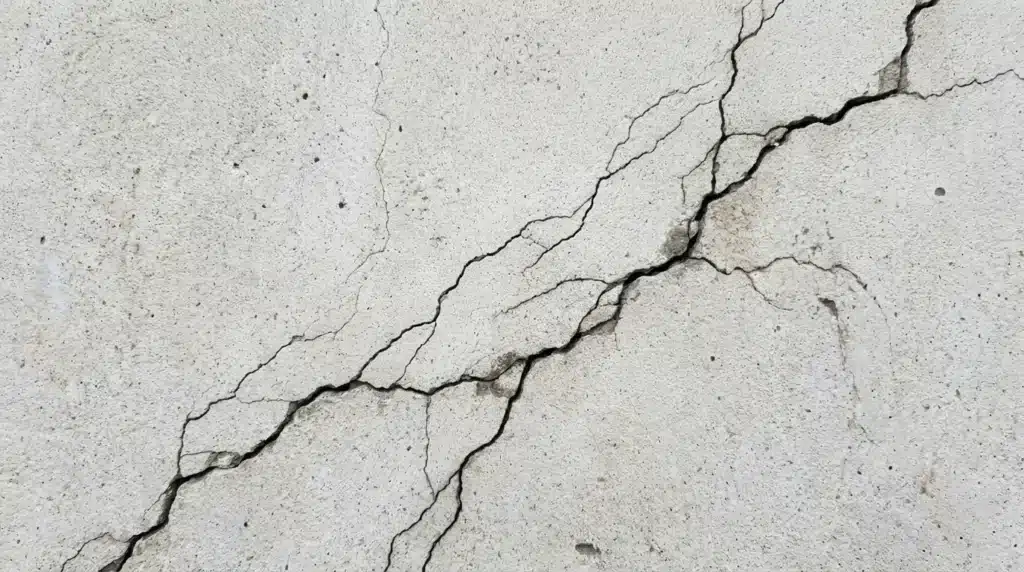
5. Structural Cracks
Wide, deep, and often running diagonally, structural cracks are the most serious. They signal that the foundation itself is under stress from overloading, poor construction, long-term soil shifting, or water damage. A structural engineer should assess these without any delay.
6. Crazing Cracks

Crazing appears as a fine spiderweb of surface cracks across the slab. It forms when the top layer of concrete dries faster than the layers below it. In most cases, it is purely cosmetic. Applying a penetrating sealer early helps stop it from spreading further.
Is Your Floor Crack Serious? Here Is How to Tell
Size, shape, and behavior are the three things that separate a harmless crack from a serious one. This table gives you a quick way to read what the crack in your floor might be telling you.
| What You See | What It Likely Means |
|---|---|
| Crack under 1/8 inch wide, both sides are level | Usually cosmetic, monitor for over 30 days |
| Crack wider than 1/4 inch | May point to a structural issue |
| One side of the crack sits higher than the other | Settlement or heaving is likely the cause |
| Crack is wet, or water seeps through it | Needs sealing without delay |
| Crack is still growing longer or wider | Active issue, get a professional involved |
| White, chalky residue around the crack | Water has been moving through the slab regularly |
| Cracks forming in a circular or fan-shaped pattern | Possible soil failure directly beneath |
| Mold is growing near the crack | Moisture has been sitting there for some time |
Pro Tip: Mark the ends of any cracks with a pencil and write the date next to each one. Check it again in 30 days. If it has grown, the crack is still active and needs professional attention.
Warning Signs Your Floor Crack Is Serious
Some cracks are easy to dismiss, but specific signs tell you to act right away.
If the crack is wider than 1/4 inch, shows one side sitting higher than the other, leaks water, or keeps returning after being filled, do not wait.
The same urgency applies if doors and windows in your home have started sticking, floors feel uneven underfoot, or you spot gaps forming between the floor and your baseboards.
According to the National Association of Home Builders, interior slab cracks wider than 3/16 inch or showing any vertical rise typically require professional repair. These are not cosmetic problems.
How to Fix a Floor Crack: DIY vs. Professional Repair
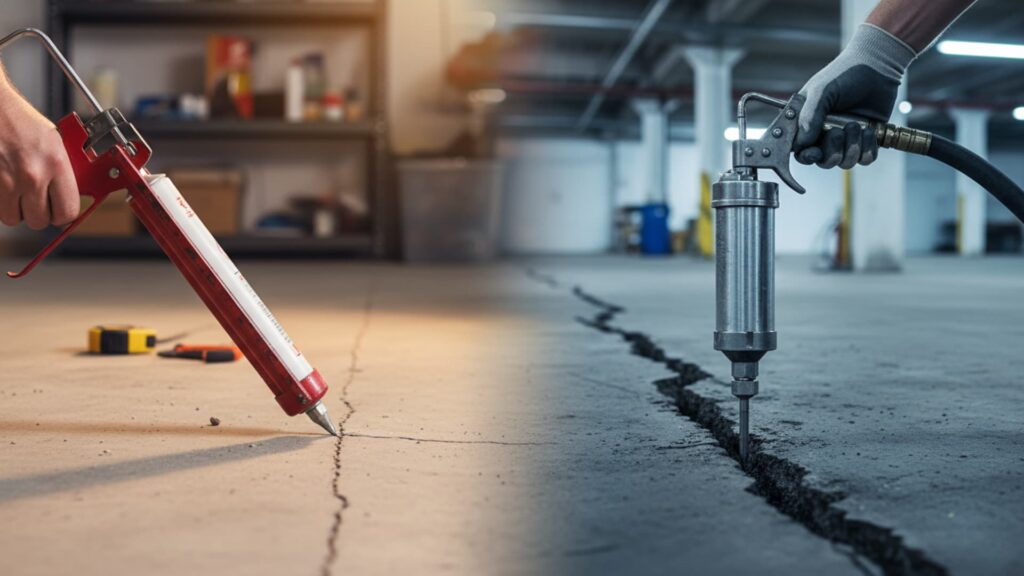
The right repair depends on what caused the crack, not just how it looks. Patching a settlement crack the same way you would seal a hairline crack is one of the most common and costly mistakes a property owner can make. Get the method right first, and the fix will actually hold.
DIY Repair
Small, stable, and dry cracks are fair game for a DIY fix. If the crack has not grown in 30 days, sits level on both sides, and shows no sign of moisture, you can handle it yourself with the right materials and a bit of patience.
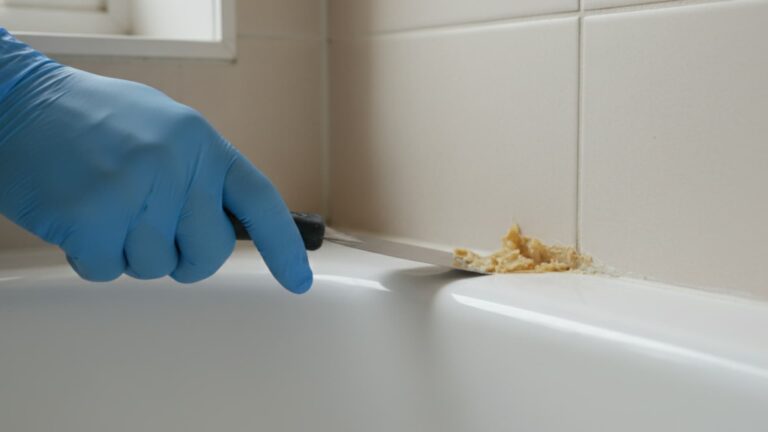
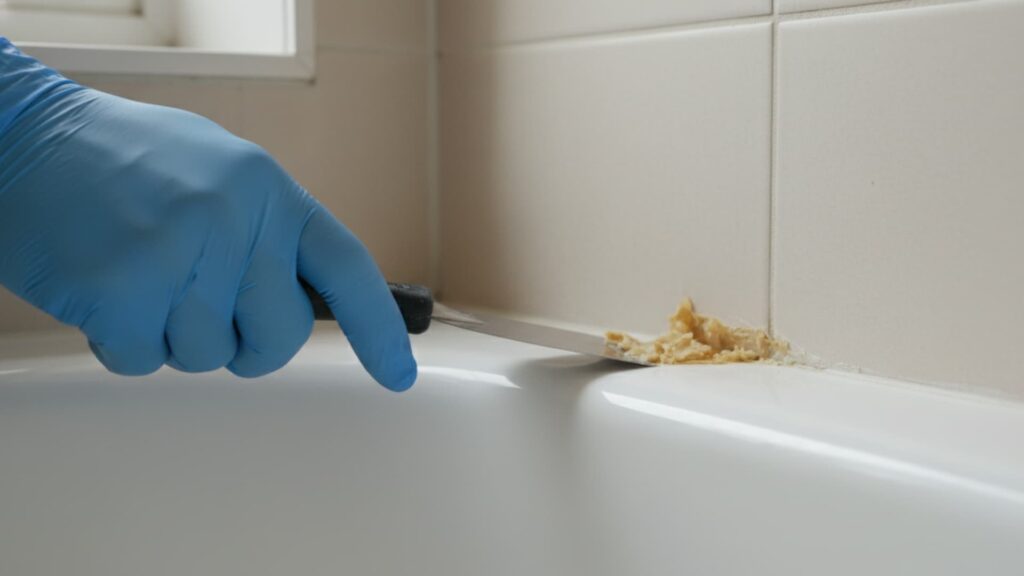
- Start with a clean surface. Use a wire brush to scrub out any loose debris inside the crack, then vacuum it thoroughly. Filler bonds to clean concrete, not dust and crumble.
- Under 1/32 inch: Apply a penetrating concrete sealer directly into the crack. It wicks in by capillary action and seals fine cracks without any filler needed.
- 1/32 to 1/8 inch: Load a polyurethane crack filler into a caulking gun and press it into the crack. Slightly overfill it, then scrape the surface flush with a putty knife once it sets.
- 1/8 to 1/4 inch: Use a two-part epoxy filler for a harder, stronger bond. For cracks deeper than 3/16 inch, place a foam backer rod inside first to control the depth of the filler.
- Let it cure properly. Keep foot traffic off the repaired area for at least 24 hours. Rushing this step is what causes most DIY repairs to chip or peel early.
Important: A DIY repair seals the surface. If the soil movement, water pressure, or construction issue that caused the crack persists, the crack will return. Surface patching without fixing the root cause is a short-term fix at best.
When to Call a Professional
Some cracks go beyond what a tube of filler can handle. If any of the following are true, skip the hardware store run and call a foundation specialist instead.
- The crack is wider than 1/4 inch, or one side sits visibly higher than the other
- Water is actively seeping through the crack
- A previous repair has already failed, or the crack has reopened
- The crack has spread to a nearby wall or is growing longer over time
- Doors or windows in the home have started sticking or no longer close flush
- The floor feels soft, springy, or uneven when you walk across it
- You see white chalky residue or mold forming near the crack
Trying to patch a structural floor crack with a DIY kit is like covering a leak with tape. It may look fine for a little while, but the underlying pressure will win eventually. A professional finds the cause, not just the crack.
Common Professional Methods
- Epoxy injection: Bonds both sides of the crack back together and restores structural strength to the slab.
- Polyurethane injection: Stays flexible after curing, making it the right choice when waterproofing is the main concern.
- Slab piers or helical piers: Steel supports driven deep into stable soil to stop settlement and bring a dropped slab back to level.
- Polymer injection: Stabilizes shifting or expanding soil directly beneath the slab to stop further movement.
- Interior drainage and sump pump systems: Relieve hydrostatic water pressure so it stops forcing its way through floor cracks.
How Much Does Floor Crack Repair Cost?
Repair costs vary based on the type of crack, the cause, and the extent of the damage. Getting a professional inspection before committing to any repair gives you an accurate picture of what you are actually dealing with.
| Repair Type | Estimated Cost |
|---|---|
| DIY sealer for hairline cracks | $10 to $50 |
| Contractor crack fill, standard | $300 to $800 |
| Epoxy or polyurethane injection | $500 to $1,500 |
| Settlement repair with slab piers | $1,500 to $5,000+ |
| Soil stabilization or polymer injection | $1,000 to $4,000 |
| Full floor replacement after severe damage | $5,000 to $20,000+ |
A crack that costs $300 to seal today can become a $3,000 repair if left alone for another year. Acting early always costs less.
How to Prevent Floor Cracks?
Prevention starts at the construction stage, but there is plenty you can still do after the fact. Keep gutters and downspouts directing water well away from your foundation.
Seal your concrete floor every 3 to 5 years to block moisture from working its way in. Fix plumbing leaks quickly, since water sitting under a slab is one of the fastest ways to cause soil movement.
Avoid placing very heavy objects in one concentrated spot on the floor. And make it a habit to check your basement and garage floors once a month, noting any new or growing cracks before they get worse.
Small problems stay small only when you catch them early.
Final Thoughts
Floor cracks are not always a reason to panic, but they are never something to completely ignore. A small, stable crack in a dry area is usually fine with a quick seal and some monitoring.
A wide, wet, or growing crack is a different story. The size, shape, and behavior of a crack tell you more than the crack itself ever could.
Now that you know what to look for and what the different types mean, the next step is yours.
Have you spotted a floor crack in your home? Tell us where it is, what it looks like, and what you have tried. Drop your thoughts in the comments below.
Frequently Asked Questions
What Does a Structural Crack Look Like?
A structural crack is usually wide, deep, and runs diagonally across the floor or from the corners of the slab. It often shows one side sitting higher than the other, and it tends to keep growing over time.
When to Worry About Structural Cracks?
Worry when a crack is wider than 1/4 inch, shows vertical displacement, leaks water, or keeps coming back after being filled. Any crack that causes doors to stick or floors to feel uneven is a clear sign to call a professional right away.
What Do Stress Cracks Look Like?
Stress cracks are typically thin, straight, or slightly diagonal lines that run across the surface of the floor. They usually appear near high-load areas or where the slab has no control joints to manage internal tension.
How to Tell If a Crack Is Structural?
Check three things: width, displacement, and growth. If the crack is wider than 1/4 inch, one side is higher than the other, or it has grown since you first noticed it, treat it as structural until a professional tells you otherwise.