
Store-bought mantels cost $500 to $2,000. Custom contractor work? Even more expensive. But building your own fireplace mantel costs under $150 and takes just one weekend.
This guide walks you through every step, from choosing the right wood to mounting it securely on your wall. You’ll learn how to measure properly, cut accurate pieces, and create professional-looking finishes.
We’ll cover popular design styles, safety codes you must follow, and common mistakes that waste time and money.
By the end, you’ll have the skills and confidence to build a beautiful diy fireplace mantel that transforms your living space.
Why Build Your Own DIY Fireplace Mantel?
Building your own fireplace mantel gives you complete control over your home’s design. You can create exactly what you want at a fraction of the cost. Plus, it’s a satisfying project that adds real value to your living space. Many homeowners find that a custom mantel becomes the room’s centerpiece.
Benefits of a DIY Mantel:
- Personalized design and custom sizing: You can fit your mantel to your exact fireplace dimensions and match your home’s style perfectly.
- Cost savings vs. store or contractor options: DIY mantels typically cost 50-70% less than hiring a contractor or buying pre-made designer pieces.
- Adds architectural character and a focal point: A well-built mantel draws the eye and makes your fireplace the room’s main feature.
- Opportunity to learn woodworking skills: This project teaches measuring, cutting, and finishing techniques you’ll use for years.
How to Build a DIY Fireplace Mantel: Step-by-Step
Ready to build your own mantel? Follow these five simple steps to create a professional-looking diy fireplace mantel. Each step builds on the last, taking you from planning to final styling.
Tools & Materials You’ll Need:
| Category | Item | Options/Details | Purpose |
|---|---|---|---|
| Materials | Wood | Pine (budget, easy to cut), Oak (traditional, durable), Maple (smooth, modern), Reclaimed (rustic, unique) | Main mantel structure |
| Materials | Fasteners | 2.5” wood screws, finish nails, wood glue | Secure assembly and mounting |
| Materials | Finishes | Stain, paint, heat-resistant polyurethane | Protection and appearance |
| Tools | Measuring | Tape measure, level, pencil | Accurate cuts and straight installation |
| Tools | Power Tools | Miter saw, drill, pocket hole jig | Professional joints and clean cuts |
| Tools | Safety Gear | Goggles, gloves, and a dust mask | Eye, hand, and lung protection |
Step 1: Plan & Prepare
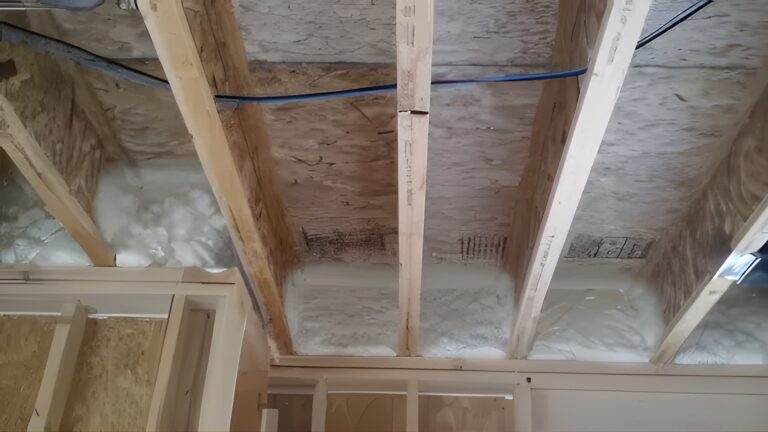
Start with accurate measurements to avoid expensive mistakes. Select quality lumber and let it acclimate in your home. Check local building codes for required clearances from the firebox.
- Measuring the fireplace opening and choosing mantel size: Record the exact width of your fireplace opening, then add 3-6 inches to each side for proper proportion.
- Selecting and preparing lumber: Choose straight boards without warps or large knots, then store them flat for 48 hours before cutting.
- Accounting for wood movement: Use kiln-dried lumber and run grain horizontally to minimize seasonal cupping and warping.
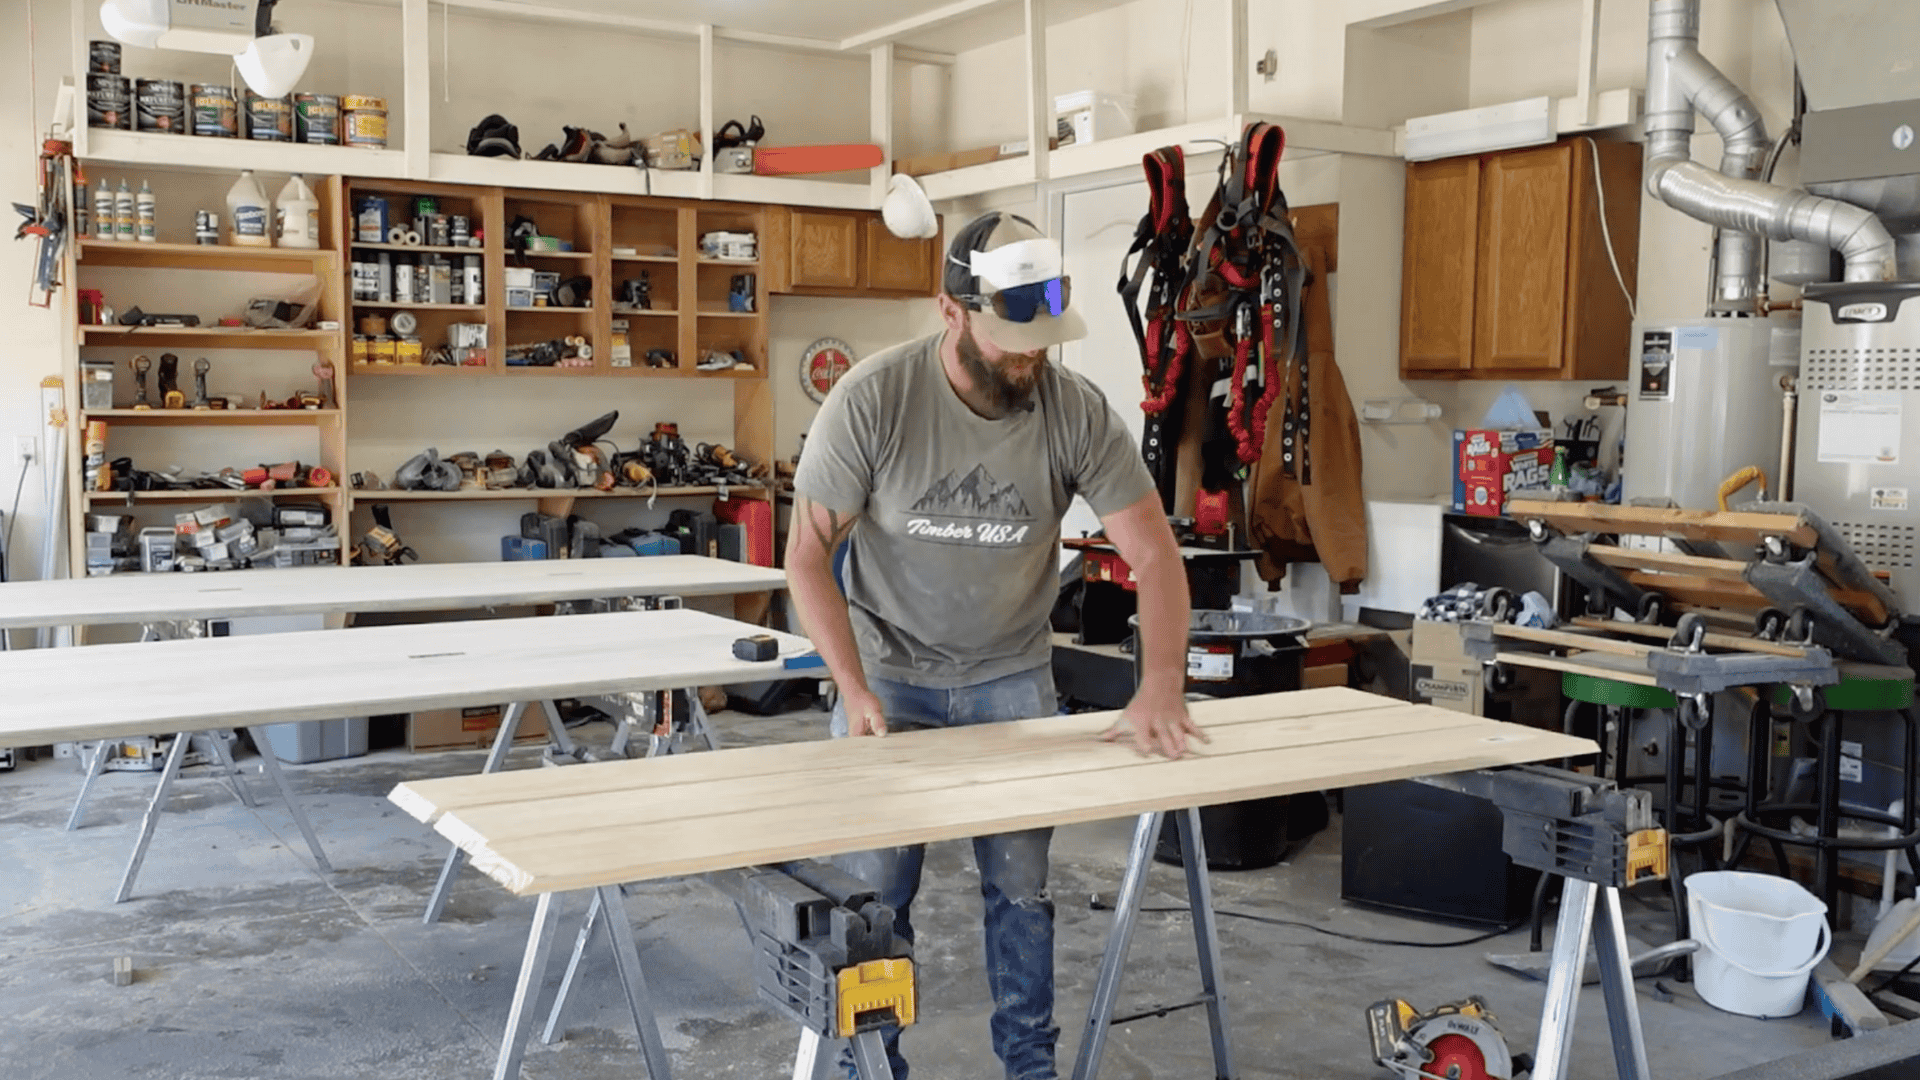
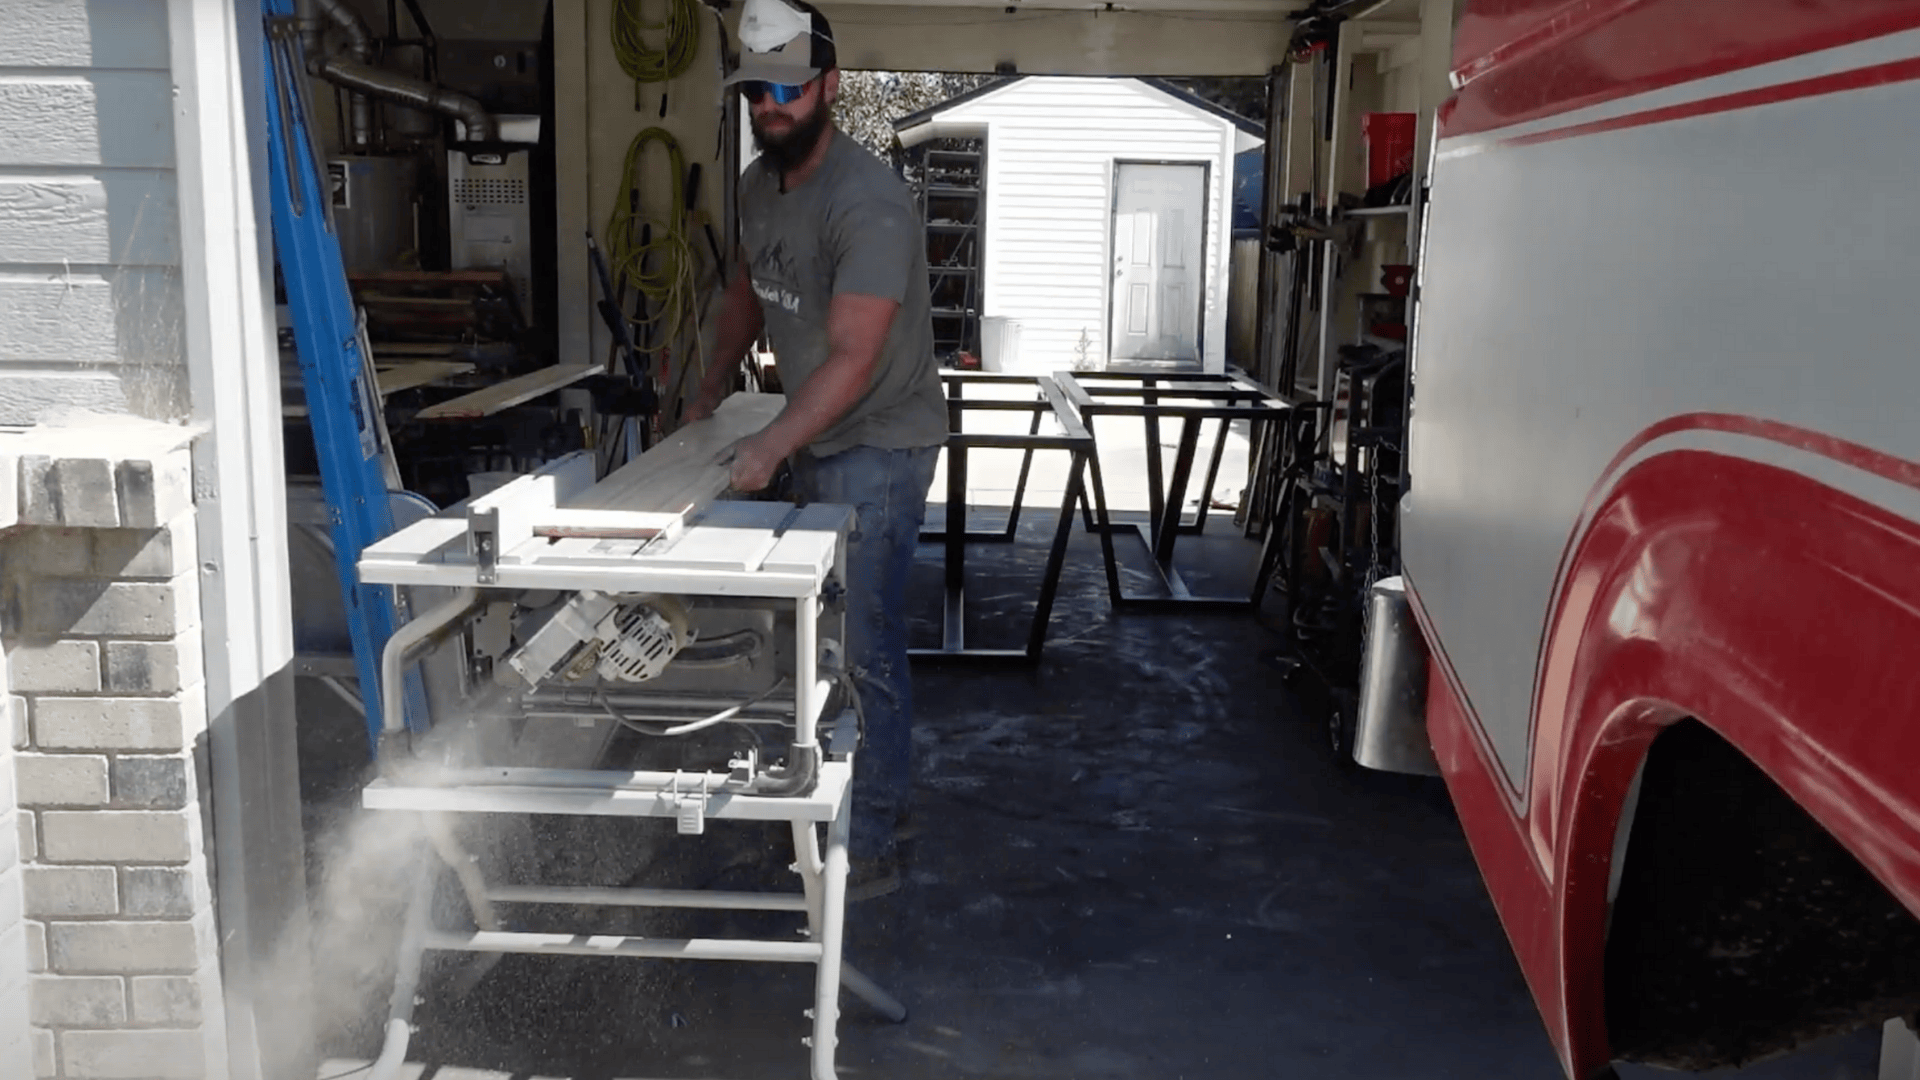
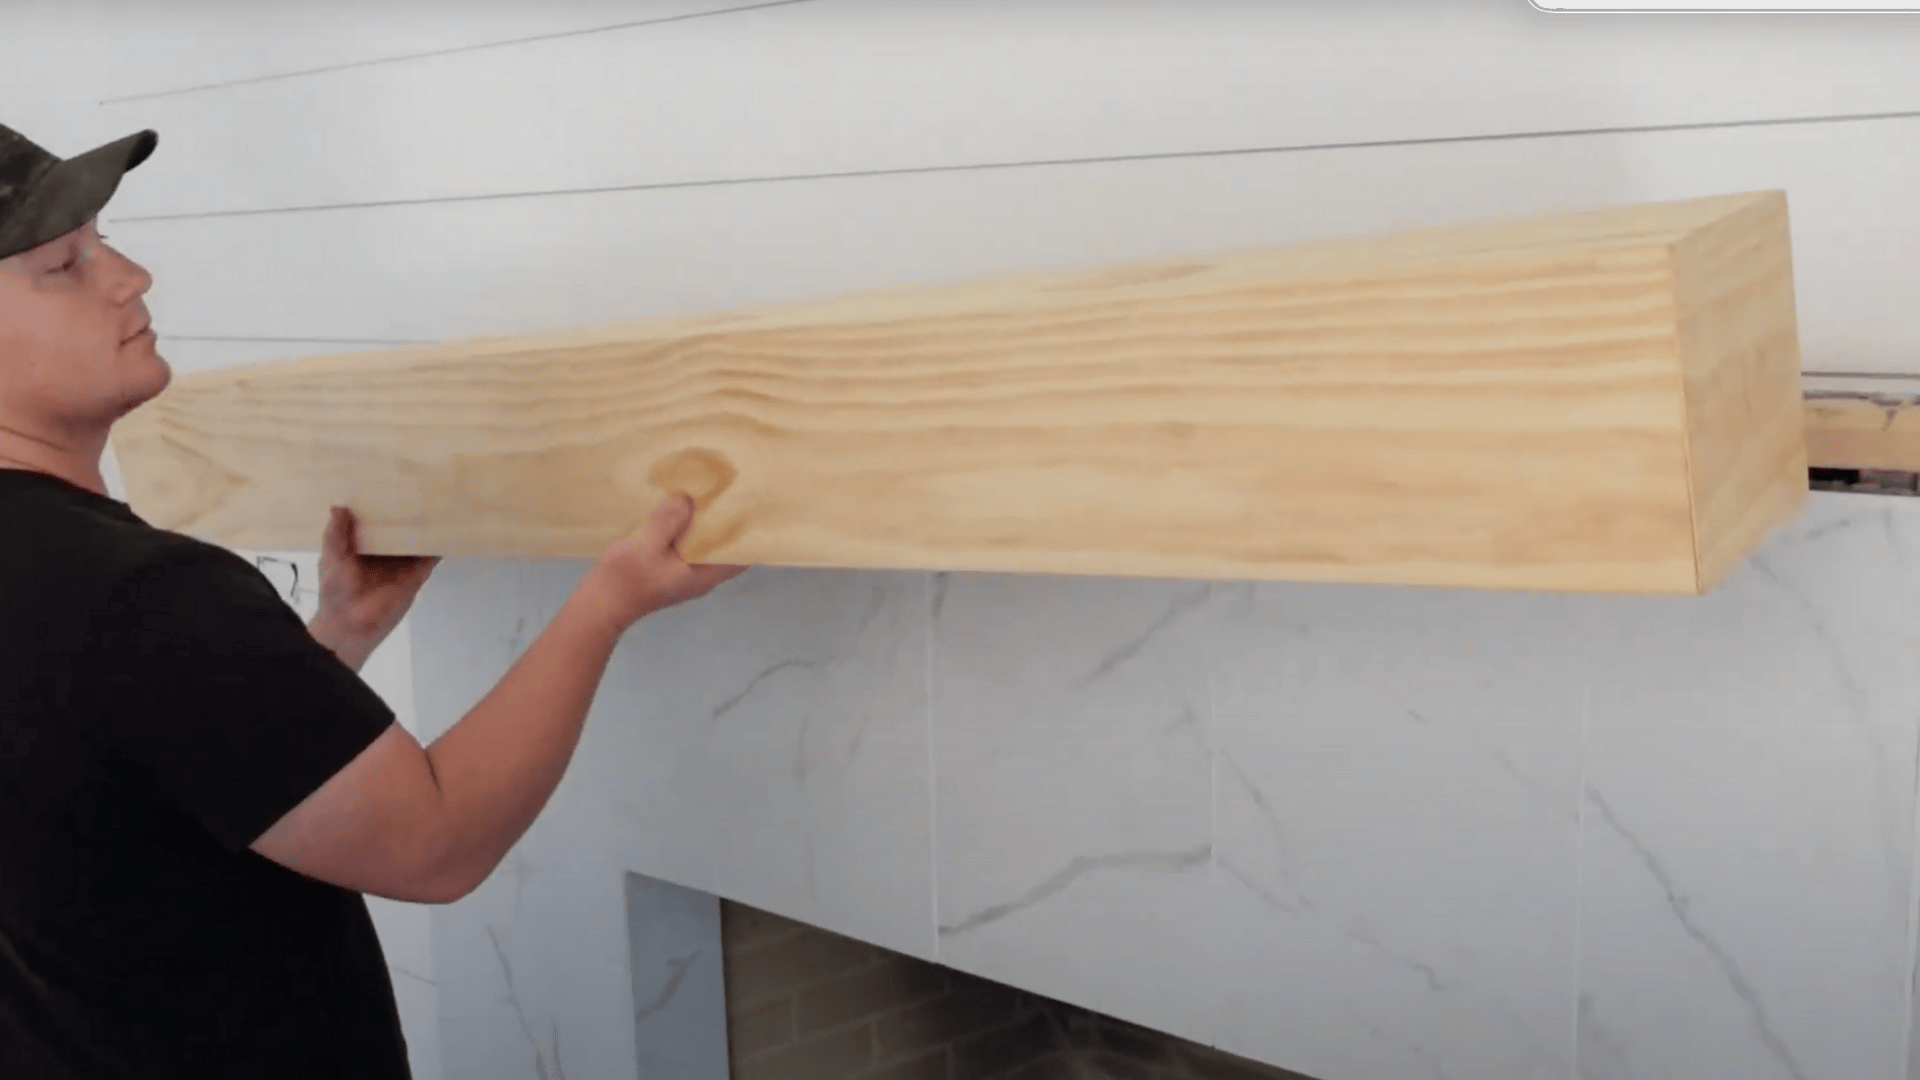
Step 2: Cut & Assemble
Precise cuts create professional-looking joints that fit together perfectly. Double-check measurements before cutting. Work on a flat surface and dry-fit everything before adding glue or screws.
- Cut all pieces accurately: Cut your main shelf first, then the end caps and L-shaped support brackets to match the dimensions.
- Tips for clean cuts: Use a straightedge guide for straight cuts and test miter angles on scrap wood first.
- Assembly methods: Box style creates depth and hides hardware, while floating builds offer a sleeker appearance with solid beams.
- Joinery techniques: Use pocket holes with wood glue for hidden, strong joints and add corner braces for extra support.
Step 3: Sand & Finish
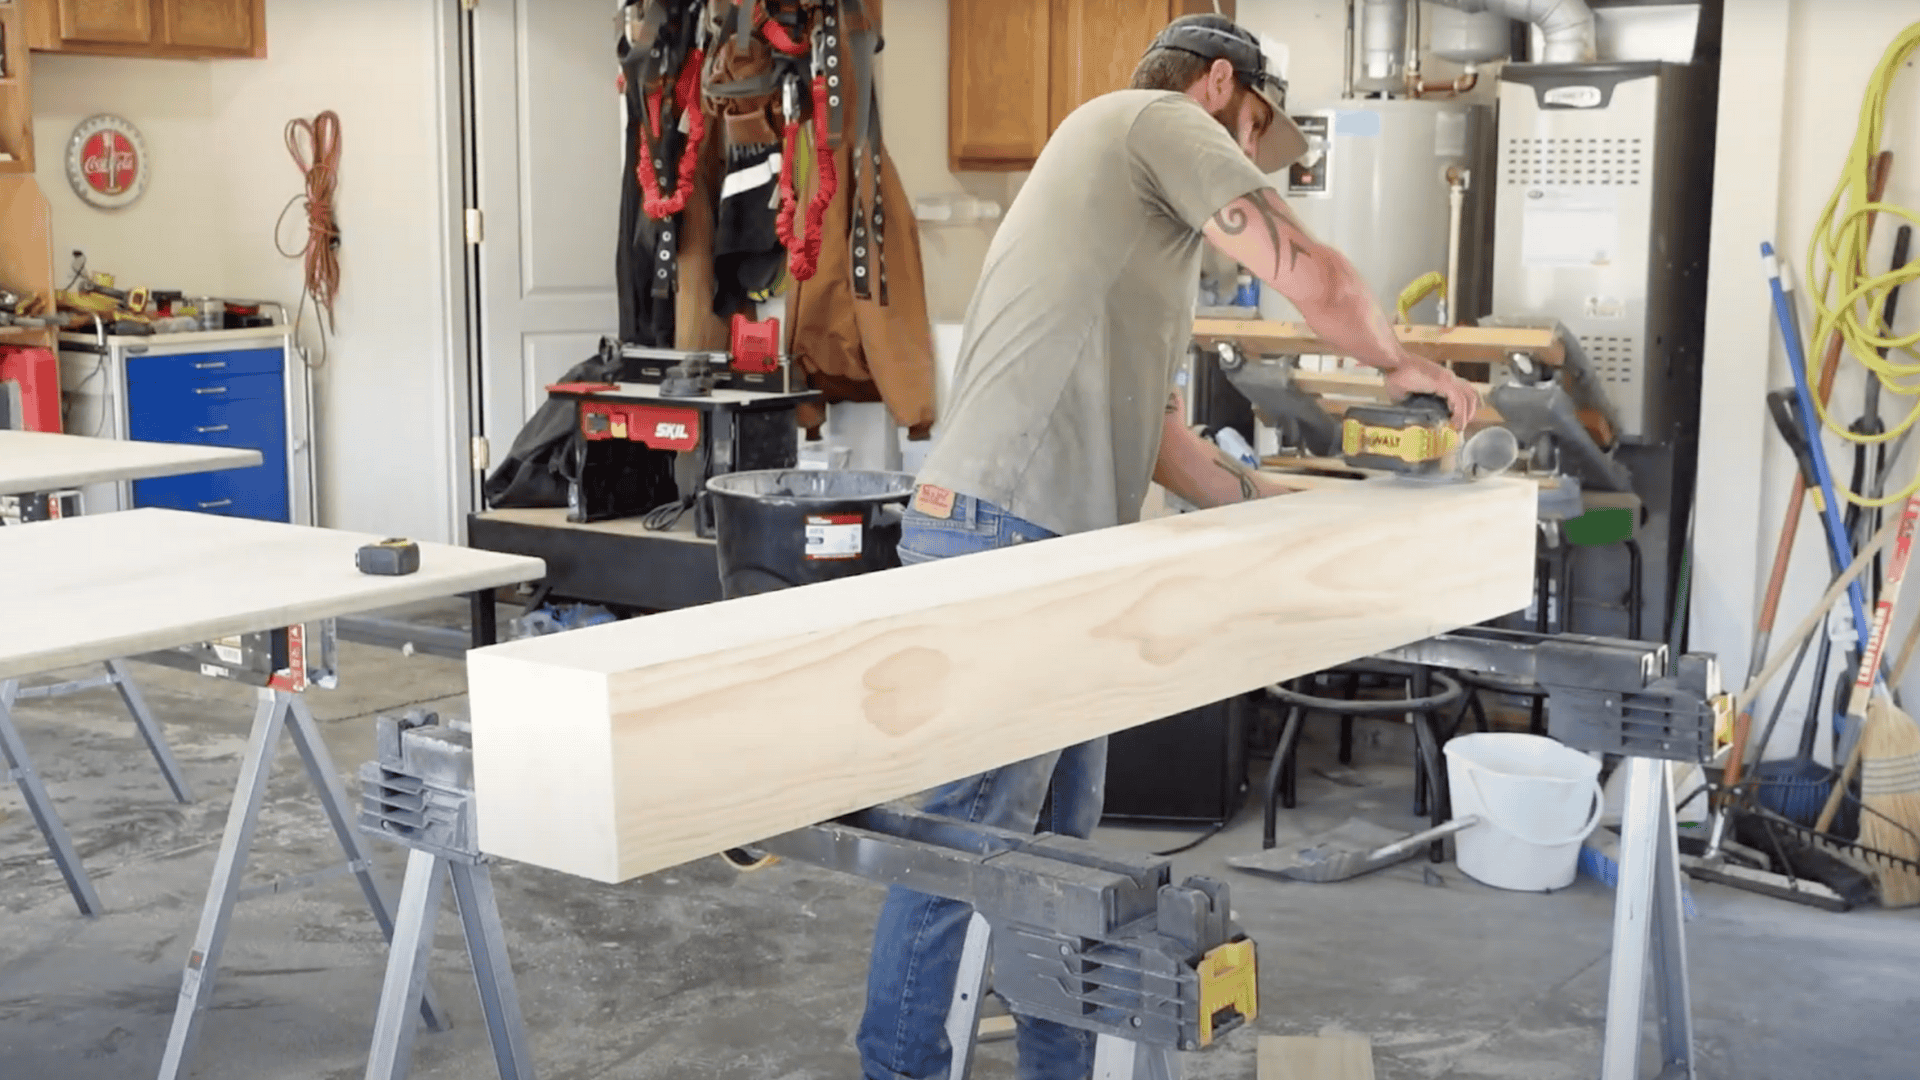
Proper finishing protects your wood and brings out its natural beauty. Sand between each coat for the smoothest surface. Work in a dust-free area with good ventilation for the best results.
- Sanding progression: Progress from 80-grit to 150-grit, then finish with 220-grit for glass-smooth surfaces that feel great.
- Choosing your finish: Stain highlights the natural grain of oak or walnut, while paint covers pine imperfections and matches trim colors.
- Application tips: Apply pre-stain conditioner on pine to prevent blotchy absorption and ensure even color throughout your diy fireplace mantel.
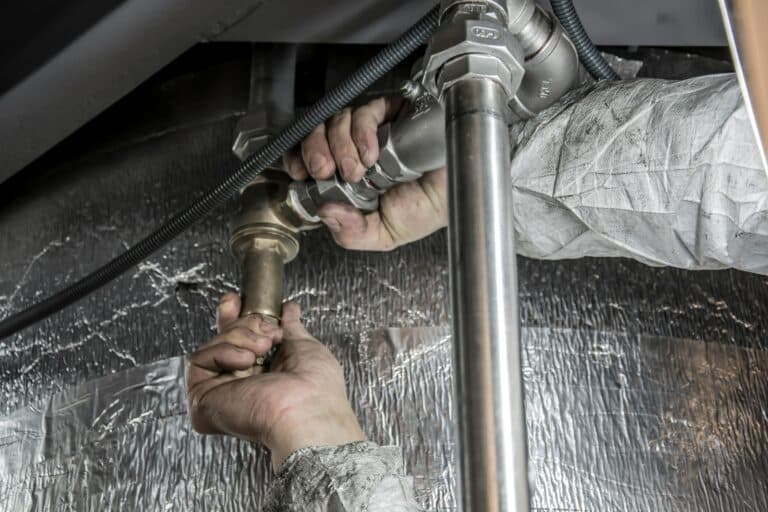
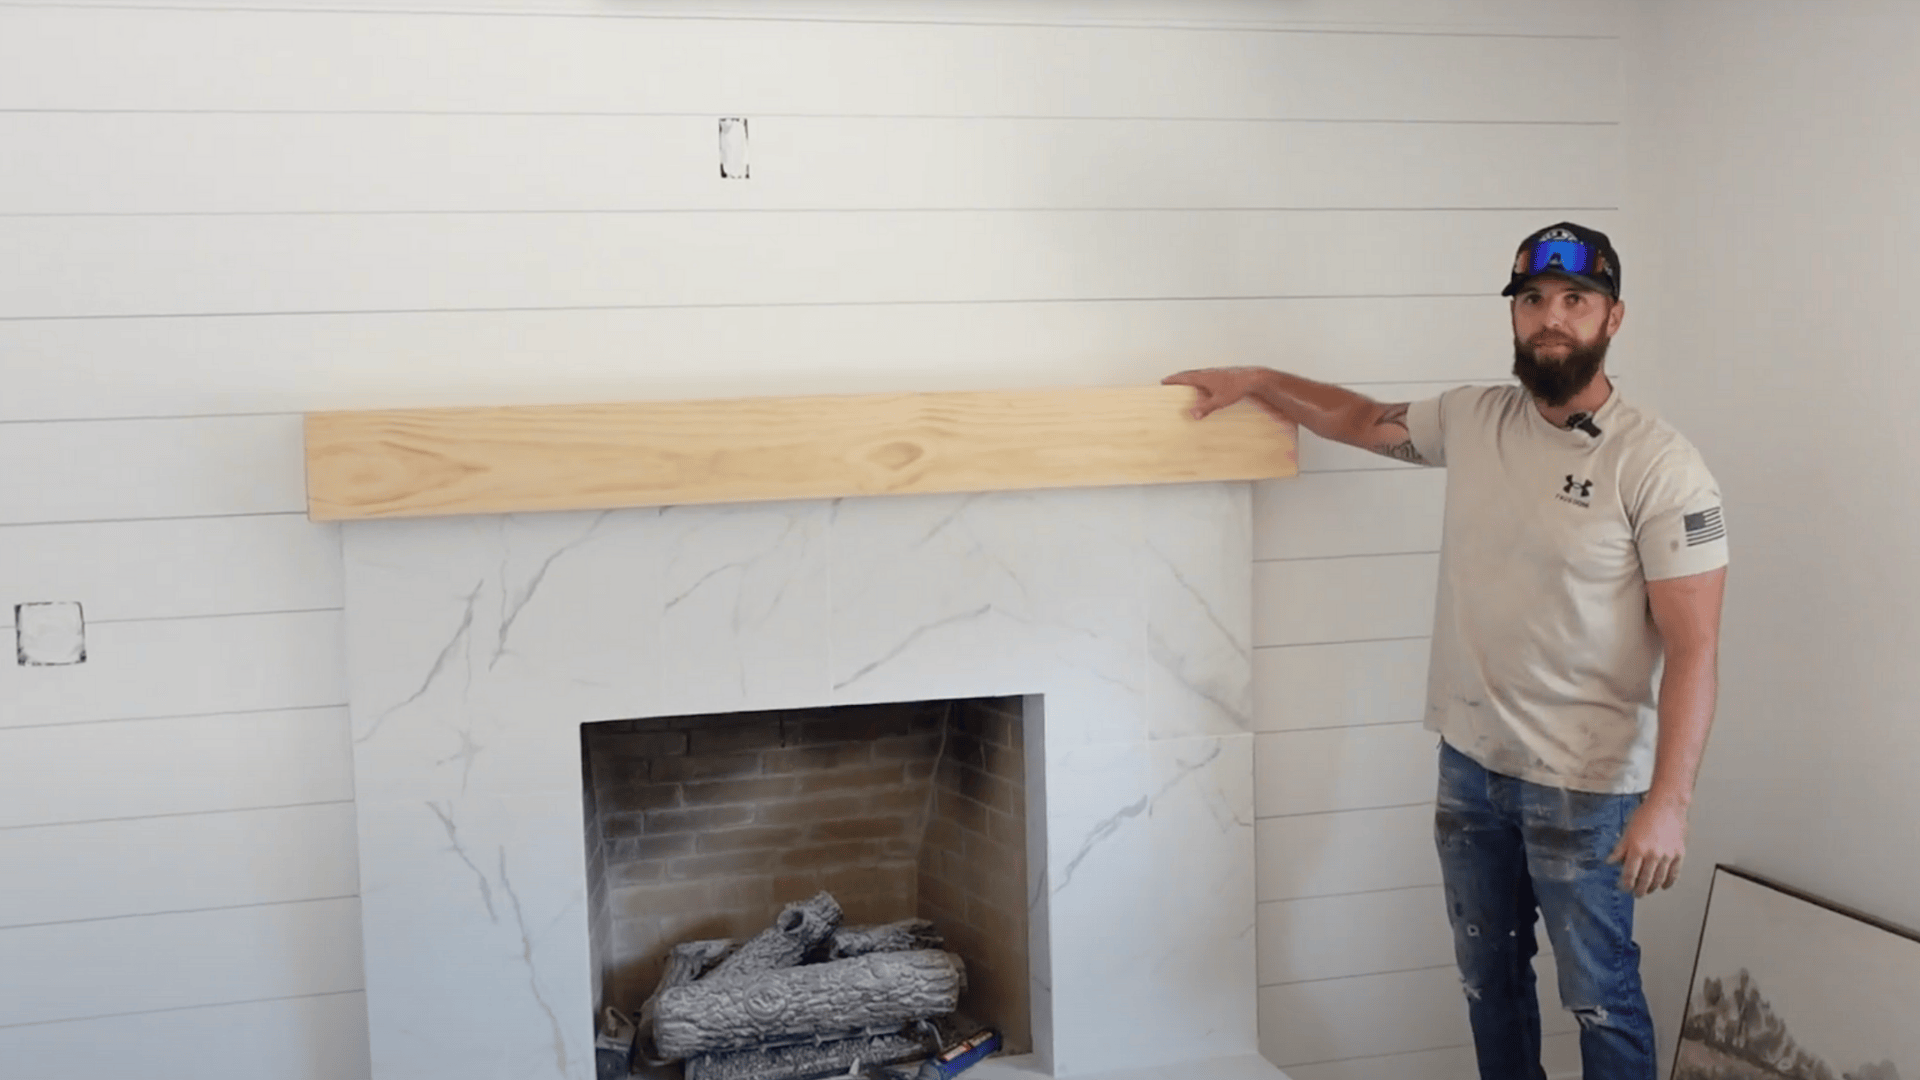
Step 4: Install Securely
Proper installation ensures your mantel stays level and secure for years. Locate and mark all wall studs before drilling. Have a helper hold the mantel while you check the level and mark mounting points.
- Installation by wall type: Use 3-inch lag screws into studs for drywall, tapcon screws for brick, and expansion anchors for stone surfaces.
- Mounting methods: French cleats provide invisible support and easy removal, while lag bolts offer maximum strength with visible hardware.
- Final checks: Use a level to ensure perfect horizontal alignment before tightening all fasteners completely.
Step 5: Decorate & Style
Styling brings personality to your completed diy fireplace mantel project. Group items in odd numbers for visual interest. Leave empty space so the mantel doesn’t look cluttered or overwhelming.
- Seasonal styling: Mix tall and low items, change key pieces each season, and use natural elements like branches for texture.
- Balanced arrangements: Position your largest piece off-center, balance it with smaller items on the opposite side, and lean art rather than hang it for a relaxed style.
Video Tutorial
Special thanks to Nate Halverson for providing valuable insights in their video, which I referenced while creating this guide.
Ways to Customize Your DIY Fireplace Mantel
Your basic mantle is just the starting point. Here are five ways to customize your diy fireplace mantel and make it truly unique to your home.
1. Floating vs Box Construction
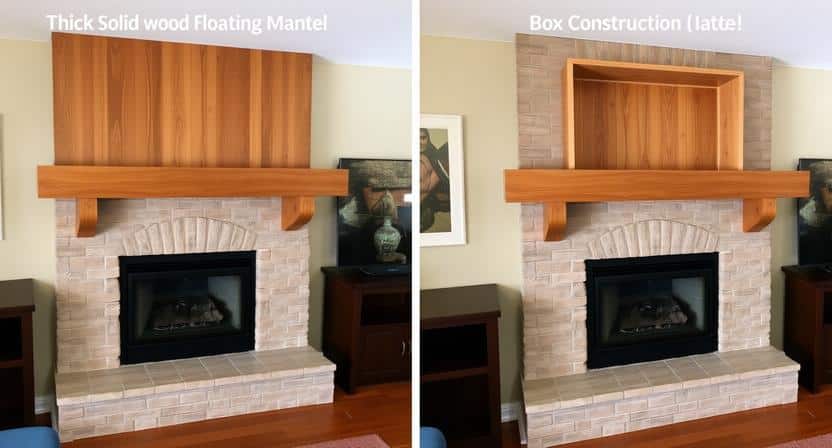
Floating mantels use solid beams or thick boards that appear to hang without visible support. Box construction creates a hollow frame, covered with decorative boards, for added depth and visual weight.
Choose floating for modern spaces, and box style for traditional looks or to hide mounting hardware.
2. Adding Corbels or Brackets
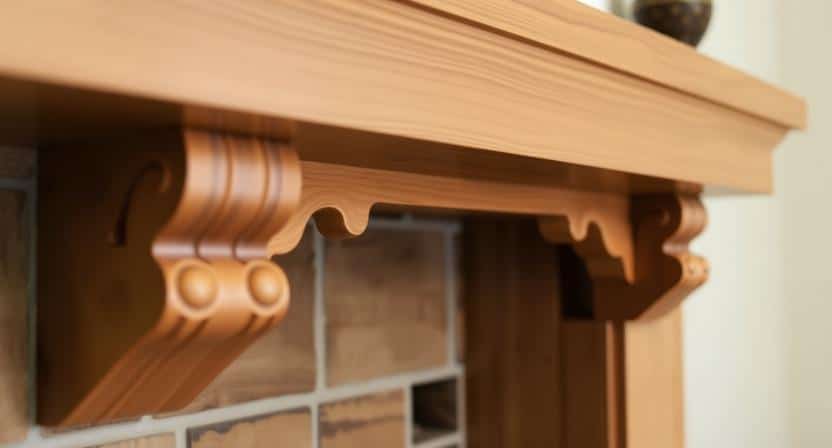
Decorative corbels add traditional charm and appear to support the mantel shelf from below. Metal brackets work well for industrial or farmhouse styles and provide actual structural support.
Install corbels on floating mantels, even if they’re not needed, just for visual interest, spacing them evenly along the length.
3. Stained vs Painted Finish
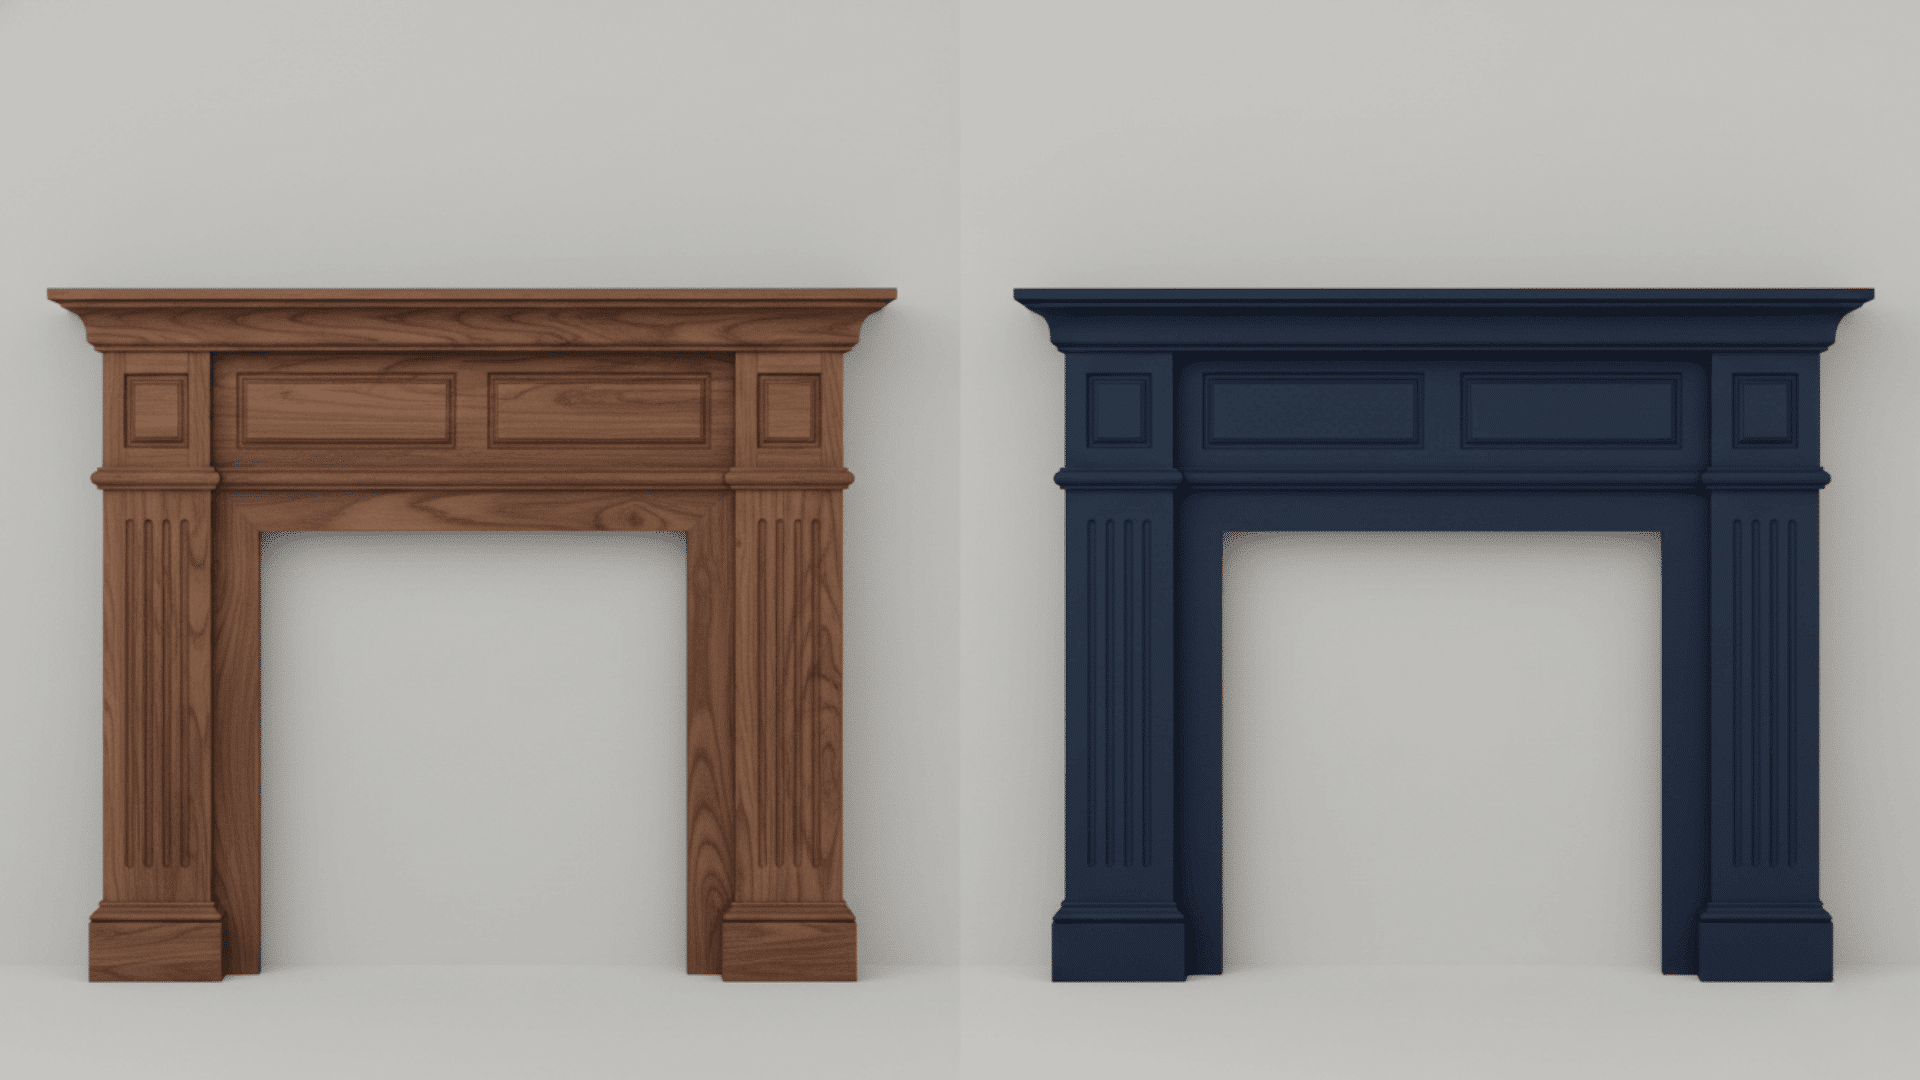
Staining showcases the natural wood grain and works beautifully on oak, walnut, or maple. Painting allows you to match any room color and covers imperfections in cheaper pine lumber.
Mix both by staining the shelf top and painting the base for a two-tone look.
4. Integrated LED Lighting
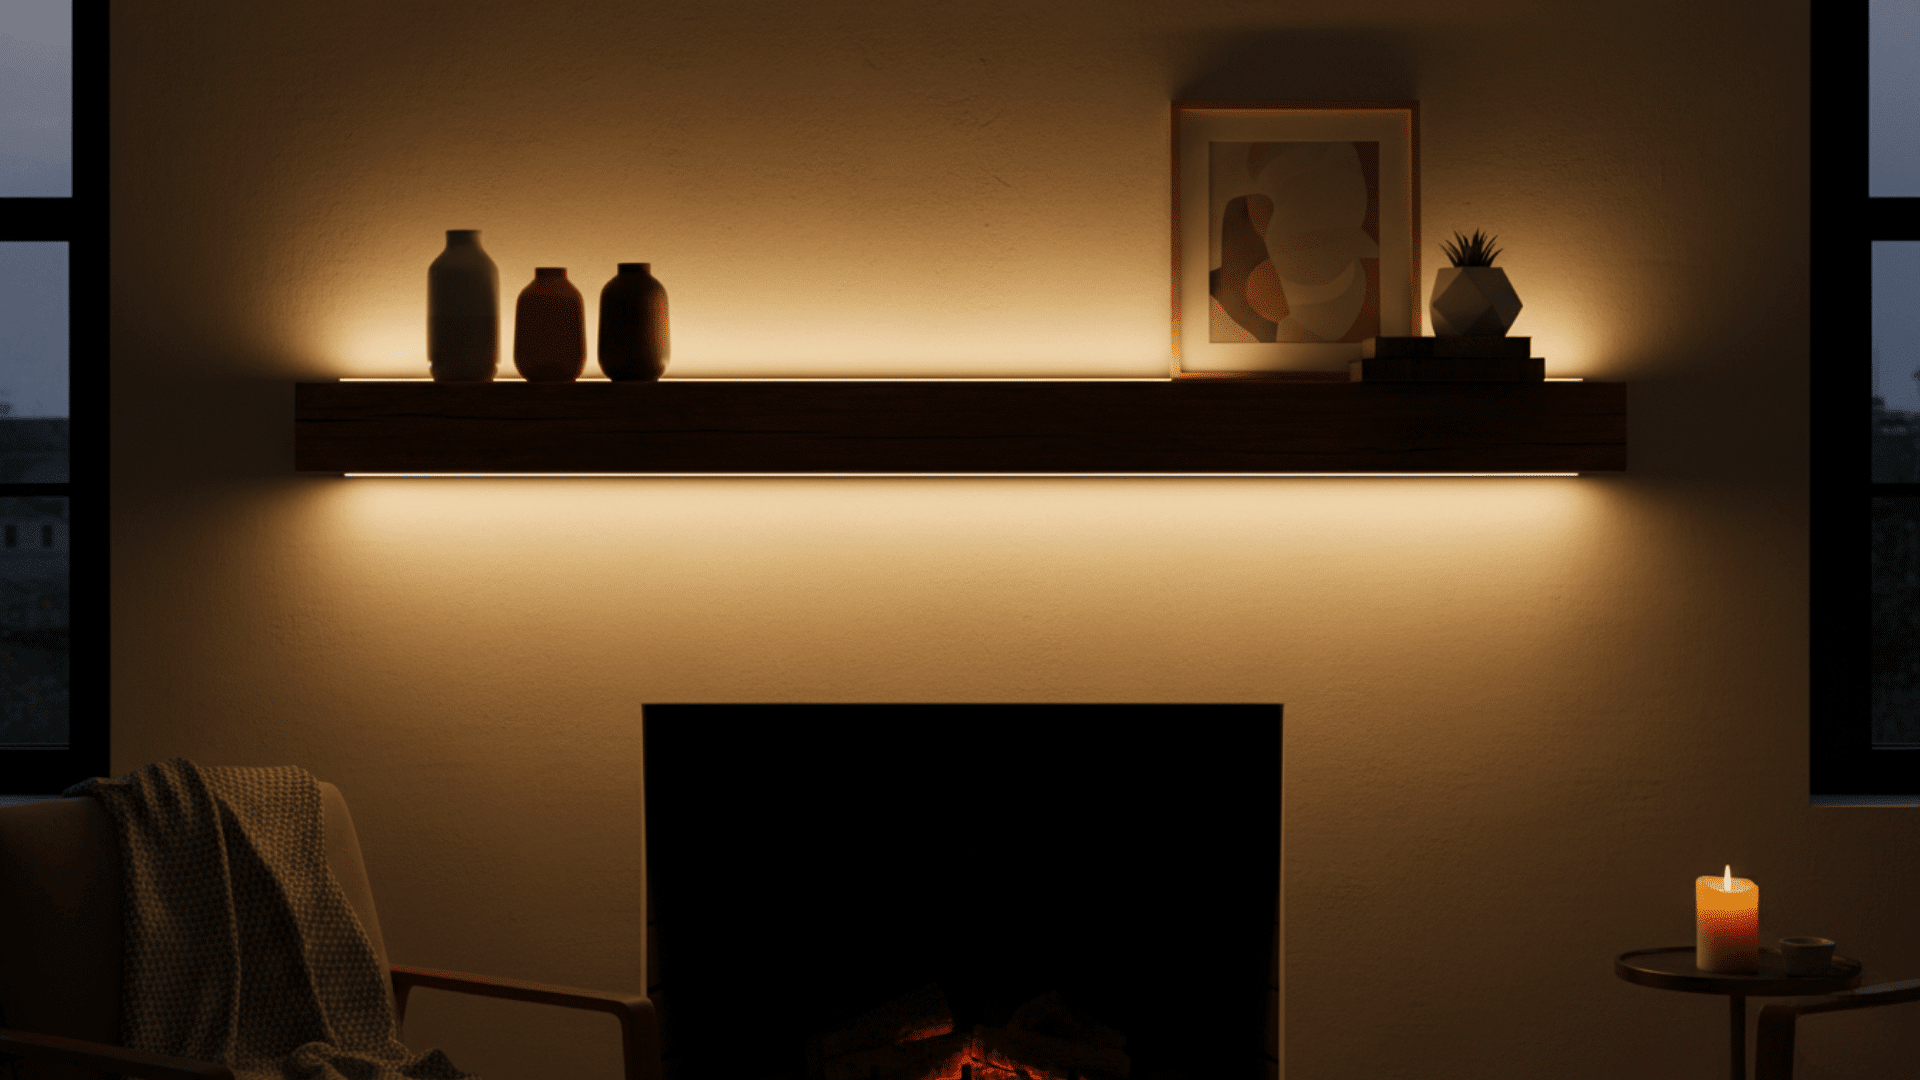
Install LED strip lights under the mantel shelf to create a soft ambient glow. Add small puck lights inside display niches to highlight decorative items or photos.
Use smart LED strips that change colors for holiday themes or different moods throughout the year.
5. Hidden Storage Compartments
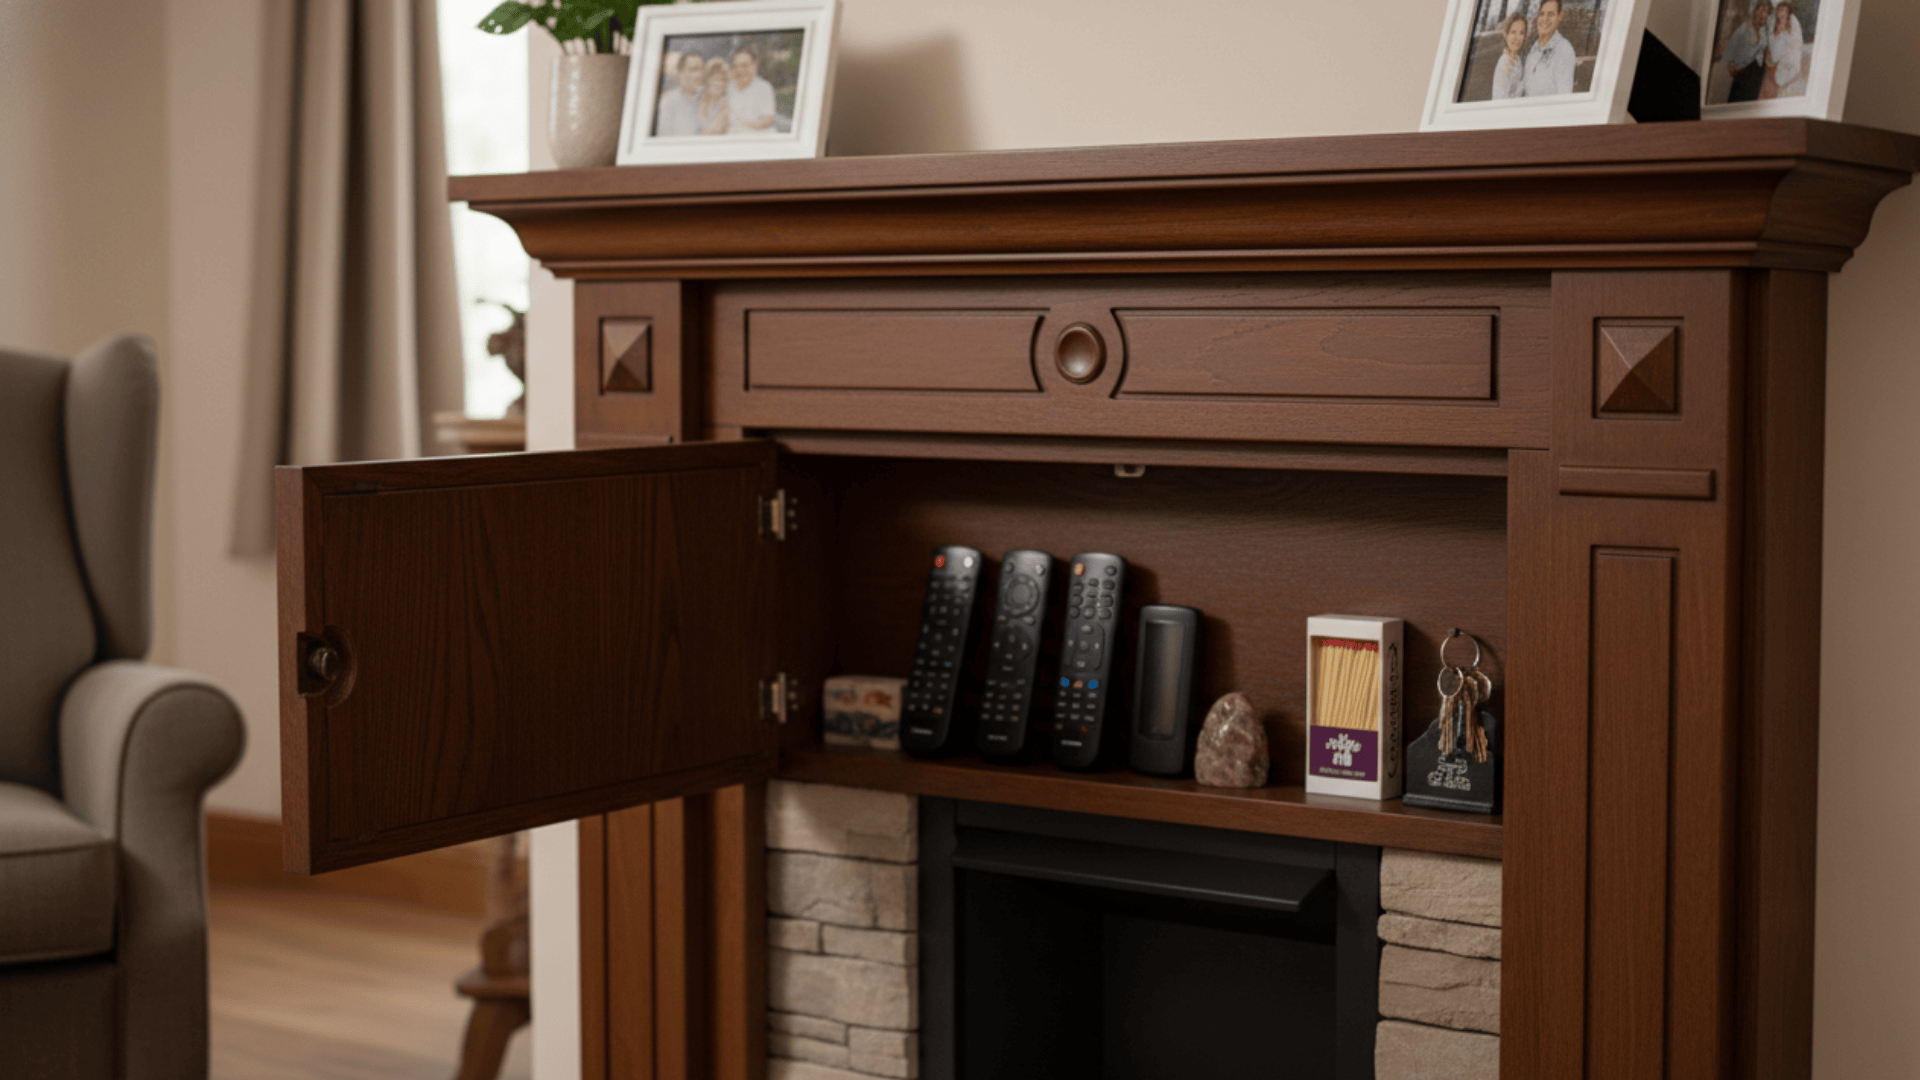
Build your diy fireplace mantel with a hinged top that lifts to reveal storage inside. Add small drawers on the sides that blend into the design for hiding remotes and matches. Create a false back panel that swings open to store seasonal decor when not in use.
What Not to Do When Building Your Mantel
Even experienced builders make mistakes that cost time and money. Learn from these common errors so your diy fireplace mantel project goes smoothly from start to finish.
| Mistake | Why It’s a Problem | How to Prevent It |
|---|---|---|
| Ignoring wood expansion/shrinkage | Wood moves with humidity changes, causing cracks or warping | Use kiln-dried lumber and let it acclimate for 48 hours before building |
| Poor measurement leading to uneven install | Results in a crooked mantel that looks unprofessional | Measure three times, mark stud locations, and use a level during installation |
| Cutting corners on fire-clearance safety | Creates serious fire hazards and code violations | Follow local building codes for clearances and keep combustibles 6+ inches from the firebox |
How to Care for Your Mantel Over Time
Dust your diy fireplace mantel weekly with a soft microfiber cloth to prevent buildup.
For deeper cleaning, use a slightly damp cloth with mild soap, then dry immediately to avoid water damage. Avoid harsh chemicals that can strip the finish or discolor the wood.
Check mounting screws and brackets twice a year to ensure they remain tight and secure. Inspect the finish for scratches or worn spots, then touch up with matching stain or paint as needed.
Tighten any loose corbels or decorative elements before they cause bigger problems.
Final Thoughts
Building your own diy fireplace mantel isn’t just about saving money. It’s about creating something with your own hands that becomes the focal point of your home.
You now have all the tools, steps, and design ideas to make it happen. Start with accurate measurements, choose quality materials, and take your time with each step.
Remember to follow fire safety codes and don’t rush the finishing process. Your first mantel might take a full weekend, but the satisfaction of seeing it in your living room makes every hour worthwhile.
Ready to start? Grab your tools and change that empty fireplace wall today. Share your finished project in the comments below!