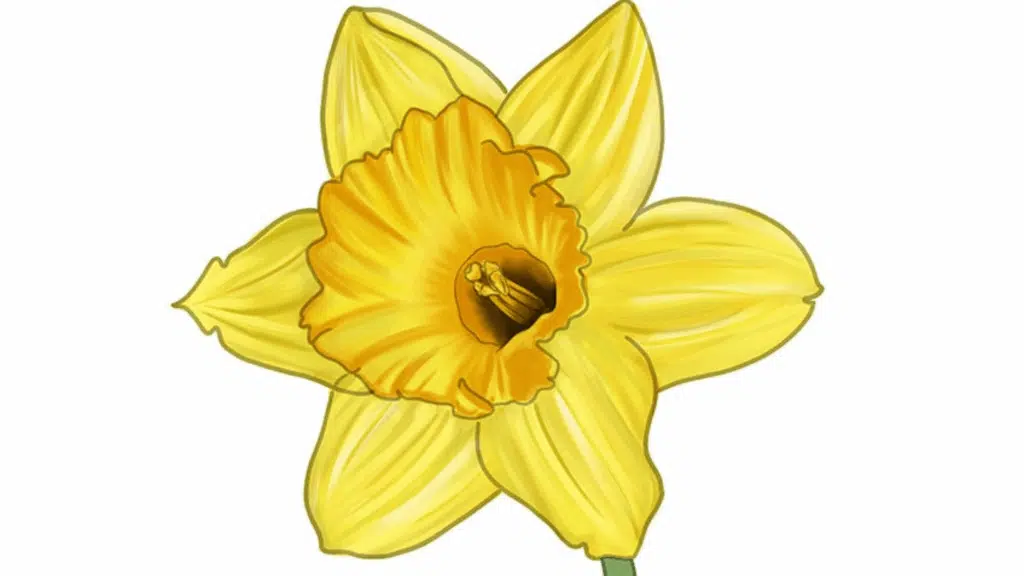
Think of how to draw a daffodil. Here’s the insider secret most art teachers never reveal.
Most people assume daffodils are simple flowers, just draw some petals and call it done. Dead wrong. Art instructors rarely teach the specific techniques that make daffodil drawings actually look realistic.
Students end up with flat, lifeless flowers while the real secrets of capturing their unique trumpet shape and delicate petals remain hidden.
The difference between beginner and expert flower drawings often comes down to understanding these overlooked details.
Easy Daffodil Drawing for Beginners
Drawing a daffodil is simple yet beautiful. Start by sketching the trumpet at the center, then add the principle to position the petals.
Face-On View
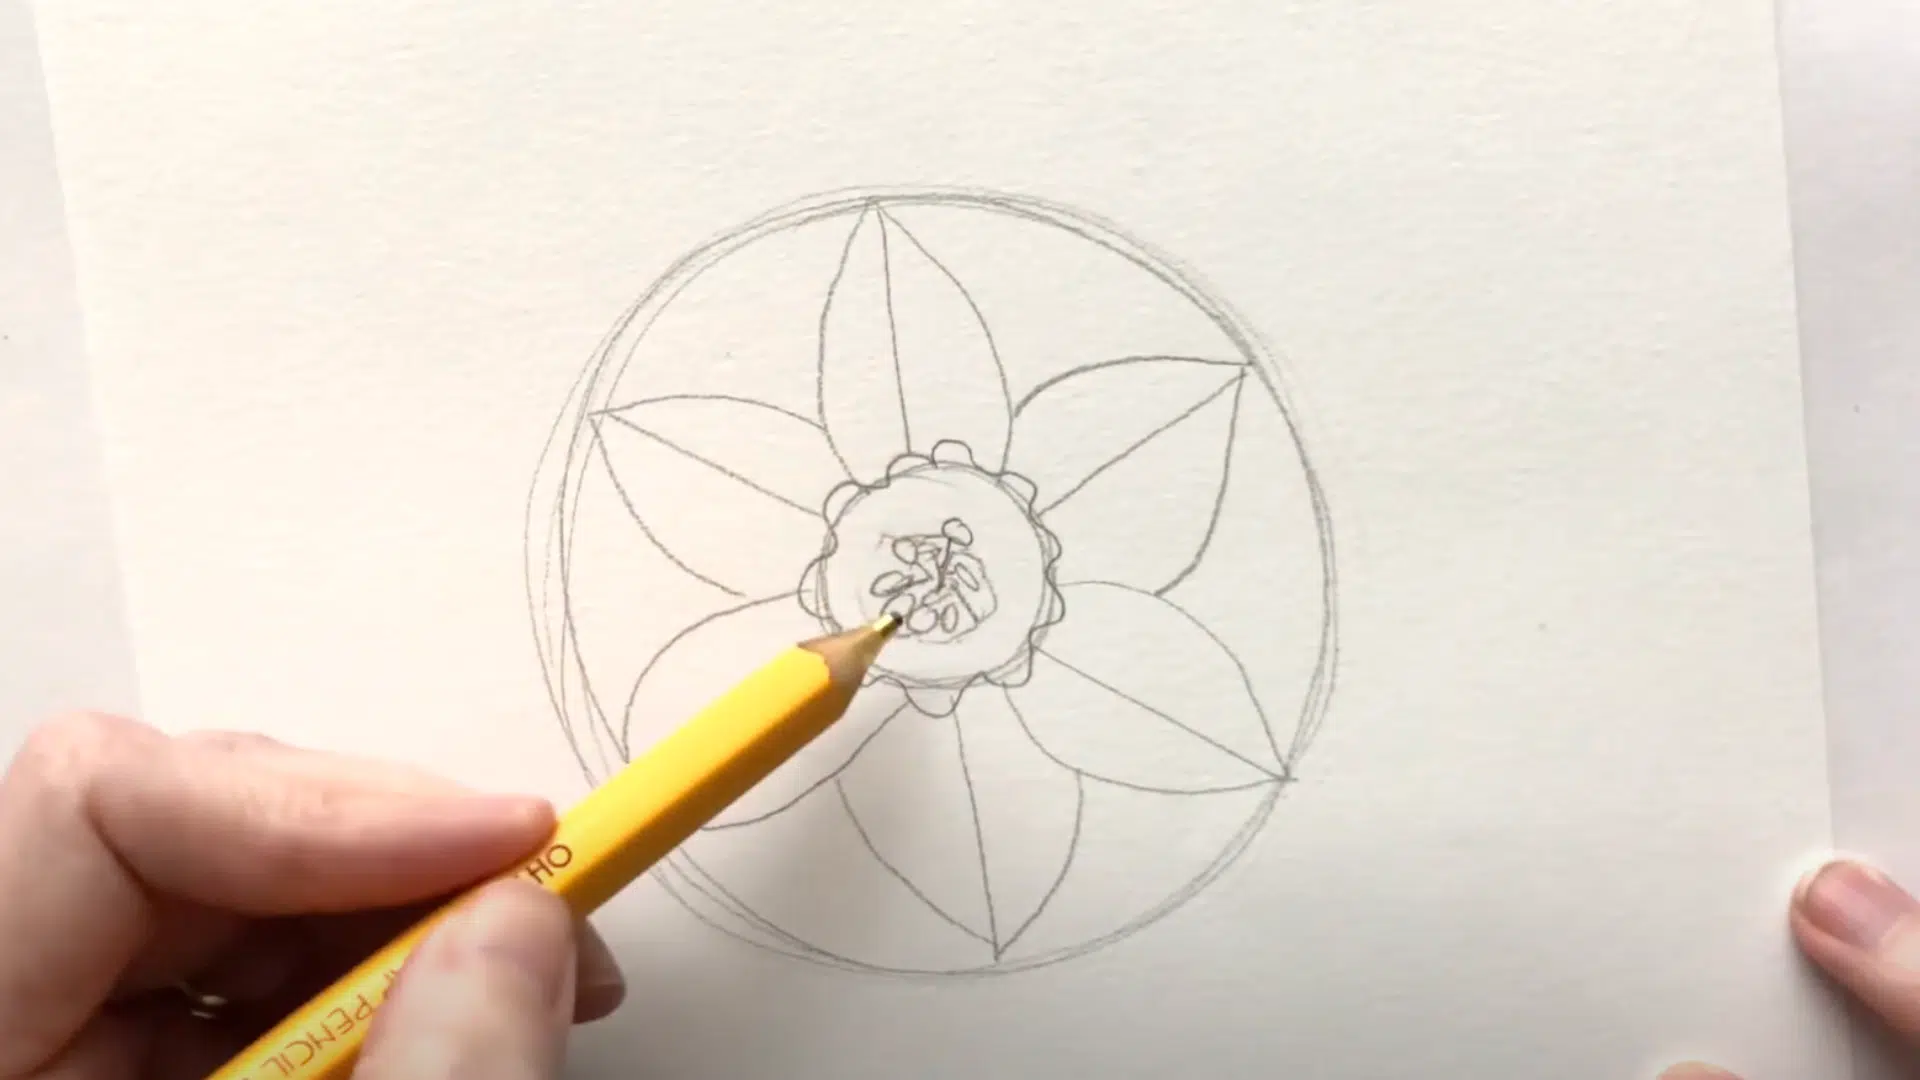
To start your daffodil drawing from the front, begin with one large circle that will contain the full shape of the flower. Inside that, draw a smaller circle to mark the trumpet (also called the corona).
From the center out to the edges of the big circle, sketch six evenly spaced petals. Between these, add three sepals, which are smaller petal-like parts that sit slightly behind the main petals.
Side View Basics
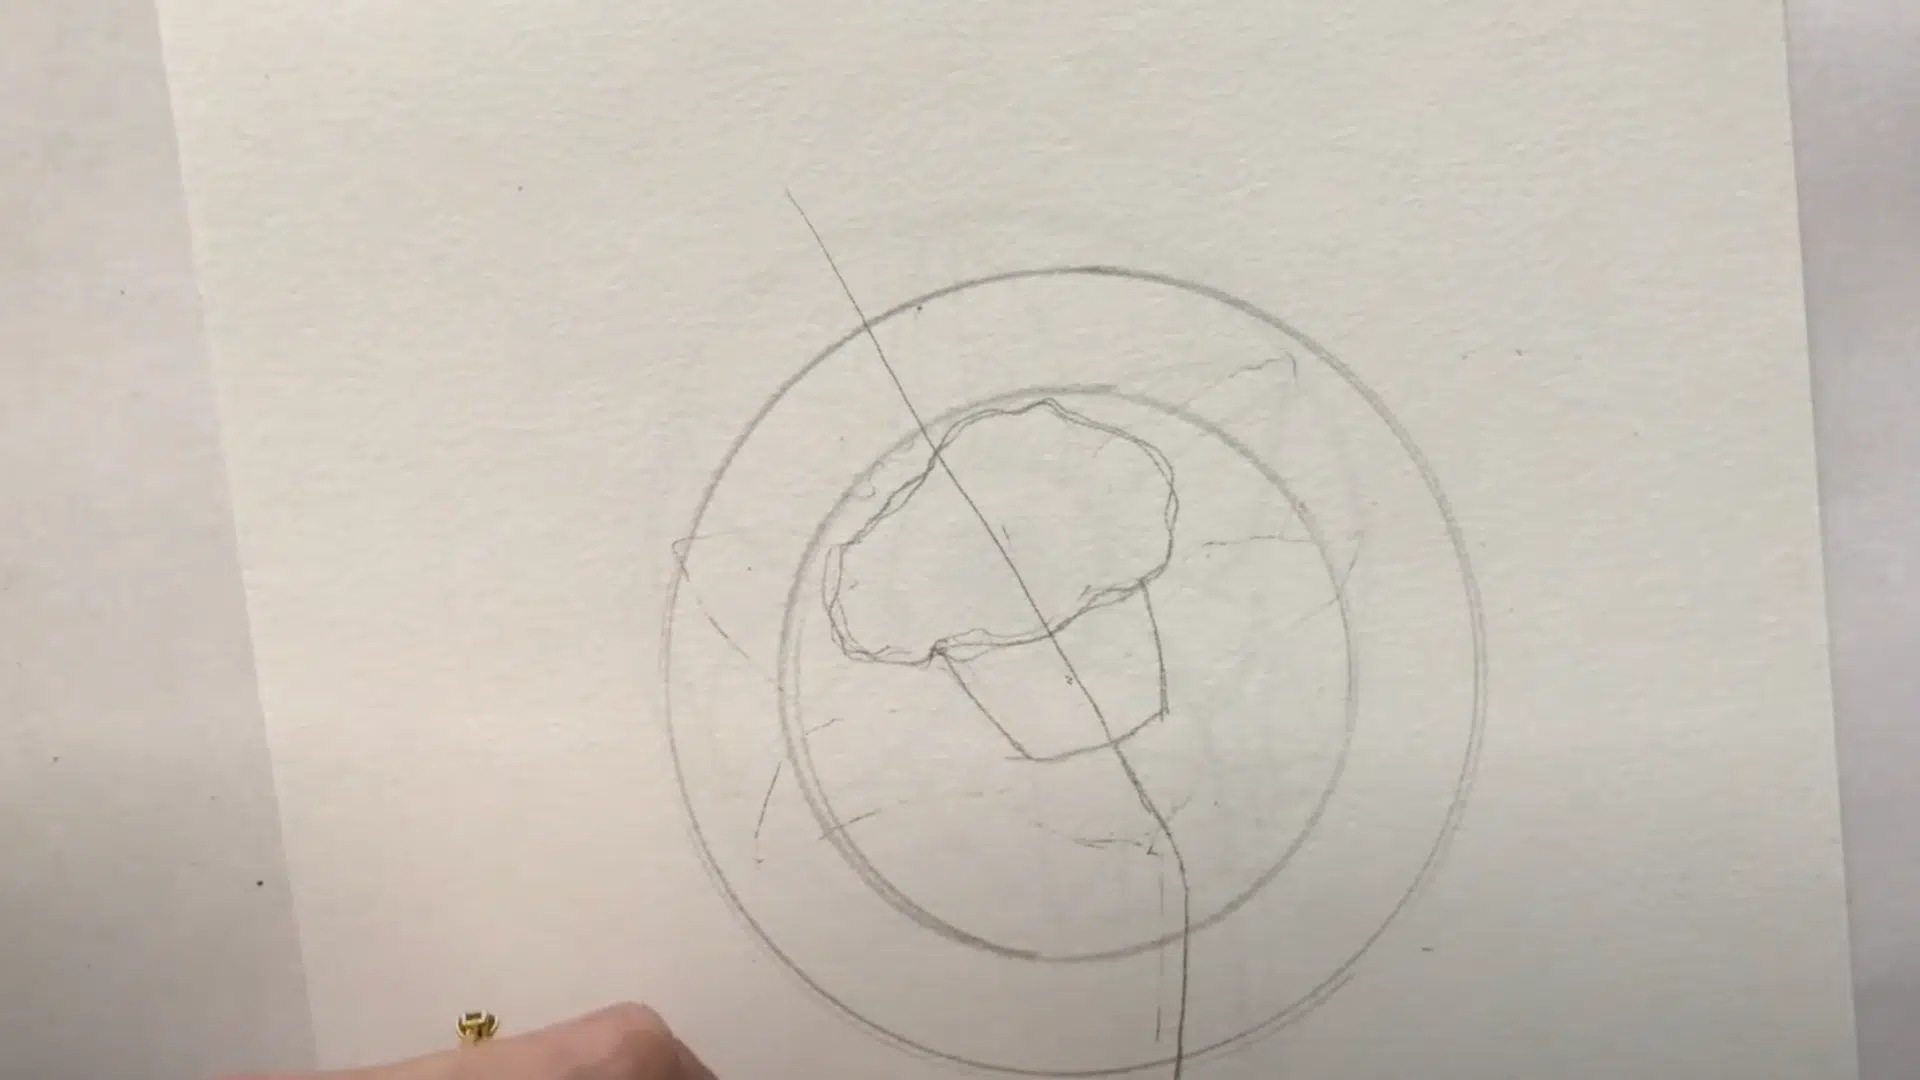
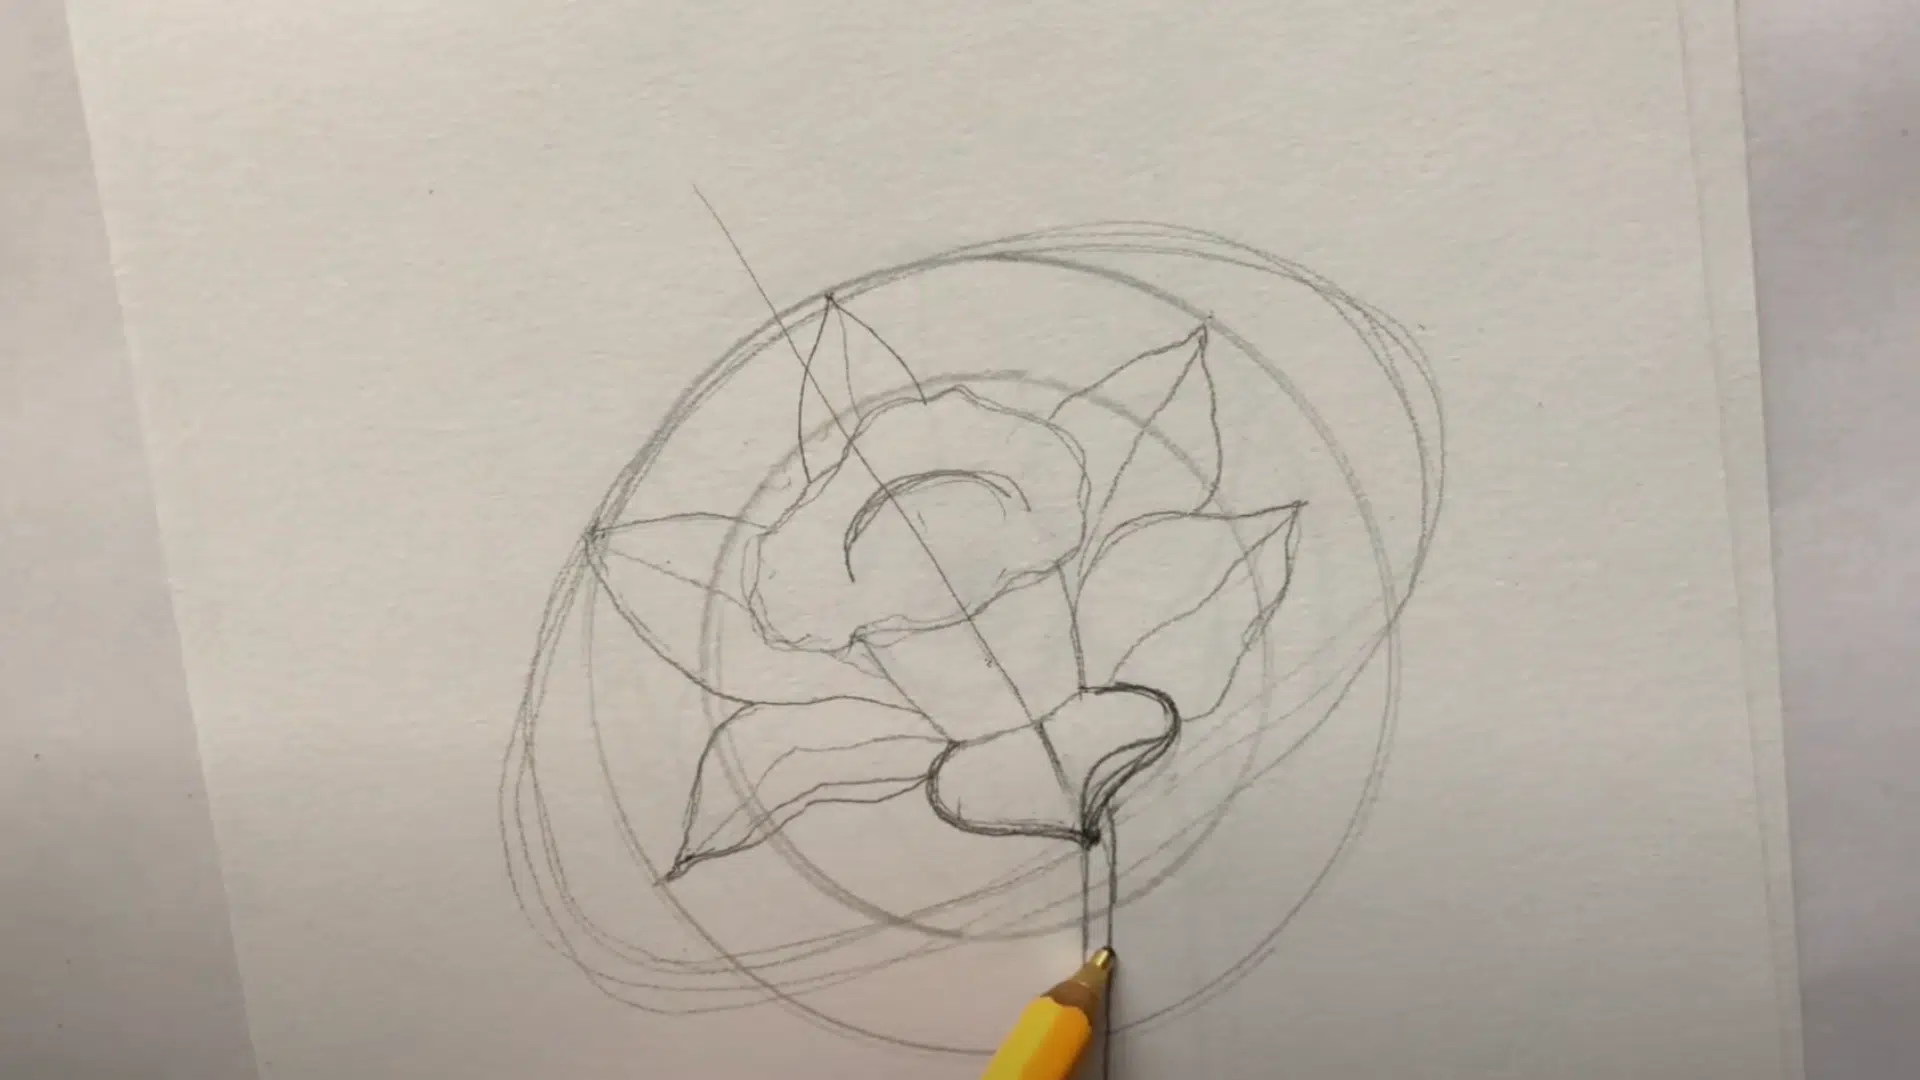
For a side view, draw two overlapping circles with the same center; one small and one larger.
This setup will help place the petals correctly. Sketch the trumpet so it faces out to the side, slightly tilted. Draw a short front-facing petal and longer ones on the sides.
Add one upright petal at the back to give the flower a natural look and a sense of depth.
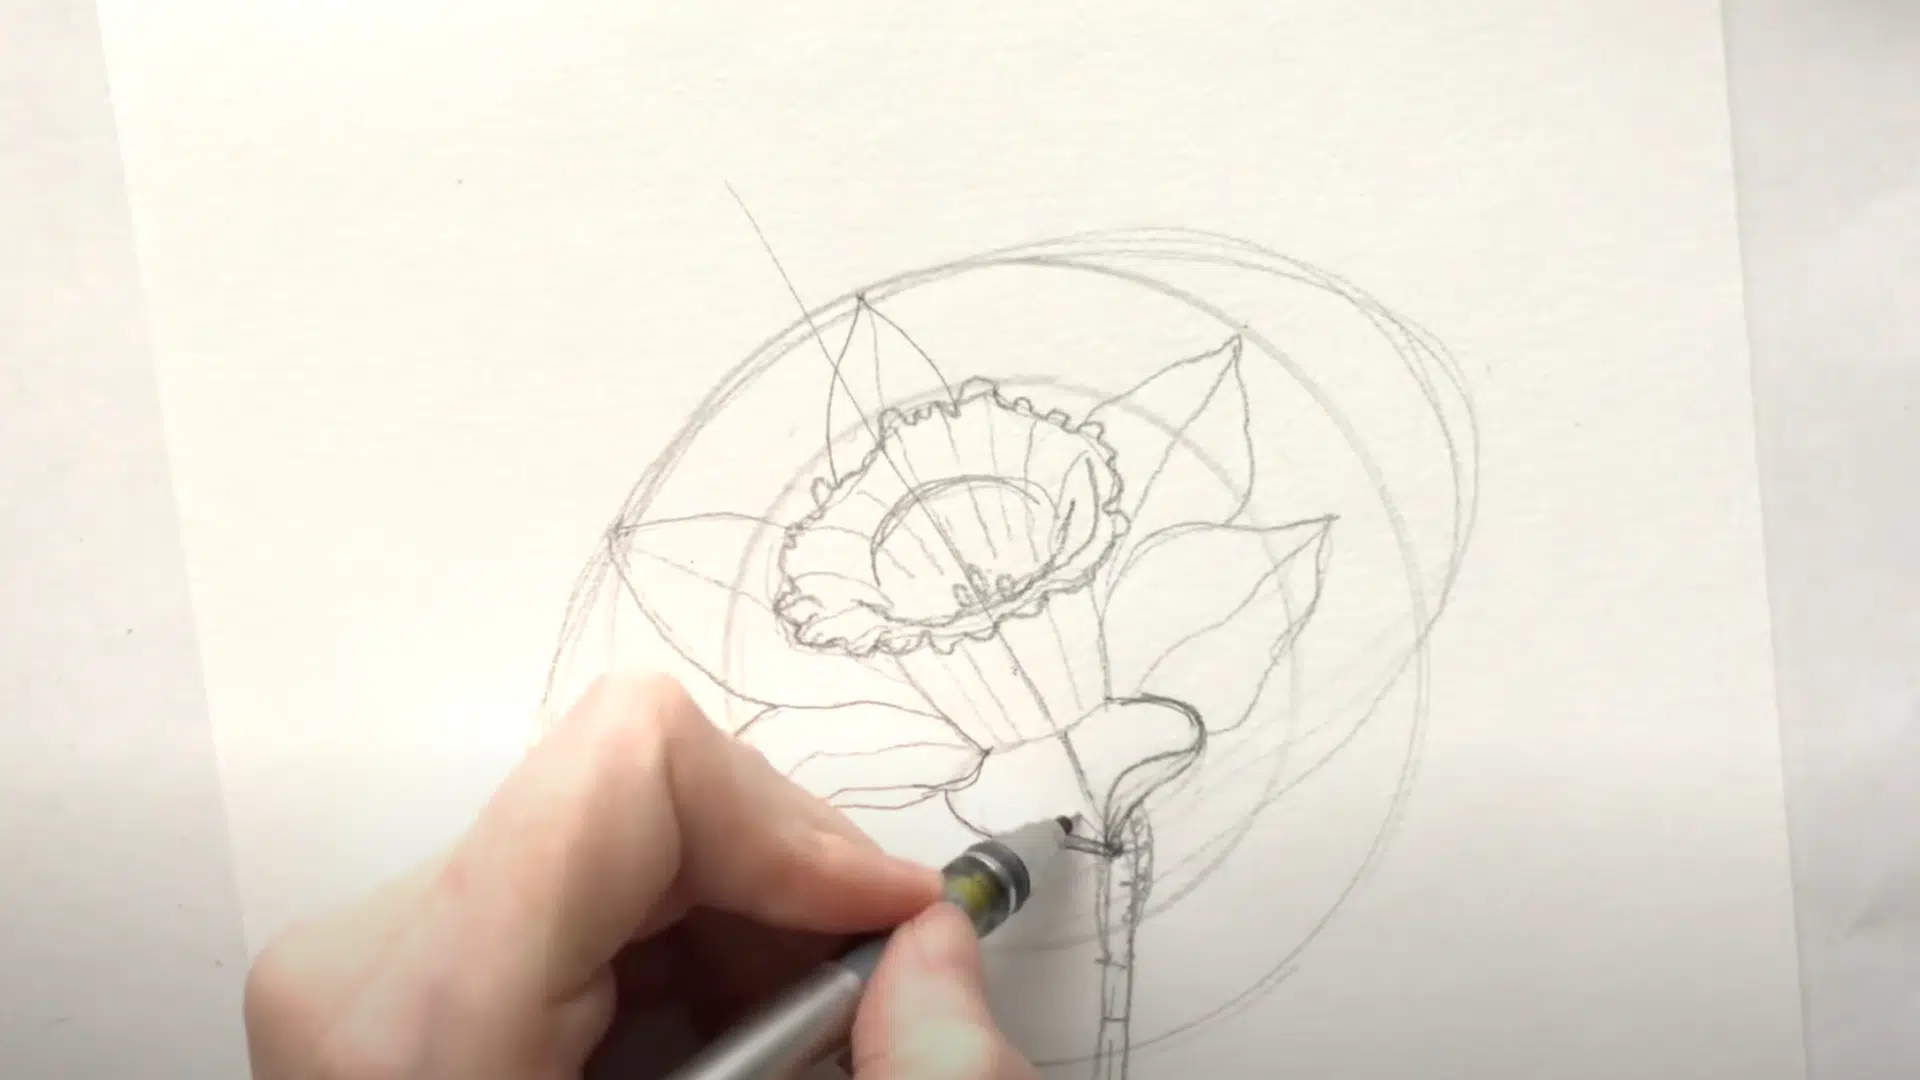
Drawing the Trumpet
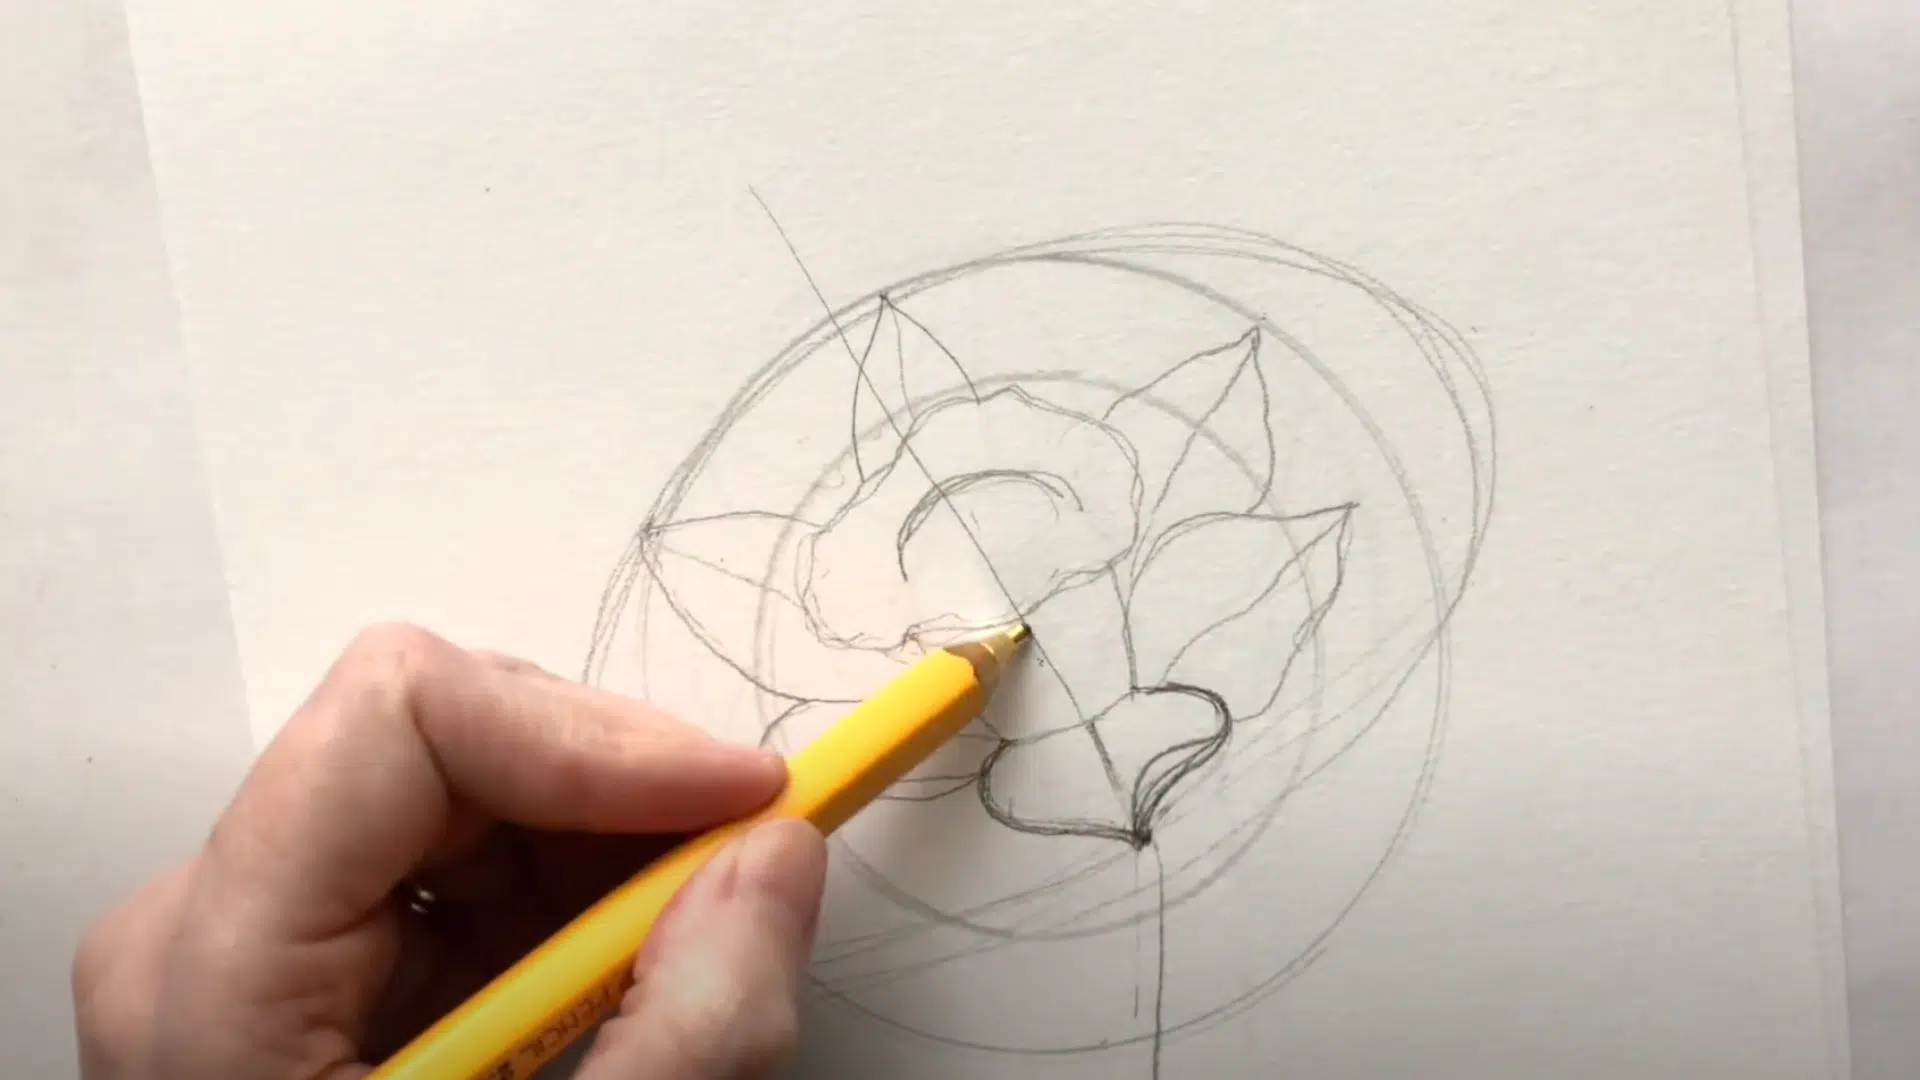
The trumpet of the daffodil should have a wavy, uneven edge rather than a flat one. This gives it the frilly, realistic appearance found in real daffodils. Inside the trumpet, add light curved lines to show folds and texture.
Keep the top of the trumpet open and slightly wider, and make the bottom narrower. At this stage, use light strokes and you can also darken the shape once you’re happy with the outline.
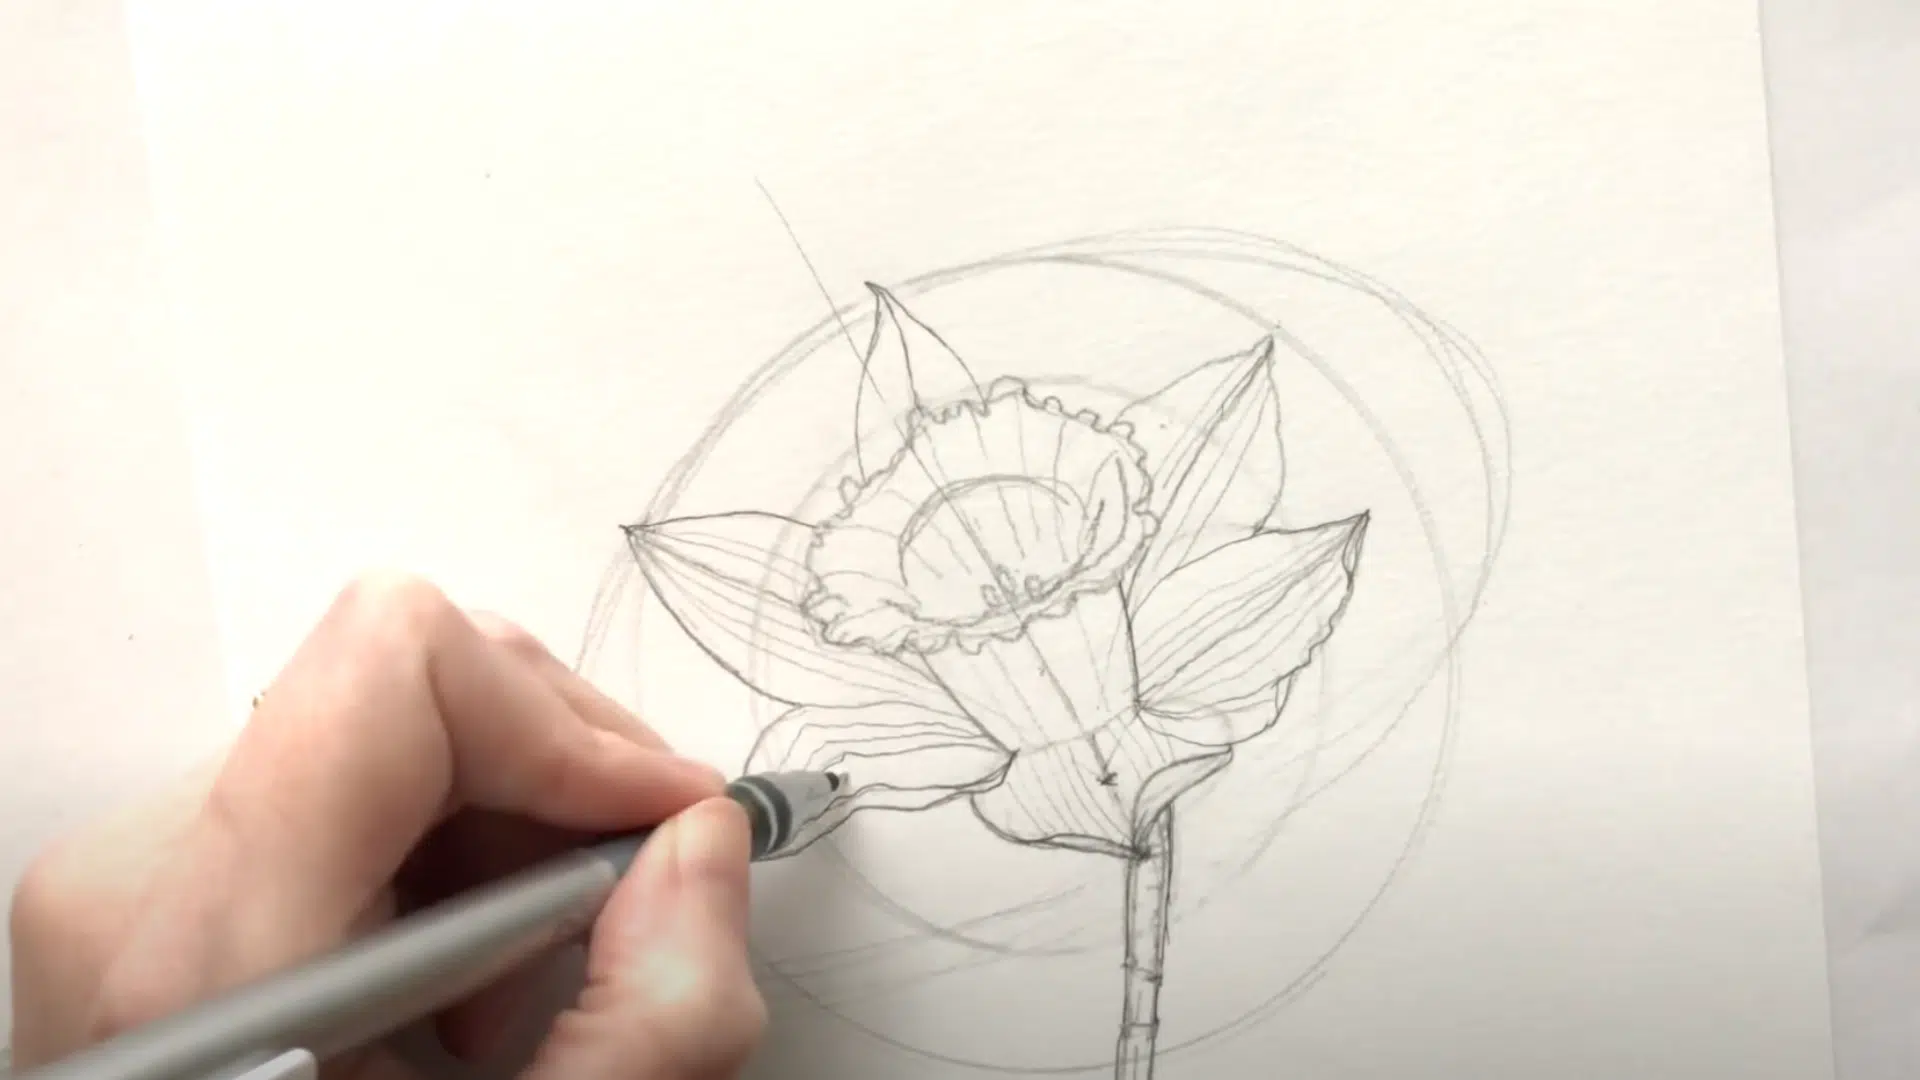
Adding the Neck and Stem
Behind the trumpet, draw the neck, which leads down into the stem.
The stem should come down from the neck smoothly and be a little curved. Be sure to show where the green changes in shade at the top of the stem; it’s usually darker below and lighter closer to the neck. Keep the lines clean and soft, and let the stem support the flower in a natural way.
Petals with Realistic Details
To add a more lifelike touch, draw a faint center line down each petal to show its curve.
Let each petal be slightly different in size or angle, just like they are in nature. You can also overlap some of the petals so they look like they’re behind others, which helps give the flower depth.
If you want to add extra interest, make one of the petals a bit pointier or tilted.
Showing Veins and Texture
Use light pencil lines to draw veins from the base of each petal to the tip. These lines should point toward the center of the flower.
Keep your strokes gentle and avoid pressing too hard; soft lines look more natural. The goal is to add texture without making the flower look stiff or flat.
Final Drawing Touches
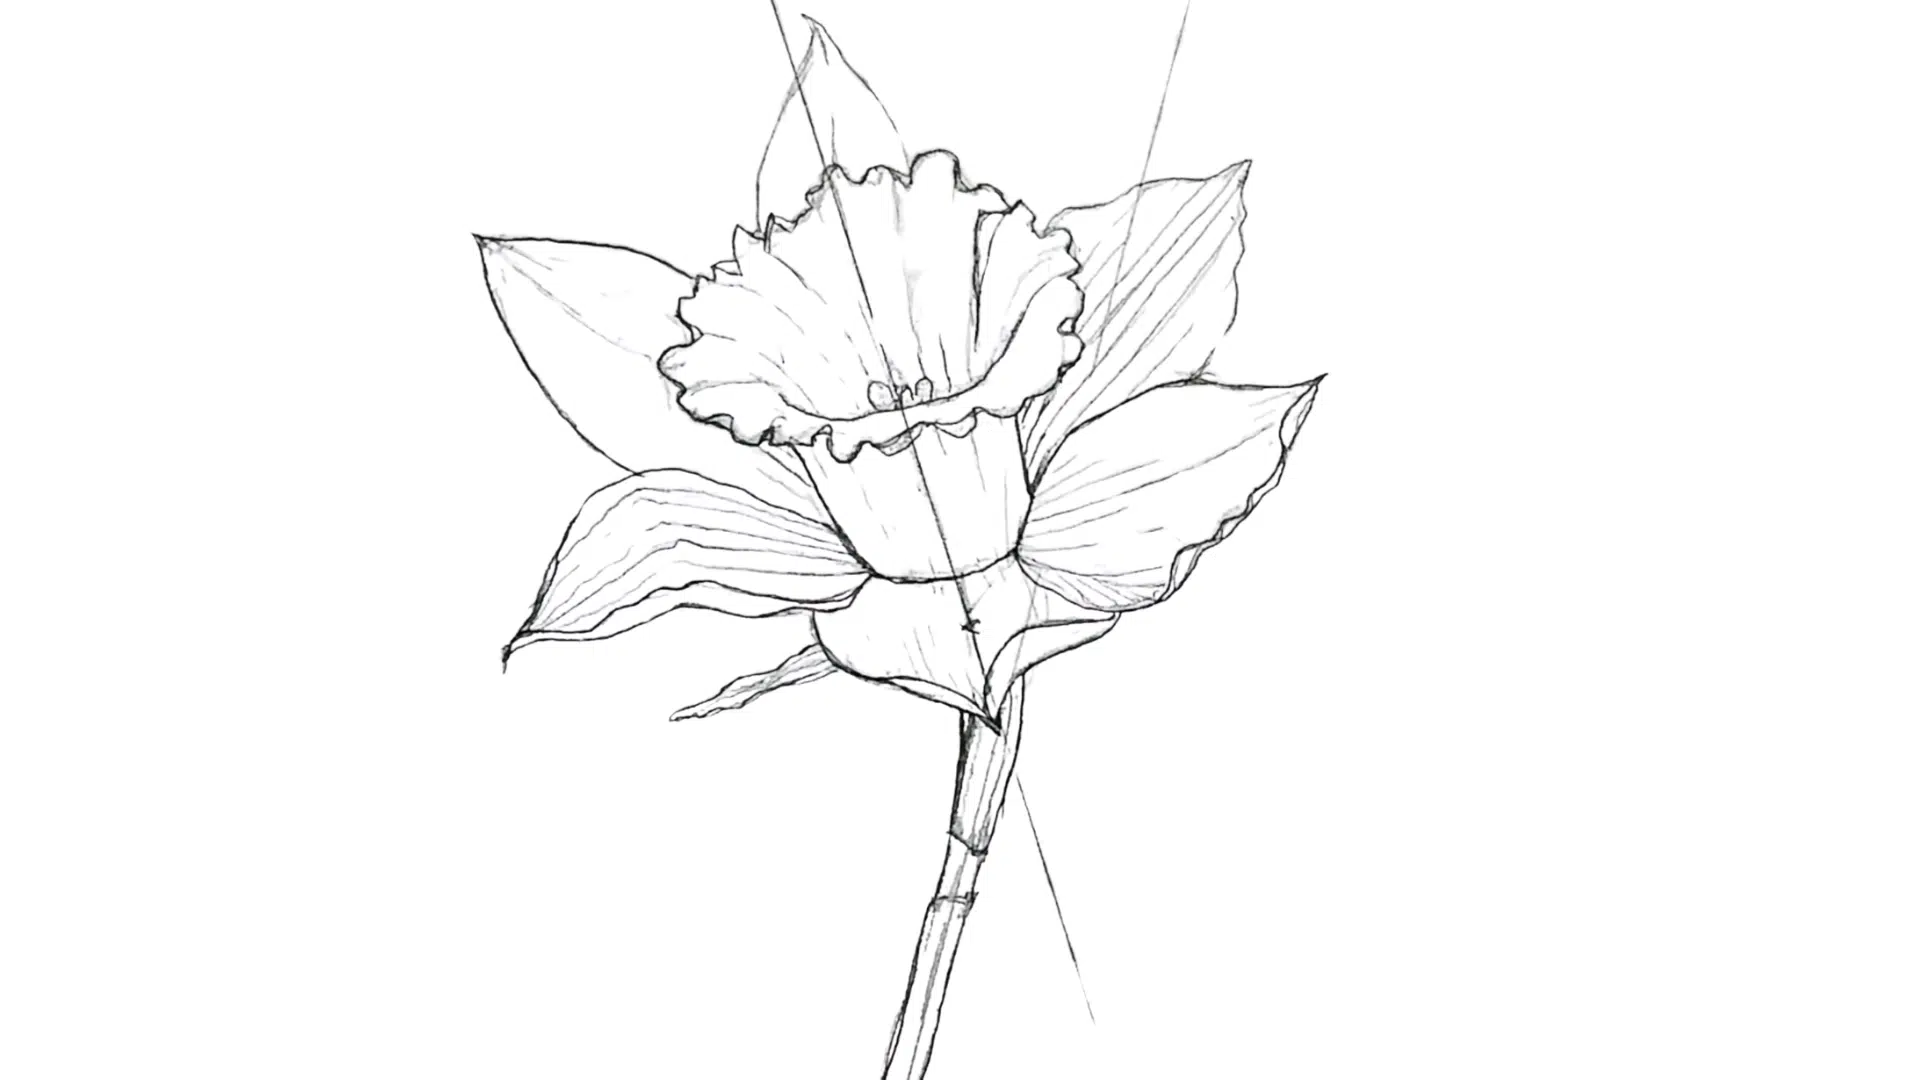
Once you’re satisfied with your flower shape, carefully erase any guide or rough lines you no longer need. Review your final outlines with a steady hand to refine them.
If you want to add extra detail, draw the splotch of papery outer layer near the basewhich gives a nice, textured look. Lastly, retrace everything lightly if you plan to paint over it.
For an alternate way of drawing a daffodil, check out our another blog using watercolor: How to Make Your Watercolor Daffodil Art Look Real.
Useful Tips for Drawing a Daffodil
Before you start painting, it helps to have a strong daffodil sketch ready.
These simple tips will guide you through shaping the flower with care and detail, making your drawing look more natural and ready for color.
- Start with circles to shape both the full flower and where the petals will end.
- Keep pencil lines light so you can easily erase and adjust as you draw.
- Use the center as a guide when placing petals and drawing the trumpet.
- Make the trumpet edge wavy to match the natural look of real daffodils.
- Draw gentle petal veins from base to tip, always pointing toward the center.
Bottom Line
How to draw a daffodil, it is easy when you break it into steps.
Start with the trumpet, use principal lines to place the petals, and add details like wavy edges and long leaves.
Keep your pencil light, take your time, and don’t worry about being perfect. Flowers are naturally different. With practice, your daffodil drawings will look better each time.
If you try this drawing, feel free to drop a comment or share your thoughts! I’d love to hear if these steps helped or if you have ideas for other flowers to draw next.