That BILLY bookcase has seen better days. Your MALM dresser clashes with everything in the room.
Before you haul it to the curb, consider this: IKEA furniture can be painted, but only if you know what you’re doing.
Slap regular primer on that smooth laminate finish and watch it peel off in sheets within weeks. But use the right primer, prep work, and technique? Your painted piece can last for years.
This guide shows you how to identify IKEA surfaces, which primers actually stick to laminate, the exact step-by-step process that works, and when you should skip painting altogether and buy new ones instead.
Can You Paint Ikea Furniture?
Yes, you can paint IKEA furniture, but success depends on the condition of your piece. IKEA uses laminate rather than particleboard, creating a smooth, non-porous surface that resists paint.
Skip painting if the laminate is already peeling, the particleboard is swollen or water-damaged, kitchen grease will not come off, or the edges are falling apart.
Go ahead if the surface is stable, intact, and you can scuff-sand or prime it properly. “Lasting” does not mean indestructible.
It means good adhesion, reasonable impact resistance, and understanding that painted furniture needs 2-4 weeks to cure before heavy use.
Identify Your IKEA Surface Before You Buy Paint
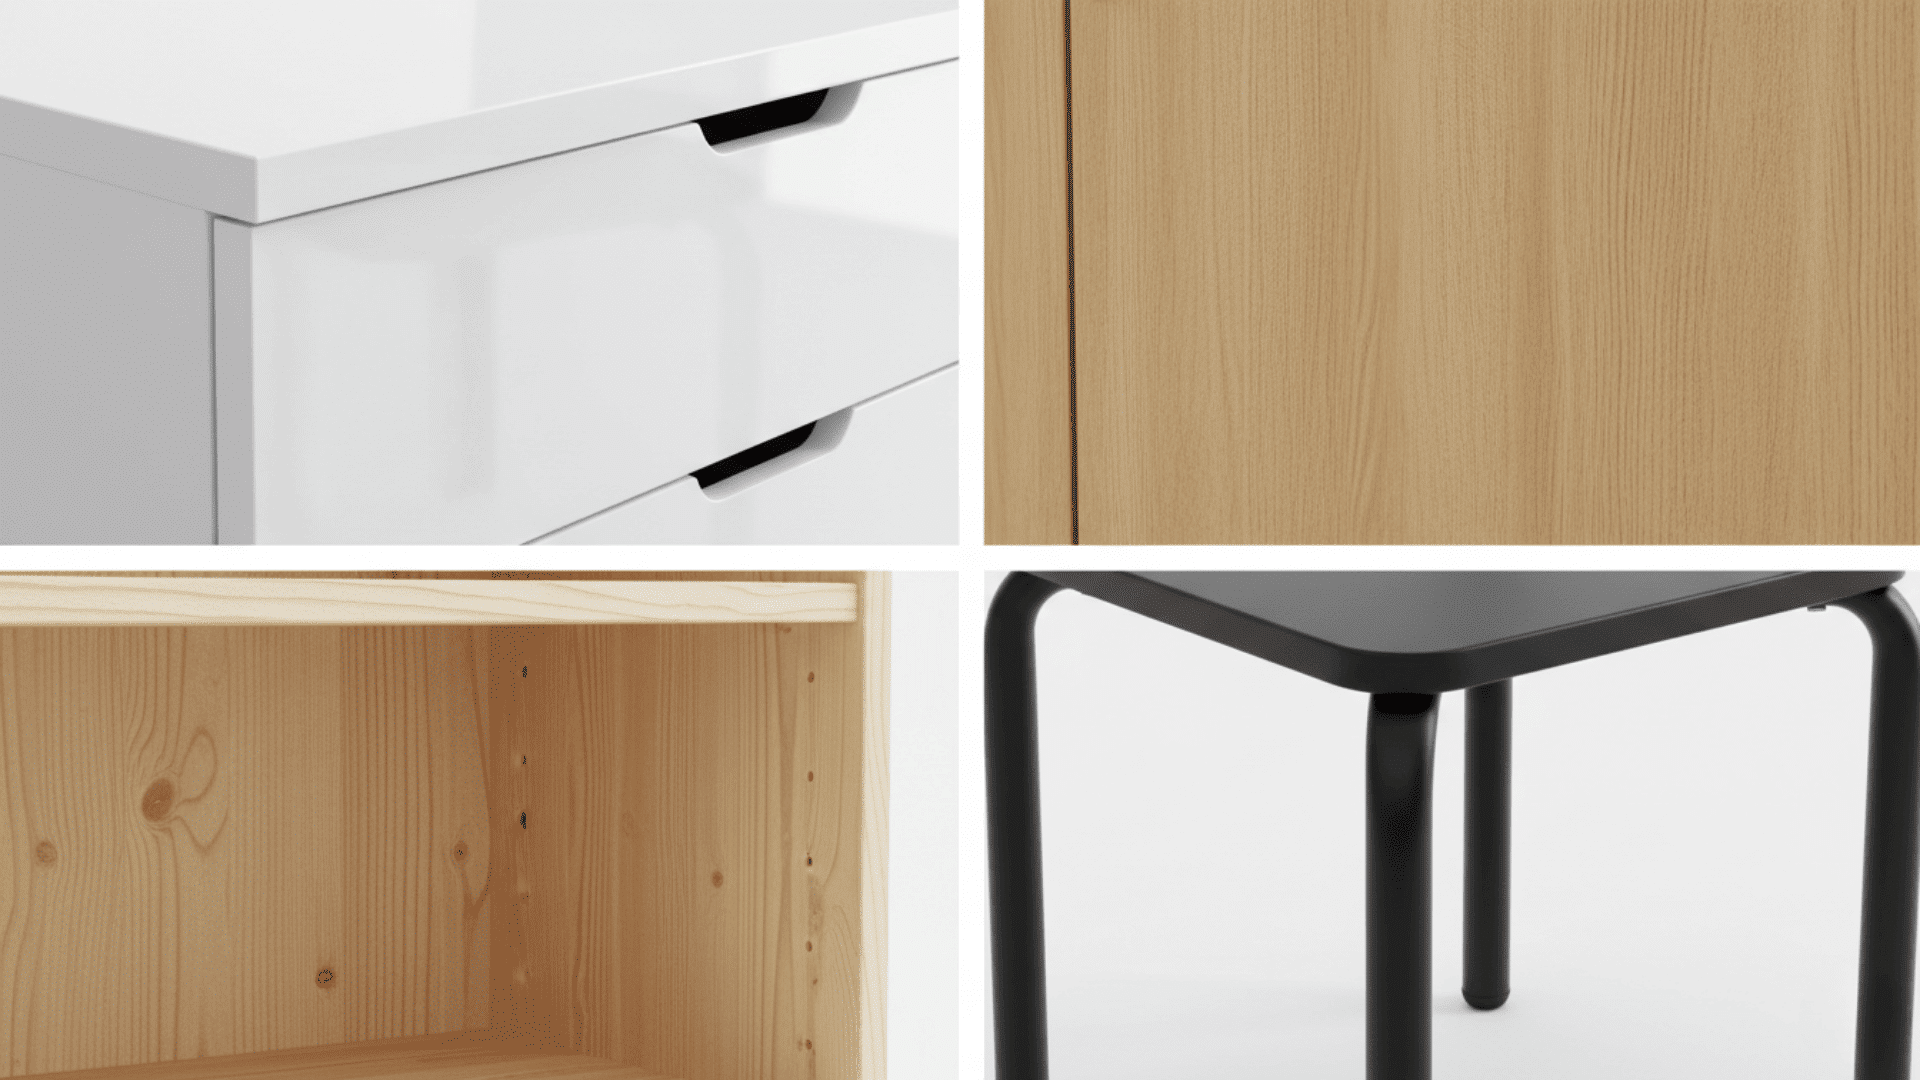
Before you buy any paint or primer, you need to know what you are actually painting. Different IKEA surfaces require different prep work, and using the wrong method will leave you with peeling paint in a matter of weeks.
IKEA Surfaces You Should Classify Before Buying Products
- Laminate Over Particleboard (Most Common) This is what you will find on most IKEA furniture, like MALM dressers, HEMNES pieces, and KALLAX units.
- Veneer: a thin real wood layer glued over cheaper material, common in mid-range IKEA lines.
- Solid Wood (Some Lines) Pieces, like IVAR shelving and some NORDEN tables, use actual solid pine or beech.
- MDF (medium-density fiberboard) is used in shelves, drawer fronts, and flat panels across many IKEA collections.
- Metal (Legs, Frames): Steel or aluminum legs and frame components require a completely different paint from wood surfaces.
Fast At-Home Checks (No Special Tools)
- Edge Inspection: Look at the edges where two surfaces meet for thin plastic-like layers (laminate) or wood grain patterns (veneer).
- Underside/Back Panel Clue:s Flip furniture or check the back for labels, raw material, or visible construction that reveals the base material.
- Feel Test Run your hand across the surface; real wood feels warm and slightly textured, while laminate feels cool and perfectly smooth.
- Water-Drop Behavior (With Caution) Put a tiny water drop in a hidden spot; if it beads up instantly, you have laminate or sealed veneer.
Laminate needs specialty bonding primer and light scuffing, not heavy sanding. Solid wood handles aggressive sanding and standard primers. Using the wrong approach wastes time and money, leaving you with paint that chips off at the first bump.
Paint IKEA Furniture: 6 Easy Steps
Now that you have identified your surface, let’s walk through the actual painting process. These six steps will help you avoid the most common mistakes that cause paint to peel or chip.
Tools and Materials Checklist
Having the right supplies upfront saves you mid-project trips to the hardware store. Here is everything you need with budget-friendly alternatives.
| What You Need | Smarter Swaps |
|---|---|
| Degreaser or TSP | Dish soap works |
| Microfiber cloths | Old t-shirts |
| 150-220 grit sandpaper | Add a sanding block |
| Wood filler & putty knife | Any brand works |
| Painter’s tape & drop cloth | Old bedsheets as a drop cloth |
| Bonding primer | Zinsser B-I-N or Kilz Adhesion |
| Cabinet enamel paint | Satin or semi-gloss finish |
| Topcoat (optional) | Water-based polycrylic |
| Foam roller & angled brush | 4-inch mini roller is best |
| Paint sprayer (optional) | Needs ventilation & cleanup |
Step 1: Identify the Surface and Remove Parts
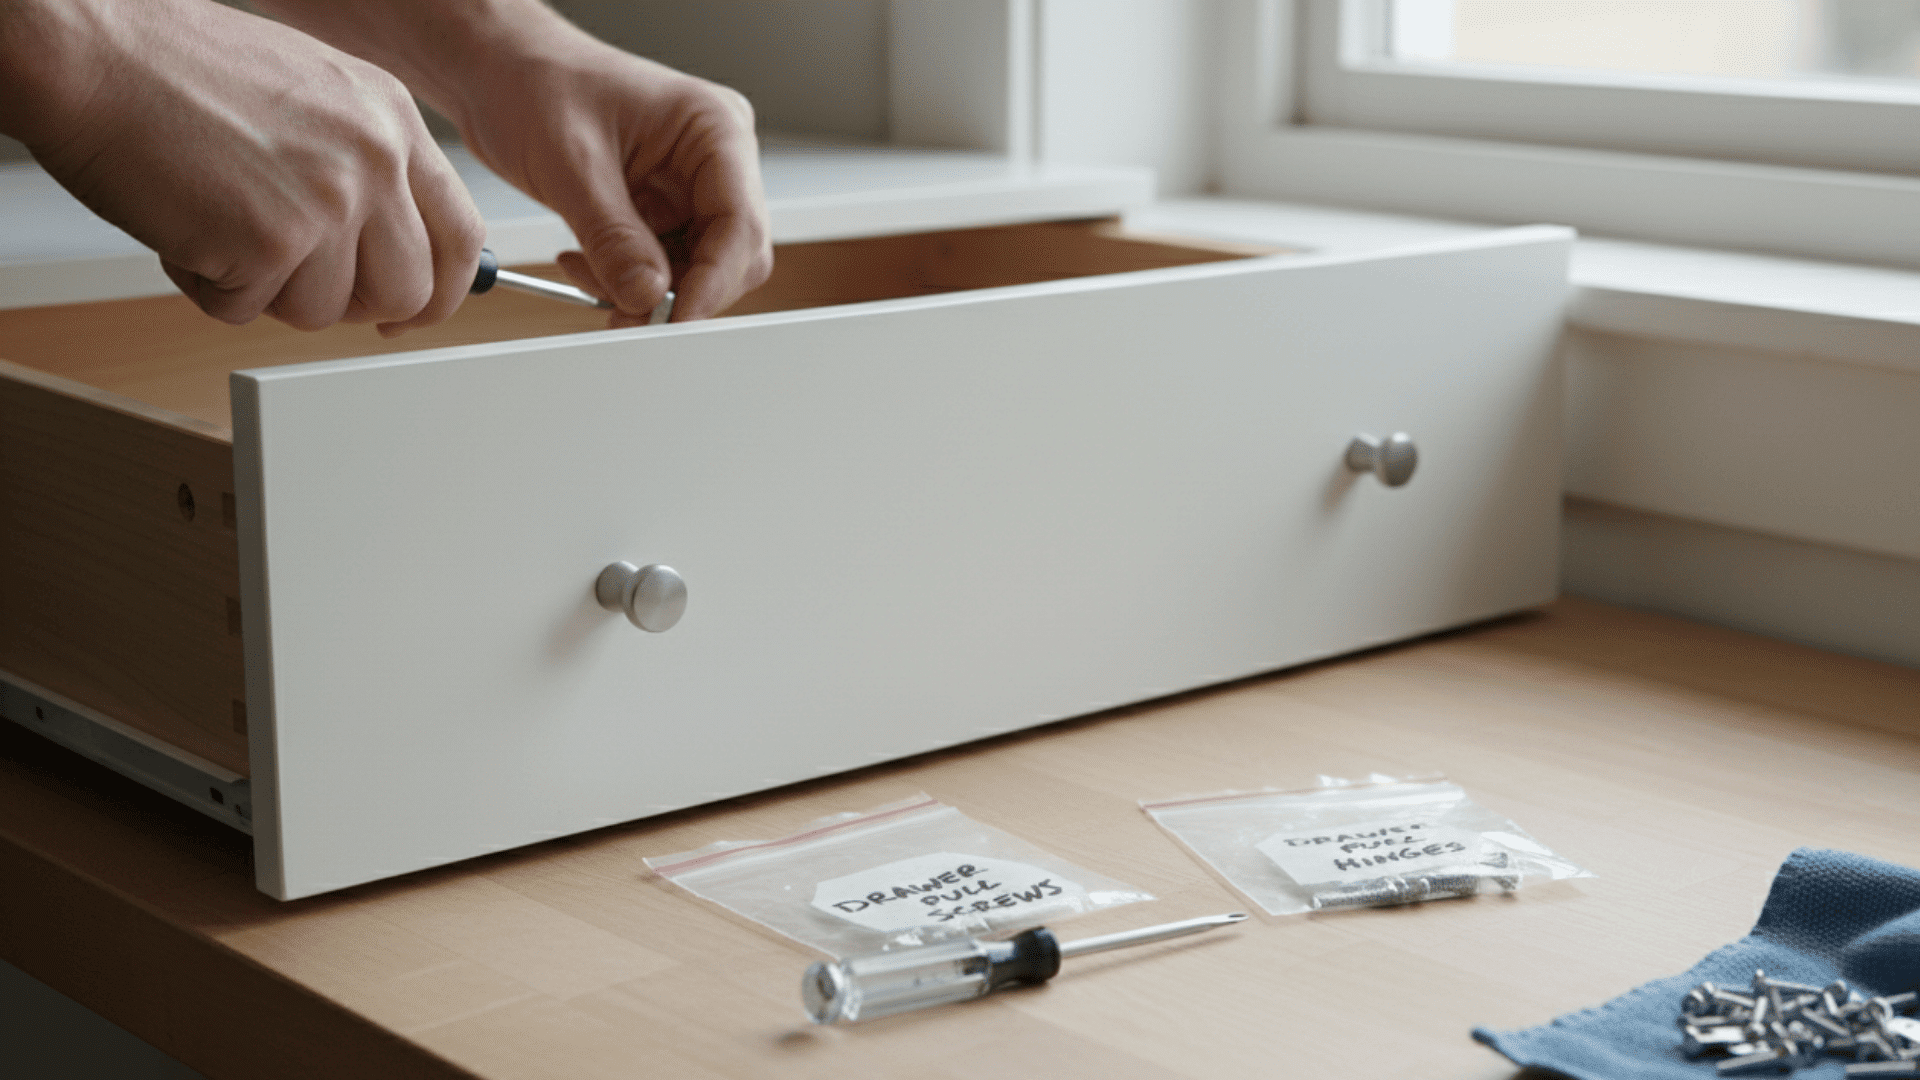
Before painting IKEA furniture, check what you’re working with: laminate, veneer, MDF, solid wood, or metal legs. This matters because laminate needs a bonding primer to prevent peeling. Then remove what you can so you can paint every surface evenly.
What to remove:
- Handles and knobs
- Doors and drawers
- Shelves and hinges
- Label hardware in small bags so reassembly is easy
Step 2: Clean the Surface Until It’s Squeaky Clean
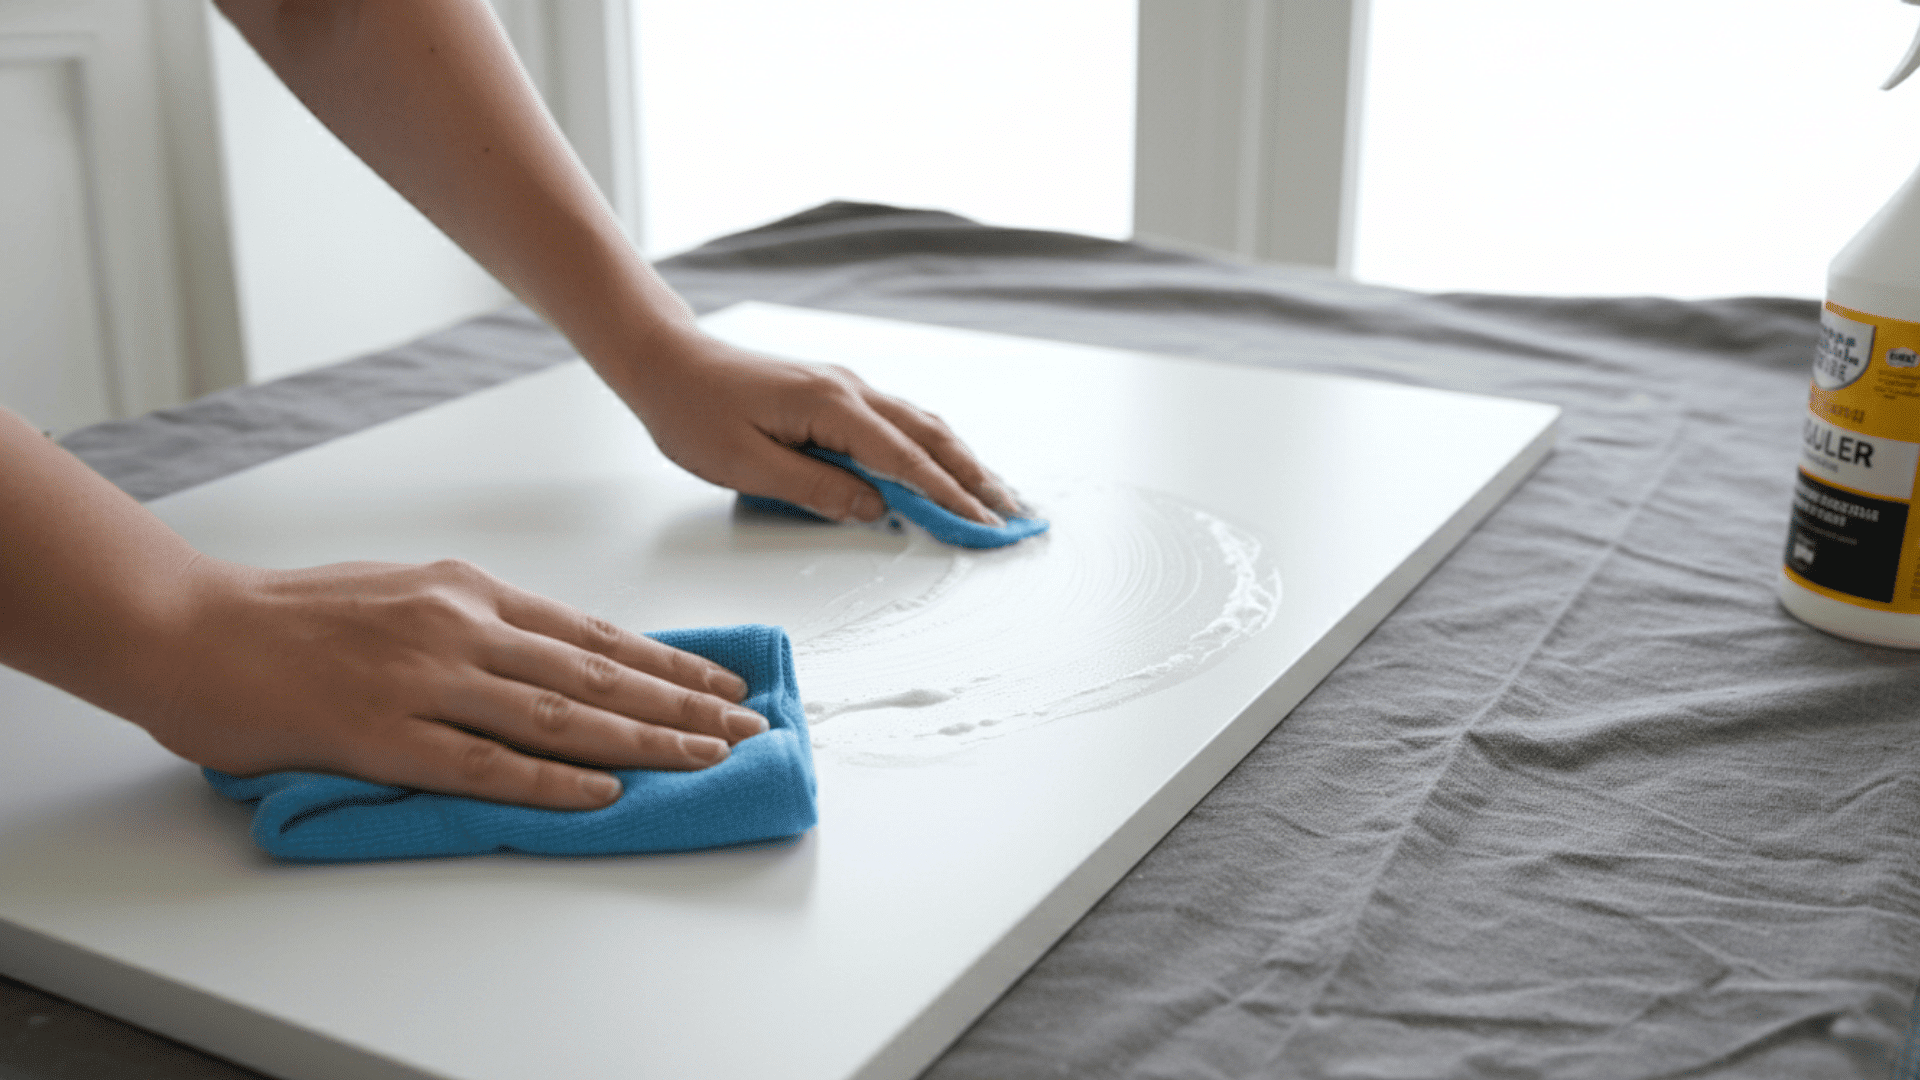
Most paint failures are caused by leftover grease, dust, or cleaning residue. Use a degreasing cleaner and wipe every surface twice if needed. Pay extra attention to high-touch areas that collect oils from hands.
Focus on these spots:
- Drawer fronts and cabinet doors
- Edges and corners where grime hides
- Let it dry thoroughly before moving on
Step 3: Scuff Sand and Fix Chips in One Pass
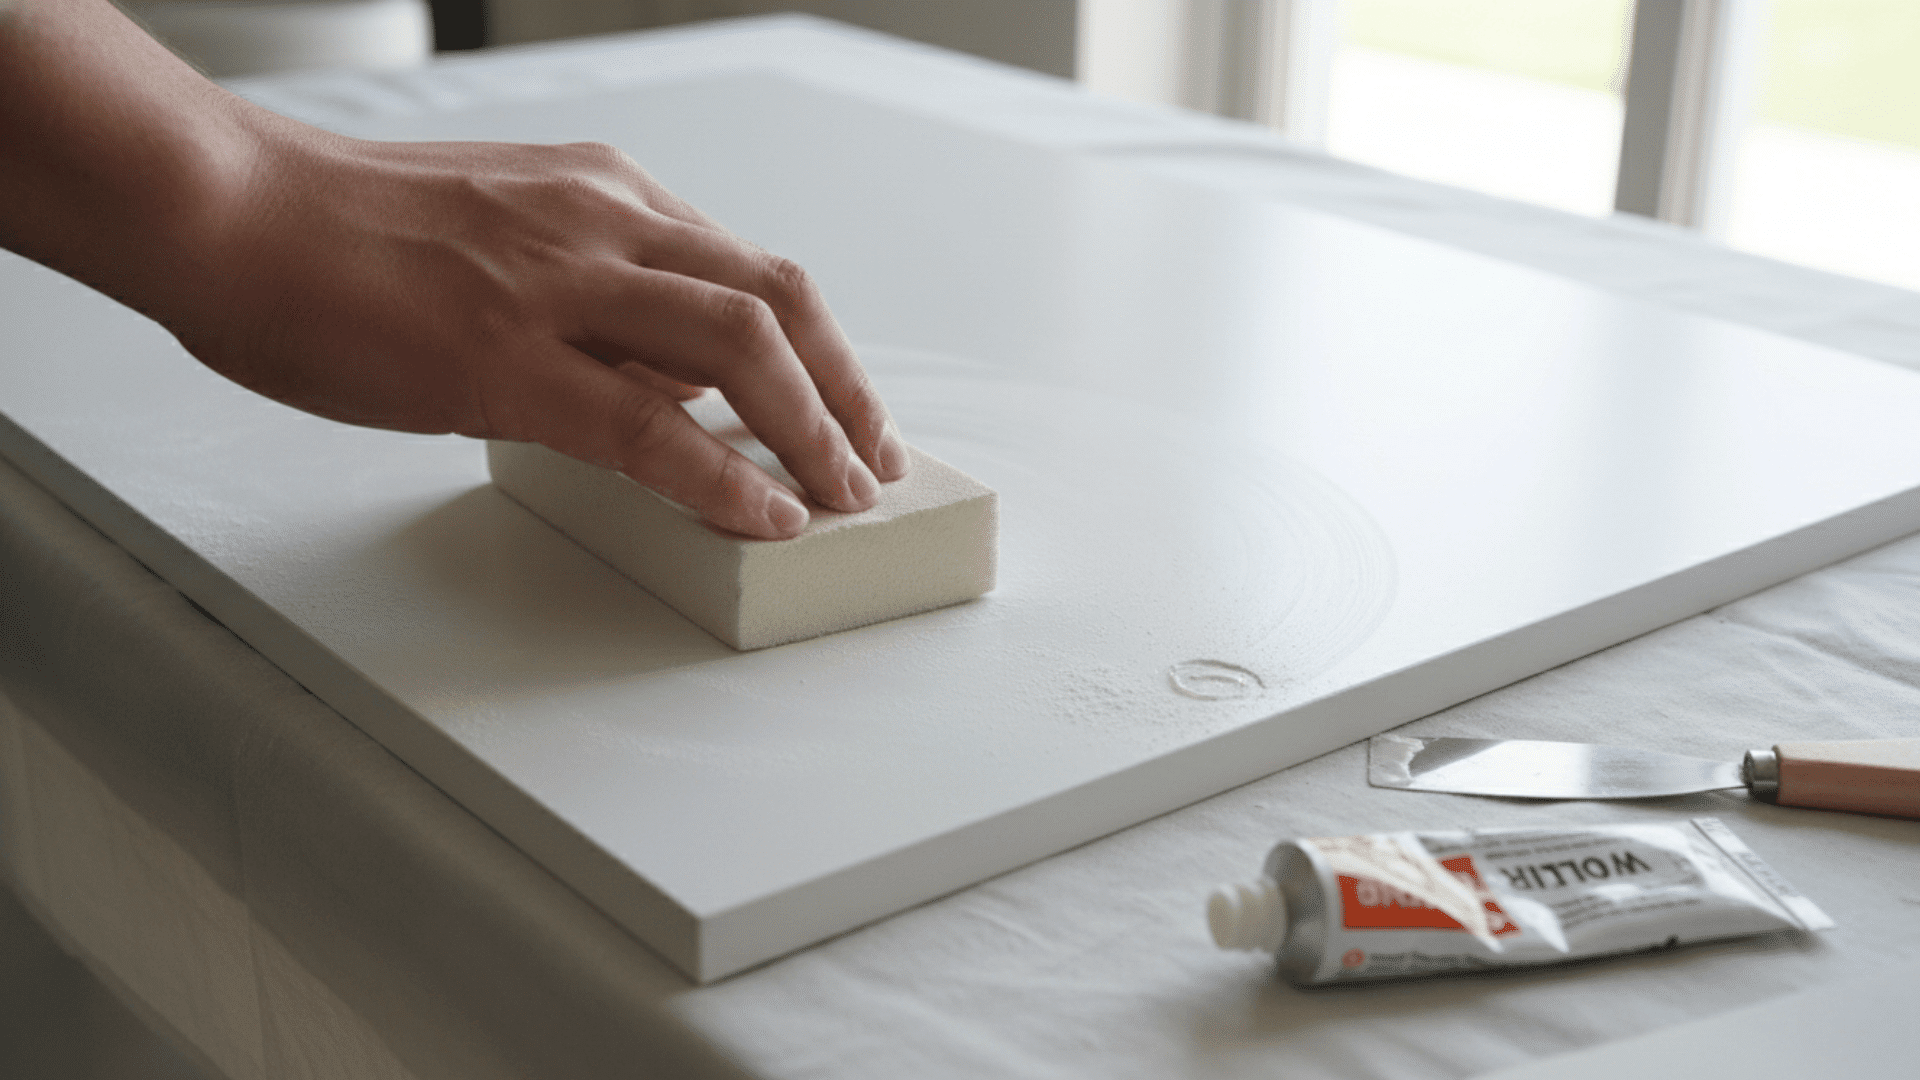
Lightly sand to knock down the slick finish so primer can grip. You are not trying to remove the laminate, rough it up enough for paint to hold. Fill any damage now before priming.
Sanding and repair steps:
- Use 150 to 220 grit for scuff sanding
- Fill dents or chips with wood filler
- Sand the filler smooth after drying
- Remove dust with a vacuum or dry microfiber cloth
Step 4: Apply a Bonding Primer (This Is the Make-or-Break Step)
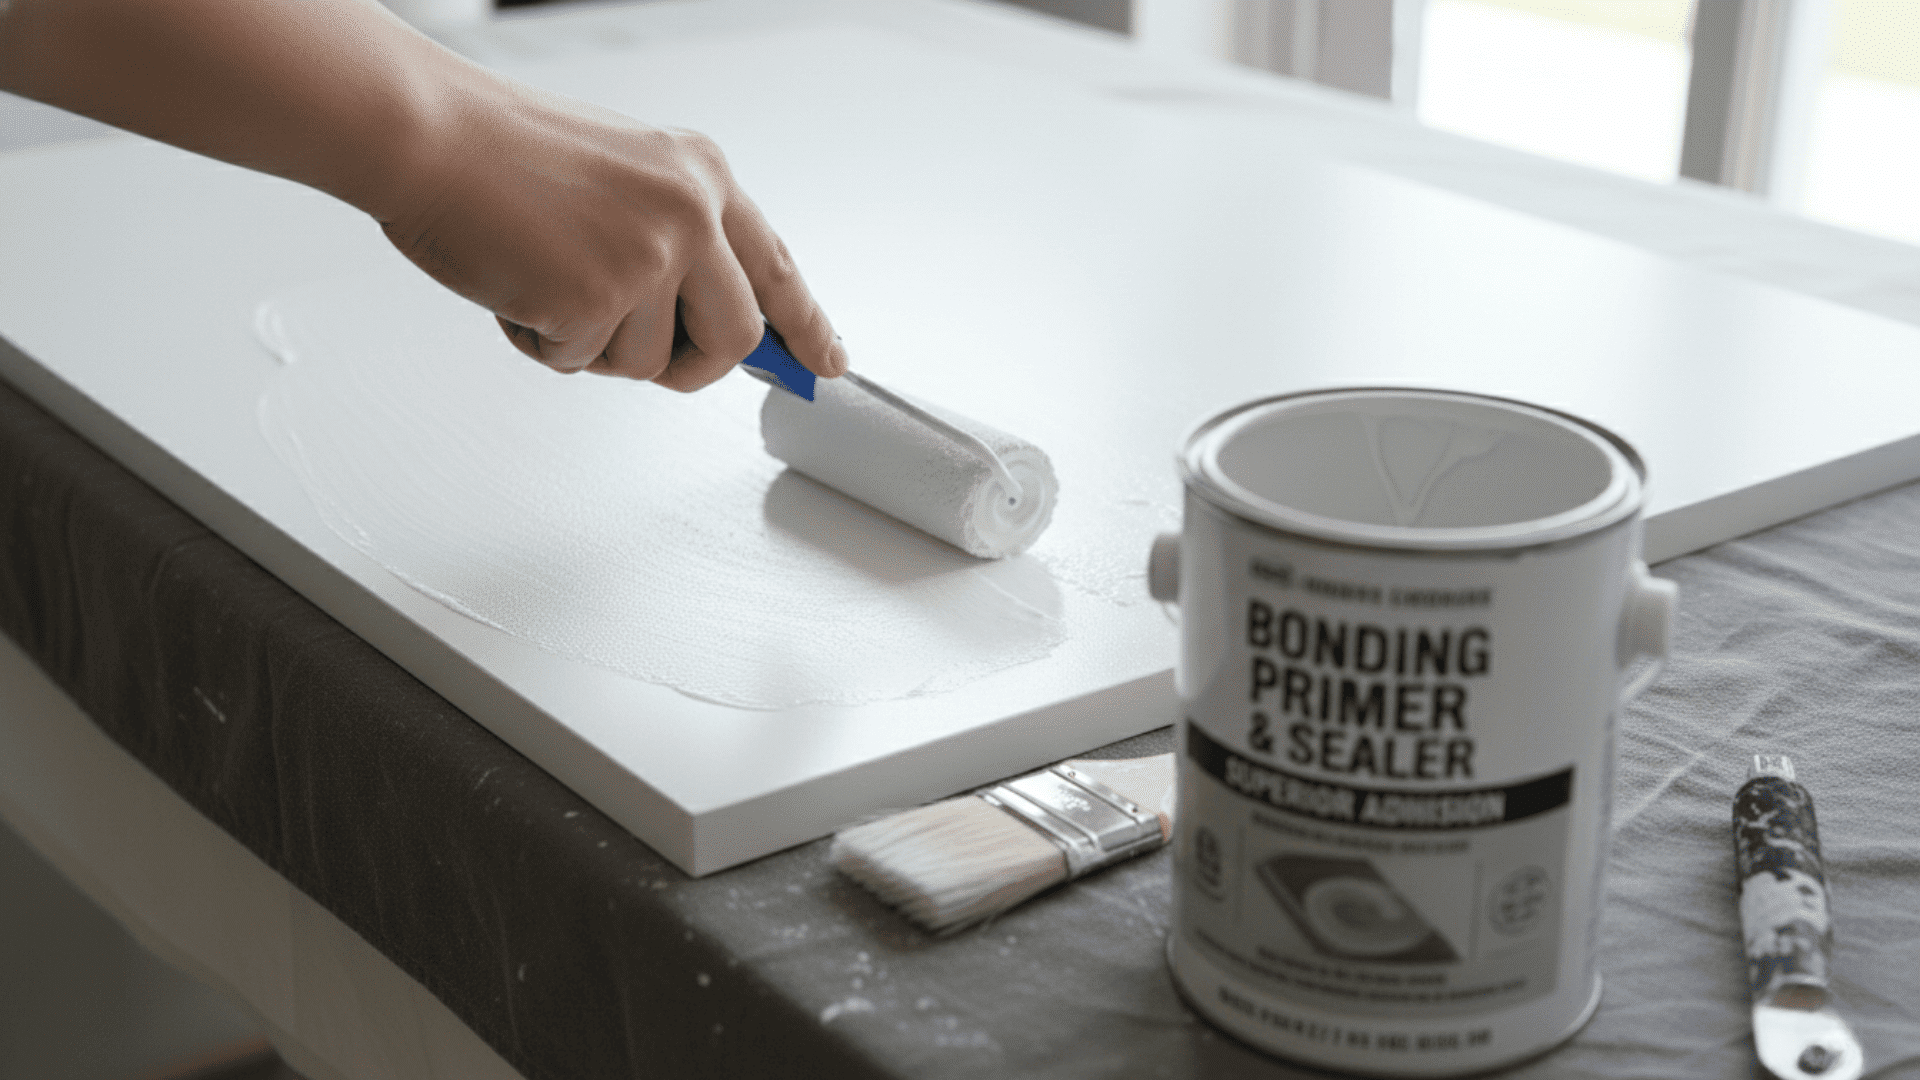
If you’re wondering whether you can paint IKEA furniture and have it last, the answer is yes, but bonding primer is usually the key. Use thin coats and cover edges carefully. This step determines whether your paint will last for years or peel in weeks.
Tips for strong adhesion:
- Roll flat areas with a foam roller
- Brush corners lightly to avoid drips
- Let the primer dry thoroughly before painting
- Lightly sand with 320 grit if it feels rough, then wipe clean
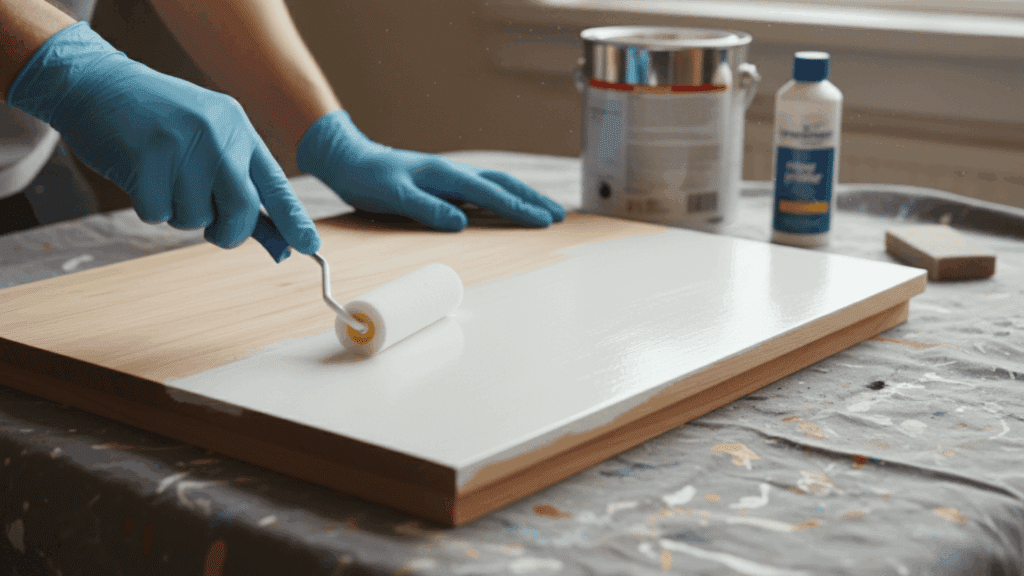
Step 5: Paint in Thin Coats for Smooth Results
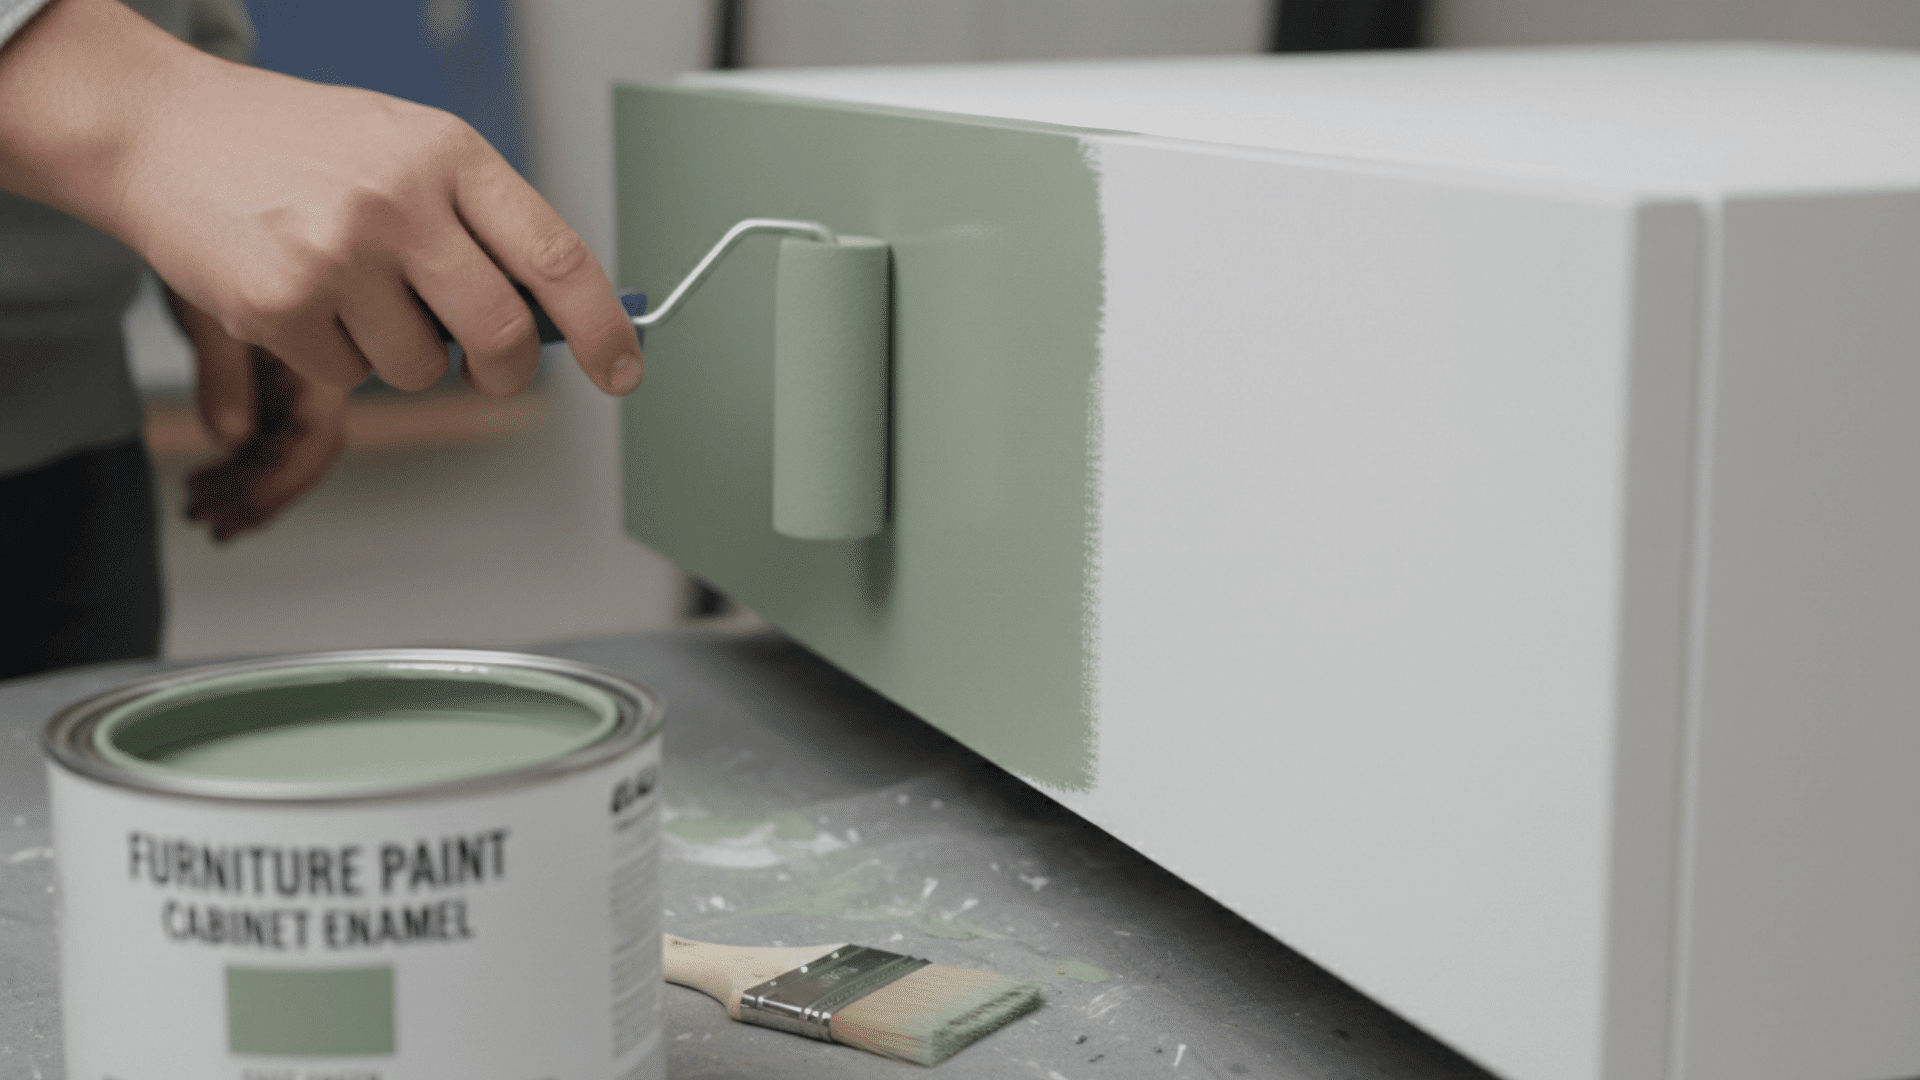
For painting IKEA furniture without brush marks or peeling, thin coats are everything. Choose cabinet-grade or furniture paint for better durability. Resist the urge to apply thick layers, even if coverage looks patchy at first.
Application guidelines:
- Apply 2 to 3 thin coats
- Let each coat dry before the next
- Lightly sand between coats if you feel texture
- Use a foam roller for a smoother look and a brush only where needed
Step 6: Let It Cure, Then Reassemble Carefully
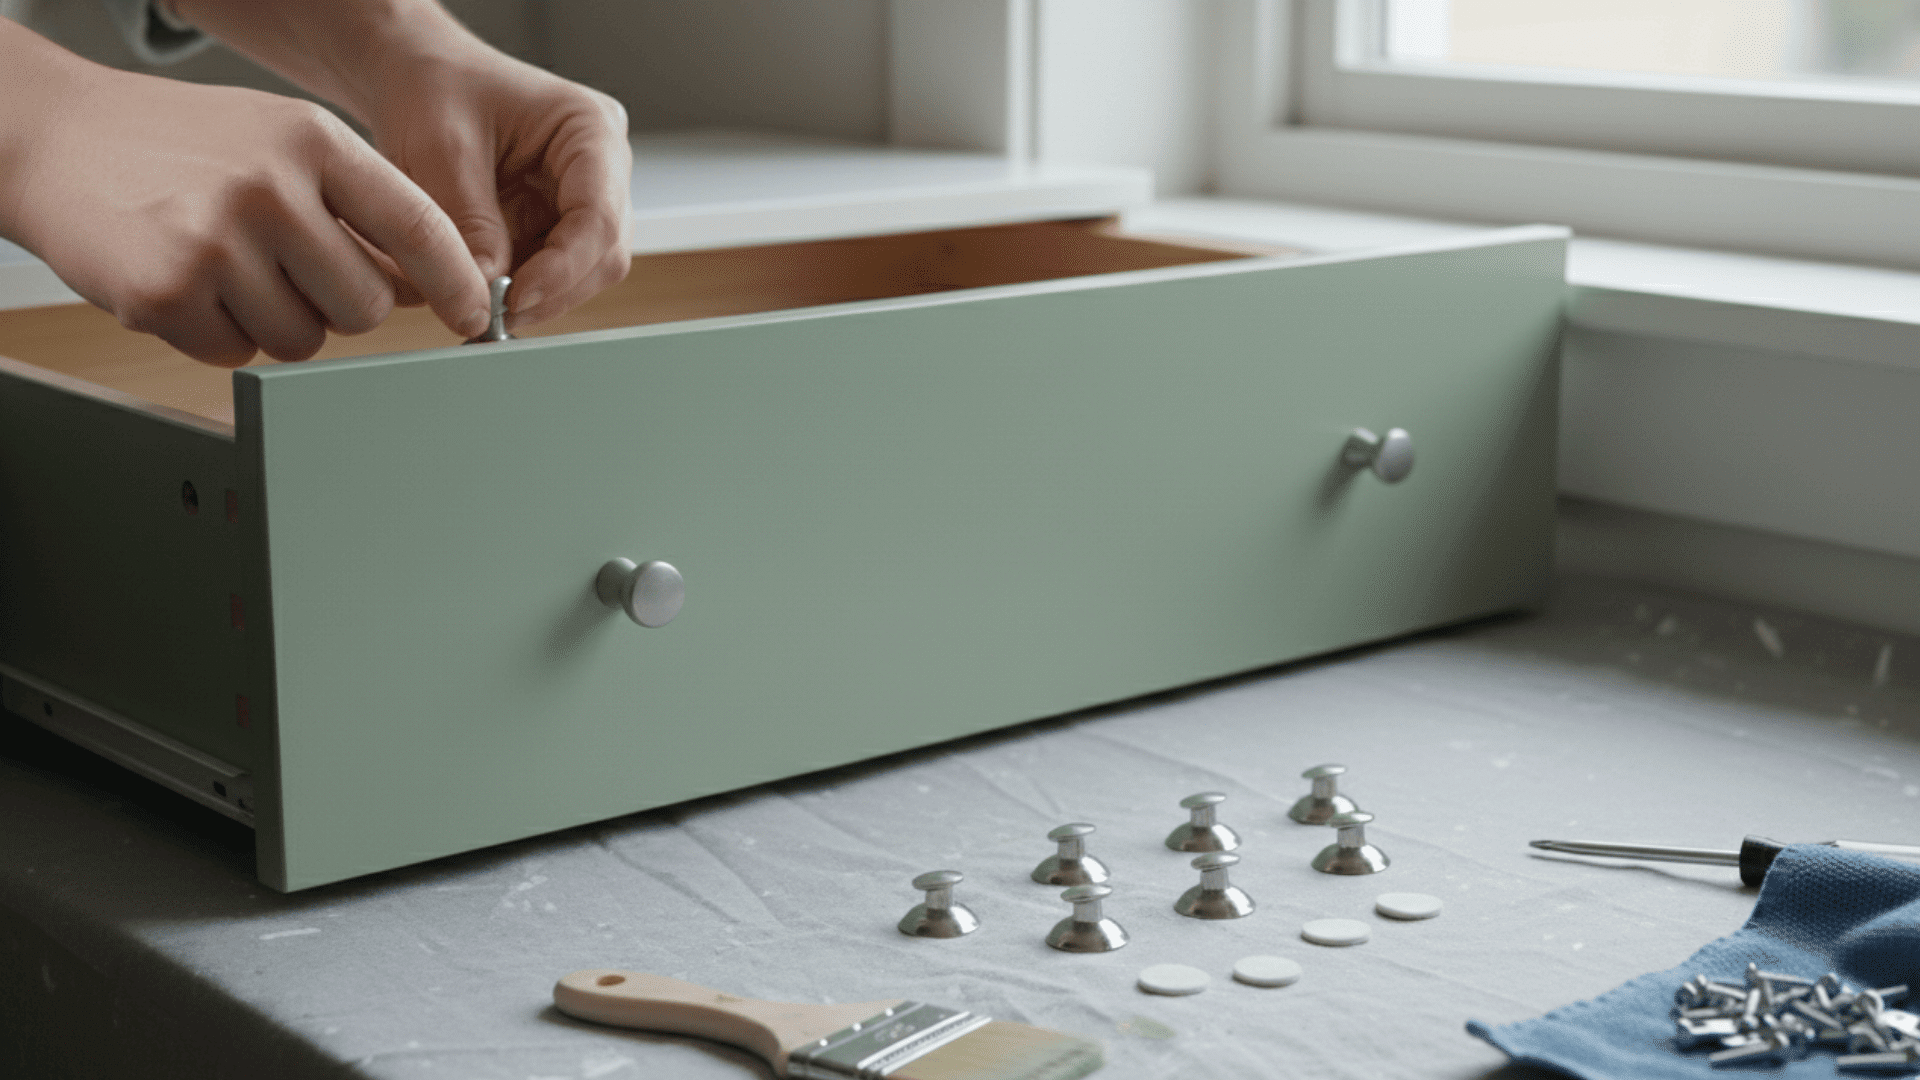
Dry is not the same as cured. Paint may feel dry quickly but still be soft underneath. Rushing this step leads to fingerprints, scratches, and dents that ruin your hard work.
Curing timeline:
- Wait 24 to 48 hours before light handling
- Wait 5 to 7 days for gentle use
- Avoid heavy use until it feels firm and durable
- Reattach hardware gently, and add felt pads to reduce future chipping
Maintenance and Cleaning After Painting IKEA Furniture
Your freshly painted piece looks great, but keeping it that way requires some smart care habits. Here’s how to clean, protect, and touch up your furniture so it stays looking good for years.
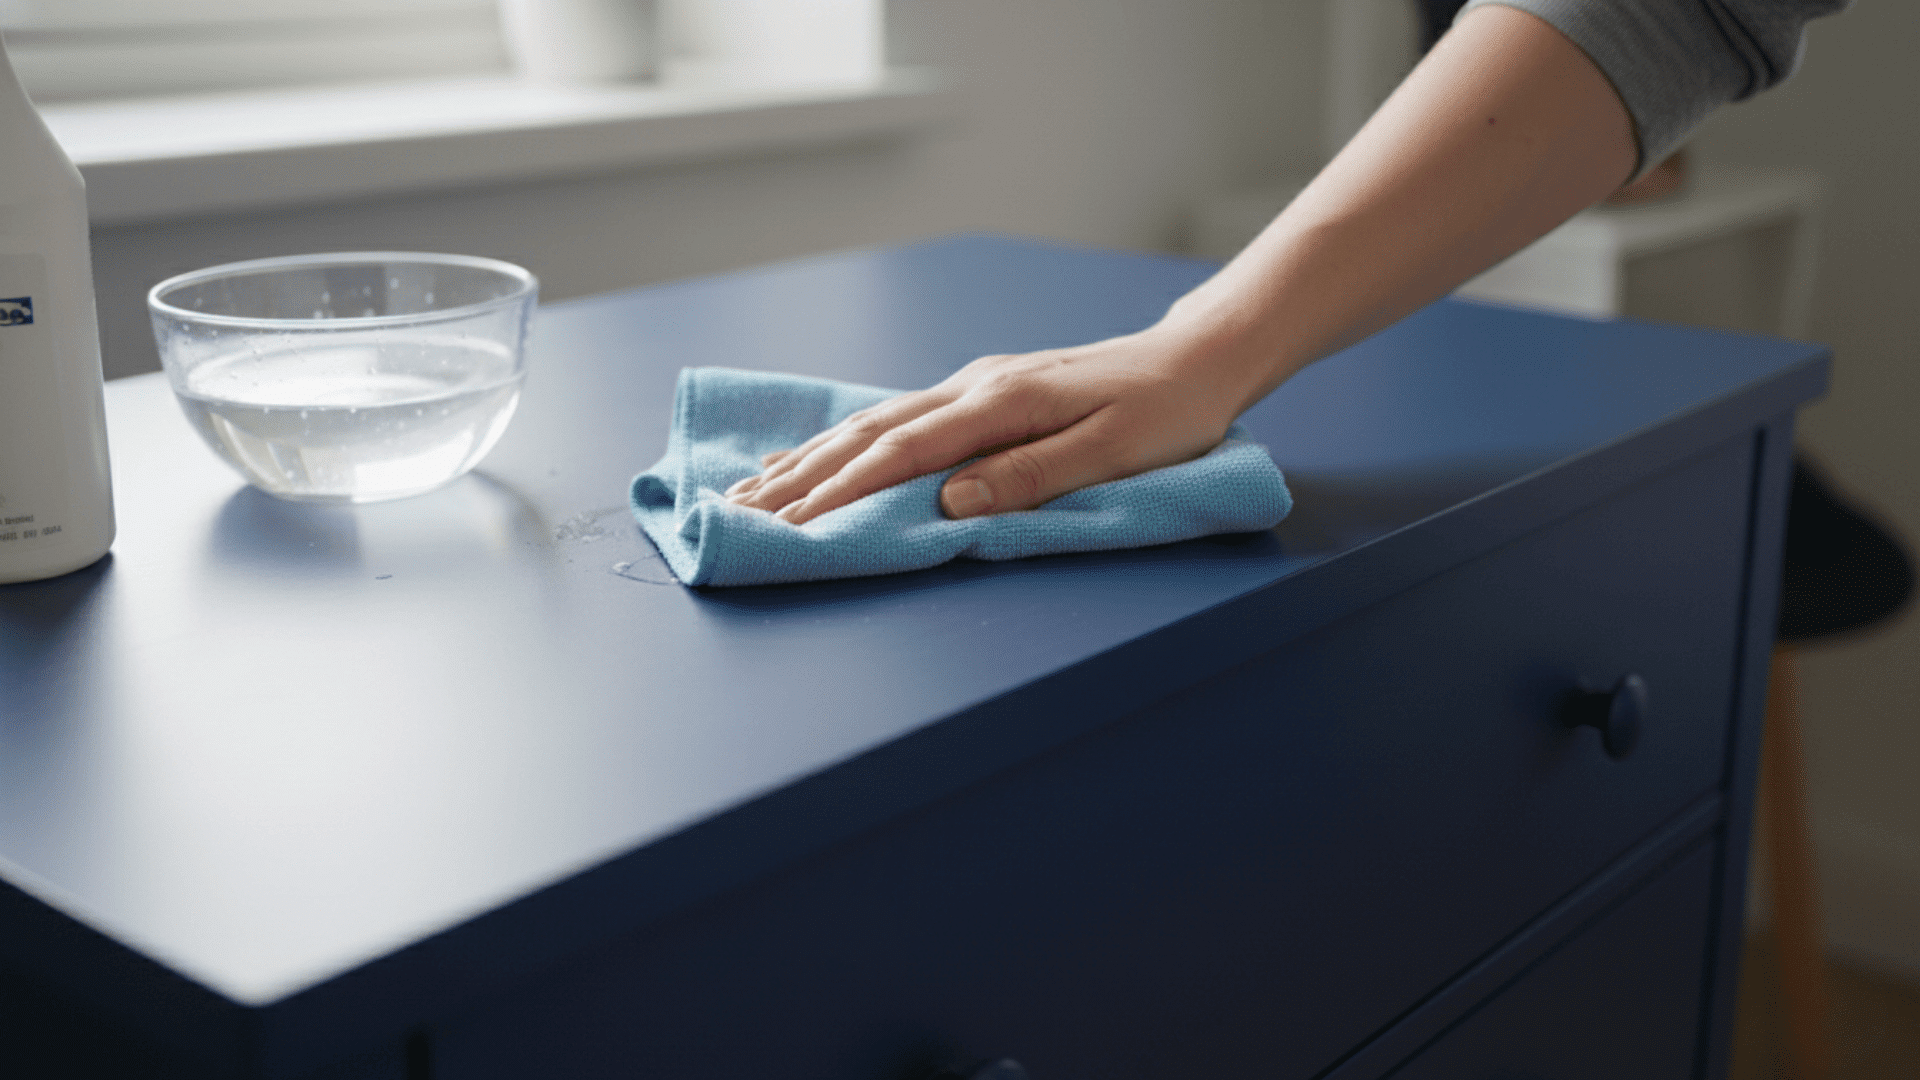
1. When It Is Safe to Clean
Wait at least 7 days after painting IKEA furniture before you wipe it down with any cleaner.
The paint may feel dry after 24 hours, but the finish continues to cure beneath the surface for weeks. Early cleaning can leave permanent smudges or dull spots in the paint.
2. Best Cleaners to Protect the Finish
Use mild dish soap mixed with water and a soft microfiber cloth for regular cleaning. Avoid harsh chemicals, abrasive sponges, or anything with bleach.
Spray the cloth, not the furniture, and wipe gently, avoiding hard scrubbing to prevent wearing down the topcoat.
3. Touch-Up Routine for Chips
Keep leftover paint in a sealed jar for quick repairs when chips happen. Clean the damaged spot, lightly sand if needed, then dab on a thin layer of paint with a small brush.
Let it dry completely, then apply a second coat if the color does not match perfectly.
4. Pads, Bumpers, and Shelf Liners That Reduce Wear
Add felt pads under anything that sits on painted surfaces, like lamps, picture frames, or decorative items.
Use clear bumpers on cabinet doors and drawer fronts where they close to prevent paint-on-paint contact. Shelf liners protect painted shelves from scratches caused by sliding books or storage bins.
Best Application Method for IKEA Pieces
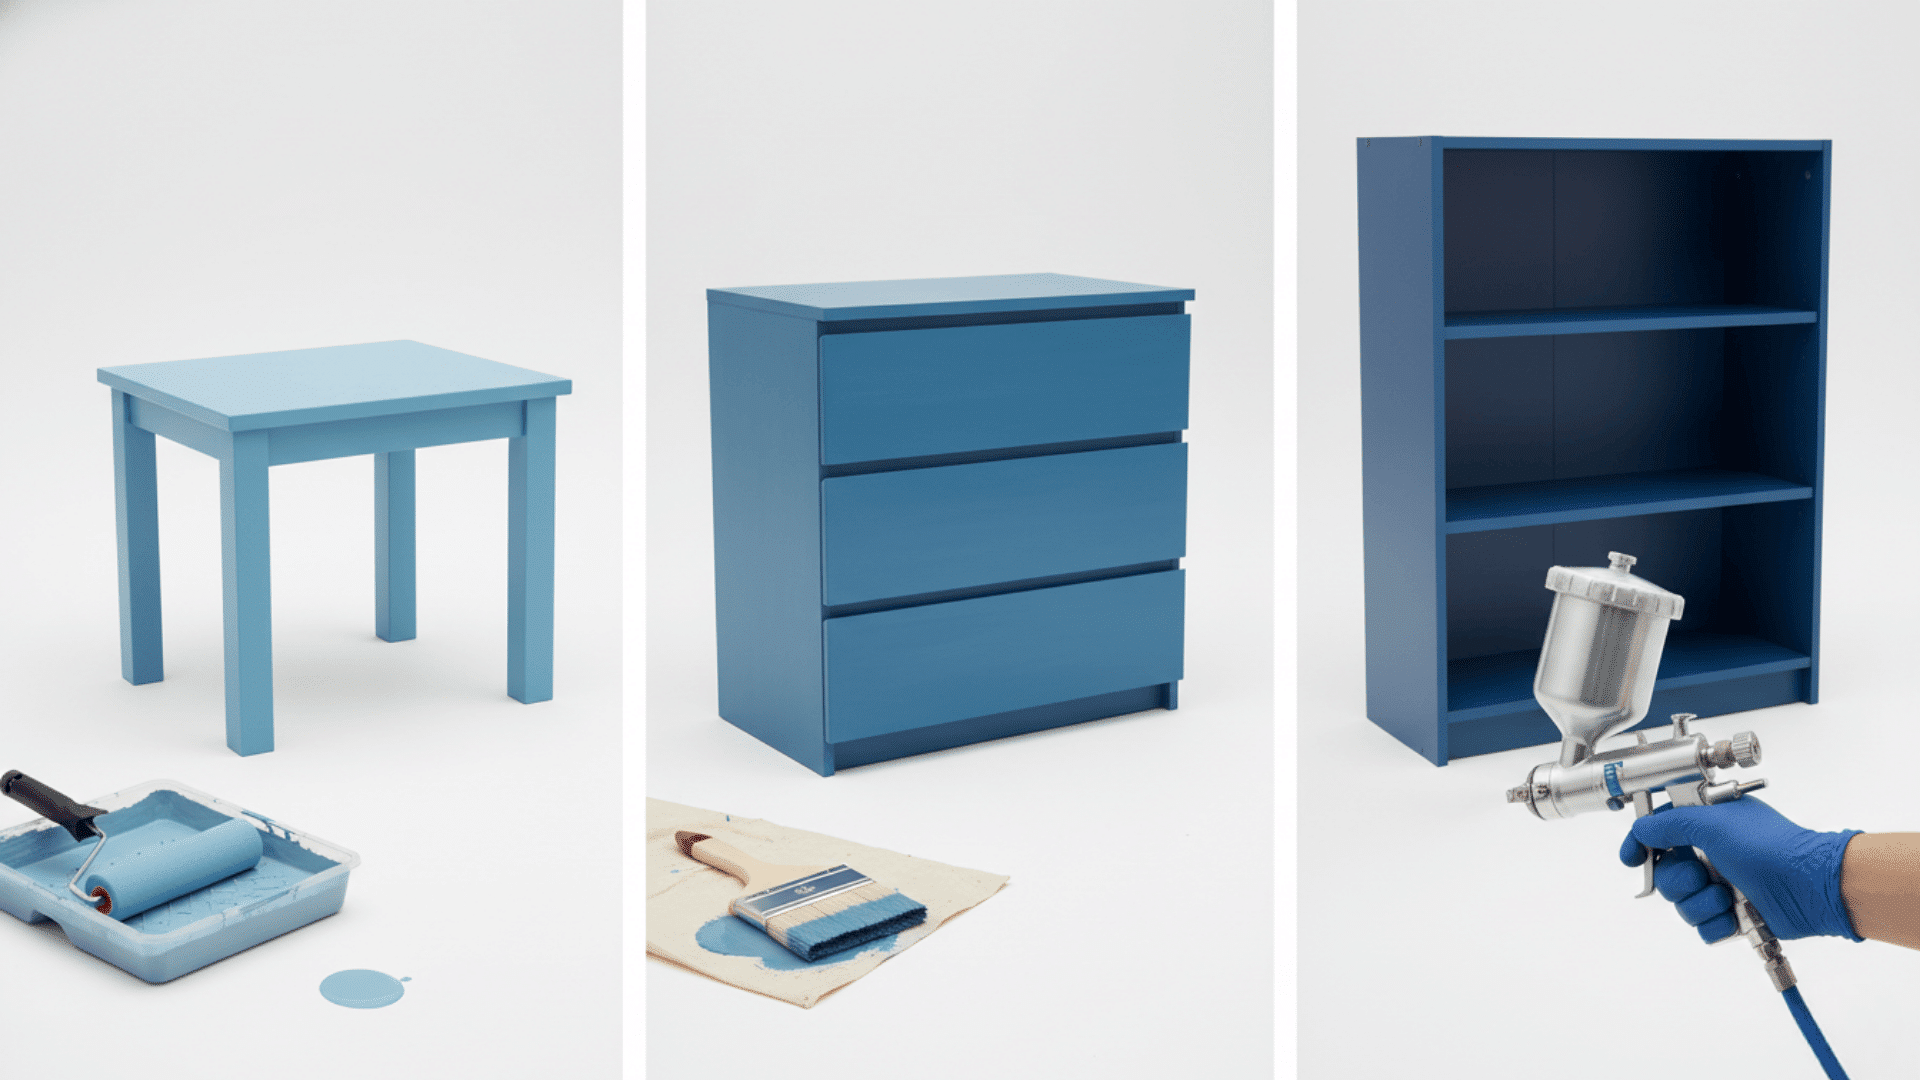
The tool you use changes how your finished piece looks. Here’s how to pick the correct application method based on your project size and skill level.
- Foam Roller Finish: A 4-inch foam roller gives you the smoothest finish with the least effort and works well on flat surfaces like dresser tops and cabinet doors.
- Brush-Only: Use brushes only for corners, edges, spindles, or carved details where rollers cannot reach, and apply thin coats in one direction to minimize visible strokes.
- Sprayer: Paint sprayers create a factory-smooth finish but require practice, proper thinning, ventilation, overspray control with masking, and testing on cardboard first.
- Reader Decision Guide: Small side tables work well with foam rollers and brushes; wardrobe doors need rollers for speed; and bookcase shelves are easiest when removed and sprayed outdoors.
What to Expect After Painting IKEA Furniture?
Painted IKEA furniture will not look or feel exactly like factory pieces, but it can last for years with proper care.
Expect a 2 to 4 week full cure time before the paint reaches maximum hardness, even if it feels dry after a day.
Minor scratches and chips can happen, especially on high-use surfaces like drawer fronts or table tops, but touch-ups are easy with leftover paint.
The finish holds up well to everyday use, such as opening drawers, setting down cups, and light cleaning, but avoid dragging heavy items across painted surfaces.
If you followed the prep steps and used bonding primer, your painted piece should stay chip-free under regular household use for 3 to 5 years or longer.
Summing It Up
Painting IKEA furniture is absolutely possible when you match your prep work to the surface you’re working with.
The key is bonding primer for laminate, proper cleaning, thin coats, and patience during cure time. Skip pieces with water damage or crumbling edges. Focus on stable furniture that needs a color refresh.
Start with a small project like a side table before tackling a whole wardrobe. Test your technique, learn what works, and build confidence. Your next IKEA makeover could save you hundreds compared to buying new furniture.
Ready to start? Grab that bonding primer and give your IKEA piece a second life. Drop a comment below with your before-and-after photos or any questions about your specific project.