Got an art print stuck in a drawer? Finding the right frame size can be tricky. Store-bought frames often cost too much or don’t fit your pieces well.
Many people give up and leave their prints hidden away. But framing doesn’t need to be hard. With simple tools and materials from your local craft store, you can make a frame that fits any size.
This method works for photos, art prints, and even kids’ drawings.
In this guide, you’ll learn how to measure, cut, and put together a custom frame that perfectly showcases your art.
The steps are clear and easy to follow, even if you’ve never attempted a home project before. Let’s get started with making your perfect-fitting frame!
Benefits of Making a DIY Poster Frame
Making your own poster frame comes with many benefits that go beyond just protecting your art. Here’s why you might want to try this project:
- Cost-Effective Alternative to Store-Bought Frames: Making frames at home costs much less than buying from stores. For large posters that need custom framing, you can save up to 70% on materials. Using simple wood and basic tools keeps the price down while giving good results.
- Fully Customizable to Match Your Style: You pick every detail of your frame. Want a thin black border for your modern art? Or perhaps a wide wooden frame for your vintage print? The choice is yours. You can paint, stain, or finish the wood to match your room perfectly.
- Perfect Fit for Odd-Sized or Oversized Posters: Non-standard sizes don’t pose problems when you build the frame yourself. That unusual concert poster or oversized map can now hang on your wall without trimming or expensive custom orders.
- Eco-Friendly and Sustainable Option: Use what you have around the house. Old picture frames, scrap wood, or thrift store finds make great frame materials. This cuts down on waste and gives old items new life.
Tools and Materials Required
Before you start your DIY frame project, gathering the right supplies will make the process much smoother. Here’s everything you’ll need to create a professional-looking poster frame without fancy equipment or hard-to-find items:
| Tools | Materials |
|---|---|
| Miter saw | Scrap wood pieces (for frame) |
| Measuring tape/ruler | Backer board (e.g., 1/8″ hardboard) |
| Pencil | Poster or artwork |
| Clamps | Wood glue |
| Brad nailer or hammer | Small brad nails |
| Router with round-over bit | Wood stain (e.g., dark walnut) |
| Jig for frame squaring | Polyurethane clear finish |
| Sandpaper | Hanging wire and screws |
Step-by-Step DIY Poster Frame Tutorial
Now that you understand the benefits, let’s get into the actual making process. This simple guide breaks down each stage of creating your own custom frame, from gathering supplies to the final assembly.
1. Prepare Your Workspace
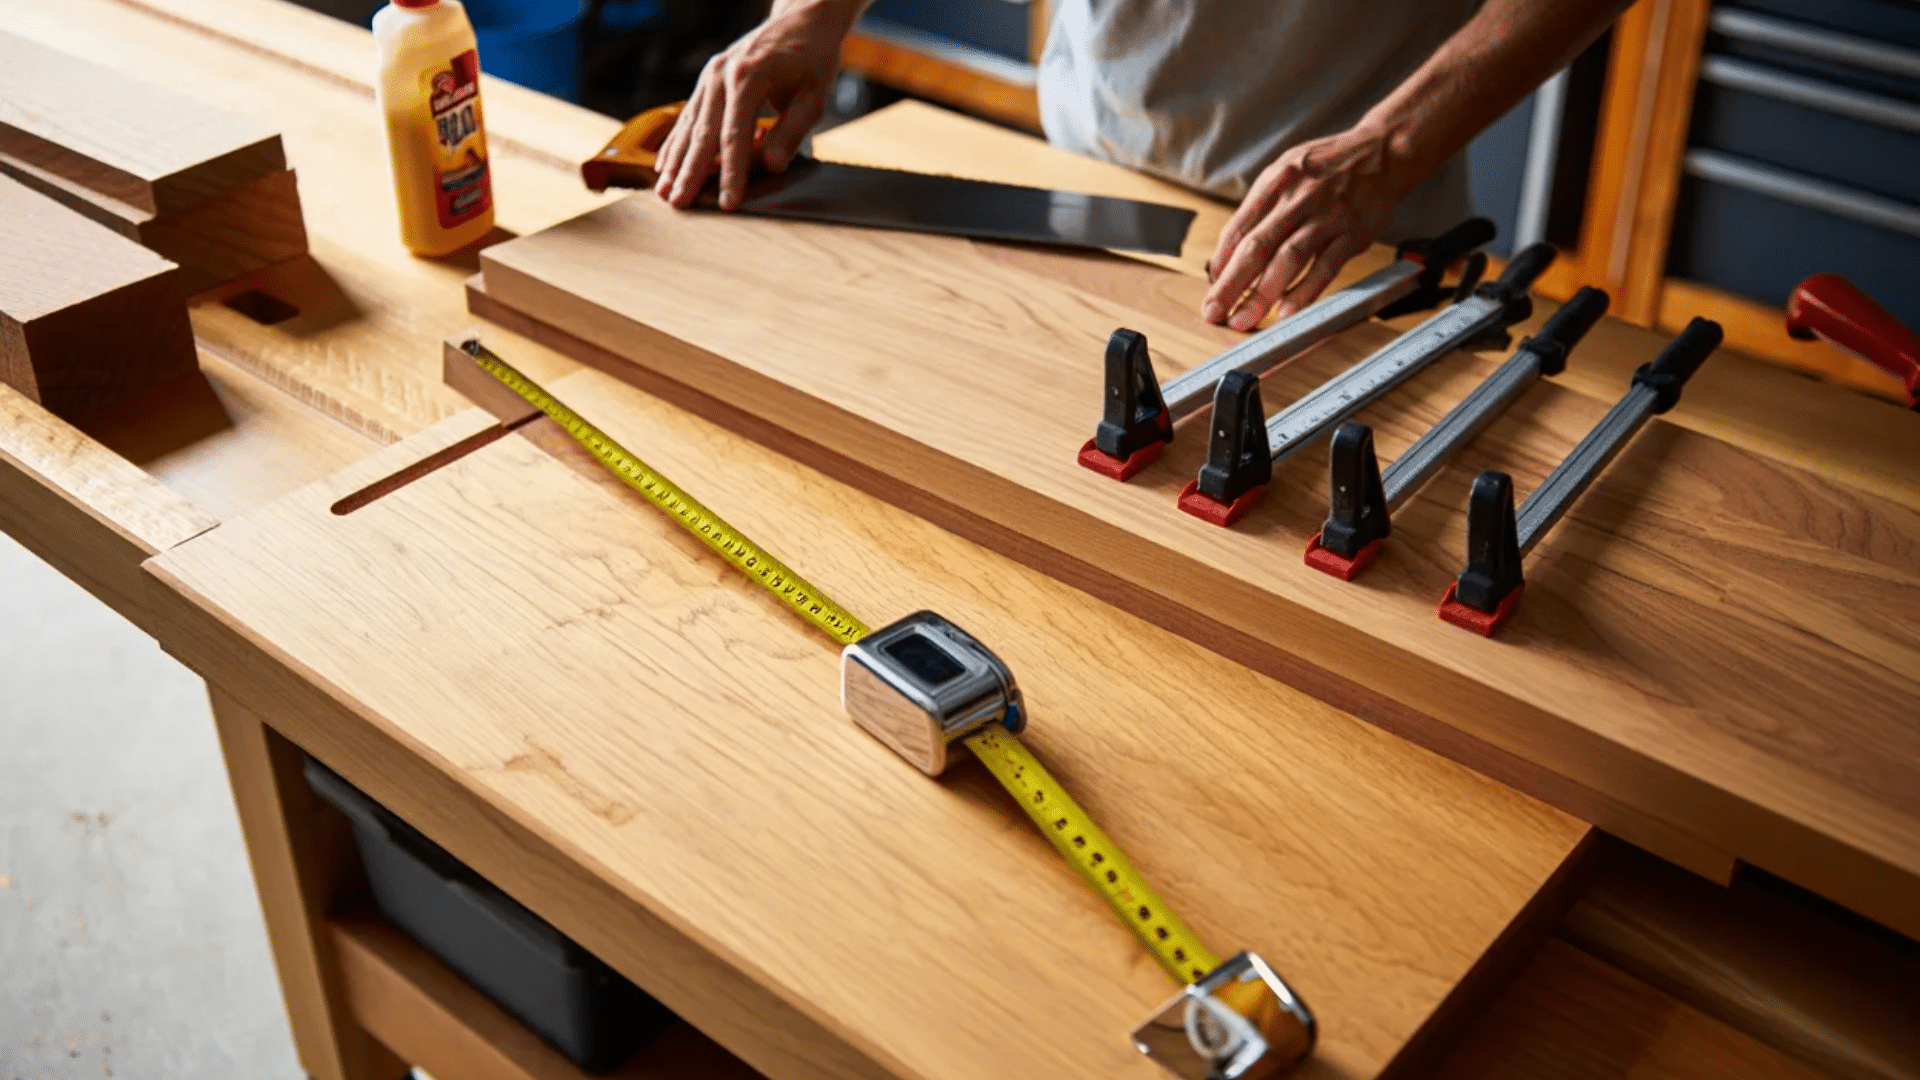
Before jumping in, clear a sturdy work surface and lay out all your tools and materials. Make sure there’s enough room to handle wood cutting and staining safely. This will not only make the job easier but also safer and more enjoyable.
2. Measure and Cut the Backer Board
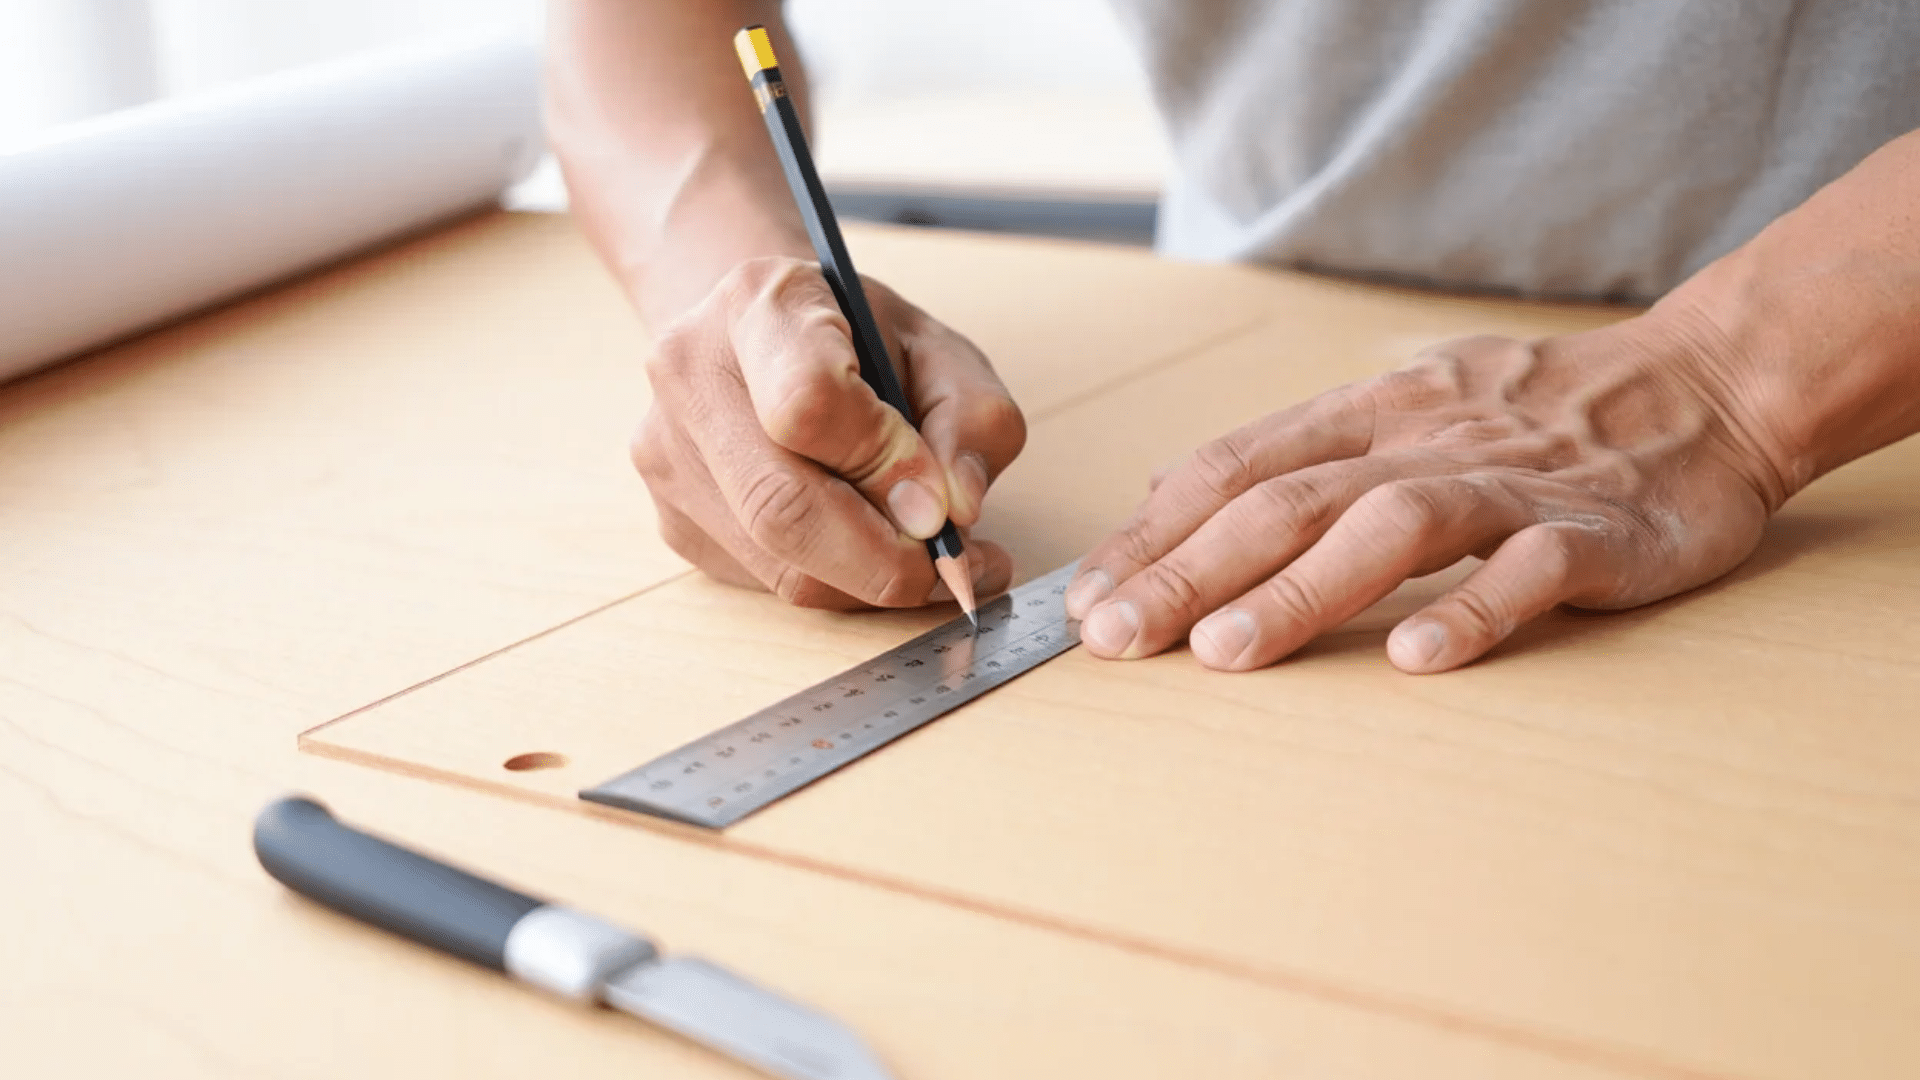
Place your poster on the backer board and lightly trace its outline. Using a saw, cut the board to the exact size of the poster. This will serve as the support for your artwork. Ensure your cuts are clean and edges are smooth.
3. Cut and Miter the Frame Pieces
Rip down your scrap wood into 1-inch-wide strips. Measure the sides of your backer board and subtract ¼ inch from both the width and height to allow for a snug fit later.
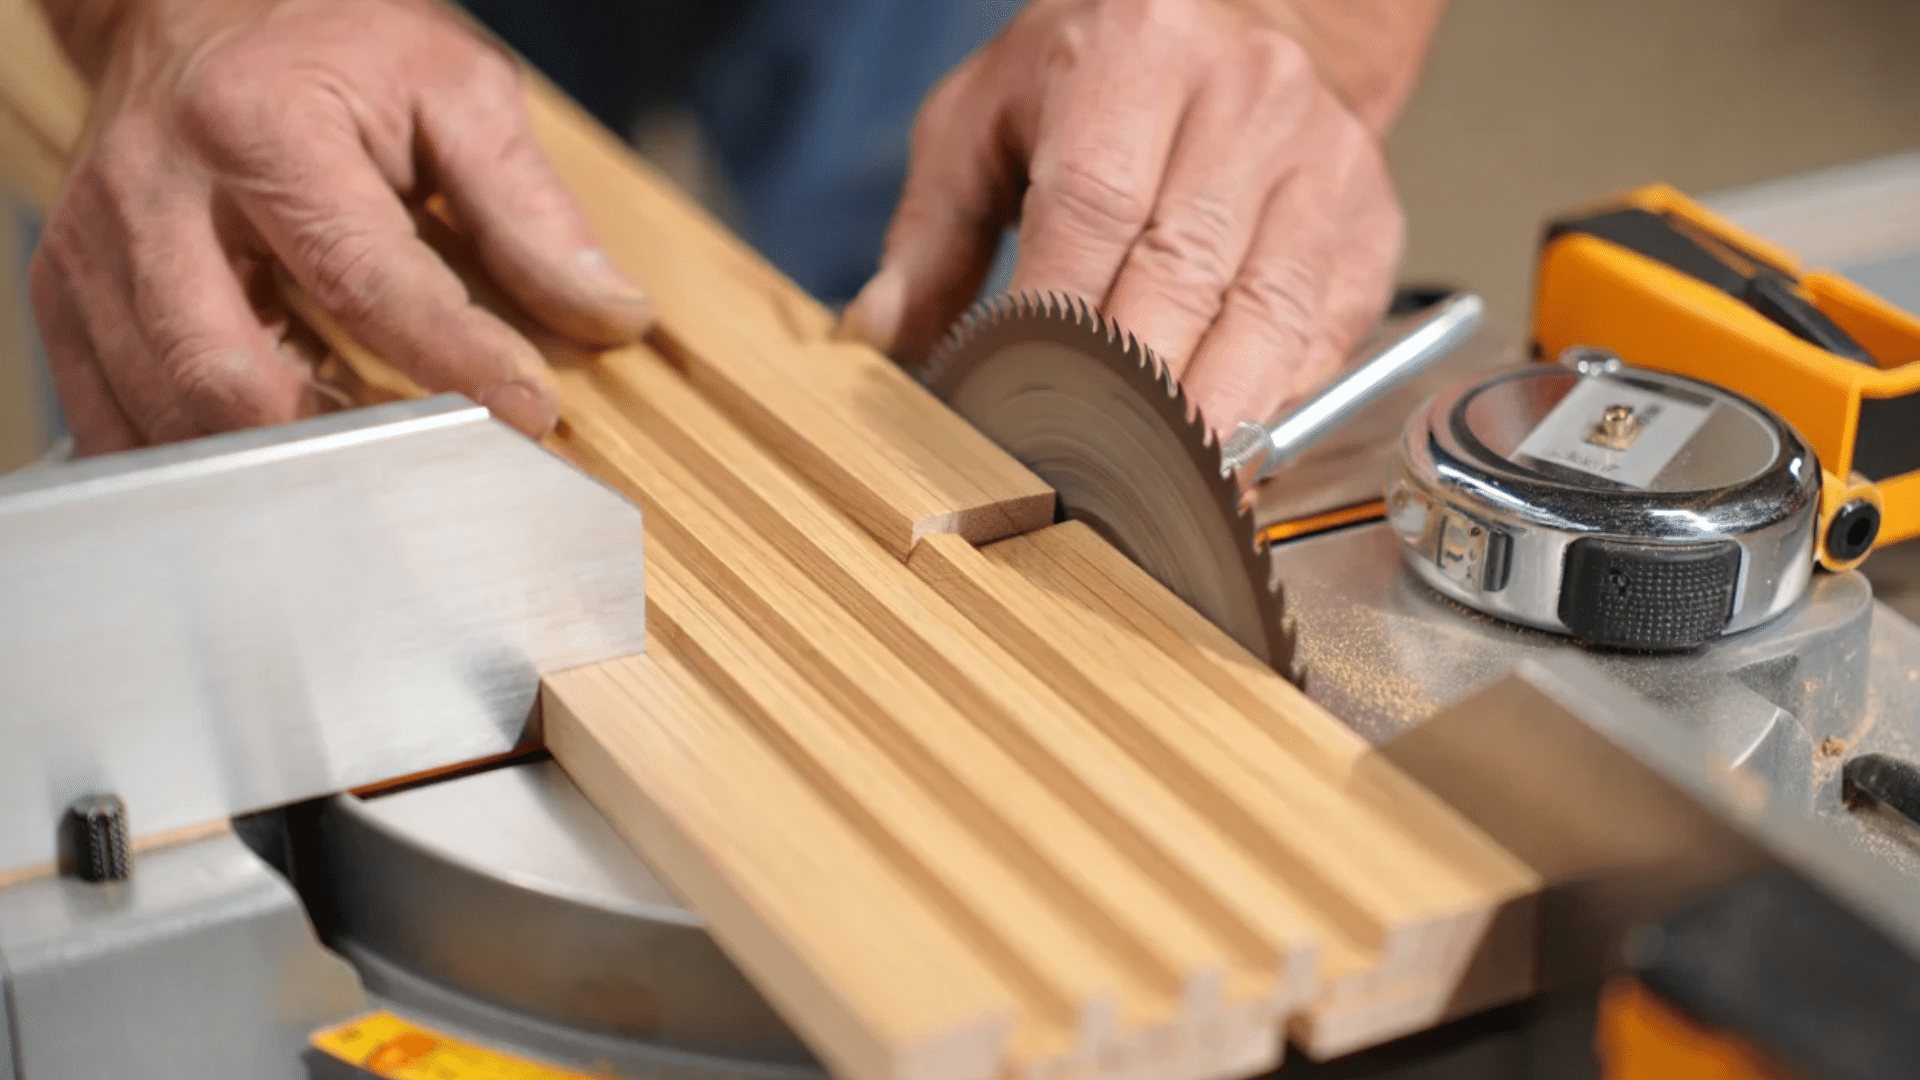
Use a miter saw to cut the corners at 45° angles for all four frame pieces. Remember to measure from miter tip to miter tip.
4. Create the Rabbet Groove
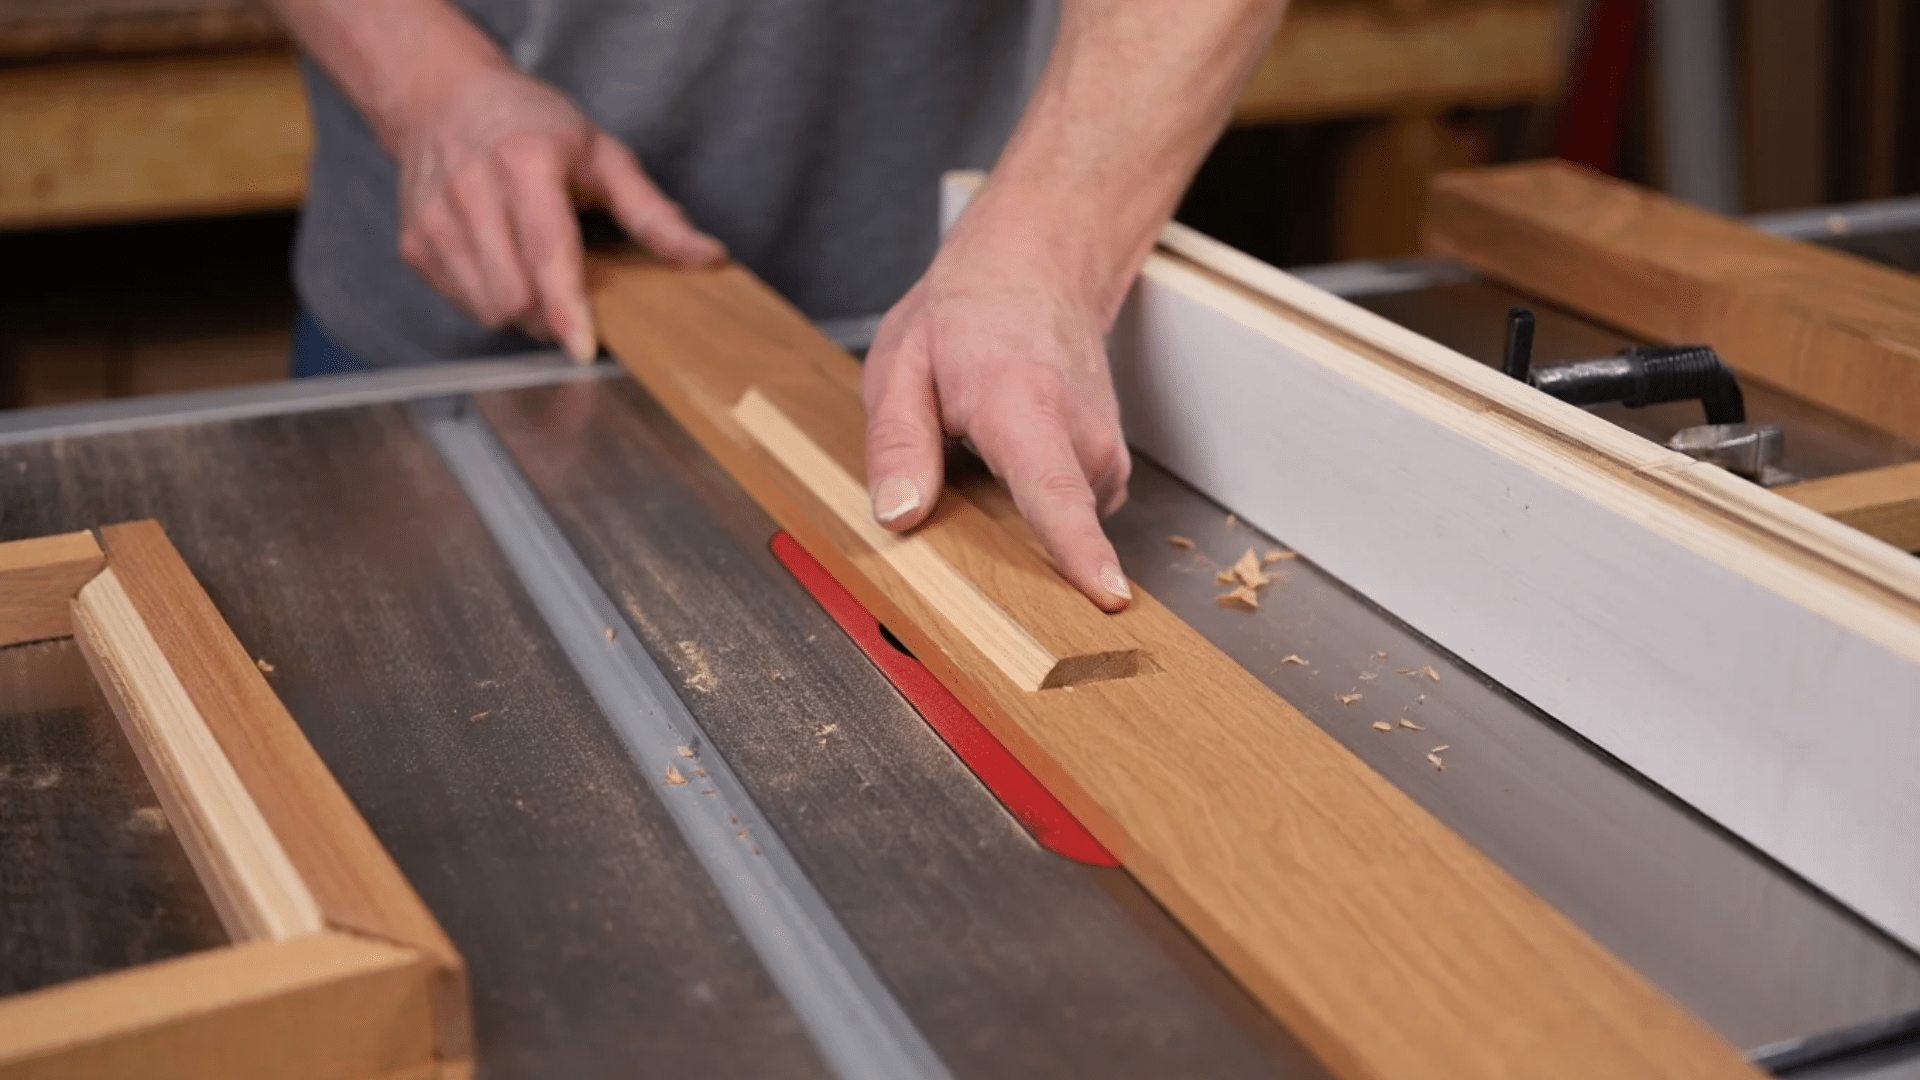
Using a table saw or router, cut a rabbet (a groove) along the inner backside of each frame piece. This groove should be just deep enough to nest the backer board so everything sits flush when assembled.
Take your time here; It ensures the poster fits cleanly and securely.
5. Assemble the Frame
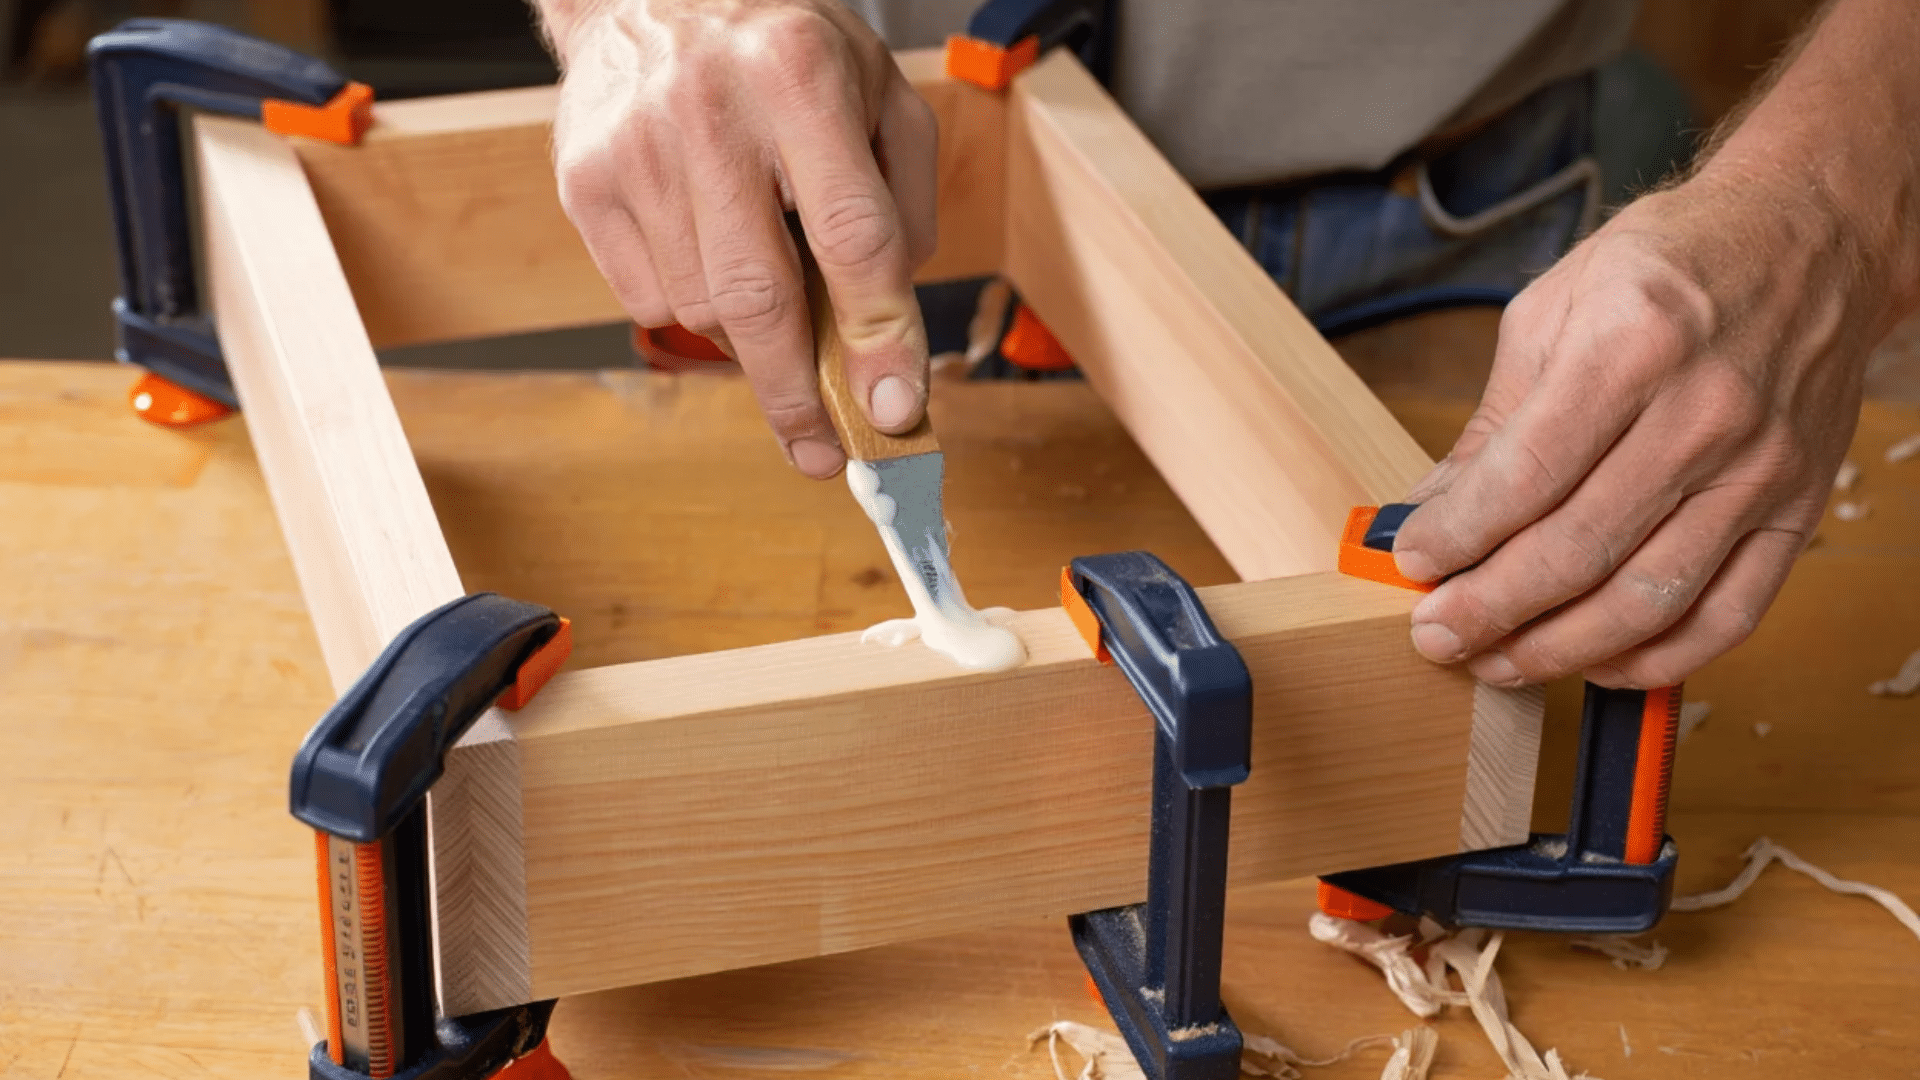
Arrange the frame pieces on a flat surface and use a jig or square to keep corners tight. Apply wood glue to the joints and reinforce with a couple of brads or small nails.
Clamp if available and allow the glue to set. Once dry, sand the frame smooth and use a round-over router bit to soften the edges if desired.
6. Finish, Mount, and Hang
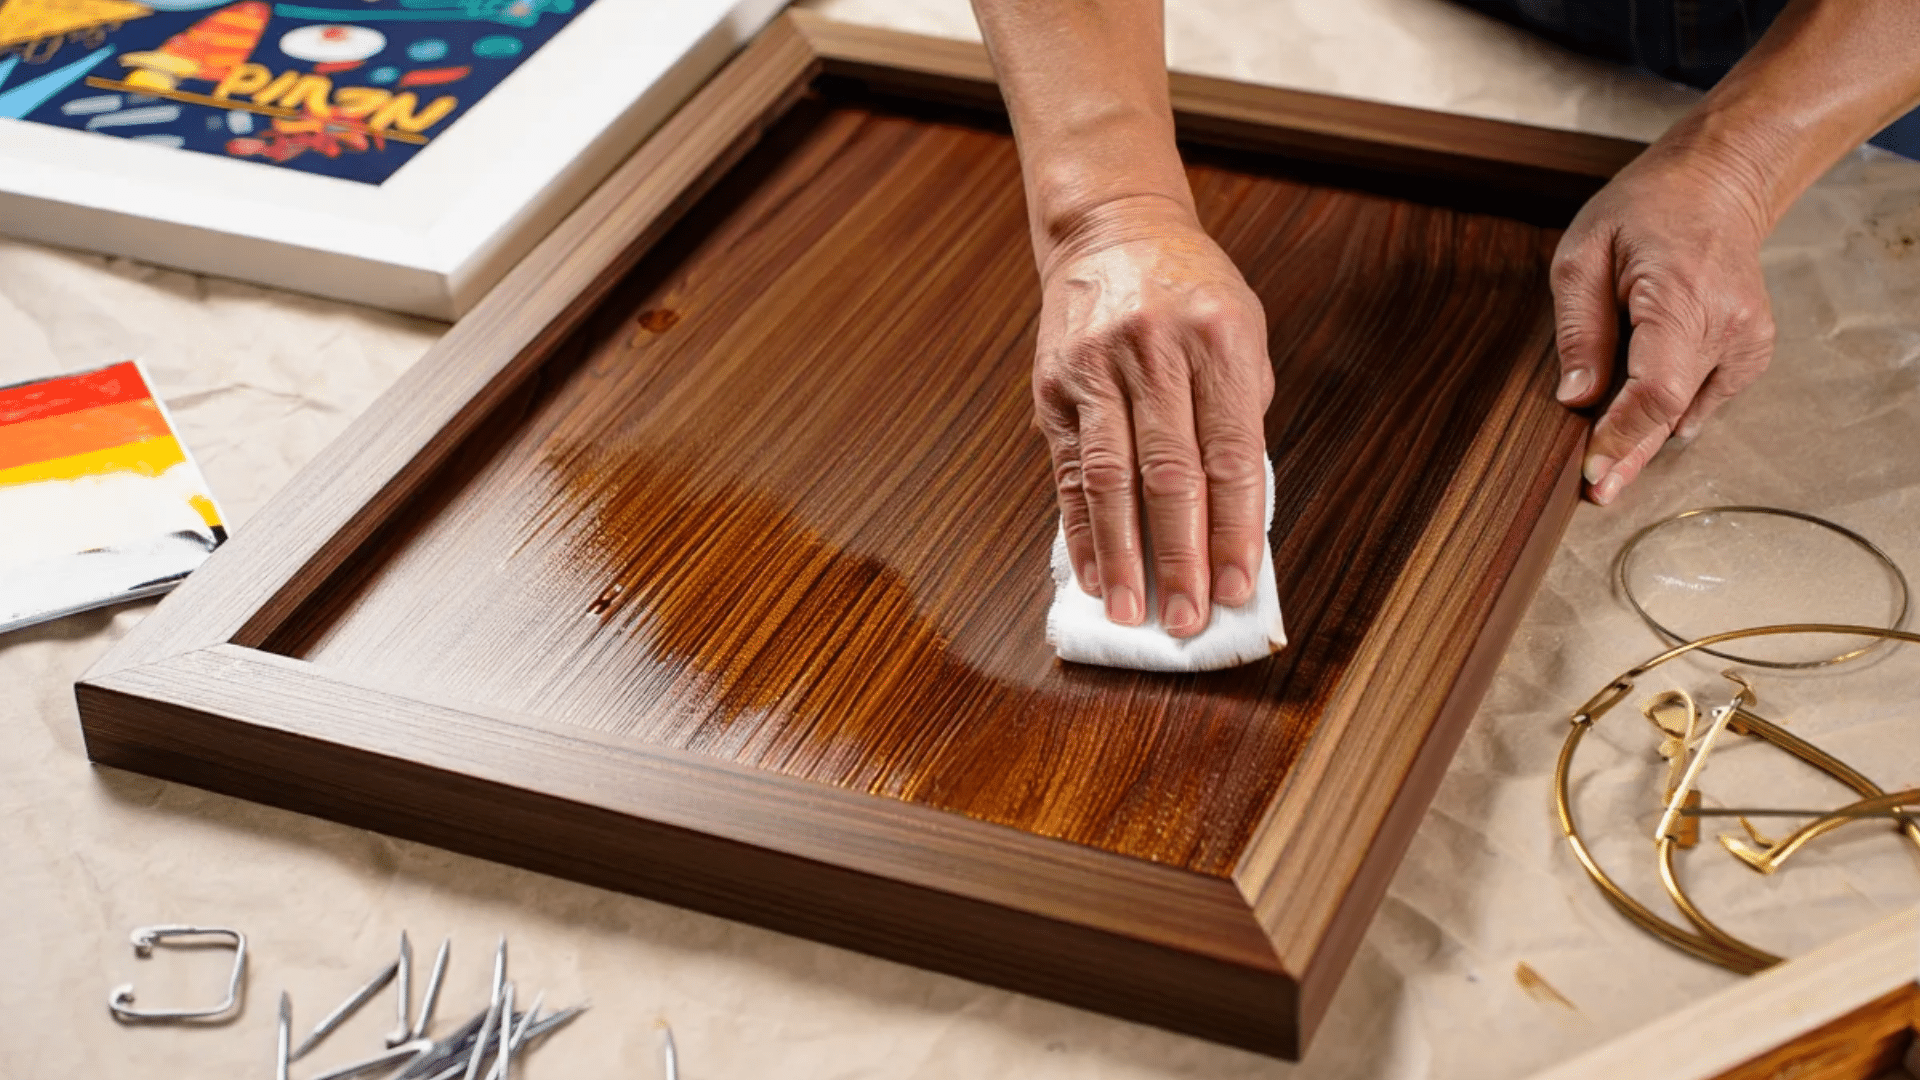
Apply your chosen stain evenly and allow it to dry completely. Then, add a coat or two of wipe-on polyurethane for a nice satin finish.
Once dry, attach the poster to the backer board with glue or small pins. Insert it into the frame and secure the back with thin nails. Finally, screw in hanging hardware and string the wire. Your DIY poster frame is ready to grace your wall!
For more details on how to create a DIY poster frame, refer to this YouTube video below:
How to Hang and Display Your Poster Frame
Once you’ve created your DIY poster frame, how you hang it can greatly affect its appearance and safety. Here are several effective ways to hang your frame, depending on the frame’s weight and wall type:
- Adhesive Strips are ideal for lightweight frames and renters. They don’t leave holes and are easy to remove.
- Sawtooth Hangers:Small metal brackets that attach to the back of the frame and hook onto nails or screws in the wall.
- D-Rings with Hanging Wire: This is a common method for medium to heavy frames. Attach D-rings to the frame sides and run picture wire between them for balanced hanging.
- Hook and Nail System:For simple hanging, use basic picture hooks and nails, especially for drywall and light frames.
- Wall Anchors or Screws into Studs: For heavier frames, use wall anchors or screw directly into studs to ensure secure support.
- Picture Rail Hooks: In older homes with picture rail molding, decorative hooks and cords can create a damage-free, vintage look.
When positioning your frame, aim to hang the center of the artwork at eye level, typically about 57 to 60 inches from the floor.
Also, be mindful of lighting; avoid placing your frame in direct sunlight, as it can cause your print to fade over time. Instead, position it where natural light hits at an angle or enhance it with soft picture lights for an appealing display.
Mistakes to Avoid When Making a Poster Frame
Even simple DIY projects can go wrong. When making poster frames, small errors often lead to bigger problems. Here are the main mistakes to watch out for:
- Measurement Errors: The most common mistake is taking the wrong measurements. Always measure twice and cut once. Use a square tool to check corners are exactly 90 degrees. Add a small buffer (1/8 inch) to frame openings so your poster fits without buckling.
- Poor Material Choices: Not all wood works well for frames. Avoid green or untreated wood that might warp over time. Pick straight boards without knots near the edges. For larger posters, use stronger materials to prevent sagging in the middle.
- Weak Corner Joints: Corners need to be solid. Simple butt joints often fail over time. Use wood glue plus reinforcements like corner brackets or miter splines. For better stability, let glued joints dry fully (24 hours) before handling the frame.
- Rushing the Finish: Poorly finished frames look homemade in a bad way. Sand thoroughly between coats of paint or stain. Apply thin, even coats rather than one thick layer. Allow proper drying time between steps.
Creative DIY Poster Frame Ideas to Try at Home

Once you’ve built the basic frame, consider adding your creative touch. These simple yet stylish ideas can help you customize your frame to match your space and artwork better.
- Rustic Reclaimed Wood Look: Use old or weathered wood for a natural, aged appearance. Light sanding and a clear coat can highlight the texture beautifully.
- Bold Painted Frames: Choose a bold color like black, navy, or mustard to give your frame a modern, eye-catching edge, especially effective for graphic prints.
- Floating Frame Effect: Leave a small gap between the poster and the inner edges of the frame to create a minimalist, gallery-like “floating” look.
- Dual-Tone Finish: For added visual interest, stain the outer frame in one color and paint or stain the inner lip in a contrasting shade.
- Magnetic Hanger Style: Use wood strips with embedded magnets at the top and bottom of your poster for a sleek, frameless design, great for changing art often.
Final Thoughts
Creating your own diy poster frame is more than just saving money; it’s about making something that fits your needs perfectly.
With the steps and tips we’ve shared, you can turn ordinary materials into frames that show off your art in the best way possible. Remember that each frame you make gets easier than the last. Your skills will grow with practice.
Don’t worry if your first frame isn’t perfect. Small flaws add character and show that a real person made it with care.
The joy of DIY projects comes from the making process as much as the final product. Now it’s time to pull those posters out of storage and give them the showcase they deserve!
Have you made your own frame before? We’d love to see your results! Share your photos or questions in the comments below.