St. Patrick’s Day is almost here, and kids are buzzing with excitement about catching leprechauns.
But in most cases, parents panic when their little ones ask for help building traps. The pressure to create something magical can feel overwhelming, especially when you’re not sure where to start.
Leprechaun traps don’t need to be complicated or expensive as the best ones use simple materials you probably already have at home.
These eleven trap ideas will turn any parent into a St. Patrick’s Day hero, and kids will love the hands-on fun of building them together.
Why Do People Create Leprechaun Traps?
1. Keeping Childhood Magic Alive:
Children naturally believe in magic, and leprechaun traps feed that wonder. Parents love seeing their kids’ eyes light up when they talk about catching a leprechaun.
2. Family Bonding Through Creativity:
Building traps brings families together for hands-on projects away from screens. Parents and kids work side by side, creating shared memories that last long after St. Patrick’s Day ends.
3. Teaching Problem-Solving Skills:
Creating a working trap requires planning and critical thinking about entrances, bait, and mechanisms. Children learn about cause and effect, spatial relationships, and basic mechanics without realizing they’re getting an education.
4. Encouraging Imagination and Storytelling:
Leprechaun traps spark storytelling opportunities where kids create elaborate backstories about tiny visitors. This imaginative play helps with cognitive development and language skills.
5. Simple Joy and Anticipation:
Kids love the excitement of checking their traps each morning to see what happened overnight. The activity costs almost nothing but provides hours of entertainment and old-fashioned fun.
How to Build a Leprechaun Trap: Step-by-Step Guide
Building a leprechaun trap doesn’t require special skills or expensive materials. Most parents can create one in under 30 minutes using items from around the house. The key is making it look tempting enough for a leprechaun to investigate.
Materials and Tools Needed
| Item | Description |
|---|---|
| Shoebox | Base of the trap |
| Wrapping Paper | To cover the box |
| Colored Paper (rainbow colors) | For making the rainbow |
| Cotton Balls | To create fluffy clouds |
| Gold Coins (plastic or paper) | Leprechaun bait |
| Tape & Glue Gun | To hold everything in place |
| Scissors & Pencil | For cutting and marking |
| Wooden Skewers or Craft Sticks | For the ladder |
| X-Acto Knife or Craft Knife | To cut the trap door (adult use only) |
Step-by-Step Instructions
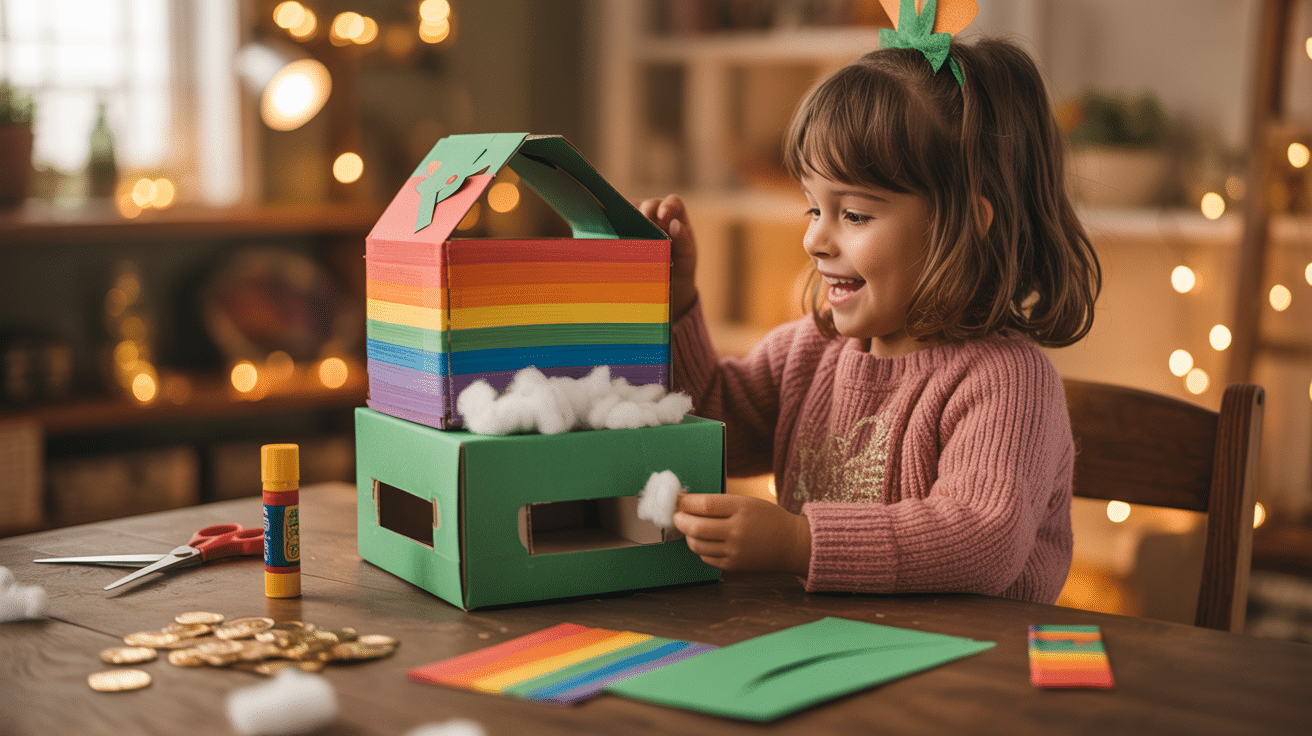
Step 1: Prepare the Trap Base
Start by cutting a trap door in the center of your shoebox lid using a craft knife (with adult help). Then wrap the entire outside of the shoebox with wrapping paper to make it colorful and inviting.
Step 2: Create the Trap Door Opening
After wrapping, gently cut an “X” or “T” shape into the paper directly over the hole you made. This allows the paper to fold down and the leprechaun to fall through.
Step 3: Set the Bait and Add the Rainbow
Glue gold coins together in a little pile to make a shiny bait, then place them over the trap door. Next, make a paper rainbow using strips of colored paper (cut from longest to shortest) and glue them to the top of the box. Add cotton balls to each side as fluffy clouds.
Step 4: Add Lucky Decorations
Decorate the sides of the shoebox with green clovers. Make each clover by cutting three small paper hearts for the leaves and a small triangle for the stem, then glue them into place.
Step 5: Build and Attach the Ladder
Use wooden skewers or craft sticks to build a little ladder, so the leprechaun has a way up. Glue the top of the ladder to the side of the box leading right to the trap door. Now your trap is complete and ready to catch some magic!
For a more detailed instructions on how to make leprechaun trap project, check out the video below:
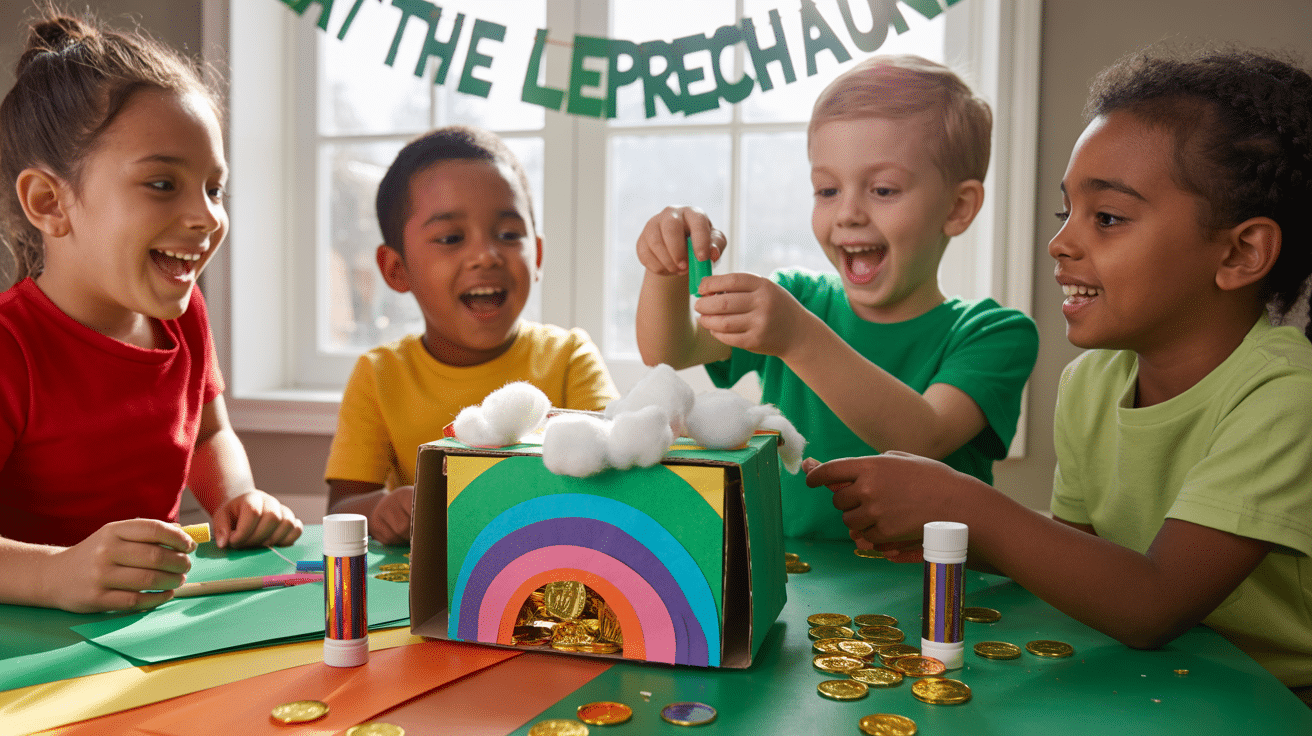
Creative Leprechaun Trap Ideas for Kids
Get ready for giggles and imagination!
These leprechaun trap ideas are the perfect mix of hands-on fun and clever thinking, giving kids a chance to build, experiment, and learn through play.
1. Rainbow Slide into a Shoebox
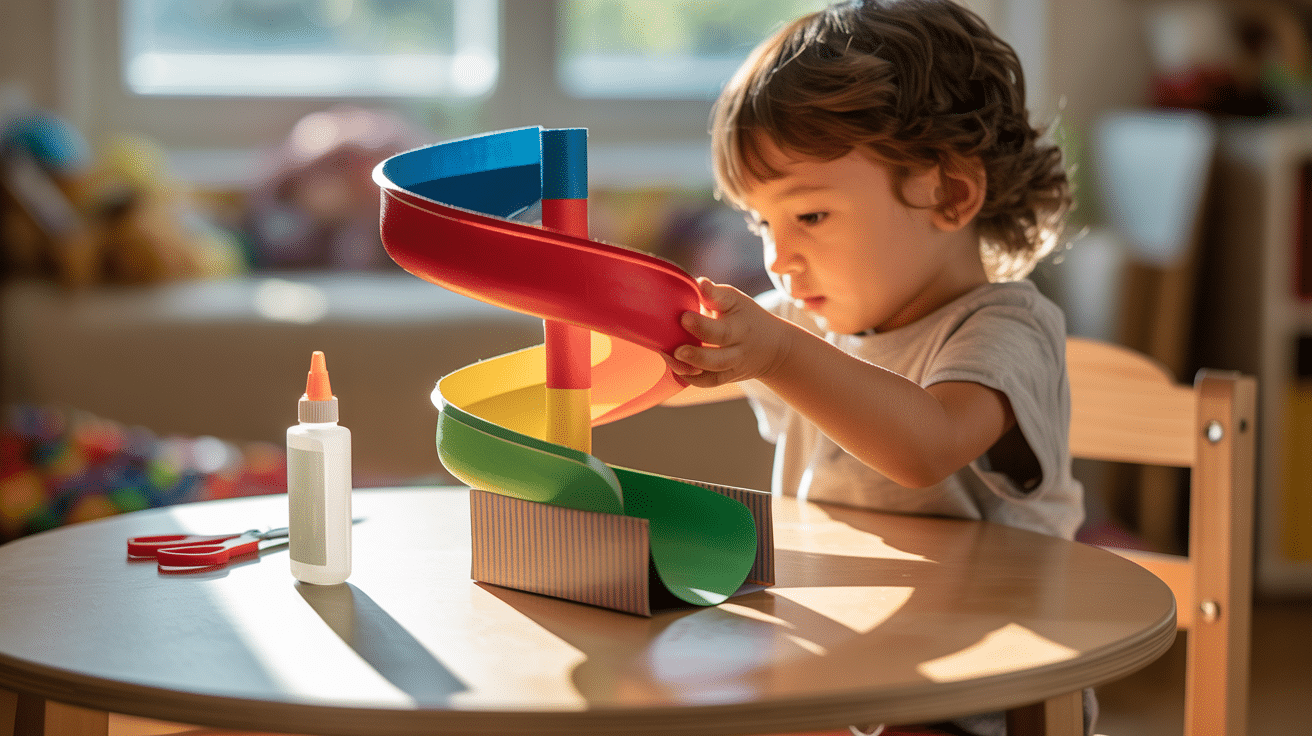
Create a colorful rainbow slide that leads into a hidden shoebox trap. Kids love watching marbles or toys roll down before adding the “gold.”
- Things Required: Shoebox, construction paper, glue, tape, markers
- Lesson Covered: Color recognition, basic engineering
- Difficulty Level: Easy
2. Gold Coin Pathway to a Jar Trap

Lay down a sparkling coin trail leading to a jar covered with foil and string. The shiny bait lures the leprechaun straight into the jar.
- Things Required: Gold coin cutouts, mason jar, foil, string
- Lesson Covered: Sequencing, spatial awareness
- Difficulty Level: Medium
3. Upside-Down Cereal Box with a Stick
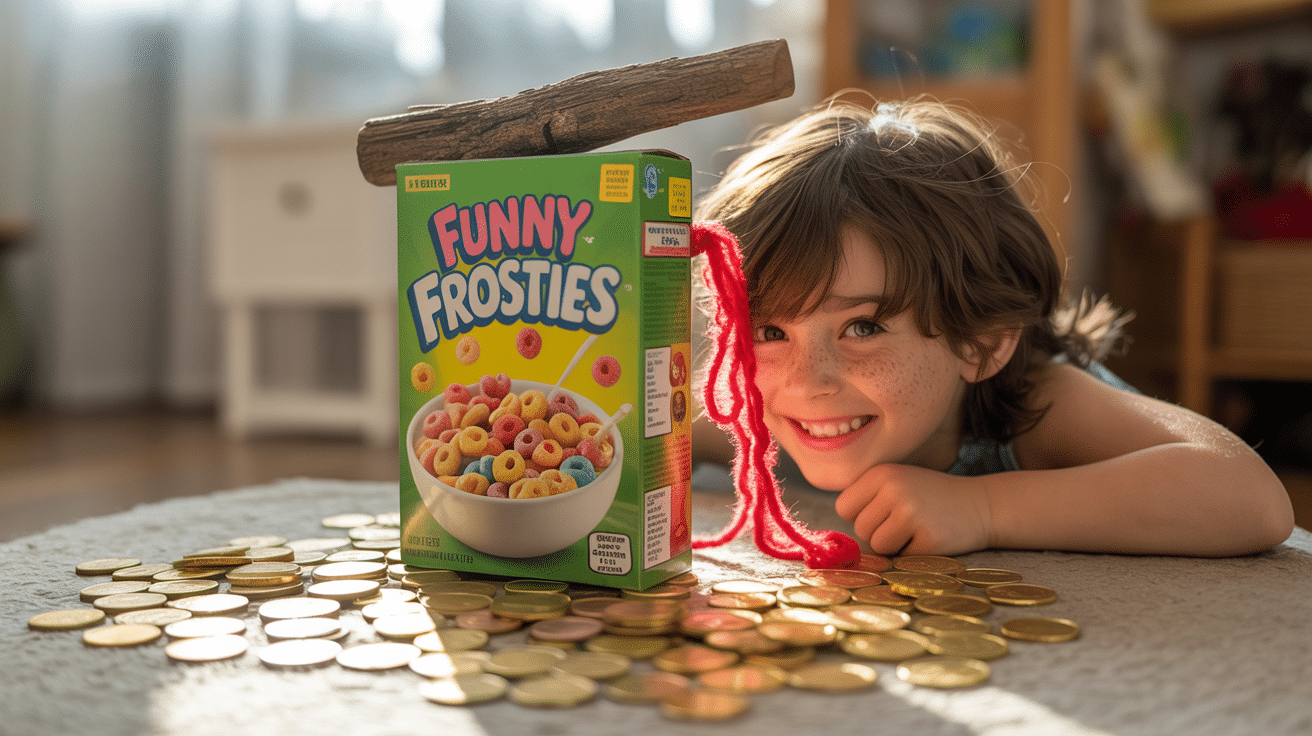
Classic trap style! Use an empty cereal box propped with a stick and gold bait underneath to trigger the fall.
- Things Required: Empty cereal box, stick, yarn, paper gold coins
- Lesson Covered: Cause and effect, storytelling
- Difficulty Level: Easy
4. Lego Staircase to a Glittery Pit

Build a Lego staircase that leads straight to a shiny pit covered with clear wrap or paper. The illusion of depth tricks the leprechaun.
- Things Required: Legos, glitter, plastic wrap, tape
- Lesson Covered: Architecture, problem-solving
- Difficulty Level: Medium
5. Sparkly Net Hung from a Door Frame
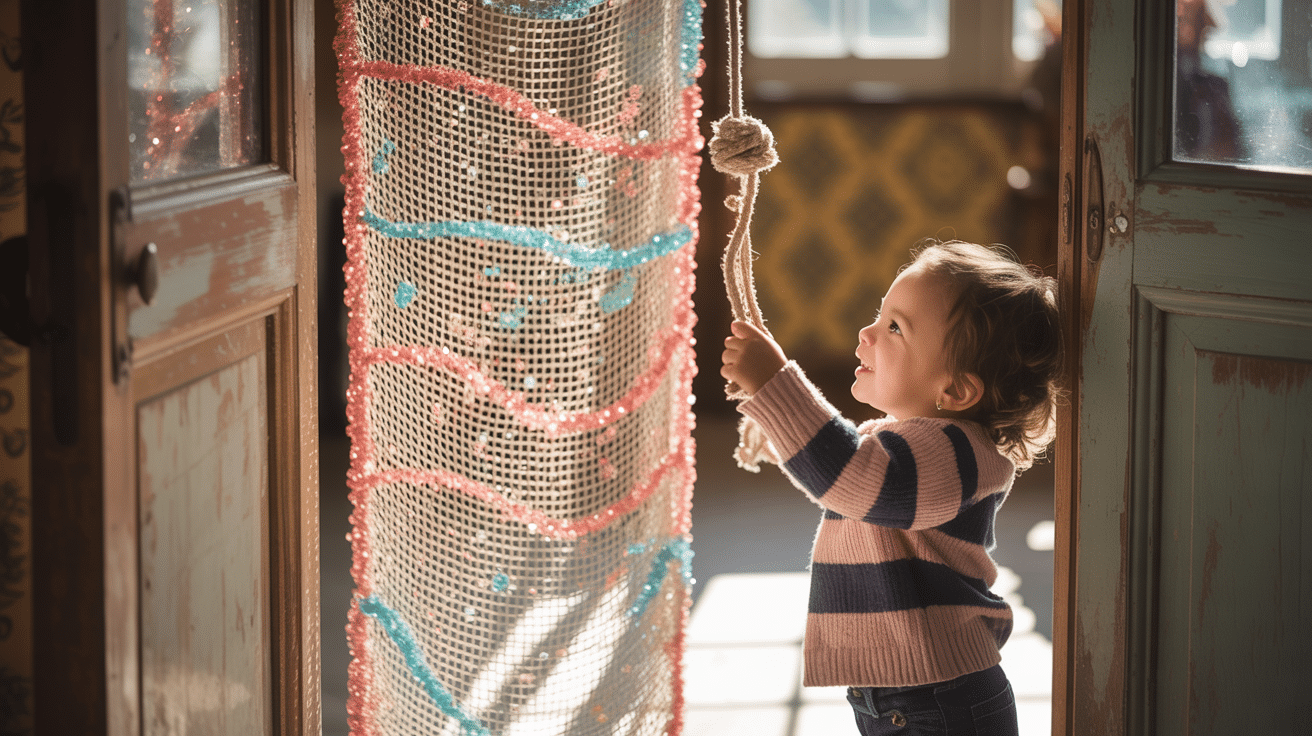
Hang a glittery net from the door that drops when the string is triggered. Kids can sneakily hide behind the door!
- Things Required: String, mesh net, glitter glue, hook
- Lesson Covered: Fine motor skills, mechanics
- Difficulty Level: Hard
6. Cup Pyramid with a Golden Bait

Stack paper cups in a pyramid and hide a trap under the middle one with gold coins as bait.
- Things Required: Paper cups, tape, coins, small box
- Lesson Covered: Balance, logical thinking
- Difficulty Level: Easy
7. Trapdoor Hidden in a Green Hat
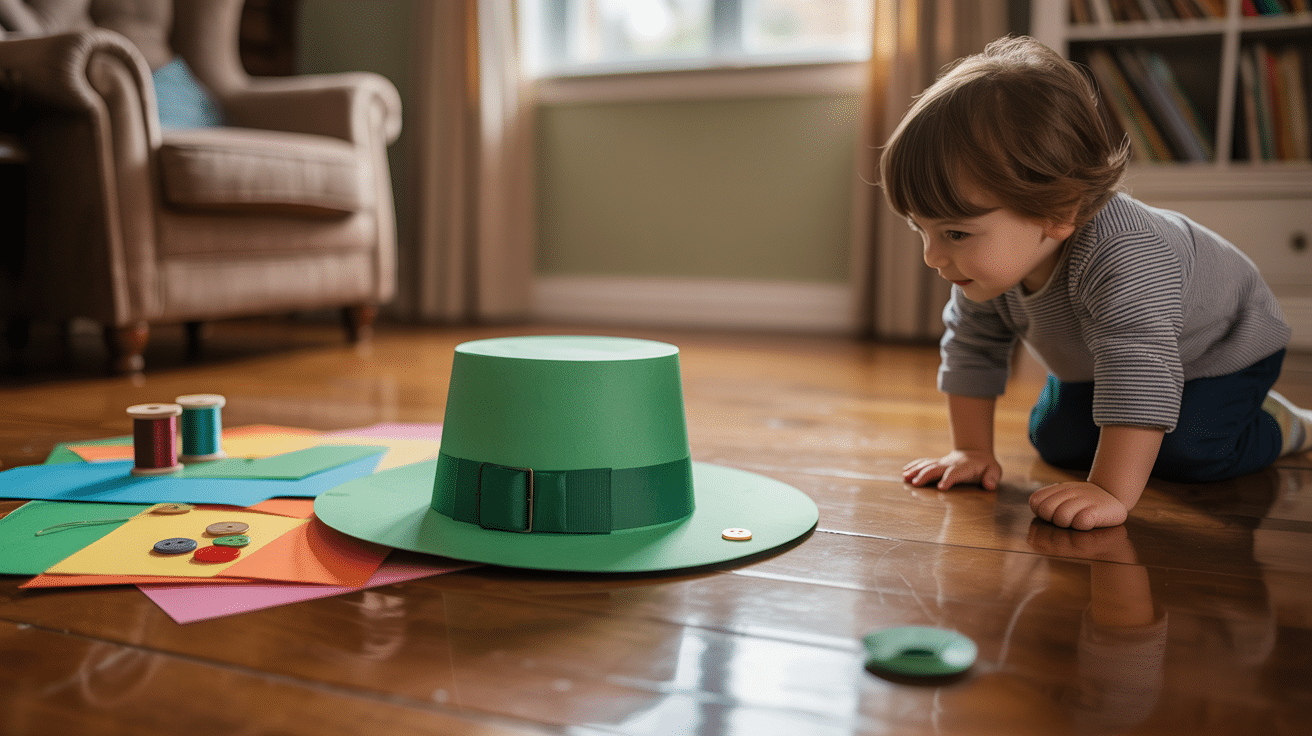
Craft a leprechaun hat from green paper with a secret trapdoor in the brim. Place gold right over the trap to catch him.
- Things Required: Green cardstock, scissors, glue, coins
- Lesson Covered: Crafting, surprise mechanics
- Difficulty Level: Medium
8. Popsicle Stick Ladder to a Jar
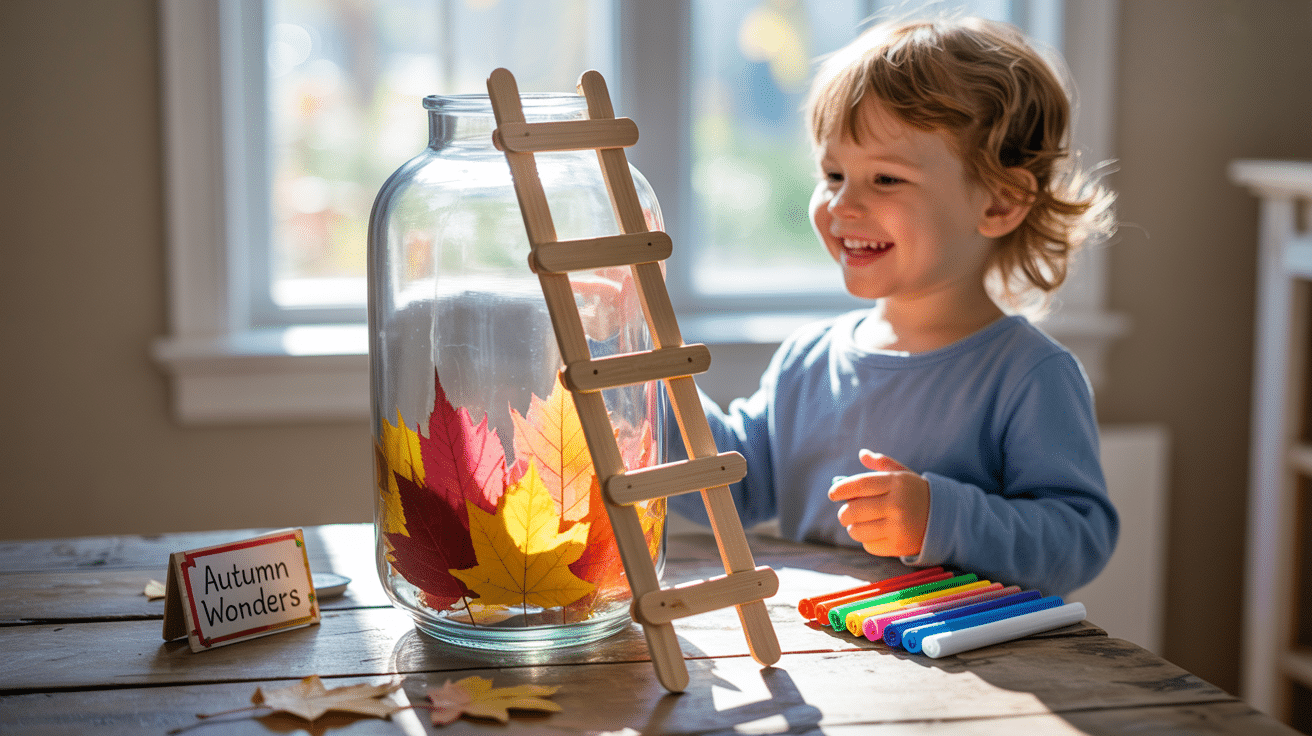
Build a mini ladder using popsicle sticks that leads to a jar. Once inside, he’s stuck!
- Things Required: Popsicle sticks, glue, jar, markers
- Lesson Covered: Hand-eye coordination, sequence steps
- Difficulty Level: Easy
9. Mini Garden with a Covered Hole
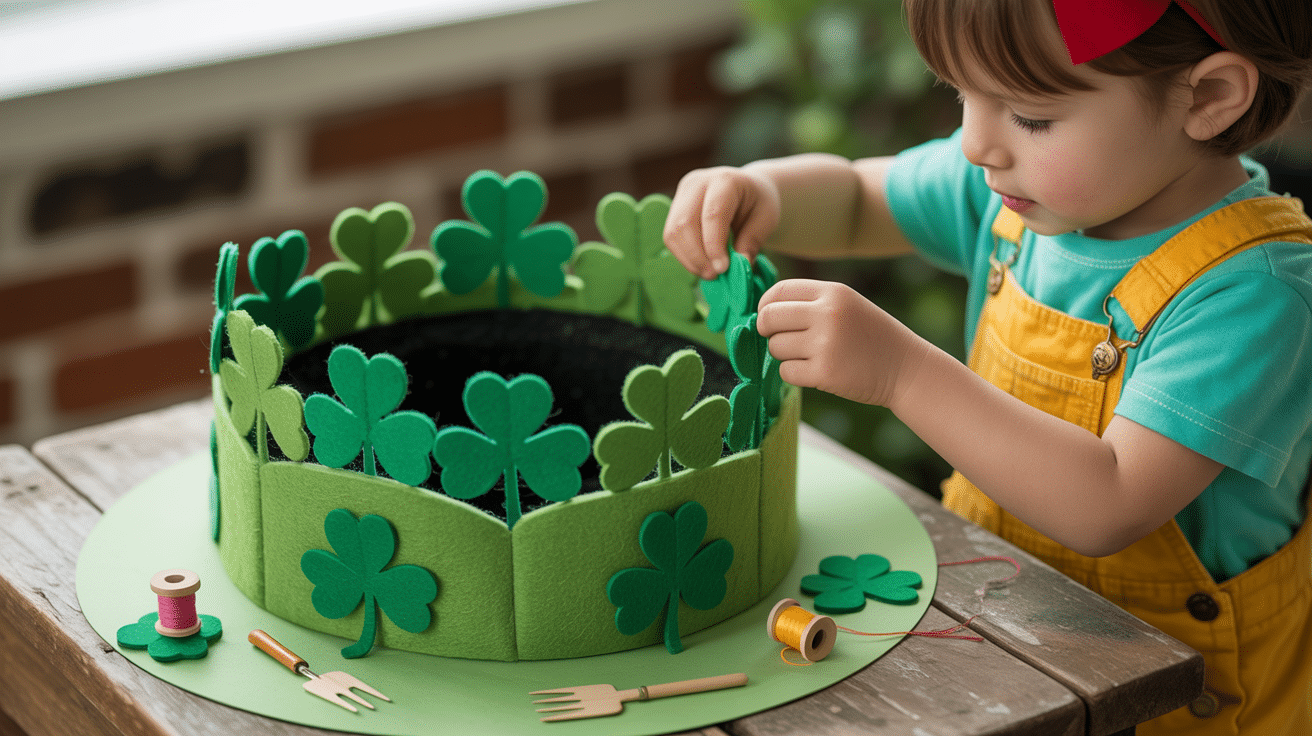
Design a mini shamrock garden with fake grass and a small hole underneath. Camouflage it well to keep the trap hidden.
- Things Required: Green felt, paper shamrocks, cardboard, scissors
- Lesson Covered: Camouflage, visual design
- Difficulty Level: Medium
10. Pot of Gold with a Net Above
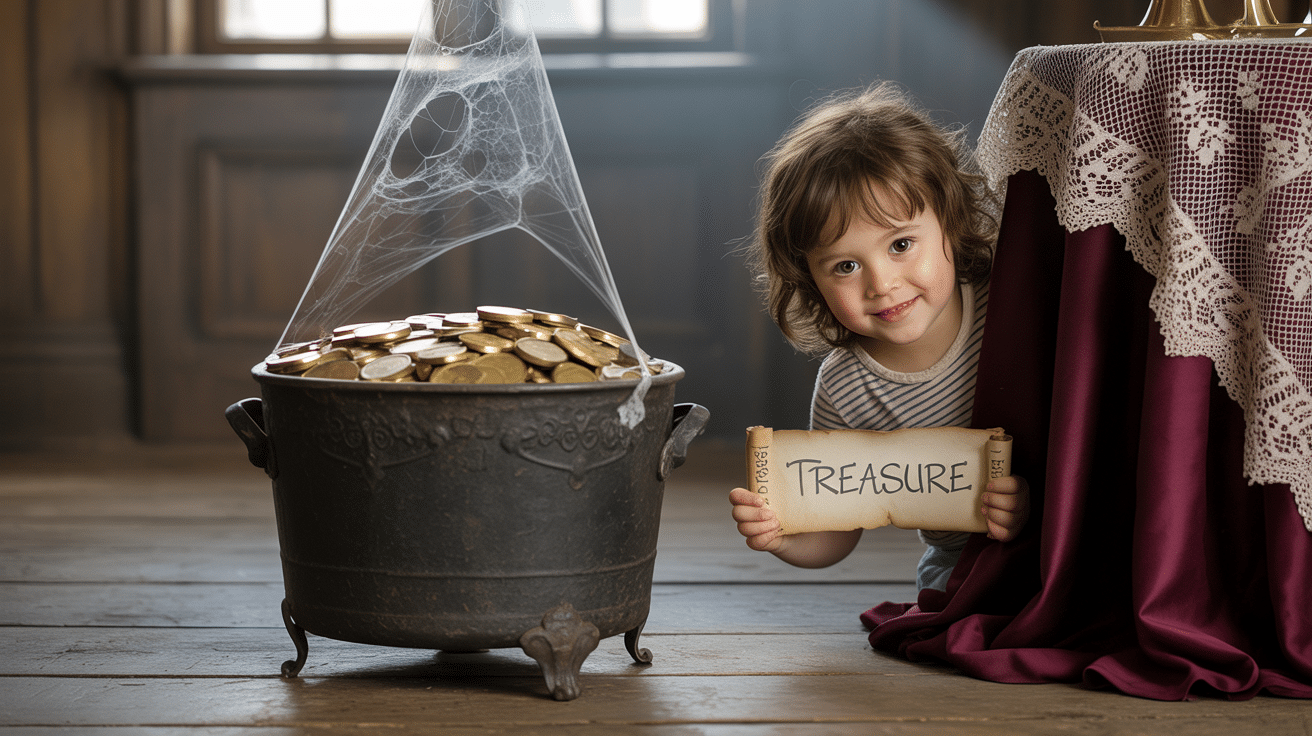
Set a black pot of gold beneath a hanging net. When the leprechaun grabs a coin, the net falls.
- Things Required: Black plastic pot, netting, string, gold wrappers
- Lesson Covered: Triggers, cause and effect
- Difficulty Level: Medium
11. Magnetic Rainbow Bridge with a Hidden Magnet Trap
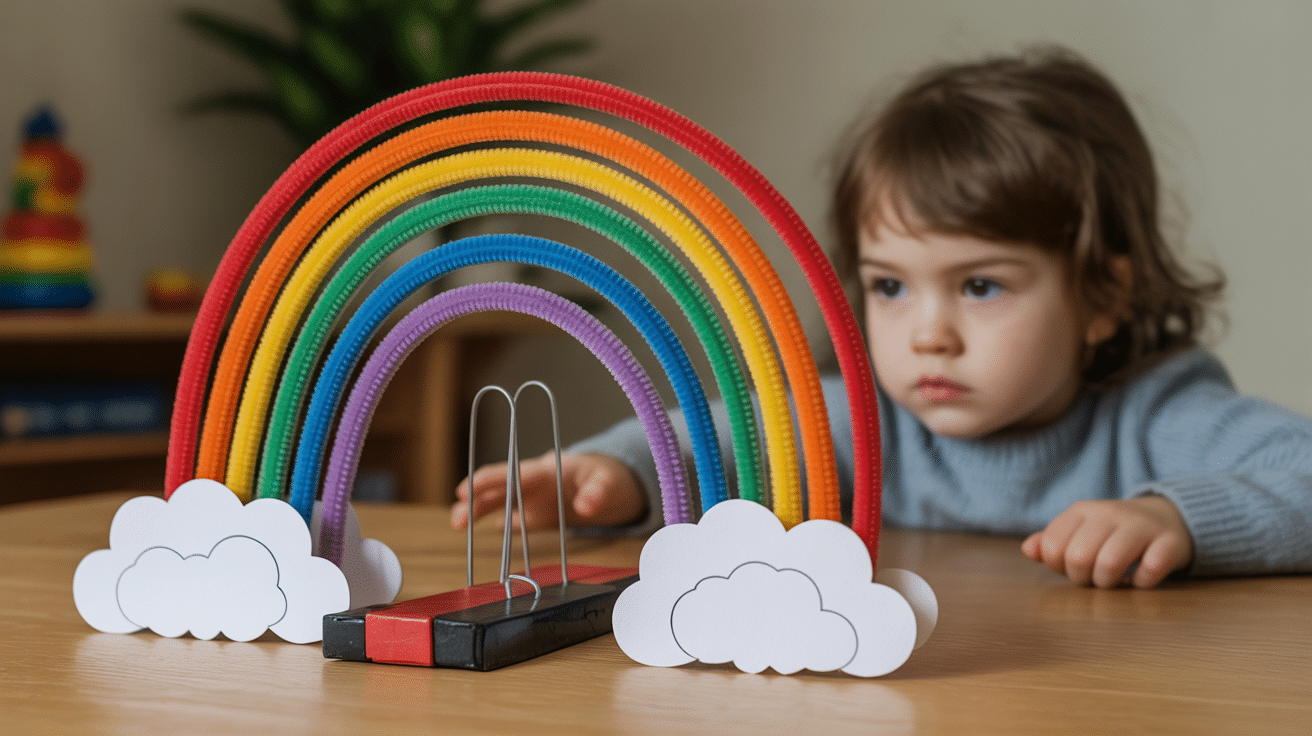
Build a rainbow bridge and place a magnet under the gold platform so the leprechaun gets “stuck” near the coins.
- Things Required: Magnet, toy leprechaun, rainbow craft supplies, paper
- Lesson Covered: Magnetism, experimentation
- Difficulty Level: Hard
Tips for Making the Best Leprechaun Trap
Creating a leprechaun trap that actually works takes more than just throwing together a box and some gold coins. These eight tips will help parents build traps that kids will remember for years to come.
Use the Right Bait:
Gold coins are the classic choice, but don’t stop there. Leprechauns also love shiny objects like jewelry, coins, or even wrapped candies in gold foil. The shinier the bait, the better the chances of success. Many families add a small pot filled with chocolate coins for extra appeal.
Make It Small Enough:
Leprechauns are tiny creatures, so big traps won’t work. Keep the entrance small – about 3 to 4 inches wide. A shoebox is perfect, but even smaller containers work better than large ones. Think dollhouse-sized, not human-sized.
Add a Rainbow:
Every leprechaun story mentions rainbows, so include one in the design. Draw a rainbow leading to the trap entrance, or create a paper rainbow arch. This detail makes the trap more believable and shows leprechauns they’re welcome.
Create a Comfortable Environment:
Leprechauns prefer cozy, green spaces. Line the inside with soft green fabric or paper. Add tiny pillows or cushions made from cotton balls. The goal is making the leprechaun want to stay and explore.
Build a Proper Entrance:
The entrance needs to be easy to find but not too obvious. A small ladder, ramp, or steps works well. Popsicle sticks make great building materials. Paint them green or brown to blend with the Irish theme.
Plan the Escape Route:
Here’s what most parents miss: leprechauns are clever escape artists. Plan for the leprechaun to get away, leaving behind evidence of the visit. A small hole in the back, loose string, or weak door hinge works perfectly.
Add Personal Touches:
Include elements that reflect the child’s personality. If they love music, add a tiny instrument. If they’re into sports, include a mini ball. Personal touches make the trap feel more special and increase the child’s excitement.
Test Before Setting:
Try the trap mechanism before the big night. Make sure doors close properly, ramps are sturdy, and bait is secure. Nothing disappoints kids more than a trap that doesn’t work because of a simple mechanical problem.
How Can Kids Get Involved in Building a Leprechaun Trap?
Let Them Choose the Design:
Kids should pick what type of trap they want to build and how it should look. This gives them ownership of the project and makes them more excited about the final result.
Give Them Simple Tasks:
Children can cut paper, color decorations, or glue pieces together with adult help. These hands-on activities make them feel important and part of the building process.
Ask for Their Ideas:
Kids often have the best suggestions for bait, colors, and trap placement around the house. Listen to their thoughts because children understand what might attract a leprechaun better than adults do.
Let Them Decorate:
Give kids markers, stickers, and green paper to make the trap look special. They can draw rainbows, shamrocks, or write welcome messages for visiting leprechauns.
Make Them the Trap Checkers:
Kids should be the ones who check the trap each morning to see what happened. This job makes them feel responsible and adds to the excitement of the whole experience.
Wrapping Up
Building leprechaun traps brings families together in ways that screens and toys can’t match.
These simple ideas prove that the best childhood memories come from projects done together. When kids help design and build their traps, they learn problem-solving skills while keeping childhood magic alive.
So grab that shoebox and some green paper. Start building with your kids.
They’re waiting for a St. Patrick’s Day they’ll never forget. The materials are simple, but the memories you’ll create are priceless.