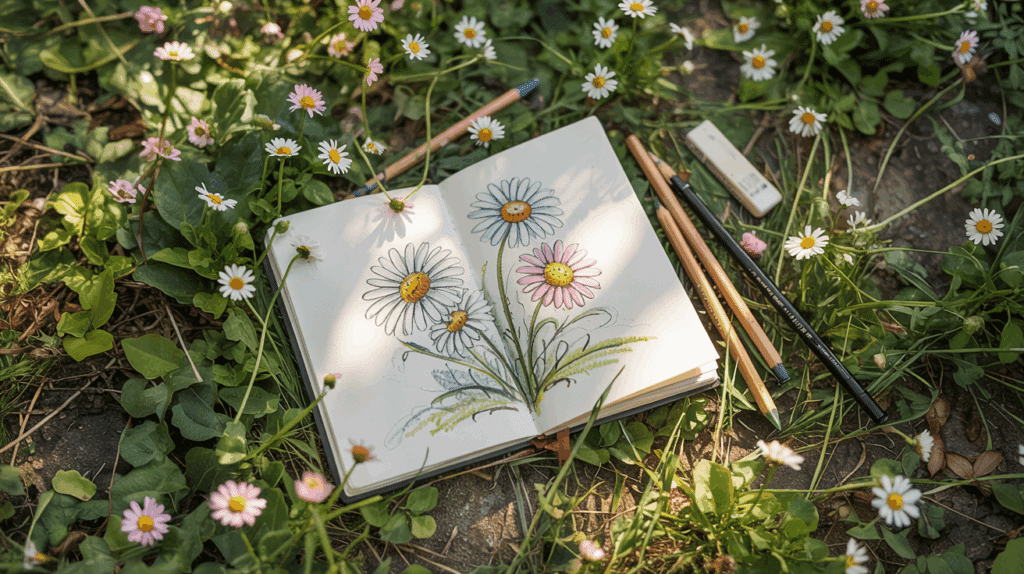
Flowers fill our world with color. Yet many people feel they can’t draw them well.
You look at those pretty daisies in a field and wish you could put them on paper. But your attempts leave you feeling disappointed.
The petals don’t look right, and the center seems off. It’s like your hand won’t follow what your eyes see.
Don’t worry! This flower drawing guide will show you how to draw a daisy step-by-step.
With simple techniques and clear tips, you’ll soon be drawing daisies that look fresh and real. By the end of this tutorial, you’ll have the skills to fill your pages with these cheerful flowers.
Let’s start drawing some daisies!
Essential Drawing Tips Before You Start
Starting with the right approach makes flower drawing much easier. Here are key tips to help you succeed:
- Work with basic shapes first: circles for the center and ovals for petals.
- Keep your pencil strokes light so you can adjust as needed.
- Build your drawing in layers, adding details gradually.
- Pay attention to how petals line up around the center.
When drawing daisies, always start from the center and work outward. This helps maintain the right structure. The center serves as your anchor point for all the petals.
Using photos or real daisies as a reference will improve your accuracy. Look closely at how petals connect to the center and how they spread outward with fairly even spacing.
These simple methods will make your daisy drawings look more natural and balanced.
Step-by-Step Guide: How to Draw Daisy Like a Pro
Now that you know the basics, let’s break down the actual process. With these clear steps, you’ll see how to draw a daisy. Follow along, and you’ll be drawing flowers that look true to life in no time.
1. Prepare Your Workspace and Gather Materials

Begin by setting up a tidy and comfortable workspace where you can focus. Choose a spot with good natural lighting or a well-lit desk, as clear visibility is key when drawing.
Make sure your workspace is free of distractions to create a relaxing environment. For materials, gather the following:
- Sketchbook: A clean, sturdy surface to draw on
- Pencil: For light sketching and creating initial guides
- Eraser: To remove any unwanted lines or mistakes
- Fine Liner/Pen: For inking your final lines and details
- Markers/Colored Pencils: For adding vibrant color to your flower
2. Draw the Guide Circle and Center

Begin by drawing a small circle in the center of your page, representing the daisy’s stem. Then, lightly sketch a larger circle around it to form the base of the petals. This guide will help you establish the overall structure of the flower.
3. Add Petal Guidelines

Using the circle as a base, draw several lines radiating from the center like spokes on a wheel. These lines represent the petals.
Initially, keep them light and simple to guide where each petal will go. You can adjust the length and position of these lines based on the perspective you want.
4. Refine the Petals and Adjust Perspective

Next, refine the shape of the petals. For a front view, keep the petals all the same size.
For a more lively look, tilt your flower so the petals appear longer at the back and shorter in the front. Adjust the center circle to reflect this change in perspective, making it oval if needed.
5. Ink the Drawing

Once you’re satisfied with the shape and proportions of your daisy, it’s time to ink the design. Take a fine liner or pen to carefully trace over the pencil lines.
As you go, pay attention to the details, vary the shapes of the petal ends for a more natural and organic look.
You can make some ends rounded, others pointed, or even squared off. This subtle variation will add character to your flower.
- Start with the petal outlines: Trace around each petal with varying pressure for a natural feel
- Layering petals: Add a second layer of petals behind the first one to create depth
- Focus on the center: Add intricate details to the center, making it a focal point of your drawing
This process will give your daisy a more bold and lifelike appearance.
6. Add Final Details and Erase Guidelines

Lastly, give your daisy some life by adding details such as the stem, leaves, and the center of the flower. Use short, quick strokes to create a more textured stem.
Once you’re finished with the inking, carefully erase any remaining pencil lines. Now you have a beautifully detailed daisy, ready to be colored or shaded to bring it to life!
Avoid These Common Daisy Drawing Mistakes
When learning how to draw a daisy, small errors can affect your final result. Most artists make these slips as they start out. By knowing what to watch for, you can fix issues before they become habits:
- Uniform petals: Real daisies have variation in petal size and shape. Mix up your petals slightly for a more natural look.
- Missing overlaps: Some petals should cross over others. Show this by breaking the petal lines where they meet.
- Improper center size: A center that is either too large or too small throws off the flower’s balance. Aim for about 1/3 of the total flower diameter.
- Rigid stems: Avoid perfectly straight stems. Add a gentle curve to show the stem’s natural growth pattern.
How to Color Your Daisy: Simple Ideas That Pop
Once you’ve drawn your daisy outline, colors bring it to life. This final step allows you to add your own personal style to your flower art.
For tools, colored pencils work well for subtle shading, while markers give bold, bright results. Digital apps offer endless color options with ease of change.
Try white petals with a yellow center for a classic daisy look. For something different, use soft pink or blue tints on petal edges. Or go bold with purple and orange for a fun twist.
Add depth by shading the base of the petals slightly darker. Place your daisy against a light blue sky or green grass to make your flower stand out.
Final Thoughts
Drawing daisies becomes effortless with consistent practice.
We covered essential techniques: starting with basic shapes, sketching lightly, and building from the center outward.
We explored common pitfalls to avoid and coloring methods that bring your blooms to life.
Remember, beautiful daisy drawings stem from careful observation and patience.
The joy lies in the creative process itself; your daisies don’t need perfection; each carries unique charm and character.
Grab your pencil and start creating!
Fill those pages with delightful daisies and watch your skills flourish with every stroke.
Have you tried these daisy-drawing techniques yet?
What floral art tips do you wish you knew sooner? Share your thoughts and help us inspire other artists!