Many artists feel stuck when trying to draw flowers. Hibiscus drawing simple methods offer an answer to this common creative block.
These tropical beauties can look hard to capture on paper, but they don’t have to be. With the right guidance, anyone can learn to draw these flowers.
Beginners who try basic hibiscus drawing techniques gain skills they can use for other art projects, too. The simple shapes and lines used in hibiscus drawing help build confidence.
This article shows several easy ways to draw hibiscus flowers using basic tools most people already have at home. The steps are clear and made for those who are just starting their artistic path. Keep reading to see how simple drawing a hibiscus can be.
Tips for Drawing Hibiscus Flowers
Here’s a concise guide to get you started with hibiscus drawings, breaking down the essentials into manageable steps.
- Start with light outlines: Sketch the basic flower shape first to create a solid foundation for details.
- Focus on five teardrop petals: Draw each petal as a rounded, stretched teardrop shape connecting at the center.
- Add the distinctive long stamen: Include the thin tube with the pollen ball that makes hibiscus flowers unique.
- Build color in thin layers: Apply color gradually for better control and natural depth in the petals.
- Consider your light source: Keep lighting consistent throughout for realistic shadows and highlights.
With these fundamentals in place, you’ll be well on your way to creating vibrant hibiscus drawings that capture the flower’s natural beauty and distinctive character.
Master Hibiscus Drawing Simple Techniques
Bringing a hibiscus to life on paper can be an uplifting and relaxing quest for any beginner.
This hibiscus drawing simple guide section gently walks through the process, making it easy to follow and enjoyable to create.
With just a few materials and a little bit of care, anyone can craft a bright and beautiful hibiscus flower. Every drawing becomes a unique work of art, reflecting the joy of creativity and the magic of practice.
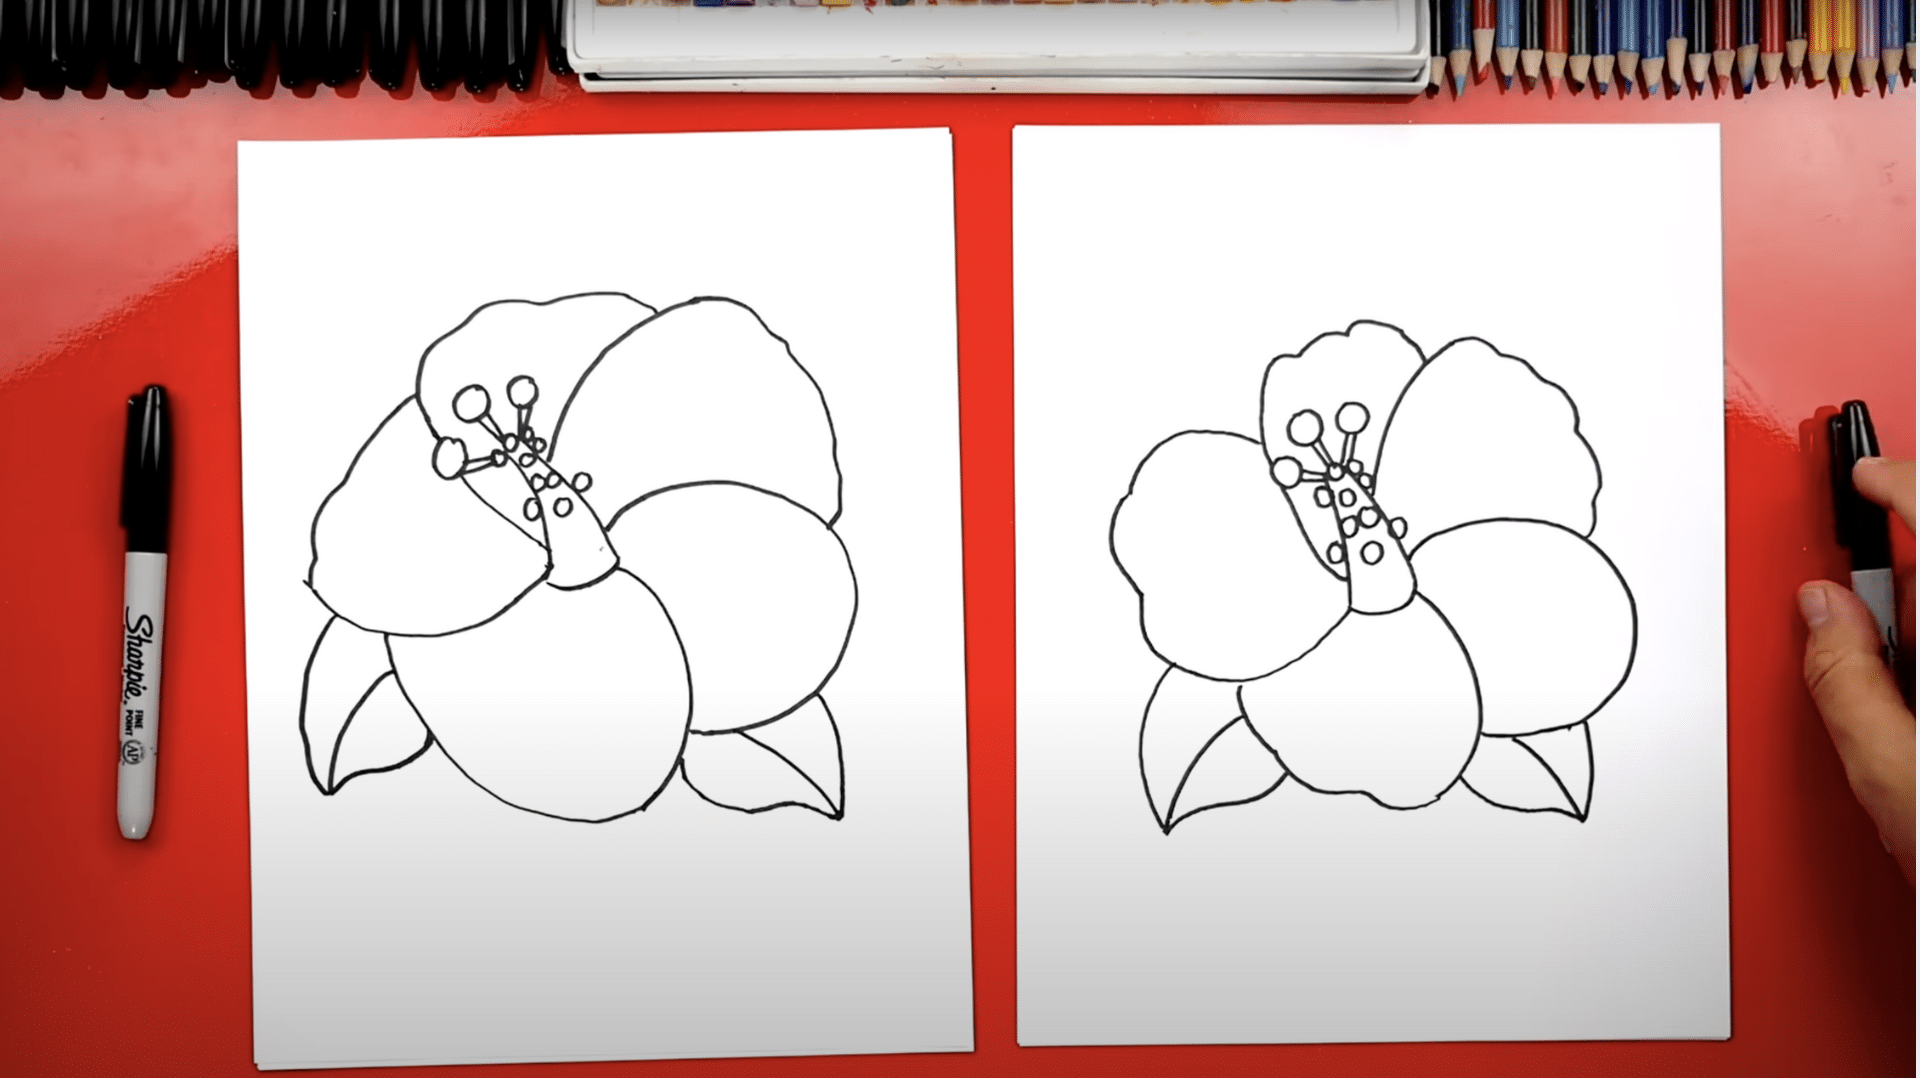
Step 1: Begin with the Flower’s Center
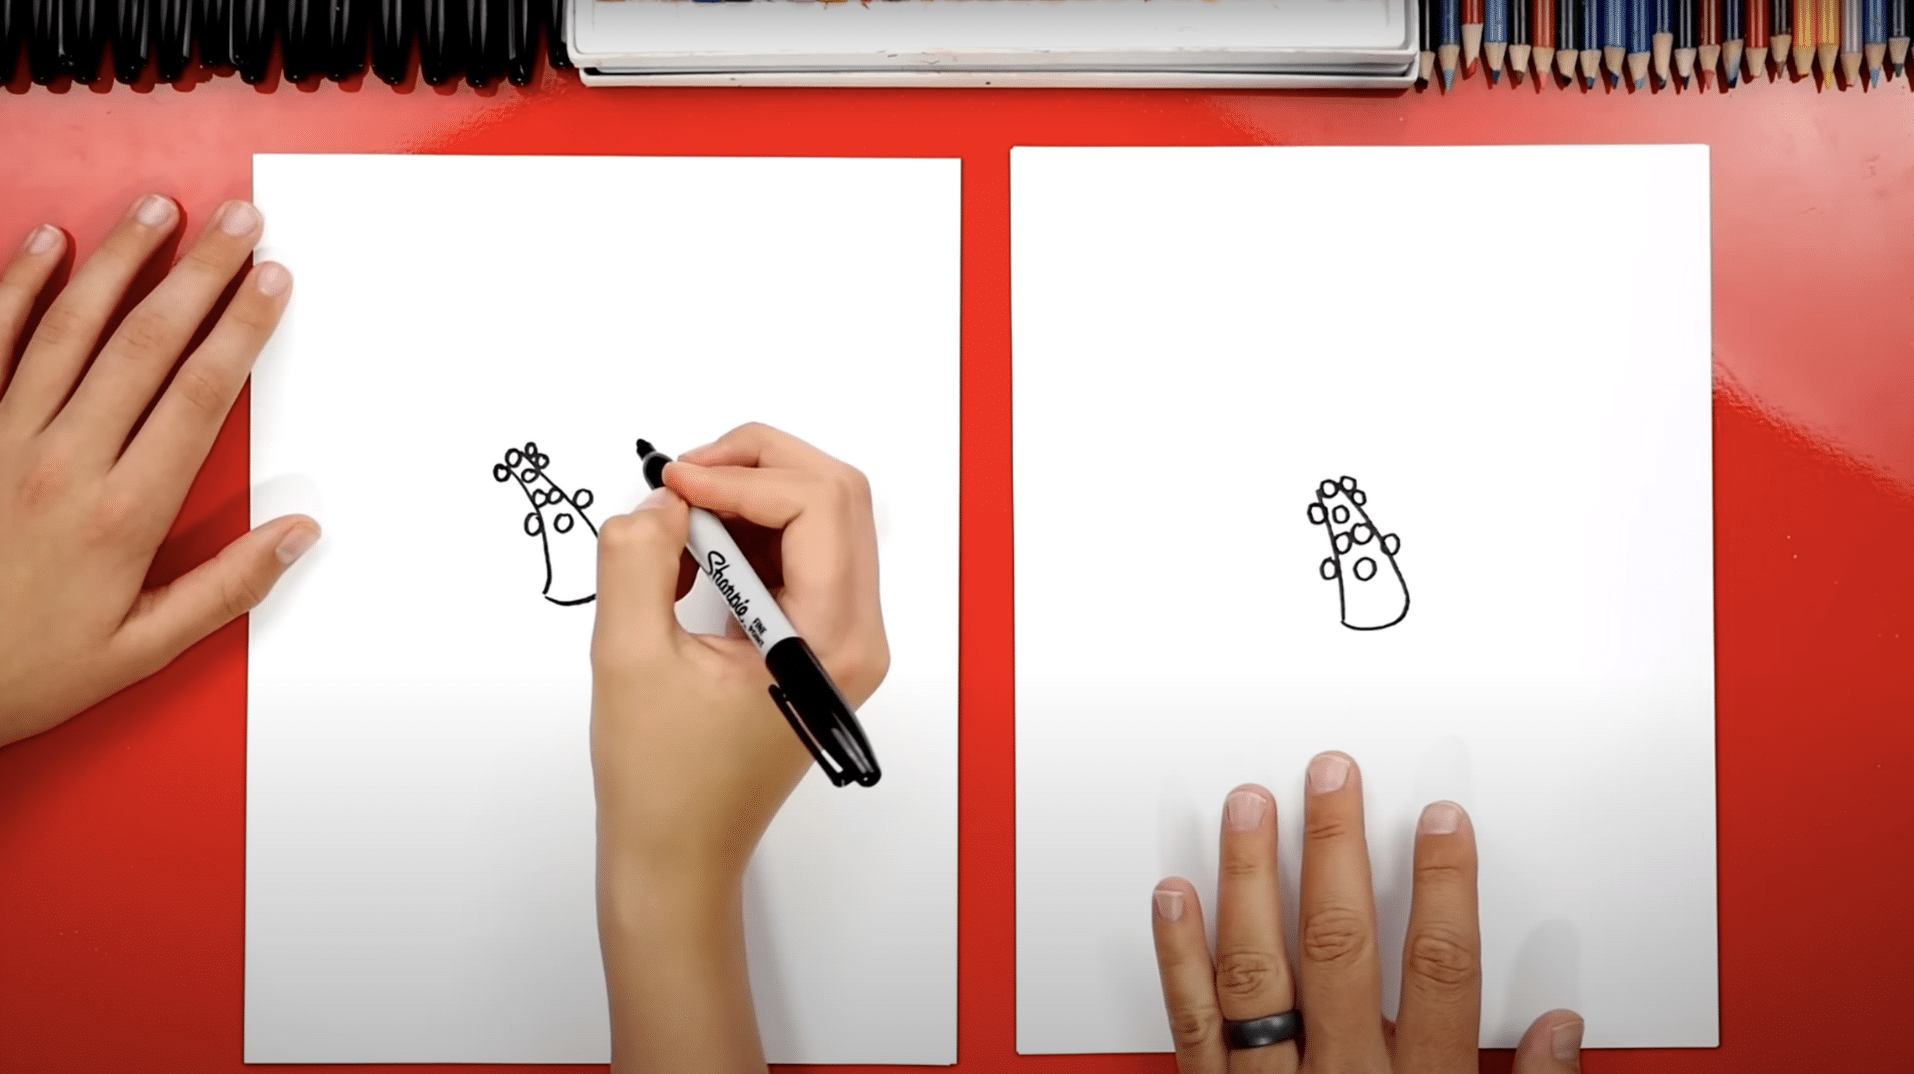
Draw a small curved line at the bottom of your paper to mark the flower’s core. From this curve, sketch two slightly bent lines reaching upward, narrowing near the top.
Around the tip, place small circles to create the hibiscus’s central detail. These dots should look playful and natural.
Step 2: Create the Connecting Lines
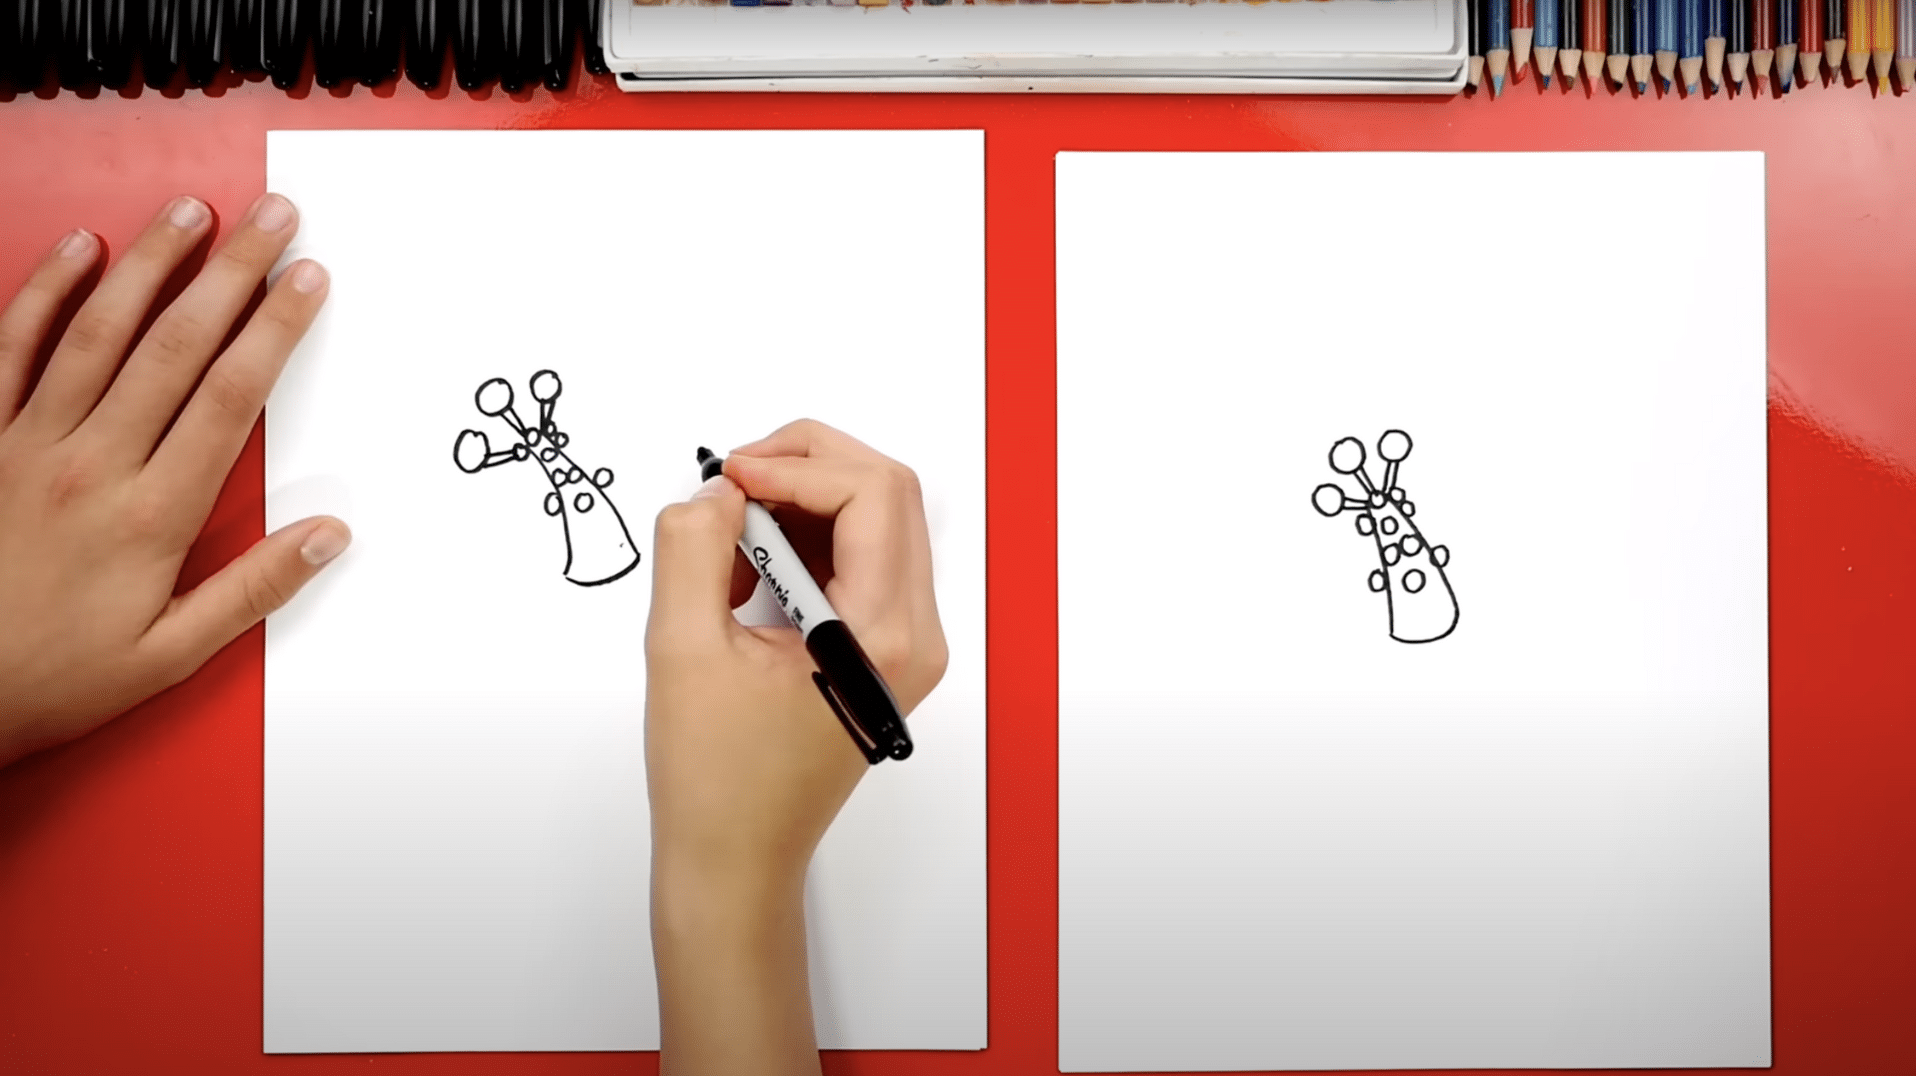
Attach the circles to the base using two thin lines on each side. This simple structure forms the flower’s style, the part that gives hibiscus its unique charm.
Keep your lines smooth and flowing. It will look like a lively extension growing from the center.
Step 3: Shape the First Petal
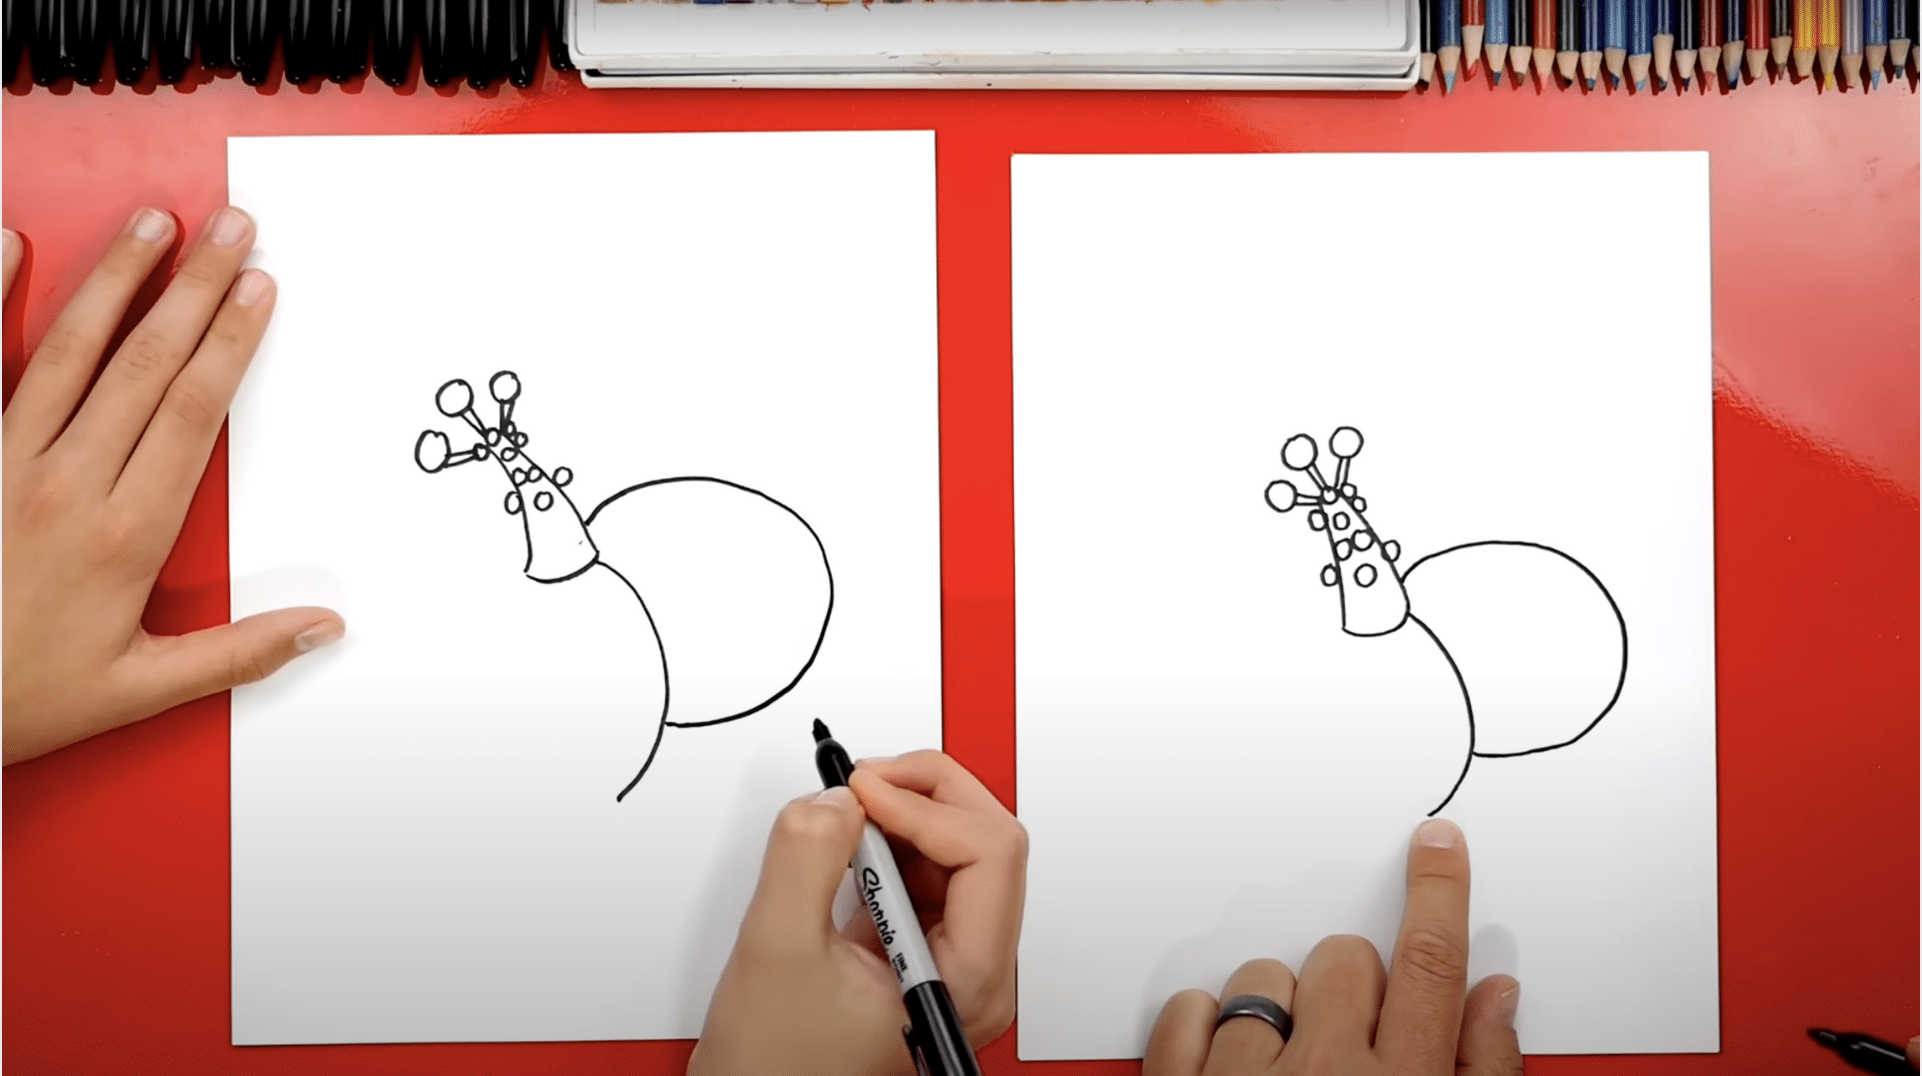
Starting near the center, draw a curved line outward and bring it back in, forming one soft petal. Let the curve feel relaxed, like a wave.
The goal is to create a smooth, natural petal that flows gently around the center. Leave space for other petals to overlap later.
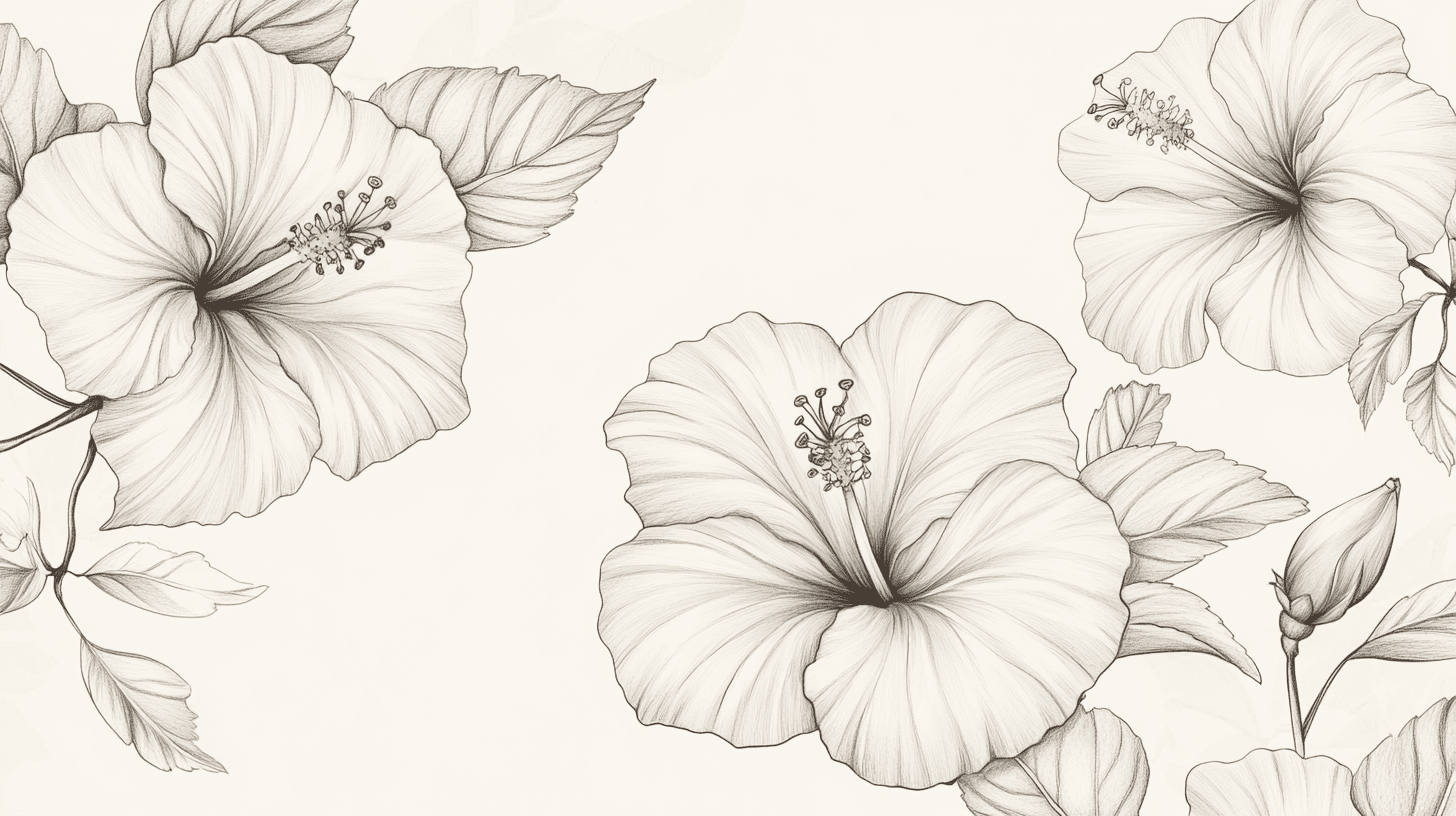
Step 4: Draw Overlapping Petals
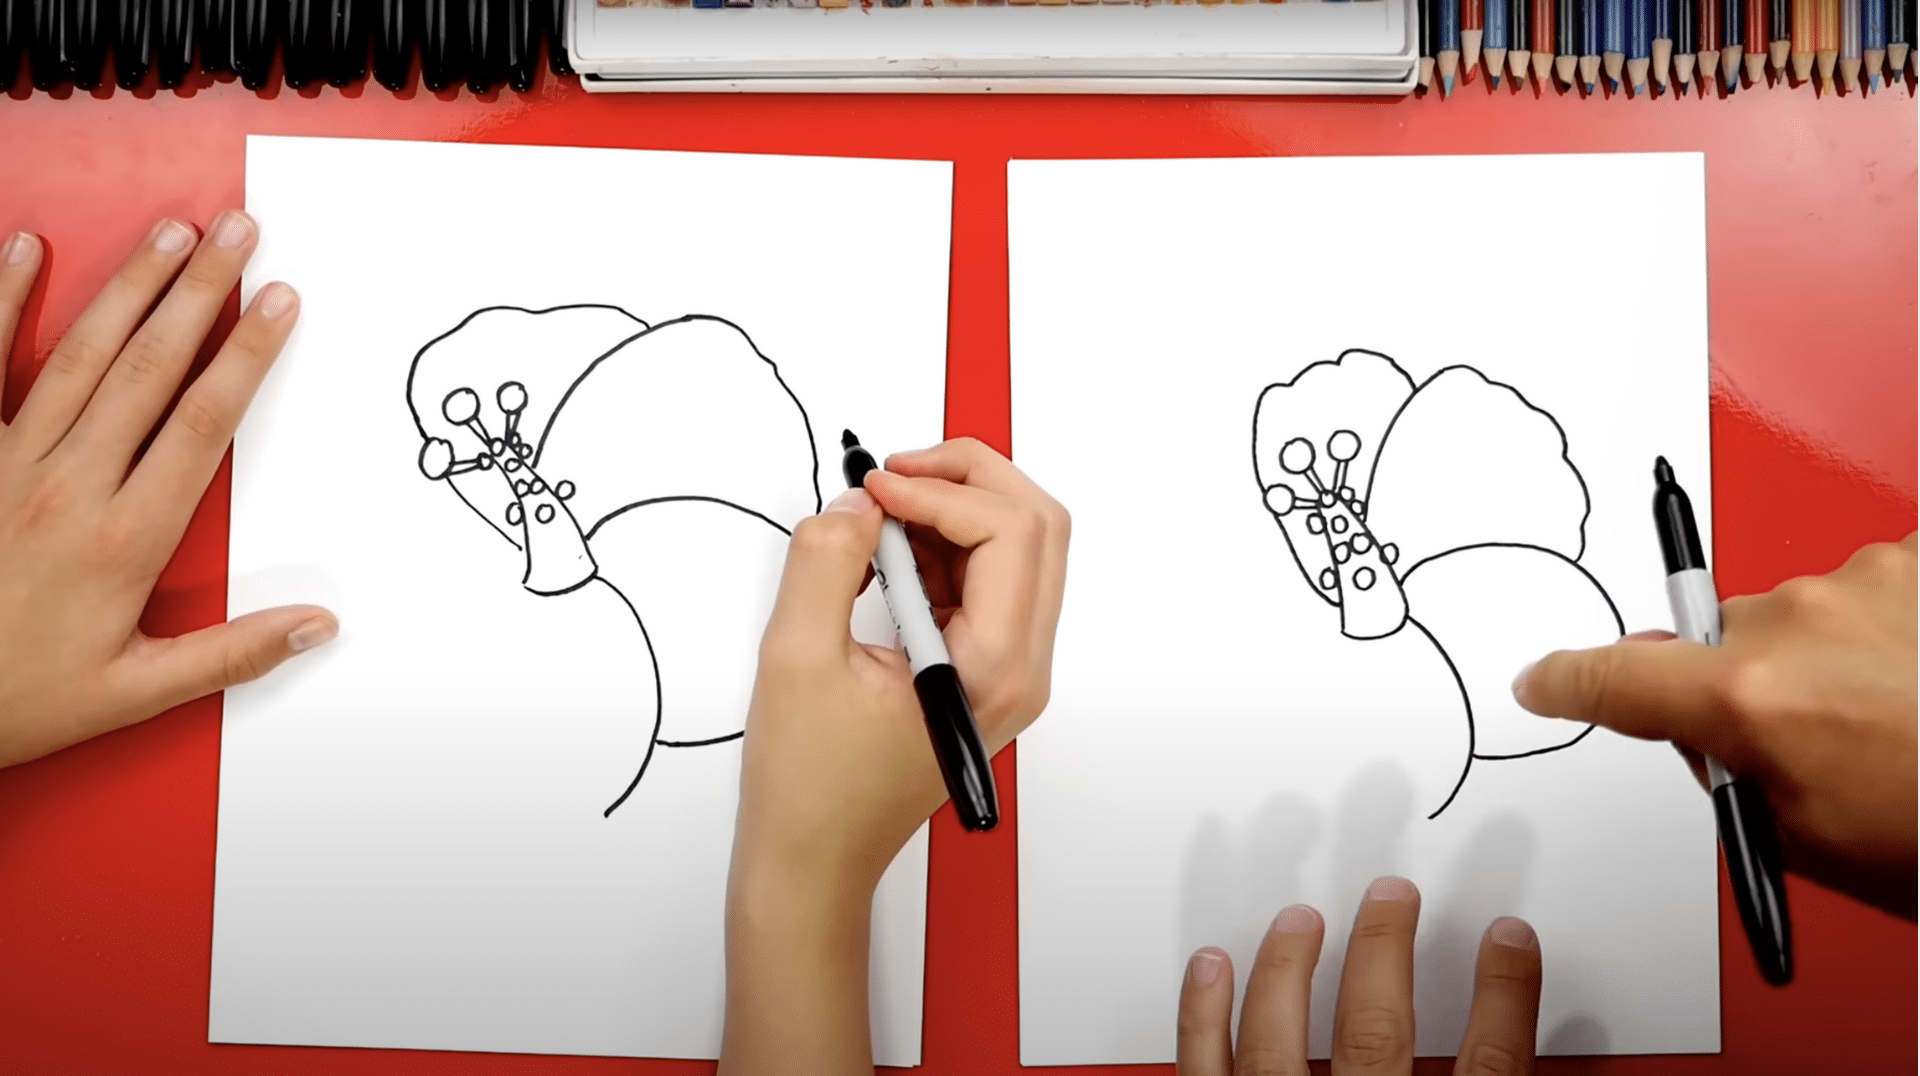
As the hibiscus takes shape, additional petals should be drawn around the first one. Each petal should feel graceful and slightly distinct, overlapping softly for a layered effect.
- Start from the side of the first petal and sweep outward with a curved line.
- Bring the line back in gently toward the center.
- Vary the shape slightly with small, natural bumps to mimic real petals.
- Continue this pattern, allowing each new petal to overlap the previous one for a sense of fullness.
Step 5: Add the Final Petals
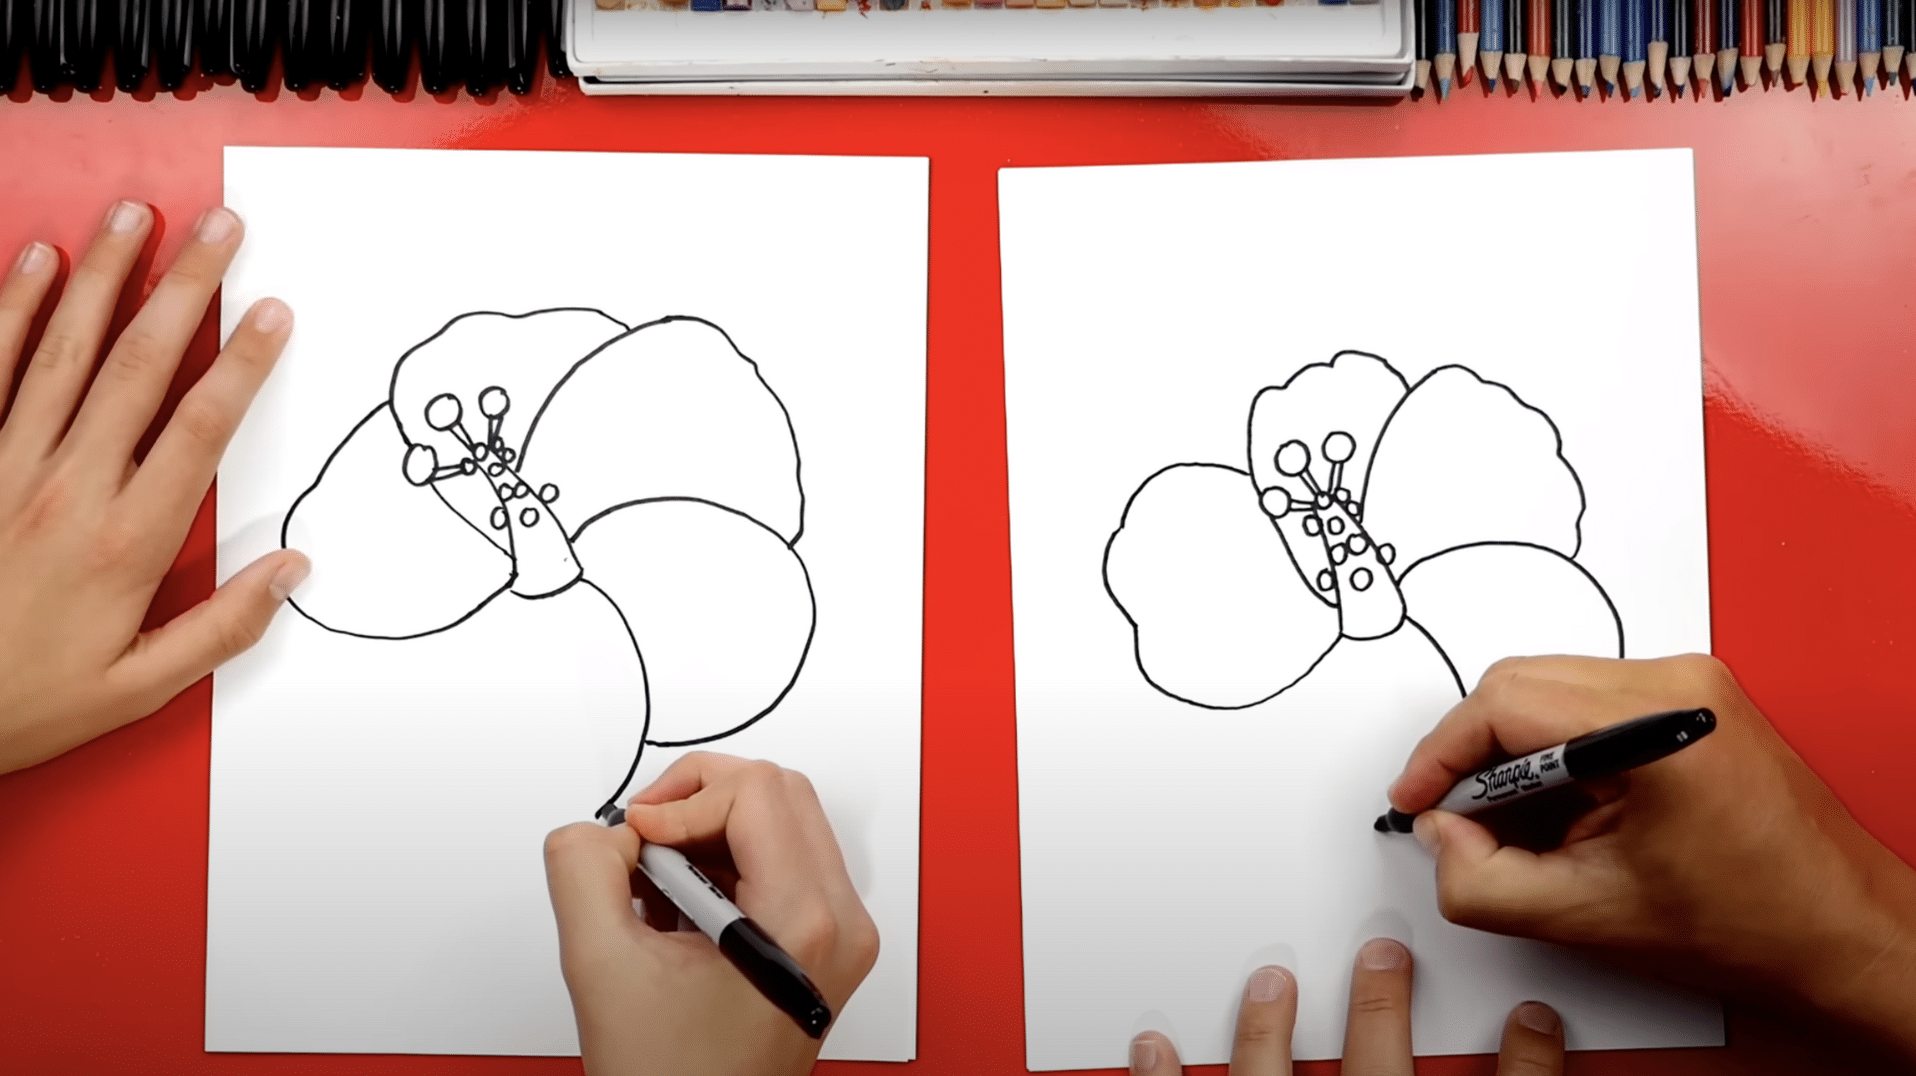
Complete the circle by drawing the last few petals, tucking some behind others. Let the lines be soft and slightly uneven for a natural look.
This layering creates a realistic and lively flower shape. Make sure all petals connect nicely to the flower’s center.
Step 6: Draw the Leaves
Once the petals are complete, it’s time to frame the flower with simple, flowing leaves.
- Extend a curved line downward from either side of the flower to mark the central vein of each leaf.
- Outline each leaf with a second curve that gently bends outward and narrows toward the base.
- Shape the tip of the leaf with a subtle S-curve to give it a lively, organic feel.
- Repeat the process for a balanced look, making the leaves gracefully embrace the flower.
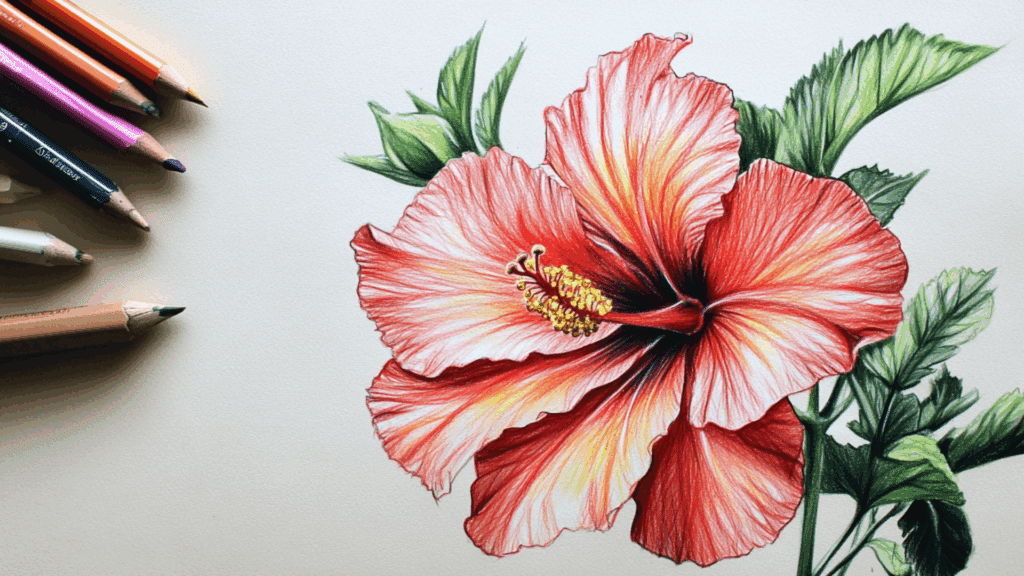
Step 7: Color and Add Texture
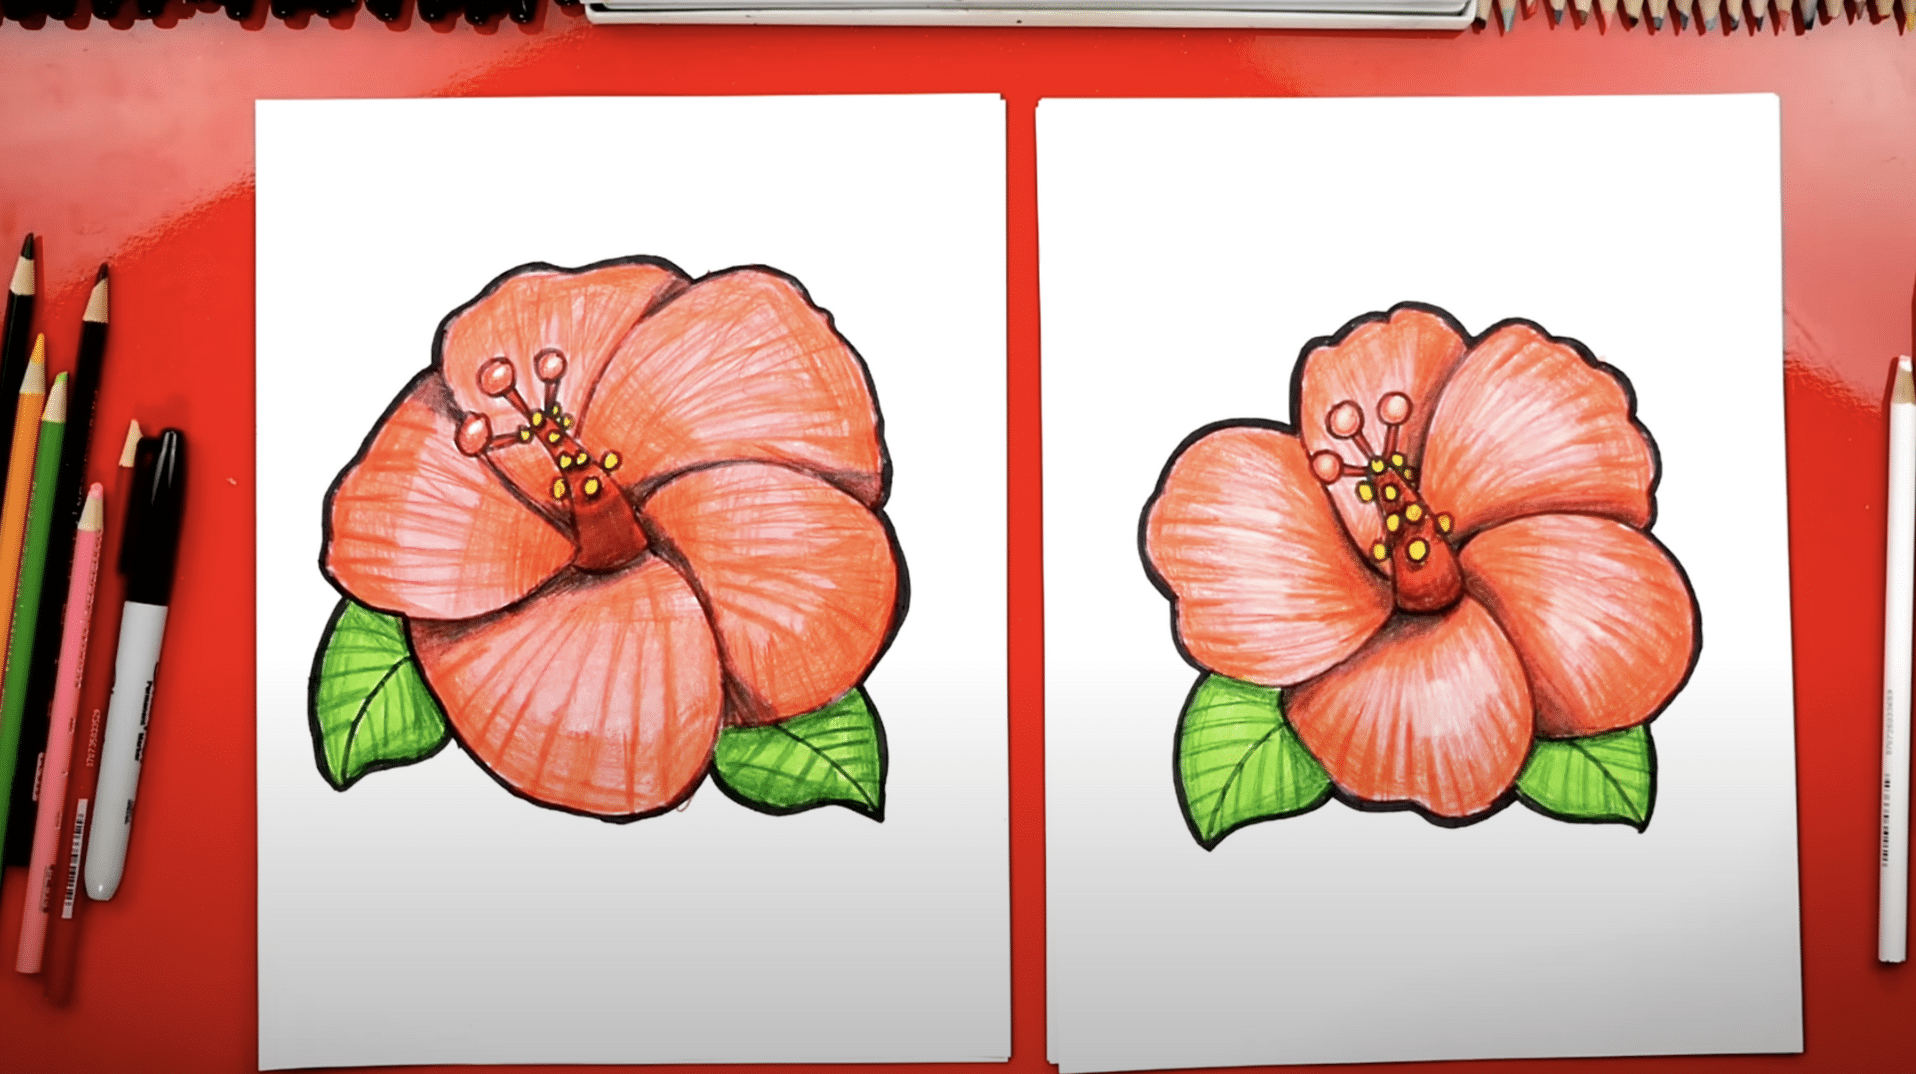
Use pinks for the petals and greens for the leaves, shading darker near the center and edges. Press harder to create deep shadows and lighten pressure for soft highlights.
Add fine zigzag lines from the center outward for realistic texture. Blend colors gently to bring the flower to life.
How to Draw Hibiscus in All Seasons with Perfect Colors
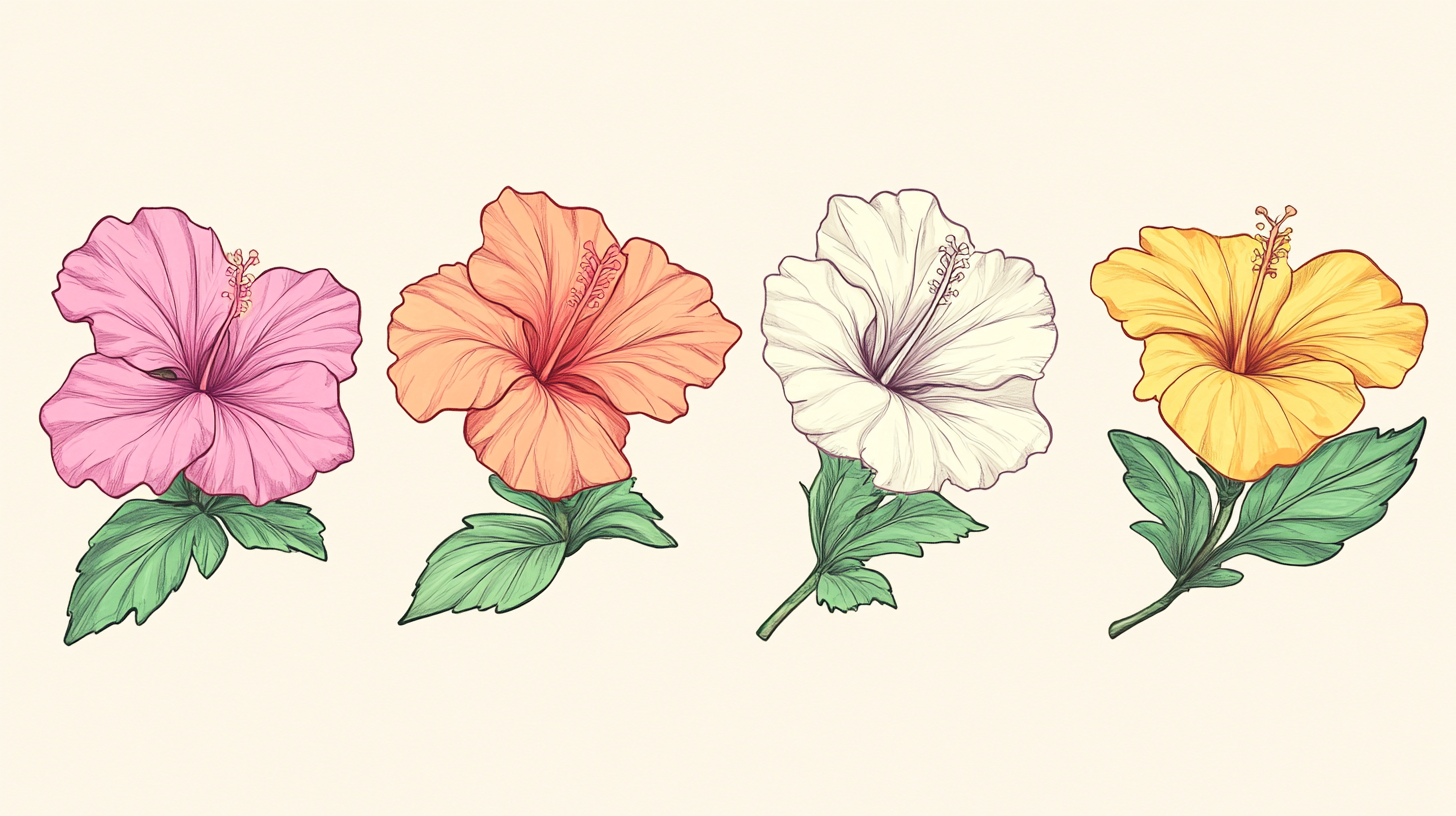
Drawing hibiscus flowers can bring color to any season of the year. Artists can adapt their color choices while keeping the basic flower structure the same.
Seasonal Color Theory
Color selection changes how viewers feel about a hibiscus drawing. Light colors create a sense of freshness while darker tones suggest maturity.
The color wheel offers many options beyond the classic red hibiscus. Color mixing helps artists create unique shades that stand out from common drawings. The paper color also matters – white paper makes colors pop while toned paper creates a more subtle effect.
Spring and Summer Palettes
- Blend yellow into pink for spring morning light effects
- Consider lavender accents for unusual spring variations
- Try coral with orange centers for peak summer looks
- Use darker greens for summer leaves to show full growth
Fall and Winter Techniques
- Apply gold highlights on burgundy petals for fall sunlight
- Create russet undertones to suggest changing seasons
- Layer white over color for winter frost illusions
- Use blue shadows instead of black for winter depth
Let the season inspire your color choices, and watch as your flowers come alive with the emotional depth that only thoughtful color selection can provide.
Summing It Up
Creating hibiscus drawings gives beginners a wonderful chance to develop their artistic skills.
The straightforward approach makes it accessible for anyone willing to try.
Throughout this blog, you’ve learned techniques for outlining petals, selecting seasonal colors, and adding special effects to your artwork.
What makes hibiscus drawing simple is the flower’s basic structure that breaks down into manageable parts.
These skills build confidence and transfer beautifully to other botanical drawings.
Hibiscus flowers offer rich inspiration with their bold shapes and varied colors across all seasons.
Ready to bloom your artistic skills even further?
Browse our collection of step-by-step drawing tutorials on our website, where you’ll find guides for roses, sunflowers, and many other beautiful botanicals waiting for your creative touch!