Creating a stylish DIY media console catches the attention instantly for many homeowners.
TV areas often lack personality with store-bought options that cost too much and fail to match personal style preferences.
This blog shows how anyone can design and build a stylish DIY media console that works for their space. Each step breaks down the process from planning to completion, making it simple for even beginners to follow.
Ready to start building a media console that fits perfectly in the home? Let’s begin with the basics.
What is a DIY Media Console?
A DIY media console serves as a home for your TV and other media items. It holds all the entertainment stuff in one place. The typical media console features storage options for keeping media equipment organized and accessible.
When someone makes their own media console instead of buying one, they get several benefits:
- Full control over the exact size that fits their space
- Choice of materials that match the home’s style
- Custom storage solutions for specific items they own
- Ability to stay within a personal budget
Building a custom media console helps solve storage issues while adding a personal touch to the living space. The finished product works well and looks good without the high price tag of store options.
Tools & Materials Required
| Tools | Materials |
|---|---|
| Table Saw | 3/4″ Maple Plywood |
| Track Saw | Hard Maple (for top and face frame) |
| Joiner & Planer | Provincial Stain (Minwax) |
| Router Table with Cabinet Door Bit Set | Wood Glue |
| Kreg Shelf Pin Jig | Paste Wax (for screws) |
| Clamps (Bar & Corner) | Glass Panels (Clear or Obscure) |
| Drill + Drill Bits | Glass Retainer Molding |
| Hole Saw | General Finishes Clear Polyurethane (Water-Based) |
| JessEm Stock Guides | Pre-Stain Conditioner (for Maple) |
| Pocket Hole Jig + Screws | Edge Banding (Maple Iron-On) |
| Measuring Tape & Spacer Blocks | Hinge Kit (Blum Inset Face Frame Hinges) |
| Sandpaper / Sander | Shelf Pins, Door Pulls |
How to Build a DIY Media Console in Easy Steps
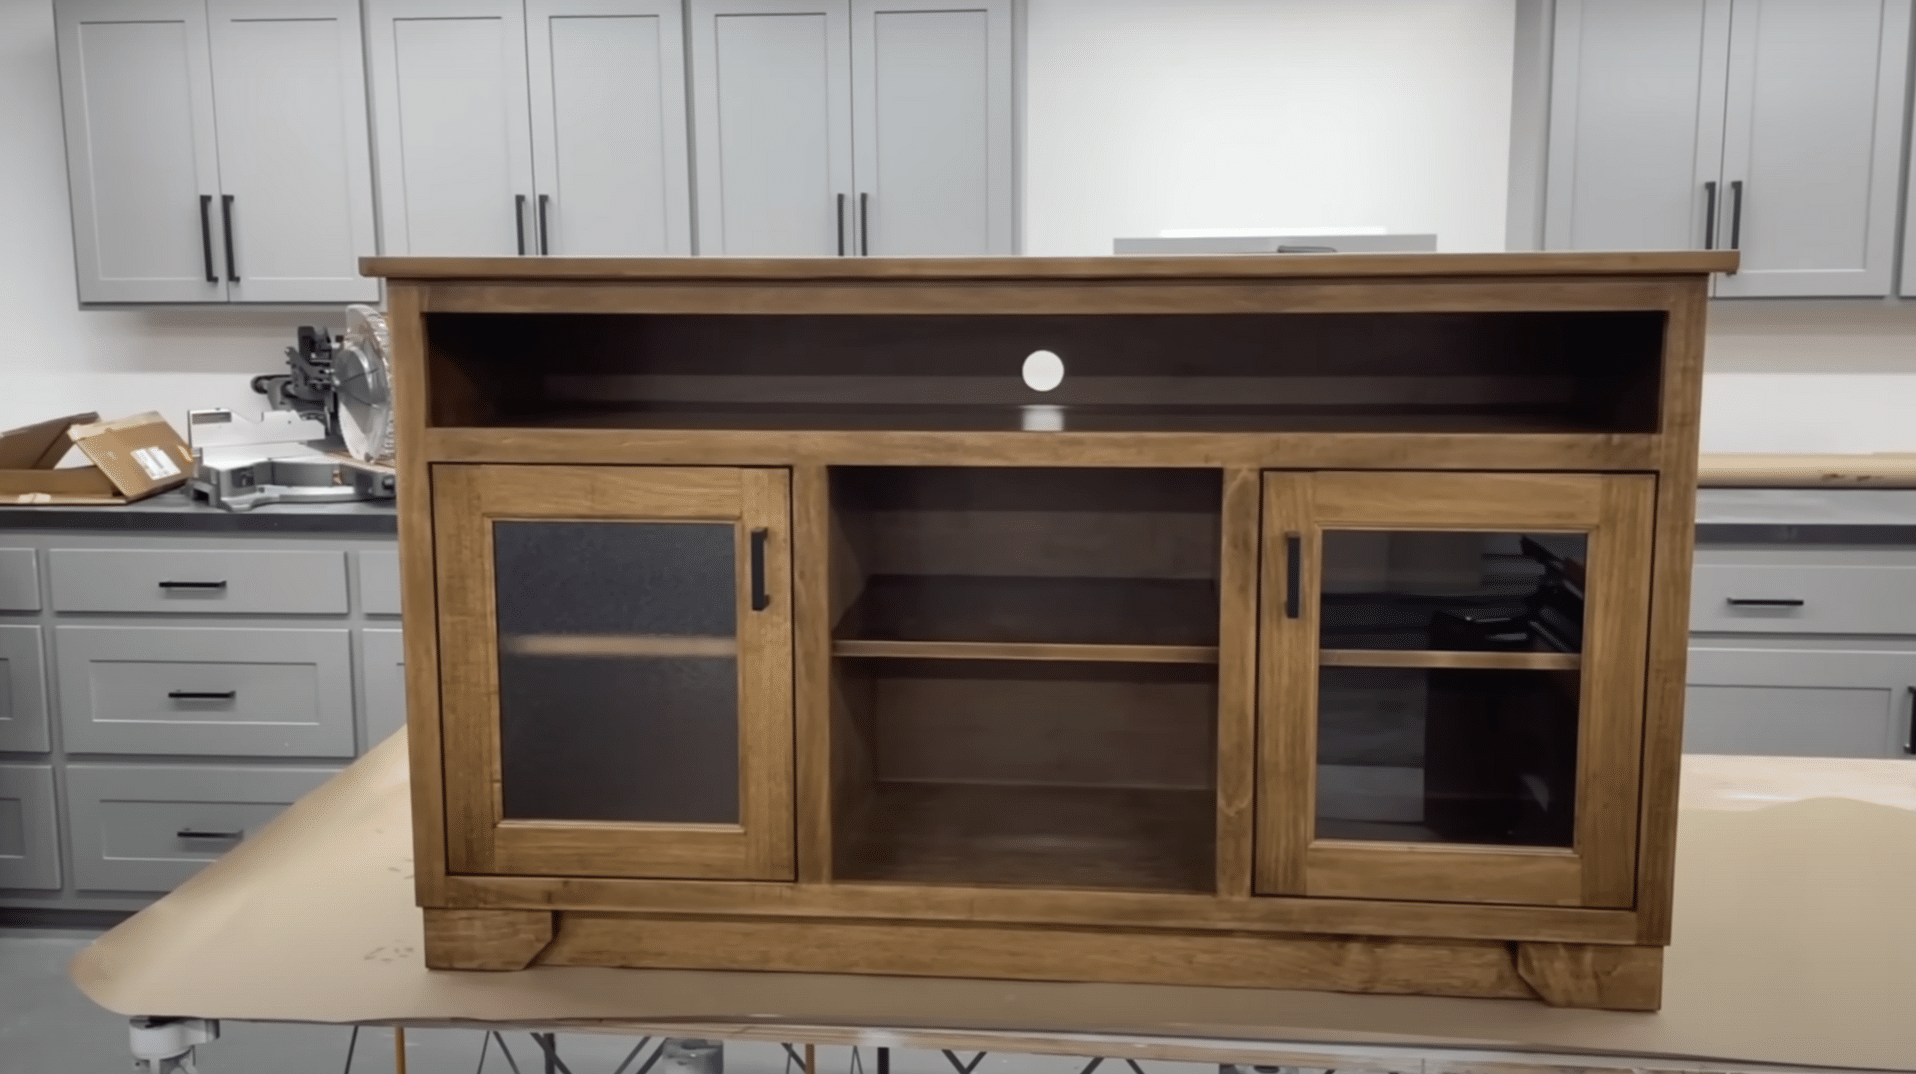
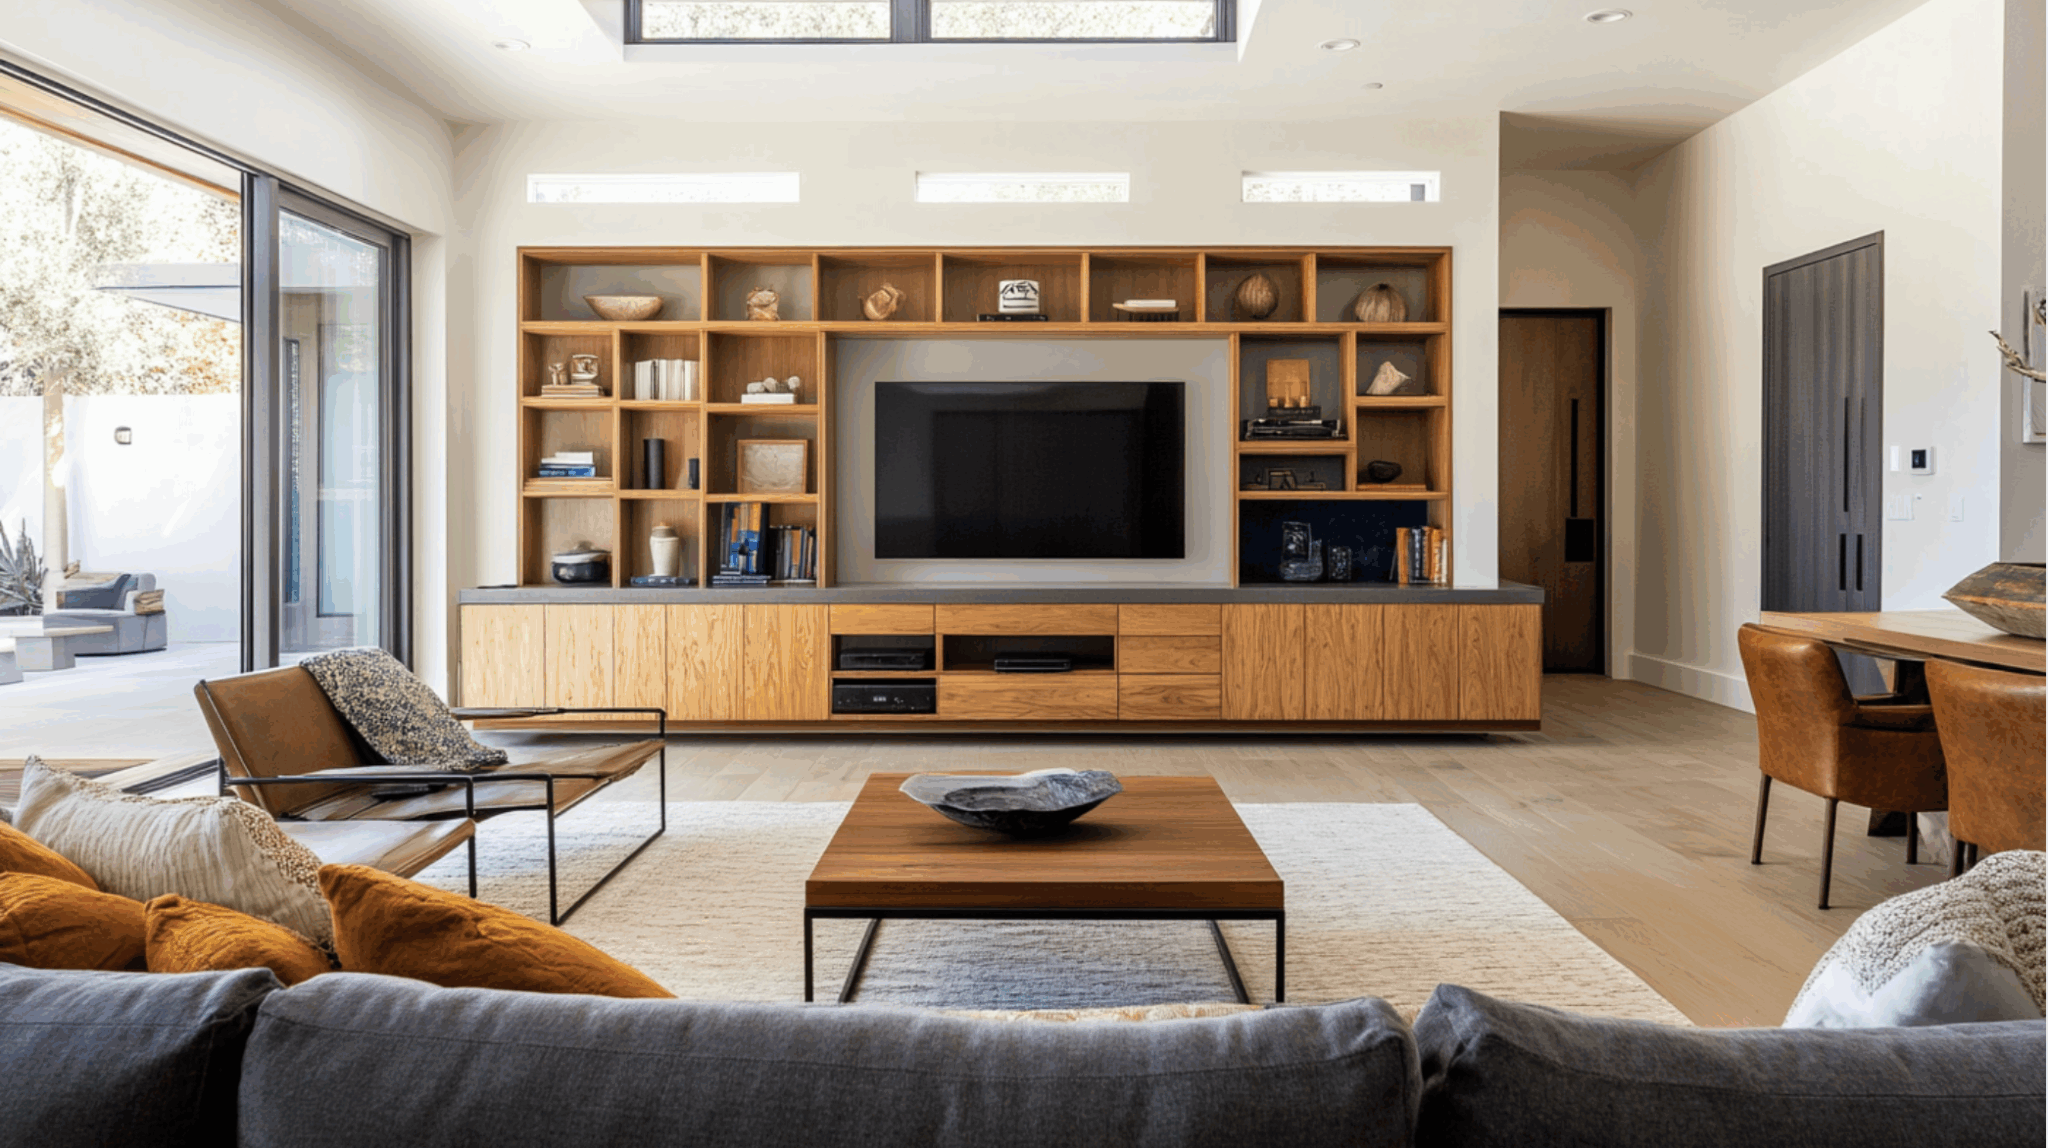
From the rich maple wood to the thoughtful touches like adjustable shelving and glass doors, this DIY media console invites both beginners and seasoned DIYers to swoop in.
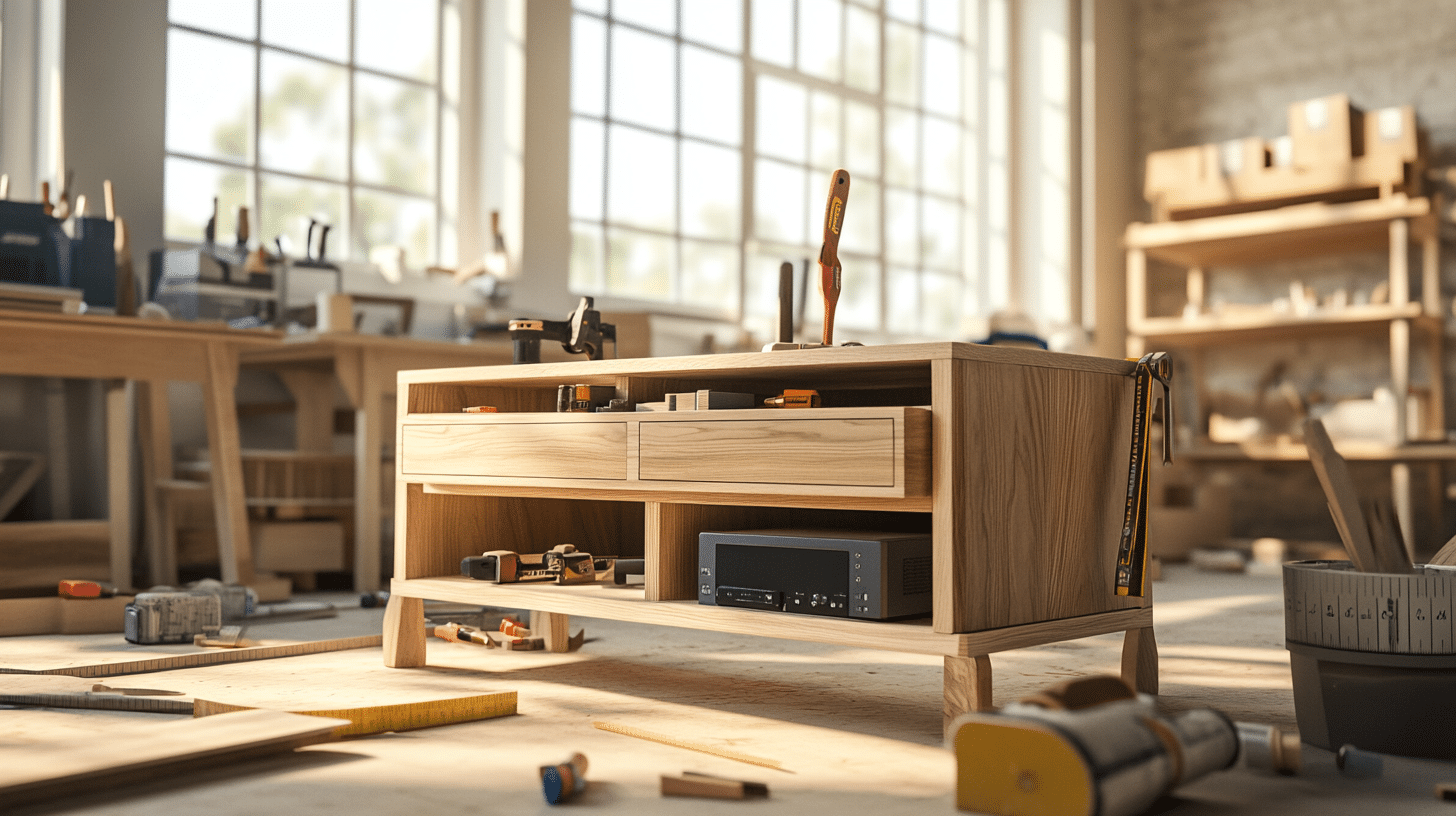
Step 1: Prepare the Solid Wood Top
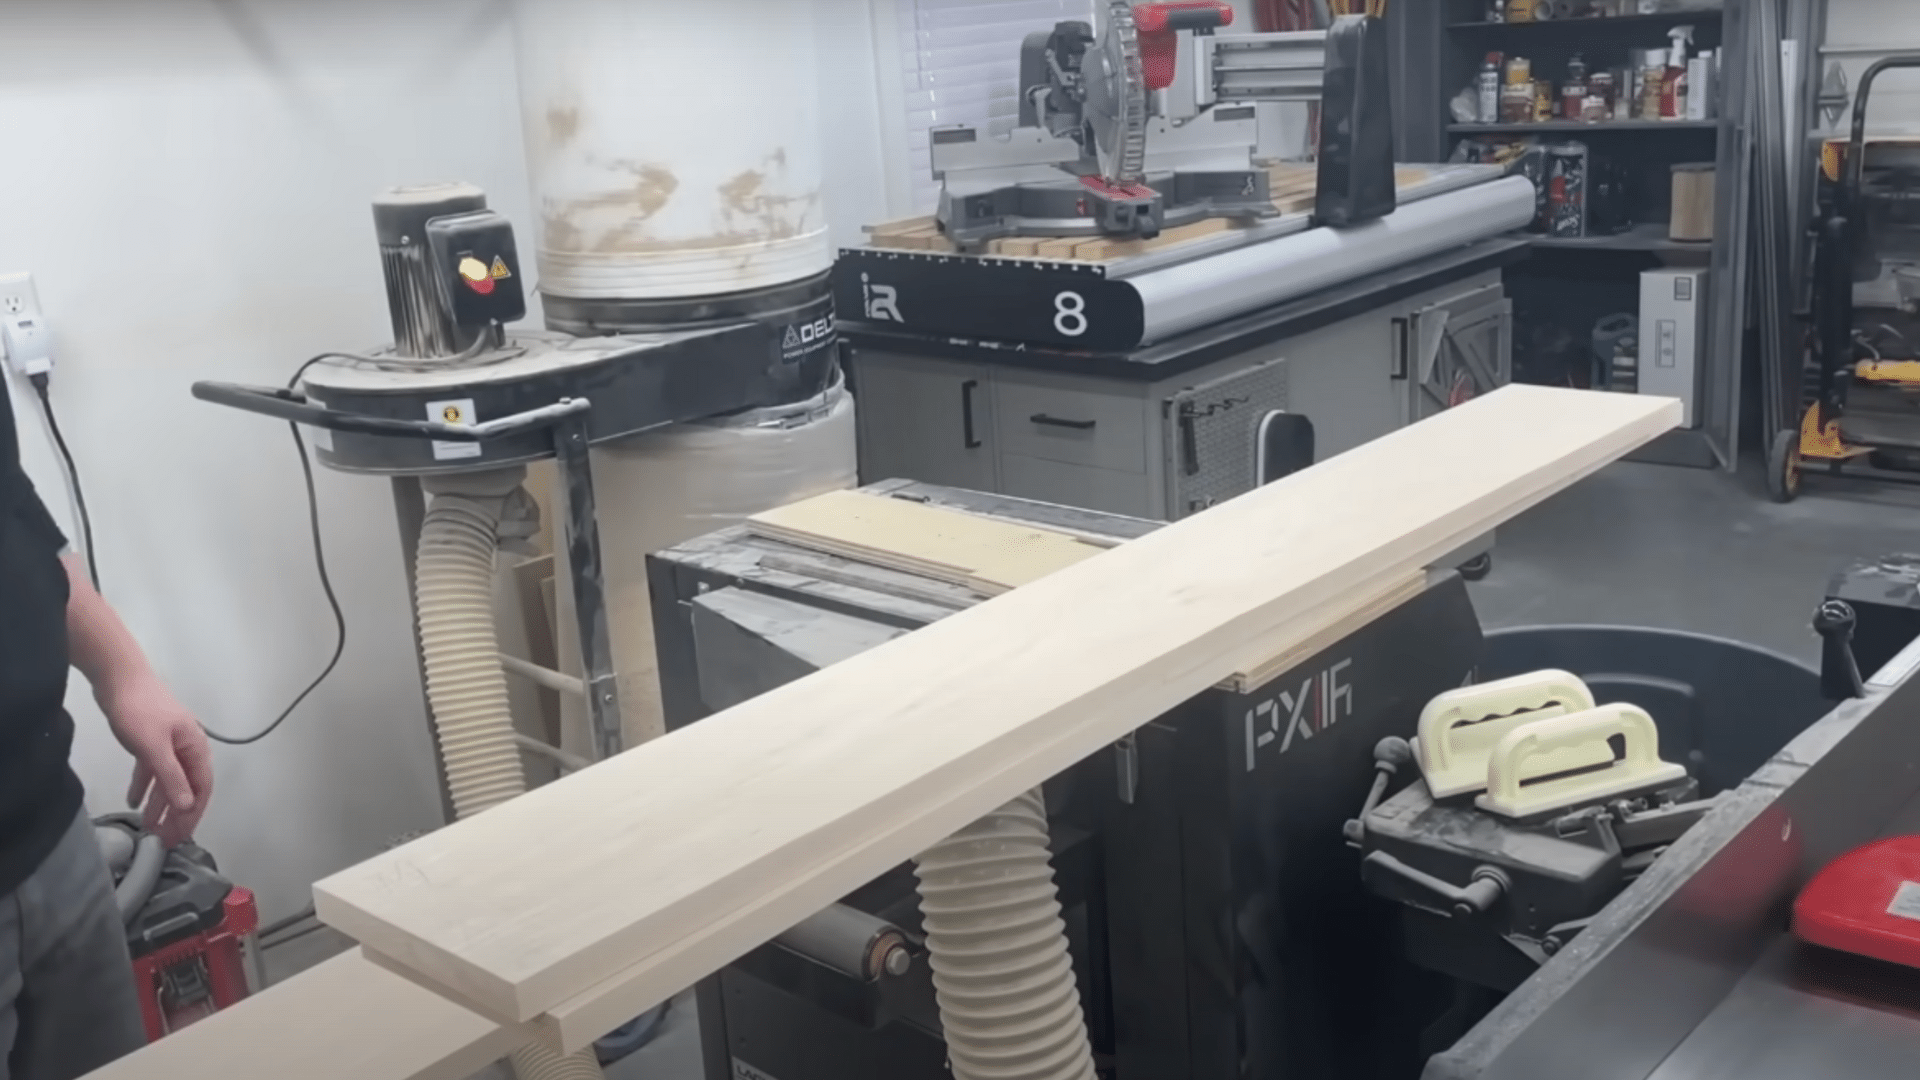
The top of the console sets the tone for the entire piece, so it’s important to start strong with solid maple boards. This step involves flattening, squaring, and gluing to create a clean, sturdy top panel that’s both beautiful and durable.
Step 2: Cut and Assemble the Cabinet Body

Break down the maple plywood sheets into all required pieces for the console using a table saw or track saw. Cut the dado grooves for the joinery on the inner panels using a dado stack or router and straight edge.
Ensure grooves are precisely aligned for seamless fitting.
Next, rabbet the inside edges of the sides and bottom to allow the back panel to sit recessed. Sand the interior surfaces before assembly.
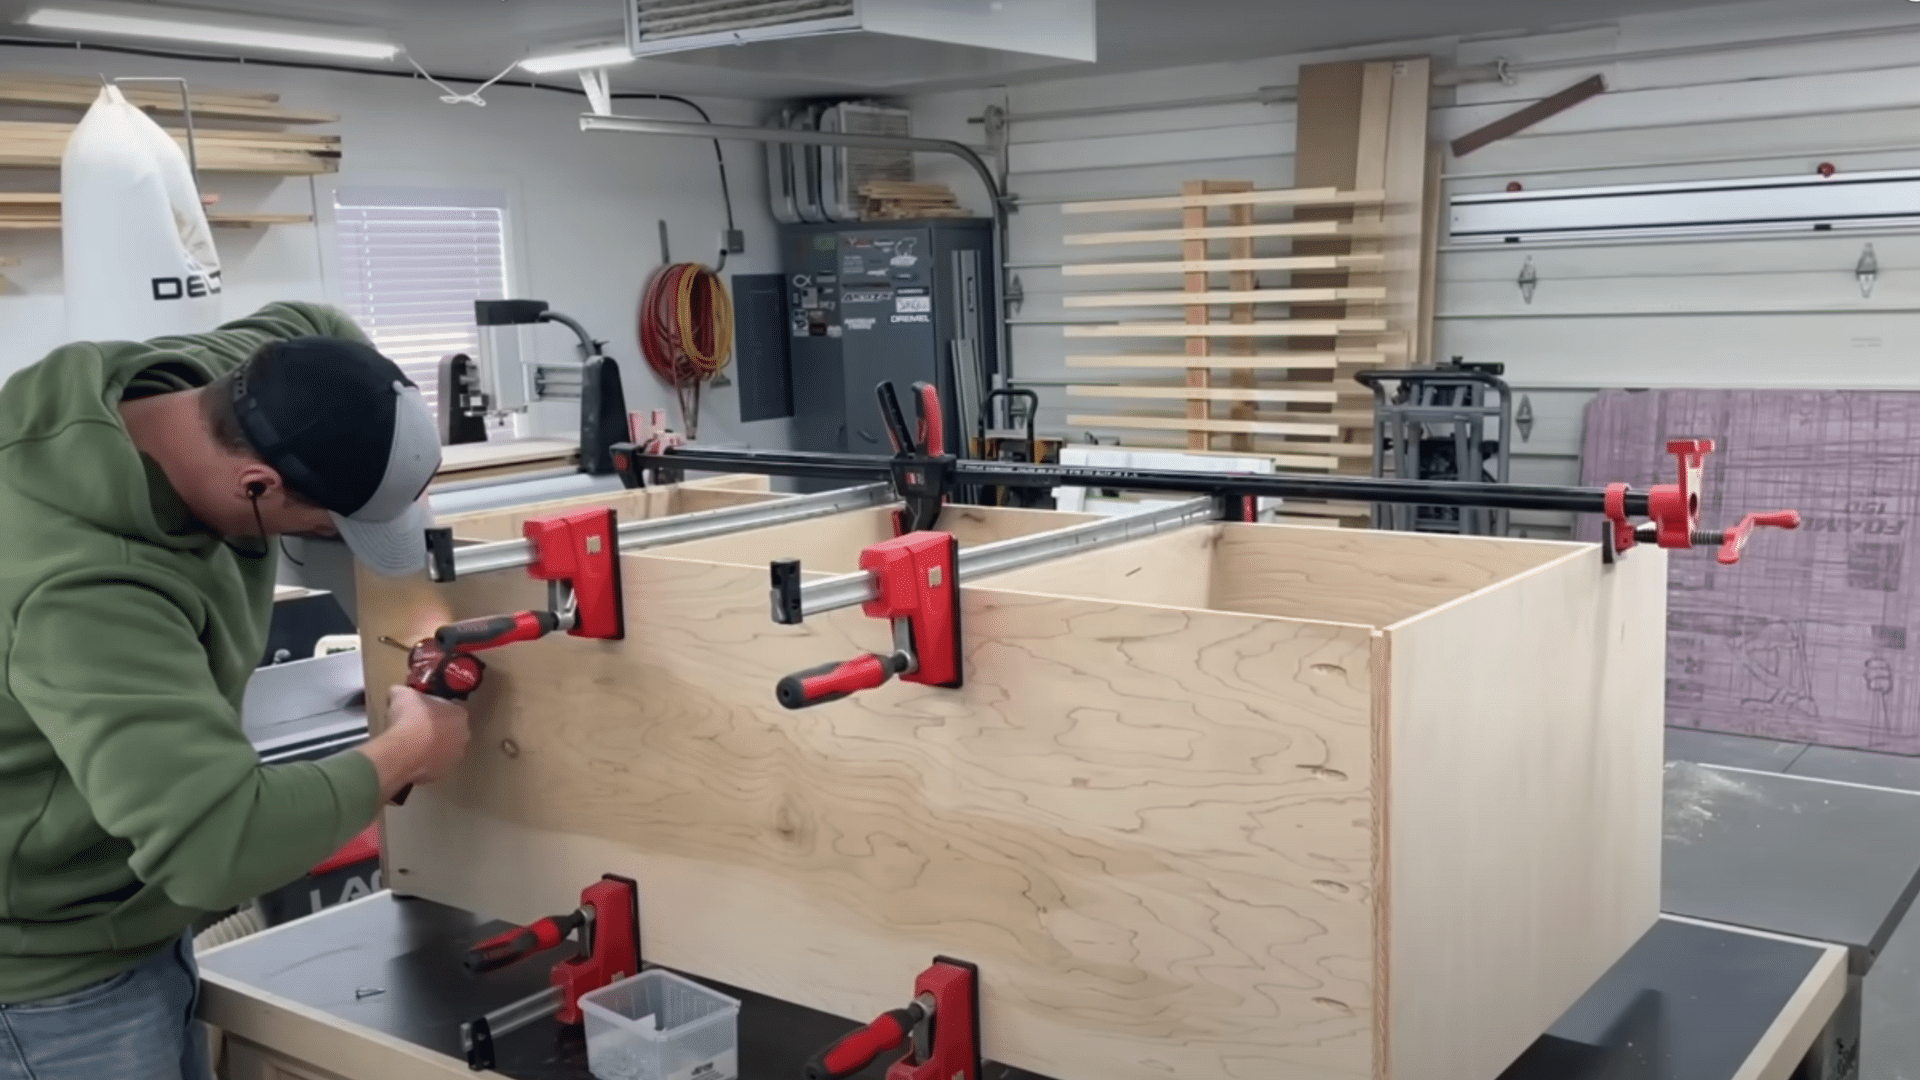
Step 3: Glue and Clamp the Console Structure
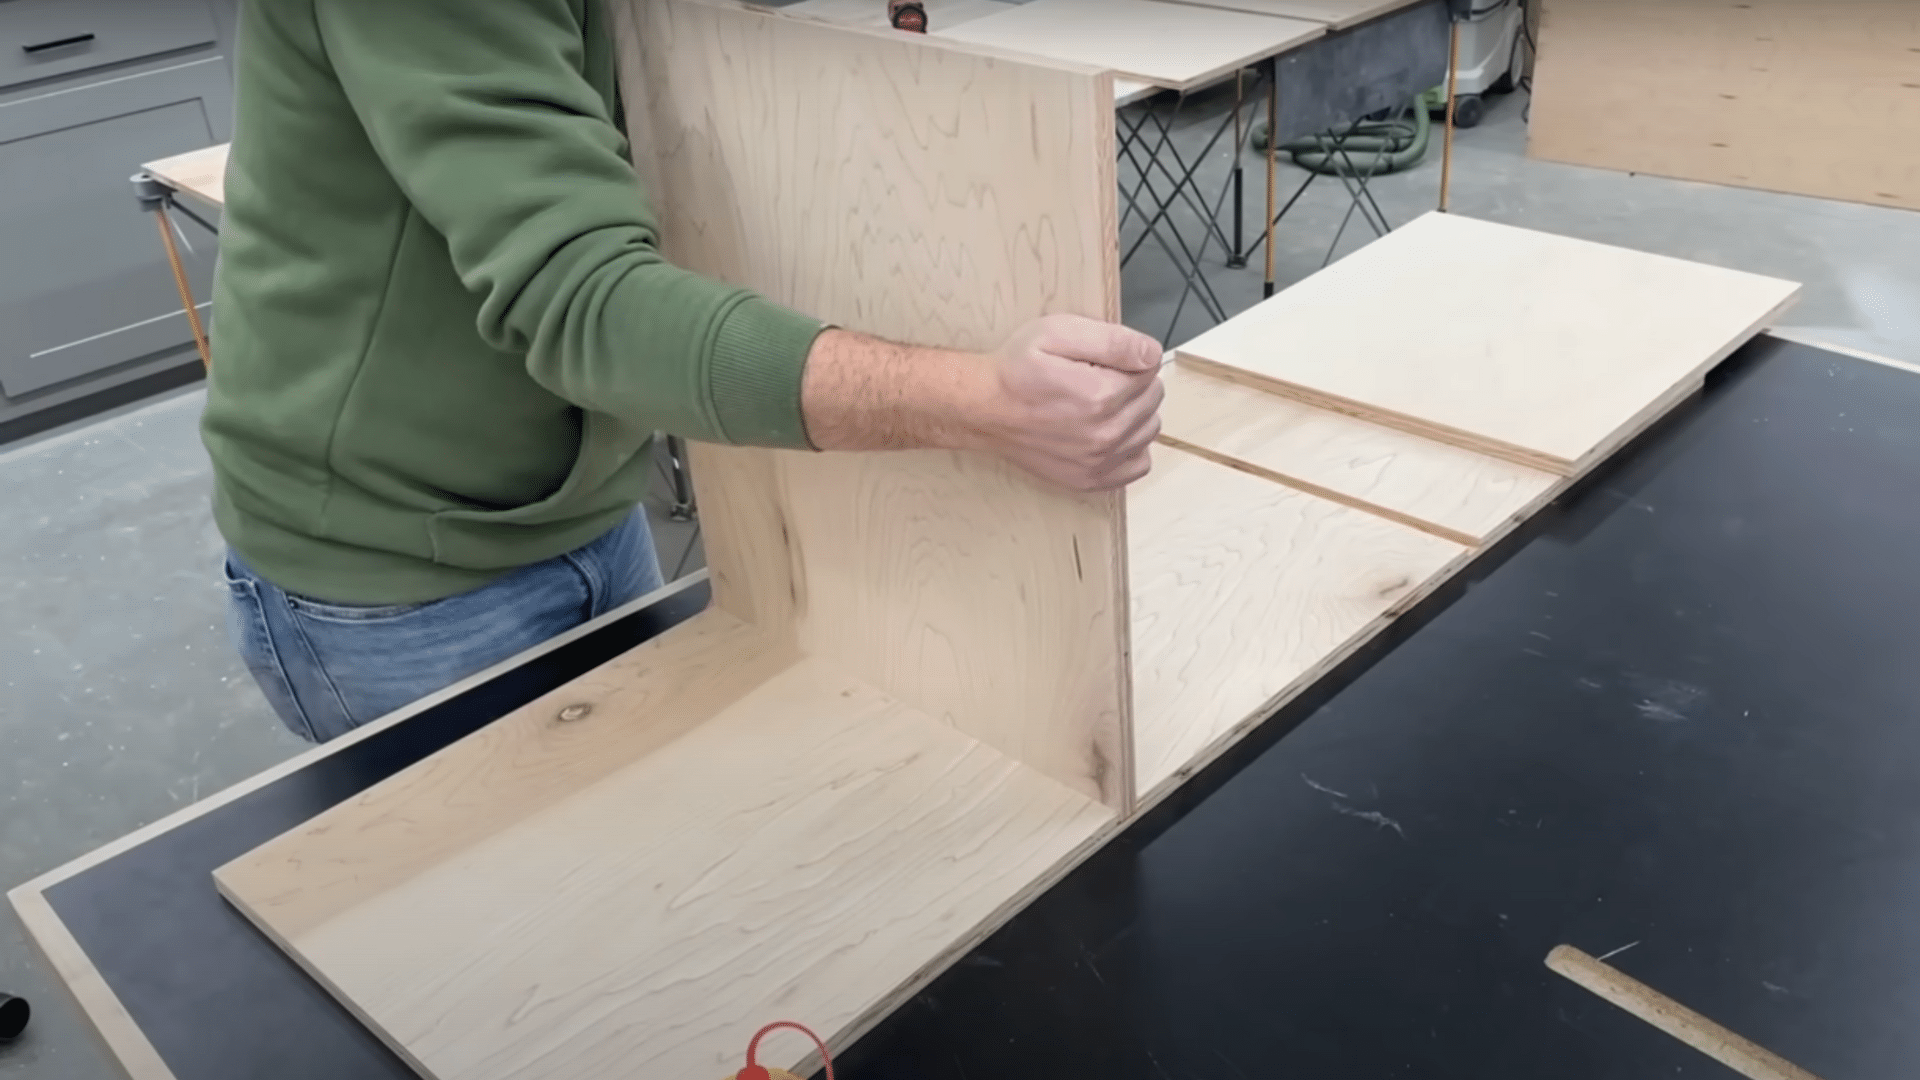
With all your cabinet components cut and joinery completed, it’s time to bring the main body of the console together. This step ensures the frame is strong, square, and built to last through careful alignment and secure gluing.
- Apply wood glue generously into each dado joint.
- Fit the side panels, bottom, and dividers securely into place.
- Use long bar clamps to press everything together tightly.
- Reinforce the bottom panel with pocket screws from underneath where they won’t show.
Double-check for squareness and let the frame dry completely before moving on
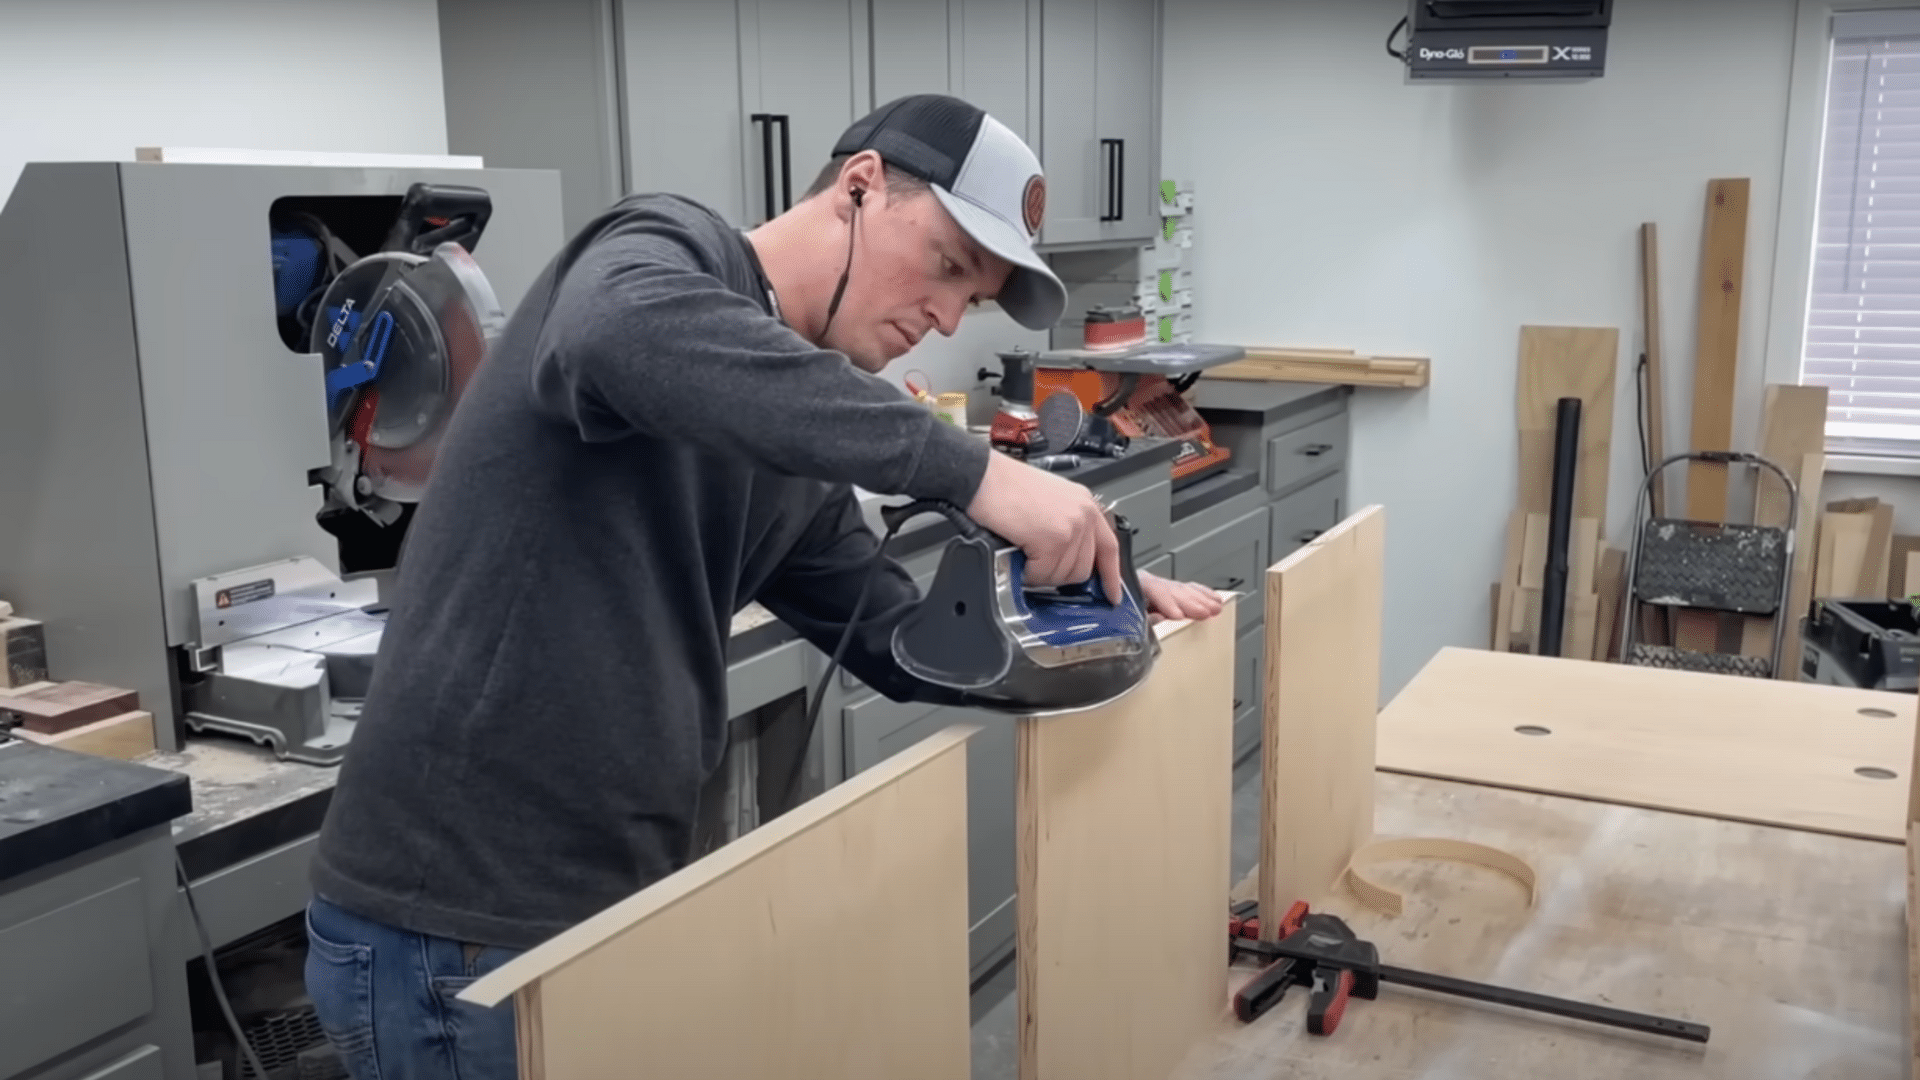
Step 4: Mill and Assemble the Face Frame
Mill the hard maple for the face frame to a standard 3/4 inch thickness. Drill pocket holes on the back side of each piece and assemble using paste-waxed screws to prevent breakage.
Work in a way that avoids fitting pieces between two fixed ones and use spacer blocks for even gaps. Once the frame is square and dry, set it aside.
Step 5: Build and Attach the Base
Construct a simple rectangular base frame using glue and screws. Cover the corners with mitered corner blocks that include a stylish angled detail on the inside edge.
Tape and glue these corners tightly for a crisp finish. Once dry, glue the entire base to the bottom of the cabinet.
Step 6: Install Shelves, Doors, and Back Panel
Drill shelf pin holes using a jig, apply iron-on edge banding to shelf fronts, and fit them in. Use a cabinet door bit set to create frame grooves and tongues for the glass doors.
Drill hinge cups and mount hinges to the face frame before gluing in door stops. Hold off installing the back panel until after finishing to make clamping and spraying much easier.
Once ready, attach the back panel using nails through the rabbets and drill cable holes.
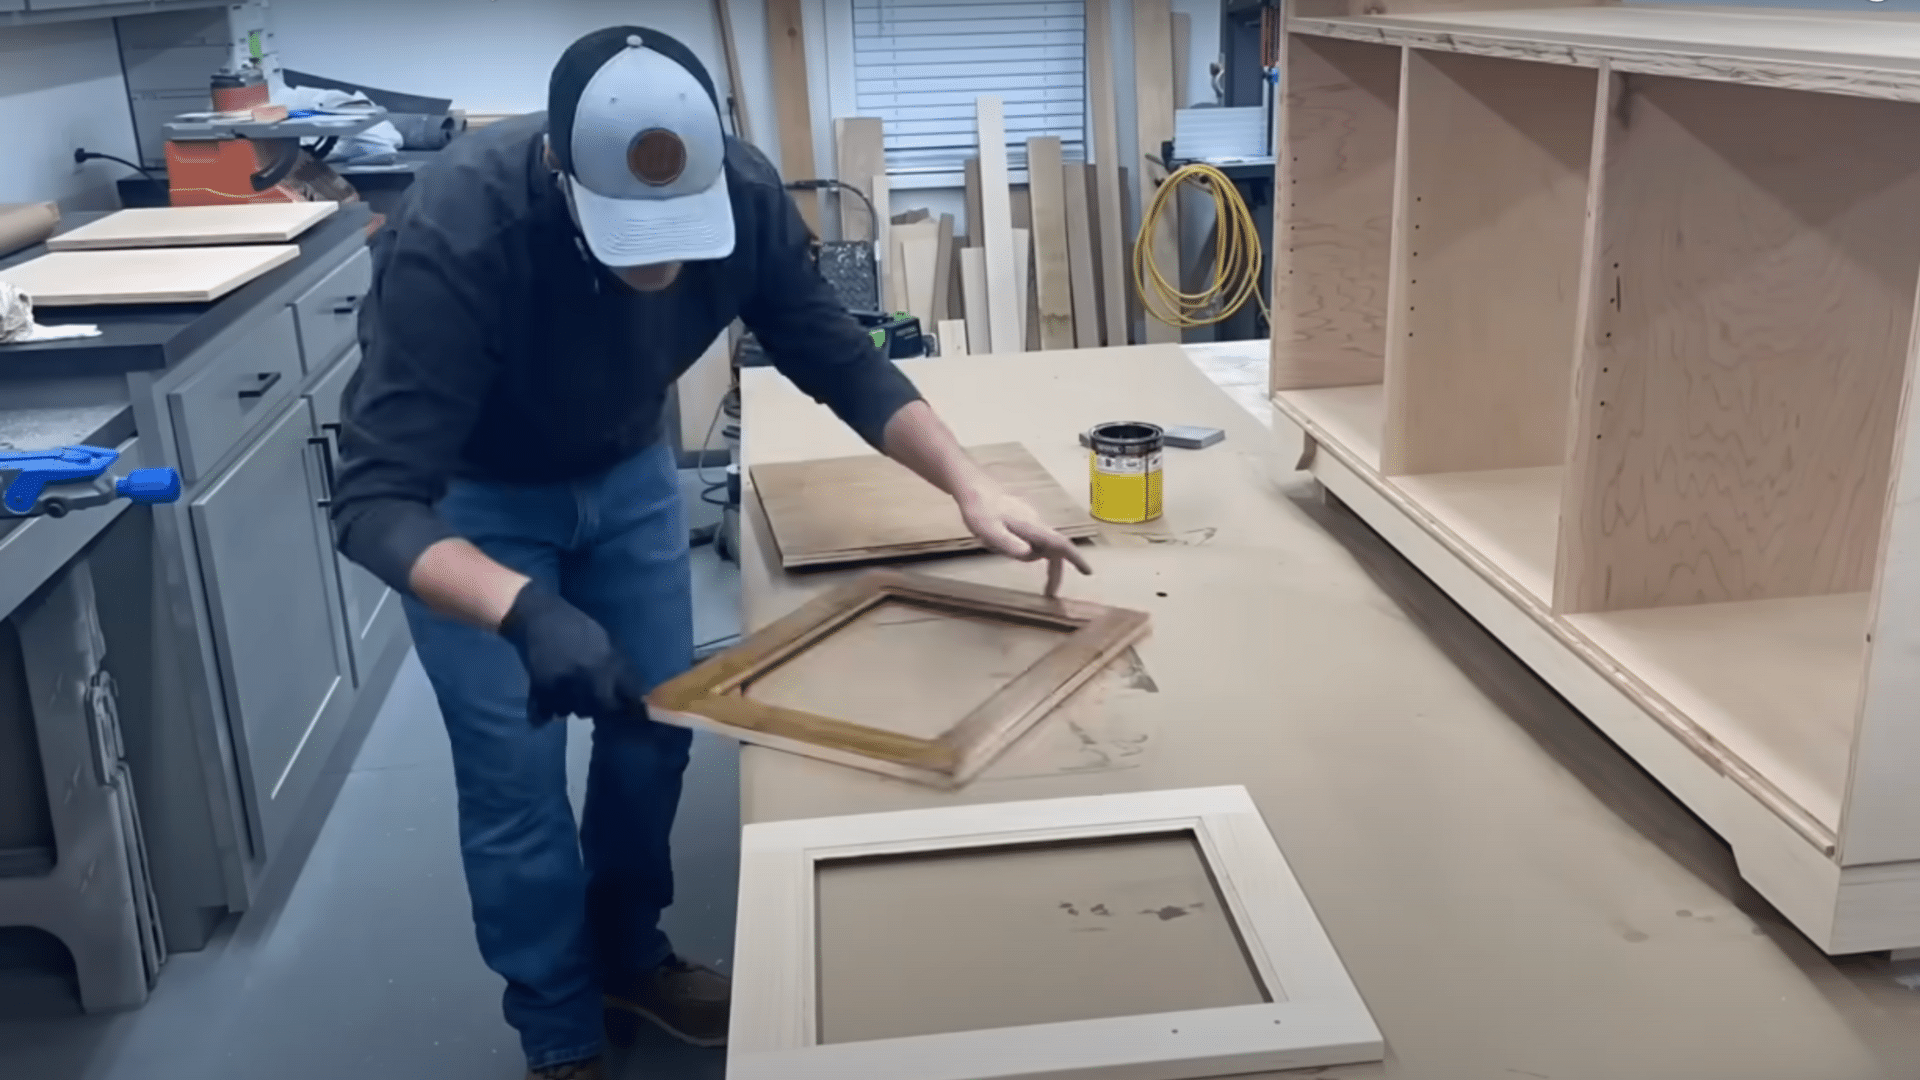
Step 7: Finish and Assemble Final Details
Sand everything thoroughly and apply a pre-stain conditioner to prevent blotchiness. Stain with provincial Minwax stain and let it dry for at least two days. Apply a water-based polyurethane finish.
For the solid top, drill elongated holes through the stretchers to allow for seasonal expansion, then screw the top down. Lastly, insert the chosen glass panels and secure them with the retainer molding.
Add door pulls and just like that, the custom media console is ready
Popular Designs for a Custom Media Console
When planning a custom DIY media console, knowing the most common styles helps homeowners pick what works for their space.
Let’s look at some popular options that work well in most homes.
Modern and Minimalist Designs
Modern designs focus on clean lines and simple forms that put function first while looking good. These styles often use materials like glass, metal, and smooth woods with little ornamentation.
The goal is to create a sleek, uncluttered look that feels current and fresh in any space.
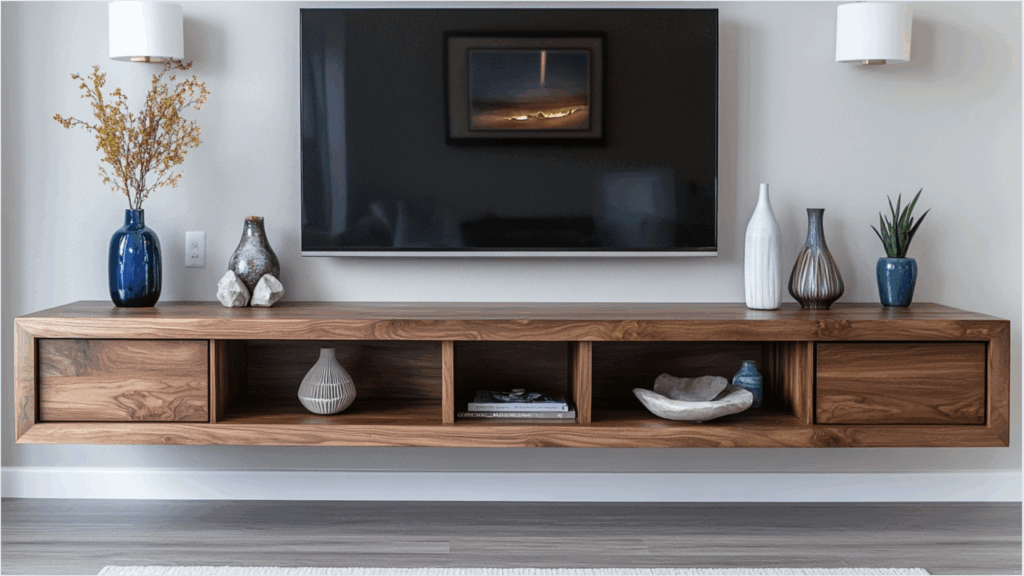
1. Floating media console: A wall-mounted unit that creates the illusion of more floor space. This clean, simple design works well in smaller rooms and gives the area an open feel.
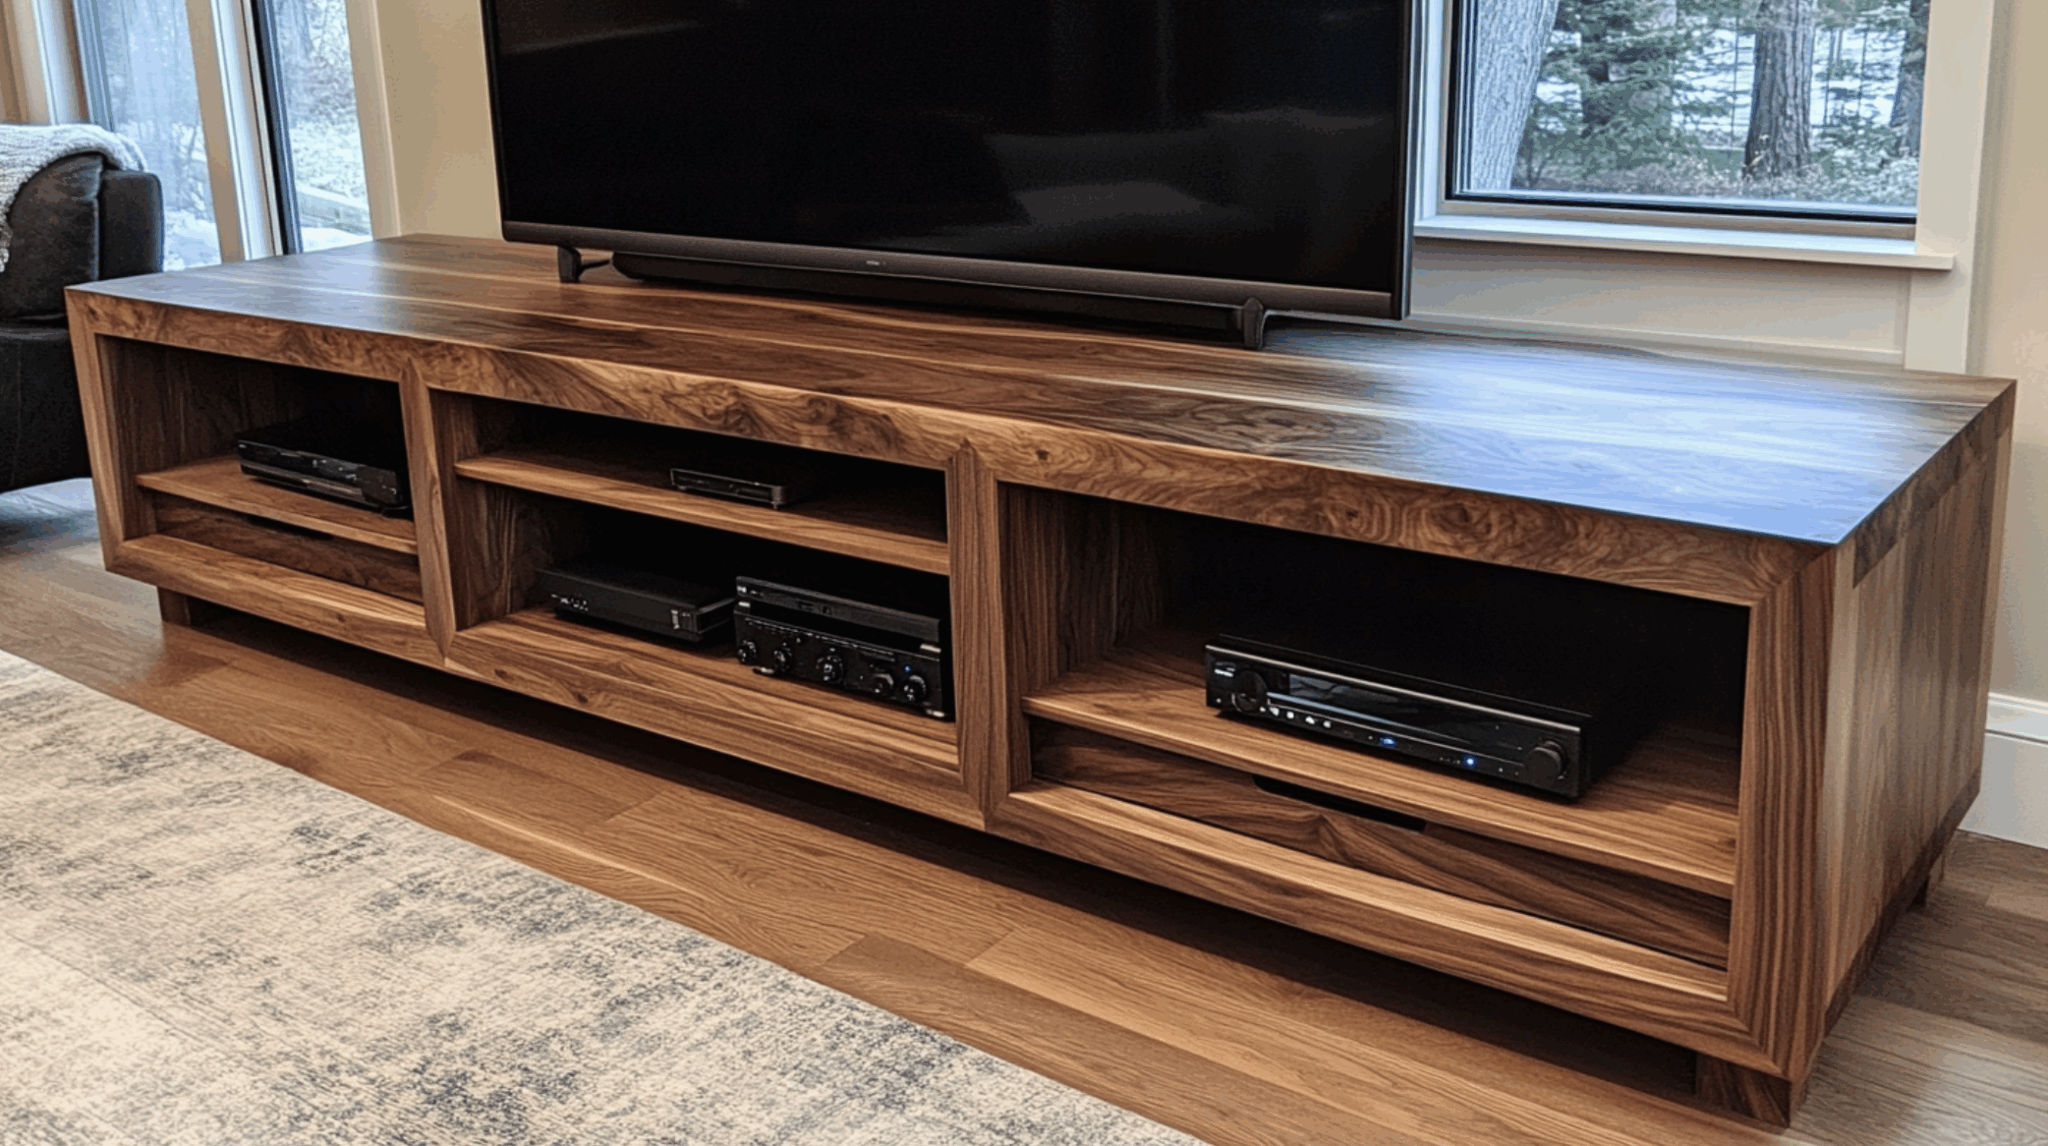
2. Open shelf design: This style features open shelving without cabinet doors. The lack of doors means easy access to media components and allows remote controls to work without barriers.
3. Hidden storage design: This sleek option uses clean lines and hidden storage to reduce visual clutter. All cables, remotes, and media stay behind closed doors for a tidy look.
Traditional and Rustic Designs
Traditional designs bring warmth and classic style to a room with natural materials and time-tested forms. These options often feature rich wood tones, carved details, and hardware that feels substantial.
They work well in homes where comfort and familiar styles matter more than trends.
1. Farmhouse style: This cozy design uses natural wood with visible grain patterns. The warm wood tones and sturdy build create a welcoming, homey feel in any space.
2. Bookcase hybrid: This versatile design combines media storage with book shelving. The mix of open and closed storage works well for both electronics and books or decor.
3. Repurposed furniture: Old dressers or sideboards can transform into unique media consoles. These pieces add character and history that new furniture might lack.
Mistakes to Avoid
Wrong measurements: Taking incorrect measurements can ruin the entire project. Always measure the space at least twice before cutting any materials, and account for the size of the TV plus any extra space needed for proper ventilation and cable management.
Poor material selection: Choosing materials that cannot support the weight of electronics can lead to sagging shelves or even collapse. Select solid wood or high-quality plywood that can handle the weight of all items that will sit on the console.
Ignoring cable management: Forgetting to plan for wires and cables creates a messy look. Create holes in strategic spots to run cables through, and include extra space behind the unit for plugs and cable organization.
No ventilation planning: Electronics generate heat and need proper airflow. Make sure to include open areas or vents in the design to prevent devices from overheating, which can shorten their lifespan.
Skipping the design phase: Starting to build without a clear plan often leads to mistakes and wasted materials. Sketch the design on paper first, including all measurements and features before buying any supplies.
The Bottom Line
Building a DIY media console offers homeowners a perfect blend of style and function for their entertainment space.
This project lets anyone create a piece that fits their exact needs, without the high costs of store-bought options.
With the steps and tips shared in this blog, readers now have all they need to start building their own perfect media storage solution.