Tiles are one of the toughest surfaces in your home—until they’re not. One dropped pan, a shifted foundation, or years of wear can leave your tile floor, backsplash, or shower looking beat-up and broken. Replacing a tile is expensive and messy. But repairing it? That’s where Loctite comes in.
With the right adhesive, a little patience, and some basic tools, you can repair chipped, cracked, or loose tiles without calling in a pro. Here’s how to do it right—step by step.
What You’ll Need
Before you get started, gather your tools and supplies:
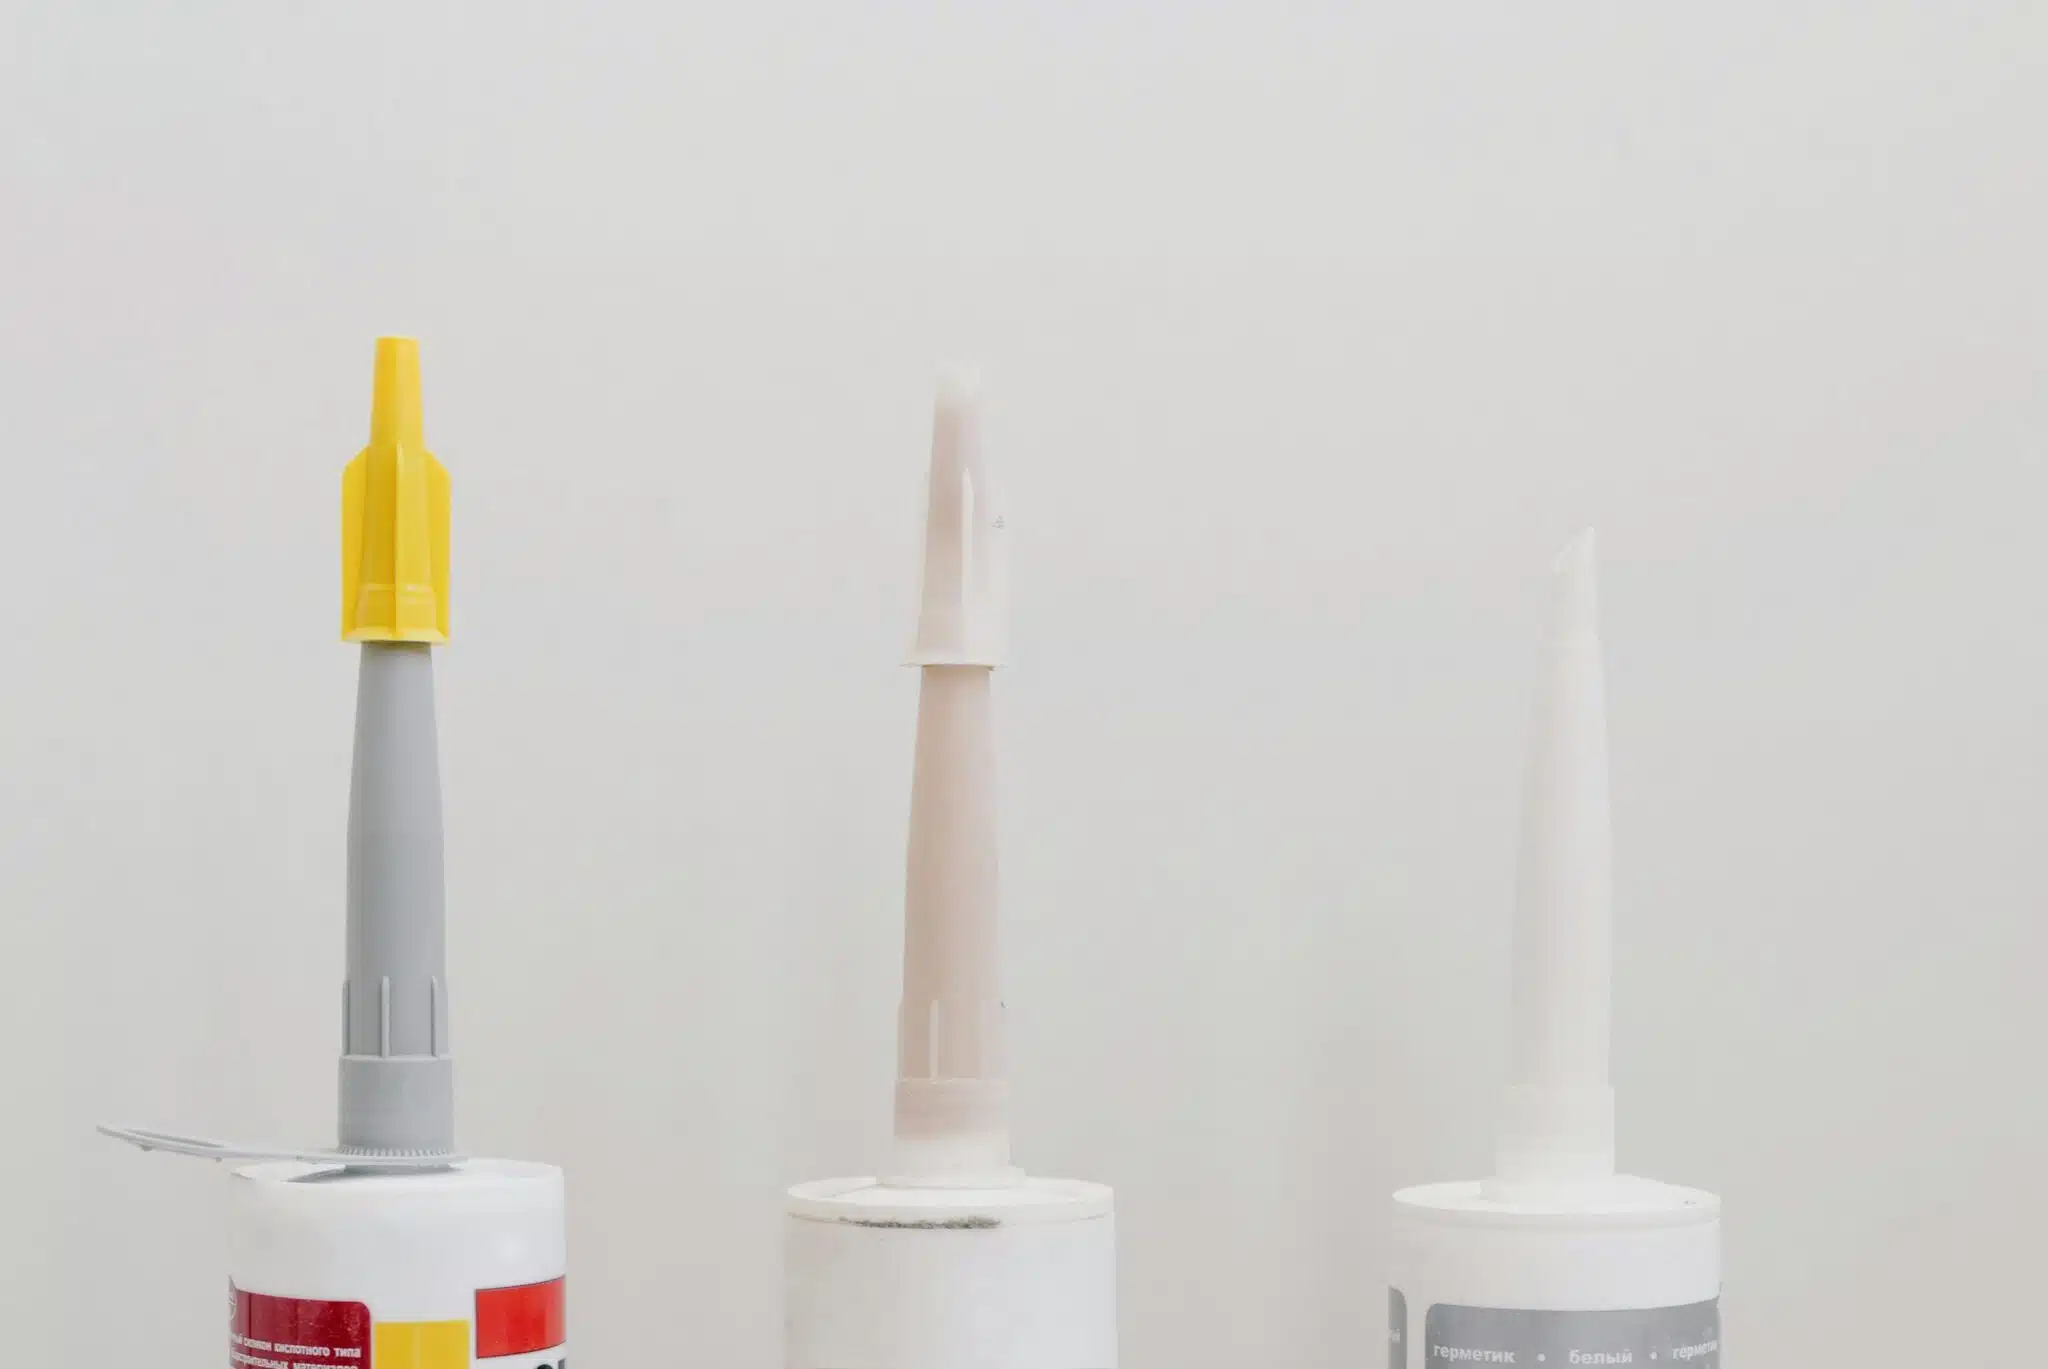
- Loctite Power Grab or Loctite PL Premium (for bonding tiles)
- Loctite Clear Silicone Waterproof Sealant (for waterproof areas)
- Grout and a putty knife
- Utility knife
- Sponge or cloth
- Safety gloves and goggles
- Painter’s tape (optional)
- Small chisel or flathead screwdriver
- Bucket and clean water
Step 1: Assess the Damage
First, check if your tile is just cracked, chipped, or completely loose.
- Cracks: Surface cracks can often be sealed and disguised.
- Chips: If the piece is intact, you can reattach it. If it’s missing, fill it with grout or tile filler.
- Loose tile: You’ll need to remove and re-bond it.
If more than a couple of tiles are damaged or if the subfloor is compromised, you’re better off calling a pro. But for one-off fixes, this DIY method works.
Step 2: Remove Loose or Broken Tiles
If a tile is loose or needs to come out, carefully pry it up using a chisel or screwdriver. Go slow—saving the tile saves you a trip to the hardware store.
Once it’s out, scrape away any old adhesive or grout from the surface. You want a clean, flat base for reattachment. Wipe the area with a damp sponge to remove dust and debris.
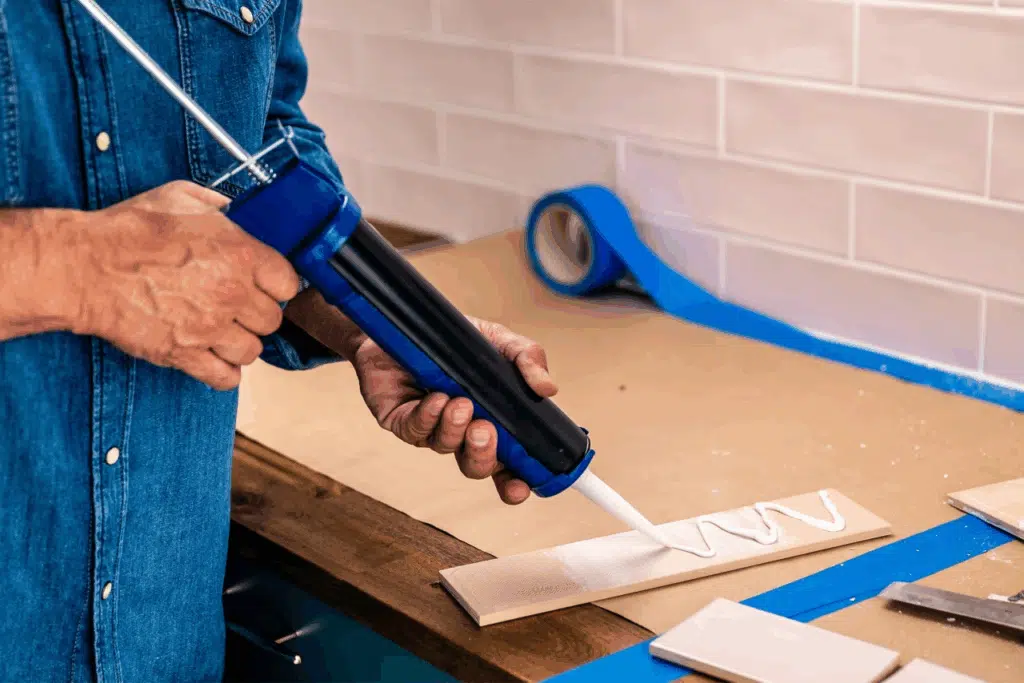
Step 3: Apply the Right Loctite Adhesive
For tile bonding, Loctite Power Grab All-Purpose Construction Adhesive is a solid pick. It grabs instantly, holds tight, and works on ceramic, porcelain, and stone. If you’re working in high-moisture areas (like a shower or kitchen backsplash), consider Loctite PL Premium for extra durability.
Squeeze the adhesive onto the back of the tile in a zigzag or dot pattern, especially near the edges. Press the tile firmly into place and hold it for 10-15 seconds. If needed, use painter’s tape to keep it in position while the adhesive sets (usually 24 hours for full cure).
Step 4: Fill Cracks and Chips
For minor surface cracks or chips that don’t require removal, use Loctite Clear Silicone Waterproof Sealant. It’s flexible, dries clear, and resists water—ideal for bathroom and kitchen tile repairs.
Clean the area, then apply a thin bead of sealant over the crack or chip. Use a gloved finger or tool to smooth it. Let it cure for 24 hours. This stops water from seeping in and keeps the crack from spreading.
Step 5: Re-Grout and Seal
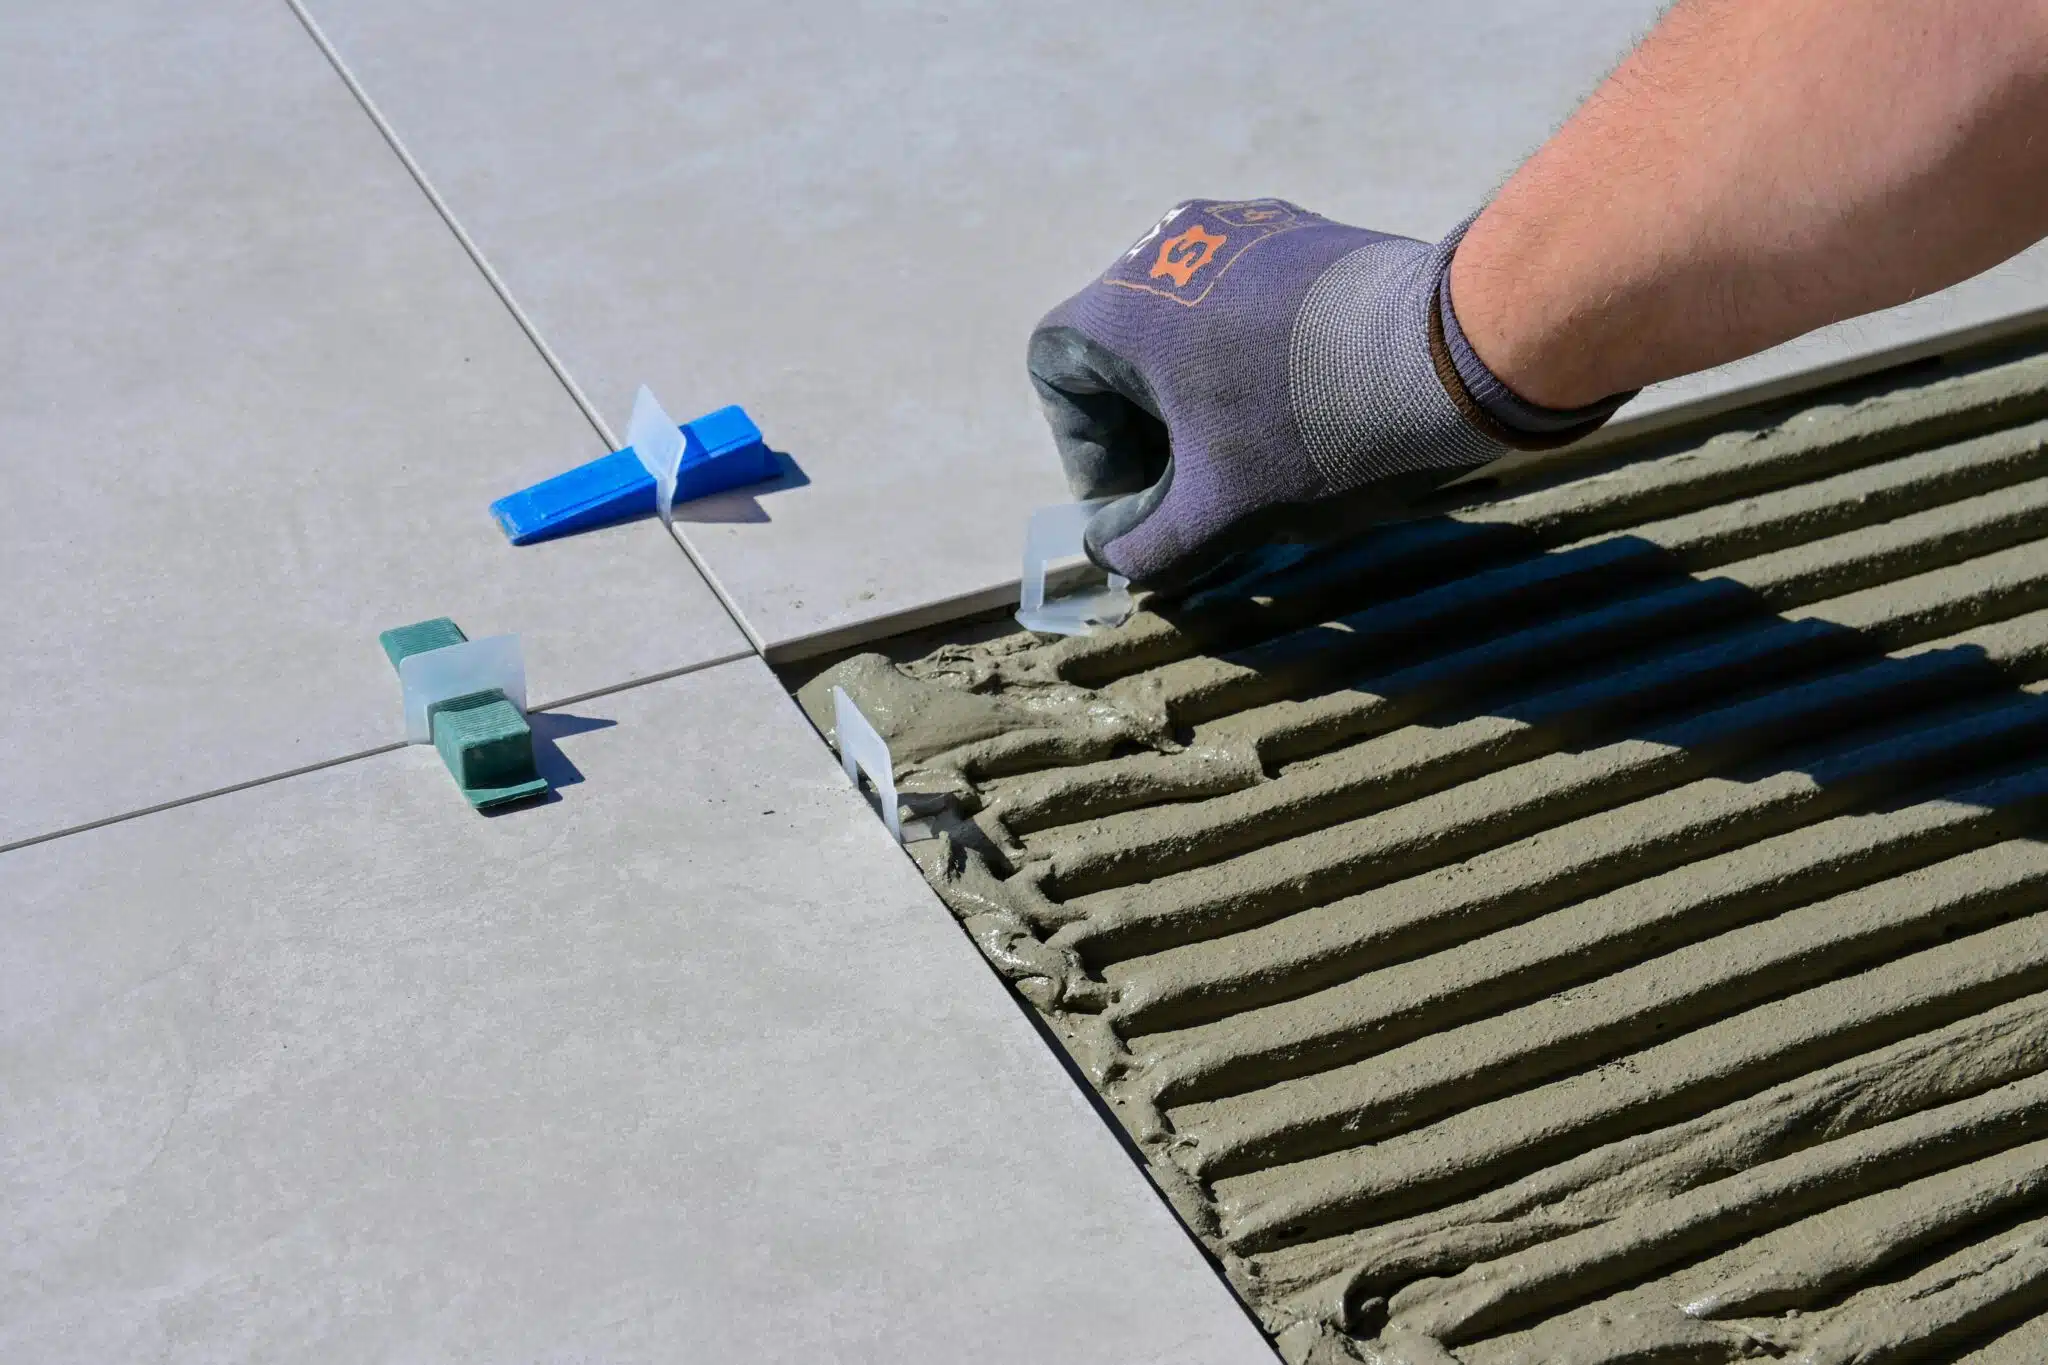
Once the adhesive or sealant is cured, it’s time to replace any grout. Use a putty knife to press fresh grout into the gaps around the tile. Wipe away excess with a damp sponge and let it cure based on the product instructions.
If you’re working in a bathroom or kitchen, apply a grout sealer once everything’s dry. This will protect your work and extend the life of the repair.
Pro Tips for a Flawless Finish
- Match the grout color. Take a sample to the hardware store or get a multi-pack of color-matching grout pens.
- Use clear adhesive for visible areas. Loctite makes clear-drying options that won’t show through glass or light tile.
- Test before you commit. Always test adhesives and sealants on a scrap piece if you’re unsure about material compatibility.
Why Loctite?
Loctite products are trusted by pros and DIYers alike because they bond like nothing else. Whether you’re patching up a bathroom or fixing your entryway floor, Loctite adhesives and sealants give you pro-level results without the pro-level price tag.
Final Thought
You don’t need a contractor to fix a broken tile. With a little effort and the right Loctite product, you can make your space look clean, solid, and like-new again. So stop staring at that cracked tile—grab some gloves and get to work.