When stress builds up and emotions run high, many families search for simple ways to find calm.
Parents watch their children struggle with big feelings, while teachers see students who need help focusing during tough moments.
The glitter jar has become a popular solution in homes and classrooms across the country. This small container filled with sparkles offers more than just pretty colors – it provides instant peace and helps manage overwhelming emotions.
This guide shows three easy methods for creating these calming tools, explains which materials work best, and reveals why this simple craft has become such an effective stress-relief solution for families everywhere.
Why Glitter Jars Work
When someone shakes a glitter jar and watches the sparkles settle, their brain shifts into a calmer state. The slow, swirling motion creates visual focus that naturally slows breathing and heart rate.
This simple act grounds racing thoughts and brings attention to the present moment. Therapists incorporate them into anxiety treatment sessions. Even stressed adults keep them on their office desks for quick mental breaks.
The science is straightforward – focused attention on gentle movement activates the body’s natural relaxation response, making overwhelming feelings more manageable.
Materials required in making of a glitter jar:
| Item | Use |
|---|---|
| Jar | Glass looks nice; plastic is safer for kids. |
| Warm Water | Mixes and melts glue |
| Glitter Glue | Color + slow swirl |
| Loose Glitter | Sparkle and shapes |
| Food Coloring | Optional color pop |
| Hot/Super Glue | Seal the lid tight |
Steps For Making a Glitter Jar
Making a glitter jar is a fun, creative project that combines art and mindfulness.
Follow these simple steps to craft a calming sensory tool that’s perfect for stress relief, emotional regulation, or bedtime routines.
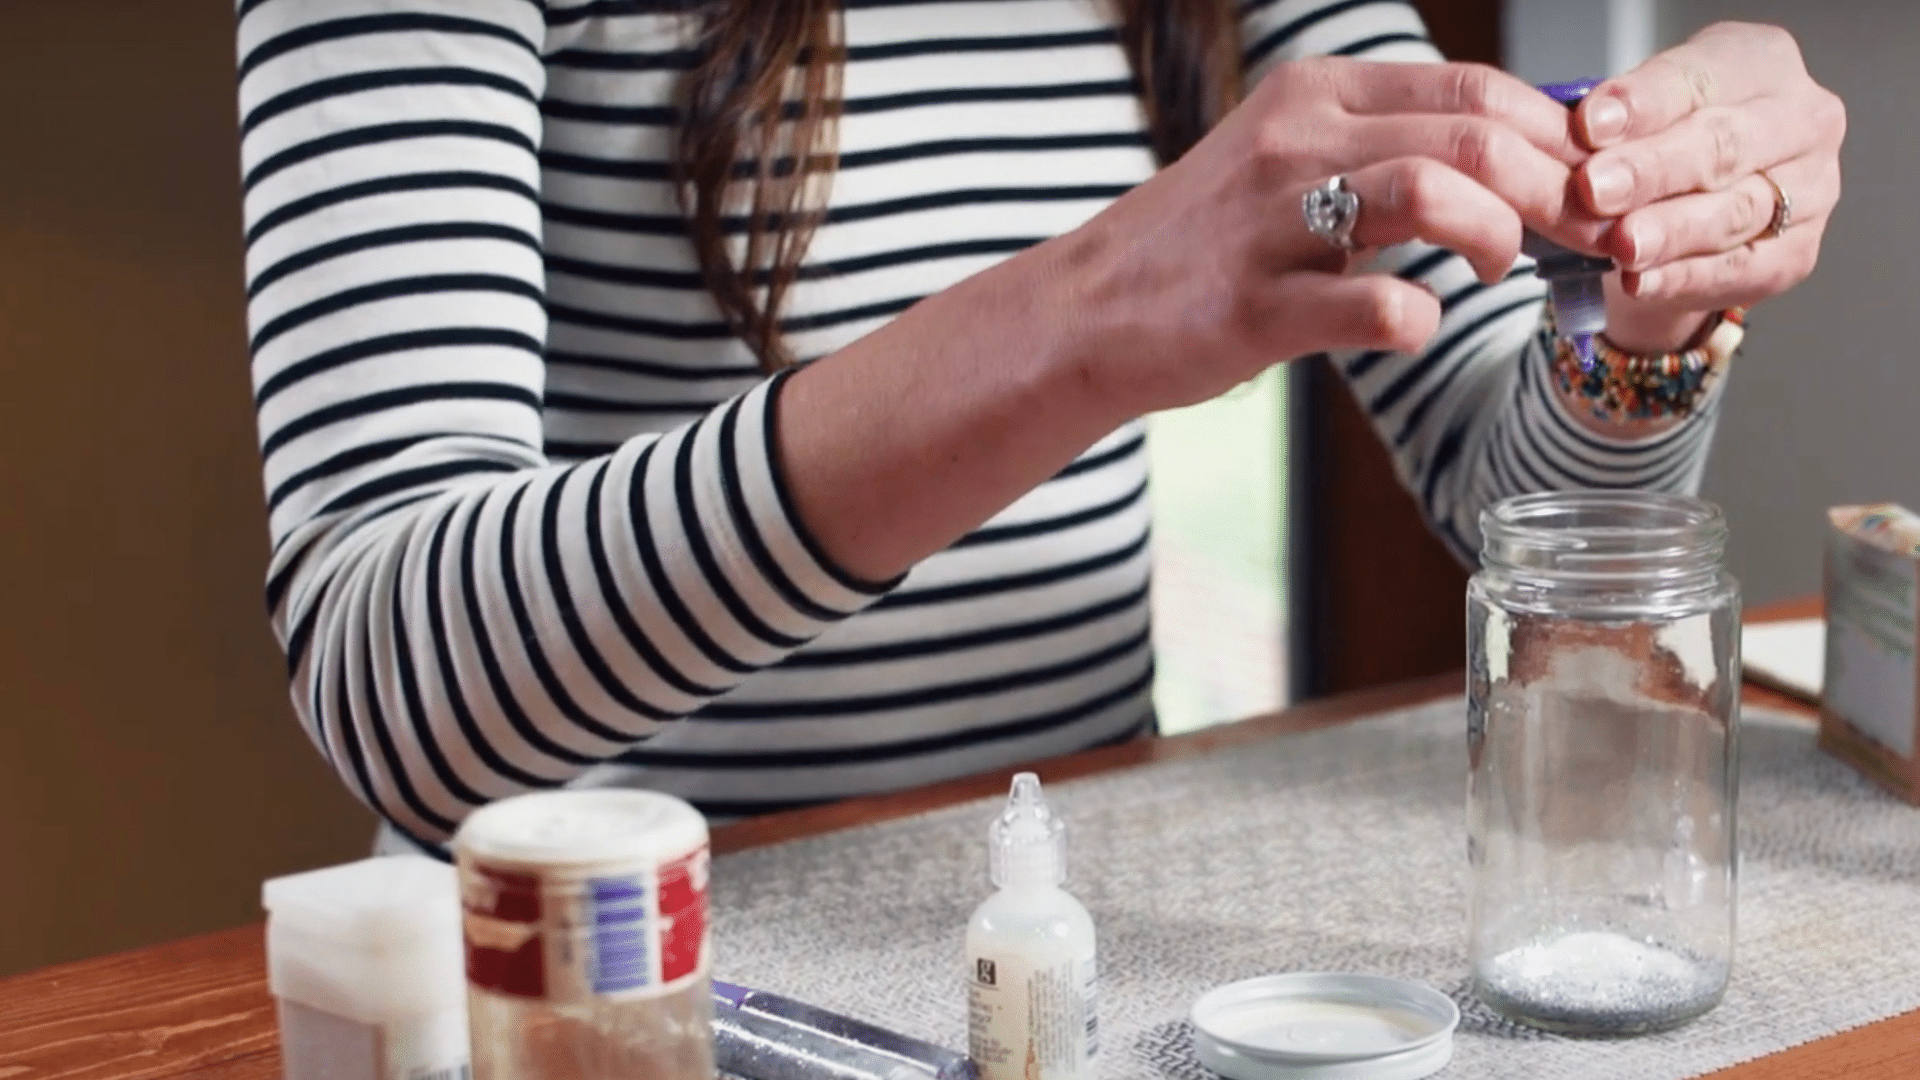
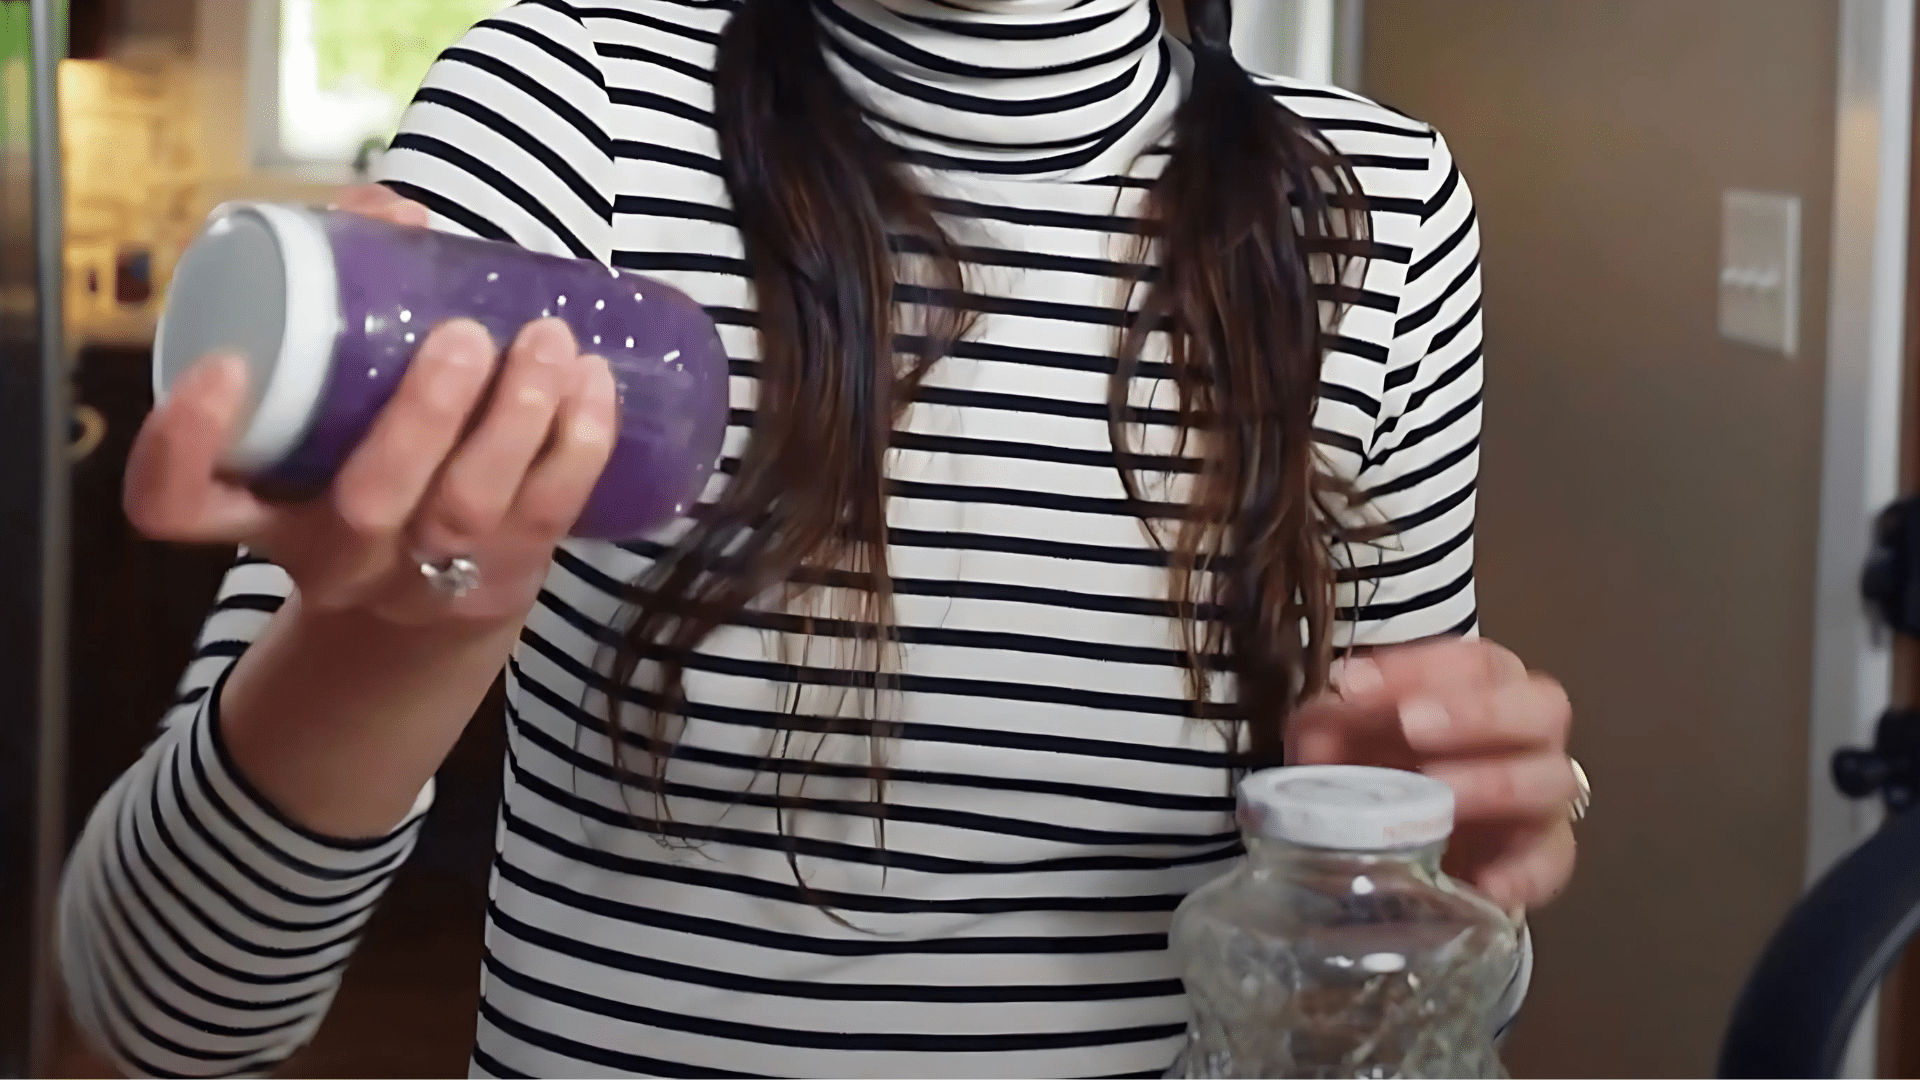
1. Choose Your Jar
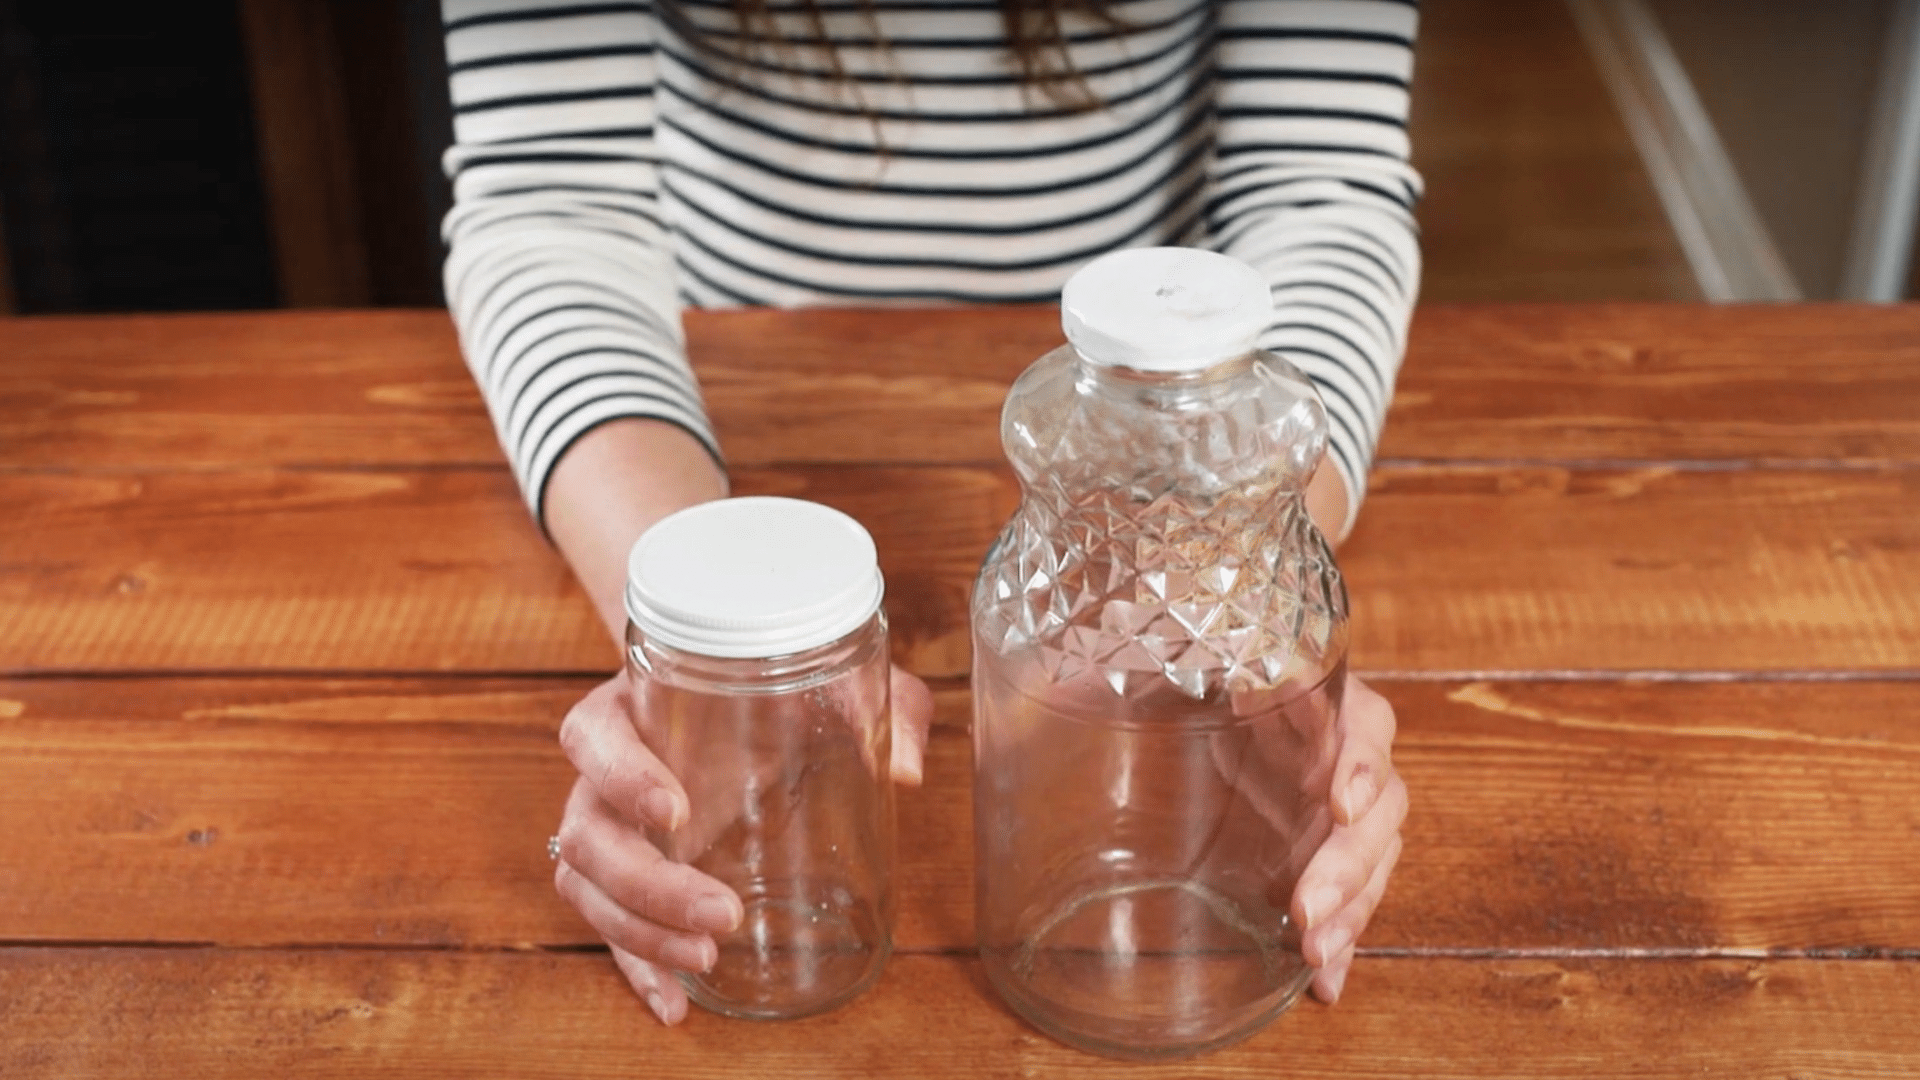
Start with a clean, empty jar from your kitchen. Mason jars work perfectly, but any glass container will do.
Plastic jars are better if children will use them since they won’t break if dropped.
Make sure the lid fits tightly – you don’t want leaks later. Small jars are easier for little hands to hold and shake comfortably.
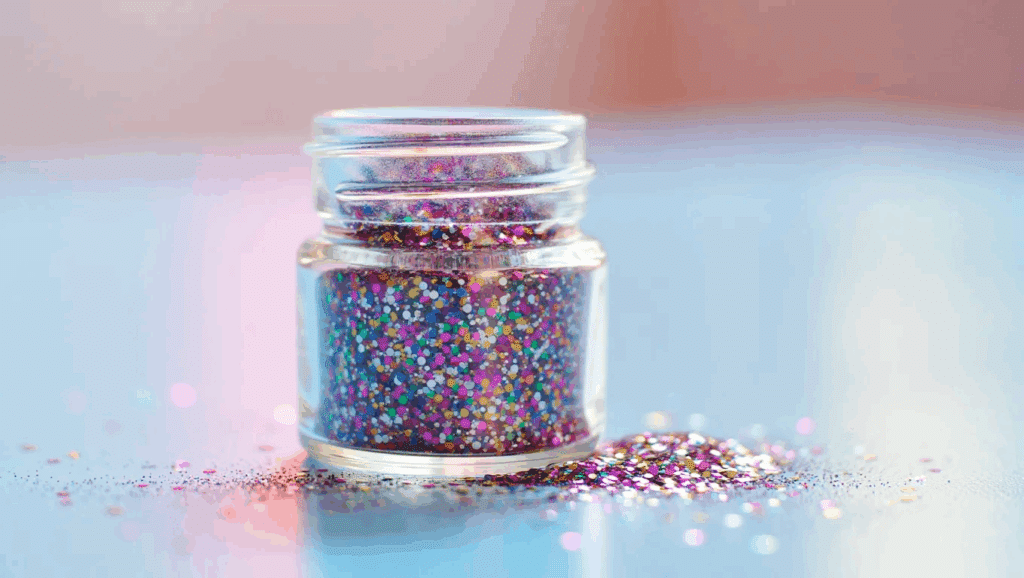
2. Add Glitter
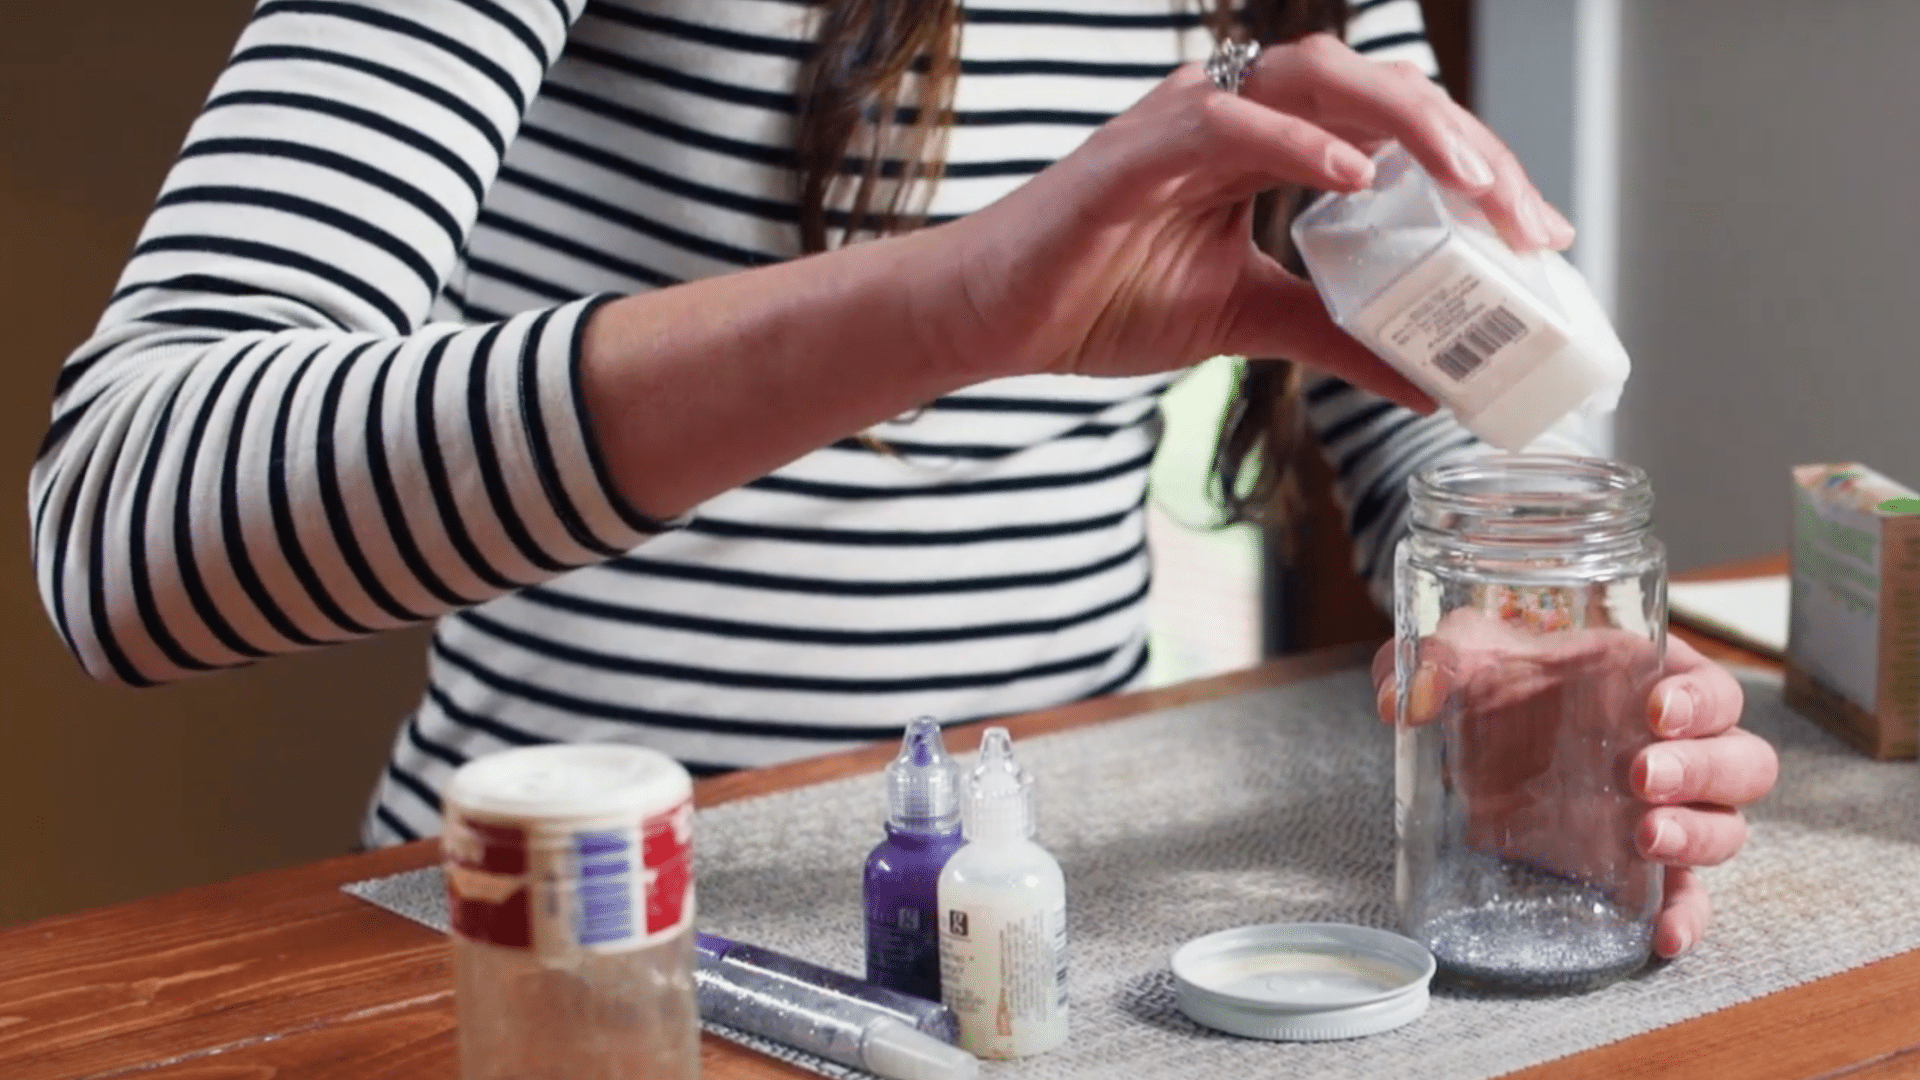
Pour glitter into your empty jar first. Fine glitter creates smooth, flowing movement. Chunky glitter adds texture and catches light differently. Mix colors for a rainbow effect, or stick to one shade for simplicity.
Don’t worry about being exact; more glitter means more sparkle. Stars, hearts, or butterfly shapes make it extra special for kids.
3. Squeeze in Glitter Glue
Add a generous squeeze of glitter glue to slow down the settling process. Clear glue works with any color scheme. Colored glue intensifies the overall look.
The more glue you add, the slower your glitter will fall. This creates a longer calming effect. Experiment with different amounts until you find the perfect speed for your needs.
4. Pour in Warm Water
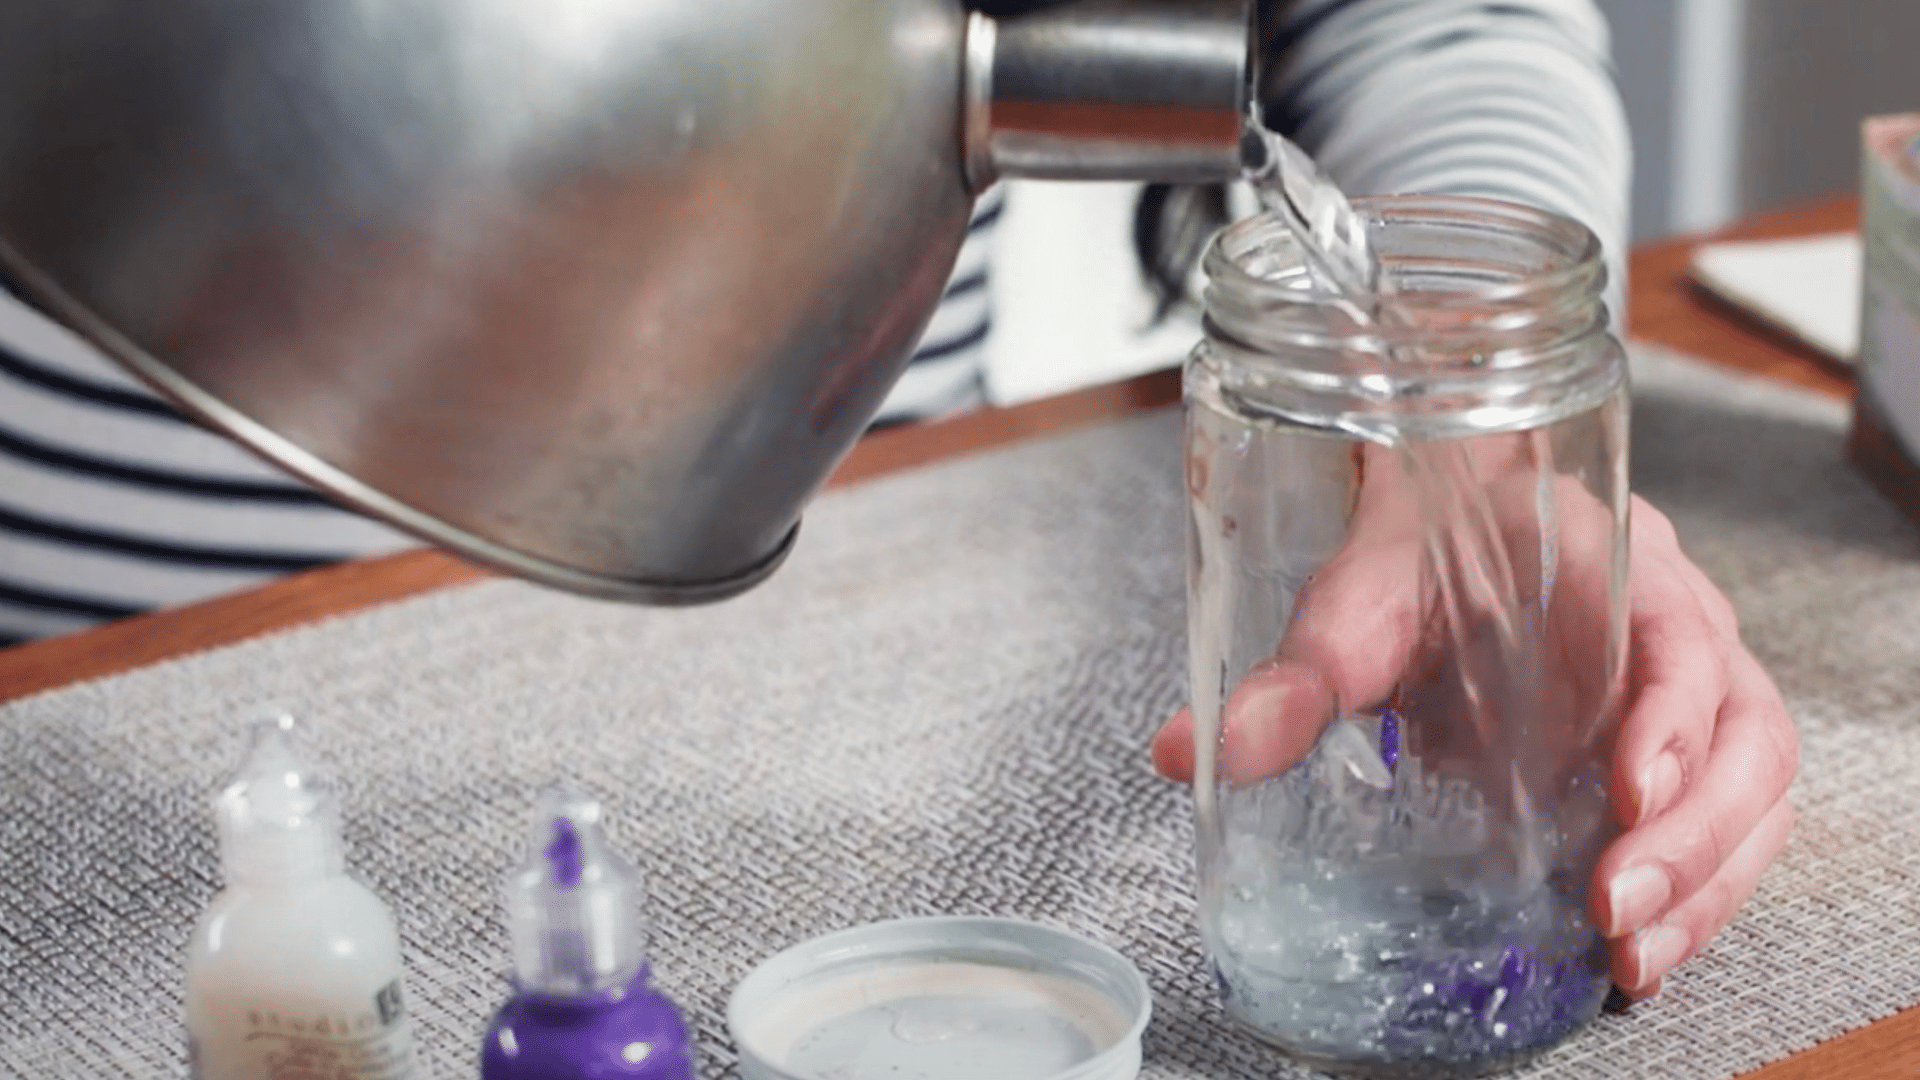
Fill your jar with warm water, leaving about one inch of space at the top. Warm water helps dissolve the glue better than cold water. This space prevents overflow when you shake the jar.
Use distilled water if possible; it stays clearer longer. Tap water works fine too, but may get cloudy over time with regular use.
5. Shake to Dissolve
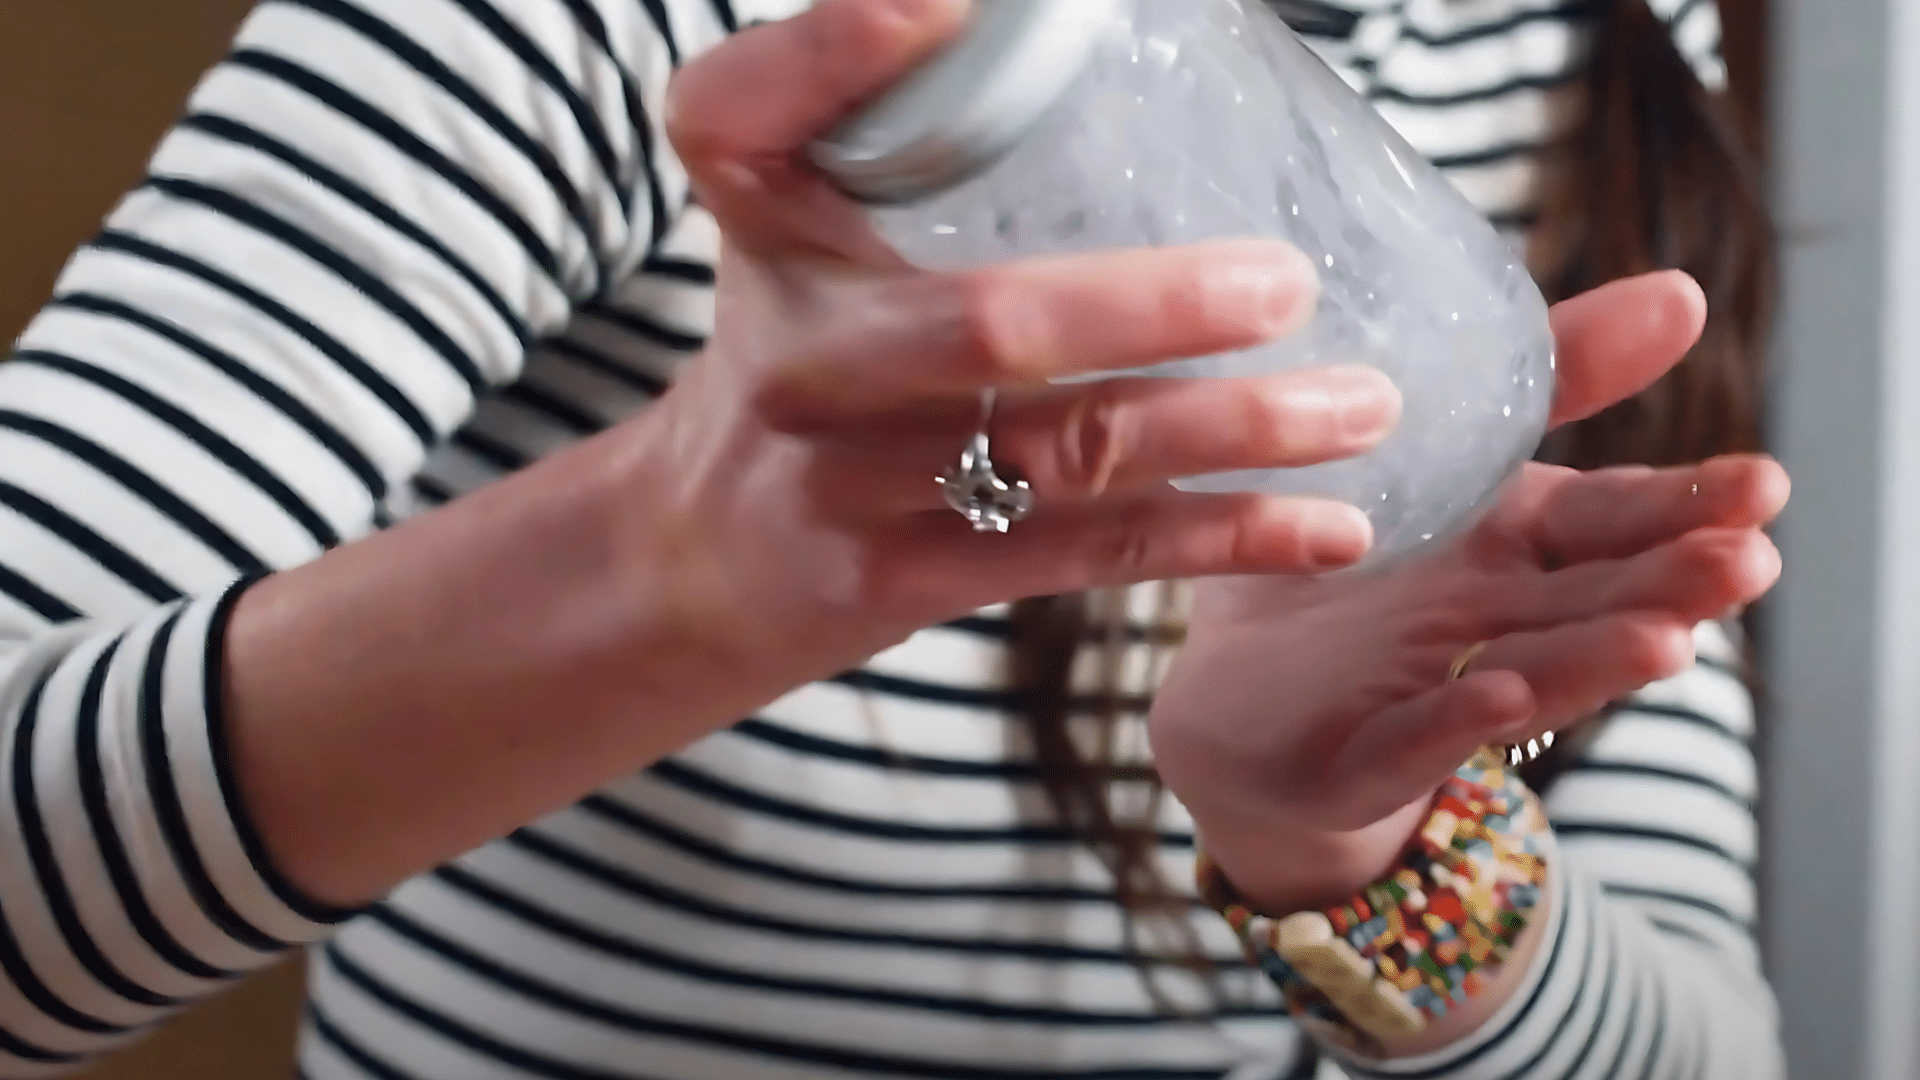
Screw the lid on tightly and shake the jar vigorously. This mixes the glue into the water, creating the thick liquid that slows glitter movement. Keep shaking until no glue clumps remain.
The water should look slightly cloudy and thick. If glue sticks to the bottom, add more warm water and shake again until everything dissolves completely.
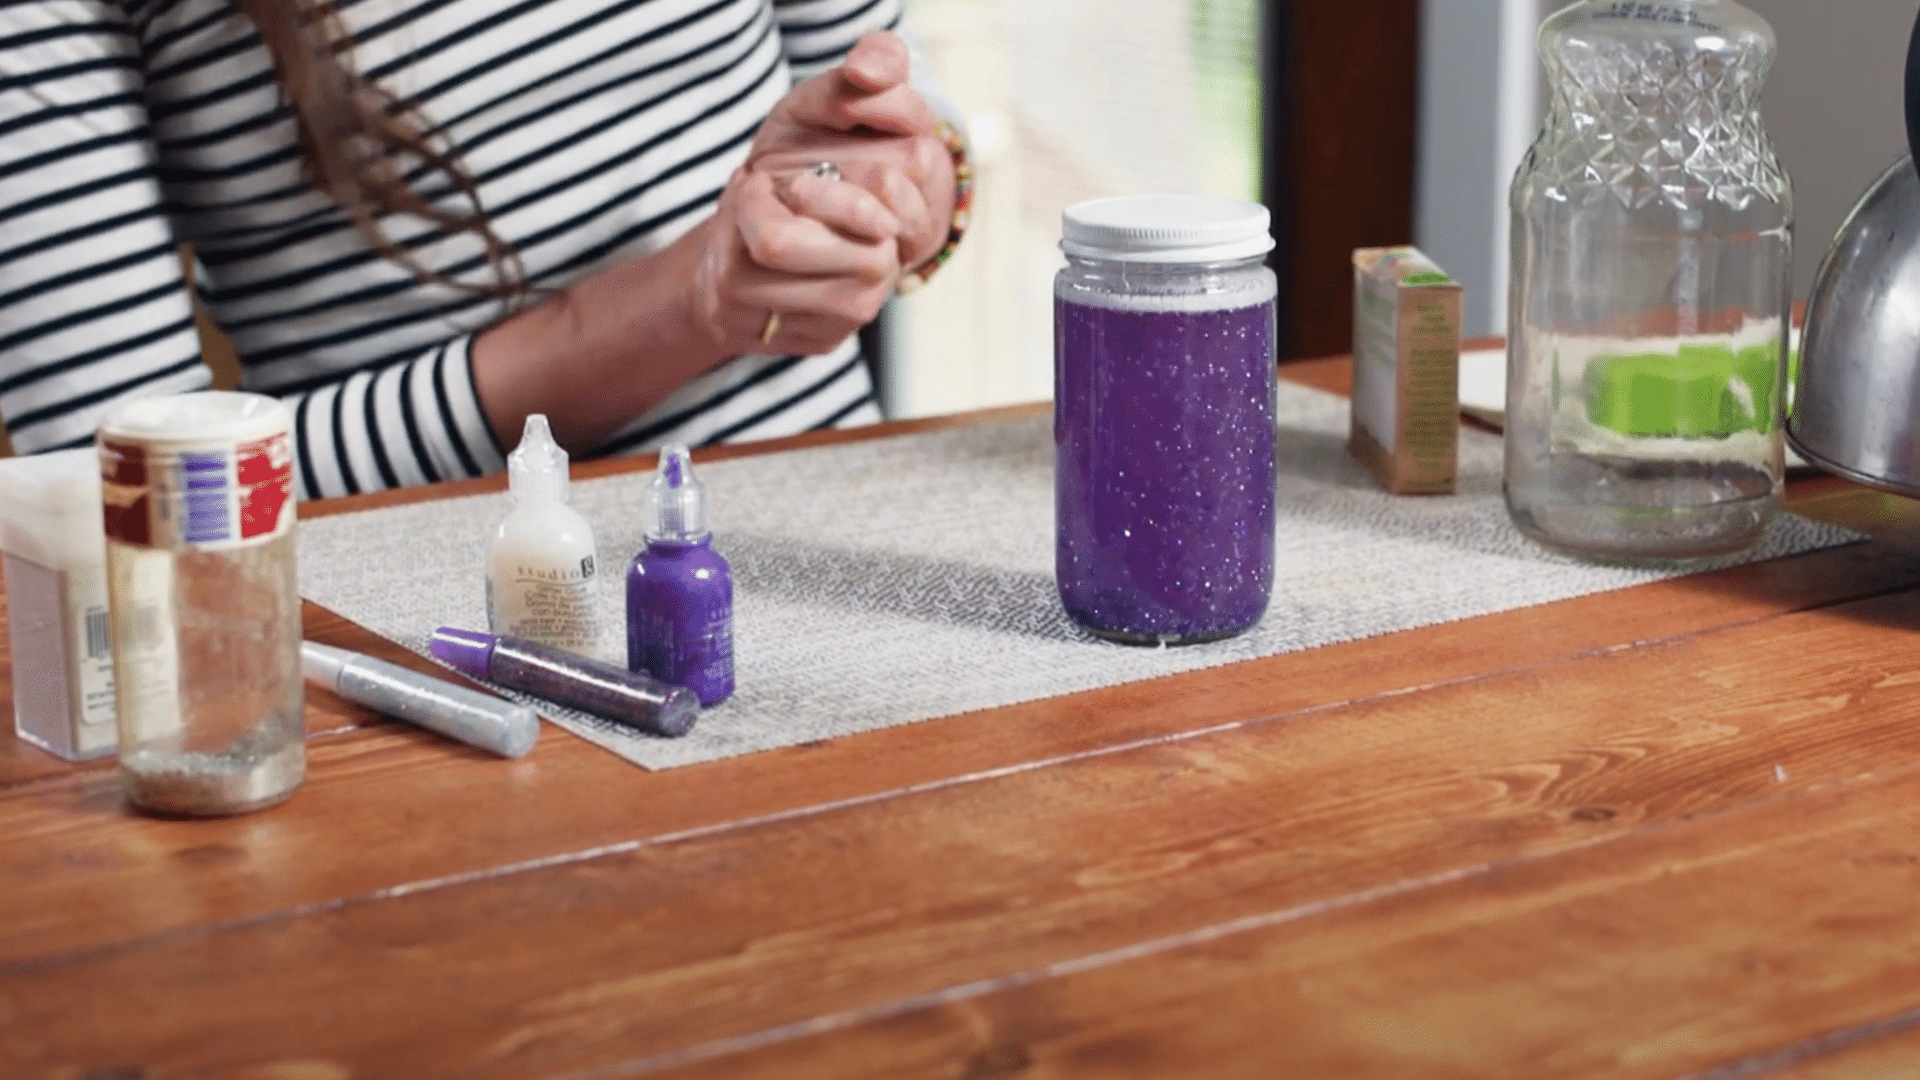
6. Add Food Coloring (Optional)
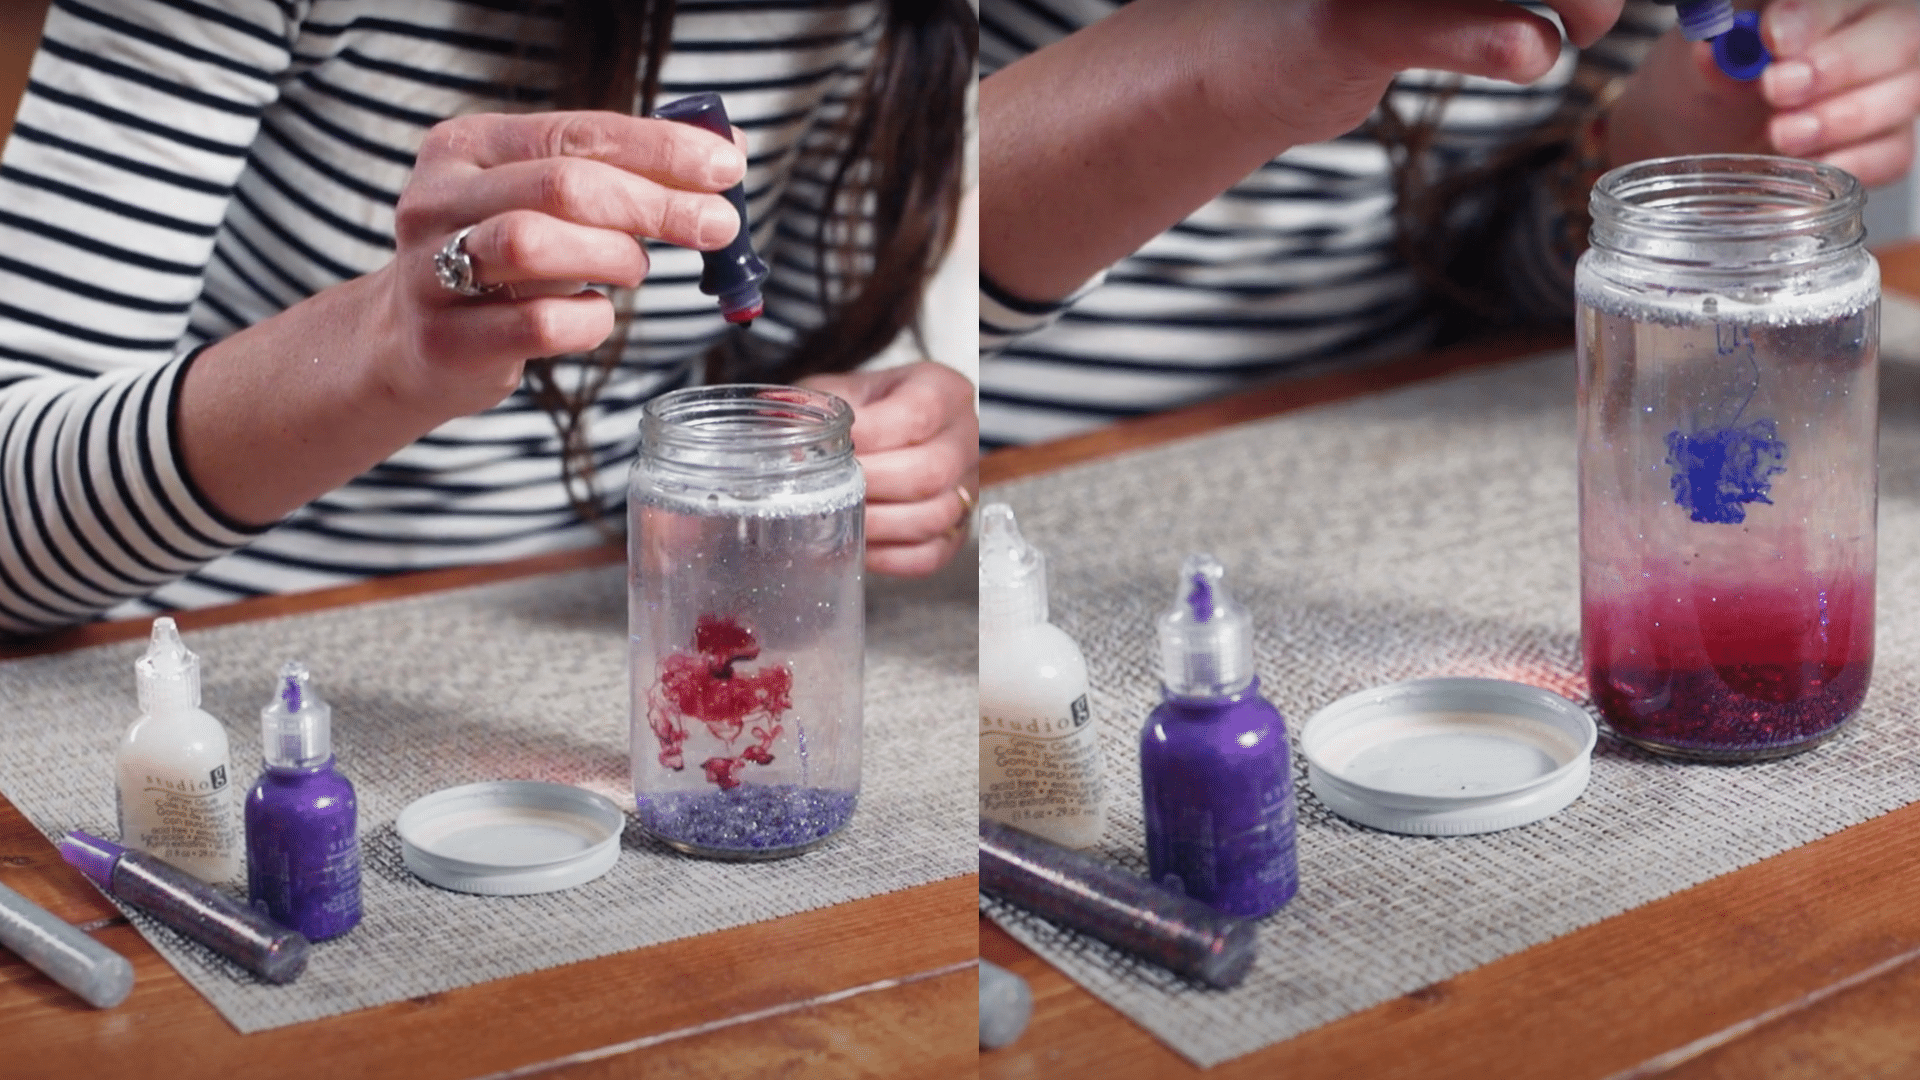
Remove the lid and add a few drops of food coloring if you want deeper colors.
Start with just one or two drops – you can always add more. Red and blue drops create purple.
Yellow and blue make green. Mix colors slowly to avoid making the water too dark. Remember, less is more with food coloring.
7. Shake Again
Put the lid back on and shake the jar once more. Watch as the food coloring blends with the glue mixture, creating beautiful swirls of color.
The glitter will dance through the colored water, creating a mesmerizing effect. This final shake ensures everything is well mixed and ready for use.
The colors should be evenly distributed throughout.
8. Seal the Lid Securely
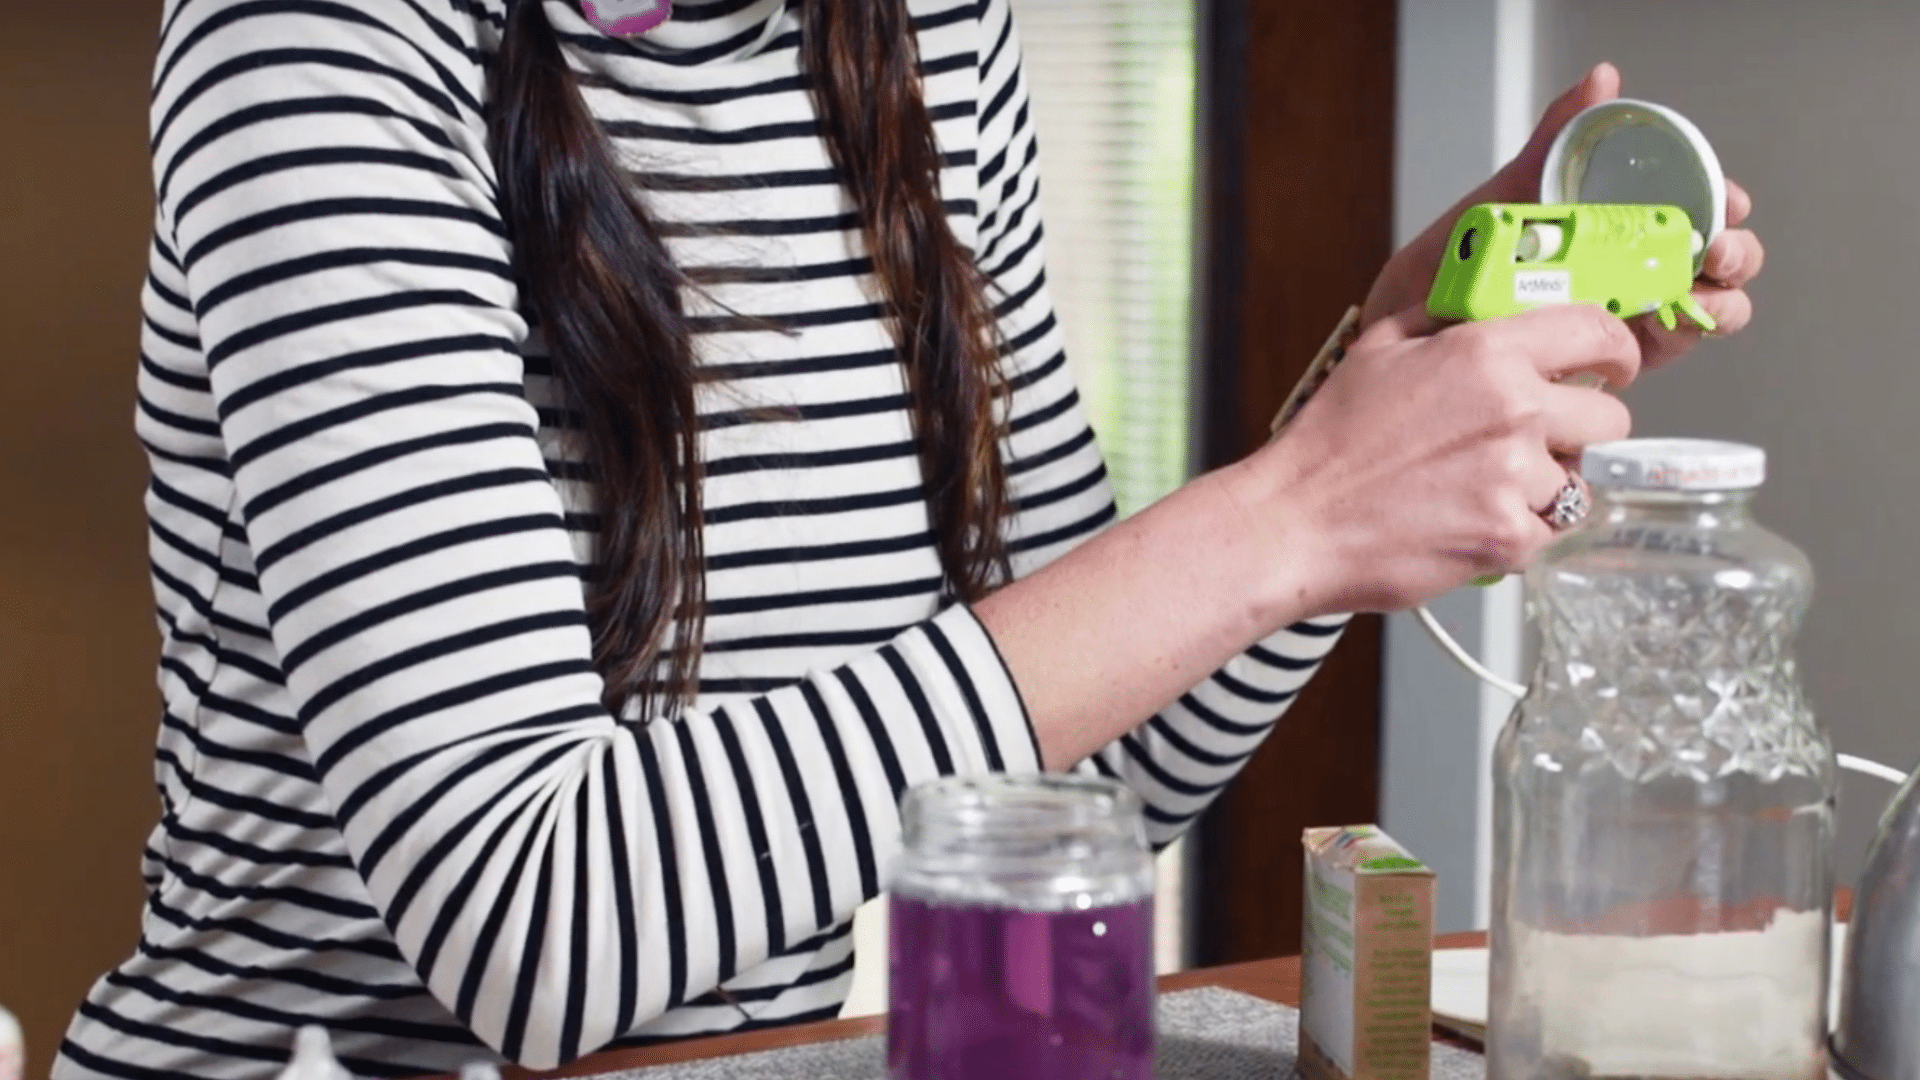
Apply a thin line of strong glue around the jar’s rim before closing the lid permanently. This prevents accidental opening and potential spills.
Let the glue dry completely before using the jar. Some people use tape as an extra seal. This step is especially important if children will be using the glitter jar regularly or unsupervised.
9. Shake, Watch, and Breathe
Your glitter jar is ready to use. Shake it gently and watch the glitter swirl and settle slowly. Focus on the movement and take deep breaths.
Use it during stressful moments, before bedtime, or anytime you need to center yourself.
The slow-moving sparkles naturally calm the mind and help reduce anxiety and overwhelming feelings.
Mindfulness Activities with Glitter Jars
Glitter jars offer a simple, engaging way to practice mindfulness. These calming tools help regulate emotions, encourage positive thinking, and create peaceful routines for both children and adults.
1. Guided Breathing: “Breathe Until the Glitter Settles”
This simple technique helps regulate breathing naturally. Shake the jar and breathe slowly while watching glitter fall. Each breath becomes deeper and more controlled as the sparkles settle, creating a perfect timer for calming exercises.
2. Affirmation Practice While Watching the Glitter Swirl
Hold the jar and repeat positive statements like “I am calm” or “I can handle this.” The swirling glitter reinforces each affirmation, making the words feel more powerful and meaningful during stressful moments.
3. Time-Out Tool for Emotional Regulation (Great for Kids)
When children feel overwhelmed, hand them the glitter jar instead of sending them to their room. They shake it and watch until they feel ready to talk about their feelings calmly.
4. Gratitude Reflection During Settling Time
Users think of three things they’re grateful for while the glitter slowly falls. This practice shifts focus from problems to positive aspects of life, promoting emotional balance and contentment.
5. Bedtime Wind-Down Routine
Parents and children shake the jar together before sleep. Watching the gentle movement helps transition from an active day to a peaceful rest, making bedtime routines smoother and more relaxing.
Troubleshooting Your Glitter Jar
When making a glitter jar, you might notice the glitter sticking together in clumps instead of swirling smoothly. This usually means the mixture is too thick, often due to too much glue.
Luckily, it’s easy to fix and prevent for next time, just adjust the water and glue balance for a sparkling, calming effect.
Glitter Clumping?
- Add more warm water and shake to break up clumps.
- Next time, use less glue for smoother movement.
Glitter Settles Too Fast?
- Add more glue or a teaspoon of glycerin to thicken the liquid.
- This slows the glitter for a longer, calming effect.
Glitter Floats on Top?
- Switch to heavier glitter types like glass glitter or metal flakes.
- Lightweight glitter tends to stay at the surface.
Water Looks Cloudy?
- Use distilled water instead of tap water for clear results.
- Minerals in tap water cause murkiness over time.
To Conclude
Making a glitter jar takes just minutes, but the calm it brings lasts much longer. This simple craft proves that powerful stress relief doesn’t need to be complicated or expensive.
A few household items create a tool that helps both children and adults find peace during overwhelming moments.
Consider making one for yourself or creating several as thoughtful gifts for teachers, friends, or family members.
Each jar becomes a personal calm-down kit, ready whenever life feels too hectic. The sparkles settle, breathing slows, and minds find the quiet space they need to reset and refocus.