Everyone’s talking about side hustles these days, and furniture flipping has become the go-to choice for creative minds.
People are scouring garage sales and thrift stores, then transforming worn-out pieces into profit, making treasures. Most beginners make costly mistakes that eat into their earnings.
This post promises to show exactly how to flip furniture the right way. Readers will learn the essential steps, from finding the best pieces to pricing for maximum profit.
By the end, they’ll have a clear roadmap to turn this creative hobby into a reliable income stream.
What is Furniture Flipping Really About?
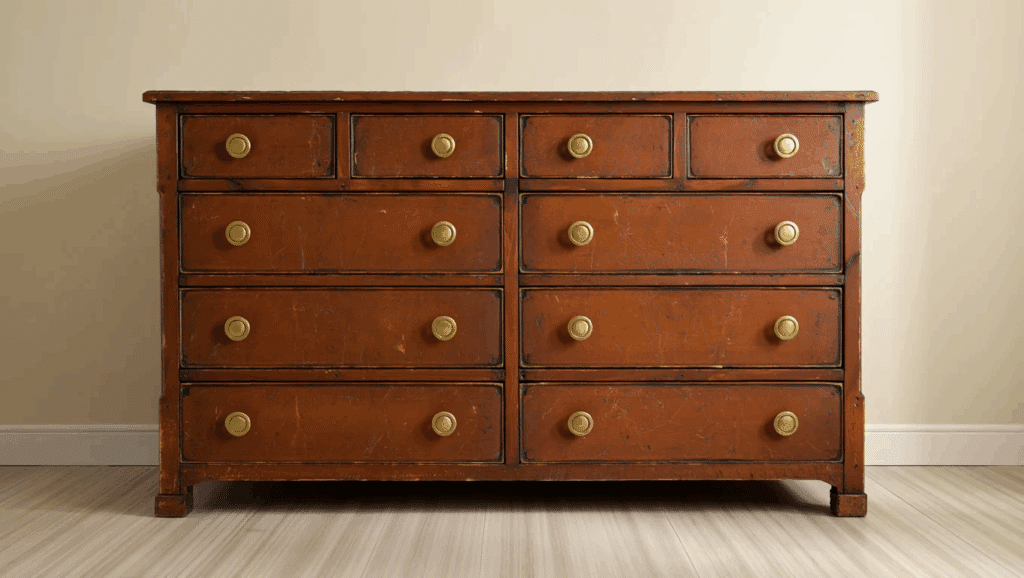
Furniture flipping is the art of buying old or worn furniture pieces and fixing them up for resale. It’s that simple.
People buy a tired dresser for $20, give it new paint and hardware, then sell it for $120. This hobby attracts different types of people. Beginners love it because the startup costs are low.
Creative folks enjoy the hands-on work and design freedom. Side hustlers see it as extra income potential, while eco-conscious individuals appreciate giving furniture a second life instead of sending it to landfills.
The goals vary, too. Some flip for profit and financial freedom. Others focus on sustainability and reducing waste through upcycling.
Materials and Tools You Need to Flip Furniture
| Category | Must-Haves | Nice-to-Haves |
| Physical Tools | Screwdriver (multi-head), Sandpaper (180–240 grit), Paint applicators, Tape | Electric sander, Glue syringe, Mallet, Clamps, Paint roller, Sanding block |
| Materials | Quality paint, Primer or chalk-based paint, Wood filler, Top coat, Degreaser | Patterned tissue paper, Metallic spray paint, Good Bones Paint, Wood glue |
| Protective Gear | Respirator | Gloves, Old rag, Safety glasses |
| Cleaning Supplies | Vinegar-water solution, Vacuum, Cleaning cloth | Degreasing agents, Household cleaners |
| Digital Tools | Facebook Marketplace app, Resale platforms (for listing), Measuring apps | Design apps for mockups |
Step-by-Step on How to Flip Furniture
Ready to put all this knowledge into action? This section breaks down the entire flipping process from start to finish. Follow these steps, and that first successful flip will happen faster than expected.
1. Finding the Right Piece
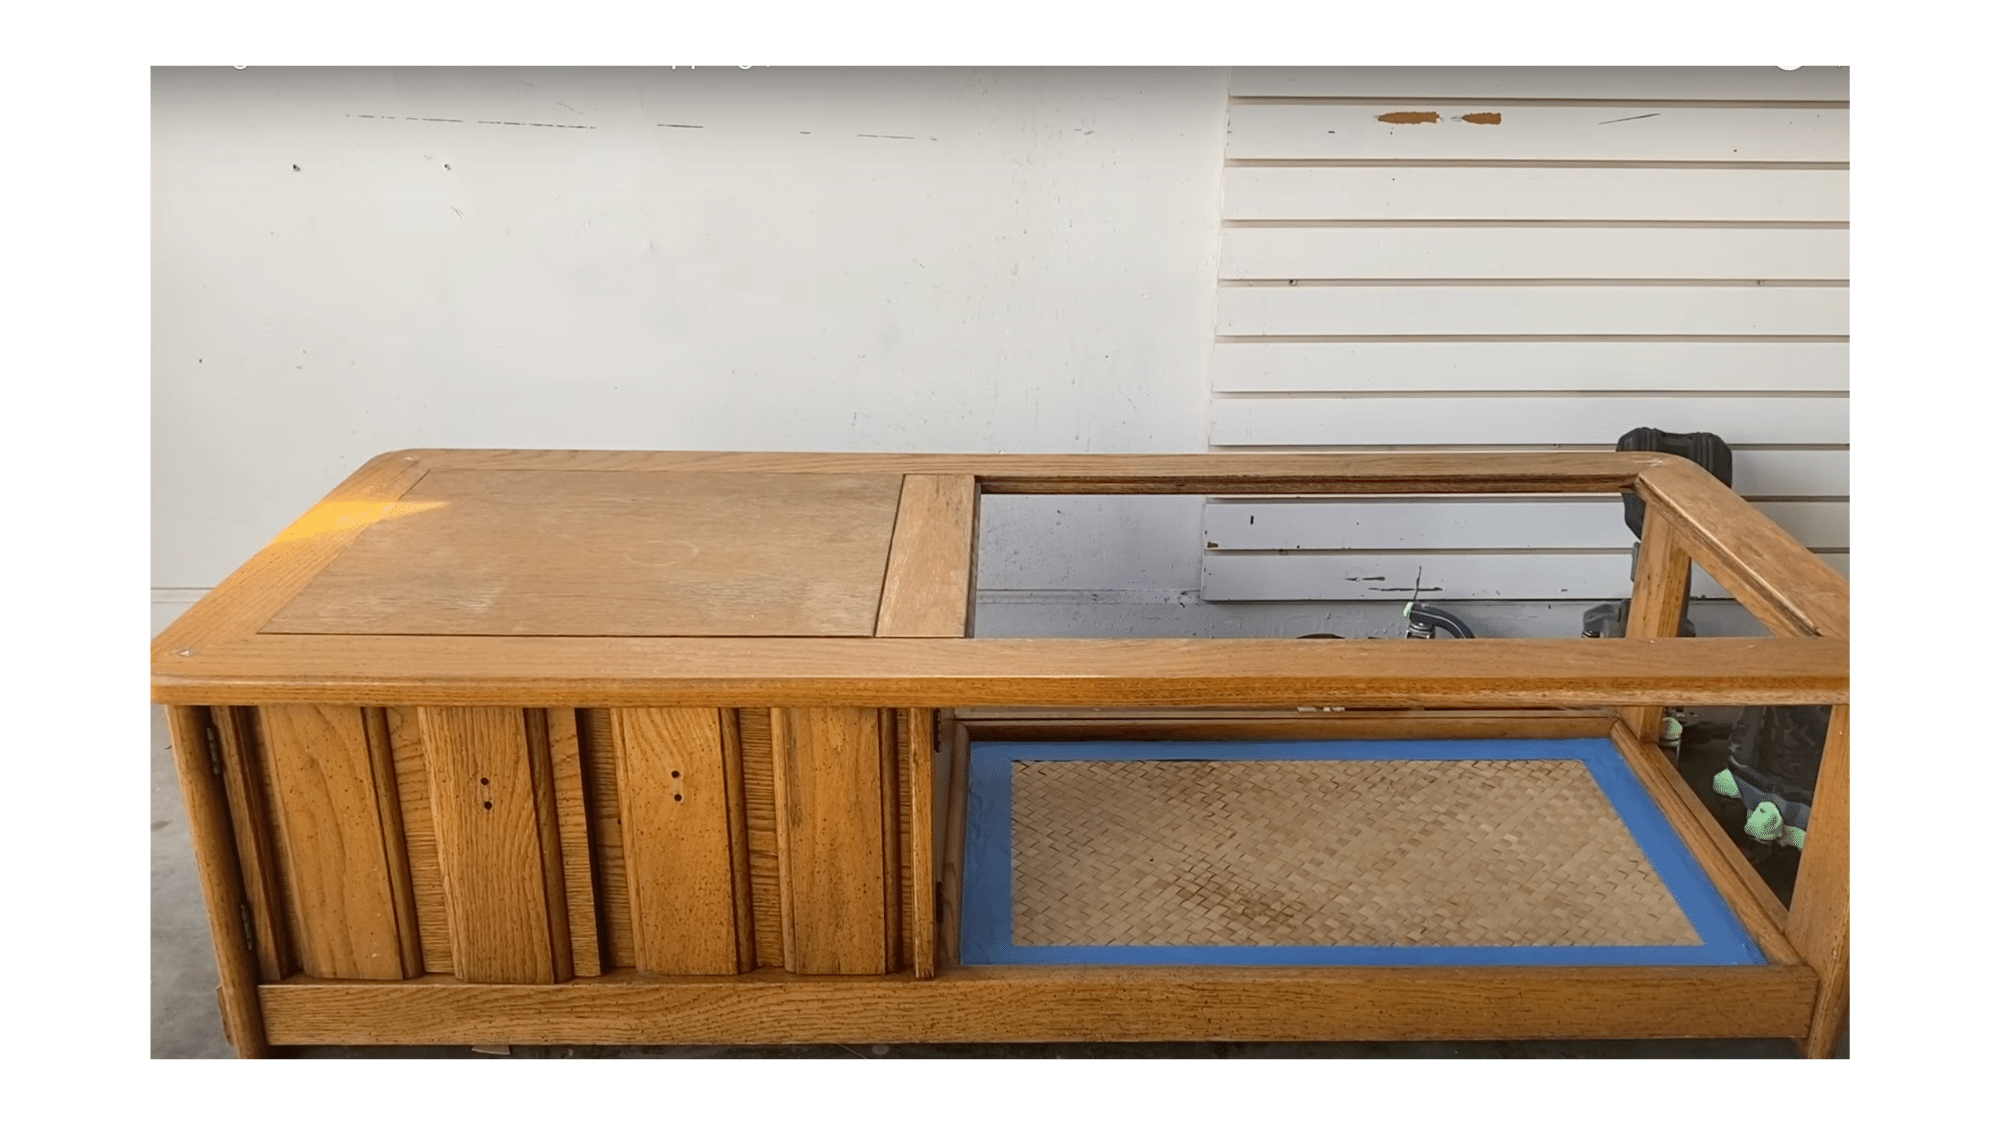
Many beginners have success browsing thrift stores, but online platforms like Facebook Marketplace often offer better prices and more variety. You can also explore platforms like Swoopa, which makes finding affordable pieces even easier for beginners.
The journey of flipping furniture begins with selecting the right piece to work on. Many beginners have success browsing thrift stores, but online platforms like Facebook Marketplace often offer better prices and more variety.
For those unsure about diving into a full renovation, using an existing piece from home can be a low-pressure starting point. The key is to find a structure that’s solid, even if the exterior looks worn.
2. Evaluating Condition and Potential
Before investing time and materials, it’s important to thoroughly assess the furniture’s condition.
Flippers should examine every surface, drawer, joint, and corner to ensure there are no major structural damages that would require advanced repair skills.
While cosmetic flaws like scratches or faded finishes are fine, issues like deep cracks or water damage might not be worth the trouble for a beginner.
The goal is to choose a piece that can be transformed with manageable fixes.
3. Cleaning and Prep Work
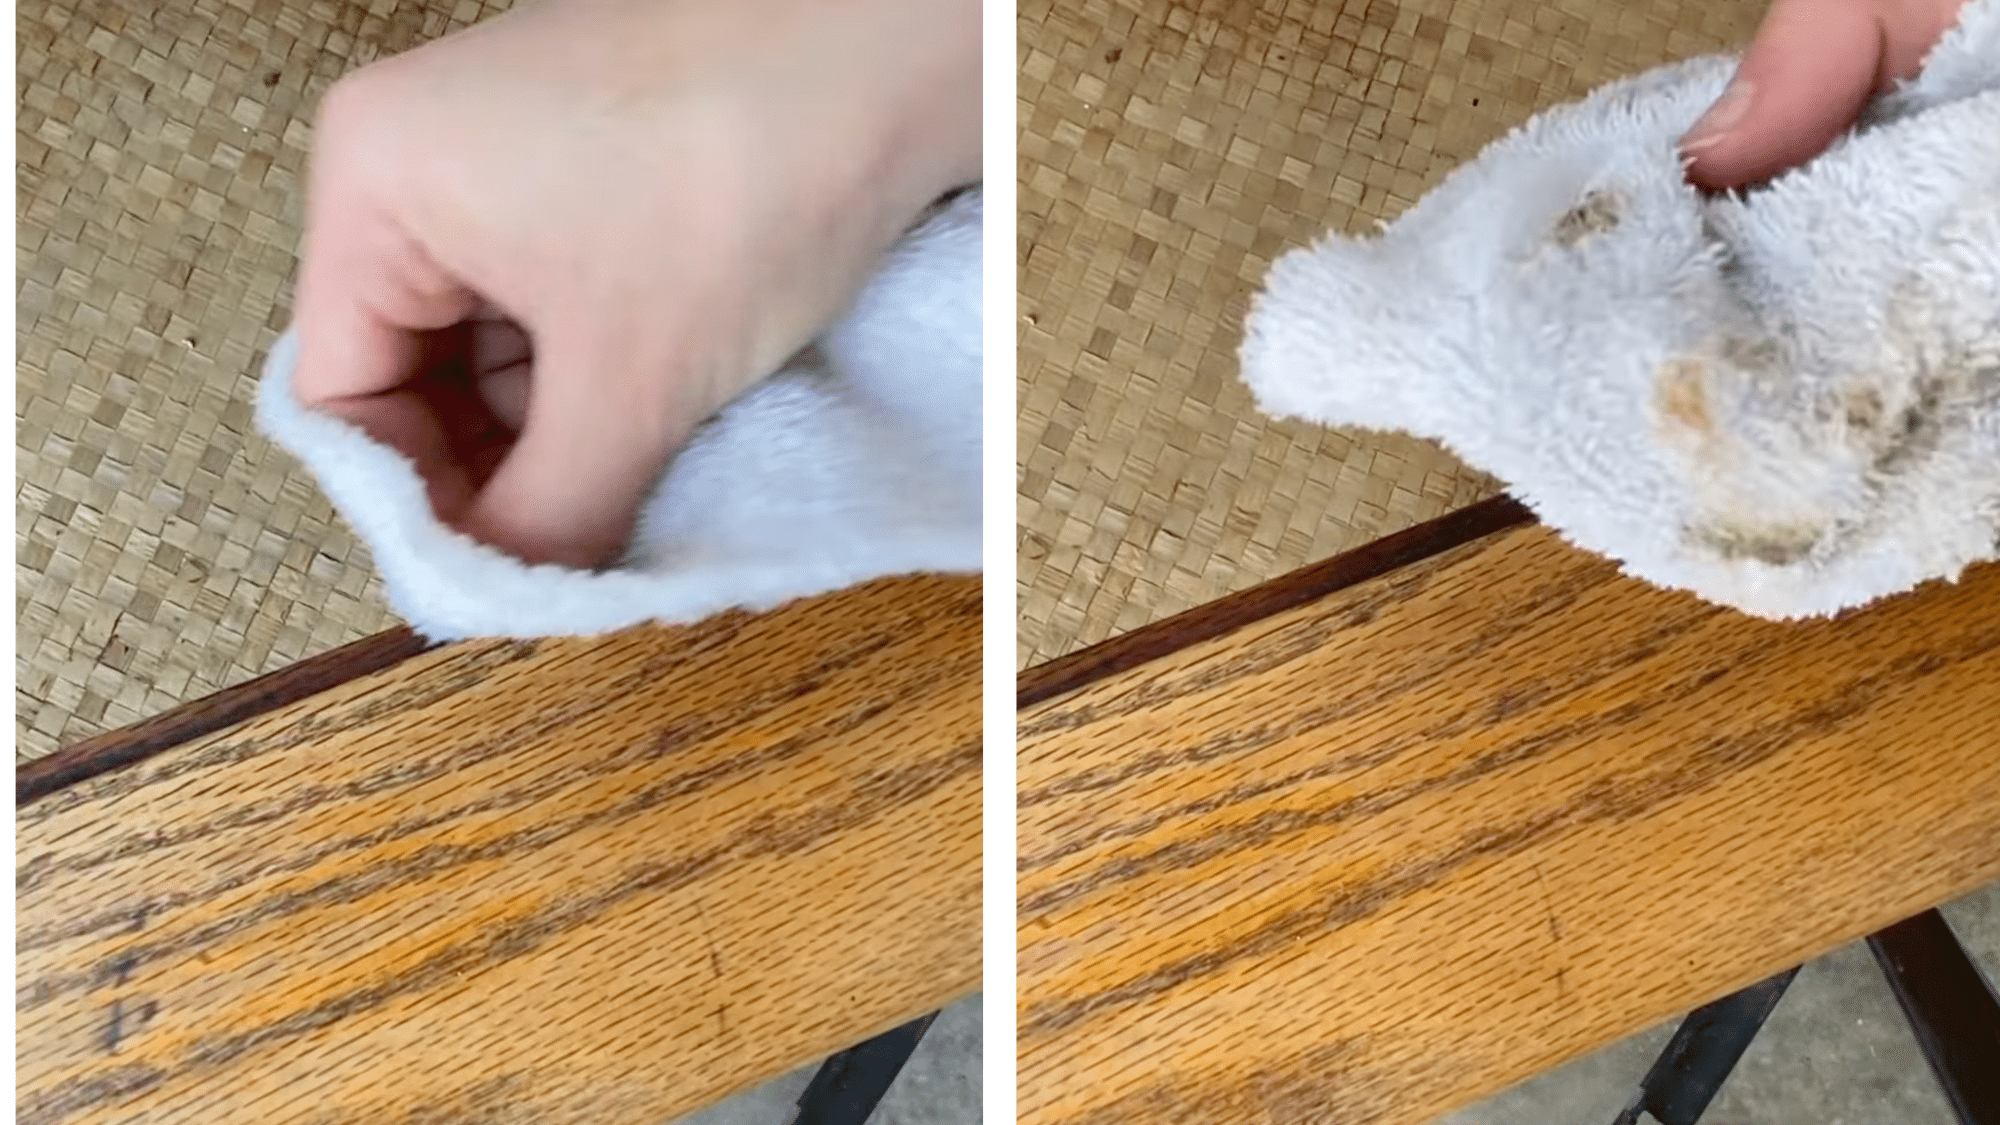
A clean surface is critical for achieving a lasting finish. Every part of the furniture should be wiped down using a degreaser or a homemade vinegar-water mix to remove dirt, grime, and oils that may interfere with paint adhesion.
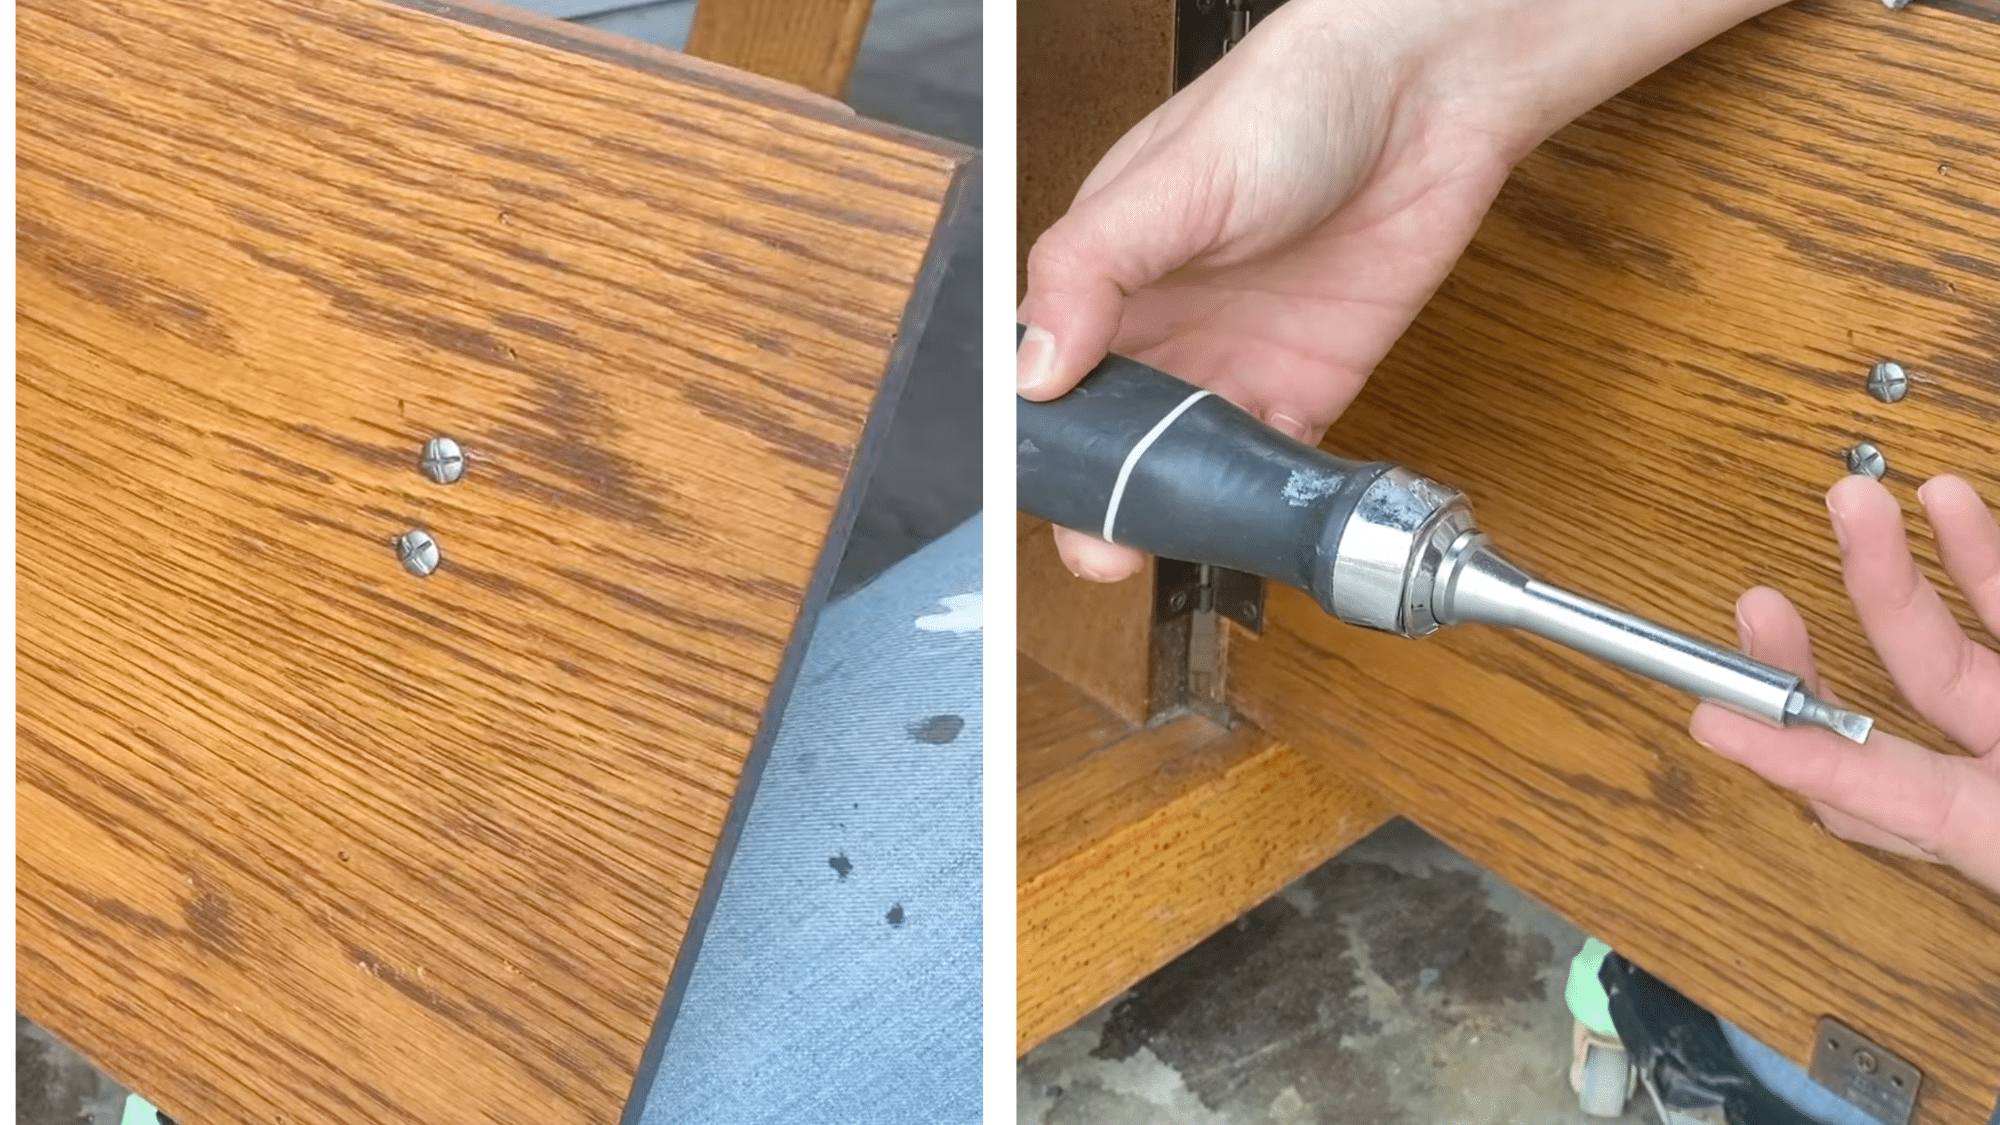
Hardware should be unscrewed and set aside to simplify the cleaning and painting process. This stage also provides a good opportunity to identify hidden imperfections like gouges or loose panels.
4. Making Minor Repairs
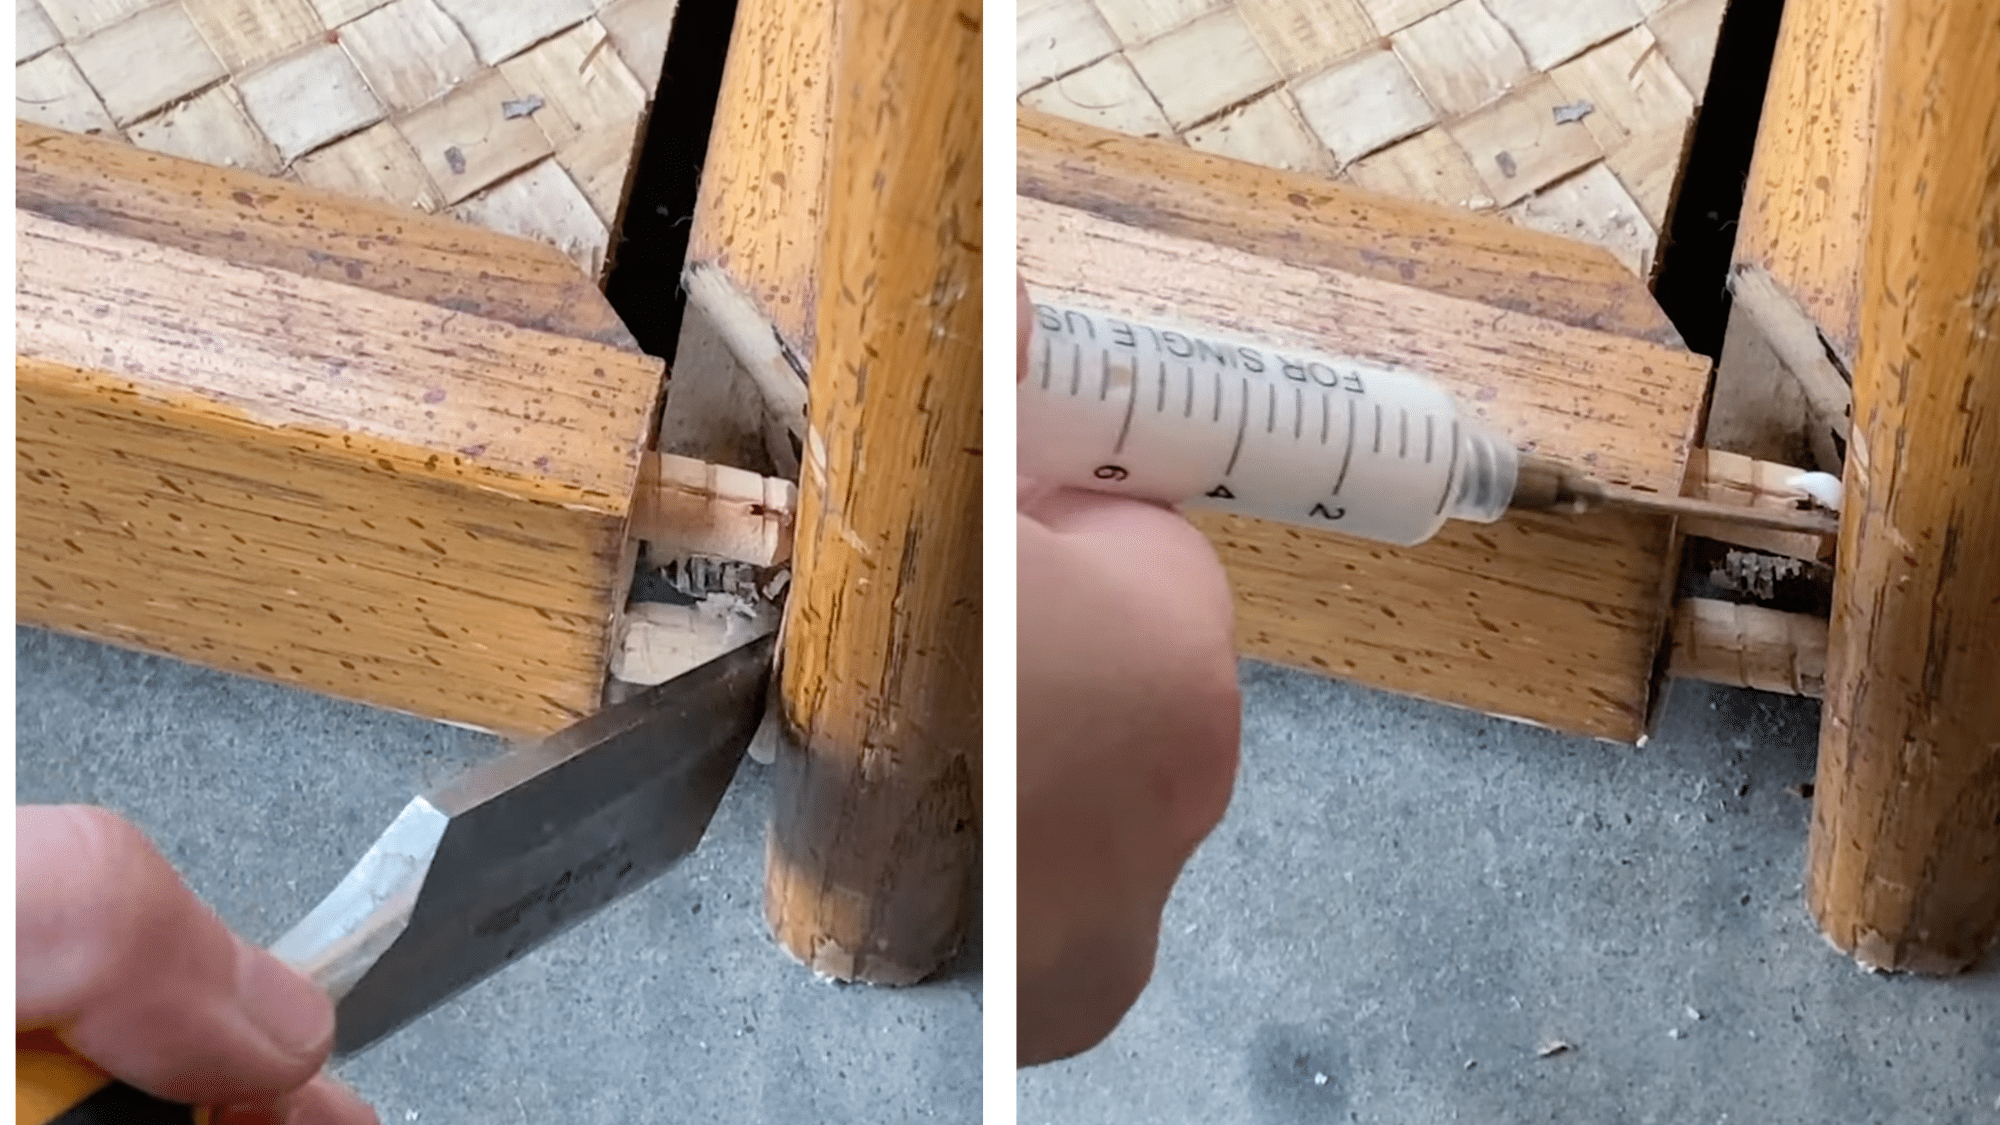
Once the piece is clean, it’s time to address any minor repairs. Loose joints can be fixed using wood glue, and missing or damaged veneer may need to be removed and replaced.
Flippers often use wood filler to patch dents, screw holes, or uneven surfaces. Clamps, glue syringes, and mallets can help realign and secure loose elements until they dry.
5. Sanding the Surface
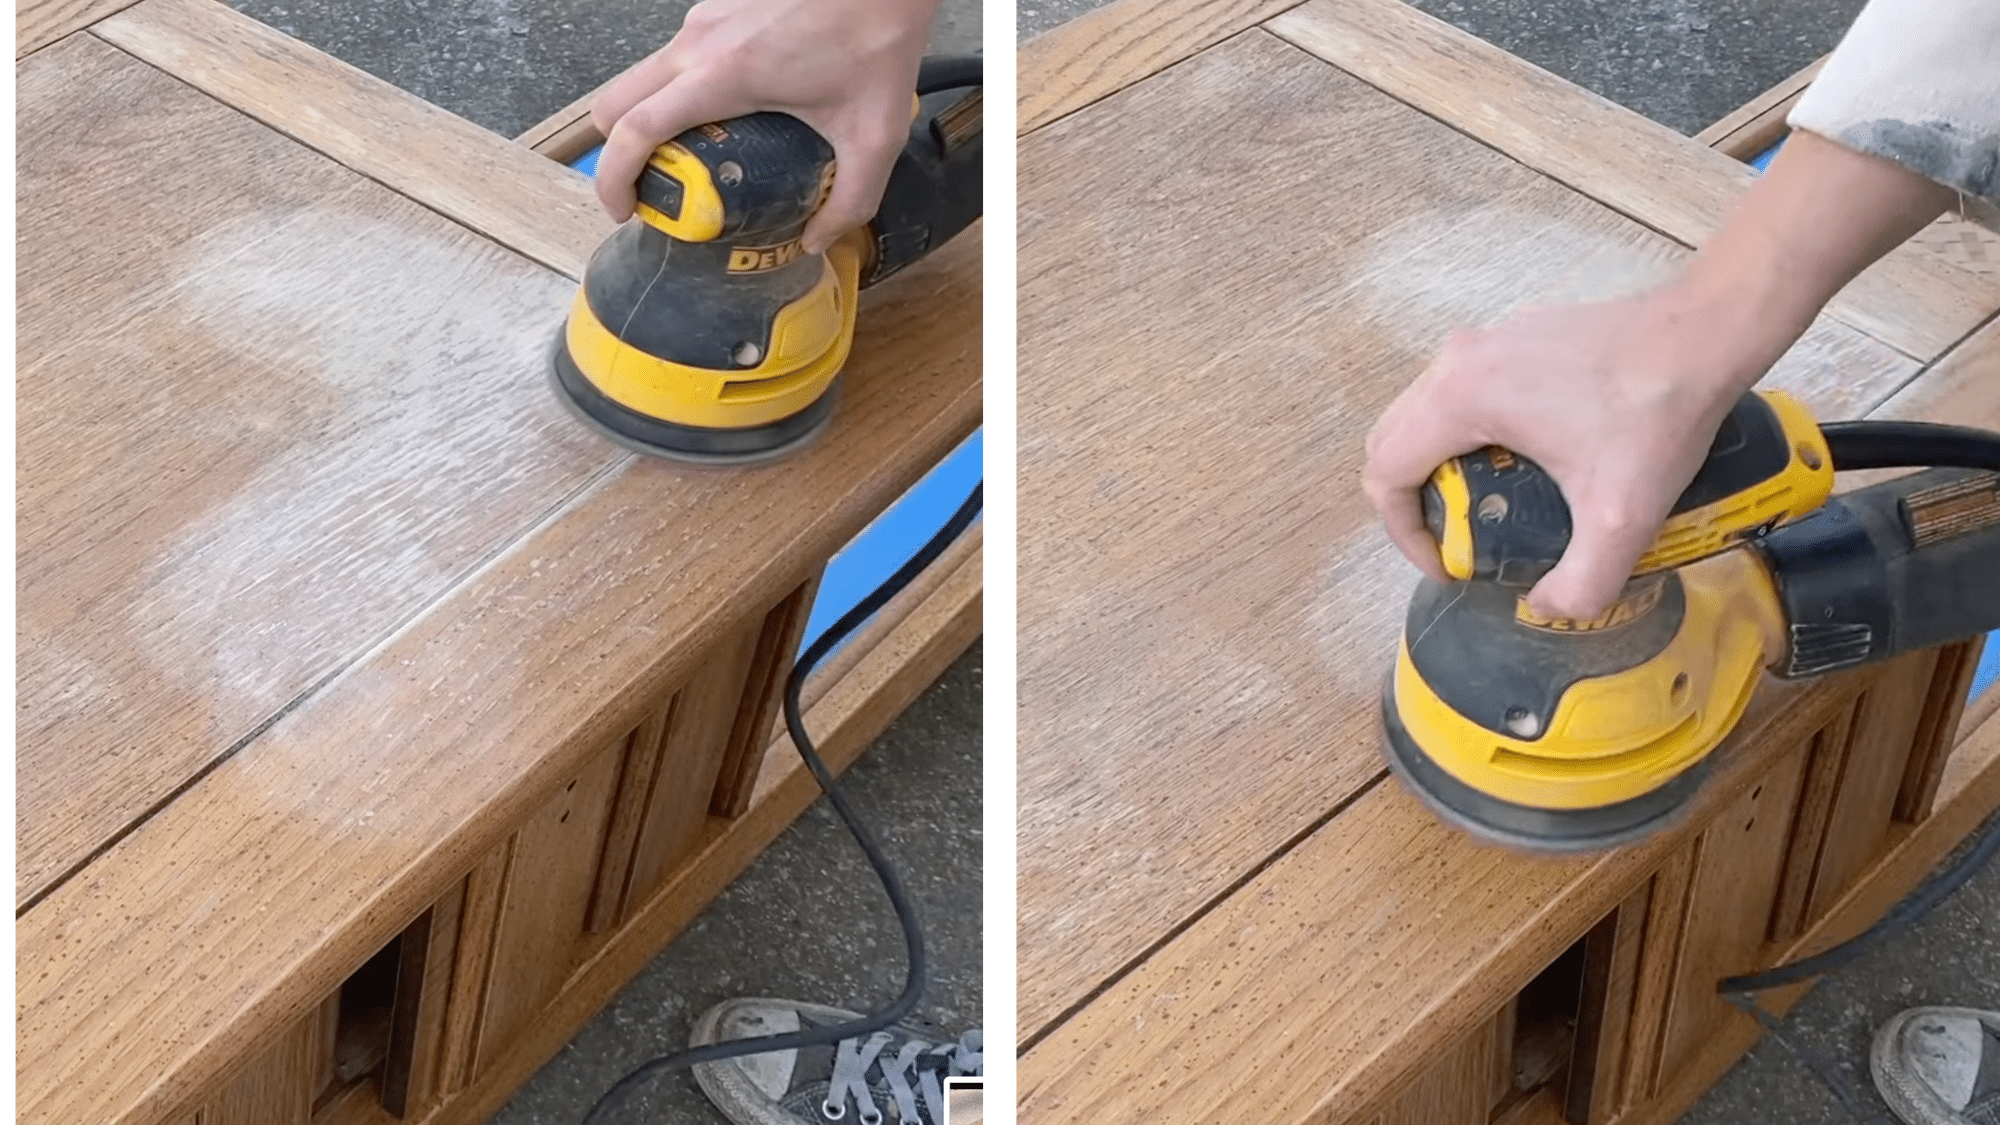
Sanding prepares the surface to receive paint or stain by removing gloss and creating a texture for better adherence. A 240-grit sandpaper is ideal for scuff sanding—enough to dull the finish without stripping the wood.
While electric sanders speed up the process, hand sanding works just as well for smaller projects. After sanding, it’s crucial to remove all dust using a vacuum and a clean cloth.
6. Painting, Staining, or Reupholstering
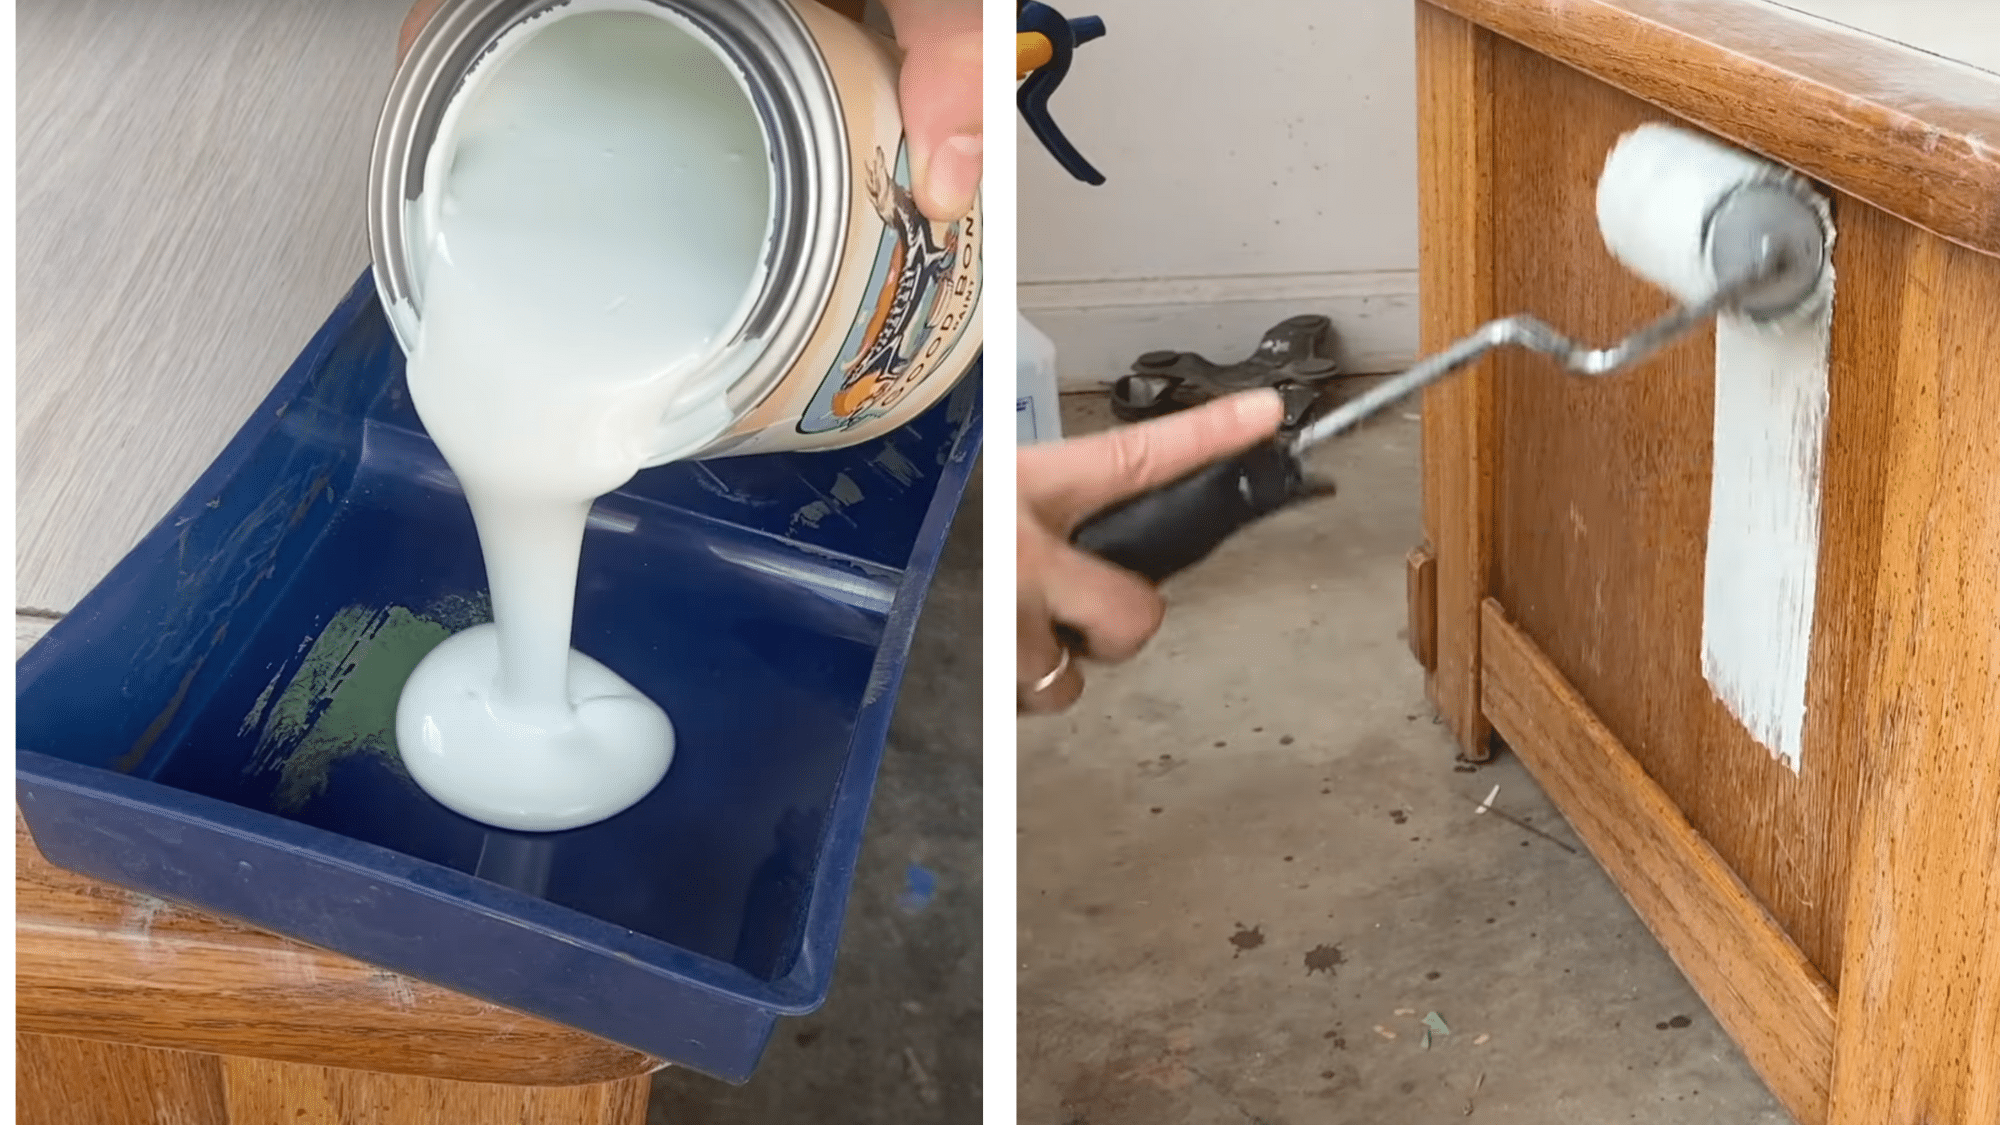
With the surface prepped, the piece is ready for a new look. Beginners might choose chalk-based paint for its ease of use and minimal prep requirements.
Some prefer a wash technique, mixing paint with water to create a translucent effect that highlights the wood grain.
A roller works best for broad surfaces, while a small brush is perfect for detailed edges.
Pro Tip: Store leftover paint or custom mixes in sealed containers for touch-ups or future flips, and label them with the ratio used.
7. Adding Final Touches
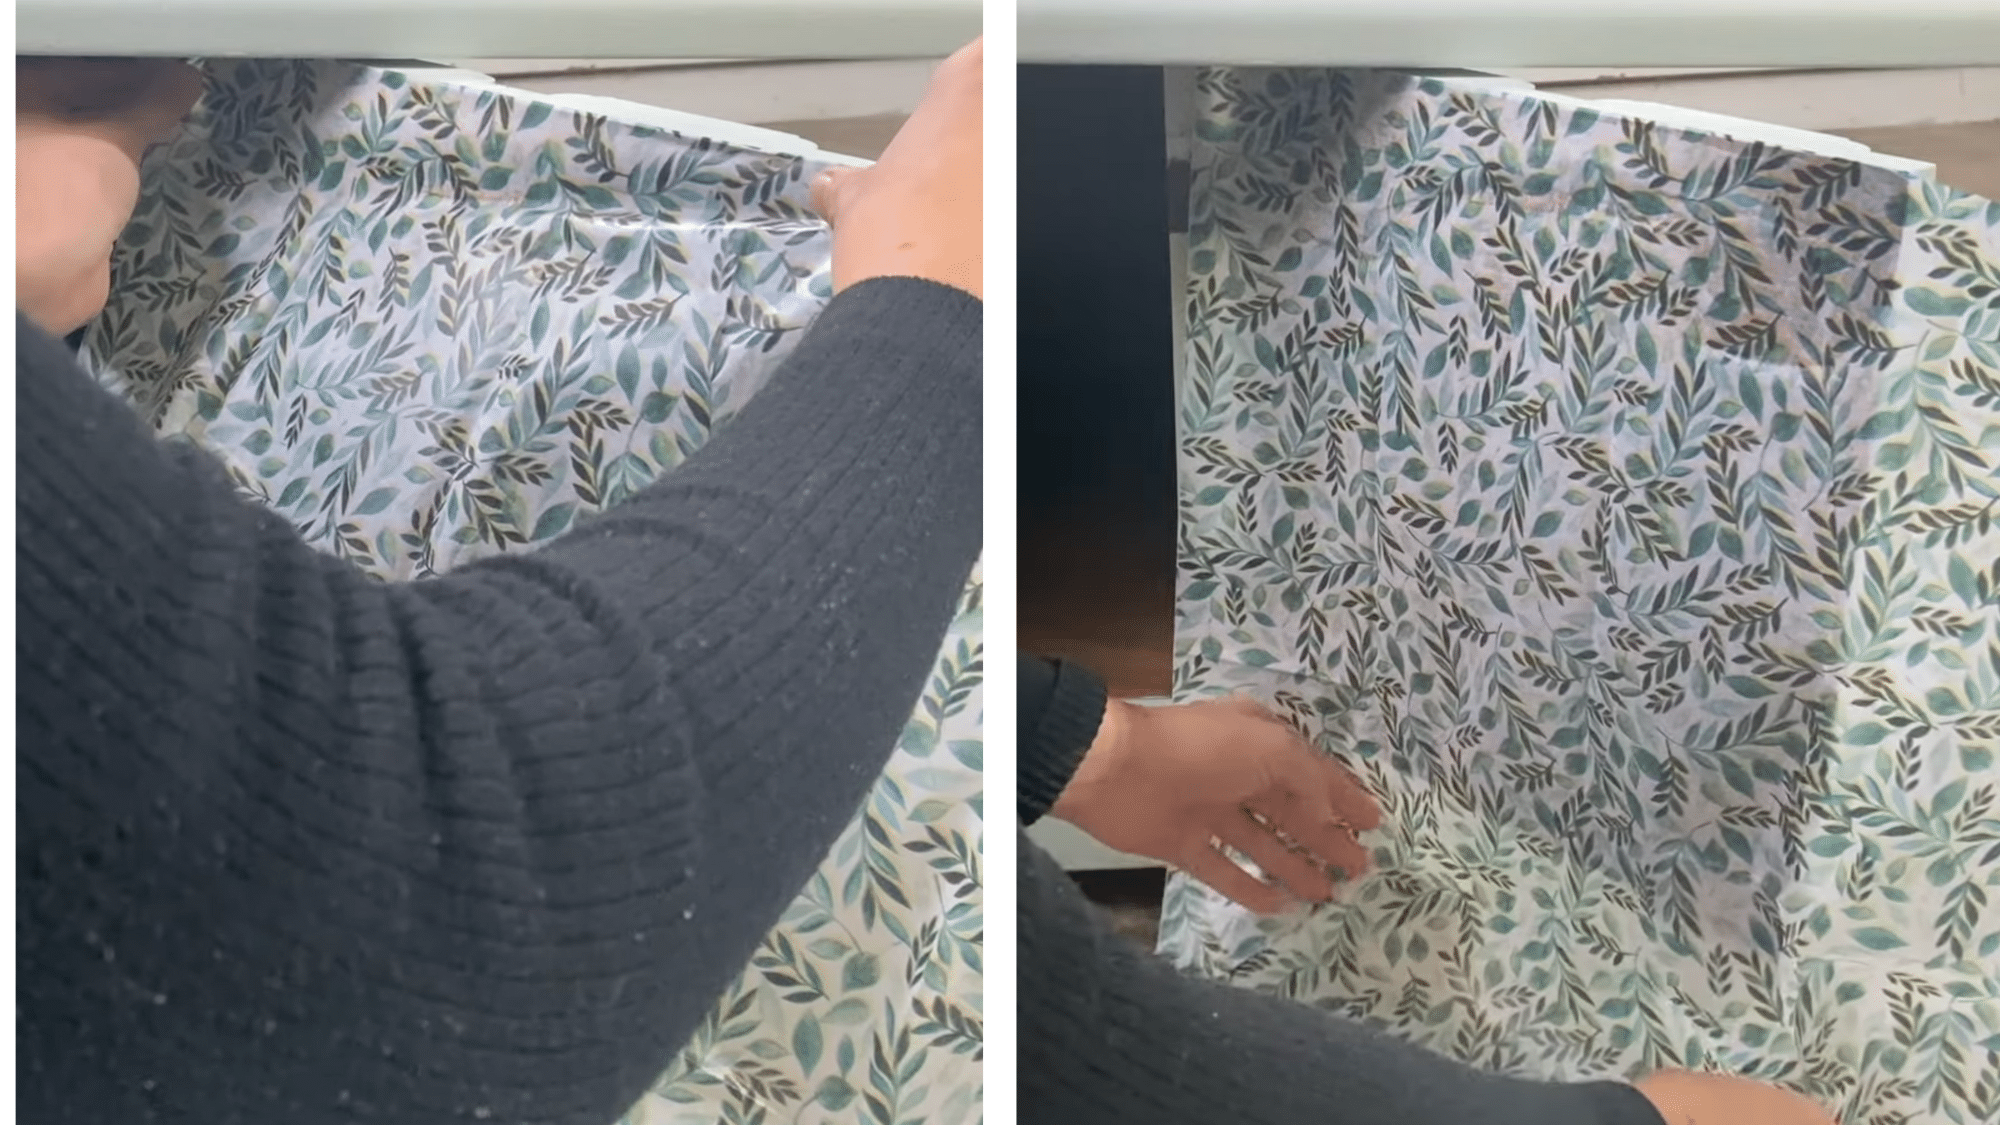
Top coats are applied to protect the paint and give the piece a polished finish. Water-based polyurethane in a satin finish is a popular choice due to its smooth, low-sheen result.
Decorative accents like lining drawers with patterned paper or spray-painting hardware can elevate the aesthetic. These little extras often make a piece more appealing to potential buyers.
Pro Tip: For clean lines and no paint bleed, use painter’s tape only after previous layers are fully dried.
8. Pricing and Listing for Sale
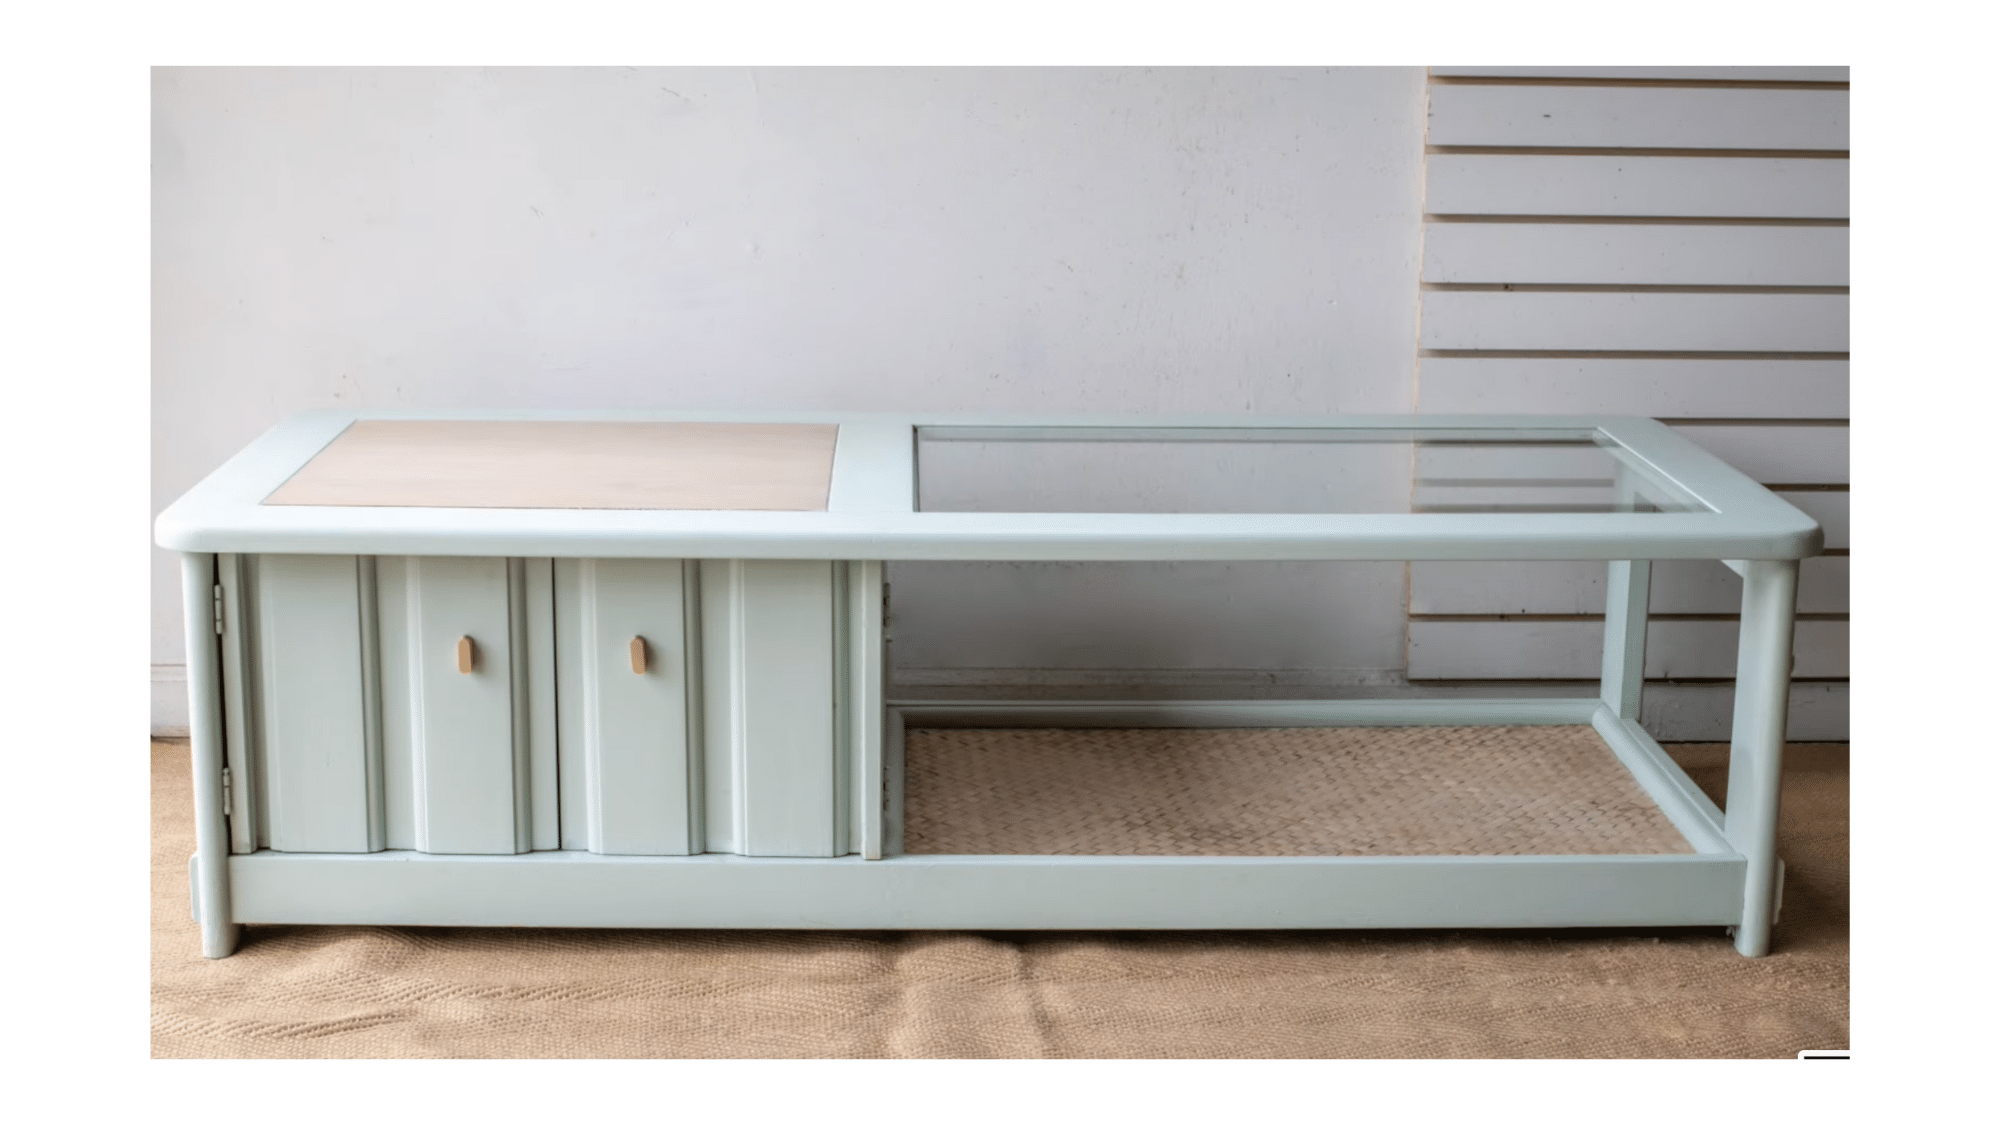
Once the modification is complete, the final step is to photograph and list the piece. Clear, well-lit images showing all angles, including flaws, build buyer trust.
Listings should include dimensions, a brief backstory, and creative descriptions that help potential customers visualize the item in their space. Facebook Marketplace is one of the easiest and most effective platforms for local sales.
Pro Tips to Keep in Mind While Flipping Furniture
Flipping old furniture can turn your forgotten pieces into beautiful treasures.
I’ve learned some helpful tricks over the years that make the process easier and more successful. These tips will help you avoid common mistakes and get better results with your furniture makeover projects.
- Set alerts on local buy-and-sell platforms for keywords like “solid wood” or “free furniture” to score deals fast.
- Wiggle the legs, test all drawers, and check for signs of rot or loose joints before committing to the project.
- Clean off excess glue before it dries to avoid extra sanding later and ensure a smoother final surface.
- Store leftover paint or custom mixes in sealed containers for touch-ups or future flips, and label them with the ratio used.
- For clean lines and no paint bleed, use painter’s tape only after previous layers are fully dried.
Common Mistakes and How to Fix Them
Even experienced flippers make these costly errors. Here’s how to spot and fix them before they hurt profits.
Mistake #1: Skipping Prep Work: Many beginners rush straight to painting without proper preparation. They skip sanding, cleaning, or priming. The paint peels off within weeks, and buyers demand refunds.
The Fix: Always clean pieces thoroughly first. Sand rough spots and apply primer when needed. This extra hour of work prevents future headaches and angry customers.
Mistake #2: Overpricing or Underpricing New flippers either price too high and nothing sells, or price too low and leave money on the table. Both mistakes kill profits.
The Fix: Research similar pieces in the local market. Check completed sales, not just listings. Price competitively but don’t undervalue the work. A good range is 3-5 times the material cost.
Mistake #3: Choosing the Wrong Paint or Tools: Cheap paint chips easily. Wrong brush types leave streaks. Poor-quality tools create amateur-looking results that buyers avoid.
The Fix: Invest in quality chalk paint or furniture-specific paints. Use proper brushes for each job. Foam rollers work great for smooth finishes. Good tools pay for themselves quickly.
Mistake #4: Poor Photography: Blurry photos, bad lighting, and cluttered backgrounds make pieces look cheap. Buyers scroll past poor photos without reading descriptions.
The Fix: Take photos in natural light near windows. Clear the background. Show multiple angles and close-ups of details. Good photos can add $20-50 to selling prices.
Mistake #5: Ignoring What Buyers Actually Want: Flippers sometimes create pieces they love but buyers don’t want. Personal taste doesn’t always match market demand.
The Fix: Study what sells in the local area. Follow furniture trends on Pinterest and Instagram. Ask previous buyers what they’re looking for next. Market research beats personal preference every time.
Conclusion
Now readers know how to flip furniture without the common pitfalls that trip up beginners. The strategies, creative ideas, and mistake-proofing tips provide a solid foundation for success.
It’s time to take action. Start small with a simple chair or side table from a garage sale. Practice the techniques on low-risk pieces first.
Don’t go it alone either. Join Facebook groups for furniture flippers. Follow Pinterest boards for inspiration. Connect with other flippers who share tips and celebrate wins.
The furniture flipping community is welcoming and helpful. That first flip is waiting at the next thrift store. Go find it.