Clouds are one of the easiest and most relaxing things to draw. There’s no pressure for perfect shapes or clean lines, just soft forms and a little creativity.
This blog shows just how enjoyable and straightforward easy cloud drawing can be, especially for beginners who want something light to start with.
From loose pencil shapes to soft watercolor blends, everything is kept simple and clear.
It’s a laid-back approach that makes drawing feel fun, not frustrating, and that’s exactly how it should be.
Why Drawing Clouds is Easier Than You Think
Drawing clouds is easier than you might think because they don’t follow strict shapes or rules. Unlike buildings or faces, clouds are soft, uneven, and constantly changing, so you have the freedom to draw them your own way.
There’s no need for perfect lines or symmetry, which makes cloud drawing a stress-free and relaxing activity.
It’s a great starting point if you’re new to drawing, since you can practice light sketching, shading, or even painting without pressure.
Most of all, it’s fun to explore and experiment while creating something that looks natural and dreamy.
Tools and Materials You’ll Need
For easy cloud drawing, you don’t need fancy tools, just a few basic art supplies you likely already have. Here’s a simple list to help you get started with both sketching and painting:
| Item | Purpose |
|---|---|
| Soft Pencil (e.g., 8B) | For sketching cloud shapes |
| Fineliner (0.7 mm) | For outlining the drawing |
| Gray Marker | For simple, quick shading |
| Watercolor Brushes | One large, one small for washes & detail |
| Watercolor Palette | Blues, browns, or purples for shadows |
| Watercolor Paper | Prevents warping when painting |
| Clean Water | To activate and dilute paint |
Additional Helpful Tools:
- Fineliner (0.2 mm) for delicate shading
- Mixing tray
- Dry brush or paper towel for lifting pigment
- Cotton wool or tissue for dabbing highlights
- Cartridge paper (as an alternative to watercolor paper)
Step-by-Step Guide on How to Draw Clouds
Drawing clouds is simple and beginner-friendly. With just a few soft shapes and mindful shading, you can create clouds that look light, fluffy, and full of character.
Step 1: Sketch Lightly with a Soft Pencil
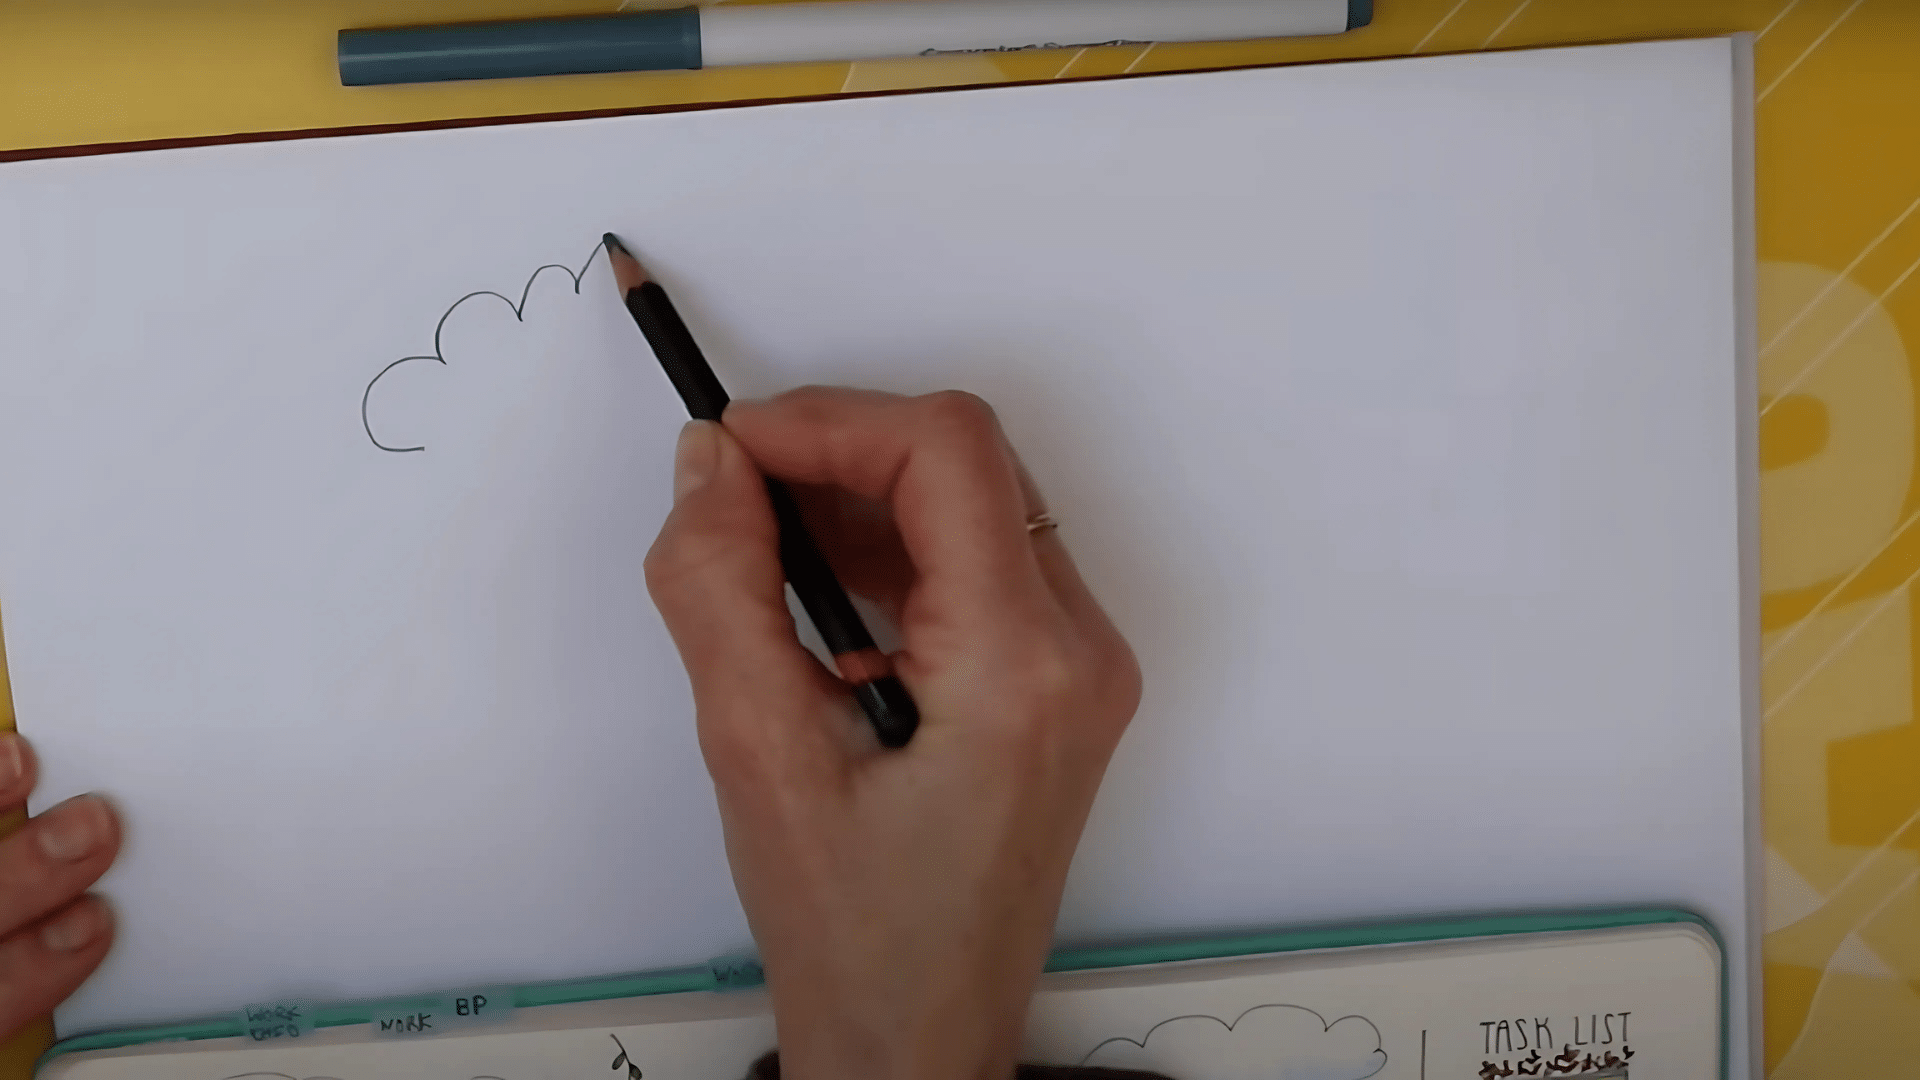
Begin with a soft pencil, such as an 8B, to draw loose, overlapping “C” shapes in various sizes and directions. Keep the bottom slightly flatter.
This mimics how clouds naturally form. Don’t worry about perfection; clouds are meant to be irregular and fluffy.
Step 2: Decide on a Light Source

Think about where the light is coming from, usually above, or maybe from the side, like during sunset. This helps you decide where the shadows and highlights should go, giving your cloud shape and depth.
Step 3: Outline with Ink
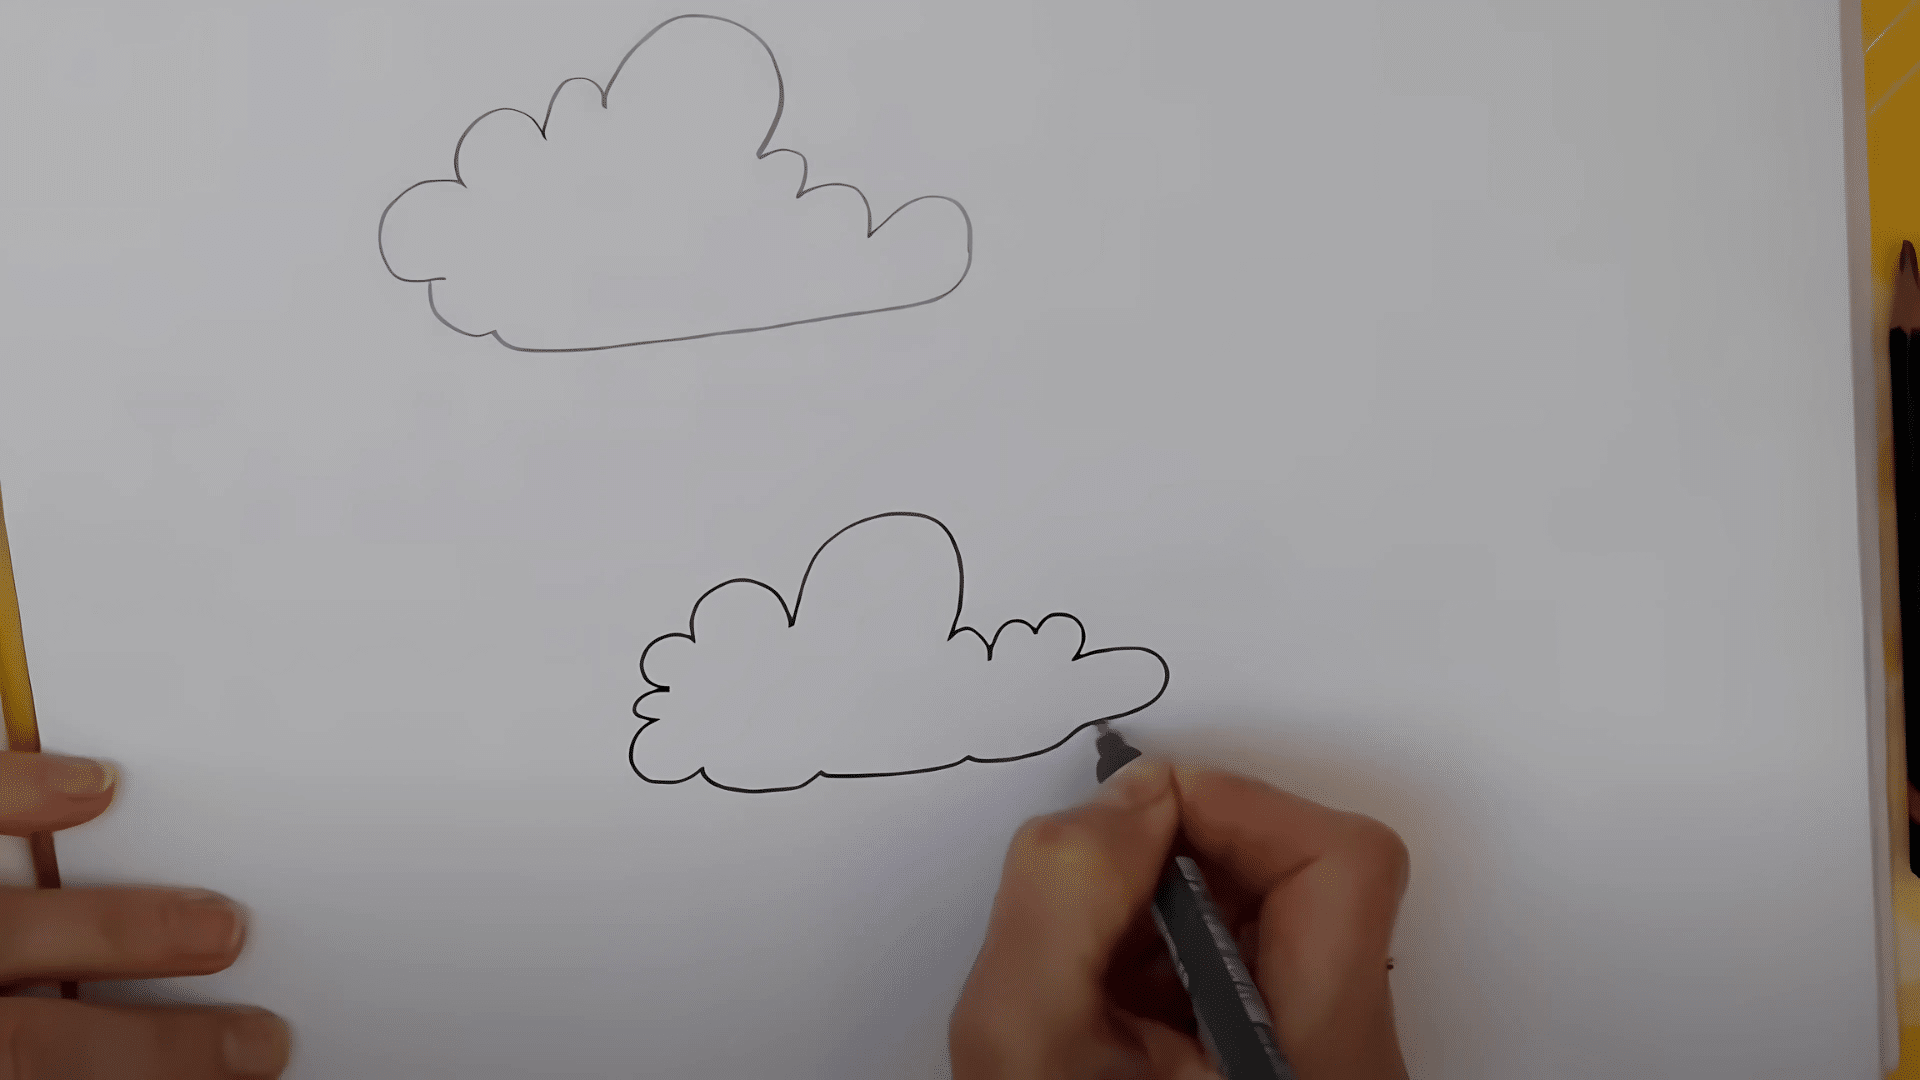
Once your pencil sketch looks good, trace over it with a fine liner (like 0.7 mm). Use gentle, flowing strokes. Allow the ink to dry completely before proceeding to avoid smudging your work.
Step 4: Add Shading for Depth
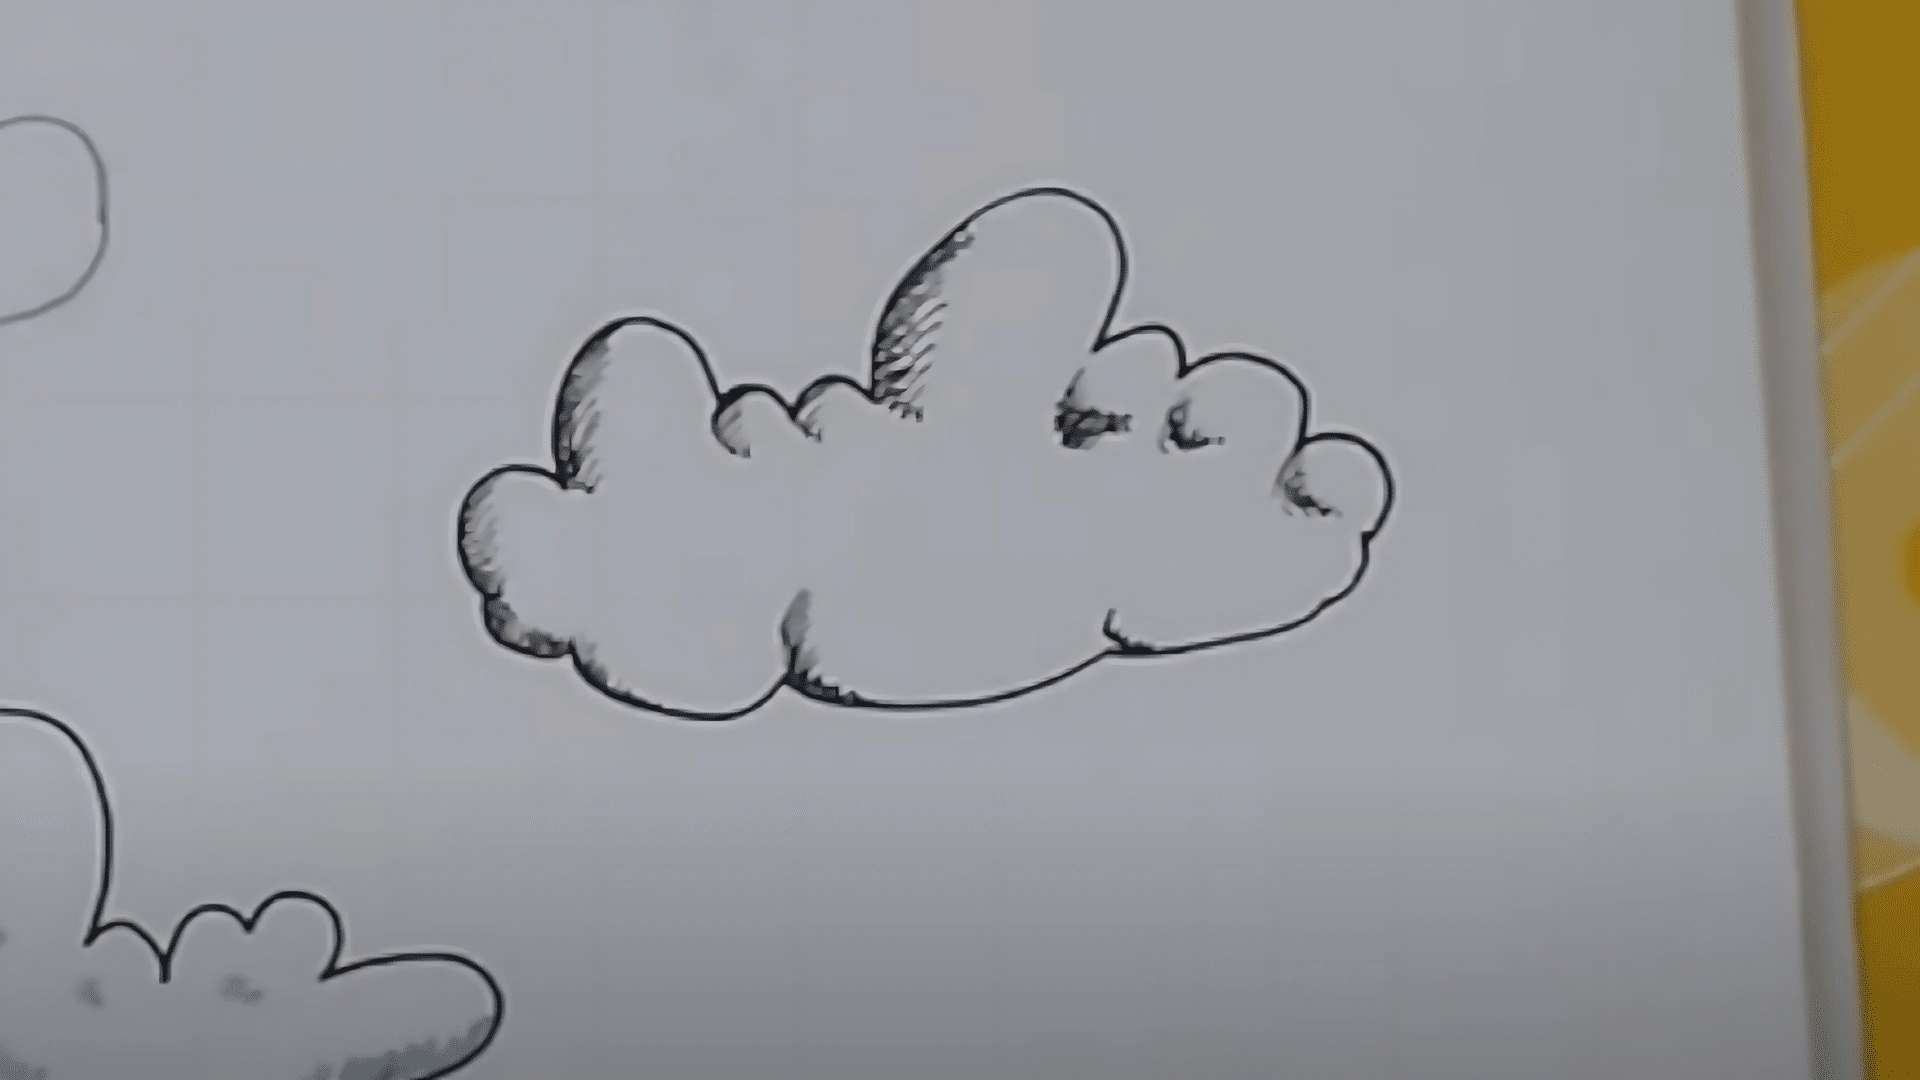
Use a gray marker or a thinner pen to shade the bottom of the cloud and the inner curves. For a side-lit effect, darken the edge opposite the light source.
A few soft strokes or tiny lines can make your cloud appear more three-dimensional.
Step 5: Try Watercolor for a Soft Look (Painting)
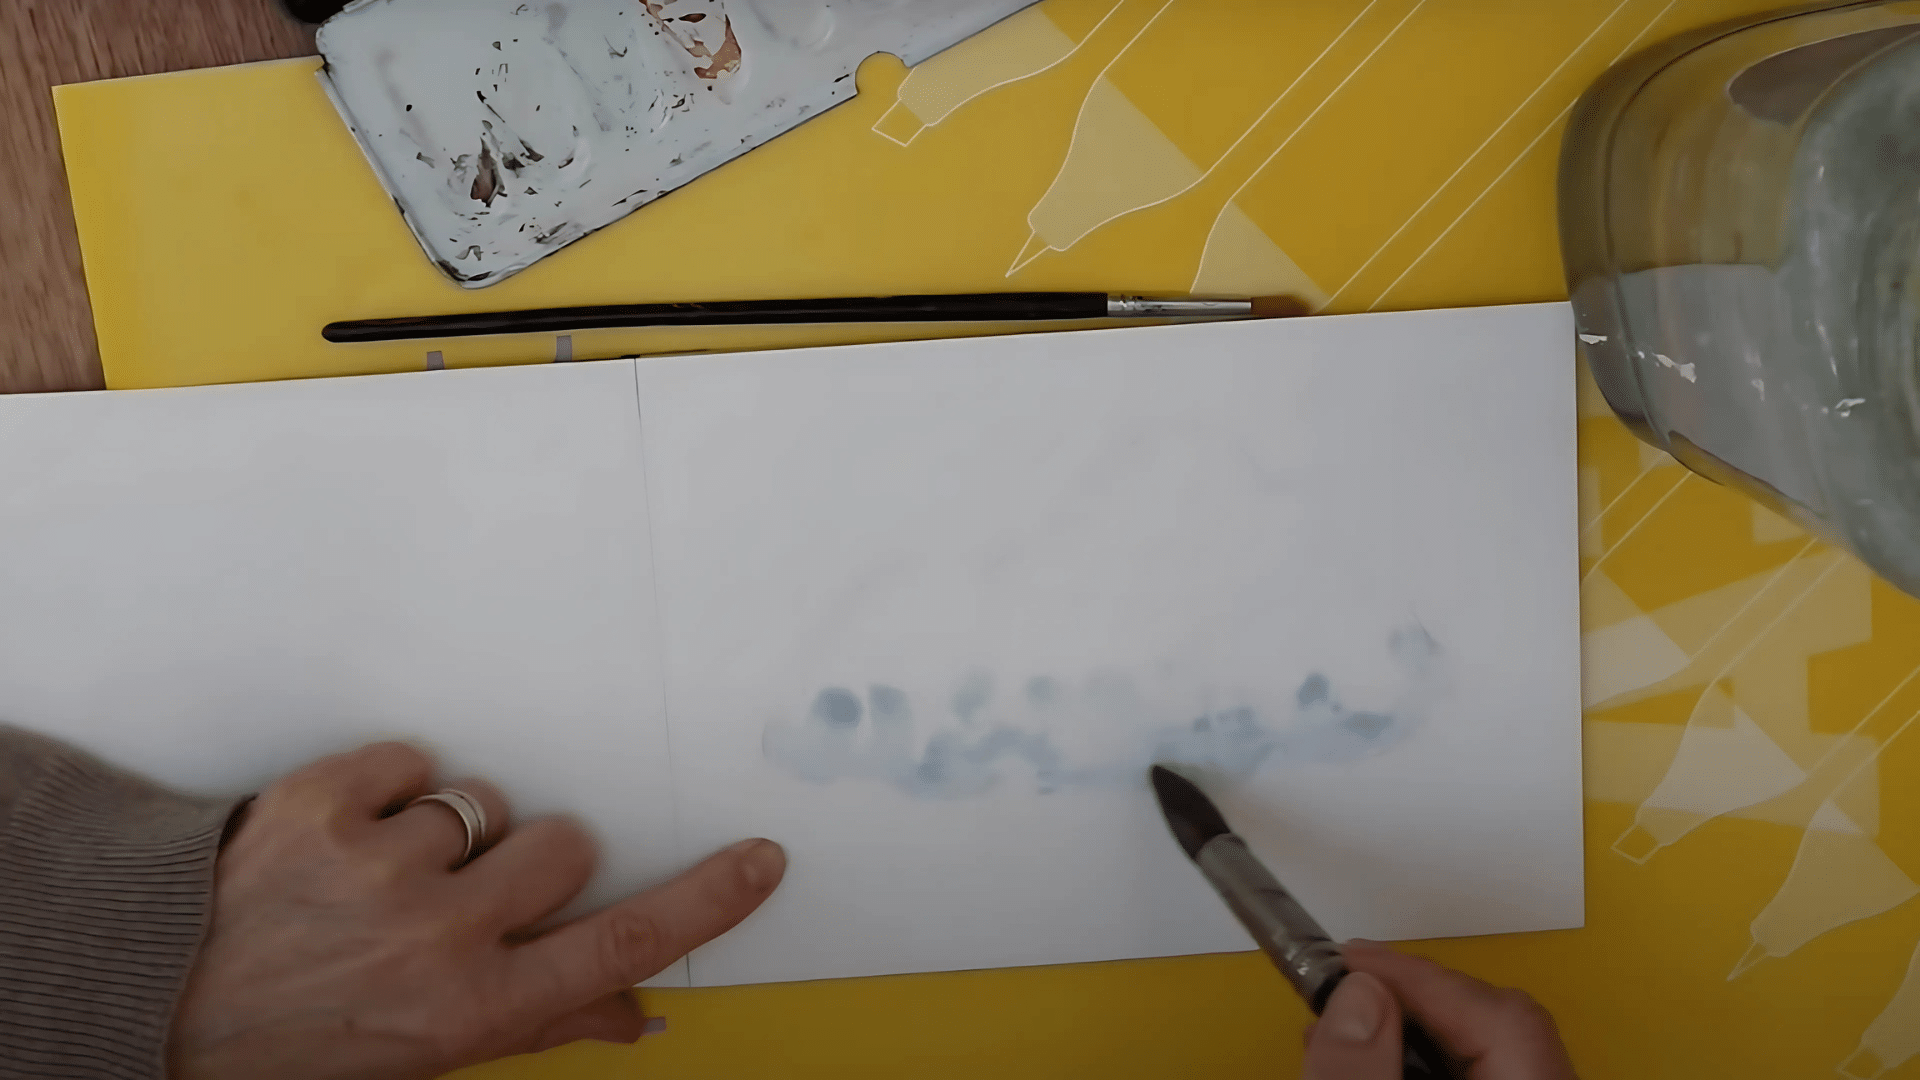
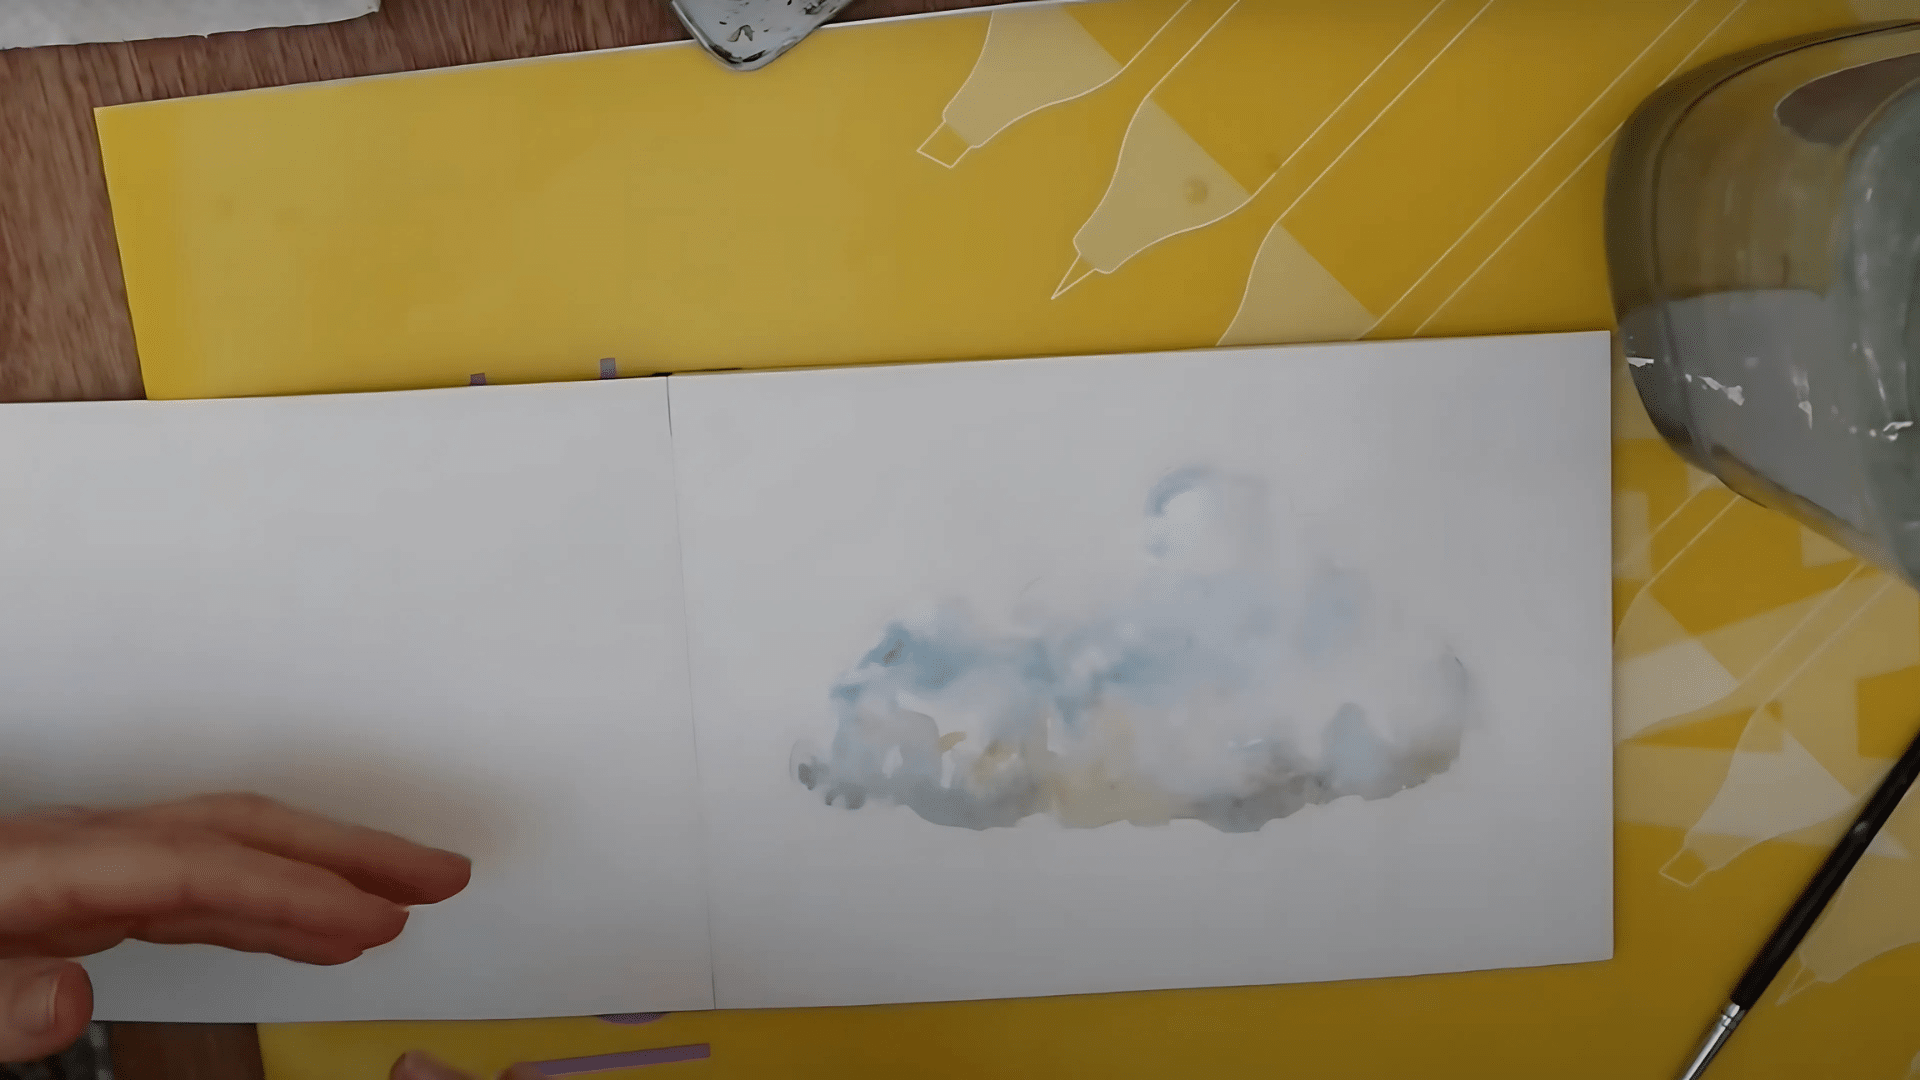
For painting, lightly sketch the cloud and use the white of the paper as your highlight. Dab soft washes of blue or gray around the edges.
Let the water and pigment flow naturally to create that airy, cloud-like feel.
Step 6: Layer Colors Gently
Add deeper blues, soft browns, or hints of pink and purple for more realism. Use a dry brush or paper towel to lift excess pigment and soften harsh edges. Think of clouds as layered, light-filled shapes.
Step 7: Work from Background to Foreground
Paint your scene in layers, starting with the sky, then the distant clouds, and finally the foreground objects. This method keeps your artwork balanced and believable.
For the detailed instructions, refer to the YouTube video below:
Watercolor Tips for a Dreamy Cloud Effect
Watercolor can make your clouds look soft, airy, and full of life. With just a few simple techniques, you can create dreamy effects that let the paper and paint work together beautifully.
1. Use the white of the paper to represent the brightest parts. Don’t try to paint the whole cloud.
2. Work wet-on-wet for smooth, soft edges that blend naturally.
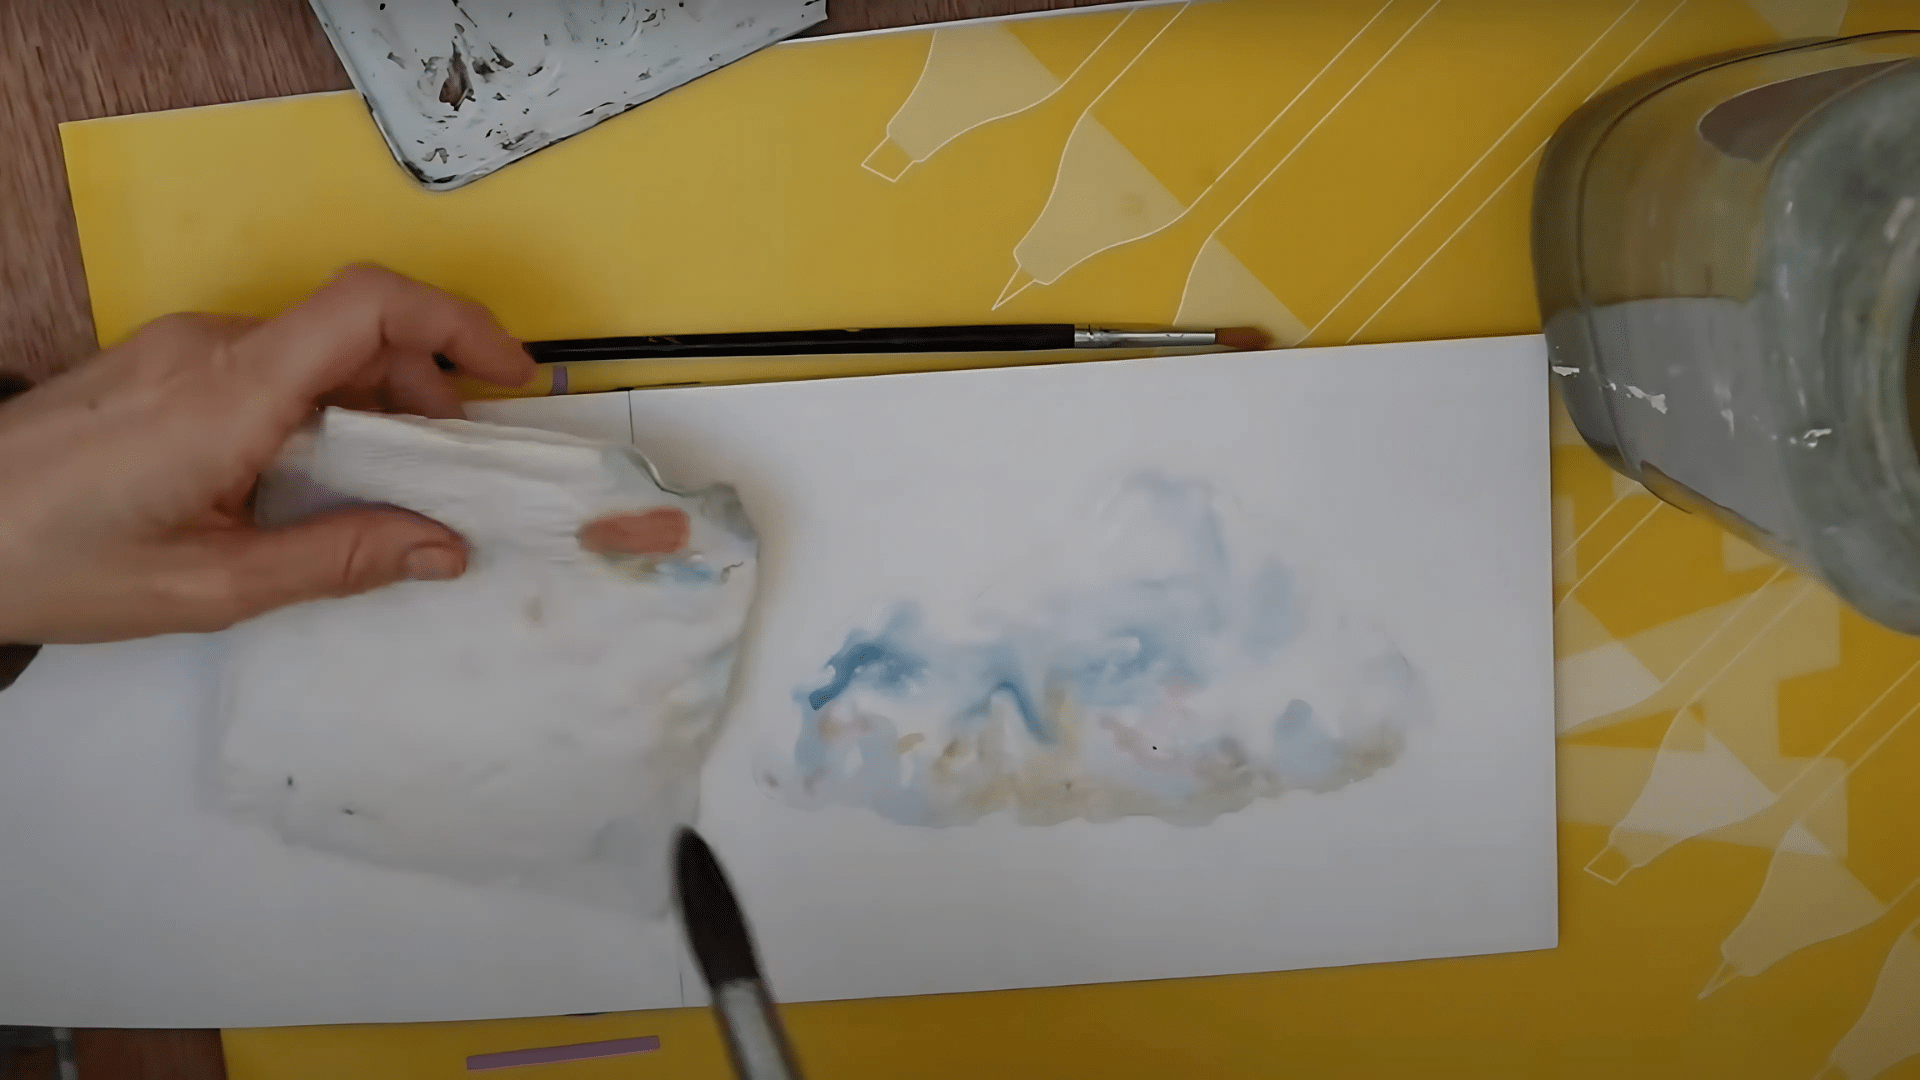
3. Dab with a dry brush or tissue to lift pigment and create highlights.
4. Layer gently with light washes before adding darker tones.
5. Let water flow naturally, guiding it with your brush instead of over-controlling it.
Common Mistakes and How to Avoid
Although cloud drawing is simple, even a few small mistakes can significantly impact your results. Here are some common slip-ups and easy tips to help you avoid them:
- Overworking the shape: Trying to perfect every curve can make clouds look stiff. Keep your lines loose and natural.
- Using too much water: Over-wetting the paper can cause puddles or tears. Use a damp, not soaked, brush for better control.
- Ignoring the light source: Forgetting where the light comes from can cause your drawing to appear flat and lifeless. Always plan your highlights and shadows.
- Skipping drying time: Adding layers too soon can cause smudges. Allow the ink or paint to dry completely before proceeding.
- Forgetting to leave white space: Filling in the entire cloud removes its softness. Use the paper’s white as your highlight.
Conclusion
Easy cloud drawing is a calm and enjoyable way to express your creativity, whether you’re using a pencil or watercolor. With just a few simple steps and basic materials, you can create soft, natural-looking clouds that bring your artwork to life.
There’s no need for perfect shapes; clouds welcome variety, so feel free to try different techniques and styles.
With a bit of practice, your skills and confidence will naturally grow over time.
If this helped you or you gave Easy Cloud drawing a try, feel free to share your thoughts or results in the comments below!