You measured twice. You ordered the door. You built the frame. And now the door simply does not fit.
This happens more than people expect. In most cases, it comes down to one thing: getting the door opening size wrong from the start.
A rough opening that is off by even half an inch can lead to sticking doors, noticeable gaps, and expensive adjustments.
The good news? The numbers are straightforward. Once you know how to measure correctly, what standard sizes to use, and what to watch out for, the whole process gets a lot easier.
This guide walks you through everything, from basic formulas to ADA rules and framing tips.
What Is a Door Opening Size?
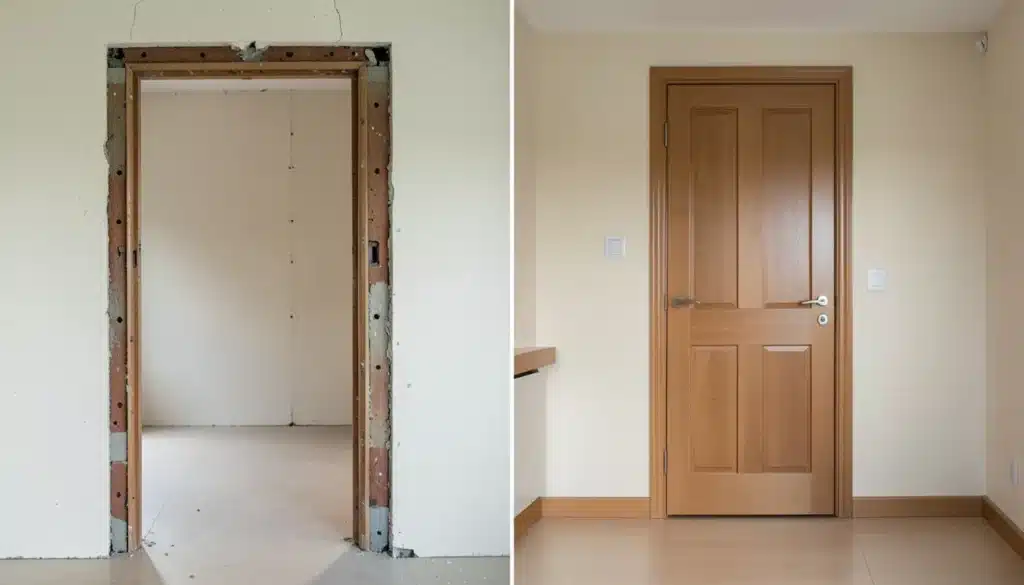
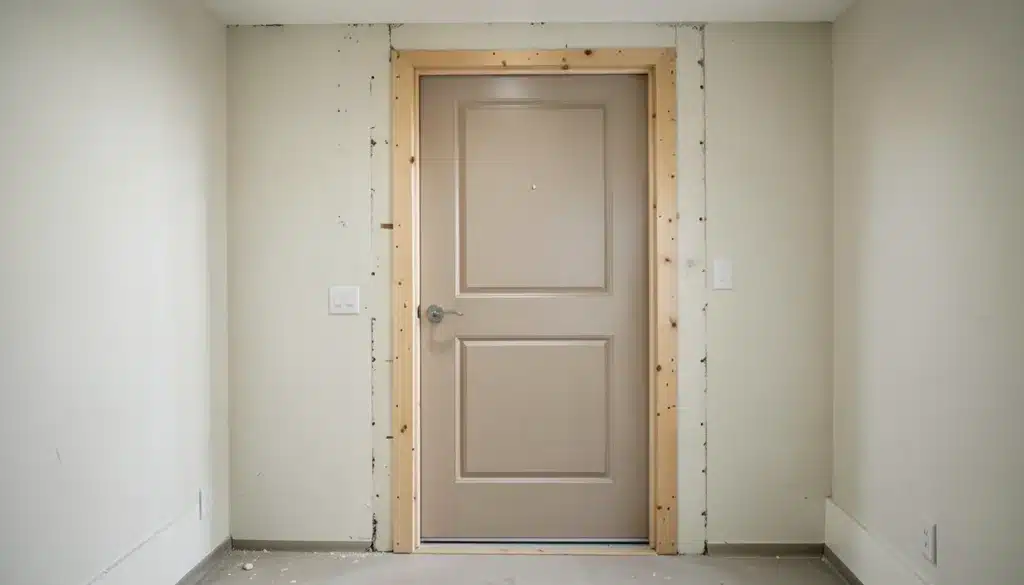
Door opening size refers to the framed space in a wall where a door will be installed, also known as the rough opening.
This space is always slightly larger than the door itself because it must accommodate the door frame, the leveling shims, and small adjustments made during installation.
Rough Opening vs. Actual Door Size: What Is the Difference?
These two terms get mixed up often, and that confusion is where most sizing mistakes begin. Here is a clear breakdown of how they differ.
| Feature | Actual Door Size | Rough Opening Size |
|---|---|---|
| What it is | The door slab itself (the panel you open and close) | The framed space in the wall where the door unit goes |
| How it is measured | Width and height of the door panel only | Stud to stud (width) and subfloor to header (height) |
| Includes the frame? | No | Yes, plus room for shims and fine adjustments |
| Example | 36″ x 80″ | Approximately 38.5″ x 82.25″ |
Note: A door labeled “36×80” is a nominal size, rounded for easy classification. The actual slab often measures about 35¾” x 79”. Always measure the slab itself and calculate the rough opening from there.
Standard Door Sizes You Should Know
Before you start framing, it helps to know what sizes are considered standard for U.S. residential construction. These numbers apply to the large majority of doors you will work with.
Interior Door Sizes
- Most common widths: 24”, 28”, 30”, 32”, and 36″
- Standard height: 80” (6 ft. 8 in.) is most common; 78″ (6 ft. 6 in.) is also used
- Bi-fold panels: typically range from 24” to 36” per panel
- Minimum door width for bedrooms and bathrooms: check local building codes, as requirements vary by location
Exterior Door Sizes
- Most common width: 36″ (3/0); 32″ (2/8) is also widely used
- Standard height: 80” (6 ft. 8 in.)
- Exterior doors have thicker frames and weatherstripping, so they need slightly more rough opening clearance than interior doors
How to Calculate the Right Door Opening Size
The formula is simple. For most interior doors, add 2 inches to the door width and 2.5 inches to the door height. So a 30” x 80” interior door needs a rough opening of 32” x 82.5”.
For exterior doors, the same general rule applies, but rough opening sizes can vary by brand, so always confirm the exact dimensions in the manufacturer’s product specifications before framing.
How to Measure a Rough Opening: Step by Step
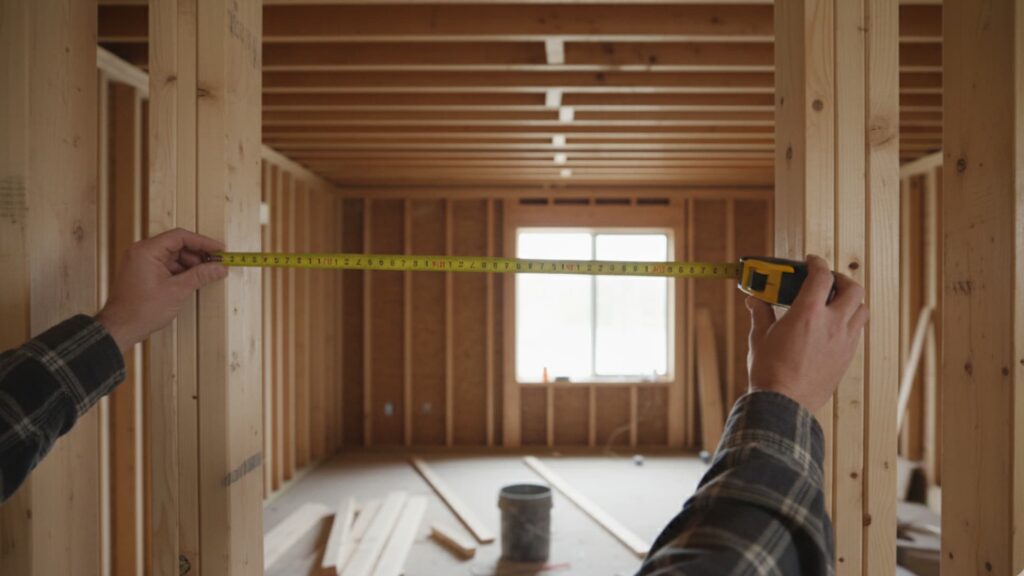
Measuring a rough opening sounds simple, but walls are rarely perfectly straight or square. These steps will help you get accurate numbers every time.
Tools You Will Need
| Tool | What It Does |
|---|---|
| Tape Measure | Captures the width, height, and wall depth of the rough opening |
| Spirit Level | Confirms the opening is plumb on the sides and level across the top |
| Pencil and Notepad | Records every measurement so nothing gets mixed up between checks |
| Framing Square | Checks whether the corners of the opening are at a true 90-degree angle |
| Laser Measuring Tool | Gives precise readings when working solo or on large, wide openings |
Step 1: Clear the Area
Remove any trim, casing, or objects around the opening before you start. You need full, unobstructed access to the framing on all sides to get accurate measurements.
Step 2: Measure the Width
Place your tape measure from stud to stud at three points: the top, the middle, and the bottom of the opening. Walls are not always perfectly straight, so record the largest of the three measurements.
Step 3: Measure the Height
Measure from the subfloor to the header at three points: the left side, the center, and the right side of the opening. Use the largest number here as well. This ensures the door will fit properly at every point, not just the center.
Step 4: Measure the Wall Depth
Measure the full wall thickness from one side of the drywall to the other. Walls framed with 2×4 studs typically need a 4 9/16” jamb. Walls framed with 2×6 studs need a 6 9/16” jamb. Getting this right ensures the door frame sits flush with both wall surfaces.
Step 5: Check for Level and Square
Use a level to confirm the opening is plumb on the vertical sides and level across the top. An out-of-square opening causes gaps, poor alignment, and a door that swings or hangs unevenly, even when the measurements are technically correct.
Step 6: Record and Re-Measure
Write down the width, height, and wall depth. Then measure all three again before placing any order or making any cuts. One small error at this stage can result in a door that does not fit or a frame that requires costly correction.
Door Opening Size Chart
Below are the approximate rough opening sizes for the most common interior and exterior door sizes in U.S. residential construction. Always verify these figures with your door manufacturer’s specifications before you start framing.
Interior Door Rough Opening Sizes
| Door Size (Nominal) | Actual Door Size | Rough Opening Width | Rough Opening Height |
|---|---|---|---|
| 2/0 | 24″ x 80″ | 26″ | 82.5″ |
| 2/4 | 28″ x 80″ | 30″ | 82.5″ |
| 2/6 | 30″ x 80″ | 32″ | 82.5″ |
| 2/8 | 32″ x 80″ | 34″ | 82.5″ |
| 3/0 | 36″ x 80″ | 38″ | 82.5″ |
Exterior Door Rough Opening Sizes
| Door Size (Nominal) | Actual Door Size | Rough Opening Width | Rough Opening Height |
|---|---|---|---|
| 2/8 | 32″ x 80″ | 34.5″ | 82.25″ |
| 3/0 | 36″ x 80″ | 38.5″ | 82.25″ |
| 3/0 | 36″ x 96″ | 38.5″ | 98.25″ |
Sizes shown are approximate. Confirm all measurements with your specific door manufacturer before cutting or framing.
Special Door Types and Their Opening Sizes
Not every door follows the standard rough opening formula. Some door types have their own sizing rules, and overlooking these is a very common mistake on renovation and remodel projects.
1. Double Doors
Double doors use the same basic formula: add 2 inches to the combined width and 2.5 inches to the height. The total rough opening width is based on the combined measurement of both slabs.
If ADA compliance is required, at least one active leaf must provide a clear width of at least 32 inches when open.
2. Pocket Doors
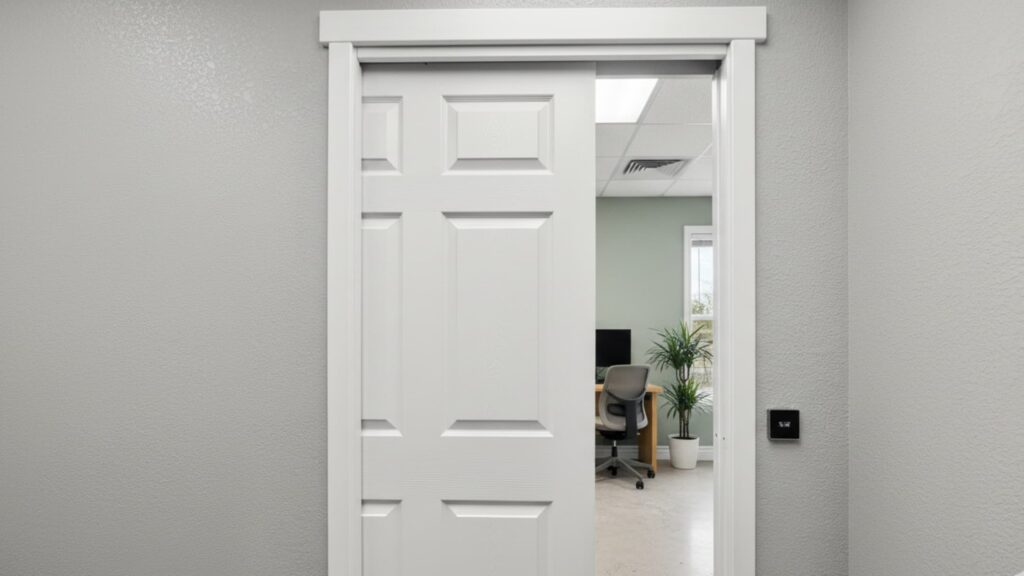
Pocket doors slide into a cavity built inside the wall, so the rough opening needs to be approximately twice the door width.
A 32” pocket door requires a rough opening of about 64” to accommodate the wall pocket framing and the hardware track on both sides.
3. Bi-fold Doors
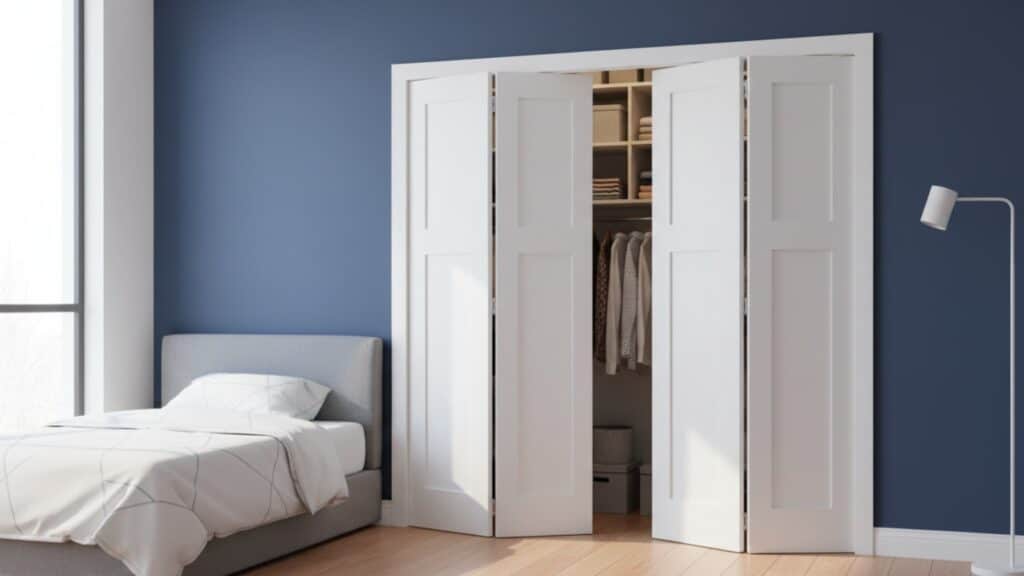
Bi-fold panels typically range from 24” to 36” per panel. The rough opening spans the full width the panels cover when closed.
Plan out the track and hardware system before framing, as these components affect both the required width and height of the opening.
4. Sliding and Patio Doors
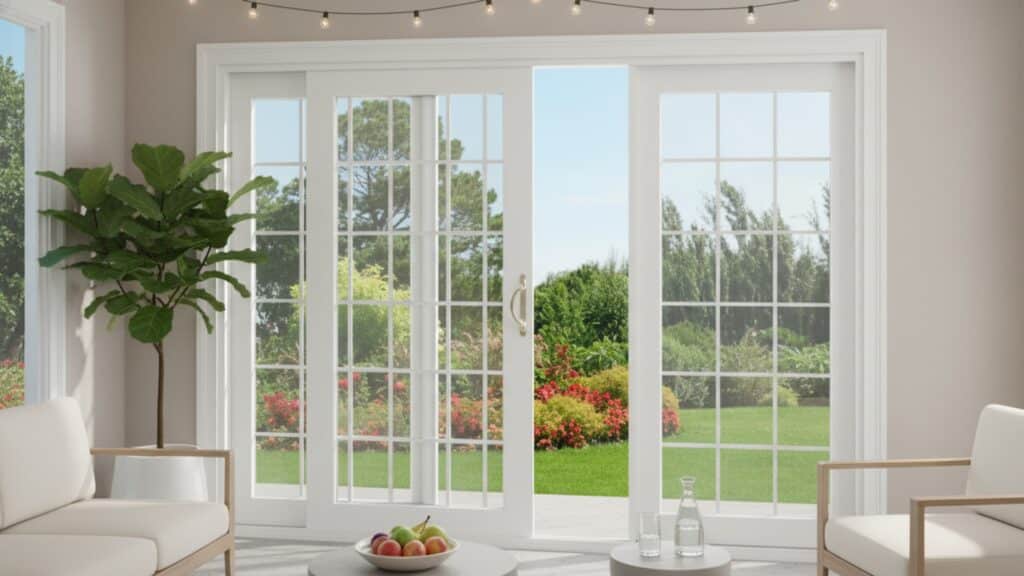
Rough opening sizes for sliding and patio doors vary considerably by manufacturer, style, and glass configuration. Always pull the product spec sheet before framing.
Also, the exterior face of the rough opening must sit in a single, flat plane for proper installation and sealing.
ADA Door Opening Size Requirements
If you are working on a commercial property, a rental unit, or a home built for long-term accessibility, the ADA sets specific sizing and hardware rules that go beyond standard residential practice. Here is what the requirements cover.
- Minimum clear width: 32 inches, measured from the door face to the frame stop with the door fully open to 90 degrees.
- For openings deeper than 24 inches, the minimum clear width increases to 36 inches.
- Minimum clear height: 80 inches for all doors on accessible routes.
- Hardware mounting height: All door hardware must be installed between 34 and 48 inches above the finished floor.
- Maximum opening force: 5 pounds for interior hinged doors and all sliding or folding doors.
- Threshold height: Must not exceed ½ inch for most door types; ¾ inch is the maximum for exterior sliding doors.
- Door closer timing: If a closer is installed, the door must take at least 3 seconds to move from 70 degrees open to 3 inches from the latch.
- Hardware operation: All hardware must work with one hand and must not require tight gripping, pinching, or wrist twisting.
Common Mistakes to Avoid When Sizing a Door Opening
Most door installation problems come from a short list of sizing errors. The table below covers the ones that show up most often on job sites, along with how to correct them.
| Mistake | What Happens | How to Fix It |
|---|---|---|
| Making the rough opening exactly the door’s size | No room for shims, which leads to a crooked installation | Leave at least ¼ to ½ inch clearance on each side for shimming |
| Measuring only once | Walls are not square, so a single measurement can miss the true dimensions | Measure width and height at three points each time |
| Forgetting about finished flooring | New tile, hardwood, or carpet reduces clearance at the bottom of the door | Measure with the final flooring in place or allow for extra height |
| Skipping stud checks before measuring | Loose or shifted studs cause framing problems that affect alignment | Confirm stud location and condition before taking any measurements |
| Using estimates instead of manufacturer specs | The door may not fit, requiring costly on-site adjustments or a replacement | Always use the rough opening dimensions listed in the product specs |
| Assuming all doors share the same dimensions | Different brands and styles have slightly different slab and frame sizes | Measure each opening separately for every door being installed |
Tips for Framing a Door Opening the Right Way
Always frame the rough opening before installing the surrounding studs. This gives you enough space to properly nail the trimmer studs to the king studs.
For load-bearing walls, refer to your structural plans to confirm the correct header size.
A standard 6 ft. 8 in. door requires the bottom of the header to sit approximately 82 5/8 inches above the subfloor, accounting for the jamb, finish flooring, underlayment, and a small gap at the top.
Use a double 2x header with a ½-inch plywood spacer between the two pieces to match the standard 3.5-inch wall thickness.
If carpet is part of the plan, shim the door jambs about 3/8 inch off the floor so the carpet can tuck under cleanly without the door dragging.
Final Verdict
Getting the door opening size right matters more than most people realize, until something goes wrong.
The core rule is simple. Add 2 inches to the width and 2.5 inches to the height for most interior doors. For exterior doors, always check the manufacturer’s rough-opening specifications.
For any ADA-accessible space, keep the minimum clear width at 32 inches.
Measure at multiple points. Account for your final flooring. Use shims. And always double-check before you order or cut anything.
These small steps save a lot of time, money, and frustration down the road.
Have a question about your specific door opening size? Drop it in the comments below. We are happy to help.