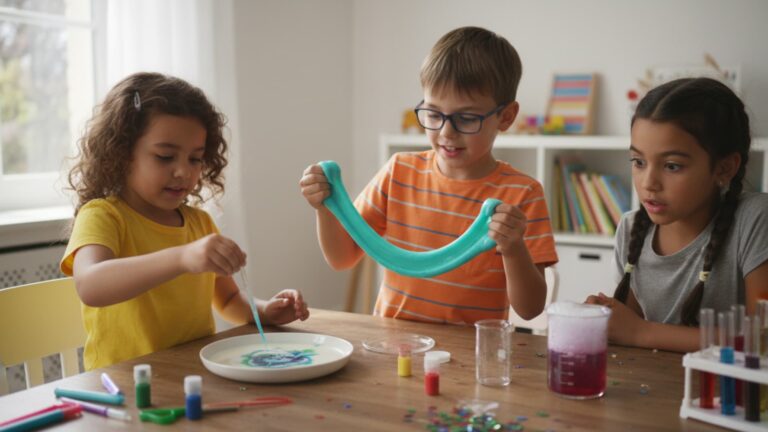
Parents often struggle to find art activities that keep kids engaged without creating huge messes. Traditional painting can be stressful.
Brushes get lost, paint spills everywhere, and cleanup takes forever.
But there’s a simple solution that turns ordinary bubble wrap into an exciting art tool. This method gives children a new way to create colorful masterpieces while parents stay relaxed about the mess.
This blog will show you step-by-step instructions for painting with bubble wrap. You’ll learn the supplies you need, safety tips to remember, and creative techniques that will inspire kids’ imagination.
Why Bubble Wrap Painting is Perfect for Early Childhood Art?
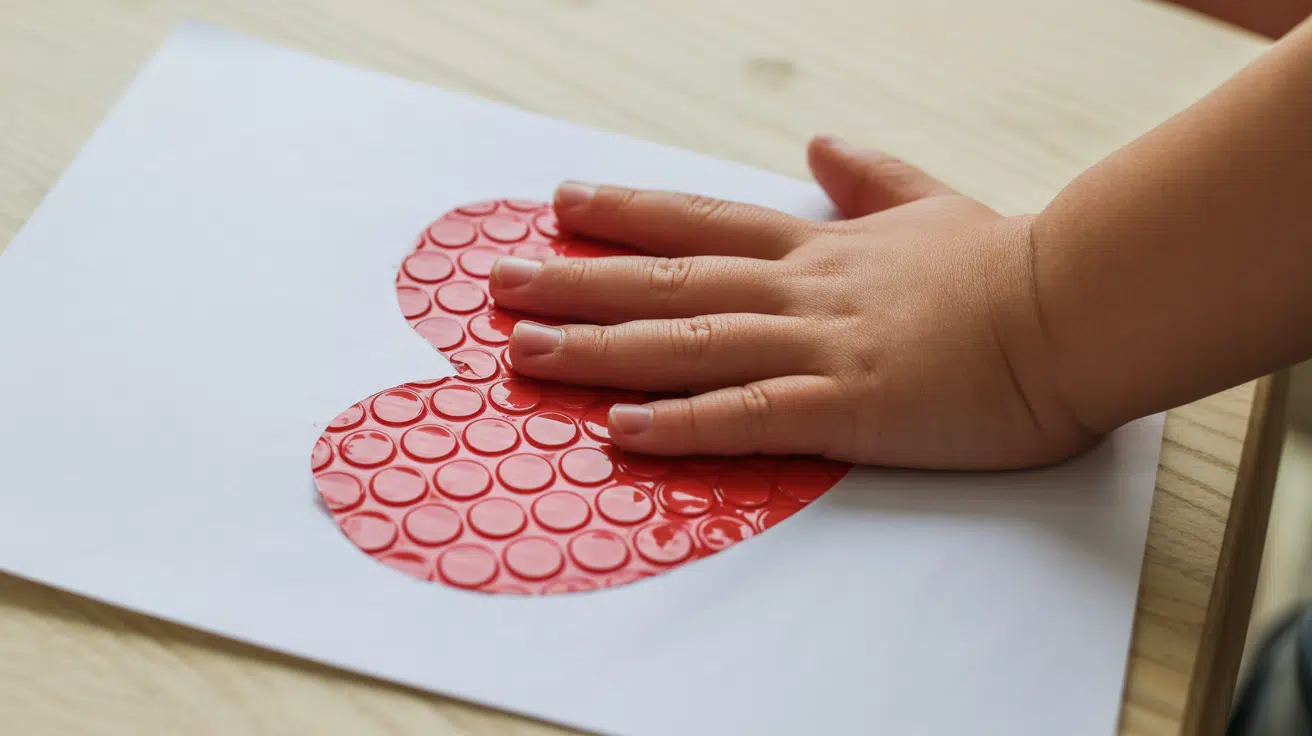
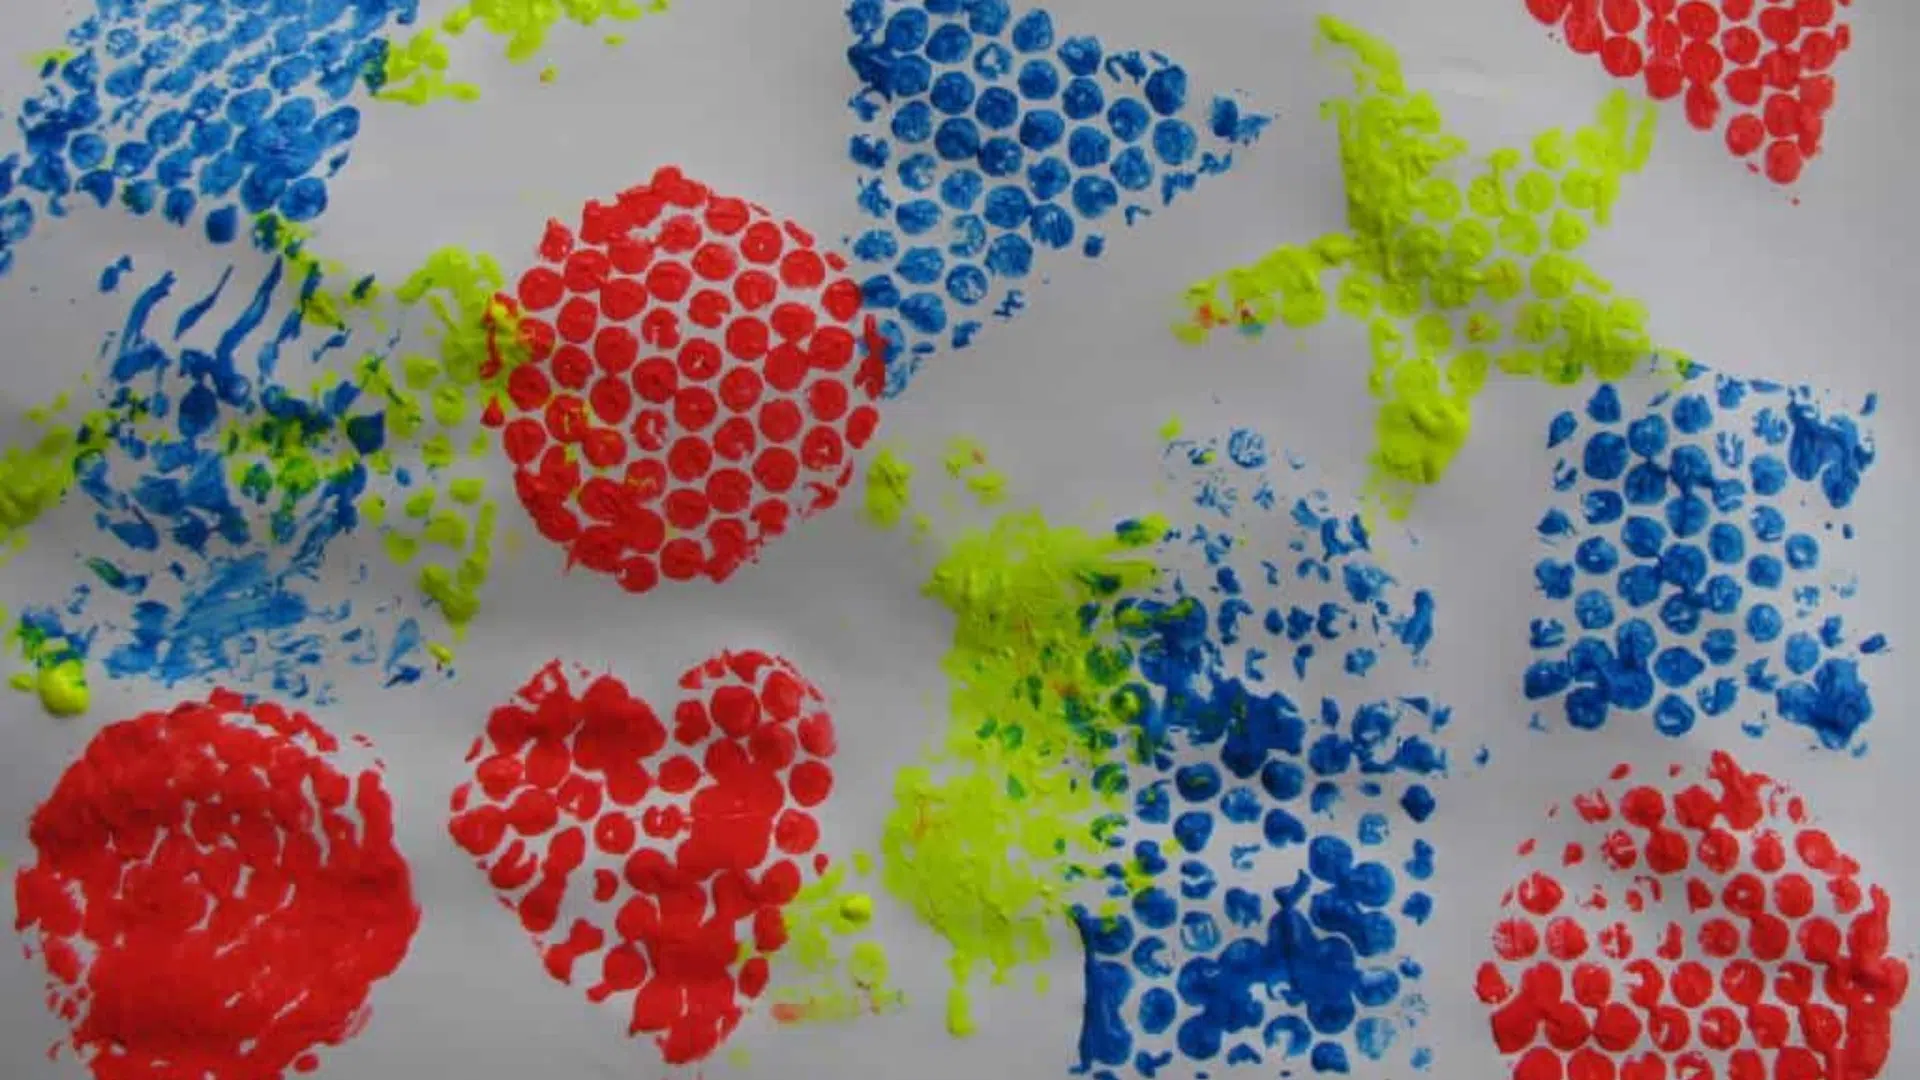
Painting with bubble wrap is a simple art technique where children dip bubble wrap in paint and press it onto paper. The bubbles create fun circles and textures that regular brushes can’t make.
Kids love the popping sounds and unique patterns they get with each print. This activity works great for children of all ages. The bubble wrap acts like a natural stamp, creating beautiful designs every time.
Here’s why parents and teachers love this painting method:
- It develops fine motor skills as children grip and press the bubble wrap.
- Kids learn about colors and how they mix when overlapping different shades.
- The technique builds creativity since no two bubble wrap prints look the same.
- Children gain confidence because there’s no wrong way to make bubble wrap art.
- It teaches patience as kids wait for paint layers to dry before adding more.
What You Need for Bubble Wrap Painting
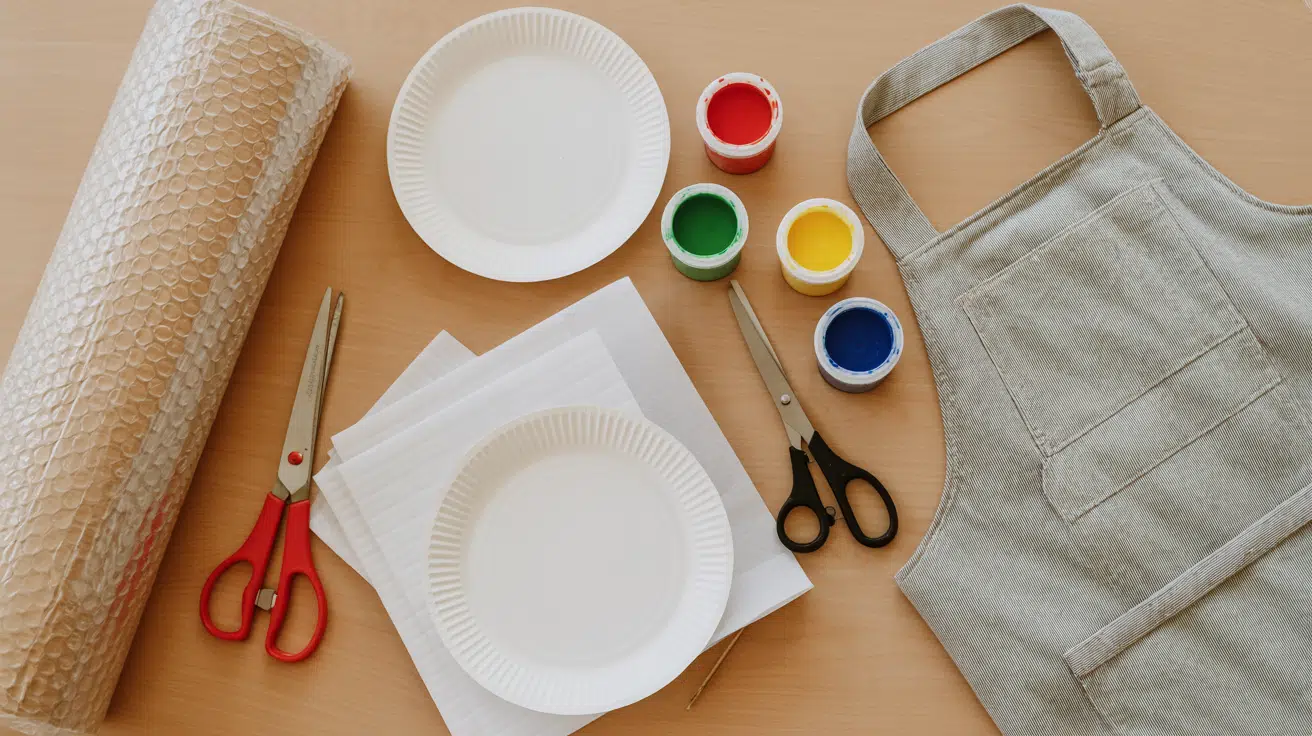
You only need a few simple supplies to get started with painting using bubble wrap for kids. Most items are already in your home.
What You Need:
- Bubble wrap (medium to large bubbles work best)
- Non-toxic washable paint
- White paper or cardstock
- Paper plates or trays
- Wet wipes for cleanup
- An Apron
- Scissors
- Newspaper
Keep everything child-safe and non-toxic. Having supplies ready before you start keeps kids focused on the fun part.
Easy Instructions for Bubble Wrap Painting
Follow these simple steps to create beautiful bubble wrap art with your kids. Each step is easy and helps build excitement as the artwork comes together.
Step 1: Set Up Your Workspace
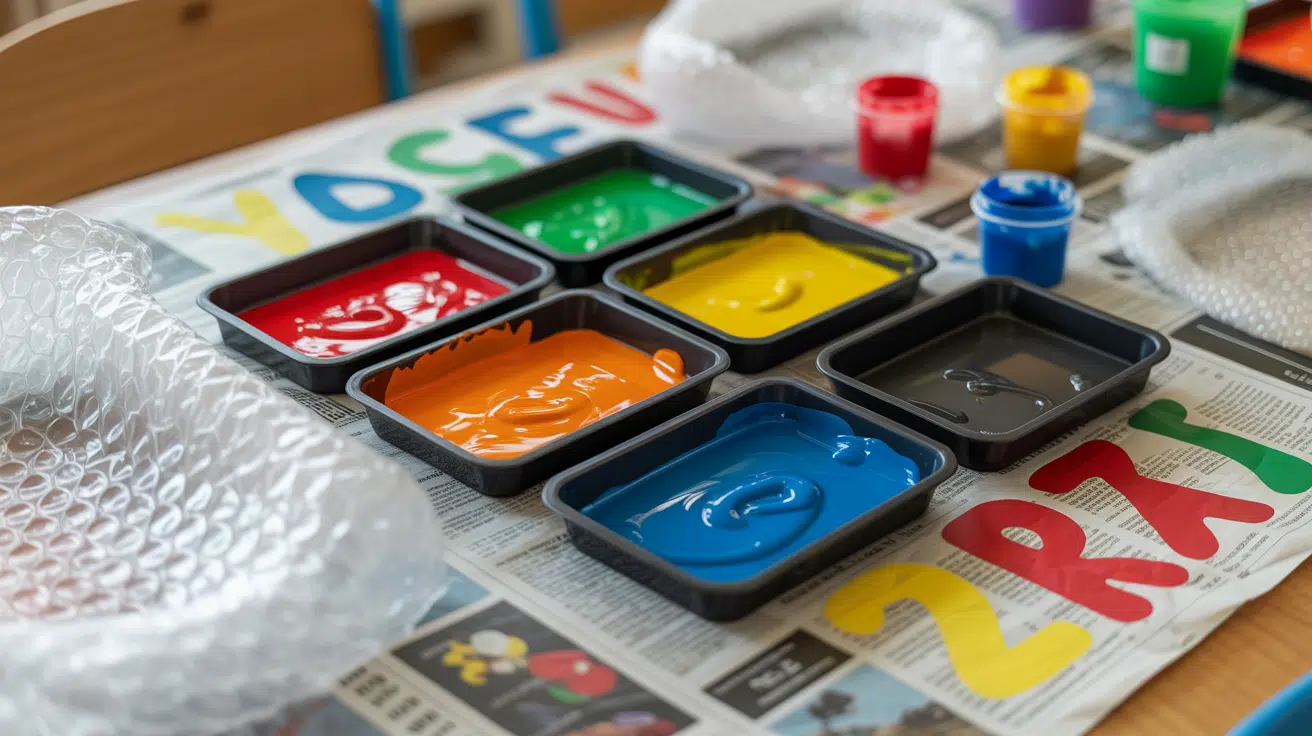
Cover your table with a newspaper or old sheets. This protects surfaces from paint spills. Place all supplies. Put on old clothes or aprons to keep your regular clothes clean.
Ensure the area has sufficient lighting so that kids can see their work clearly. Keep wet wipes nearby for quick cleanups during the activity.
Step 2: Prepare the Paint and Bubble Wrap
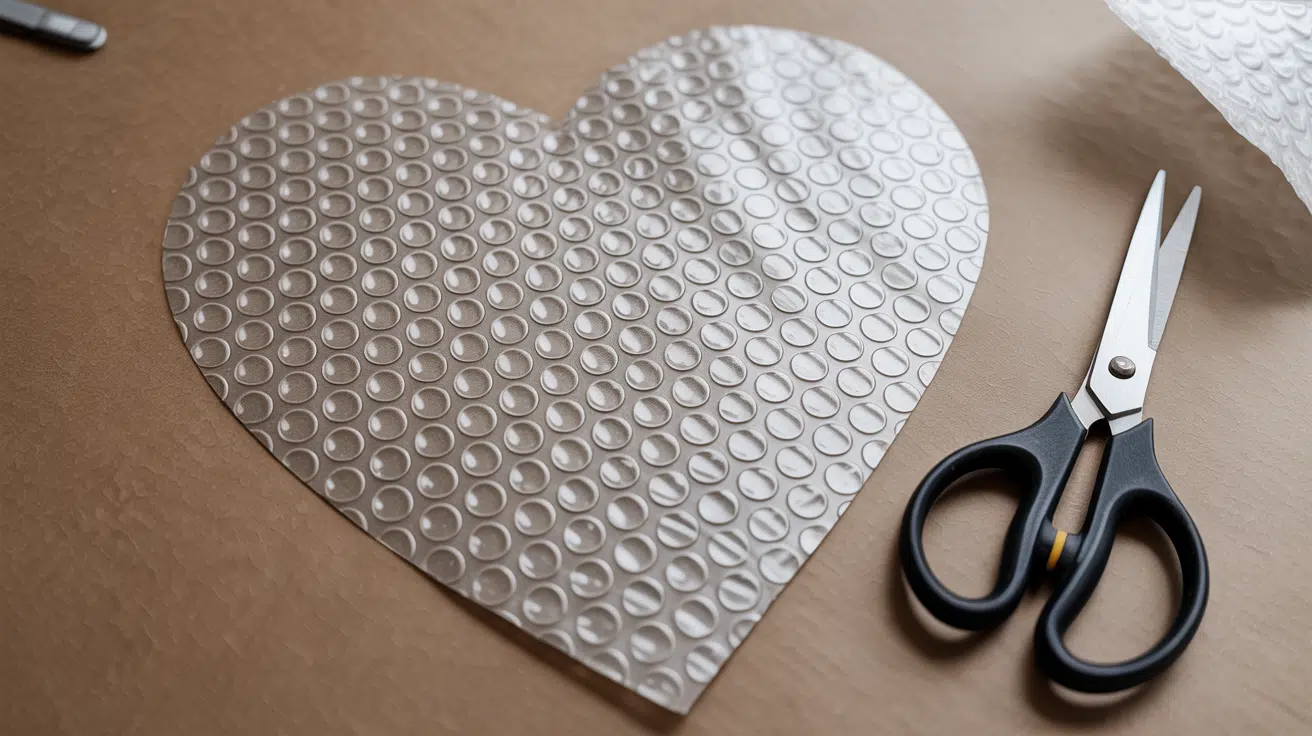
Pour small amounts of different colored paints onto the tray. Don’t use too much paint, or it will drip everywhere. Cut bubble wrap into manageable pieces about the size of your child’s hand.
Check that bubble wrap pieces have the bumpy side facing up. This bumpy side will create the textured prints on paper.
Step 3: Apply Paint to the Bubble Wrap
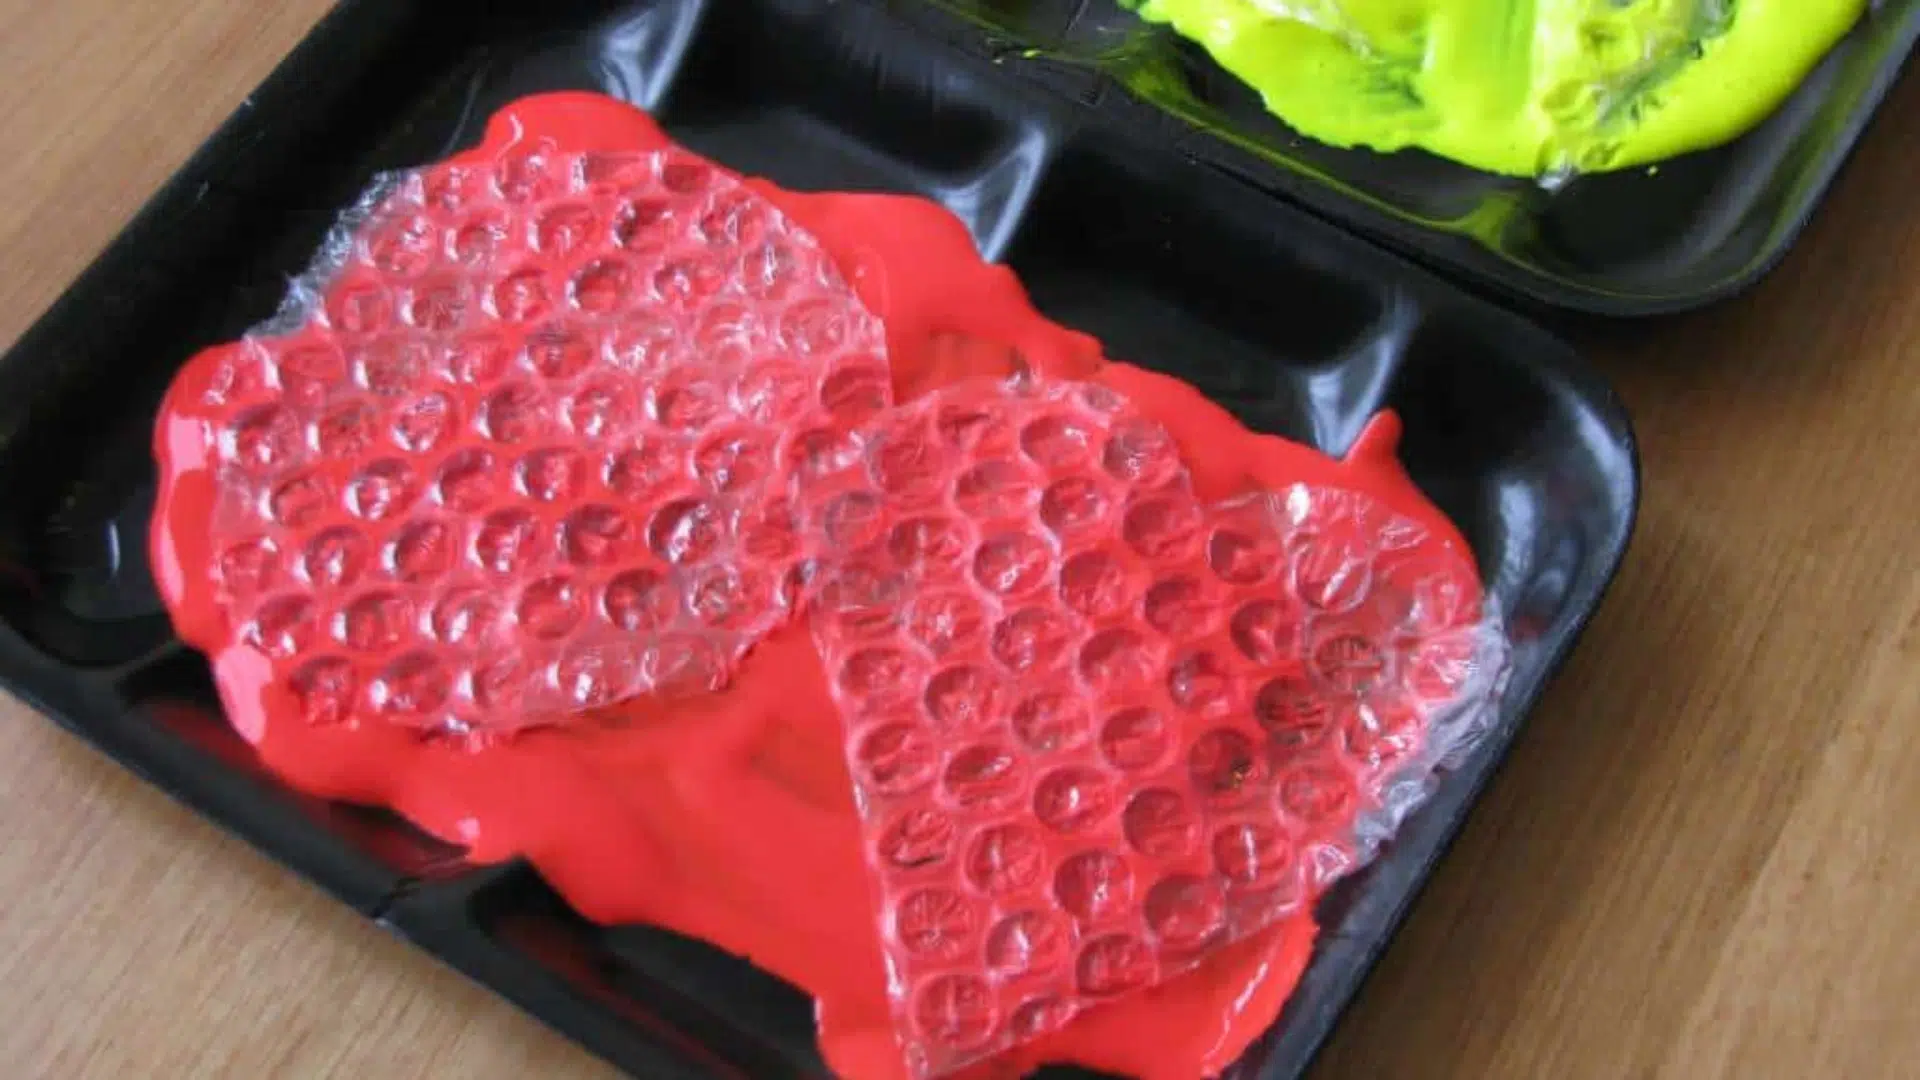
Help your child dip the bubble wrap gently into the paint. Press it lightly so the paint covers the bubbles but doesn’t fill them completely.
You can also use brushes to spread paint evenly across the bubble surface if needed.
Step 4: Press and Print on Paper
Place the painted bubble wrap face down on the paper. Press firmly but gently across the entire surface. Hold for a few seconds to let the paint transfer properly.
Lift the bubble wrap straight up to see the pattern. Kids love this reveal moment when they see their creation appear.
Step 5: Let Dry and Add More Layers
Allow the first layer to dry for a few minutes. Then repeat the process with different colors or patterns. Overlapping prints create interesting new designs and color combinations.
Once completely dry, your bubble wrap painting is ready to display or give as a gift.
Creative Bubble Wrap Painting Ideas
These fun ideas will keep your little ones busy while they create colorful masterpieces. Each activity is safe and simple for toddlers to enjoy.
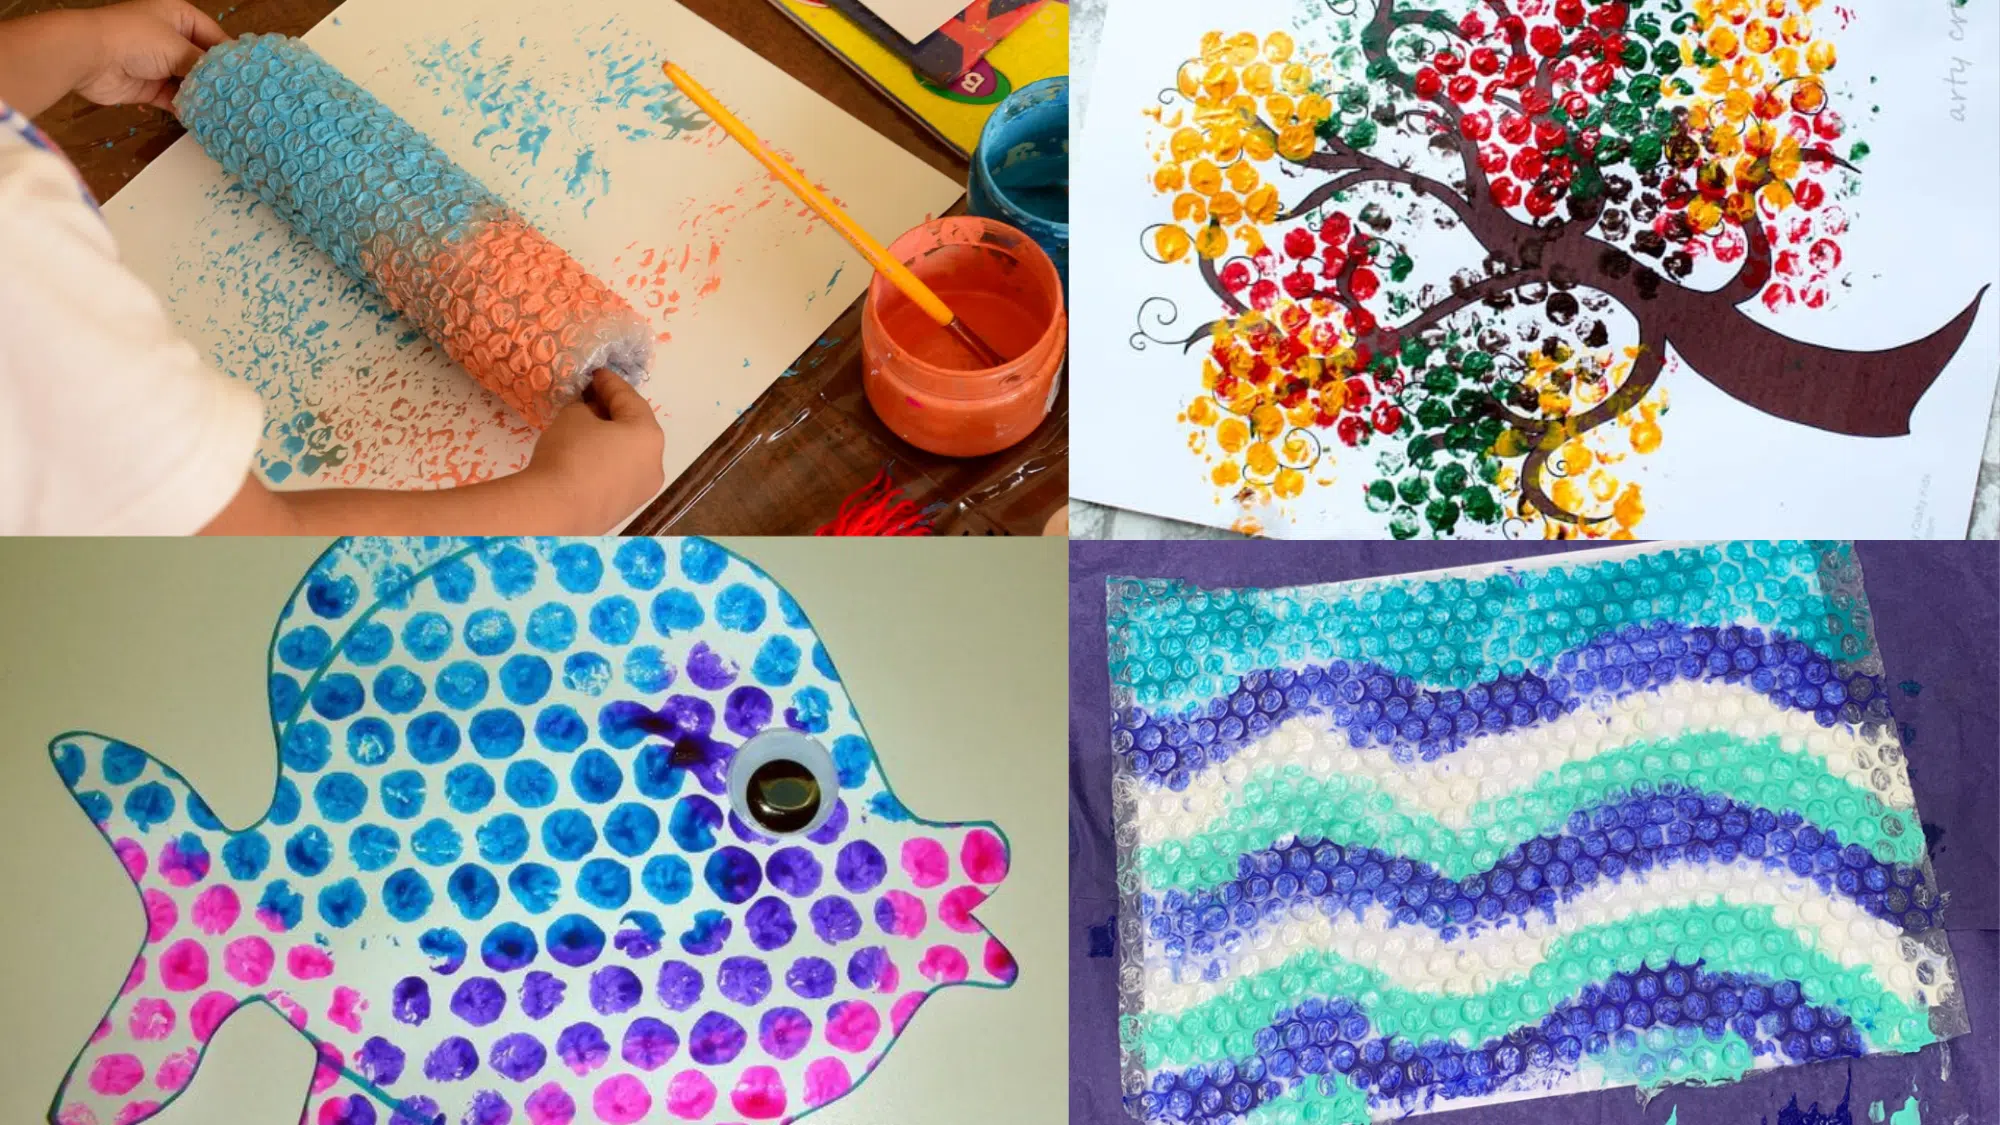
Bubble Wrap Stomp Painting
Wrap bubble wrap around your toddler’s feet, secure it with tape, and let them step into paint and then onto large sheets of paper.
This combines art with physical movement, allowing kids to create colorful patterns while enjoying the sensory experience of popping bubbles under their feet.
Rainbow Fish Scales
Cut bubble wrap into fish shapes and use bright blues, greens, and yellows. Press onto paper to make a fish with textured scales.
Add simple eyes with a finger dab of black paint after it dries.
Tree Leaves and Branches
Use green paint for the tree tops and brown paint for the tree trunks. Let toddlers press the bubble wrap randomly to create forest scenes. The bubbles look just like real leaves.
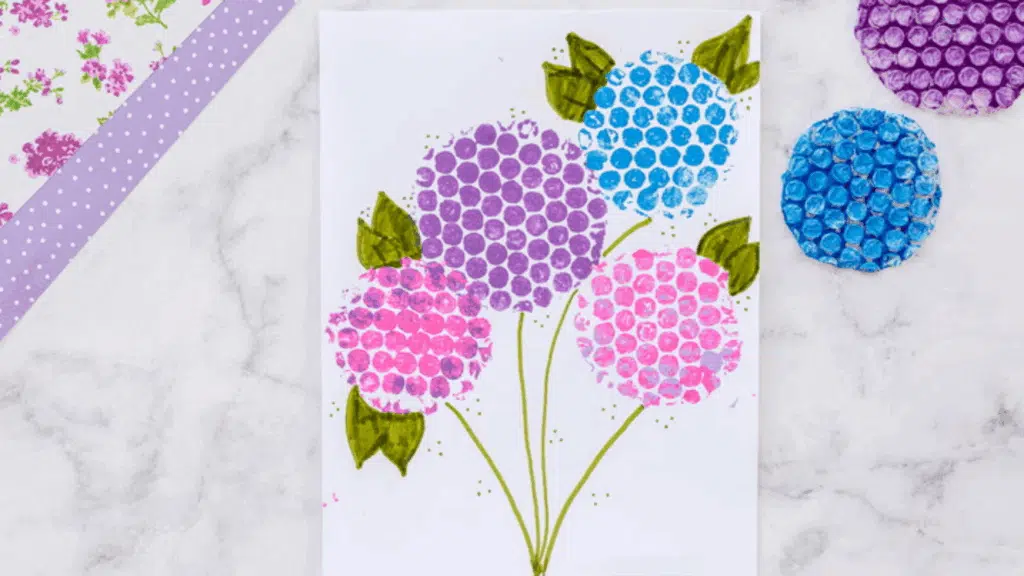
Flower Garden Prints
Roll small pieces of bubble wrap and dip in pink, purple, and red paint.
Press in circular motions to make flower heads. Use green paint on straight bubble wrap pieces for stems and grass.
Ocean Waves
Use blue and white paint on large pieces of bubble wrap. Show toddlers how to create wavy motions across the paper. The bubble texture looks like real ocean foam and waves.
Bubble Wrap Roller Painting
Attach bubble wrap around a rolling pin or a cardboard tube, secure it with tape, and let your child roll it through paint and then across paper.
This creates unique textures and patterns.
Wrapping Up
Painting offers parents a simple way to keep kids happy and creative. This activity combines art, science, and play in one mess-free project that children love.
Your kids now have a new skill they can use anytime they want to make something special.
The patterns they create will always surprise you with their unique beauty. Each painting session builds their confidence and artistic abilities.
What painting with bubble wrap idea will you try first with your little artist? Share your results and let other parents see the wonderful art your children can make.