Art lovers know the challenge of getting smooth, rich colors from colored pencils. Many artists struggle with creating depth and charm in their work, often leaving with flat-looking results despite their best efforts.
Burnishing colored pencils offers a solution to this common problem. This simple yet effective technique can change your colored pencil artwork by creating smooth color layers with stronger saturation and a polished finish.
This blog will show you the essential steps of burnishing with colored pencils. You’ll learn about useful tools, practical methods, and helpful tips to improve your colored pencil art.
We’ll break down the process into manageable parts so you can immediately start using this technique in your creative work.
Everything You Need to Know About Burnishing
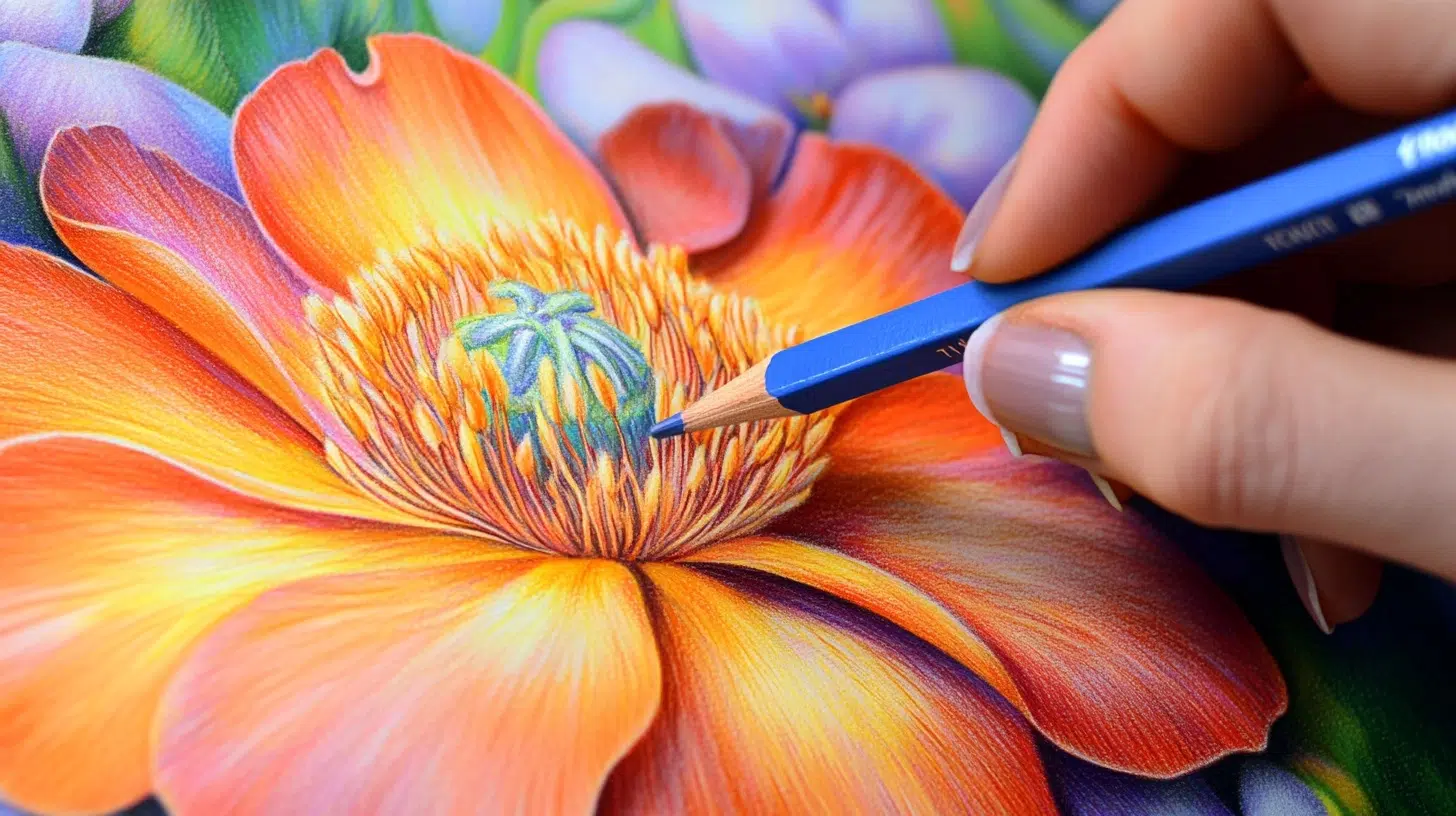
Burnishing is a colored pencil technique in which you apply heavy pressure to create smooth, glossy areas in your artwork. It involves pressing down firmly with your pencil to fill in all the paper’s tooth (texture) completely.
When you burnish, you compact multiple layers of colored pencil into the paper, removing any visible white spots. This creates a solid, polished look that resembles painting more than traditional drawing.
You can burnish using the same colored pencil, a lighter shade, a colorless blender, or even a white pencil. Each method produces slightly different results. The process works best on paper with some texture that can hold several layers of pigment.
Burnishing colored pencils typically comes later in your creative process after you’ve built up several light layers of color.
Essential for Effective Tools Burnishing with Colored Pencils
Burnishing is a powerful technique in colored pencil art that helps achieve a smooth, polished finish by blending and layering colors seamlessly.
To make the most of this method, having the right tools at your disposal is crucial. If you’re a beginner or a seasoned artist, these essentials can elevate your artwork from textured to luminous.
The following is a table outlining essential tools for effective burnishing colored pencils:
| Tool | Description |
|---|---|
| Colorless Blender Pencil | A wax-based pencil without pigment that smooths and merges colored layers without altering the hue. |
| White Colored Pencil | Useful for lightening and blending colors subtly, especially in lighter areas of the artwork. |
| Burnishing Pencil or Blender Marker | Specially designed for heavy blending; adds shine and fuses colors for a polished look. |
| Smooth Paper (Bristol or Hot Pressed) | The smoother the paper, the better the burnish; it prevents graininess and allows even application. |
| Soft Tissue or Cotton Swab | Great for gently buffing and blending larger areas to achieve a uniform, glass-like finish. |
Step-By-Step: Burnishing with Colored Pencils
Burnishing with colored pencils is an essential technique for achieving smooth, charming, and polished artwork. By mastering burnishing, you can eliminate the gritty texture of paper and blend colors seamlessly.
If you’re aiming for that rich, professional finish, understanding the different burnishing methods can truly change your colored pencil work.
Let’s jump into the essential steps to burnishing colored pencils effectively.
1. Build Base Layers Gradually
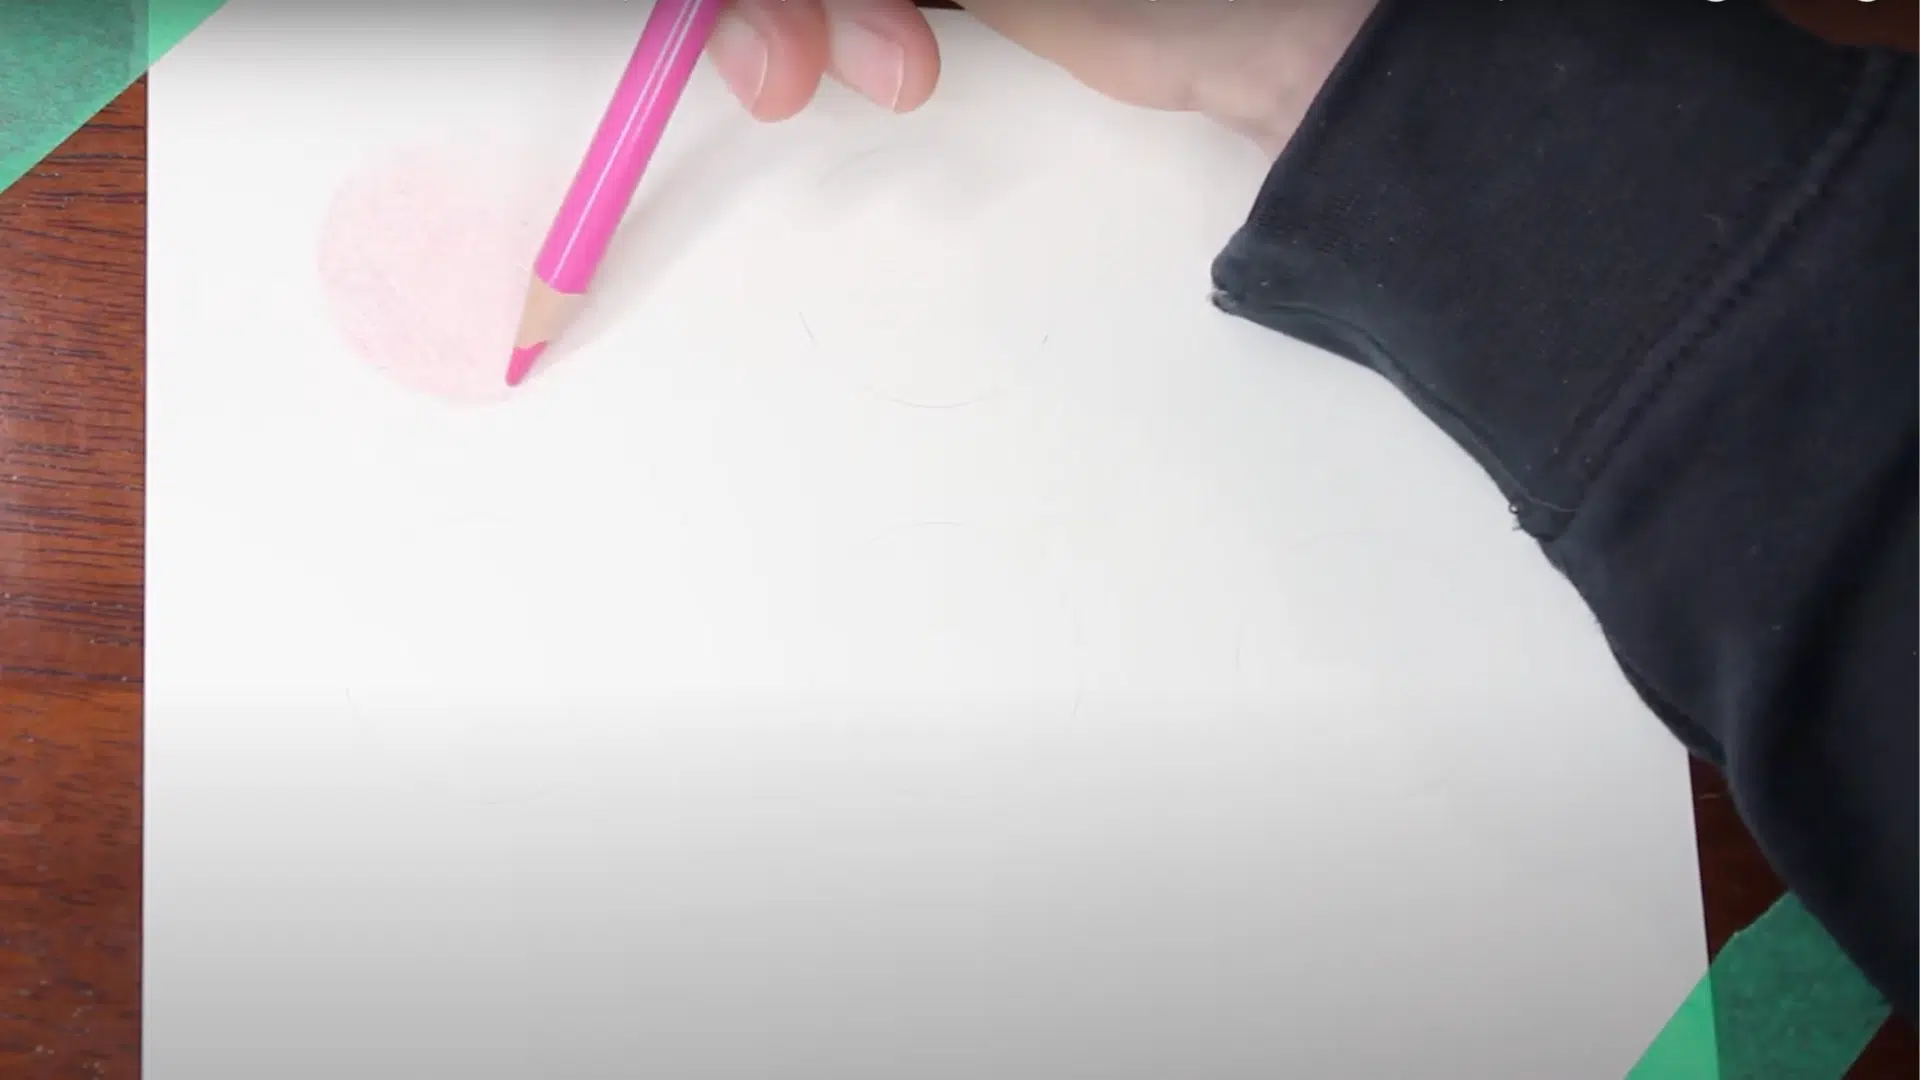
Start by laying down good base layers with light pressure, beginning from the lightest to the darkest colors. Gradually layering is crucial because jumping directly into heavy burnishing won’t allow colors to blend properly.
Without a strong base, your burnish will look patchy and uneven. Be patient while building layers for a flawless final look.
2. Burnish Using Existing Colors
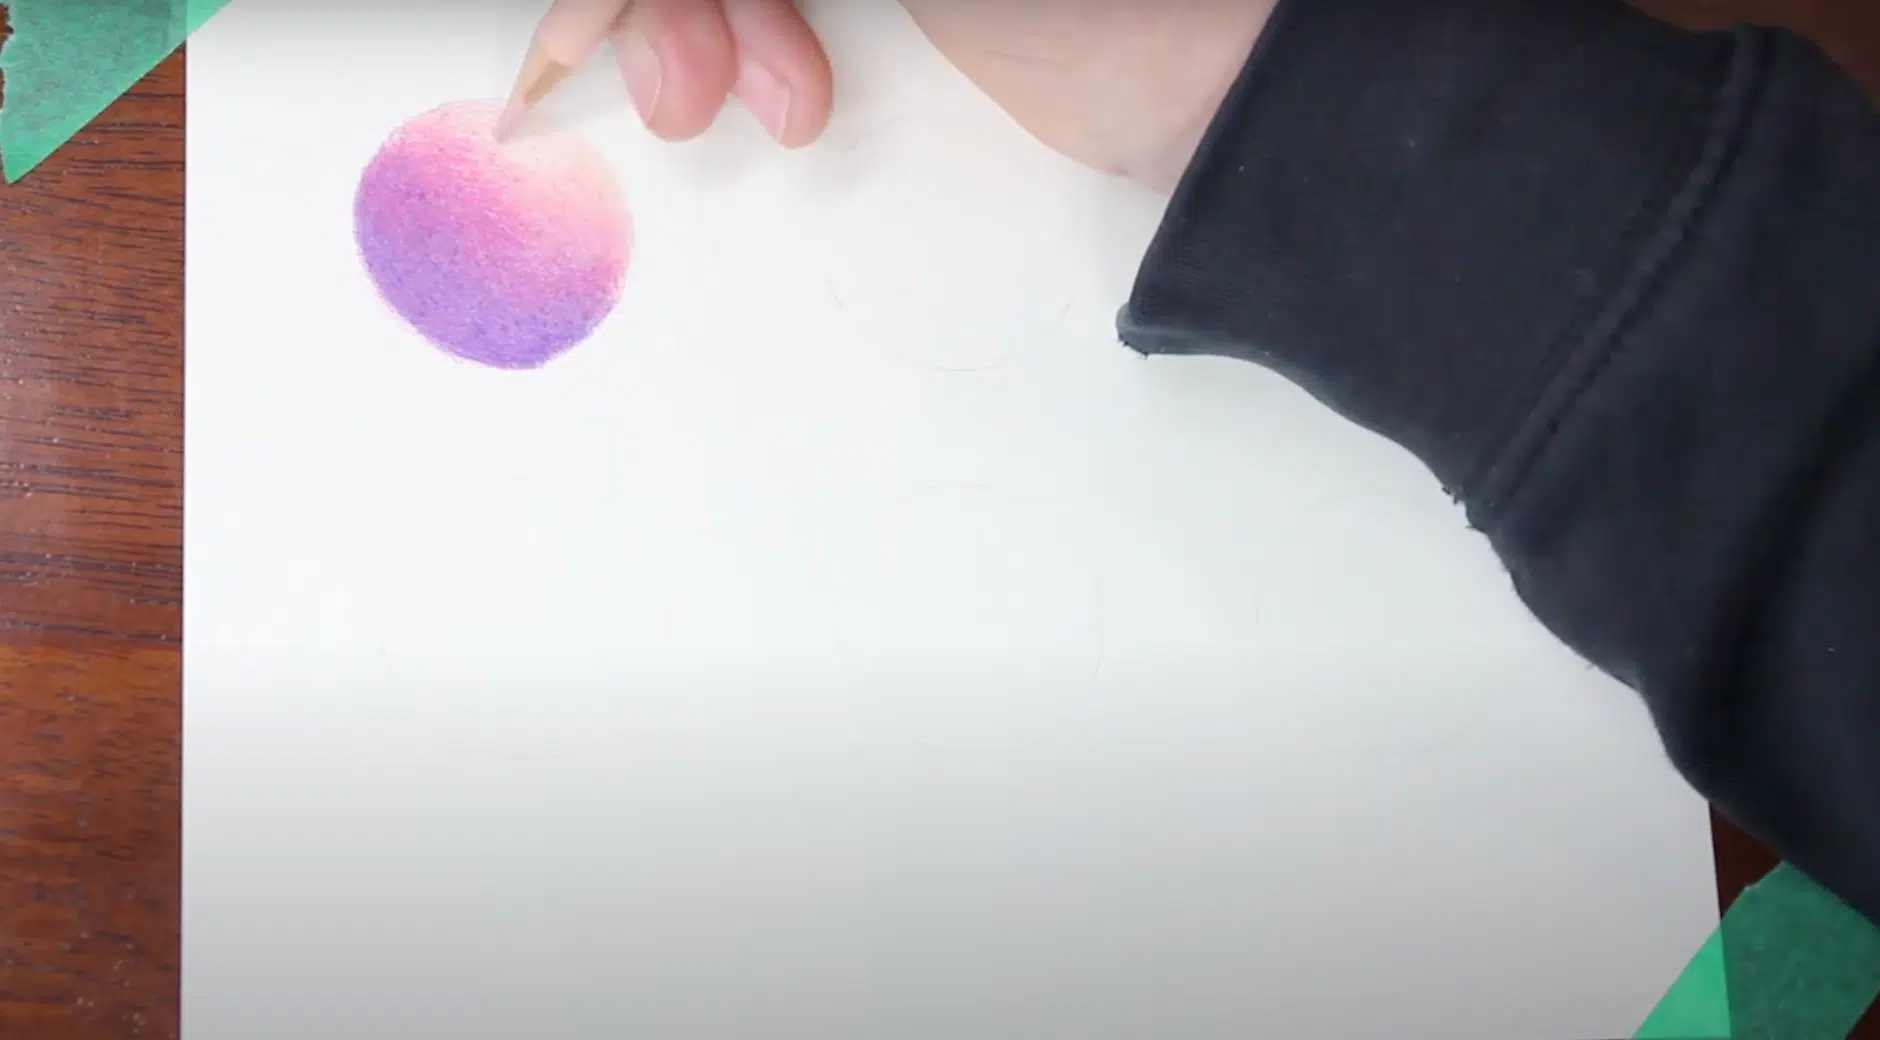
After building your base layers, continue layering with the same colors and gradually increasing pressure. Finish with a firm, heavy hand to push pigments into the paper fibers.
This technique produces rich, saturated hues while retaining the charm of your original colors. It’s one of the most common and effective ways to burnish with colored pencils.
3. Perform Saturation Burnishing with Neutral Colors
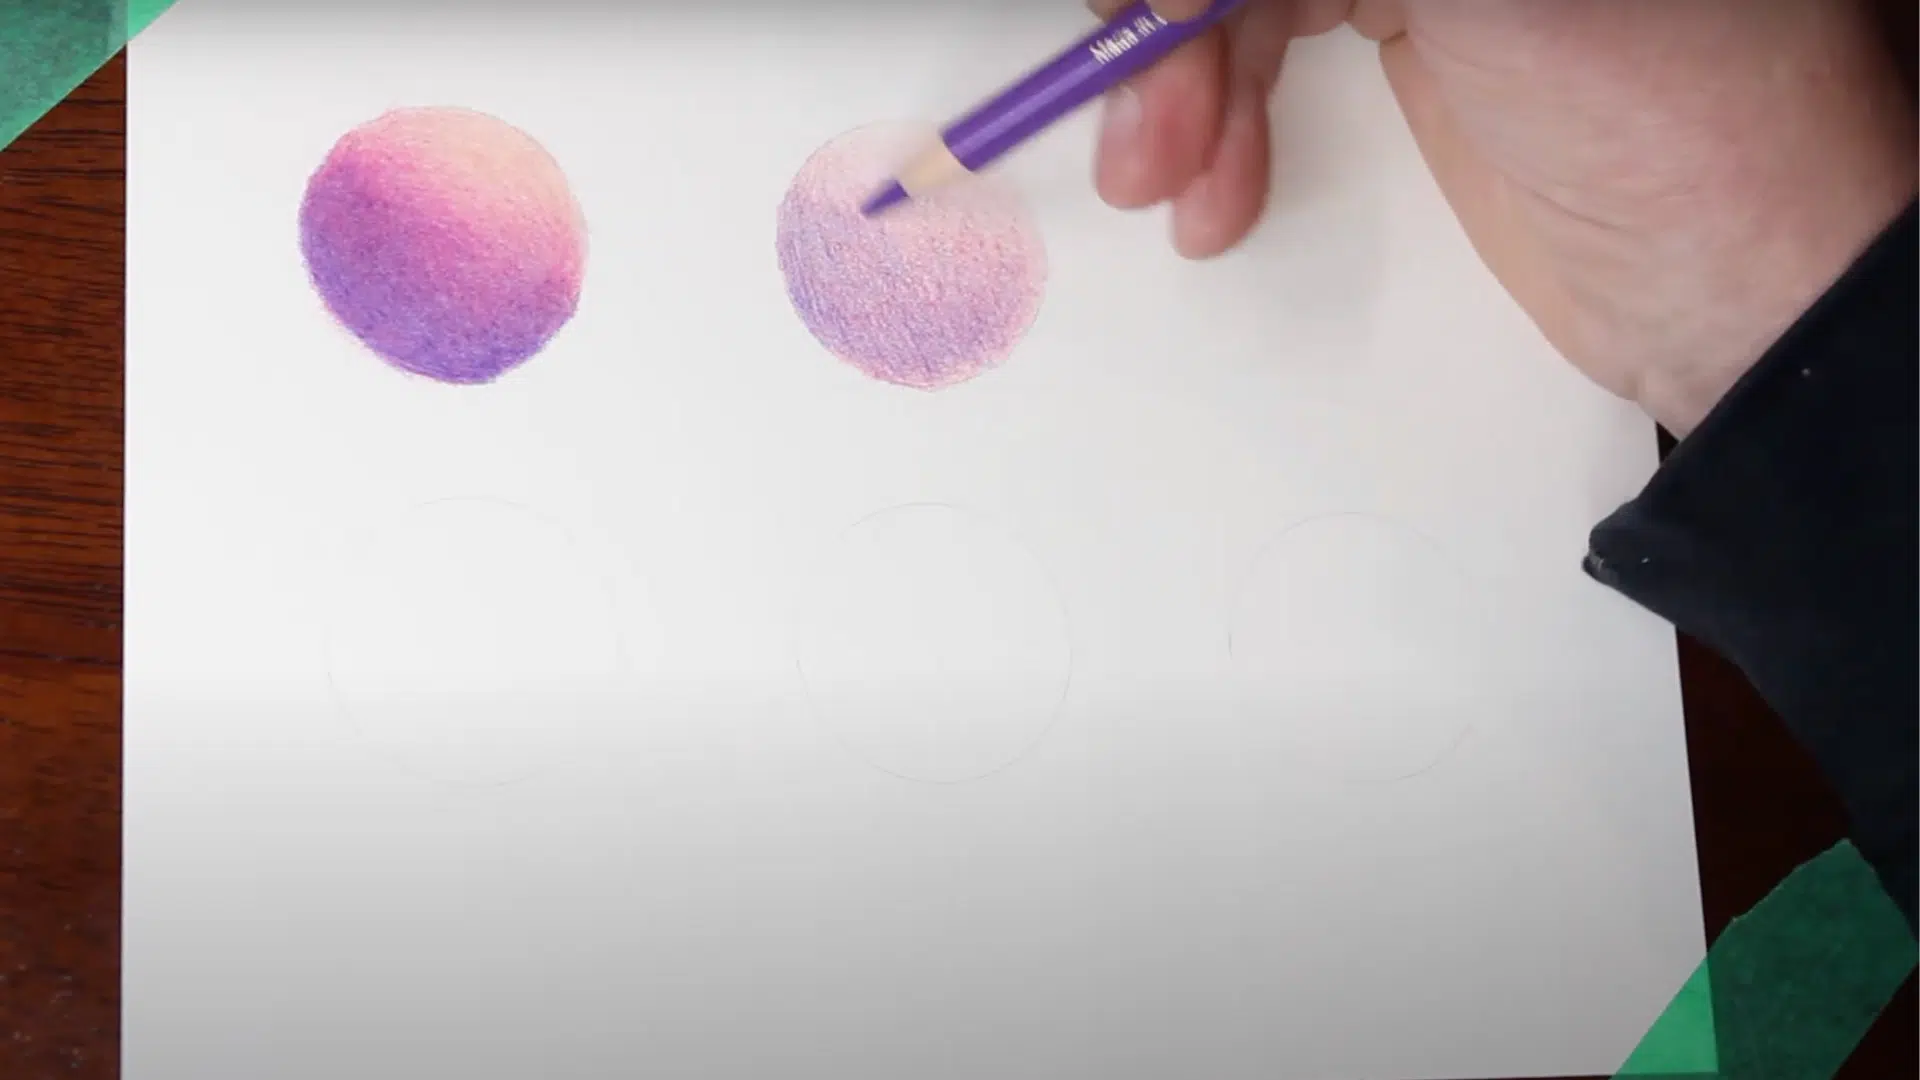
Saturation burnishing involves using neutral tones like white or warm gray over layered colors. Applying a white pencil mutes the charm and cools down the overall look, while a warm gray adds slight warmth.
This method is helpful when colors feel too intense and need softening, giving your artwork a more subtle, cohesive appearance.
4. Tonal Burnishing with Different Colors
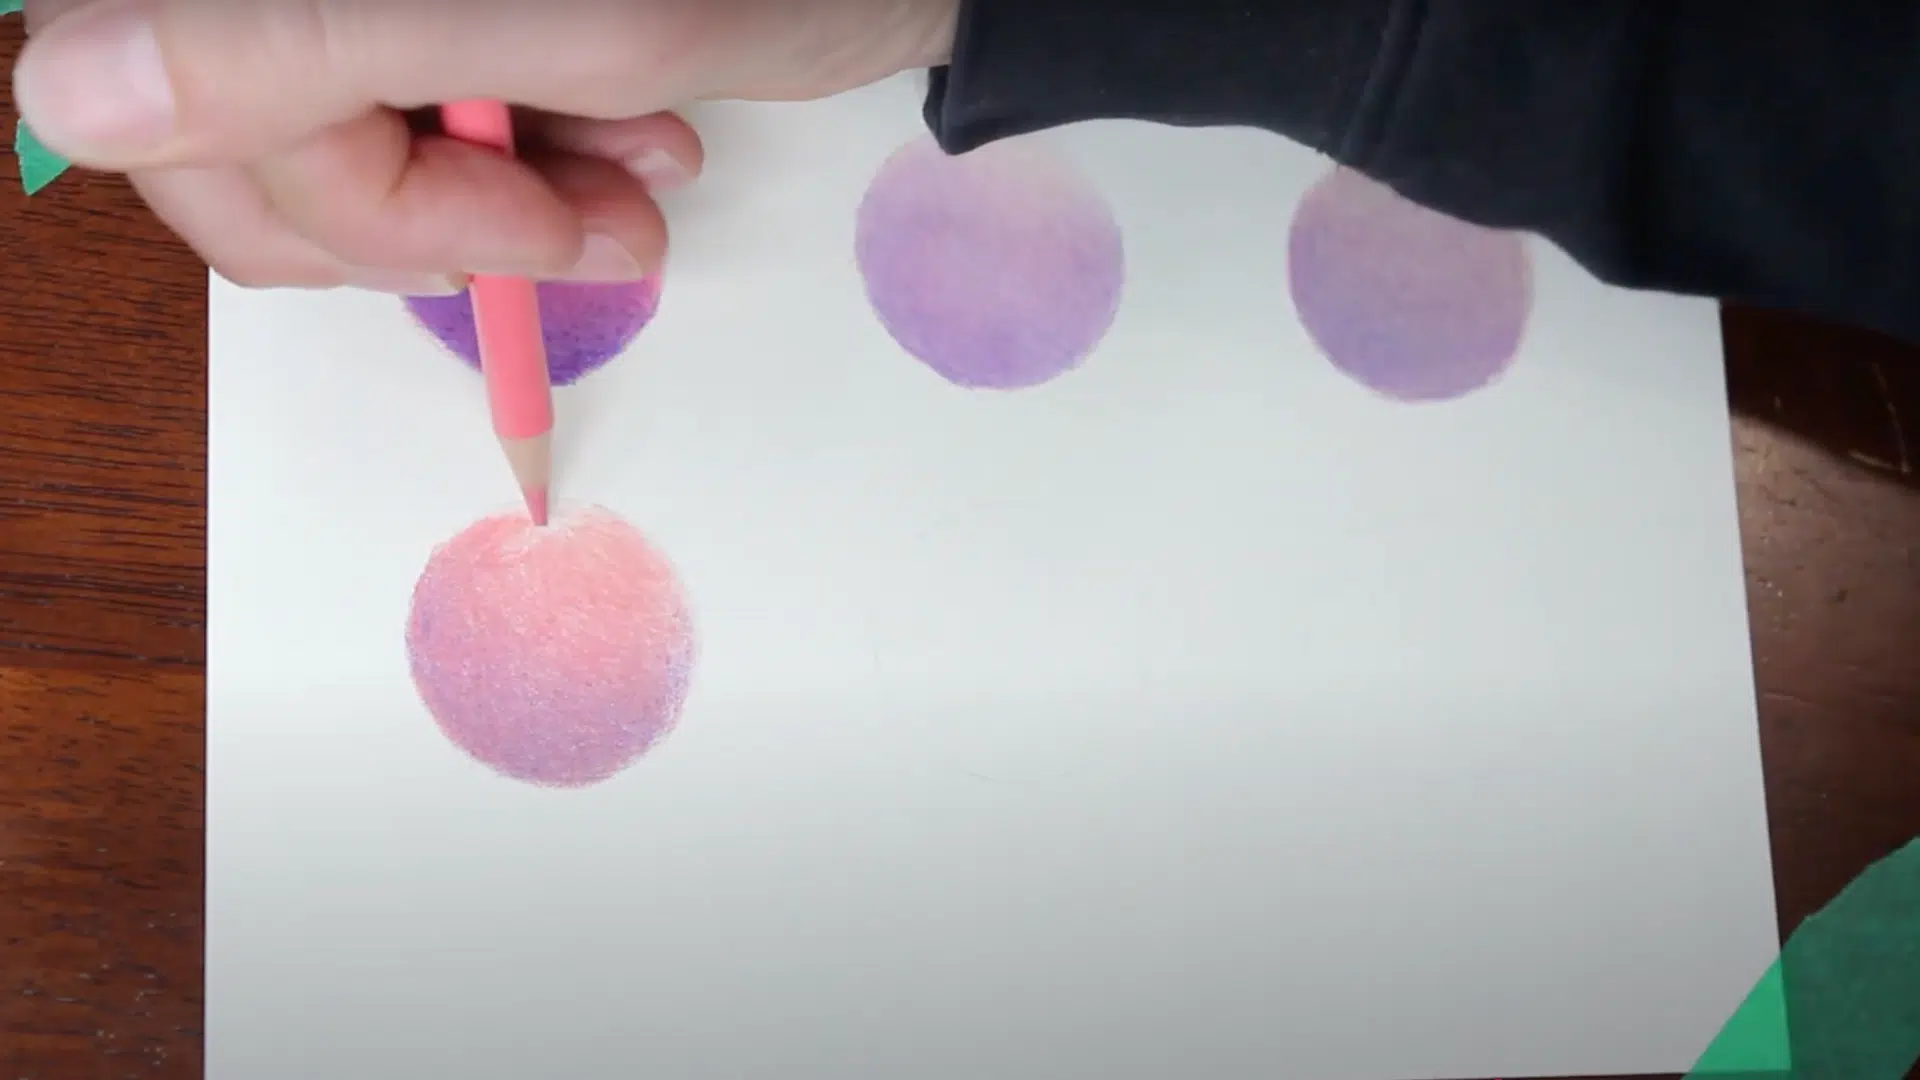
Tonal burnishing uses an entirely different color, not from your initial palette, to burnish your work. This approach allows you to alter the mood of your drawing by adding hints of light source colors or creating more harmony.
By carefully selecting the burnishing color, you can make subtle adjustments that elevate the realism and depth of your artwork.
5. Understand Effects of Different Tonal Choices
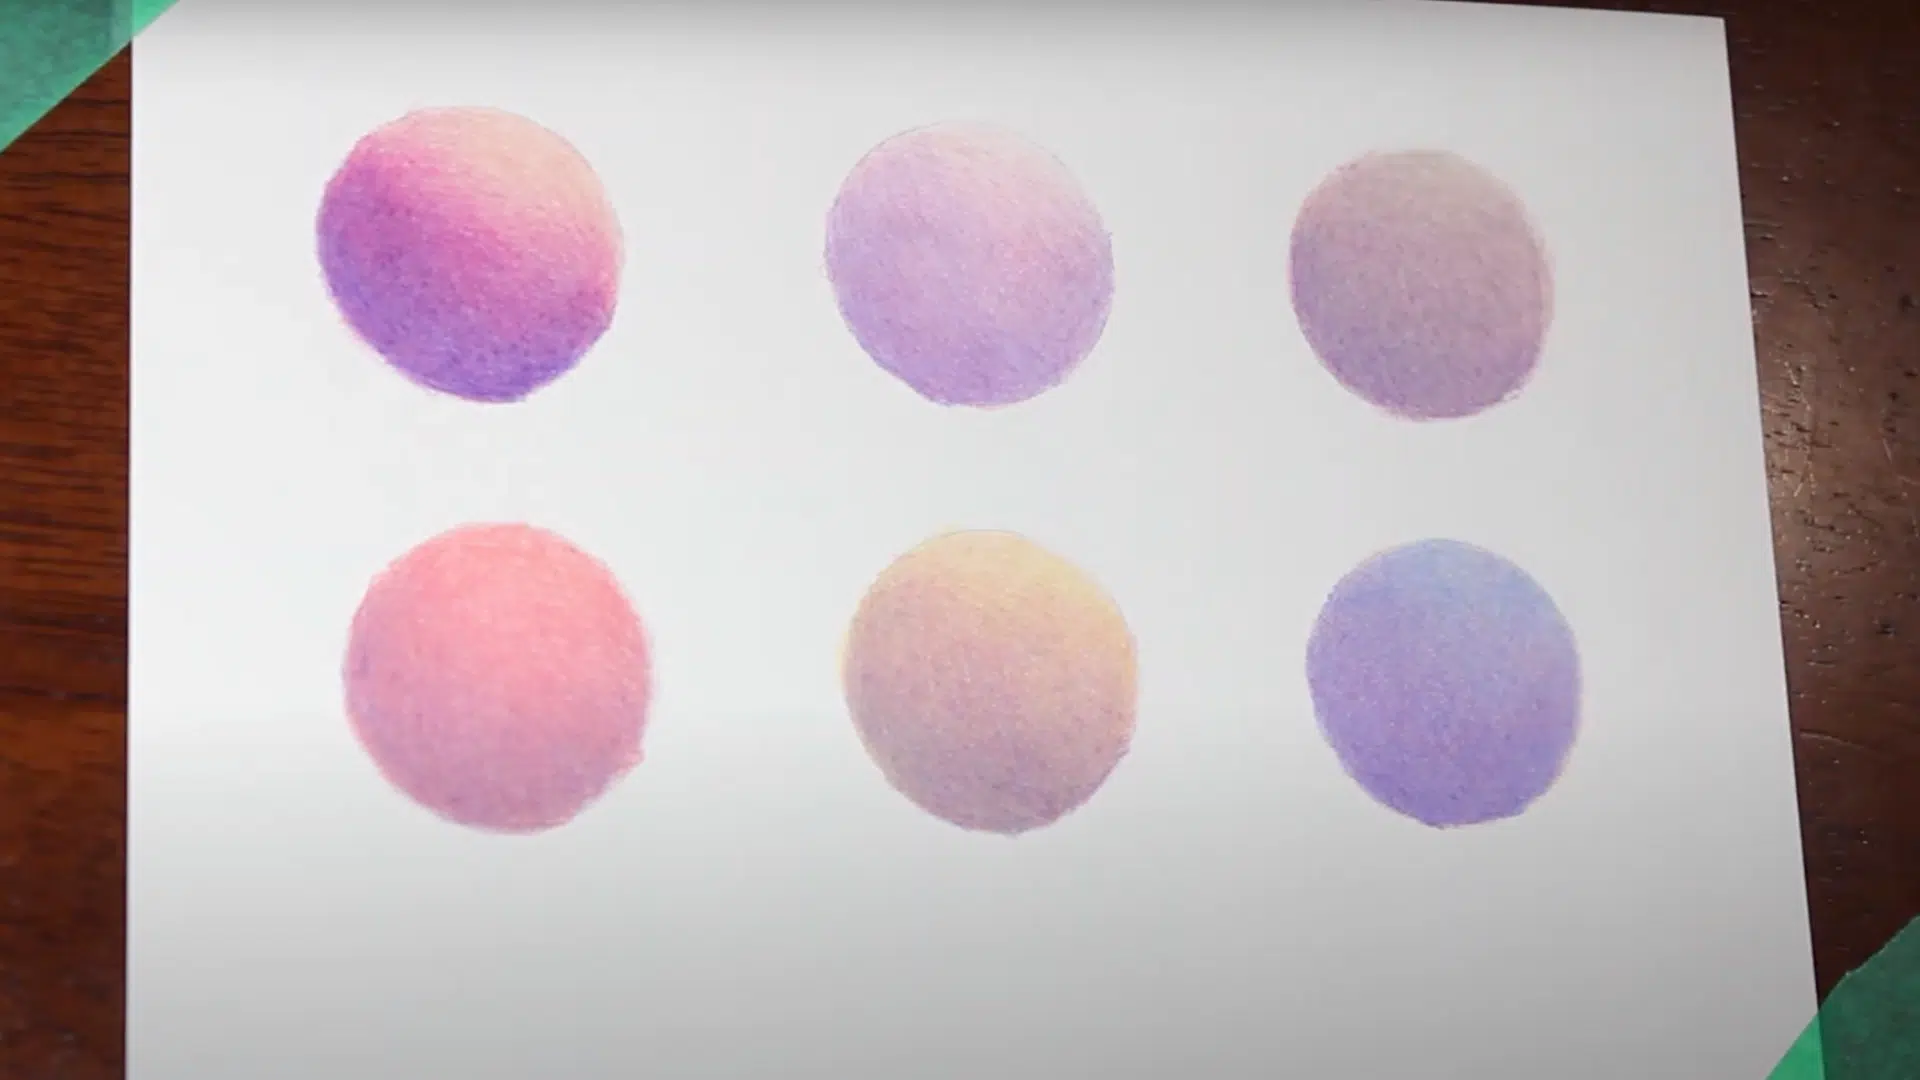
Experimenting with colors like salmon, cream, or sky blue during tonal burnishing shows how burnishing colors influence the final image.
Salmon blends subtly, cream warms and darkens the layers, and sky blue cools and evens out the values. Understanding how each hue modifies your work lets you make creative choices and adjust tones intentionally.
Tips to Master Burnishing with Colored Pencils
Burnishing changes colored pencil art with rich, smooth finishes. When done right, it creates a polished look that many artists aim for.
Here are key tips to help you perfect burnishing colored pencils.
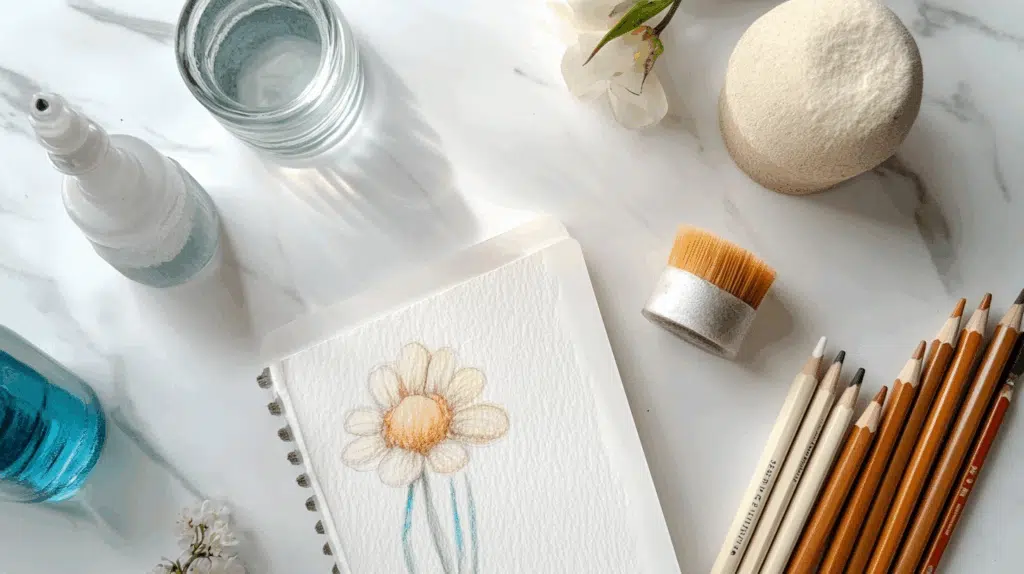
- Start with quality supplies: Use high-grade colored pencils with soft, waxy cores and sturdy paper with good tooth
- Build up layers gradually: Apply 3-5 light layers before burnishing for the best results
- Try different burnishing tools: Test colorless blenders, white pencils, and tortillons for varied effects
- work in small sections: Focus on limited areas to maintain control and prevent hand fatigue
- Burnish last: Save this technique for the final stages of your artwork
- Test on scrap paper first: Practice your pressure and technique before working on your main piece
- Keep pencils sharp: Maintain a good point for precise work in smaller areas
- Take breaks: Rest your hand occasionally to avoid cramps and maintain consistent pressure
- Protect finished work: Use Fixative Spray to Prevent Smudging After Completion
Wrapping It Up
Burnishing with colored pencils brings depth and smoothness to your artwork that basic coloring techniques can’t match. After trying the methods mentioned above, you’ll see a clear difference in your final pieces.
The most important takeaway is patience. Rushing through burnishing often leads to uneven results and smudges. Take your time with each layer and section.
Remember to focus on proper paper selection and pencil quality – these two factors impact your burnishing success more than almost anything else.
As you continue practicing, save examples of your work to track your progress. What seemed hard at first will become second nature.
Ready to start burnishing colored pencils? Grab your colored pencils, choose a simple design, and apply these tips. Your artistic skills will grow with each piece you complete.