
Ever wonder how teachers can manage a classroom without raising their voice?
Hand signals are the secret weapon that transforms chaotic classrooms into smooth-running learning zones.
These simple, powerful gestures help students communicate their needs quietly and effectively.
From asking to use the restroom to signaling confusion, these signals create a more respectful, efficient learning environment that empowers students and saves teachers’ sanity.
What Are Classroom Hand Signals?
Classroom hand signals are non-verbal cues used by students to communicate specific needs to the teacher without disrupting the flow of a lesson.
These simple gestures, like holding up fingers or making a specific motion, can represent common requests such as needing to use the restroom, asking for a tissue, requesting help, or needing a drink of water.
Teachers respond with a nod or a silent gesture, which keeps the class focused and minimizes interruptions.
Hand signals promote a more efficient, respectful learning environment by empowering students to express themselves quietly and clearly.
They are especially effective in managing large classrooms and encouraging student independence while maintaining a calm and organized space for learning.
Curious Why Hand Signals Work Wonders in the Classroom?
Imagine a student needing a pencil or a bathroom break-they flash a pre-taught hand sign, and the teacher acknowledges it with a nod.
No need to pause the lesson or call attention away from learning. This simple system enhances efficiency, fosters independence, and promotes a smoother classroom flow. It also supports students who may be shy or non-verbal, giving everyone a voice.
When used consistently, hand signals help reduce chaos, reinforce structure, and promote a more inclusive, focused learning environment.
They’re an innovative, practical tool every teacher can benefit from.
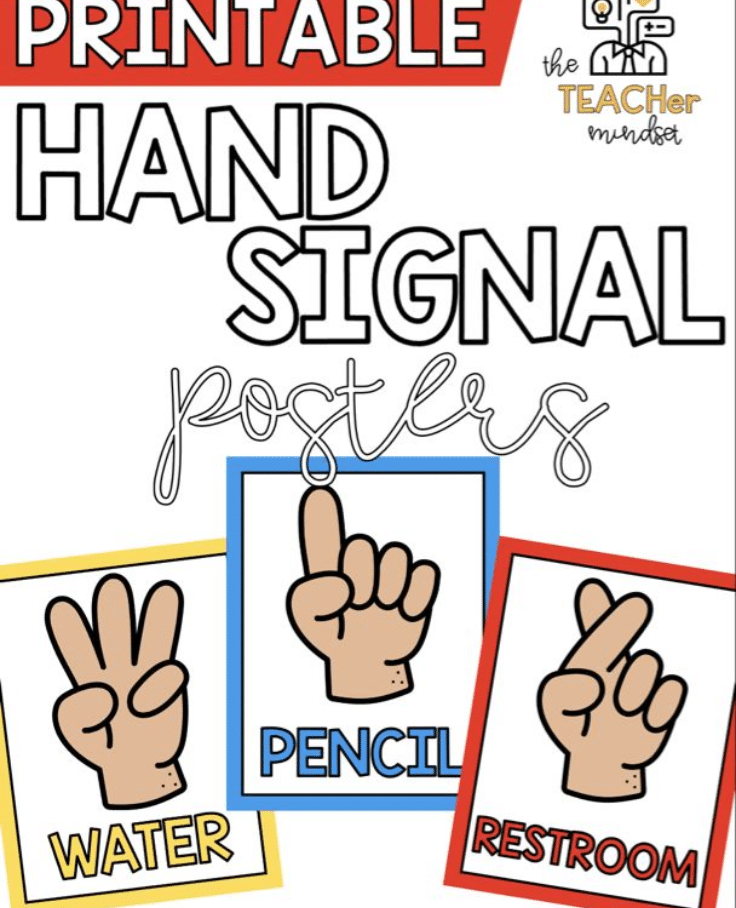
Free Hand Signal Posters & Materials
Looking to make classroom management smoother and more student-centered?
Hand signals are a simple yet powerful tool that helps students communicate their needs nonverbally, minimizing disruptions and keeping learning on track.
To support educators in bringing this strategy to life, we’ve gathered a variety of free, ready-to-use posters and printable materials you can start using right away.
Either you’re teaching kindergarten or middle school, you’ll find age-appropriate resources including:
1. Visual Posters
Credits: Pinterest
Click here to download the free PD
2. Editable templates
Credits: Pinterest
Click here to download the free PD
3. Desk cards
Credits: Pinterest
Click here to download the free PD
These resources are ideal for promoting independence, reducing interruptions, and building a respectful classroom environment. Download them for free and make hand signals an easy, effective part of your daily routine.
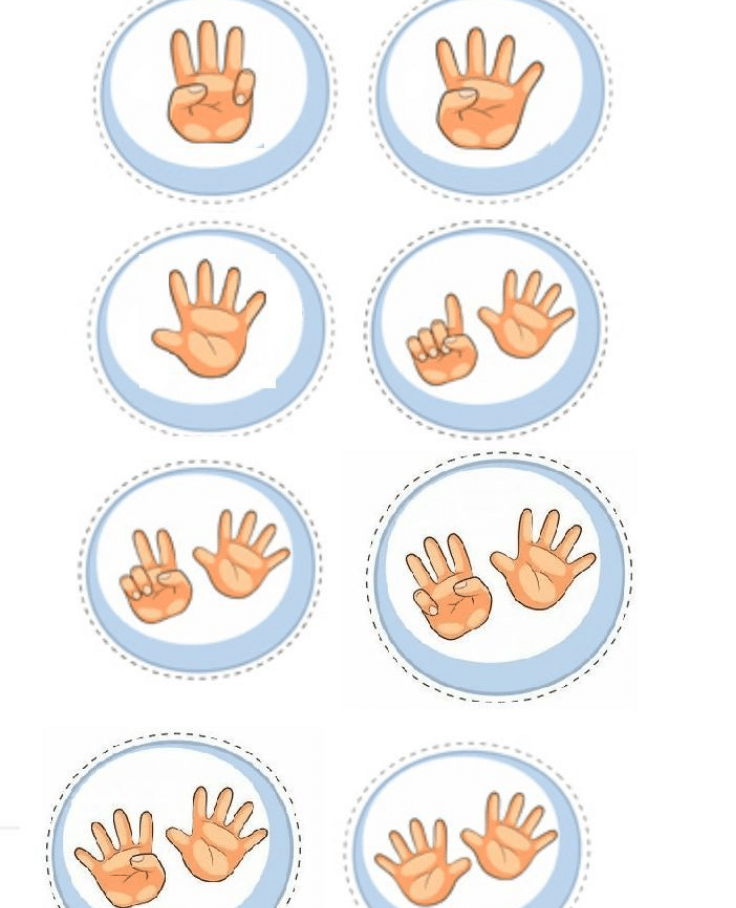
Common Hand Signals and What They Mean
Hand signals help streamline communication in the classroom without disrupting instruction.
Each signal is simple, clear, and easy to remember. Here are some commonly used signals and what they mean:
1. One Finger Up – “I Need to Use the Bathroom”

Students raise one finger to silently request a bathroom break. This avoids drawing attention or halting the lesson. Teachers can respond with a nod or hand gesture to approve or ask the student to wait.
2. Two Fingers Up – “I Need a Drink of Water”

Holding up two fingers signals a student’s request for a quick water break. It’s an efficient way to meet basic needs without disrupting instruction time.
3. Hand Raised Palm Out – “I Have a Question”

This traditional signal lets the teacher know a student needs clarification or help. It’s respectful and gives the teacher control over when to respond.
4. Crossed Fingers – “I Need a Pencil or Supply”

Crossing fingers often represents a need for materials like a pencil, eraser, or paper. It’s subtle and helps students avoid embarrassment if they’re unprepared.
5. Hand Waving Slightly – “I Need Help But It’s Not Urgent”

This gentle wave tells the teacher the student needs assistance but is willing to wait. It allows the teacher to manage help requests without interrupting the lesson flow.
How to Introduce Hand Signals to Your Students
Introducing hand signals to your students is a simple yet impactful step toward smoother classroom management.
To ensure success, it’s important to roll them out clearly and consistently so students understand their purpose and how to use them.
-
Start with a class discussion on why hand signals are helpful and how they’ll benefit everyone.
-
Demonstrate each signal clearly, showing the gesture and explaining what it means.
-
Use visual aids like posters or anchor charts to reinforce memory.
-
Practice together as a class through role-playing common situations.
-
Offer positive reinforcement when students use signals correctly.
-
Be consistent in responding to signals so students build trust in the system.
With time, students will adopt hand signals naturally, creating a more respectful and focused learning environment.
Conclusion
Imagine a classroom where students speak volumes without uttering a word.
Hand signals are more than just quiet communication-they’re a revolutionary approach to learning that empowers students and changes teaching dynamics.
These simple gestures break down barriers, create inclusive spaces, and facilitate smooth learning.
As education continues to innovate, hand signals prove that the most powerful communication often happens in complete silence.