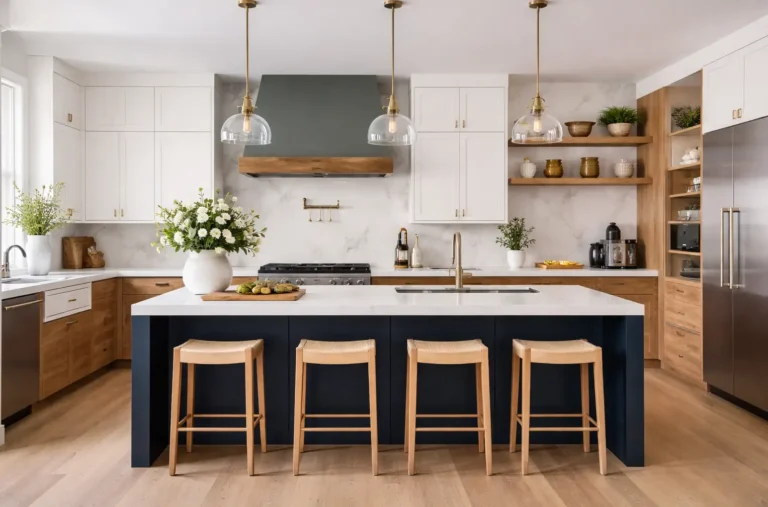
Many homeowners believe that ceiling updates are too expensive or require professional expertise. Not true! With some basic tools and a weekend of work, you can add these wood-look beams yourself.
In this post, we will guide you through my step-by-step method for creating and installing faux beams.
Ready to give your rooms a quick update that guests will notice? Let’s get started with these easy-to-make faux beams.
Everything You Need to Know About DIY Faux Beams
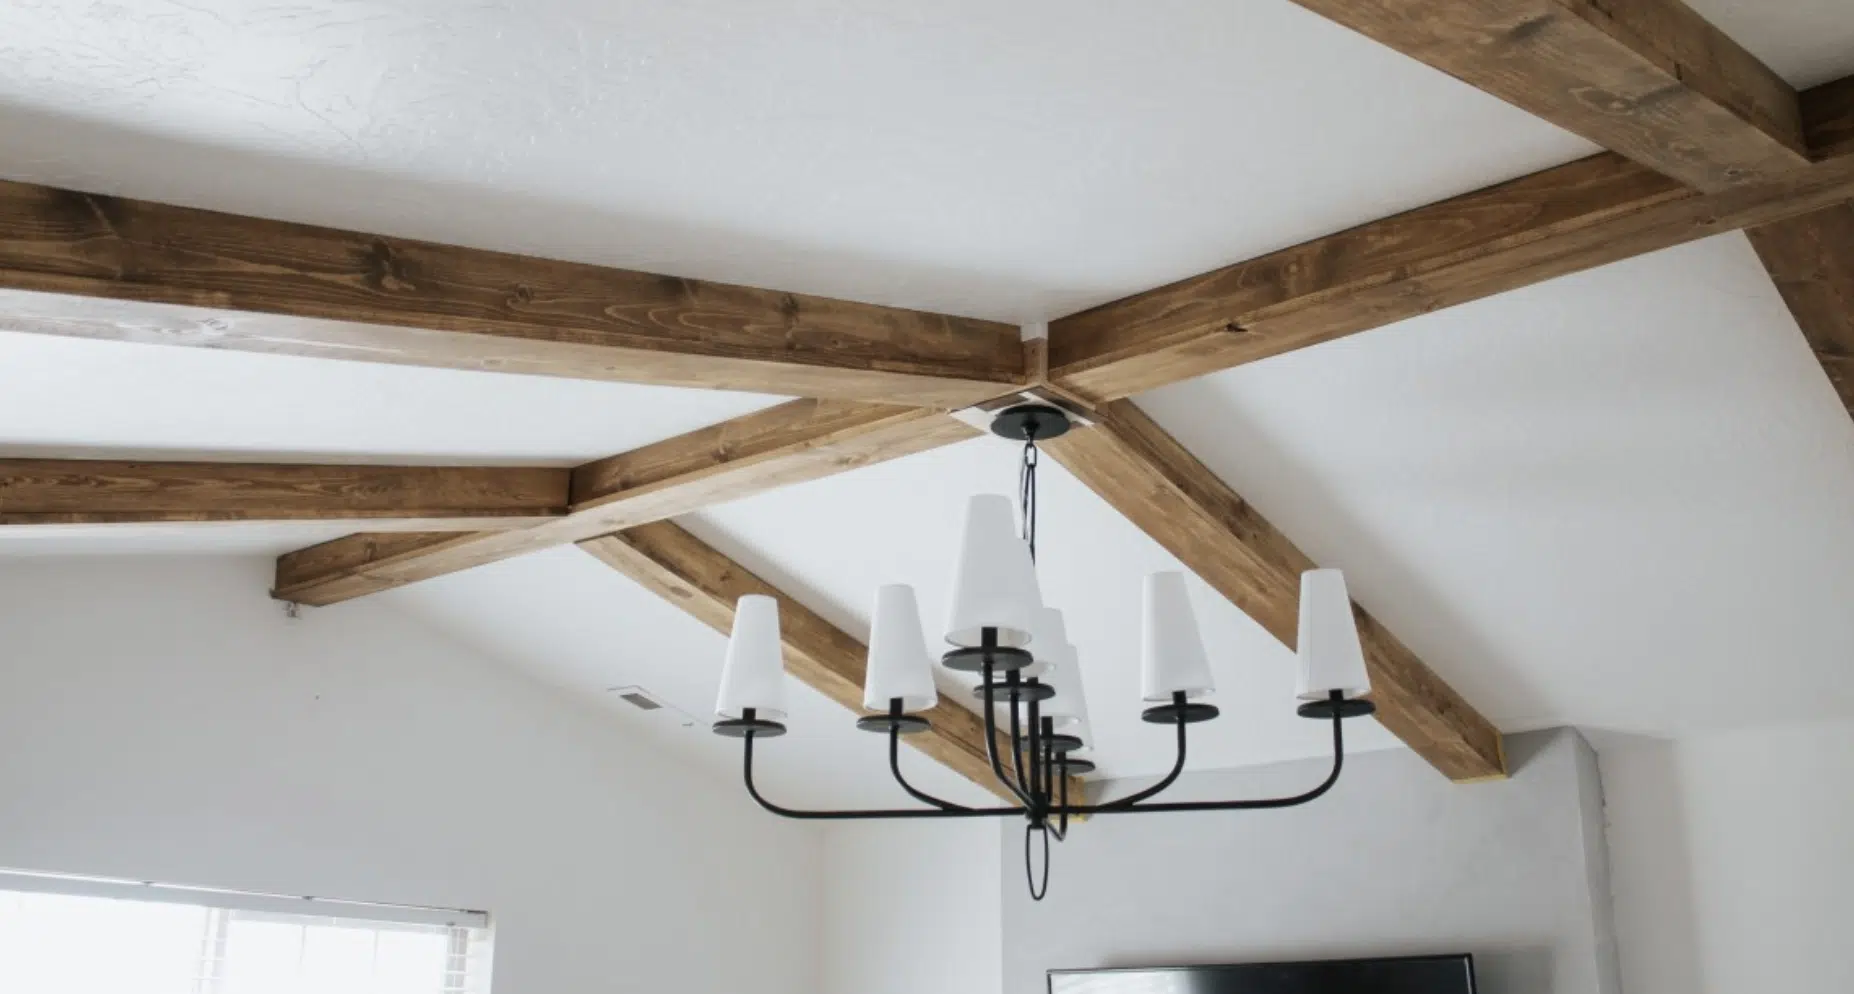
DIY faux beams are lightweight, hollow decorations that look like solid wood ceiling beams. The word “faux” simply means they’re not real structural elements.
These fake beams have gained fans among home improvers because they add warmth and style without the problems of real timber. You can make them from several materials – polyurethane, wood composites, or simple hollow boxes built from thin boards.
Unlike heavy wooden beams that might need wall reinforcement, these light options attach right to your existing ceiling with basic brackets or cleats.
This gives you the power to change your room’s whole look without tearing into walls or hiring builders.
Tools and Materials Needed
| Tools | Materials |
|---|---|
|
Miter Saw |
14-foot by 12-inch wooden boards (e.g., Knotty Pine) |
| Brad Nailer or Stapler | Wood Glue |
| Screwdriver | Wood Putty |
| Sanding Block or Power Sander | Early American Minwax Stain |
| Clamps | Minwax Polyurethane |
| Measuring Tape | Scrap Wood for Support Blocks |
| Caulking Gun (optional) | Fasteners (Staples, Nails, or Screws) |
| Straps for Transport | Painter’s Rags |
Total Estimated Budget
- Low End: ~$400
- High End: ~$1,050.
If you already own major tools (such as a miter saw, sander, or stapler), your cost could drop drastically, potentially by around $100–$250 for just the materials.
DIY Faux Beams: A How-To
Faux beams add warmth and character to plain ceilings without the weight or cost of real wood beams. This weekend project can turn a flat, boring ceiling into a statement feature with just basic tools and materials.
1. Prepare Space

Begin by selecting sturdy boards, preferably 14 inches by 12 inches in size. Cut each board at a 45-degree angle using a miter saw to create clean, seamless joints.
Ensure that you measure carefully before cutting to minimize waste and maintain precision.A hollow box with an inner opening slightly larger than your structure (approximately 10 x 5 inches) will allow for easy fitting.
2. Cut and Arrange Face and Side Boards

Cut four side boards with 45-degree miters. Cut two face boards with two 45-degree angles each. Double-check the dimensions to maintain symmetry and a snug fit.
Arrange boards on a flat surface to visualize the beam structure before assembly.
3. Glue Generously for A Strong Bond

Apply a generous amount of wood glue to all mitered edges.
Think of glue here as both a bonding agent and a gap filler: you want it to squeeze out a bit for a flawless, void free surface. Use clamps to hold pieces firmly while the glue sets.
4. Assemble and Fasten the Beam Frame

Align your pieces carefully to keep miters tight. Use staples, brad nails, or screws for securing the boards. Sink fasteners below the surface to hide them later with putty.
Periodically check alignment to avoid surprises when flipping the beam. After securing, apply a bead of glue inside, similar to caulking, to ensure extra bonding.
5. Blend the Miters and Fill Imperfections
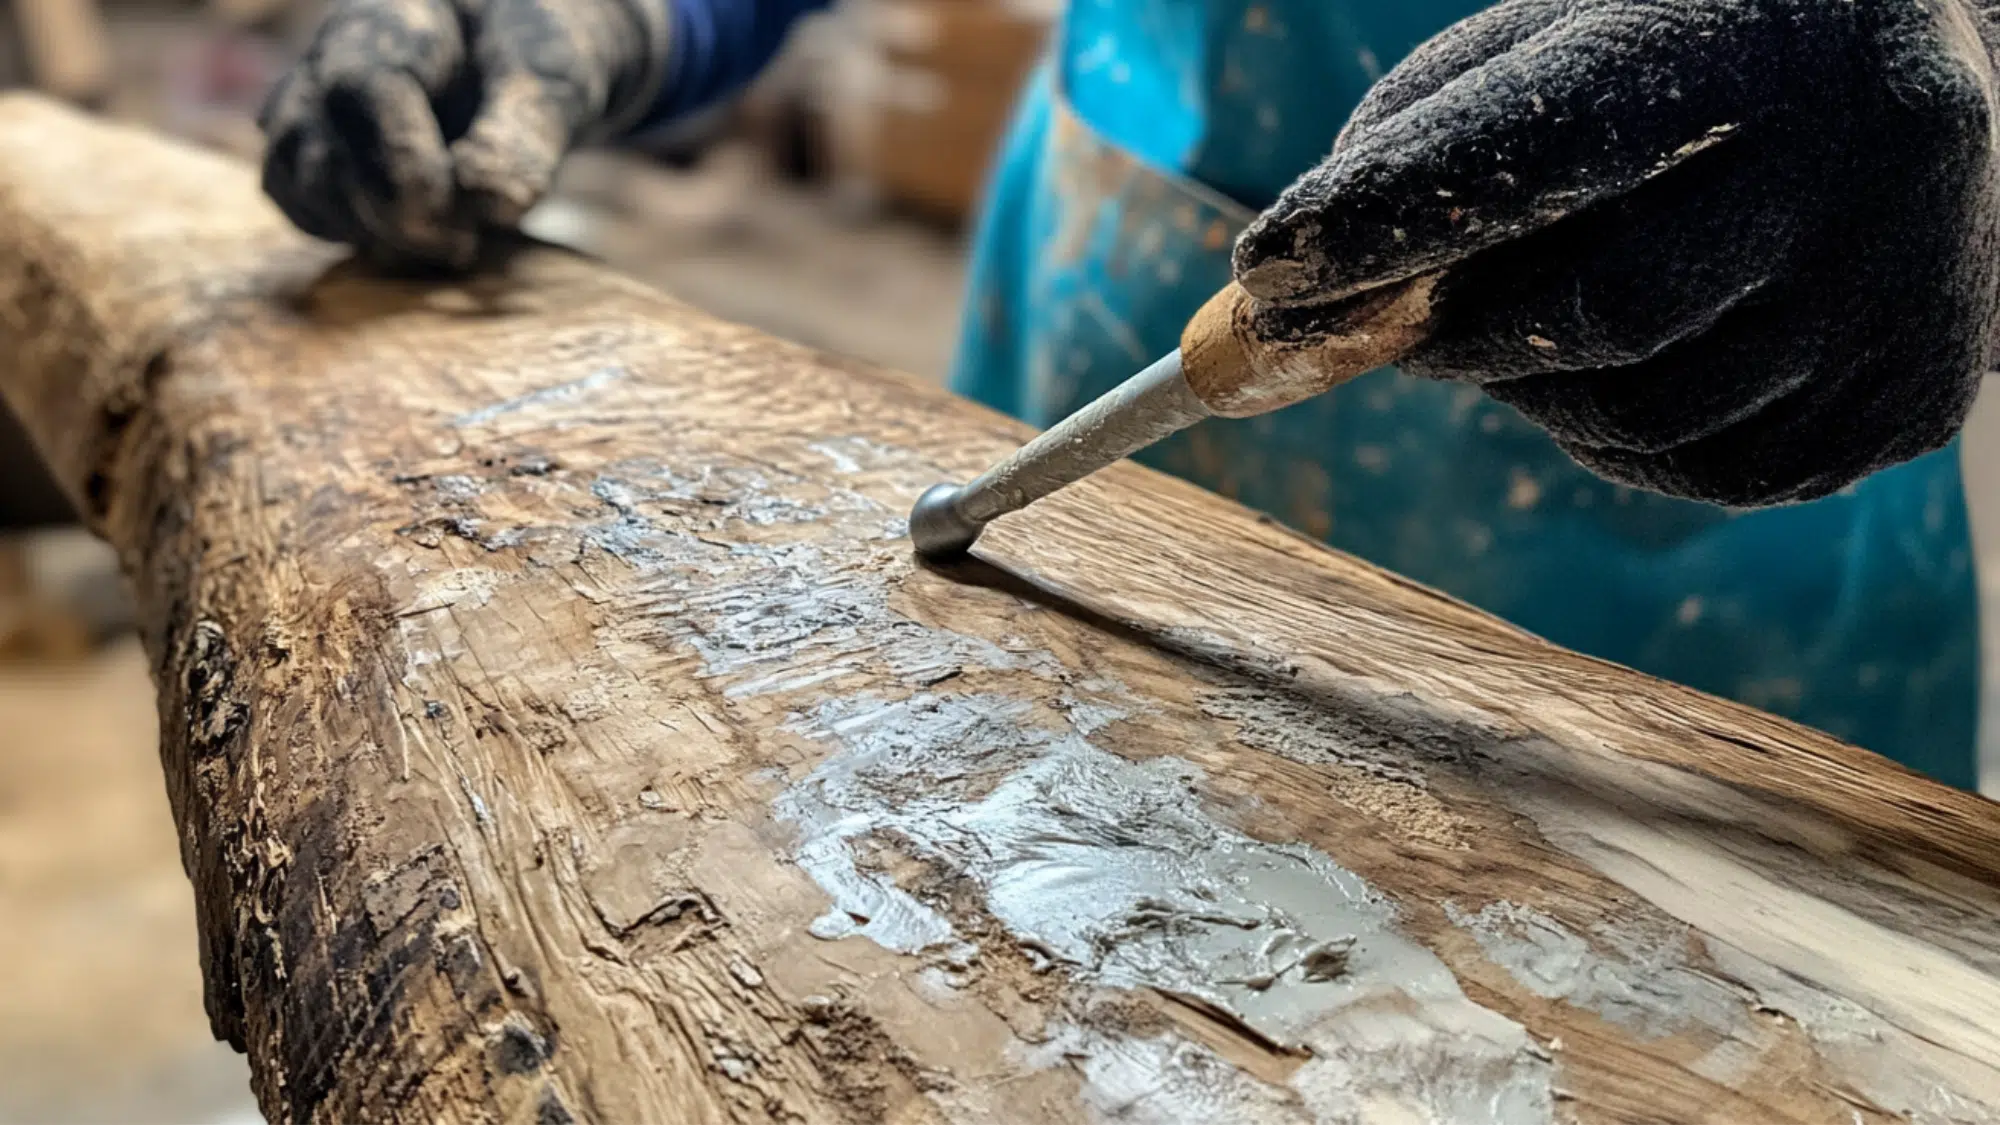
Once the beam is secured, use a rounded screwdriver to gently blend the mitered fibers. Fill all fastener holes with wood putty.
Allow putty to dry thoroughly before proceeding. This technique helps the joints look natural and almost disappear after sanding and finishing.
6. Sand for a Seamless Finish

Sanding is crucial! Spend extra time here, Sand the entire surface to create a smooth, continuous timber look. Pay special attention to the mitered joints.
Remove any excess putty and even out glue spots. A well-sanded beam will make the finish coat look even more professional.
7. Stain and Seal Your DIY Faux Beam
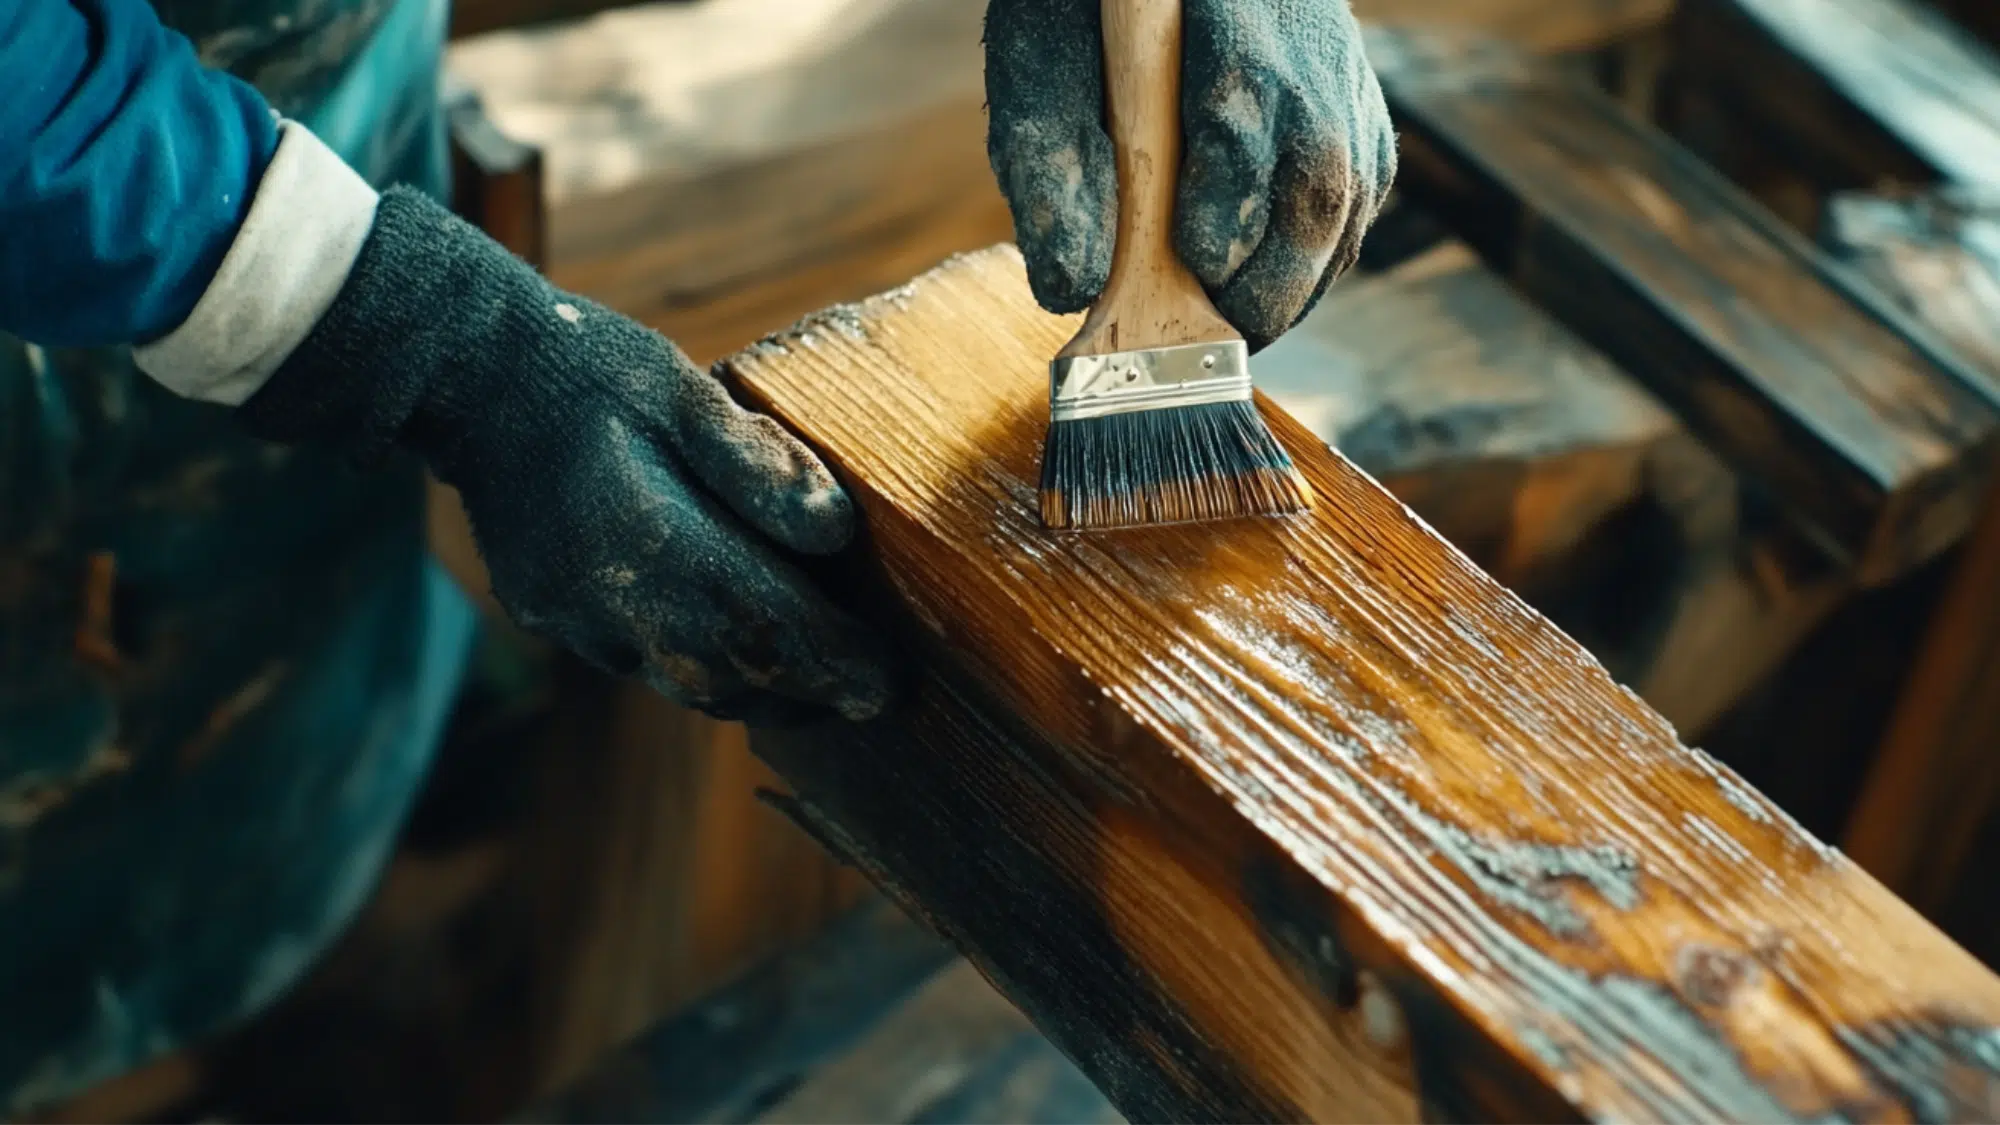
Select a stain color that complements your space, such as Early American by Minwax, which works beautifully. Apply stain generously, then wipe off excess for a consistent tone.
Once dry, apply 2 or 3 coats of polyurethane, sanding lightly between each coat for a glossy, durable finish. Allow the Beams to Dry Completely Before Installation to Prevent Fingerprints or Damage.
8. Transport and Install with Care

Use support blocks when transporting to prevent crushing your new beams.
During installation, attach one side of the beam securely first. Gradually press the other side up to counteract any roof bowing. Adjust as needed to ensure a flush, perfect fit. Patch any visible gaps with scrap material for a polished look.
For more details on how to create DIY faux beams, refer to this YouTube video below:
Benefits of Installing DIY Faux Beams
Faux beams bring charm and character to your home without the hefty price tag of real wood.
These lightweight options can be installed in a weekend without special structural support, making them perfect for DIY fans.
Key advantages:
- Instant charm – Transform plain ceilings into striking features that suggest craftsmanship and history
- Budget-friendly – Costs much less than real timber beams while creating the same visual impact
- Style flexibility – Stain, paint, or distress to match any design from farmhouse to modern
- Simple installation – Light enough for one person to handle using basic tools like brad nailers and glue
- Problem-solver – Cleverly hide wiring, pipes, and ceiling flaws while adding architectural interest
- Value booster – Add perceived quality and custom touches that help your home stand out to buyers
Conclusion
Like a plain canvas changed with just a few brushstrokes, faux beams can transform an ordinary ceiling into something remarkable.
Now that you understand the benefits and the basic process, the next step is to gather materials and set aside a weekend. Your ceiling awaits its makeover.
Remember that even small changes can significantly alter the way a space feels. Whether in a living room, kitchen, or bedroom, these lightweight additions bring warmth and character without structural complications.