Fall brings shorter days and cooler weather, leaving many parents wondering how to keep their little ones engaged indoors.
Traditional crafts often focus on perfect end results, which can frustrate young children who are still developing their fine motor skills. Process art offers a refreshing alternative that celebrates creativity over perfection.
This blog will show you simple fall-themed process art activities that focus on learning and fun rather than finished products.
Your kids will love getting messy while learning about autumn colors, textures, and seasonal changes.
How Can Process Art Improve Creativity in Children?
Process art is an approach where children focus on creating rather than making something specific. Kids choose their materials, colors, and techniques without following set instructions.
There’s no right or wrong way to do it. The experience of making art matters more than what the finished piece looks like.
This approach builds confidence and natural creativity.
- Encourages kids to think outside the box and try new approaches to problem-solving
- Builds self-confidence as children make independent choices about their artwork
- Develops fine motor skills through hands-on manipulation of different art materials
- Strengthens decision-making abilities as kids choose colors, tools, and techniques on their own
Creative Crafts for Fall Process Art Activities
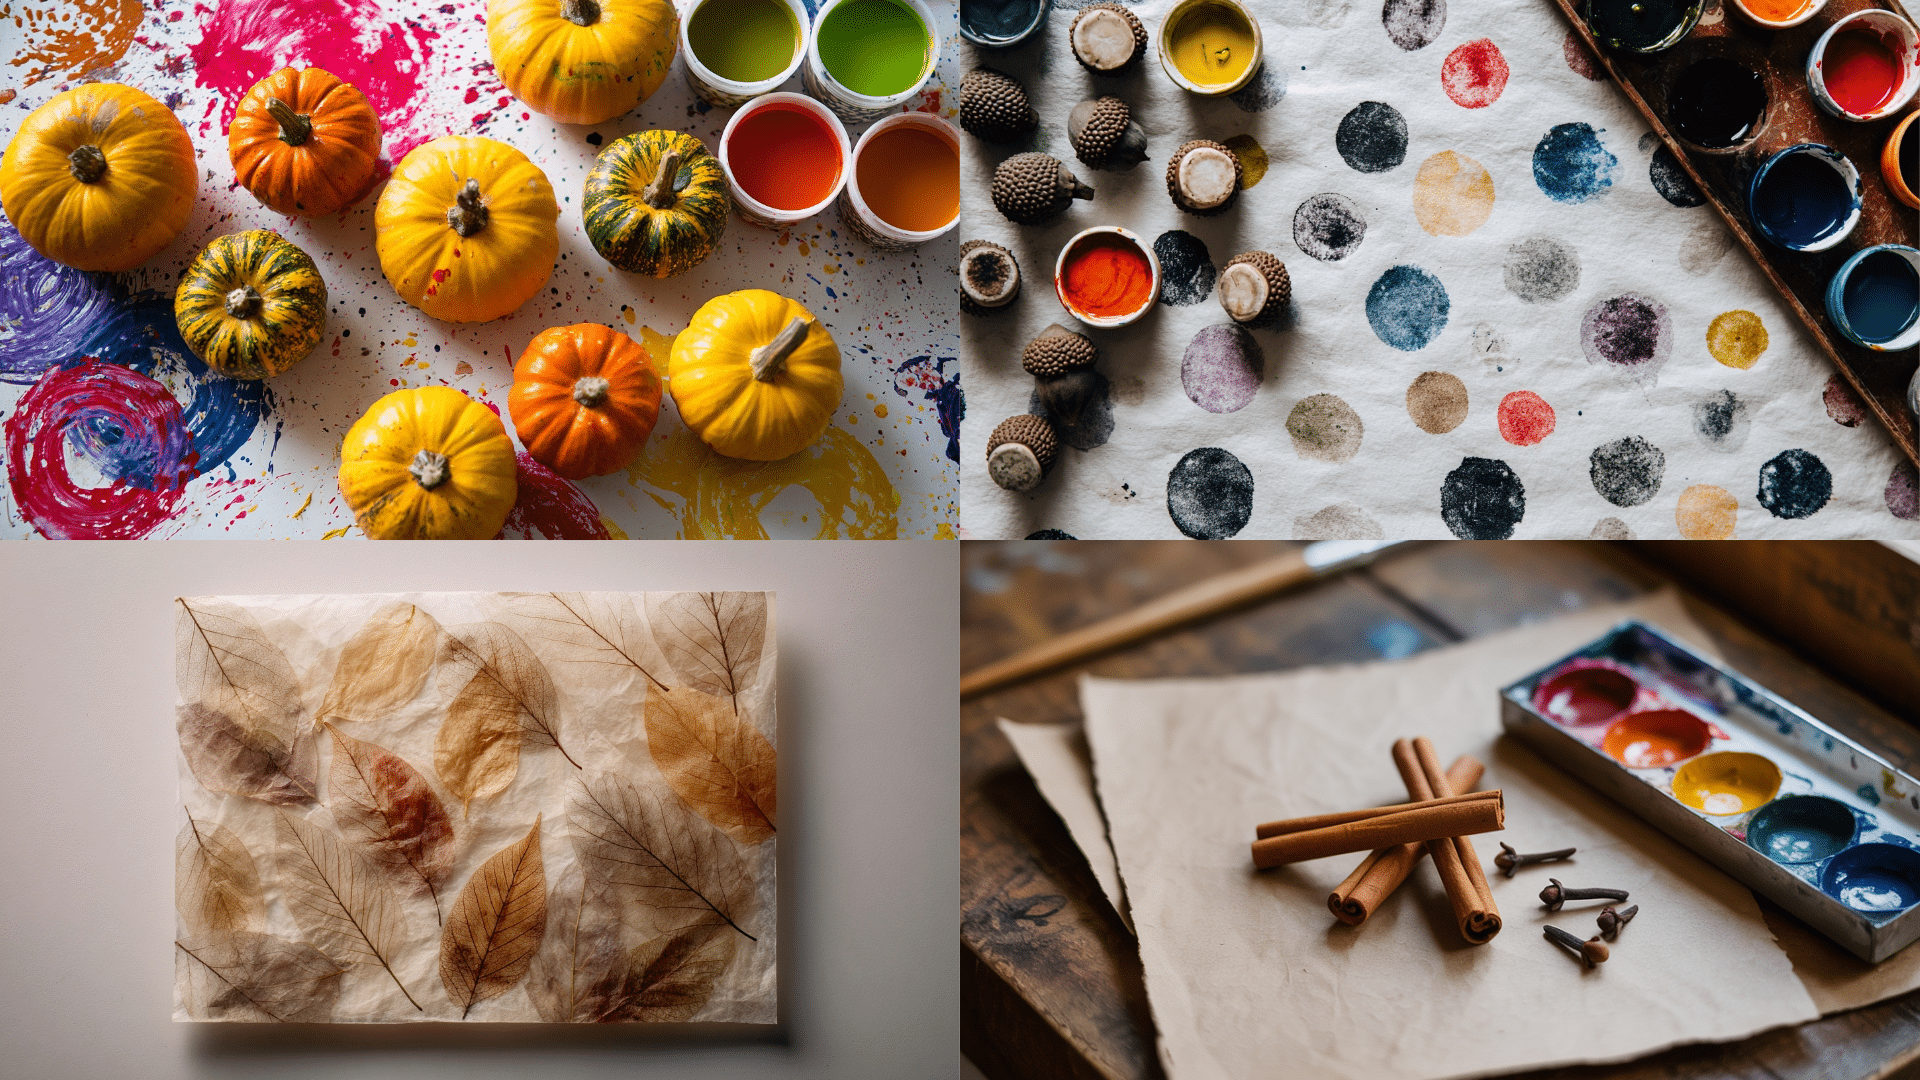
This group of fall process art activities brings natural textures and colors into playful creations.
Kids can press, stamp, roll, and scatter items from the outdoors, building fine motor skills and developing shape awareness.
1. Leaf Sticker Boards
Children will learn to recognize textures, compare shapes, and improve their hand movements while layering items. This fall art activity encourages attention and fine control through leaf placement.
Materials: Contact paper, masking tape, tray of dry leaves
Steps:
- Tape contact paper sticky-side up to a surface
- Offer leaves for kids to press gently
- Let them freely place or layer leaves
2. Pinecone Paint Push
Children develop early motor strength, learn about movement and pressure, and notice how patterns are made. This technique uses rolling to find creative cause and effect.
Materials: Pinecones, tray or cardboard box, thick paper, safe paint
Steps:
- Tape paper inside the tray
- Dip pinecones into paint
- Roll across the tray to mark patterns
3. Acorn Pop Stamps
This project teaches kids how pressing with different shapes leaves unique marks. Through this, students learn about repetition, spacing, and color choices through stamping.
Materials: Acorn caps, paint in small cups, paper, and a tray
Steps:
- Place the paper in a tray
- Dip acorn caps into paint
- Press gently on the paper to stamp circles
4. Soft Rubbing Art
Kids will learn to notice raised shapes under paper and how steady rubbing reveals outlines. This art approach builds wrist coordination and patience while learning textured layering.
Materials: Crayons without wrappers, paper sheets, flat leaves
Steps:
- Tape leaves under paper
- Let kids gently rub crayons over paper
- Reveal shapes and make color mixes
5. Stick Bundle Brushes
By creating and painting with bundled sticks or grass, children learn the differences in tool-making and motion. It also introduces nature as an art helper through repetition and pattern play.
Materials: Small twigs or grass, rubber bands, paint, paper
Steps:
- Tie grass or twigs into small bundles
- Dip ends into paint
- Press or swipe across the paper
6. Baby Pumpkin Roller Prints
This activity shows how rolling shapes create tracks, supporting motion coordination and prediction. Kids learn how to apply pressure to control paint trails and improve their hand-eye coordination.
Materials: Mini pumpkins, shallow trays, paint, paper
Steps:
- Dip pumpkin bottoms in paint
- Roll or press onto paper
- Let kids repeat or mix colors
7. Corn Drop Prints
Kids experiment with dripping and dropping as they learn how liquid motion creates scattered patterns. This activity also encourages focus and aim through guided hand movements.
Materials: Corn kernels, colored water, droppers, absorbent paper
Steps:
- Pour color into small cups
- Fill droppers with colored water
- Drop gently over the paper with kernels
8. Feather Blot Art
This calming art option allows kids to feel the texture of feathers while learning how soft taps and strokes change the mark-making. It boosts grip control and brush technique with unique tools.
Materials: Clean feathers, paper, safe paints in fall tones
Steps:
- Dip the feather tips into the paint
- Press or brush lightly on paper
- Let kids create swirl or dot prints
9. Bark Trace Boards
Using the bark’s surface under paper lets kids trace bumpy areas while learning about structure and repetition. The activity supports early awareness of cause, texture, and control.
Materials: Tree bark pieces, paper, tape, crayons
Steps:
- Tape bark underneath the paper
- Let kids rub crayons over the surface
- Observe that raised textures appear
10. Spice Stick Painting
Scented stick painting introduces aroma while encouraging kids to use different tools to make dabs and lines. This teaches about grip changes, smell, and pressure adjustment.
Materials: Cinnamon or clove sticks, thick paper, paint
Steps:
- Dip stick ends in paint
- Let kids press or roll them
- Try patterns like dots or stripes
11. Mini Gourd Prints
Kids learn about shape stamps and absorb how the inside of fruit can be used creatively. This helps them recognize repetition, print placement, and symmetry.
Materials: Small gourds, paint, trays, and thick paper
Steps:
- Cut gourds in half
- Dip the flat sides into the paint
- Stamp gently onto paper
12. Straw Splatter Cards
Straw flicking turns color into bursting patterns while supporting motion coordination. Kids enjoy the surprise in pattern direction while practicing grip and quick hand action.
Materials: Bundled straw, paper, fall paint in dishes
Steps:
- Dip the straw bundle tips in paint
- Flick or tap across the paper
- Make layered bursts with new colors
13. Muddy Brush Painting
This project introduces texture through a gooey mix while kids find shape smearing. It supports finger control and introduces messy art play in a safe, structured way.
Materials: Non-toxic mud, brown paint, brush, paper pumpkins
Steps:
- Mix mud and paint
- Dip the brush into the mixture
- Let kids smear across pumpkin outlines
14. Paint the Wind
This fall process art lets kids learn about air movement by blowing painted leaves across paper. It strengthens oral control and helps with tracking direction and pattern.
Materials: Leaves, straws, watered-down paint, paper
Steps:
- Dip leaves in paint
- Blow gently with a straw
- Watch leaves slide and mark
15. Nut Shell Texture Play
Kids press dipped shell halves into soft surfaces, learning how texture transfers through motion. It develops grip pressure and 3D pattern recognition.
Materials: Walnut shells, safe dough, trays, paint (optional)
Steps:
- Let kids press shells into dough
- Observe patterns from ridges
- Add paint if desired for color
16. Apple Core Circles
Apple halves make great round stamps, helping kids identify fruit parts and learn print repetition. This fun process also introduces spacing and symmetry.
Materials: Apples, knife, paint, tray, thick paper
Steps:
- Cut apples to show the center
- Dip the cut side in paint
- Stamp gently onto paper
17. Seed Sprinkles
By dropping and arranging seeds on sticky glue, kids build patience, spatial awareness, and texture familiarity. The process also supports small pinch grip strength.
Materials: Glue, tray of dry seeds, paper
Steps:
- Squeeze glue lines or shapes
- Let kids sprinkle seeds freely
- Shake gently to remove extra
18. Tree Bark Collage
Kids learn layers and depth using natural pieces, learning how to arrange and press without preset rules. It also introduces a simple 3D art building.
Materials: Small bark bits, dry leaves, paper, glue
Steps:
- Spread glue on paper
- Offer kids bits to stick
- Let them fill or outline shapes
19. Leaf Dust Paste
This creative mix encourages kids to handle dry materials and smear them across paper. It improves grip and gives early exposure to mixed-material painting.
Materials: Crushed dry leaves, non-toxic glue, paper
Steps:
- Blend glue with leaf dust
- Let kids spread the paste
- Observe how grit adds texture
20. Pebble Trail Marking
This fall process art uses rolling pebbles to learn motion direction, curve-making, and surface feel. Kids learn to shift speed and pressure while stamping.
Materials: Small pebbles, paint, paper, tray
Steps:
- Dip pebbles in shallow paint
- Roll across paper slowly
- Observe trail shapes
21. Grass Bristle Art
Painting with grass clumps helps kids practice applying pressure and controlling stroke direction. They experience how plants can leave lines, dots, or sweeps depending on the grip.
Materials: Long grass bunches, rubber bands, paper, paint
Steps:
- Tie the grass into a handle
- Dip the tips into the paint
- Brush or press on paper
22. Pine Needle Scatter Art
This project teaches kids about dropping and spreading to fill space with light items. They learn aim and flow while noticing line placement and overlapping.
Materials: Pine needles, glue, paper with drawn paths
Steps:
- Draw glue paths on paper
- Let kids drop needles over glue
- Gently press or leave scattered.
Cozy Indoor Seasonal Play Fall Process Activities
These fall process art projects bring warm, creative activities inside. Using soft, squishy, and safe items, kids can learn about colors, textures, and motion while developing small motor skills and forming early art habits.
23. Foam Fall Tree Fun
This playful project helps kids stick and press with purpose. They learn how to build using soft parts while practicing aim and shape matching.
Materials: Foam tree shapes, cotton balls, glue
Steps:
- Place glue on the branches
- Give kids cotton to stick on top
- Fill in branches to look like tree leaves
24. Soft Baggie Paint Mash
This activity shows kids how color moves under pressure. It’s a clean way to mix and match shades, helping children use their palms and fingers.
Materials: Zip bags, paint in fall colors, tape
Steps:
- Fill bags with 2 colors of paint
- Seal tightly and tape to the table
- Let kids press, push, and swirl
25. Fall Foil Folding
Kids will learn how shapes and shine can change through folding and pressing. They learn grip strength and how to handle gentle materials with care.
Materials: Aluminum foil, fall shape outlines, markers
Steps:
- Cut foil into leaf or pumpkin shapes
- Let kids fold and press the edges
- Color gently with markers
26. Vanilla Spice Pudding Paint
This painting idea allows kids to use their fingers to move smooth, safe colors across the paper. It builds touch awareness and motion skills while being taste-safe.
Materials: Vanilla pudding, food color, paper plates, paper
Steps:
- Tint pudding with gentle colors
- Scoop small amounts onto paper
- Let kids spread using their hands
27. Tootsie Taps
This fun floor project teaches movement, rhythm, and balance while using feet to make colorful marks. Kids also notice how pressure changes their prints.
Materials: Bubble wrap, tape, paint, long paper roll
Steps:
- Wrap bubble wrap on bare feet
- Dip feet in paint
- Walk or dance across the paper
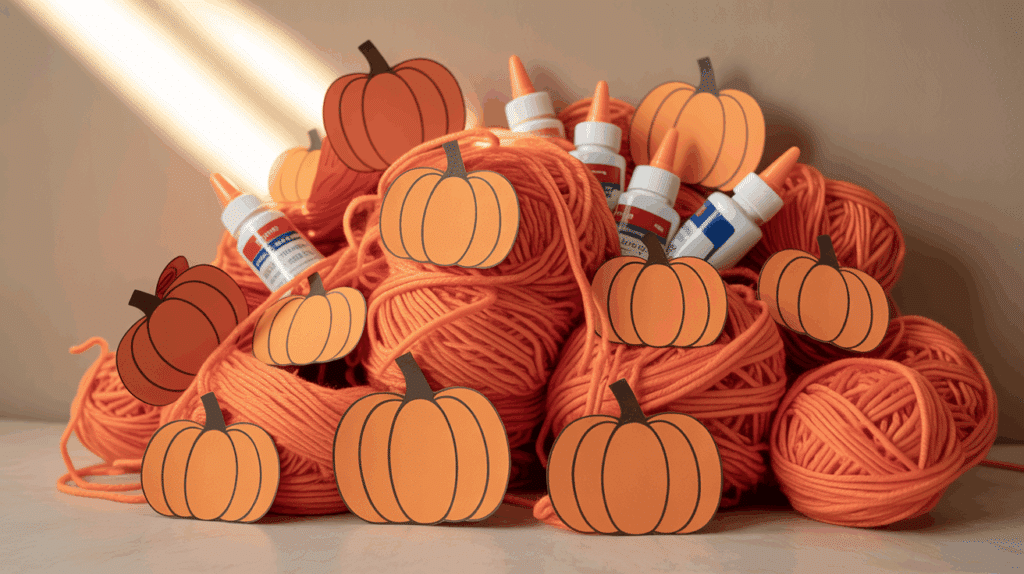
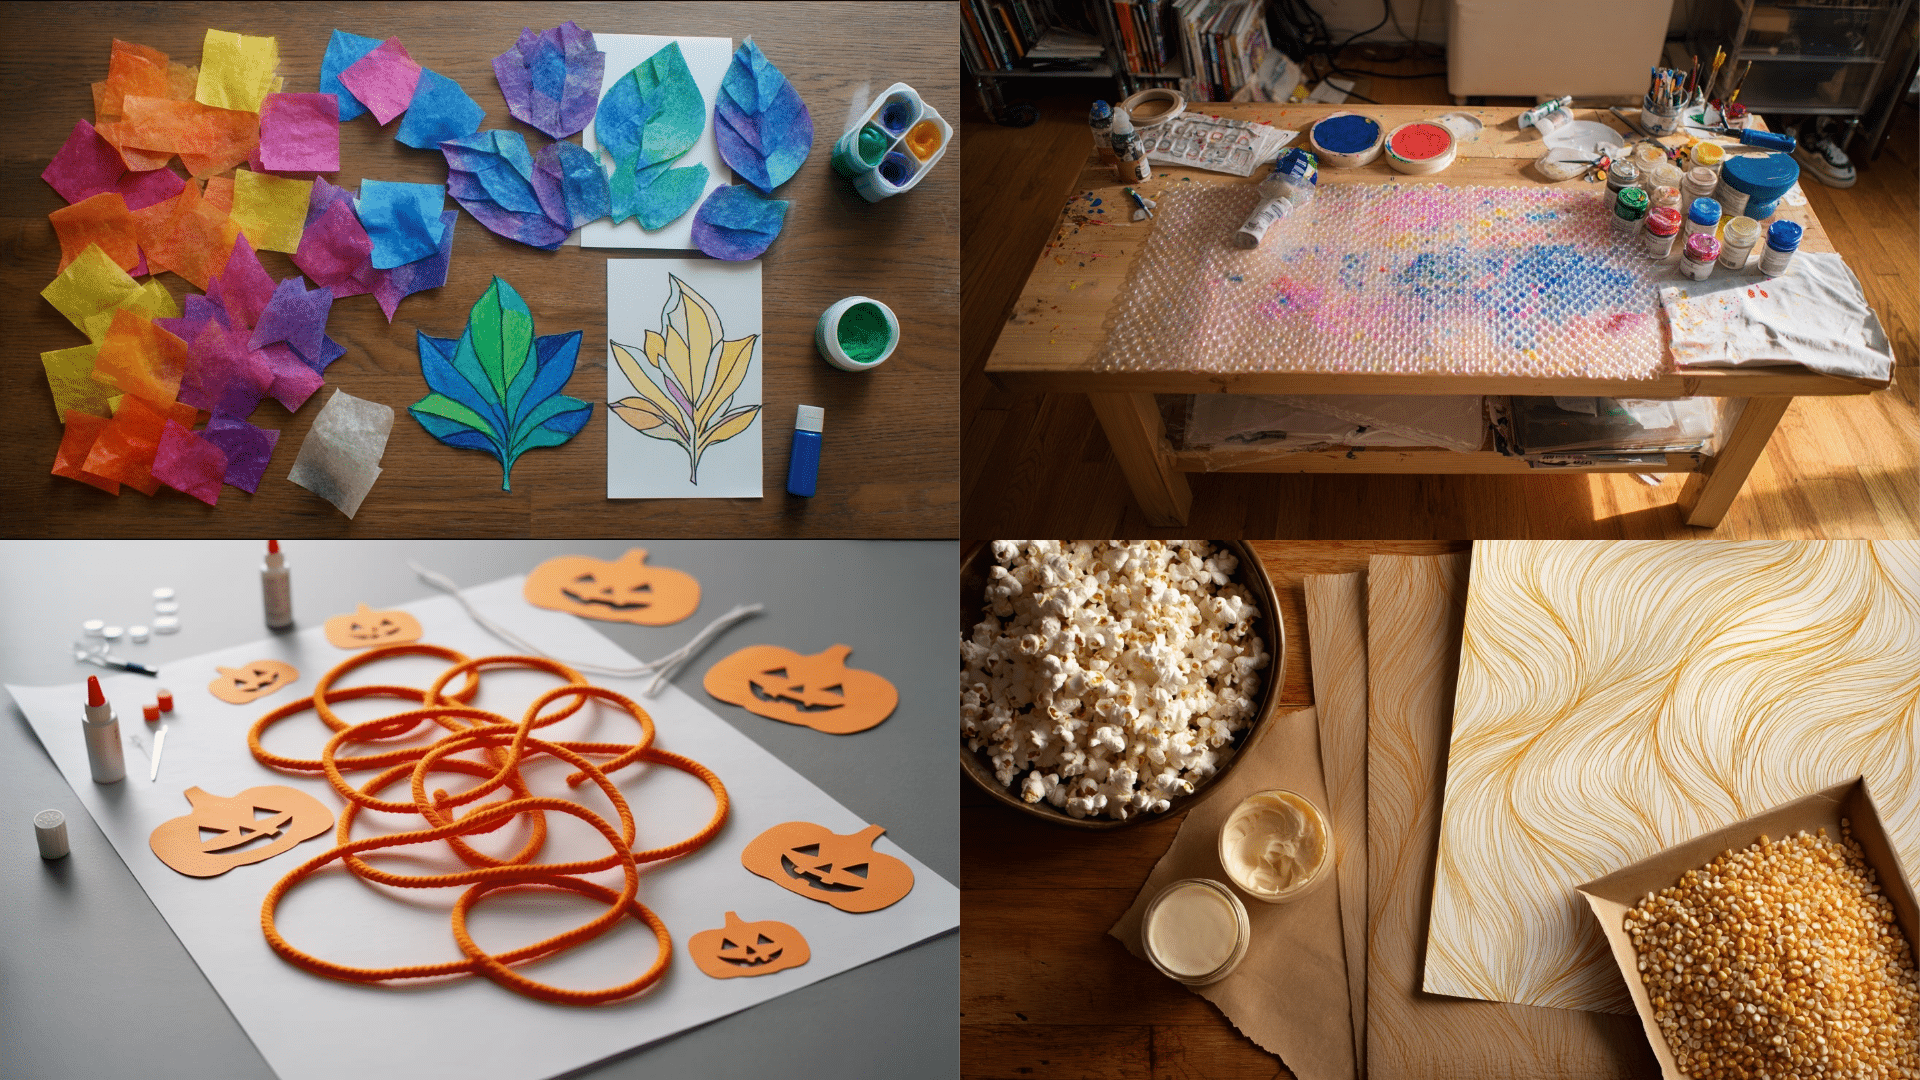
28. Orange Yarn Loops
This cozy activity supports fine motor movement and circle making. kids learn how to loop, pull, and wrap with care around shapes.
Materials: Orange yarn, paper pumpkin cutouts, glue
Steps:
- Give each child a paper pumpkin
- Squeeze glue around the shape
- Help them wrap yarn all over
29. Leafy Tissue Glue Boards
Kids learn how light paper sticks and overlaps when wet. This art boosts color awareness and grip control while filling a complete shape outline.
Materials: Tissue paper squares, large leaf outlines, glue
Steps:
- Spread glue inside the leaf shape
- Stick tissue paper bits across
- Let dry flat and firm
30. Crunchy Popcorn Collage
Children learn about the crunchy texture and sticking technique in this hands-on craft. It helps build control and choice by picking where to place each item.
Materials: Popcorn, brown paper, glue, tray
Steps:
- Squeeze glue in lines or swirls
- Let kids press popcorn gently
- Shake off loose bits afterward
31. Applesauce Brush Prints
Kids learn how soft materials can still make marks. This activity teaches spreading, scent awareness, and gentle motion while using safe tools.
Materials: Applesauce, paintbrush, food color, paper
Steps:
- Add color to applesauce
- Offer a soft brush and paper
- Let kids paint with a smooth stroke
Safety Tips for Fall Process Art Activities
Keep your little artists safe while they create! These simple precautions help prevent accidents and ensure everyone has fun during messy art time.
- Always supervise young children when using scissors, glue, or small craft materials.
- Choose non-toxic, washable art supplies designed specifically for children’s use.
- Cover surfaces with newspaper or plastic tablecloths to protect furniture.
- Keep a damp cloth nearby for quick cleanup of spills and sticky fingers
- Ensure proper ventilation when using markers, paints, or any scented materials
- Store all art supplies out of reach when not in use to prevent unsupervised access
The Bottom Line
Fall process art opens up a world of sensory learning for children while celebrating the beauty of autumn.
These activities help kids connect with the season through hands-on experiences that build both creativity and confidence.
The magic happens in the doing, not in the final result. The mess is temporary, but the memories and skills your children develop will last much longer.
When you see paint-covered fingers and big smiles, you’ll know you’re giving them something valuable.
Ready to get started? Gather some basic supplies and let your kids lead the way. Their natural curiosity will guide the creative process.