Custom-built bookshelves can cost thousands when you hire a carpenter. But what if you could build them yourself for a fraction of that price? Building DIY built-in bookshelves is easier than you think.
You don’t need advanced carpentry skills or expensive tools. Just basic equipment, some lumber, and a free weekend.
This guide walks you through everything from measuring your space to adding the final coat of paint.
You’ll learn which tools you actually need, how to create different styles like arched or traditional designs, and smart ways to save money on materials.
By the end, you’ll have professional-looking shelves that fit your space perfectly and cost 60-75% less than hiring someone.
Why DIY Built-In Bookshelves?
DIY built in bookshelves offer you complete control over design, size, and style. You can customize every detail to match your space perfectly.
The cost is significantly lower than hiring professionals or buying custom furniture. Most people save 50-70% compared to contractor quotes. Plus, you work on your own schedule.
No waiting for appointments or dealing with delays. You get exactly what you want without the premium price tag. The flexibility means you can adjust plans as you go.
And there’s real satisfaction in building something yourself. It’s a practical choice that fits your budget and vision.
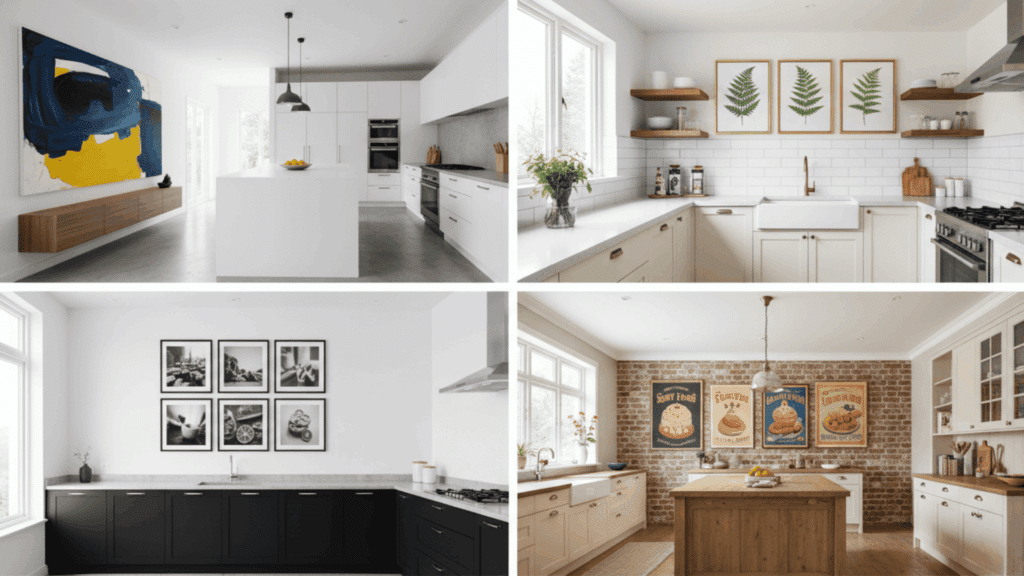
Types of Built-In Bookcase Styles to Consider
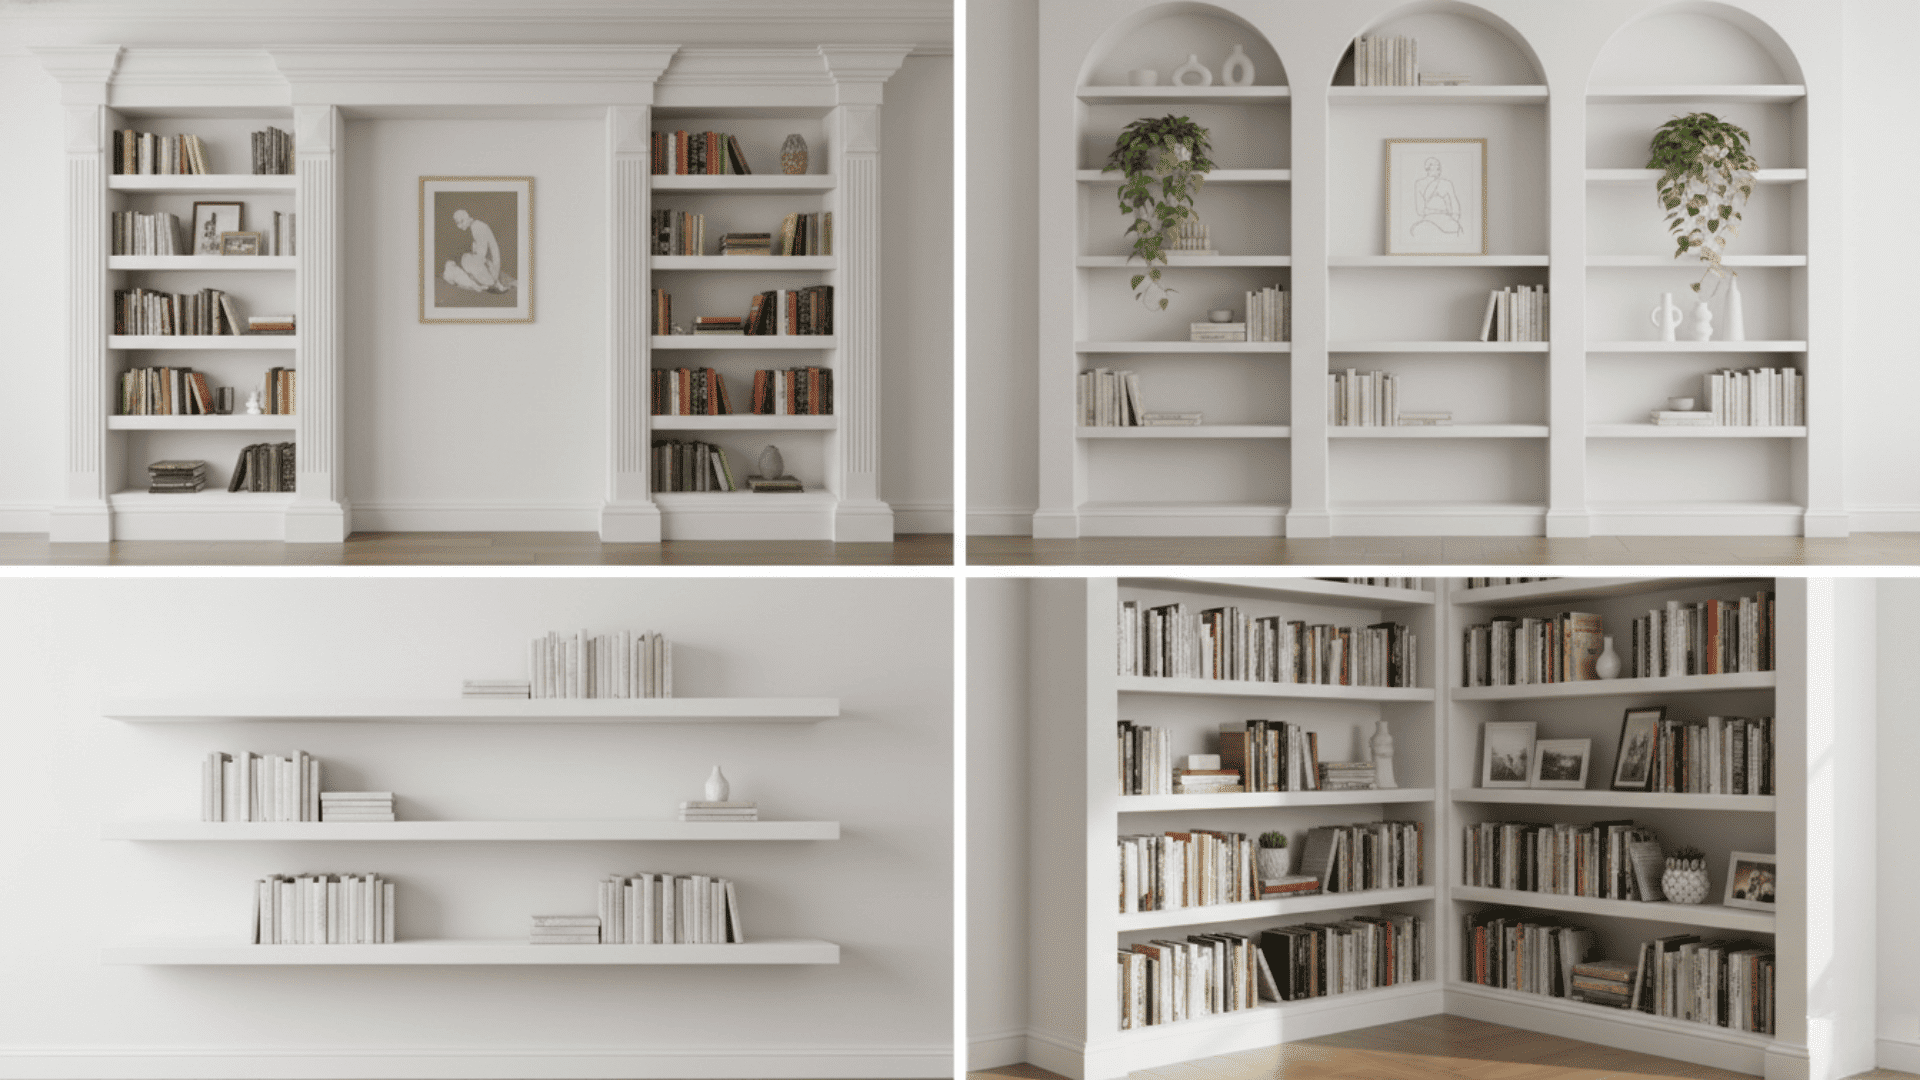
Choosing the right style sets the tone for your entire room. Your bookshelves should match your home’s personality and your storage needs.
- Traditional Built-Ins: These feature symmetrical designs with classic molding and trim work that never goes out of style.
- Arched Built-Ins: Modern arched tops add visual interest and soften the angular lines of standard rectangular shelving.
- Floating Shelves: Clean lines and hidden brackets create a minimalist look that makes your books appear to float on the wall.
- Corner Built-Ins: These maximize awkward corner spaces and turn unused areas into functional storage spots.
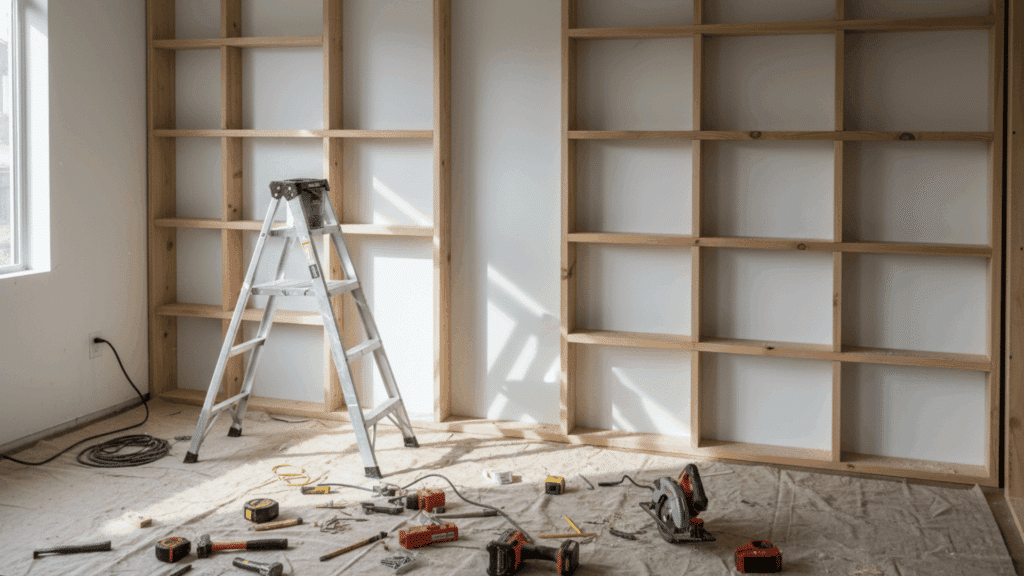
Built-In Bookshelves: Step-by-Step Guide
Follow these steps carefully to build sturdy, beautiful bookshelves. Take your time with each phase for the best results.
Tools and Materials :
| Essential Tools | Required Materials |
|---|---|
| Miter saw | 1×8 boards |
| Jigsaw | 2×4 lumber |
| Circular saw | Plywood sheets |
| Drill and screws | Trim molding |
| Clamps | Wood glue |
| Sander | Finishing nails |
| Level | Wood filler |
| Tape measure | Caulk |
| Stud finder | Primer and paint |
Step 1: Measure the Space
Accurate measurements determine whether your DIY built in bookshelves fit perfectly or become a frustrating mistake.
Measure the wall width, height, and depth at multiple points since walls are rarely perfectly straight. Mark the center point and plan spacing between shelves based on what you’ll store.
Materials needed: Tape measure, pencil, level
Step 2: Prepare the Cut List
Creating a detailed cut list prevents waste and saves money on materials. List every piece you need, including vertical supports from 2x4s, horizontal shelves from 1x8s, and plywood backing panels.
Double-check your measurements before cutting anything.
Materials needed: 2×4 lumber, 1×8 boards, plywood sheets
Step 3: Create the Arches (Optional)
Arched tops add character to standard rectangular shelves. Trace your arch shape using a pencil tied to a string as a makeshift compass. Cut slowly with a jigsaw following your traced line.
Materials needed: Plywood, jigsaw, pencil, string or flexible guide
Step 4: Build the Skeleton Frame
The frame supports everything, so build it strong. Attach 2x4s vertically to wall studs using long screws. Add horizontal cross supports every 12 to 16 inches for shelf placement.
Pre-drill all screw holes to prevent wood from splitting.
Materials needed: 2x4s, 3-inch screws, drill, clamps, stud finder
Step 5: Attach Plywood Facing and Arches
Plywood facing covers the raw frame and creates finished sides for your bookshelves. Apply wood glue to the frame first, then attach plywood with finishing nails.
Sand all edges smooth after attachment. Install arch pieces at the top if you’re using them.
Materials needed: Plywood, wood glue, finishing nails, sandpaper (120 and 220 grit)
Step 6: Finish the Built-Ins
Trim molding hides seams and gives your DIY built-in bookshelves a custom look. Cut molding at 45-degree angles for clean corner joints. Fill all nail holes with wood filler and let it dry.
Caulk the gaps between the bookshelf and the wall. Sand everything one final time. Apply primer, then two coats of paint or stain.
Materials needed: Trim molding, wood filler, caulk, primer, paint or stain, paintbrushes
Video Tutorial
Special thanks to Lowe’s Home Improvement for providing valuable insights in their video, which I referenced while creating this guide.
Cost Considerations for DIY Built-In Bookshelves
Understanding the total cost helps you budget properly for your project. Breaking down expenses shows where your money goes and how much you save compared to hiring someone.
| Item | Cost Range |
|---|---|
| Wood and lumber | $200 – $400 |
| Plywood | $80 – $150 |
| Paint and supplies | $50 – $100 |
| Hardware | $30 – $50 |
| Tools (if buying) | $200 – $500 |
| Total DIY Cost | $560 – $1,200 |
| Professional Cost | $2,000 – $5,000 |
| You Save | $1,200 – $4,000 |
Building DIY built-in bookshelves yourself saves 60-75% compared to hiring professionals.
Tips for Building DIY Built-In Bookshelves on a Budget

You don’t need to spend a fortune to get beautiful results. Smart shopping and creative thinking can cut your costs significantly without sacrificing quality.
- Reuse Existing Furniture: Convert old bookcases or cabinets into built-ins by securing them to the wall and adding trim around the edges.
- Choose Affordable Materials: MDF and plywood cost less than solid wood but look just as good once painted for your DIY built-in bookshelves.
- Simplify Your Design: Skip fancy details like arches and decorative molding to reduce both material costs and build time.
- Shop Sales and Discounts: Check hardware store clearance sections and compare prices online before buying anything.
- Stick to Standard Sizes: Use lumber in standard lengths to avoid expensive custom cuts and minimize waste.
- Paint Instead of Stain: Paint costs less than quality stain and hides imperfections in cheaper wood better.
Pro Tip: Build one section at a time if your budget is tight. You can complete your project over several months without going into debt.
How to Personalize Your Built-In Bookshelves?
Make your DIY built-in bookshelves uniquely yours by choosing colors that match your room’s style. Add decorative brackets or corbels for a classic look.
Install LED strip lighting under shelves to highlight your favorite books. Mix open shelving with closed cabinet sections for hidden storage.
Use different shelf heights to display tall vases or framed photos alongside books. Paint the back wall a bold color for visual interest. Add wallpaper to the backing for extra personality.
Include dedicated spots for plants, artwork, or collectibles between book sections. The key is making your shelves work for your lifestyle and taste.
Wrapping It Up
Built-in bookshelves change your space without emptying your wallet. You’ve learned the essential tools, step-by-step process, and budget-saving tips to make this project happen.
The best part? You save thousands compared to hiring professionals while creating something perfectly suited to your home. Start by measuring your space and gathering materials this weekend.
Take it one step at a time and don’t rush the process. Your custom bookshelves will become a focal point that adds both storage and style to your room.
Ready to get started? Grab your tools and begin building today. Have questions or want to share your progress? Drop a comment below and let’s chat!