Drawing birds can be tricky. Many people struggle with capturing the colorful feathers and unique shapes of parrots on paper.
Their curved beaks and expressive eyes often appear off or unnatural. How to draw a parrot? This question bothers both kids and adults who want to create beautiful bird art.
The process is simpler than it seems! This step-by-step guide breaks down the process of drawing a parrot into easy-to-follow parts.
The tutorial uses basic shapes that even beginners can master. You will learn not just the basics but also get helpful drawing tips and fun parrot drawing ideas to try.
Ready to turn blank paper into a wonderful parrot? Let’s start with the basics and build from there.
Pro Drawing Tips to Make Your Parrot Pop
Start with light marks to plan the bird’s body shape before you fill in details. This makes fixing mistakes much easier. Study how parrots look in real life. Notice their beaks, wings, and how they sit. Breaking down steps helps:
- Use simple shapes first – circles for the head, ovals for the body
- Add light lines for the wings and tail
- Pay special attention to the eyes and beak for lifelike results
- Shade areas like under wings to add depth
- Build colors slowly, starting with light and adding brighter tones
Look at how feathers grow and flow. Small, quick marks work for head feathers, while longer strokes suit wing feathers. This gives your drawing texture and makes your parrot look real.
How to Draw a Parrot: Simple Step-by-Step Process
Drawing a parrot might seem challenging at first glance. However, with a clear step-by-step process, anyone can create a beautiful bird sketch.
This section breaks down the drawing process into simple, manageable steps that build upon each other.
1. Prepare Your Workspace and Materials
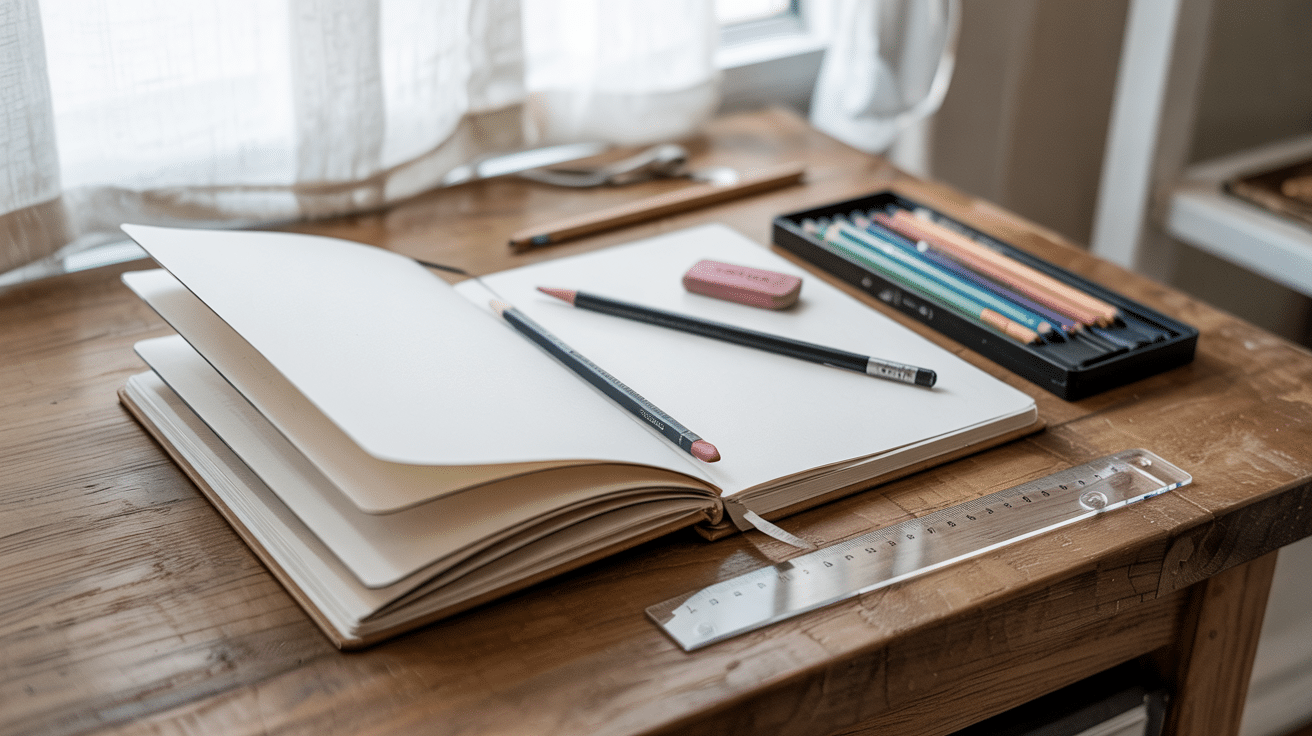
To begin, create a comfortable and well-lit workspace where you can focus on your drawing without distractions. A clean, organized surface will make the process smoother. Gather the following materials before starting:
- Pencil: A sharp pencil helps create precise lines.
- Eraser: Essential for correcting any mistakes or adjusting shapes.
- Ruler: Useful for creating straight lines, if needed.
- Paper: Choose a sturdy piece of drawing paper that suits your preferred medium.
- Colored Pencils or Markers: For adding color to your finished parrot.
Ensure your workspace has ample space, allowing you to work comfortably on your drawing without feeling cramped.
2. Draw the Body Circle

Begin by drawing a circle to represent the top part of the parrot’s body. Lightly mark two small points on the top and bottom of the circle to show its width, and two more on the sides for its length.
Connect these points with curved lines to form a complete circle. Don’t worry if it’s not perfect; you can always adjust it as you go.
3. Add the Body’s Lower Section
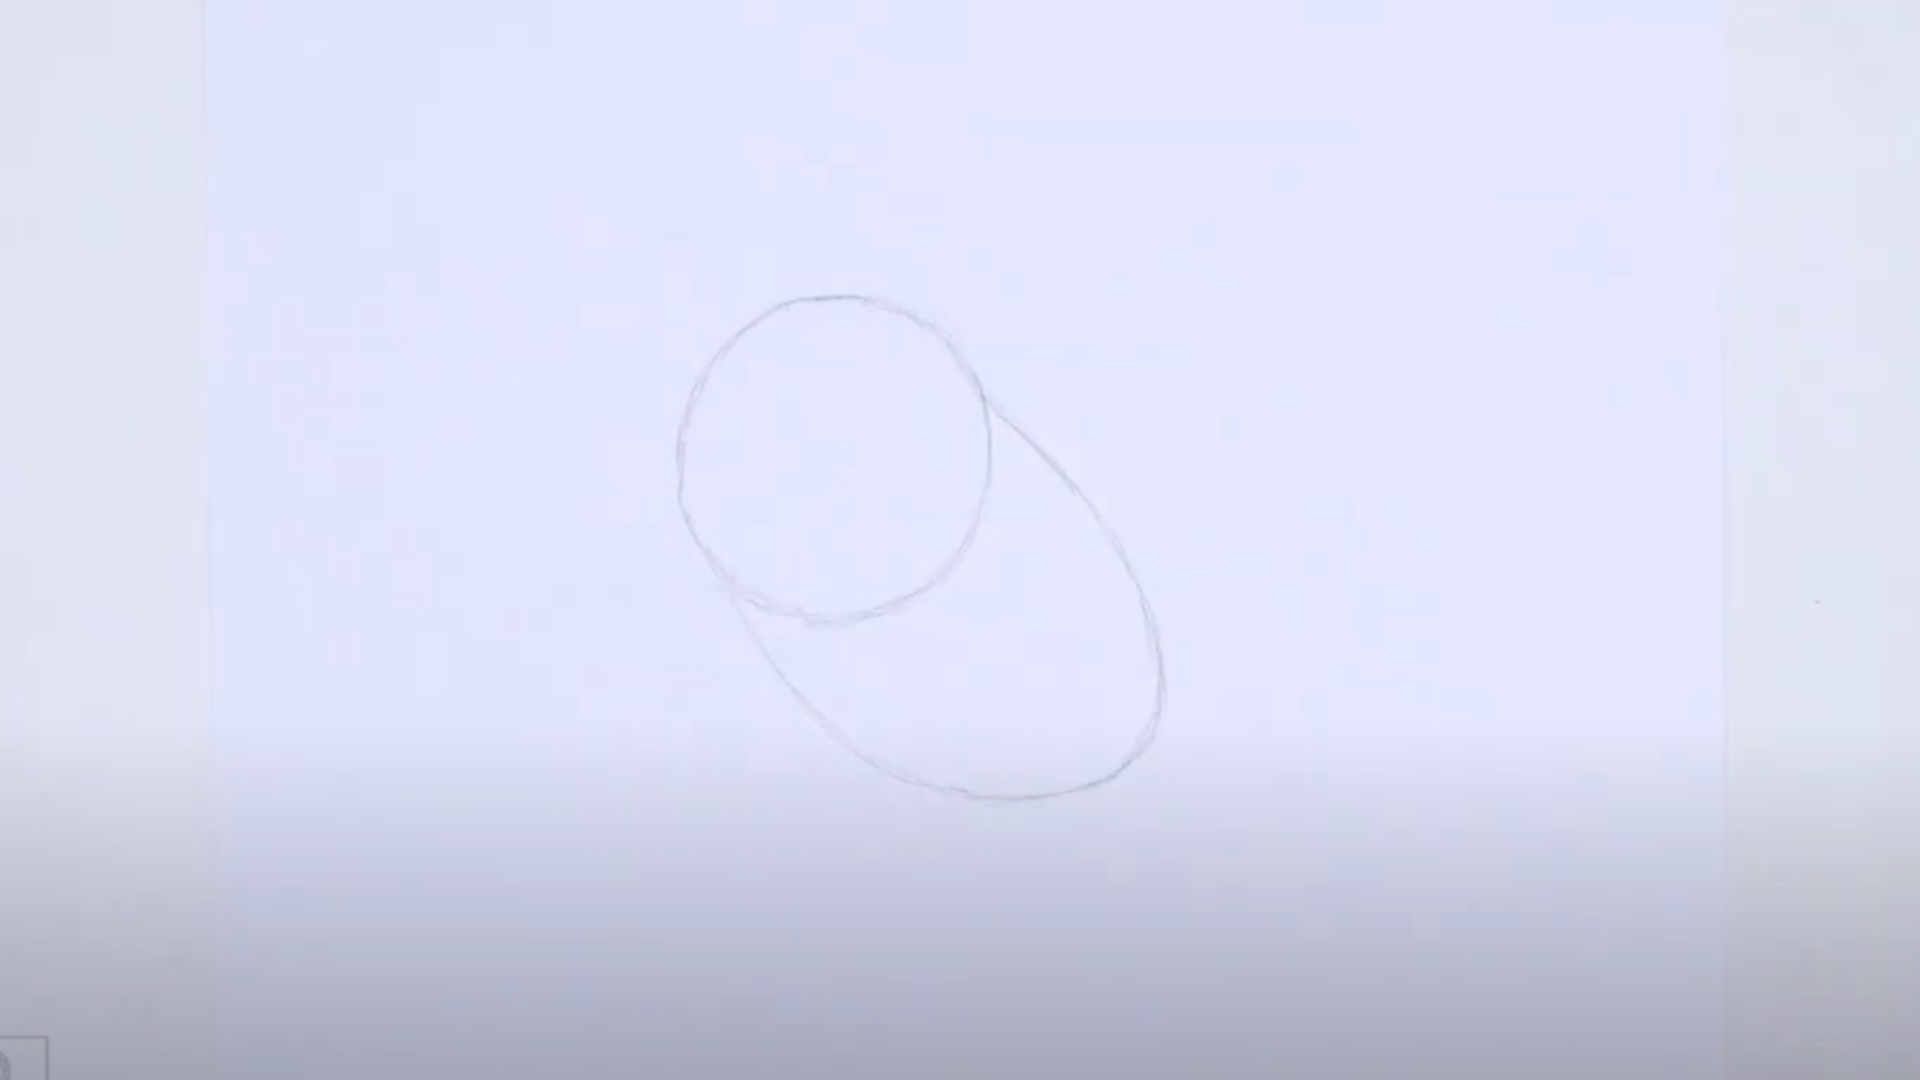
Now, on the bottom right of the circle, make a small mark to indicate the start of the lower body.
From here, draw curved lines connecting to the circle, creating the bottom section of the parrot’s body. Keep your lines light so you can easily erase and refine them.
4. Sketch the Head and Neck
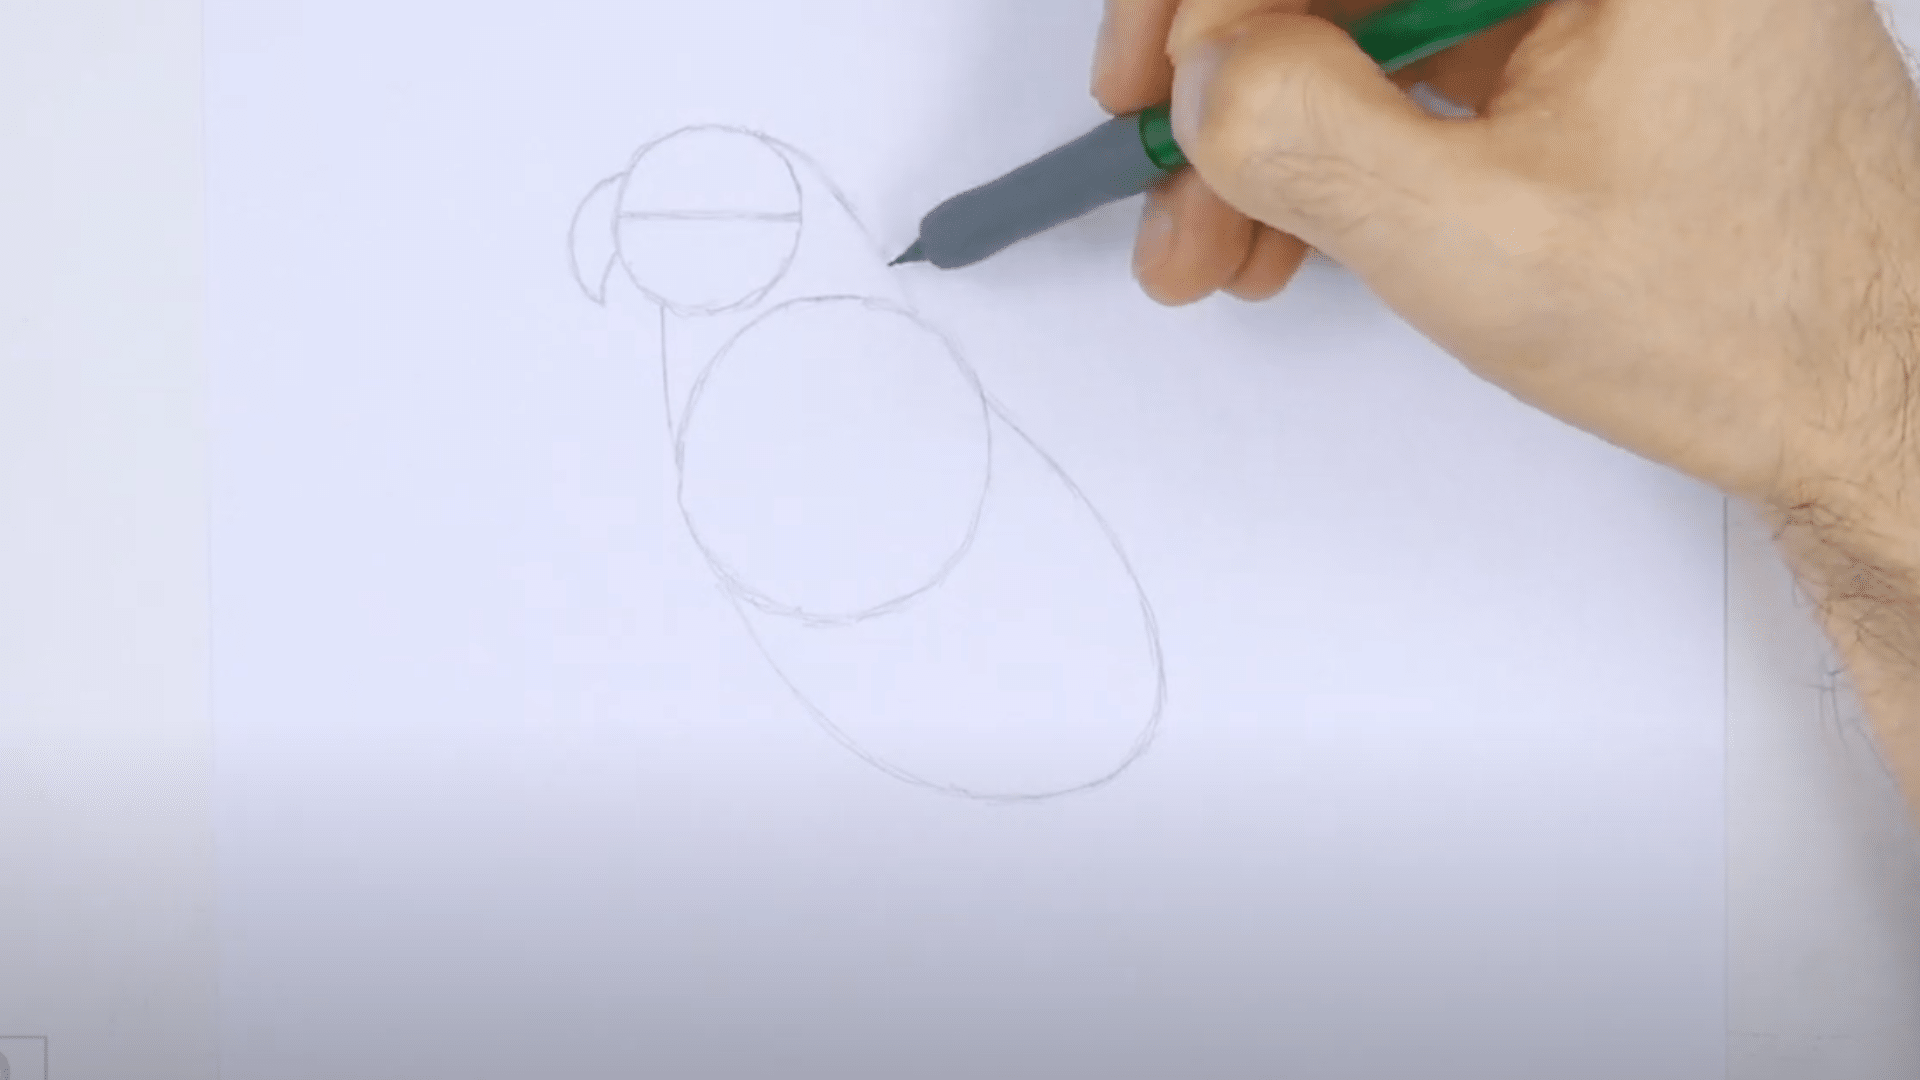
Next, draw a smaller circle on the top left of the body for the parrot’s head, about one-third the size of the body circle. Add a horizontal line inside the head to help place the facial features later.
Then, lightly sketch lines connecting the head to the body to form the neck, making sure it’s slightly wide.
5. Draw the Beak and Tail Guides
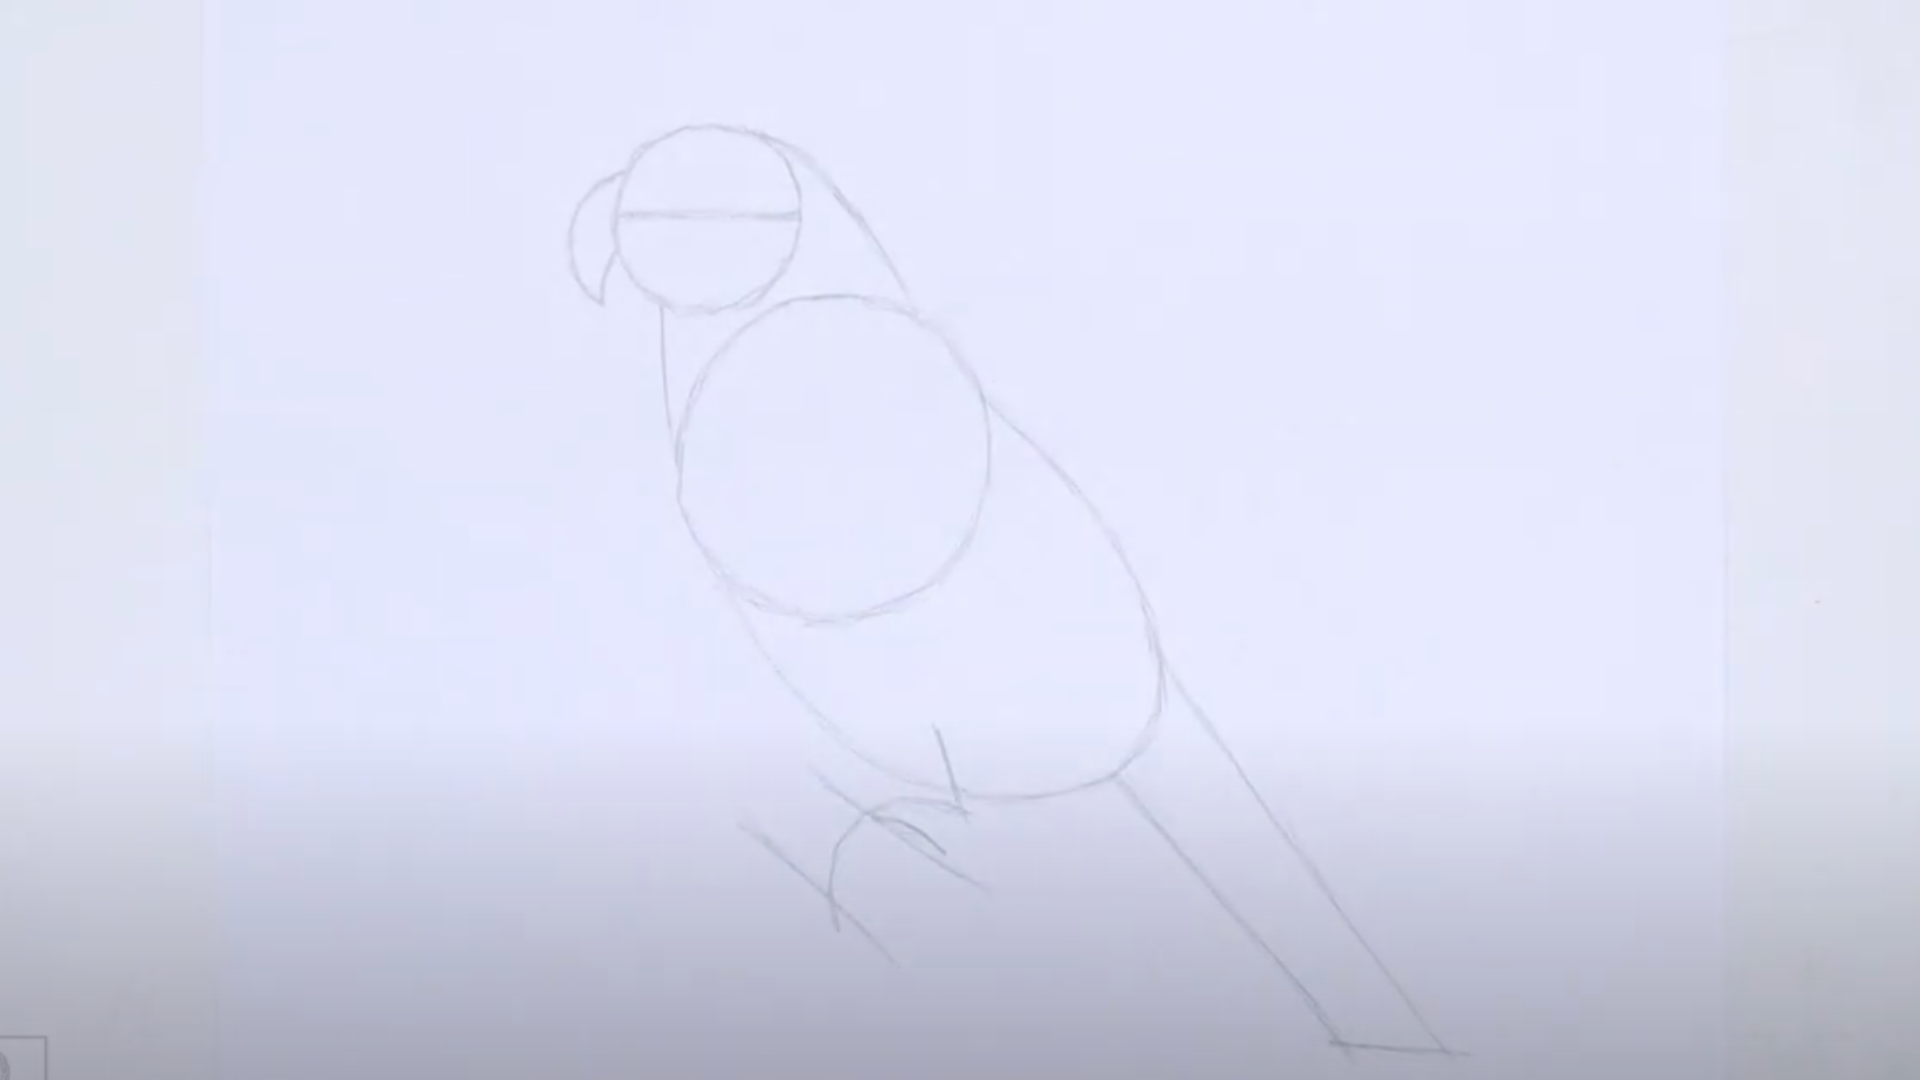
For the beak, draw a curved line starting just above the horizontal line in the head. Extend another line beneath it to create the beak’s bottom, shaping it with smooth, gentle curves.
For the tail, use two long, thin lines that start at the bottom right of the body and connect at the tip with a short line.
6. Refine the Parrot’s Features
Now that you have the basic structure, go back and darken the lines to form the parrot’s features. Begin with the beak, adding texture with short strokes to create a feathery look.
For the eyes, draw a small circle above the horizontal line, then darken it, leaving a tiny highlight inside. Draw the wing by sketching a long, curved shape across the body.
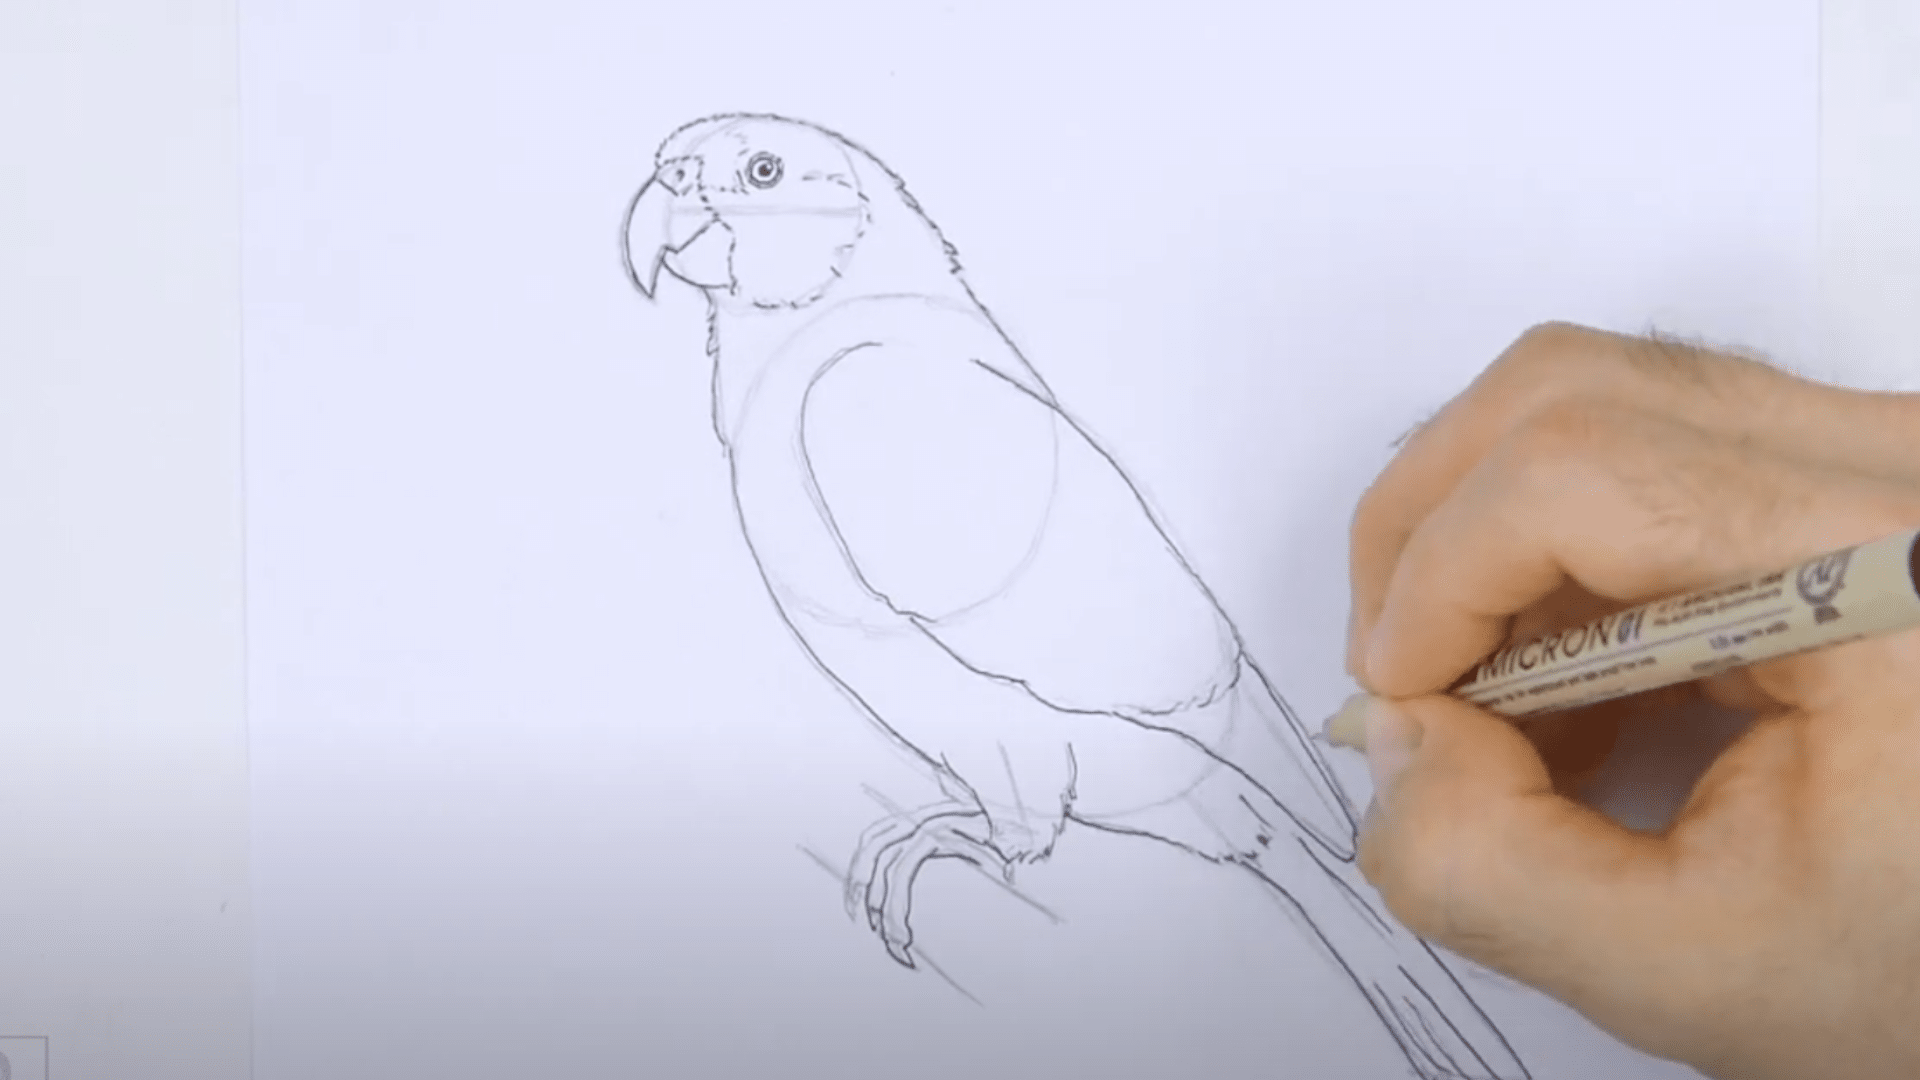
7. Final Touches and Coloring

Once you’re happy with your pencil sketch, carefully trace over the final lines using ink. Be patient and take your time to avoid smudging the ink.
After the ink dries completely, gently erase all the pencil guidelines to clean up your drawing. Take your time to blend the colors smoothly, giving your parrot a vibrant and lifelike appearance. Now it’s time to bring your parrot to life with color:
- Body and Wing: Use various shades of green for depth and dimension.
- Head and Wing Edges: Color these areas with vibrant red for a striking contrast.
- Beak: Choose yellow with hints of orange for a natural look.
- Shadows: Lightly blend darker tones to create realistic shadows.
Inspire Your Art: Creative Parrot Drawing Ideas
Every artist needs fresh ideas to keep their creativity flowing. Parrots offer endless possibilities due to their varied species and colorful appearances.
The following suggestions will help spark new and exciting approaches to drawing these vibrant birds.
Parrot Sketch Using a Pencil
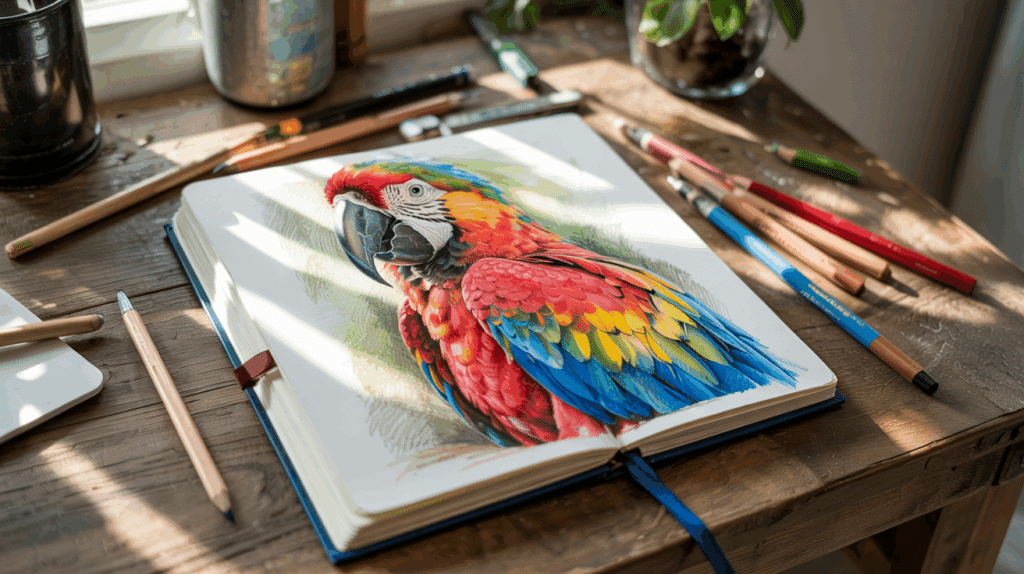
Colorful Parrot Drawing with Pencil Colors
Parrot and Flowers Drawing with Colored Pencils
Parrot Drawing Using Basic Shapes
Vibrant Parrots with Oil Pastels
Final Thoughts
Drawing parrots is a skill anyone can learn with practice. This tutorial on how to draw a parrot guided you through simple steps, from sketching basic shapes to adding bold, bright colors that bring your bird to life.
Every drawing turns out unique, showing your personal style and creativity.
These tips can help you draw other birds, too, or even try new animals as you grow your skills. Now grab your pencils, it’s time to create something colorful!
We’d love to see your artwork! Share your parrot drawing in the comments below, and feel free to post your progress or ideas. Don’t forget to share this tutorial with friends who want to learn how to draw a parrot as well.