Want to try something fun but feel like art isn’t your thing? You’re not alone.
Many people think drawing requires special talent or years of practice. Penguins are actually one of the easiest animals to draw! Their simple, round shapes make them perfect for kids.
Here you will learn how to create a cute penguin drawing step by step. This penguin drawing step-by-step guide uses tools you already have at home.
By the end, you’ll have a charming penguin sketch and feel confident to keep drawing. Ready to start?
Stepwise Guide on How to Draw a Penguin
Want to draw an adorable penguin?
Follow these simple instructions to sketch a penguin drawing step by step, from its big, rounded head to its playful feet, and add your own creative finishing touches for a unique masterpiece.
Materials required for penguin drawing: White paper, pencil, eraser, black marker, colored pencils, dice (optional).
Step 1: Draw the Head
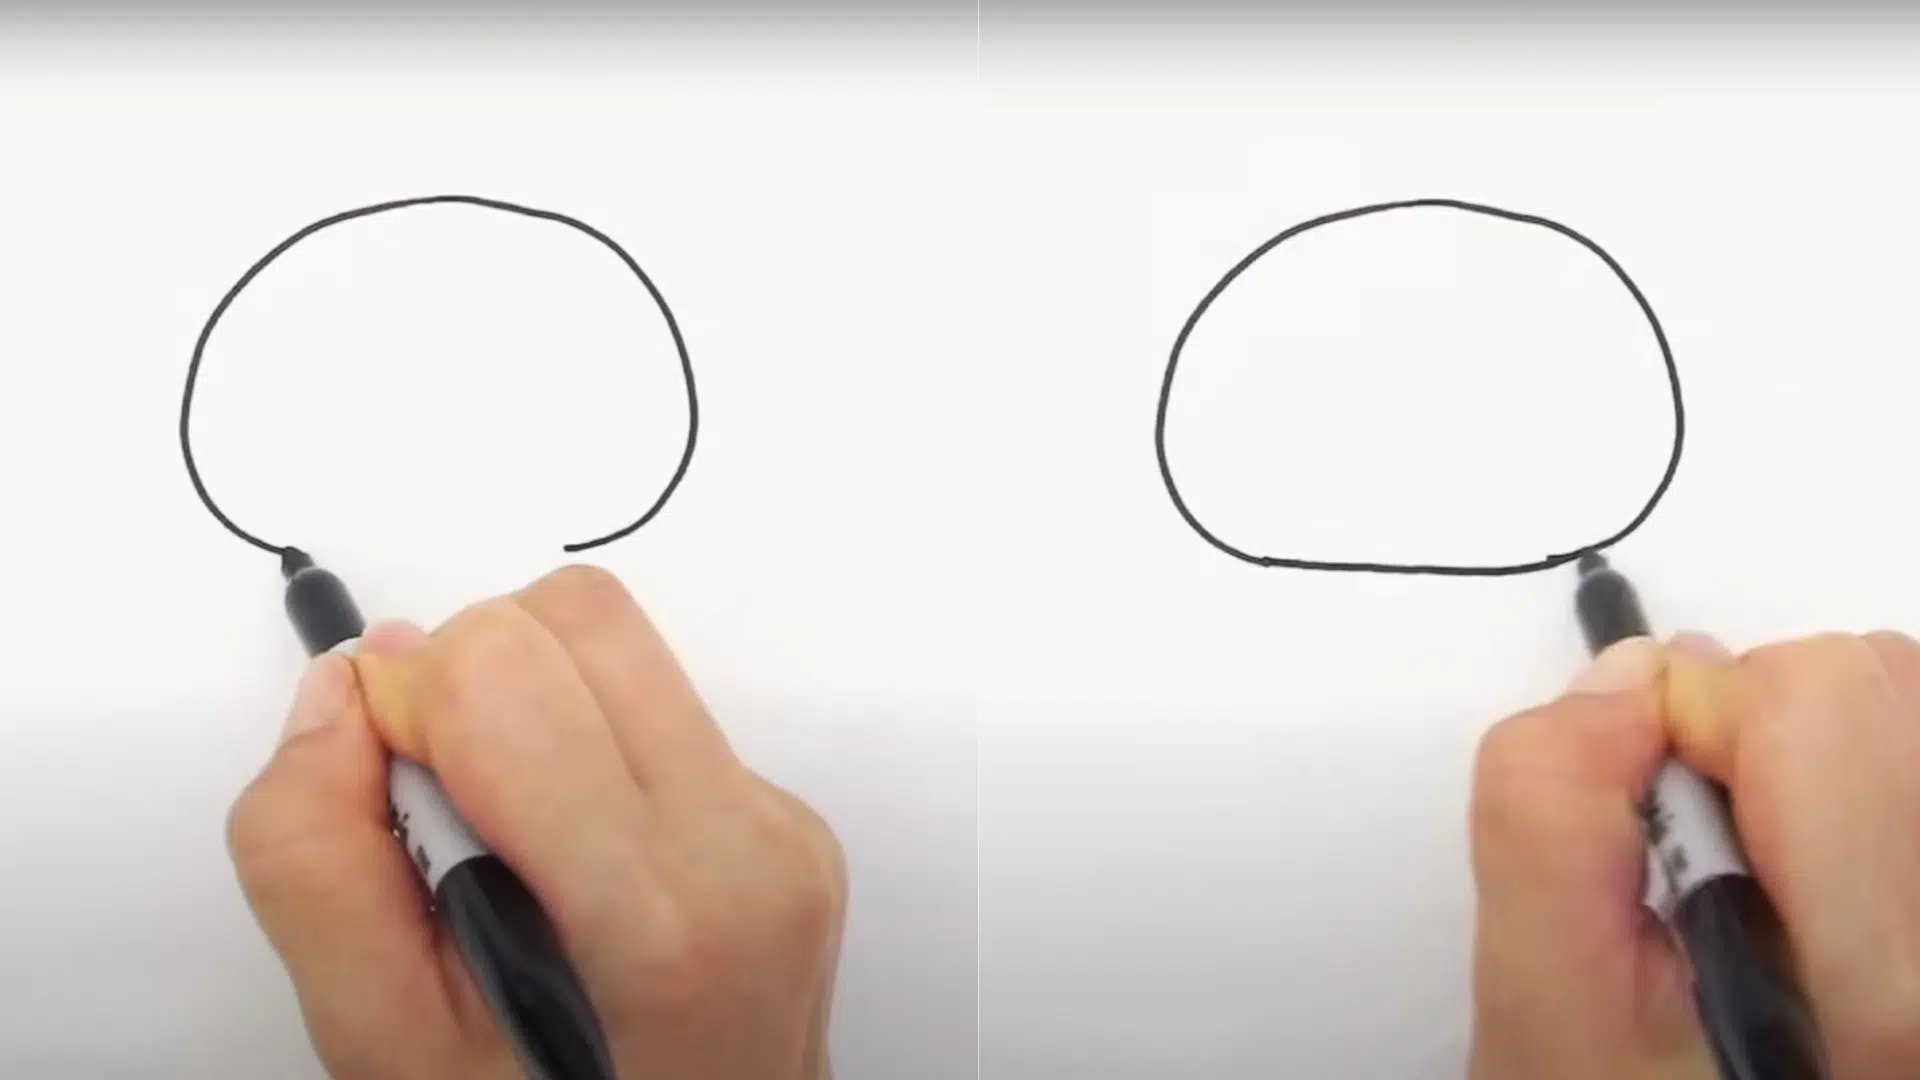
The artist begins by sketching a wide “U” shape at the top of their paper.
They curve the lines downward on both sides, then connect them at the bottom to form a large, rounded head. Remember, bigger heads make penguins look cuter and more appealing.
This simple shape serves as the foundation for the entire drawing. Keep the lines light and smooth for easy erasing later if needed.
Step 2: Create the Body
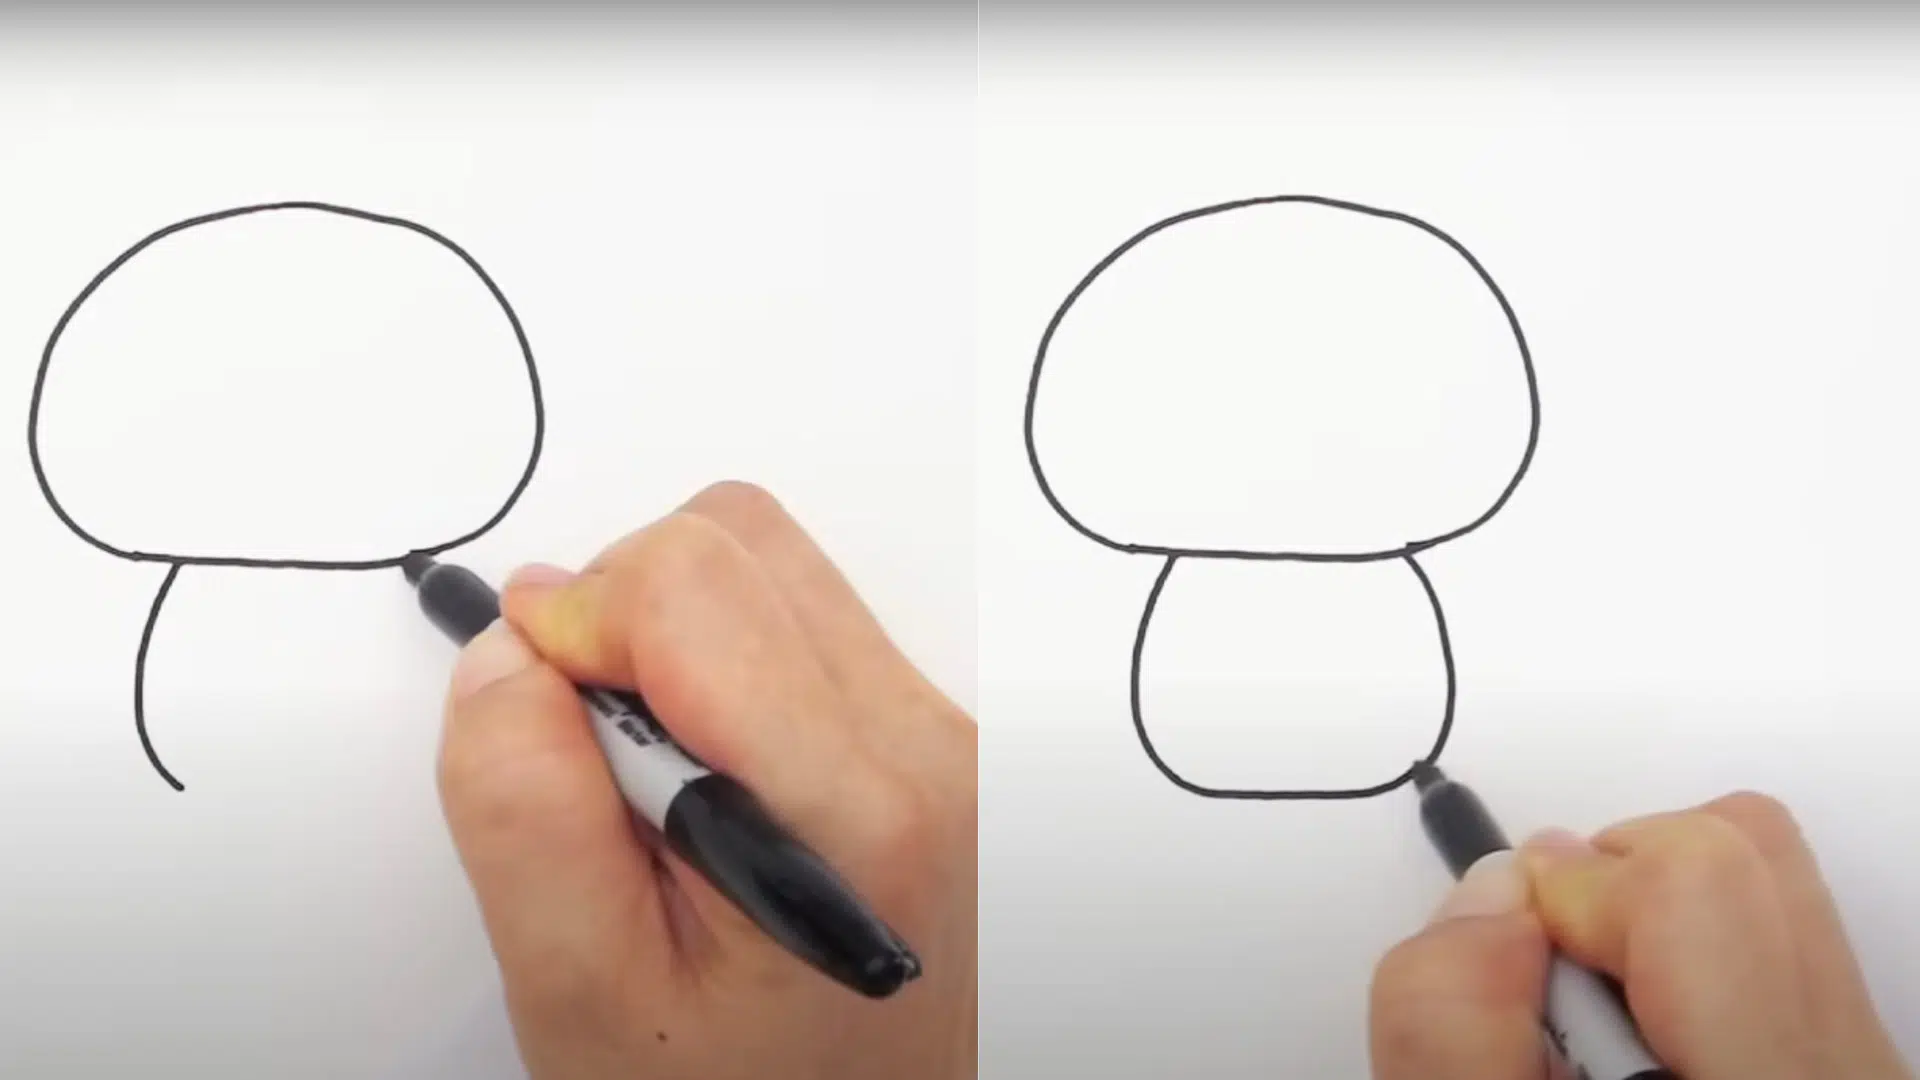
Next, they draw another curve starting from just underneath the head on both sides. The shape resembles a mushroom or teardrop, curving downward and outward before connecting at the bottom.
This creates the penguin’s plump, rounded body. The body should be slightly larger than the head to maintain proper proportions.
This basic oval shape captures the penguin’s characteristic chubby appearance that makes them so lovable.
Step 3: Add the Head Cap
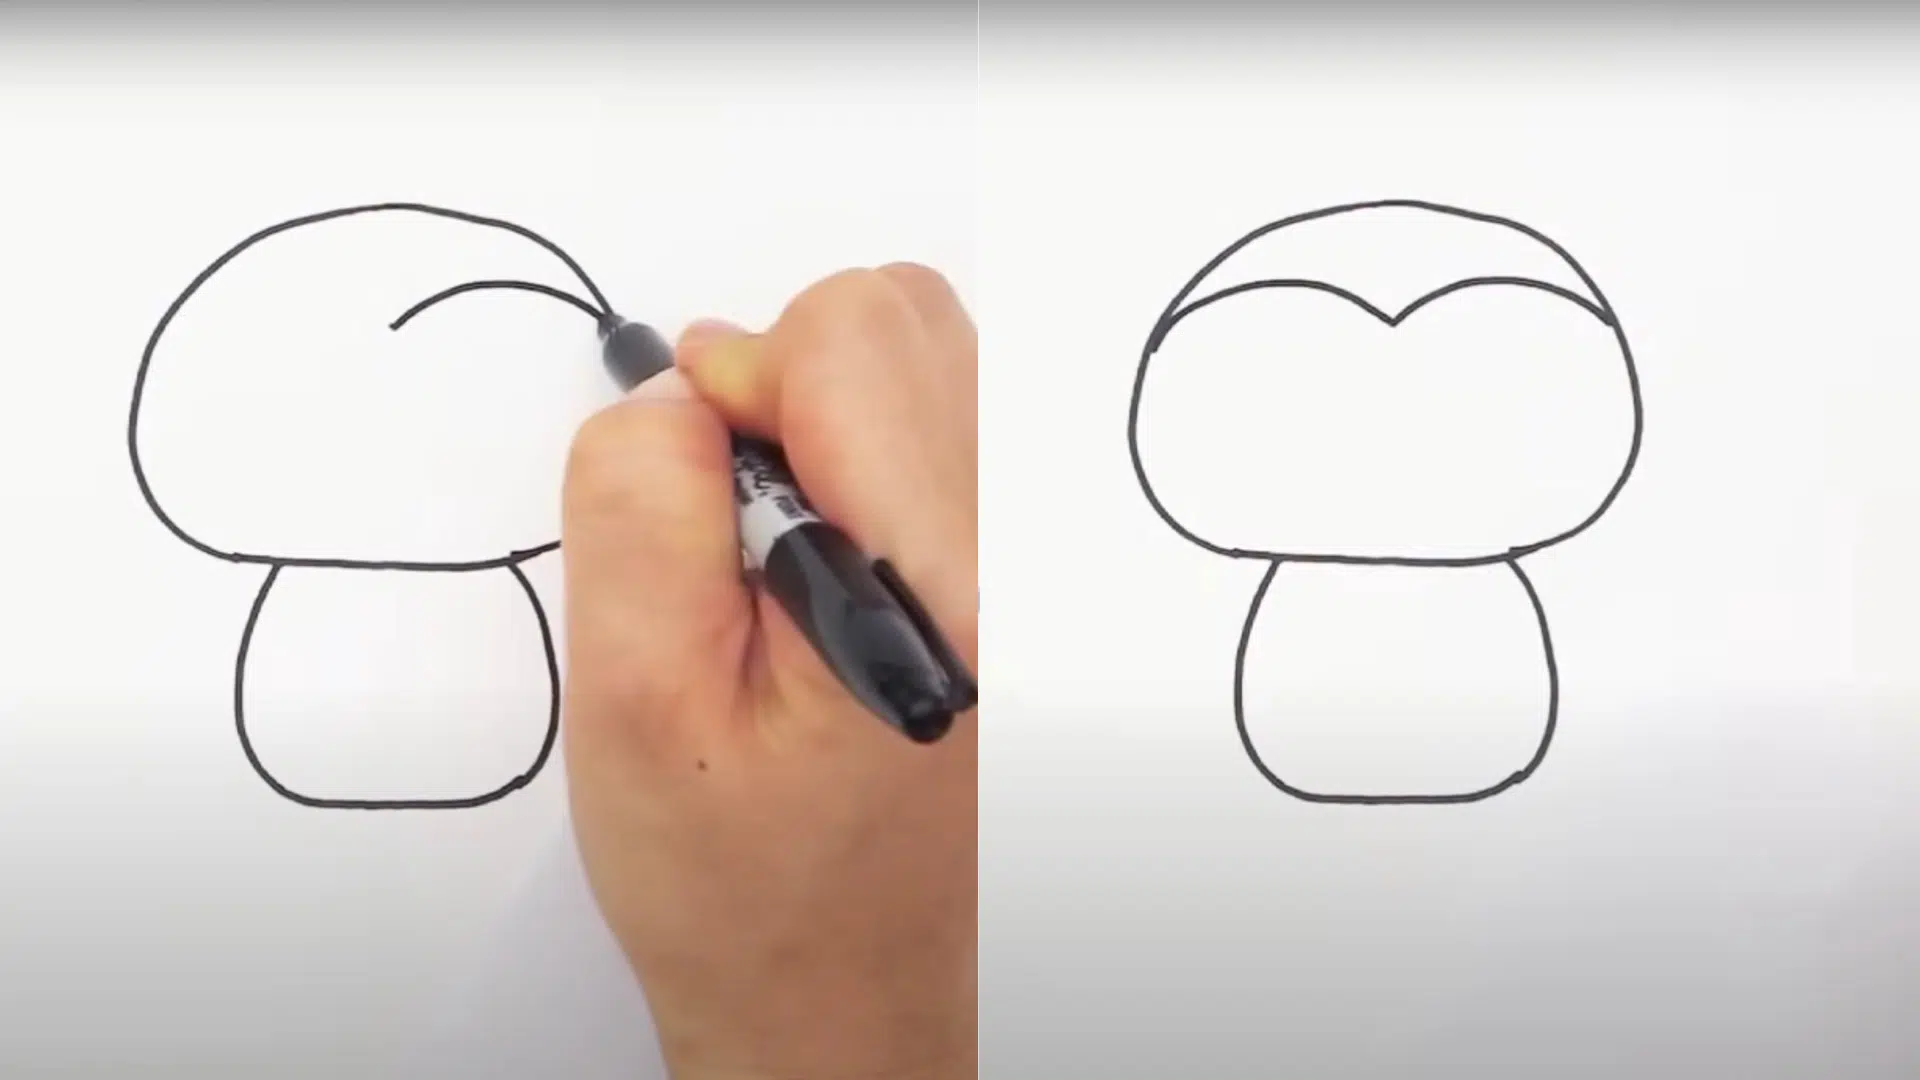
Now they sketch a curved “hat” shape on top of the penguin’s head. This represents the black area found on real penguins’ heads.
They carefully shade this section in black, creating a clear contrast with the white areas. This marking is essential for making the drawing look like an actual penguin.
The cap should cover roughly the top third of the head for realistic proportions.
Step 4: Draw the Eyes
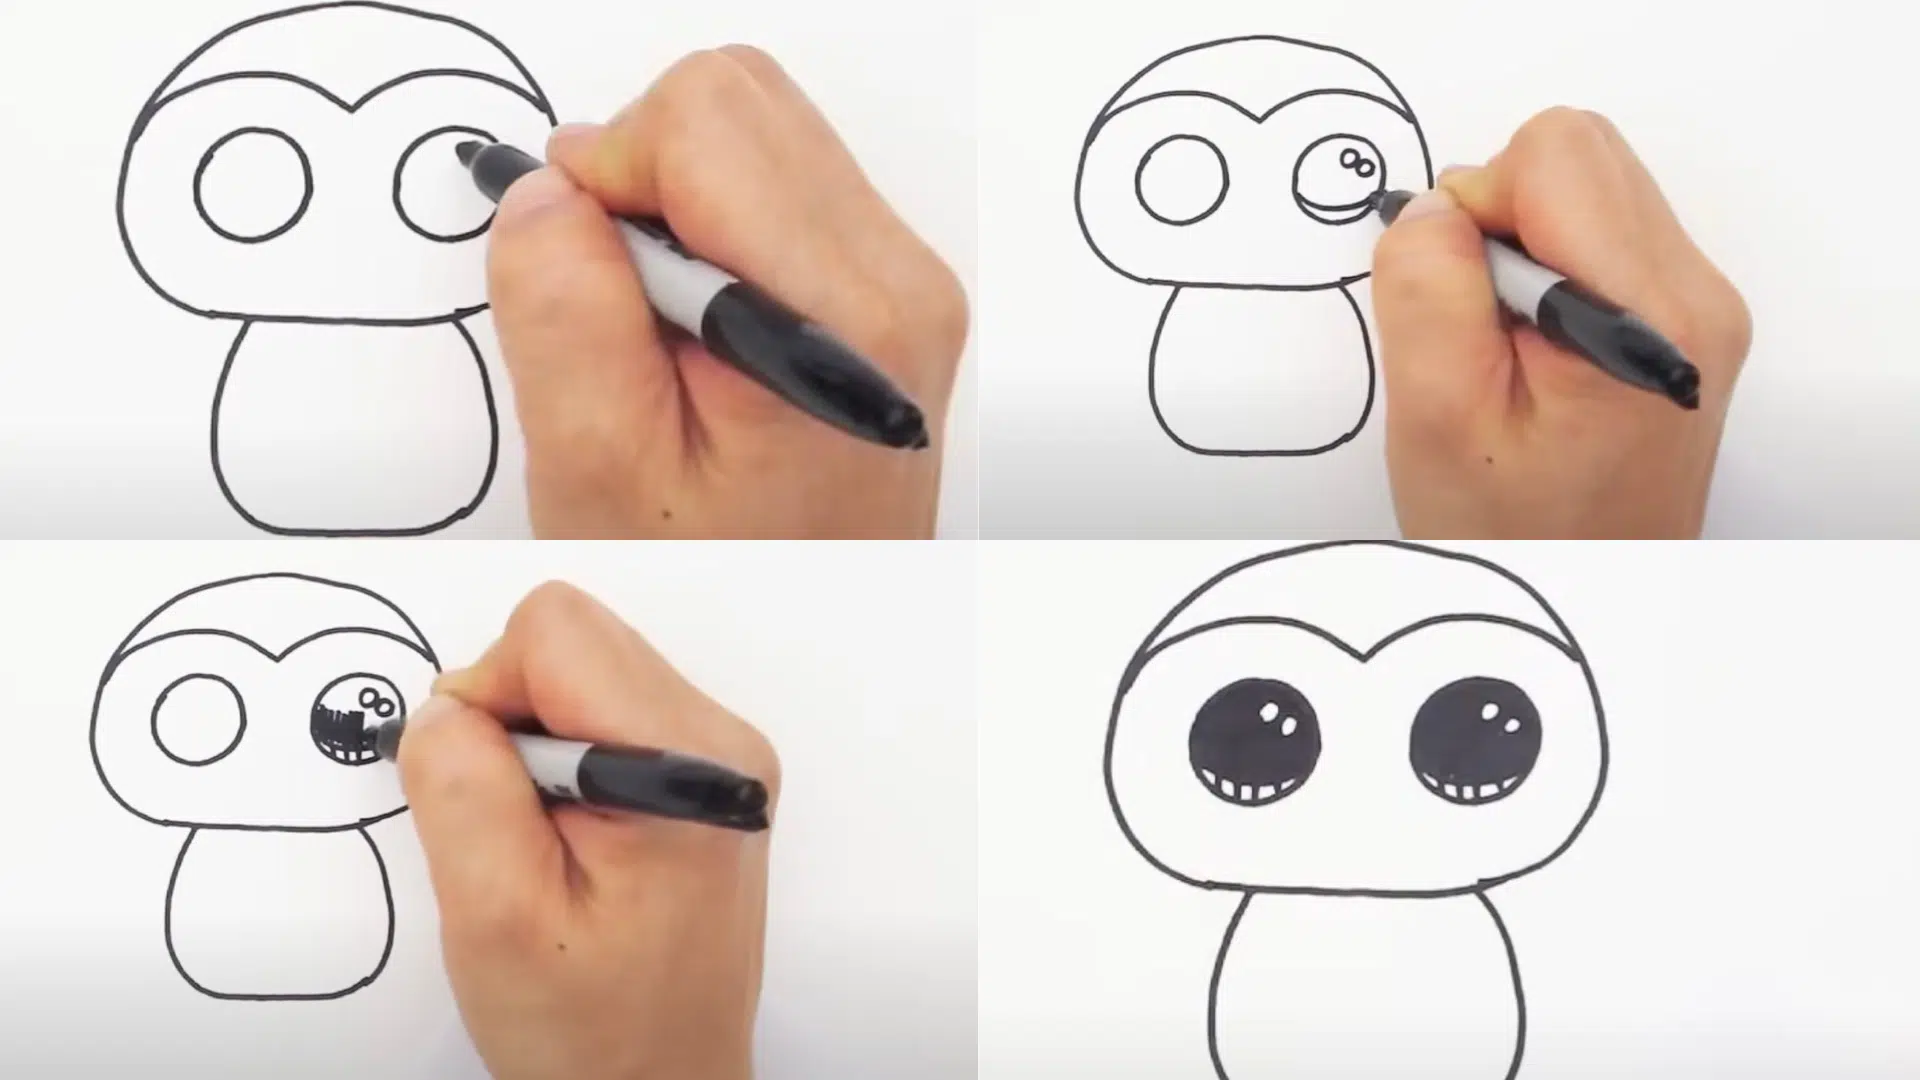
Inside the head area, they draw two large circles positioned side by side. Within each eye, they add small white circles for highlights, curved lines for depth, and vertical lines for sparkle effects.
The top half of each eye gets shaded black, creating dimension and life.
These expressive eyes are crucial for giving the penguin personality and charm that viewers will connect with instantly.
Step 5: Add the Beak
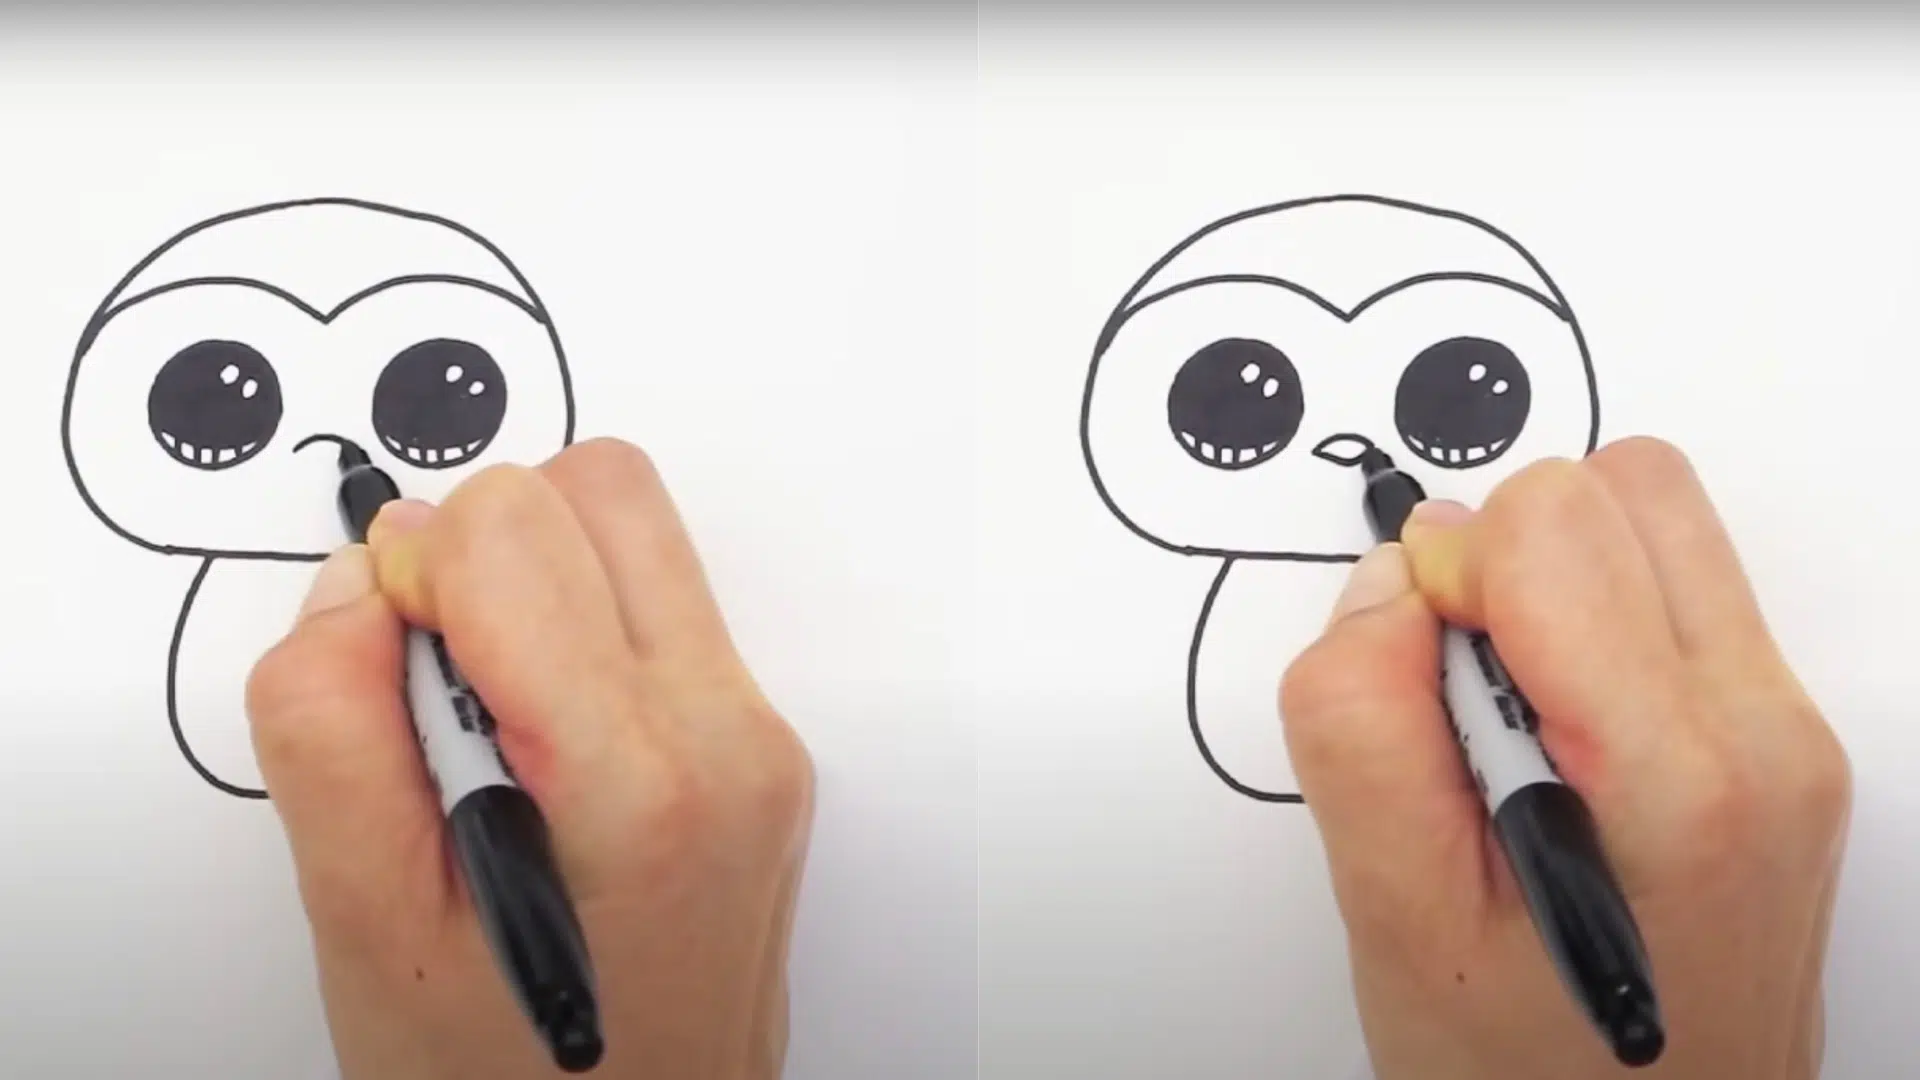
In the center area just below the eyes, they sketch a soft “V” shape. The top curves gently while the bottom comes to a point, forming the penguin’s distinctive beak.
This feature should be proportional to the head size, not too large or too small. The beak is typically orange or yellow in real penguins, but they can choose any color they prefer for their artistic interpretation.
Step 6: Draw the Flippers
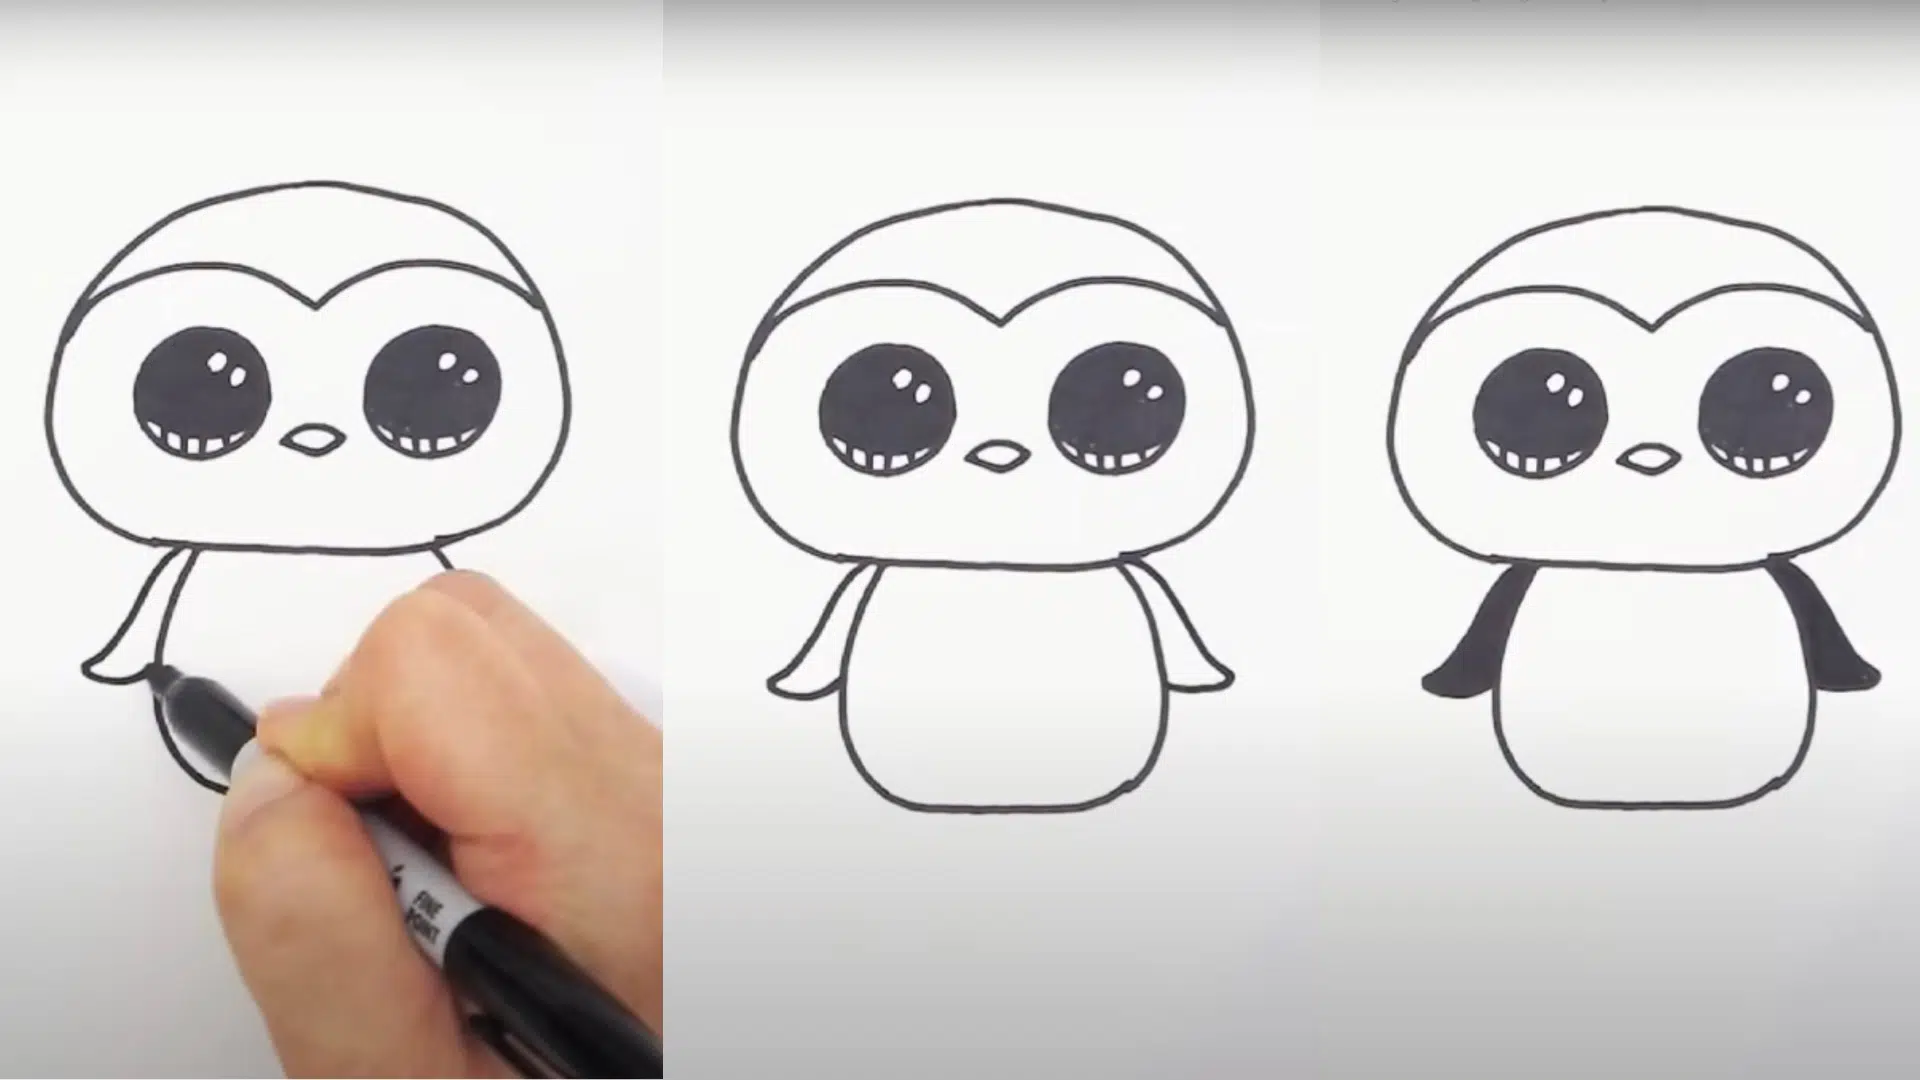
On each side of the body, they draw curved lines that extend downward and meet the body outline. These represent the penguin’s wings or flippers.
They fill these areas in black to match the real penguin coloring. The flippers should be positioned naturally at the penguin’s sides, not too high or too low.
This step adds authenticity and helps complete the recognizable penguin silhouette that everyone knows.
Step 7: Sketch the Feet
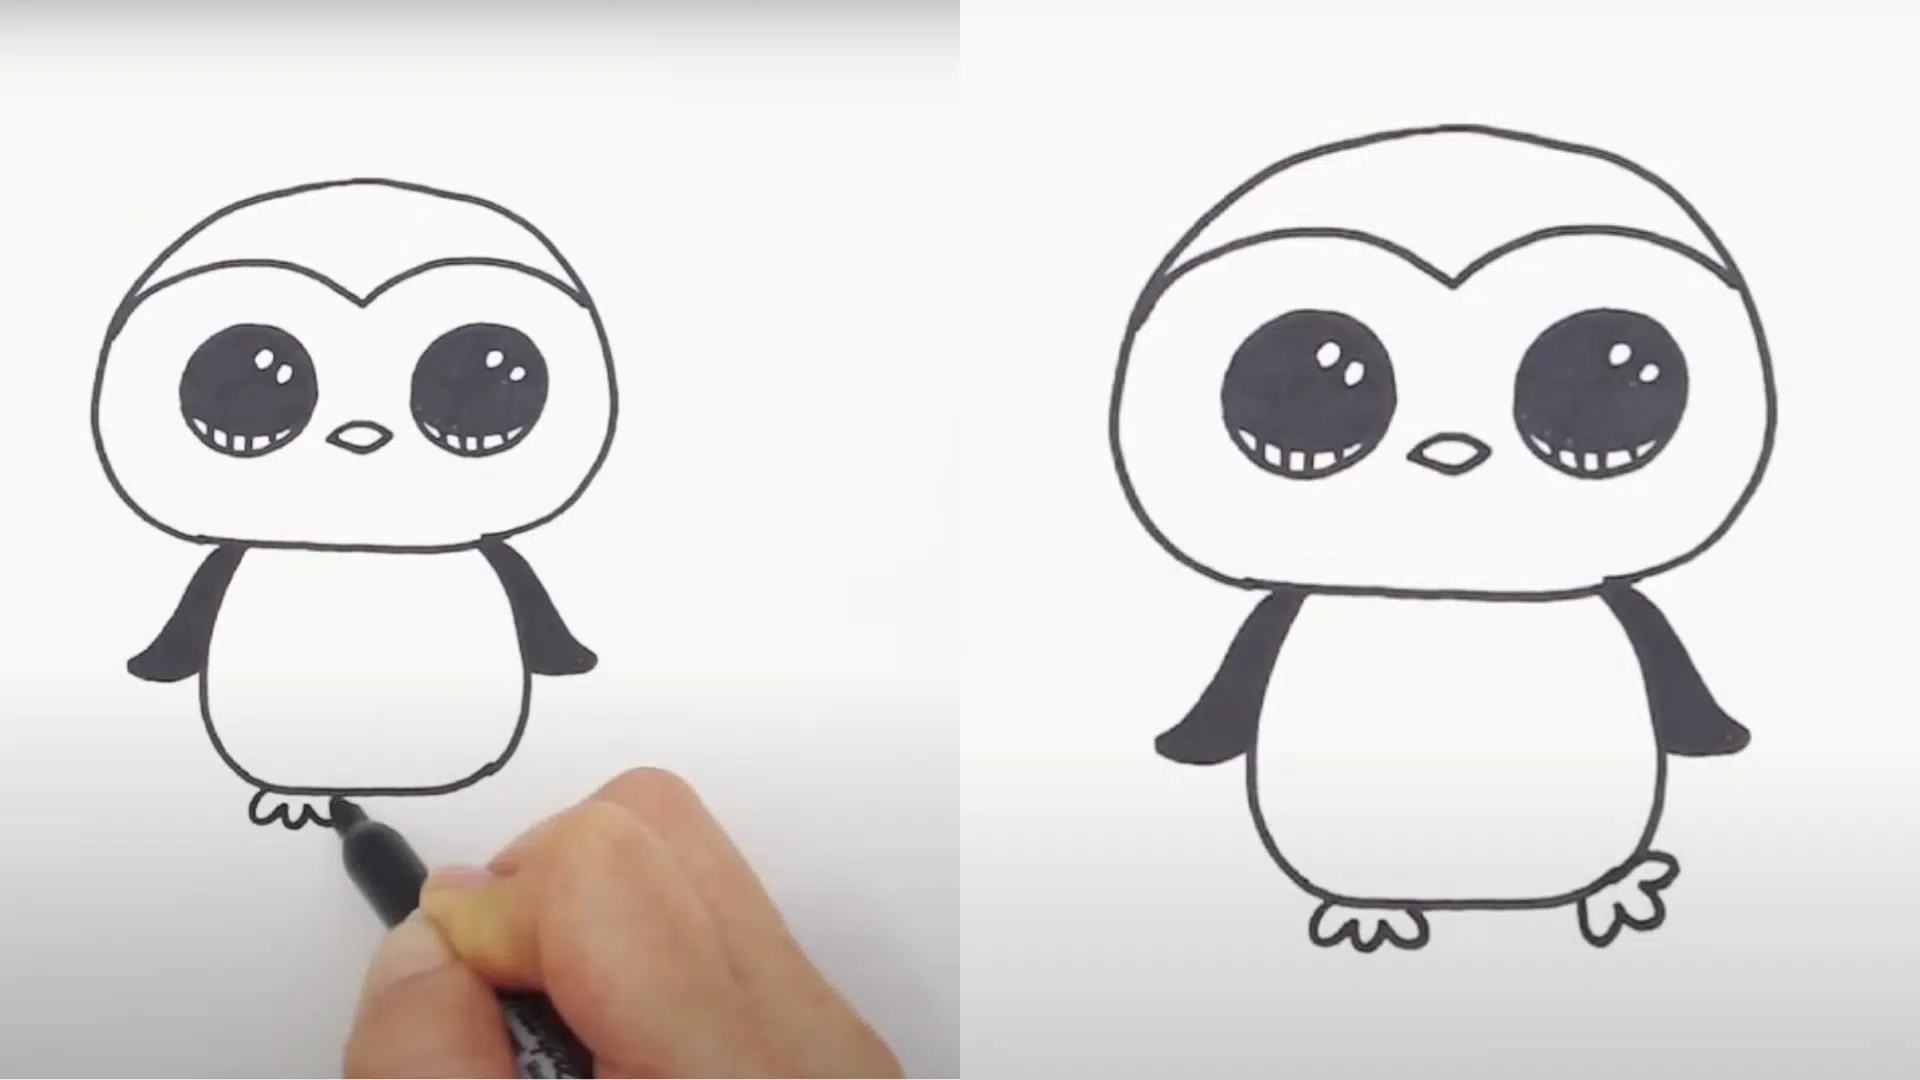
At the bottom of the body, they draw three small connected curves for each foot, resembling scalloped shapes.
One foot can be slightly tilted to suggest a playful, walking pose. Penguin feet are typically webbed and orange in color. These details add character and ground the penguin in its environment
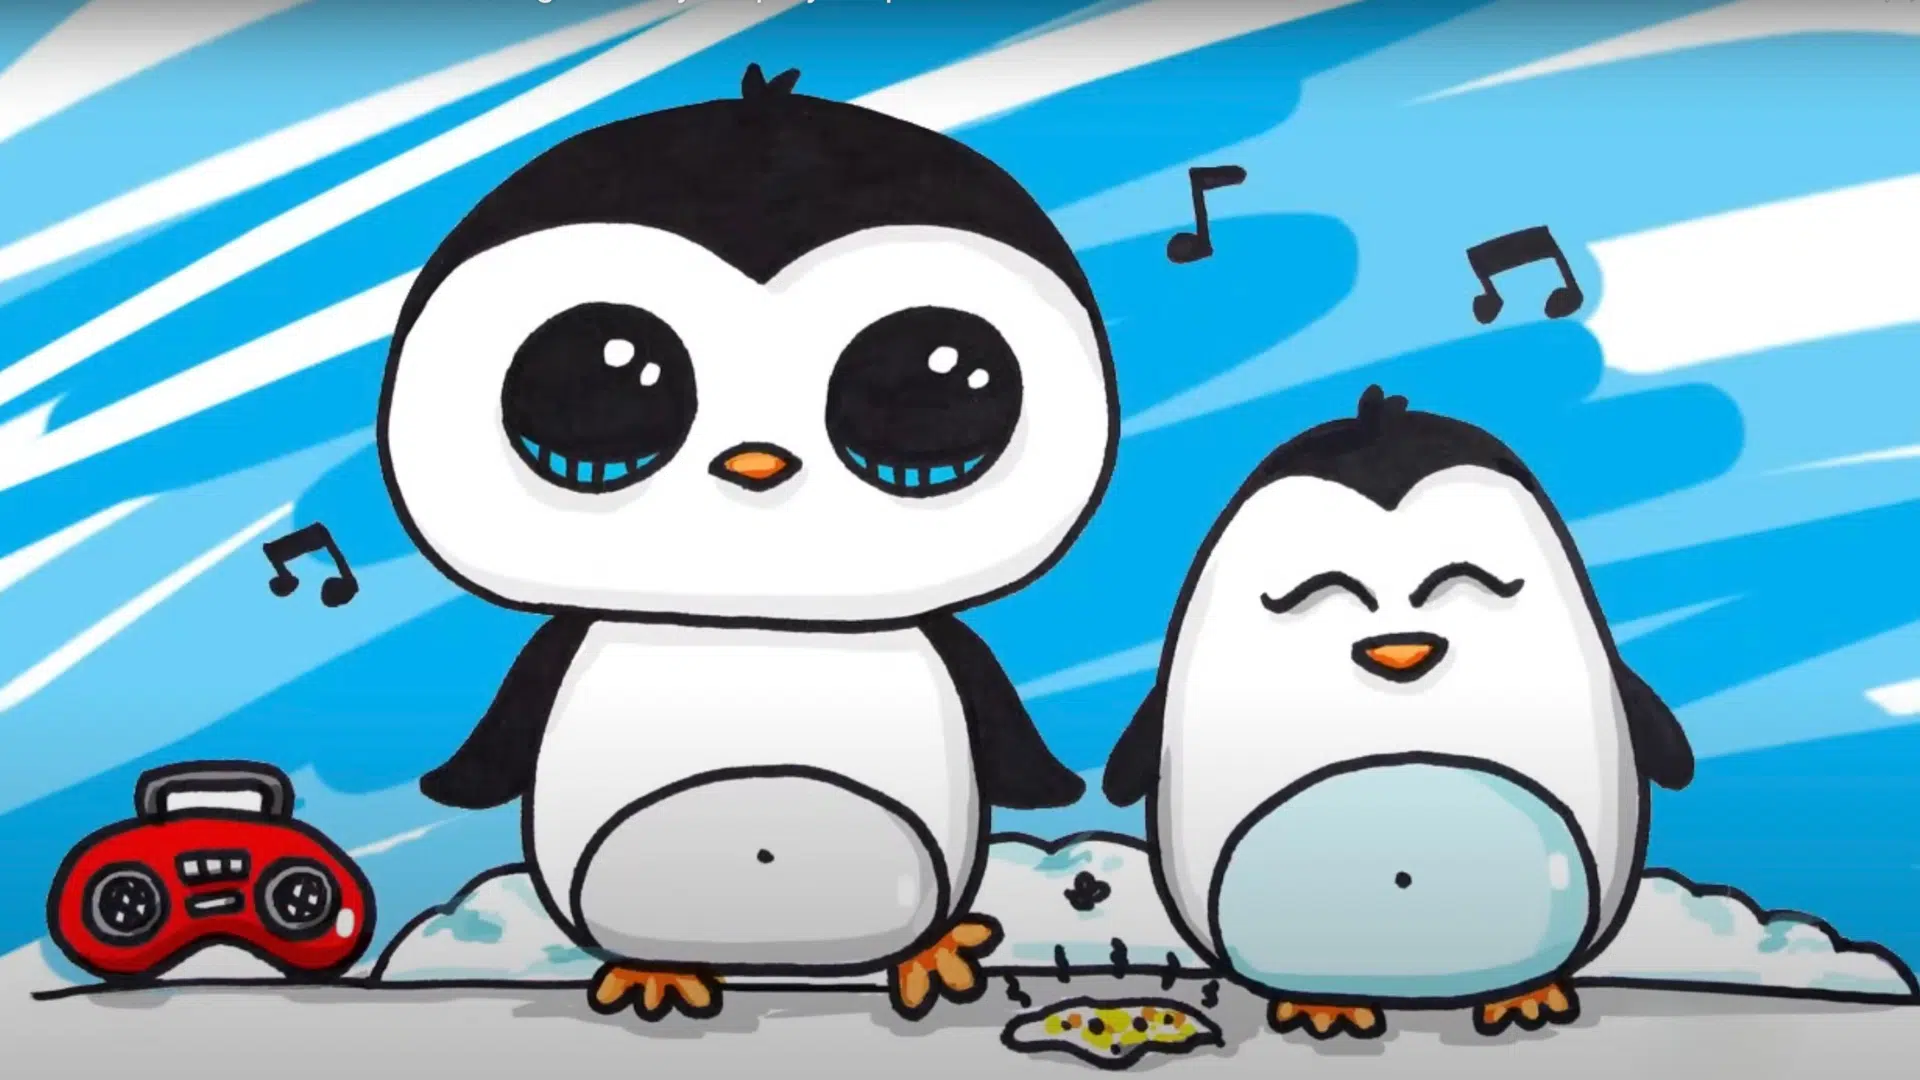
For extra fun, they might add a baby penguin nearby, musical notes, or other playful elements. These creative touches make the drawing unique and personal.
Step 8: Final Touches
They outline their sketch with a black marker to make it bold and clear. After erasing pencil marks, they color in areas like the flippers, head cap, beak, and belly details.
Adding snow lines or ground beneath the penguin completes the scene beautifully. These finishing touches bring the drawing to life and create a polished, professional-looking result that they can be proud to share with others.
To Conclude
Congratulations! You’ve just completed your first penguin drawing step by step tutorial. Look at what you created with just a few simple shapes and basic tools.
Your penguin might not look exactly like the examples, and that’s perfectly fine. Each drawing has its own character and charm.
Don’t keep this cute creation to yourself. Share it with friends, family, or post it online. Remember, creativity matters more than perfection. Every artist started somewhere, and you’ve taken that important first step.
Keep practicing, keep drawing, and most importantly, keep having fun with your art.