Think making seashell wind chimes is just basic craft time? Here’s the insider secret most DIY guides never reveal.
Most people assume seashell wind chimes are simple; just string some shells together and hang them up. Wrong. The most beautiful chimes require hidden techniques that separate amateur crafts from stunning home décor pieces.
Certain assembly tricks can change basic seashells into enchanting musical decorations.
The difference between craft fair rejects and gorgeous wind chimes often comes down to understanding these overlooked details.
Seashell Wind Chimes DIY Steps
Seashell Wind Chimes DIY Steps are easy and beginner-friendly. You start by gathering seashells, twine, and driftwood.
Step 1: Choose and Prepare Your Materials
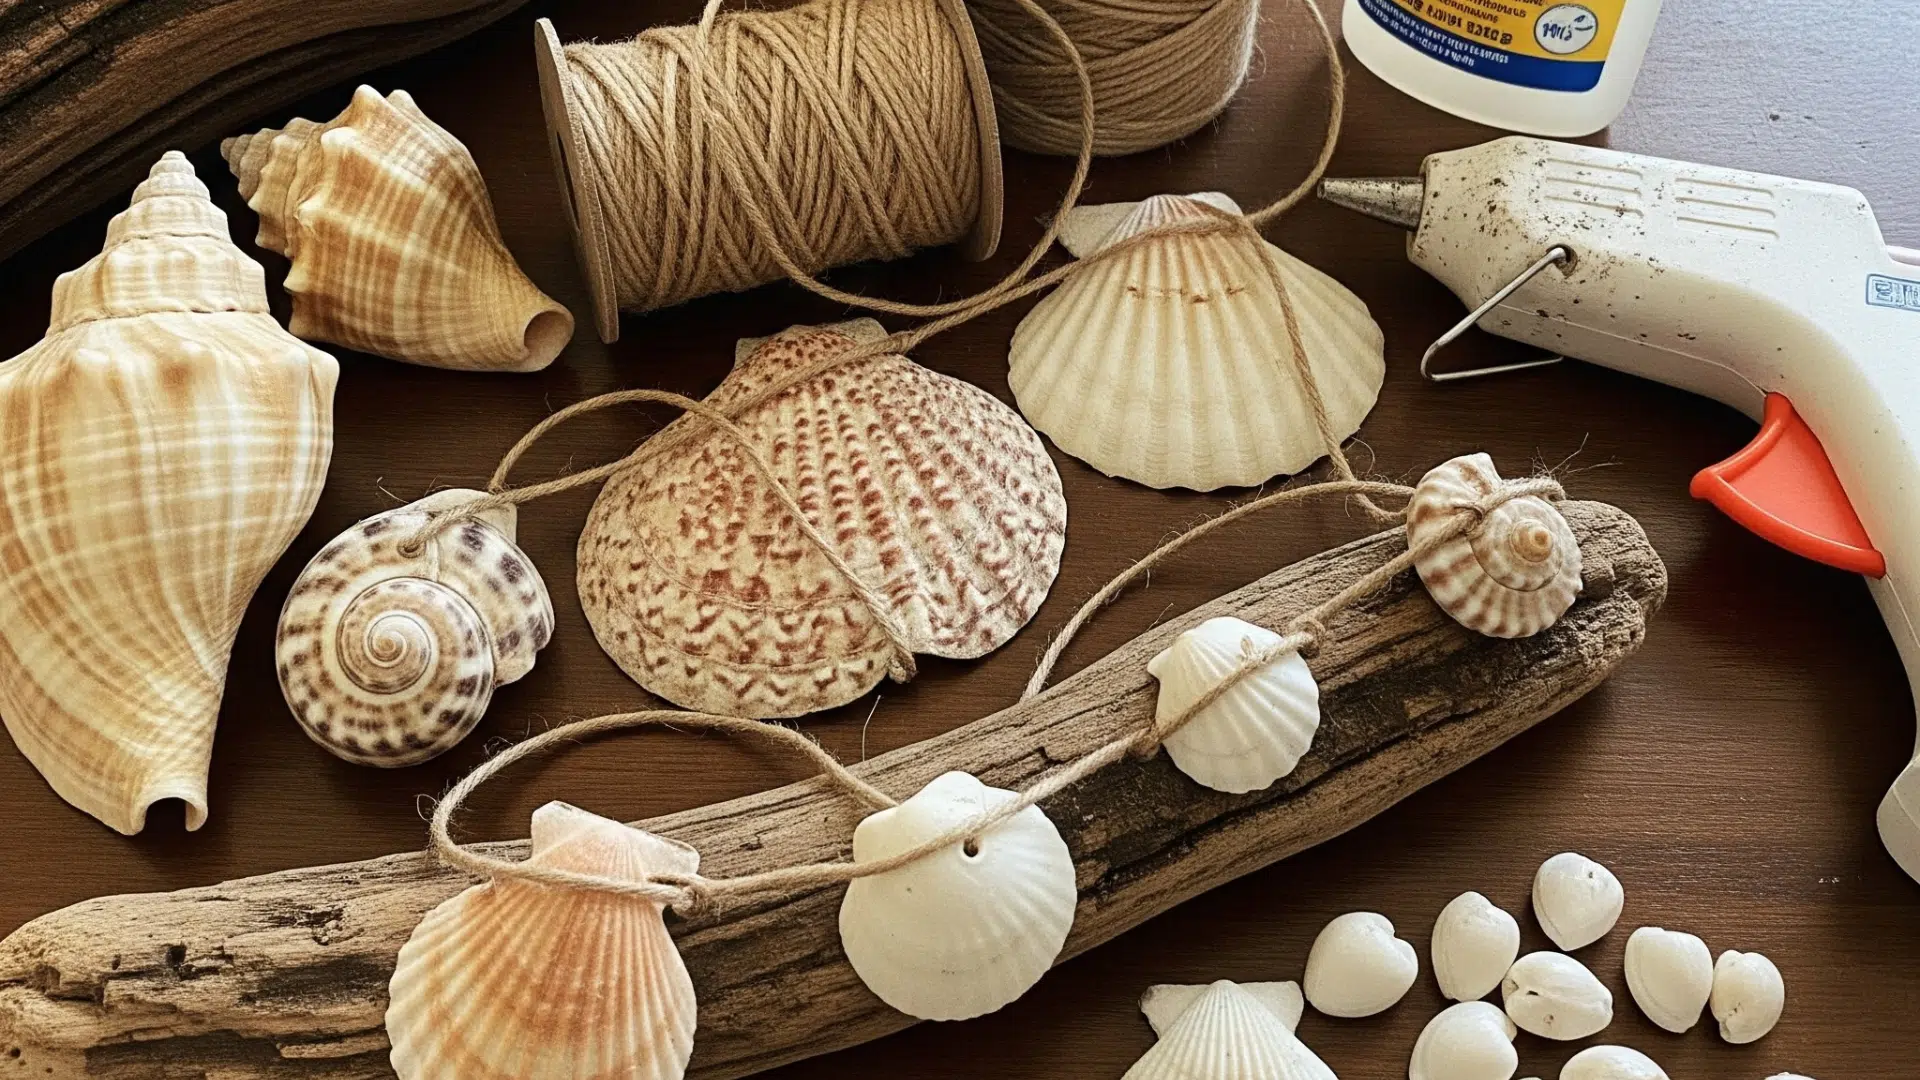
To begin your seashell wind chimes DIY project, gather your supplies.
You’ll need about:
- 29 seashells,
- a piece of driftwood,
- craft twine,
- clear craft glue,
- a glue gun.
If your shells don’t already have holes, you can drill them or simply use glue for attachment. You can also find similar shells at craft stores if you didn’t collect any on a beach trip.
Step 2: Get Your Driftwood Ready

Next, take your piece of driftwood and drill five small holes across it.
These will be used to hang the strands of seashells. If you don’t want to drill, you can tie the twine around the driftwood instead. This base will support the whole wind chime or hanging decoration.
Step 3: Measure and Knot the Twine

Cut five strands of twine, each about 60 inches long. Then, create a double knot at the halfway point on each strand. This knot will sit beneath the driftwood when it’s hung up.
Thread each piece of twine through the holes you drilled (or tied) so that the knots hold it in place underneath.
Step 4: Mark Where Shells Will Go
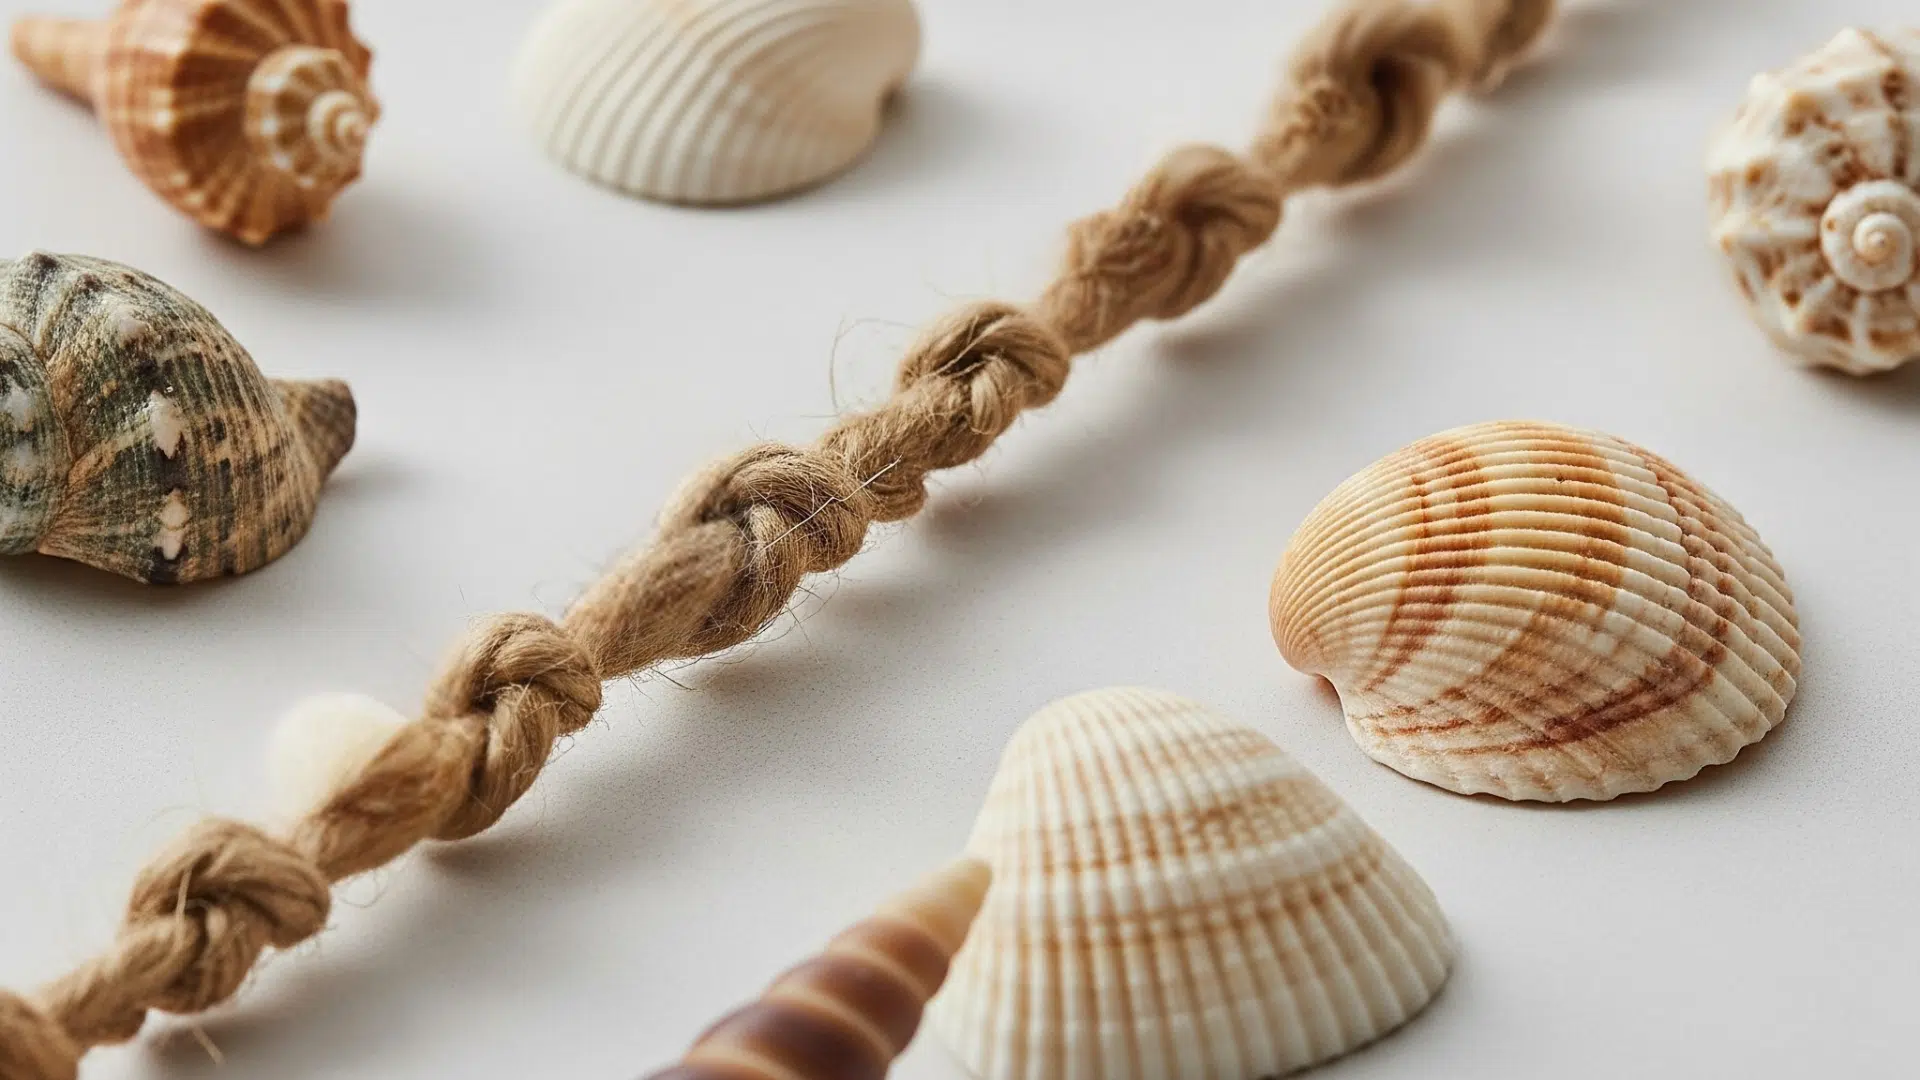
Along each strand of twine, make single knots to mark where your shells will be glued. Place them around 1.5 to 2 inches apart.
You can eyeball the spacing; it doesn’t need to be exact. Keep the spacing mostly even so your wind chime looks balanced. You can arrange the shells in matching rows or stagger them for a mixed effect.
Step 5: Glue the Shells to the Twine
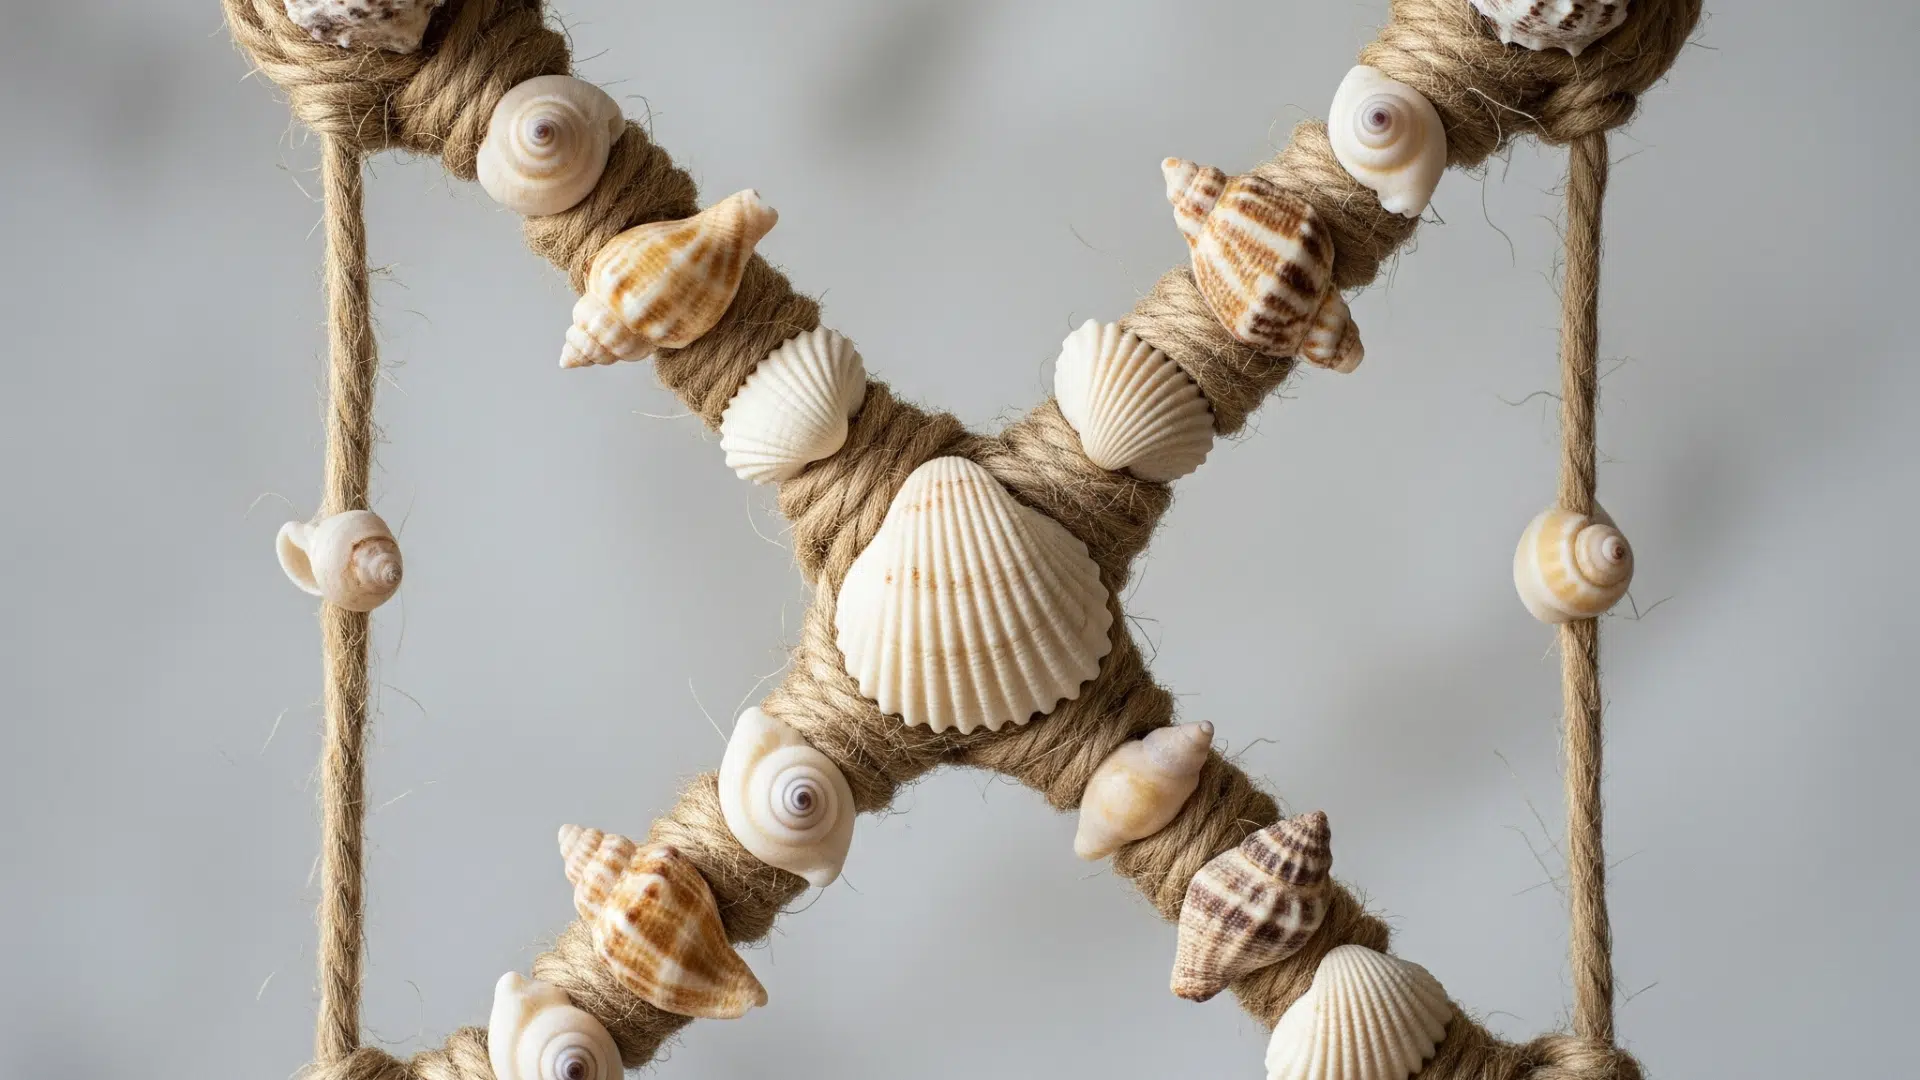
Now, use a glue gun to attach each shell to its knot. Add a dab of glue on the knot, press it to the back of a shell, and hold it for a few seconds until it sets. Be careful not to burn your fingers.
Step 6: Tie and Hang Your Wind Chime
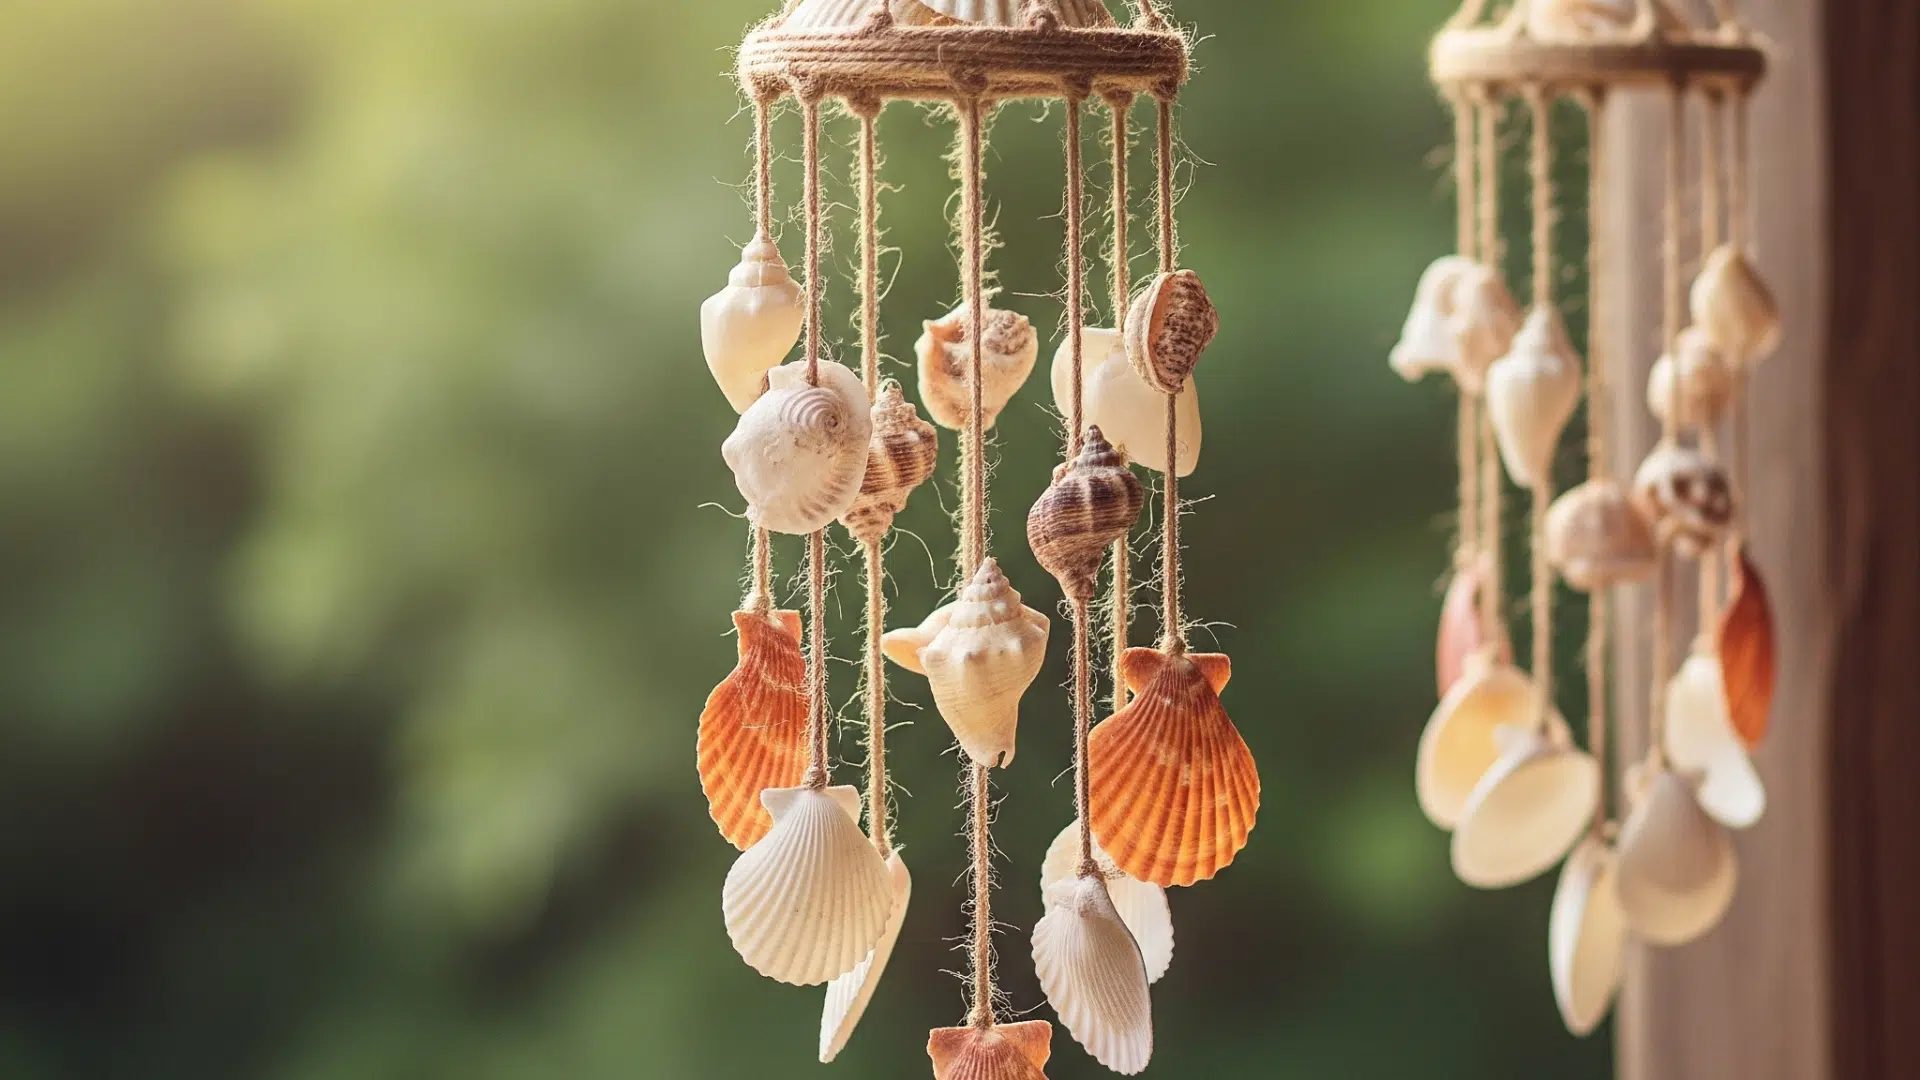
After gluing all your shells and letting the glue cool, take the top ends of the five twine strands and tie them together. This forms a loop for hanging your seashell wind chime.
Make sure it hangs evenly and nothing is tangled or overlapping.
Style it Your Way
One of the best parts of this seashell wind chimes DIY project is how easy it is to customize it to match your taste or home decor.
While the basic version uses evenly spaced shells on twine, you can make small changes that have a big visual effect.
- Play with Color: If your shells vary in color, you can arrange them from darkest at the top to lightest at the bottom to create a soft fade. This color flow can give your wind chime a peaceful, calming look.
- Change the Shape Layout: Instead of lining up the shells straight down, try staggering them so they hang at different heights. This makes the wind chime feel more natural and gives it movement, even when it’s still.
- Add Decorative Elements: Mix in small beads, sea glass, or wooden pieces between your shells. You can even knot charms or buttons into the twine to add personality.
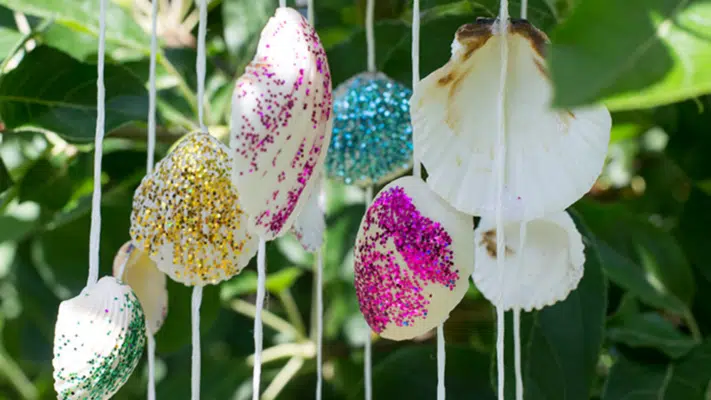
- Use Painted Shells: Painting shells in soft pastels, metallics, or even rainbow colors can turn your chime into a cheerful decoration. Just make sure to use waterproof paint if you plan to hang it outdoors.
- Pick Your Display Spot: This project doesn’t have to be hung outdoors only. It makes a lovely wall hanging for a beach-style nursery, bedroom, or bathroom.
Top Recommendations for Buying DIY Wind Chimes
Finding the perfect DIY wind chime kit can feel overwhelming with so many options available.
Here are our top picks that offer great sound quality, easy assembly and lasting durability for your outdoor space.
1. Seashell Wind Chimes by Generic
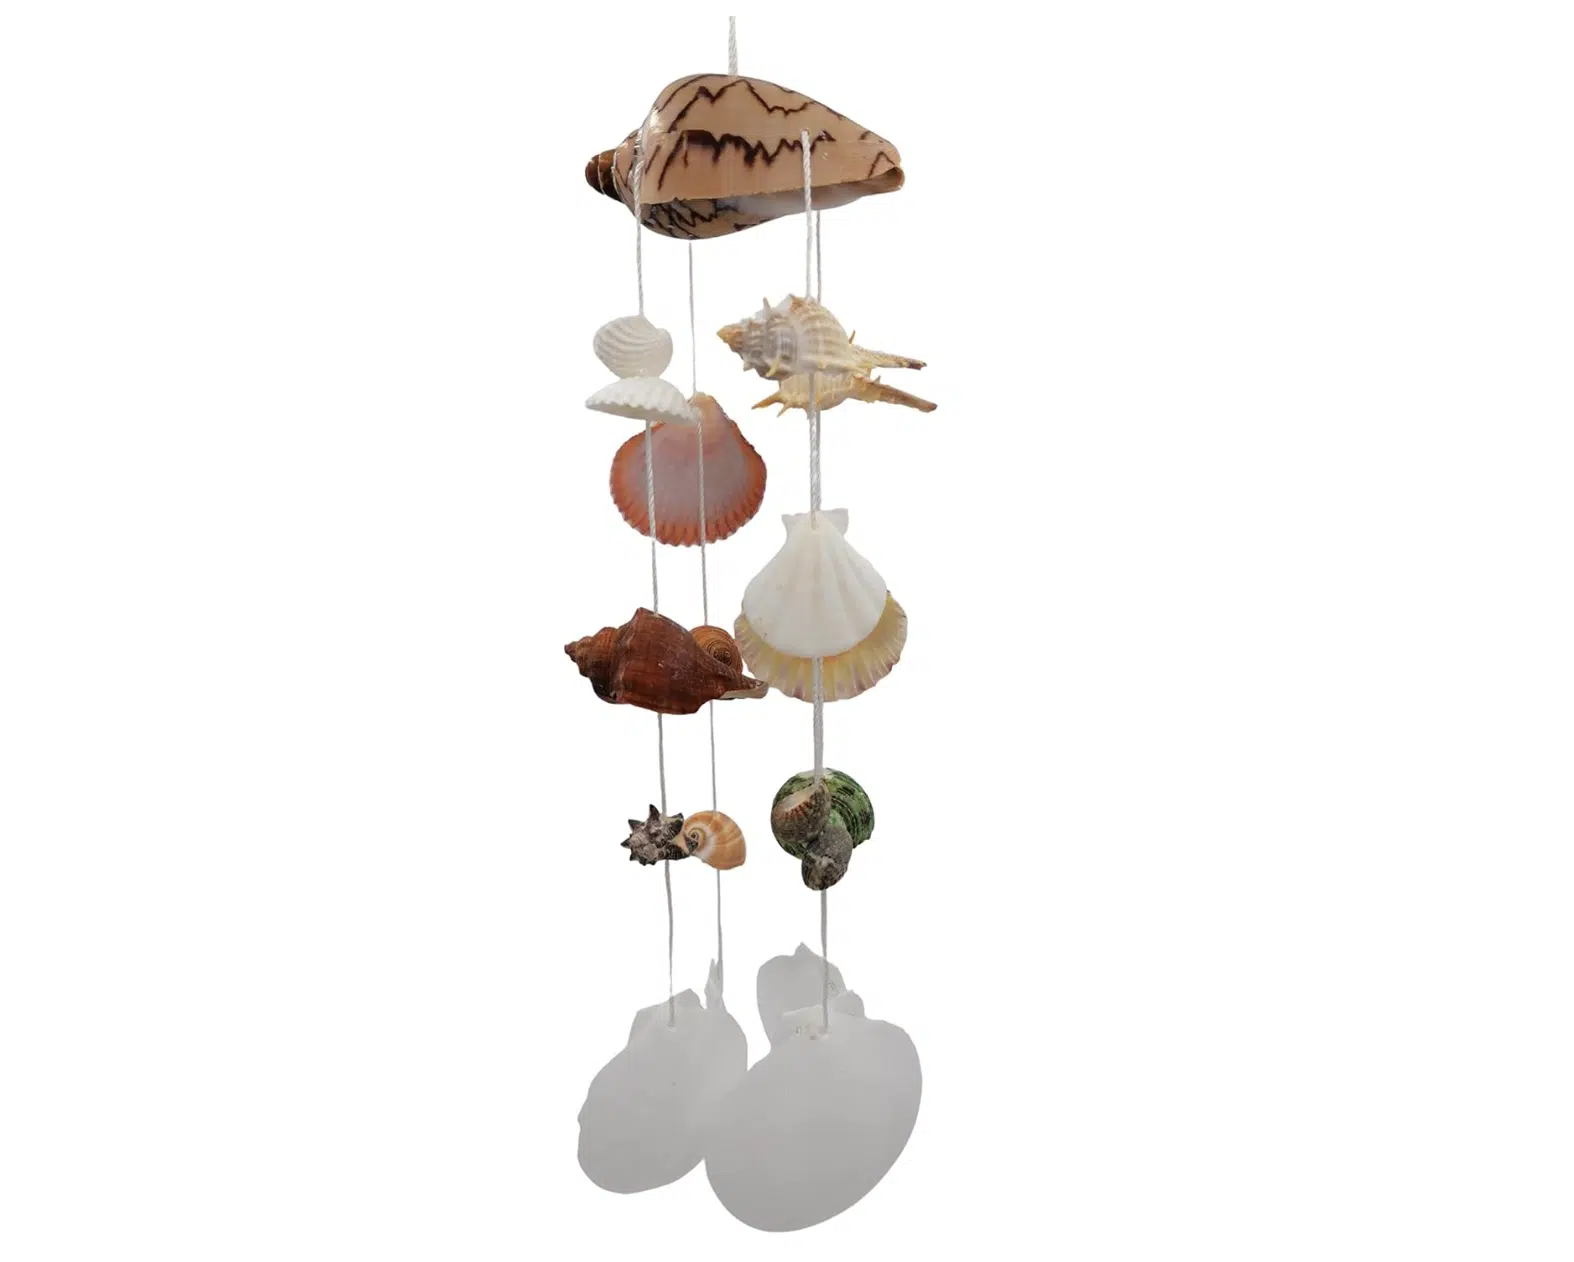
- Color: Natural Color
- Product Dimensions: 3″L x 2.5″W x 14.5″H
2. Seashell Wind Chimes Multi-Color Handmade Wind Chimes
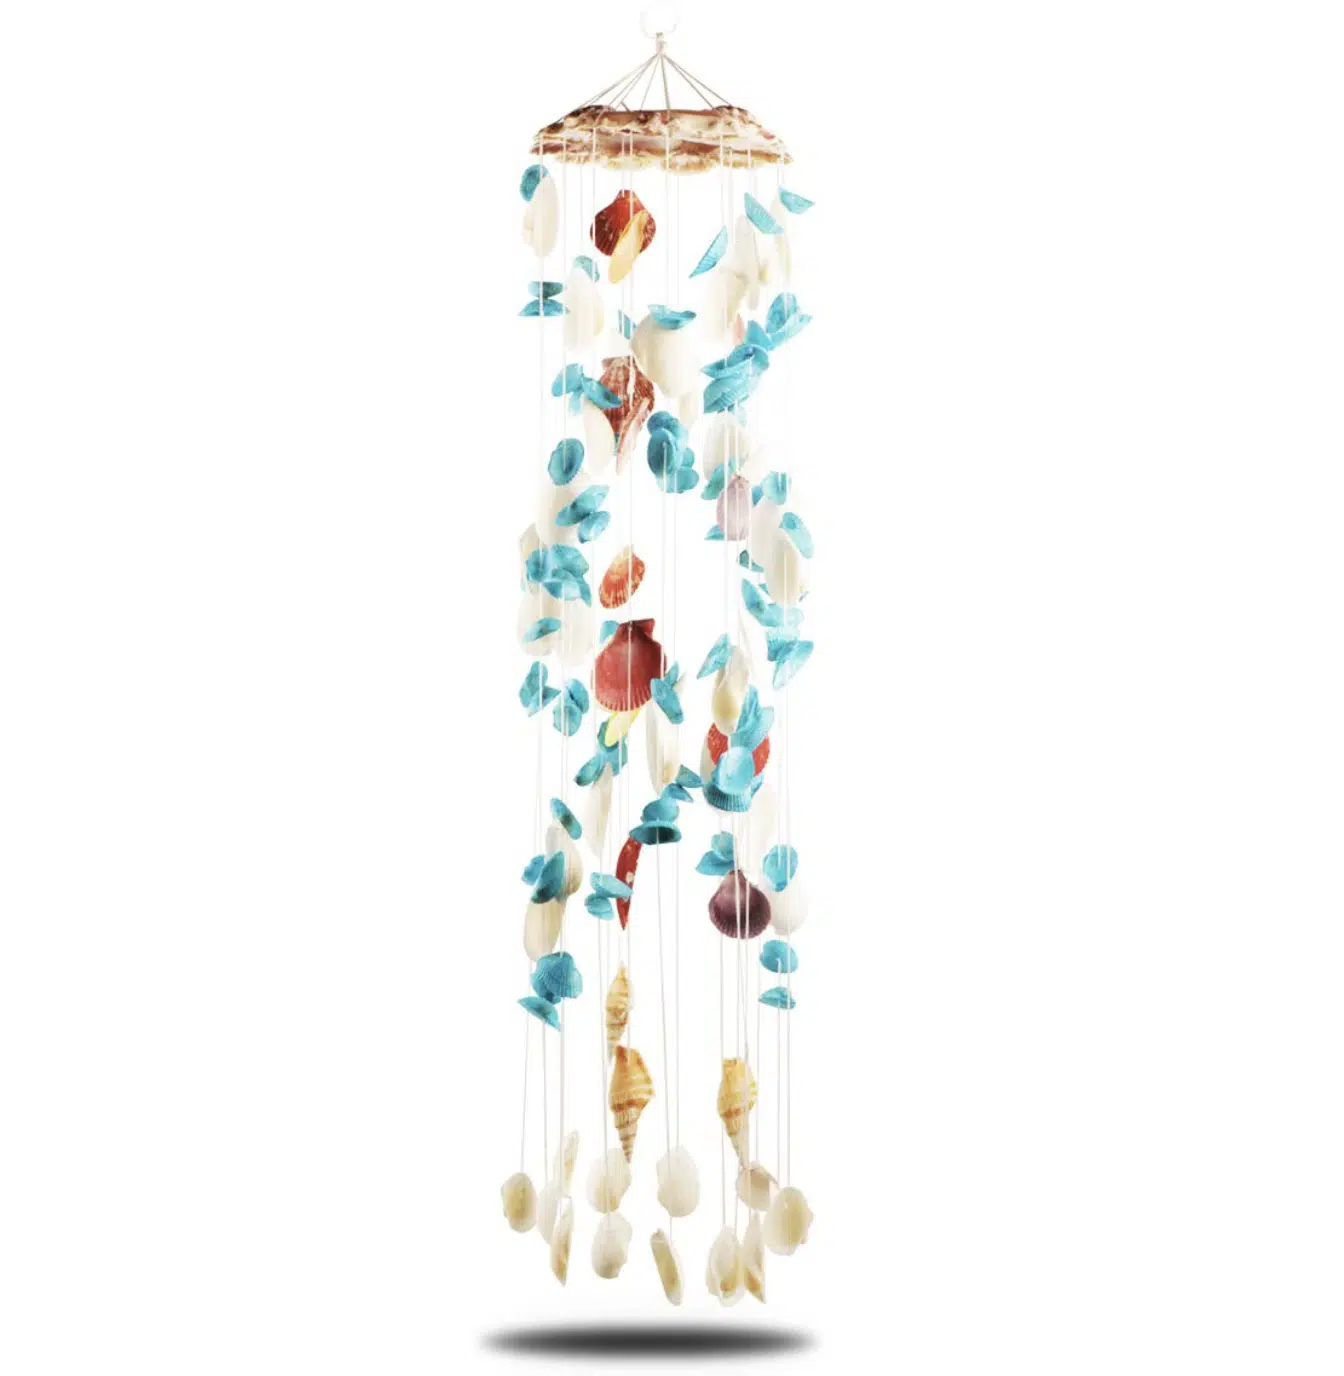
- Color: Blue, White
- Product Dimensions: 29.1” H X 6.7” W X 6.7” D
- Price: $75.99
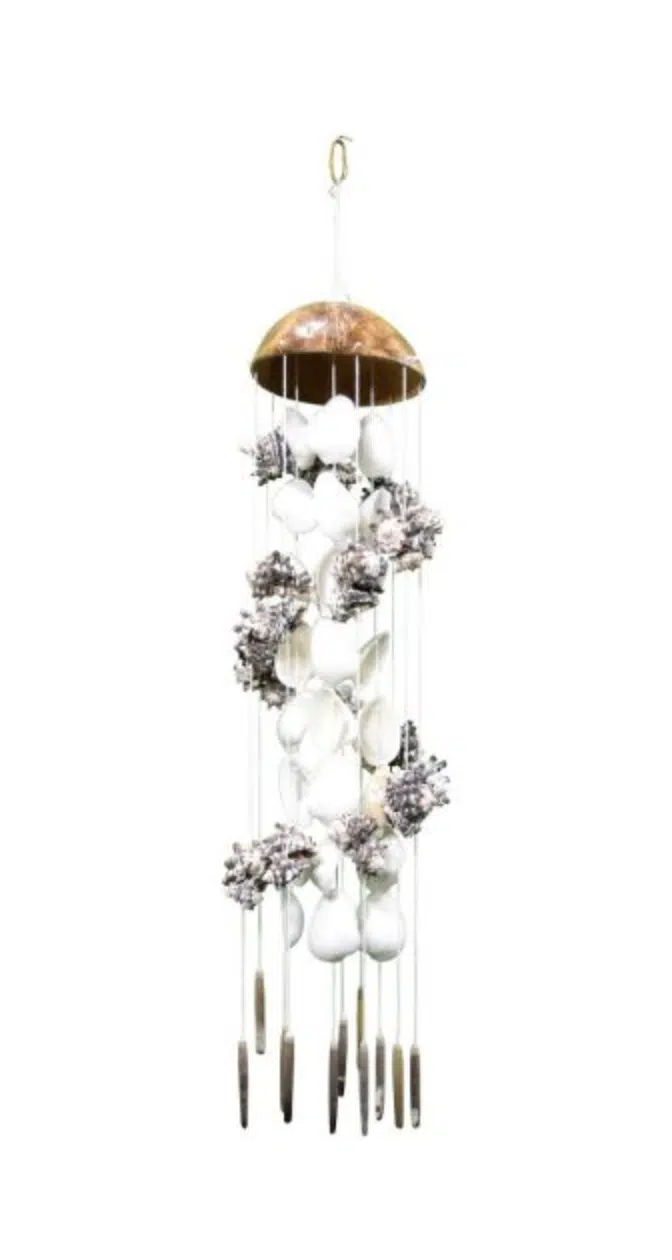
3. Coastal Seashell Wind Chime by Meyrwoy

- Color: Light blue
- Product Dimensions:29” H x 6.7” W x 6.7” D
- Price: $9.95
4. Ark & Vasum Wind Chime
- Color: Light blue
- Product Dimensions: 5×24″
- Price: $10.99
Bottom Line
Making your own seashell wind chimes DIY is a fun and easy way to turn beach memories into beautiful decor.
With just some twine, driftwood, and shells, you can create a charming wind chime or wall hanging that fits any space.
Whether you keep it simple or add your personal touch with colors and patterns, the gentle clink of seashells will always bring a bit of the coast home.
If you enjoyed this seashell wind chimes DIY or gave it a try, share your thoughts or results in the comments