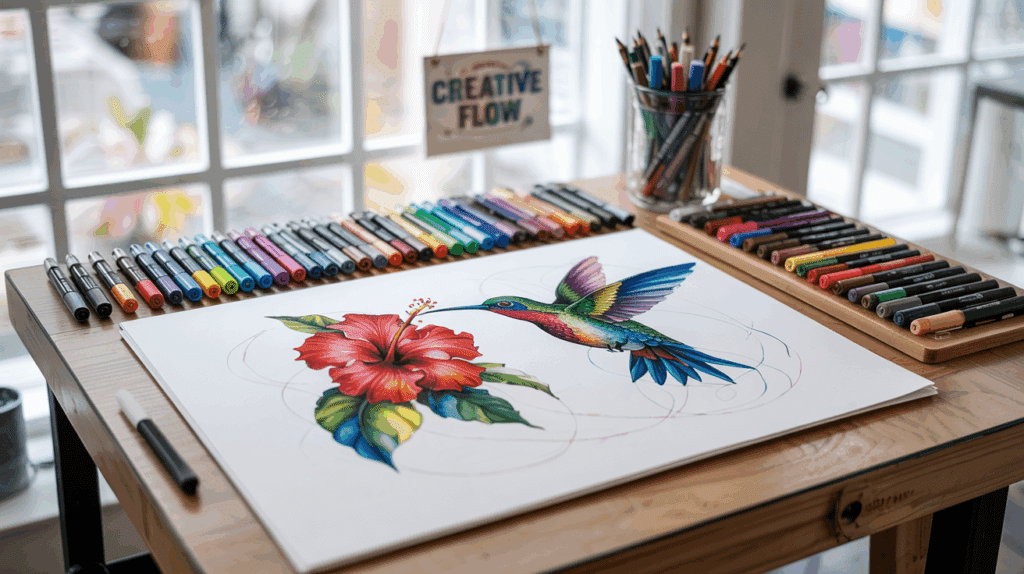
The soft blend of colors on paper catches the eye instantly. Artists who master alcohol markers create works that stand out from the crowd. Most beginners find these tools hard to use at first, but the results can be worth the effort.
Many artists wish they knew the secrets to better coloring techniques. They try different methods but often feel their work lacks that professional look. This leads to frustration and wasted supplies.
Learning how to color with alcohol markers requires simple techniques anyone can follow. The right knowledge makes a big difference in results.
Ready to start creating better art today? This guide will show you exactly how to turn basic strokes into stunning artwork!

Artists find that alcohol markers offer unique benefits when it comes to coloring. They dry quickly on paper, which prevents smudging as you work.
Their colors look bright and clean on most surfaces. The ink flows smoothly, making it easy to cover large areas.
Many professionals pick these markers because they blend well together, creating soft color transitions that water-based markers can’t match. Plus, they last longer on finished pieces without fading.
Selecting the Right Alcohol Markers for Your Project
Finding the proper markers is a key step in learning how to color effectively.
- Brand quality matters: Choose markers from well-known companies for better pigment quality and longer-lasting results.
- Color sets vs. individual markers: Start with a small set of basic colors for practice, then add specific shades as needed for special projects.
- Tip shapes and sizes: Select brush tips for smooth blending and detailed work, chisel tips for filling large areas, and fine points for tiny details and outlines.
Getting the right tools helps anyone learn how to color with alcohol markers more successfully.
How to Color with Alcohol Markers: Top Techniques
These proven methods will help you master how to color with alcohol markers and create stunning artwork with smooth results:
1. Basic Flicking Method

This simple method creates smooth color transitions with minimal streaking. It works well for backgrounds and large areas where you want even color. The flicking motion helps prevent those hard lines that often appear with markers.
Materials required: Light and medium shades of the same color, smooth marker paper, scrap paper for testing.
Instructions:
- Hold the marker at a 45-degree angle to the paper.
- Start from outside the area and flick inward with light pressure.
- Overlap each stroke slightly for an even look.
- Work quickly before the ink dries to avoid streaks.
2. Layering Light to Dark

Building up colors gradually gives you better control over shading. This technique lets you create depth in your artwork by adding layers of ink. The colors mix on the paper as you apply them.
Materials required: At least three shades of the same color family, a blender pen, and marker-friendly paper.
Instructions:
- Start with the lightest shade and cover the entire area.
- Let it dry completely (about 30 seconds).
- Add the medium shade where you want shadows to begin.
- Use the darkest shade only in the deepest shadow areas.
- Blend edges with a colorless blender if needed.
3. Wet-on-Wet Blending

This technique creates the smoothest transitions between colors. It takes advantage of the wet nature of alcohol inks to create soft blends without visible lines or streaks.
Materials required: Two colors that blend well together, smooth marker paper, colorless blender.
Instructions:
- Apply the first color to your paper.
- While still wet, apply the second color where they should meet.
- Use the tip to gently push the colors into each other.
- For smoother blends, use a colorless blender at the meeting point.
4. Stippling Texture

Creating texture with dots adds interest to flat areas. This method works well for creating stone, sand, or fabric textures. The tiny dots blend at a distance but create texture up close.
Materials required: Fine-tip alcohol markers in light and dark shades, smooth paper.
Instructions:
- Color the base area with your lighter shade.
- Let it dry completely.
- Using the darker marker, make tiny dots where you want texture.
- Make dots closer together in shadow areas and farther apart in lighter areas.
- Build up gradually – you can add dots, but can’t remove them.
5. Color Lifting

This method allows you to lighten areas after coloring. It creates highlights and corrects mistakes. The technique works because the colorless blender pushes the pigment away from the paper.
Materials required: Colorless blender pen, tissue, alcohol markers, smooth paper.
Instructions:
- Apply your color and let it dry for a few seconds.
- Press the colorless blender firmly where you want to lift color.
- Dab quickly with a tissue to pick up excess ink.
- Repeat if needed for lighter areas.
- Allow to dry before adding any new colors to the lifted area.
6. Feathering For Fur and Hair

This specialized stroke mimics the look of fur and hair. It creates the illusion of individual strands while maintaining a natural flow and direction in your artwork.
Materials required: Fine tip and brush tip markers in three shades, smooth paper.
Instructions:
- Color the base with your medium shade using short, quick strokes in the direction of hair growth.
- Add darker strokes where shadows would fall, keeping the same direction.
- Use your lightest color or blender to add highlights with the same stroke pattern.
- Keep strokes short for short hair/fur and longer for flowing hair.
7. Paper Blending

This technique uses special papers to create unique blended effects. The way the paper handles the ink creates soft, watercolor-like blends that look less streaky than standard methods.
Materials required: Yupo paper or other non-porous blending paper, spray bottle with alcohol, multiple marker colors.
Instructions:
- Apply colors side by side on the special paper.
- Spray lightly with alcohol to activate the blending.
- Tilt the paper to control how the colors flow together.
- Let dry completely before adding details with a fine tip marker.
- Use a hair dryer on cool setting to speed up drying if needed.
Using these techniques will greatly improve how you color with alcohol markers, taking your artwork from basic to professional.
Amazing Projects to Try with Alcohol Markers

Now that you’ve learned how to color with alcohol markers, try these five projects to practice your new skills:
- Greeting cards: Create personalized cards for birthdays or holidays with alcohol markers. The bright colors and smooth blending make your cards look professional and heartfelt.
- Bookmark designs: Turn plain cardstock into useful art pieces. Use alcohol markers to color simple patterns or images on heavy paper, add a tassel, and enjoy a practical item that showcases your coloring skills.
- Home décor pieces: Color small wooden items like picture frames or boxes. Alcohol markers work well on sealed wood surfaces and can turn basic items into custom décor that matches your style.
- Pattern notebooks: Modify plain notebooks with marker designs on the cover. Simple geometric shapes or nature-inspired patterns colored with alcohol markers make everyday items more special.
- Gift tags: Make custom tags for presents using marker techniques. These small projects let you practice blending in a low-pressure way while creating something useful.
These projects provide perfect opportunities to practice how to color with alcohol markers while creating items you can use or share.
The Bottom Line
Learning how to color with alcohol markers takes practice, but the results are worth your time. We’ve covered the basics from marker selection to advanced techniques like feathering and paper blending. These methods will help you create artwork with smooth transitions and professional results.
Remember to start with simple projects like bookmarks or gift tags before moving to more complex pieces. Each project helps build your confidence and skills.
The joy of alcohol marker art comes from watching your technique improve with each coloring session. The more you practice, the better you’ll become.
What project will you try first? Share your favourite technique in the comments section below!


