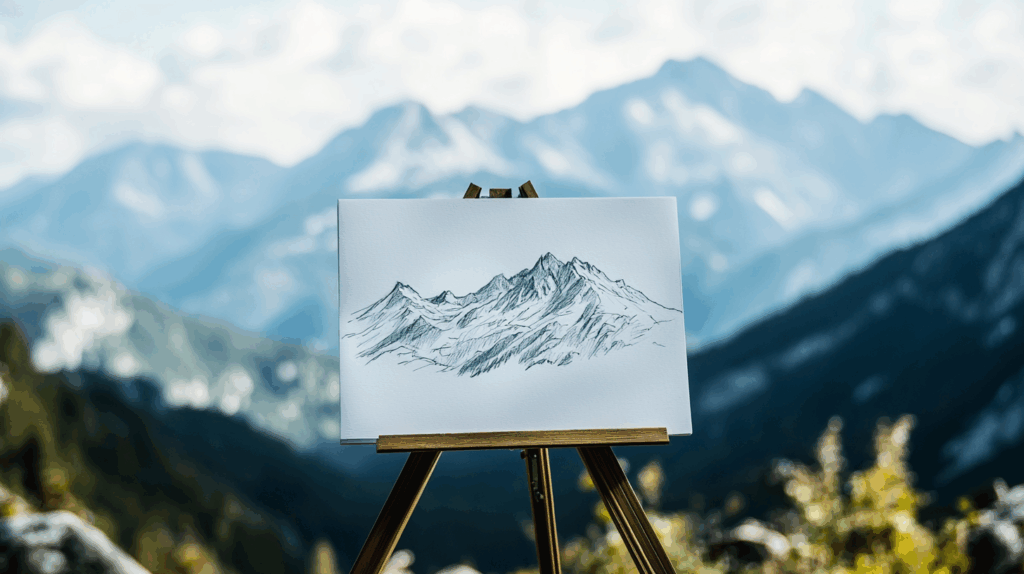
You’ll learn mountain range drawing easy, shading methods, and simple tricks to make your drawings pop.
By the end of this blog, you’ll know how to draw peaks, valleys, and slopes that look real. We’ll cover drawing tips, step-by-step methods, creative ideas, and fun facts about mountain ranges to boost your art skills.
Essential Tips Before You Start Your Mountain Range Drawing
When you begin mountain range drawing easy, a few key tips can help you create better results. These basics will set you up for success and help you feel more confident as you start.
Your mountain art will improve with these simple tips:
- Choose the Right Materials: You need basic items like a 2B pencil, sketch paper, and a good eraser. You can also use colored pencils, markers, or digital tablets if you want to add color later.
- Get Inspired: Look at photos or take nature walks to see how real mountains look. This helps you notice details like how light hits peaks and how shadows fall in valleys.
- Start Simple: Begin with basic shapes and add details slowly. Too many details at once can make the task feel too hard for beginners.
- Understanding Perspective: Mountains in front look bigger and show more detail. Those far away appear smaller and less detailed. This creates depth in your drawing.
- Mind the Proportions: Keep mountains in the right size relationship to each other. This makes your scene look real and balanced.
Step-by-Step: Mountain Range Drawing Easy for Beginners
Let’s break down mountain range drawing easy into clear, simple steps anyone can follow. Even if you’ve never drawn mountains before, these steps will help you create a basic range that looks good.
Just take your time with each part, and you’ll see your mountain scene come to life.
1. Prepare Your Workspace and Gather Materials
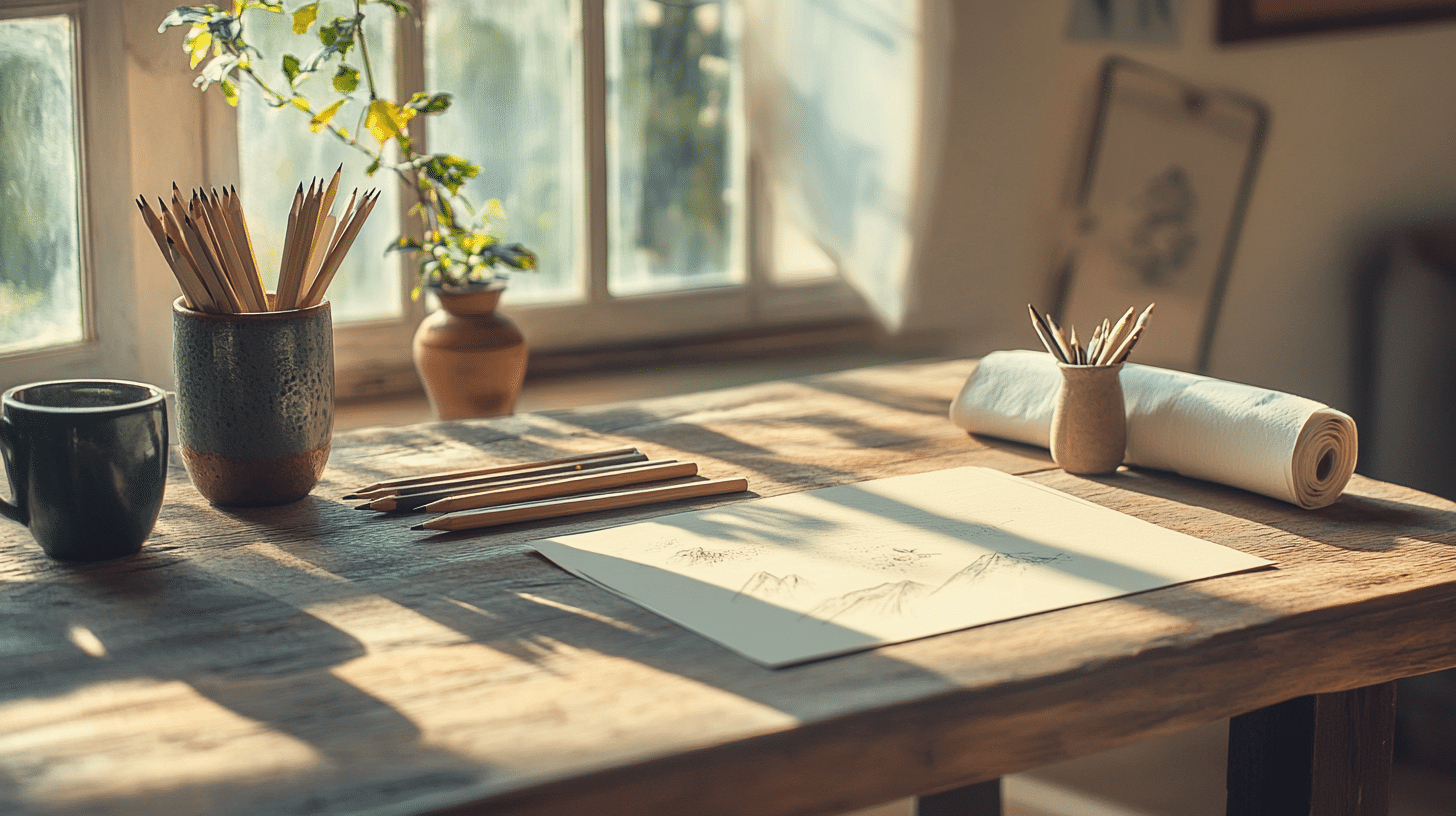
Start by setting up a clean, well-lit workspace where you can comfortably draw. A clutter-free area will help you stay focused and organized.
Having everything ready will make the drawing process smoother and more enjoyable. Gather these materials before you begin:
- Pencils: Use an H or HB pencil for initial sketching. A 2B pencil is great for light shading, while a 6B pencil is perfect for deeper shadows and contrast.
- Eraser: Choose a good-quality eraser for adding highlights and refining your drawing.
- Blending Tools: Blending sticks or cotton buds will help soften shading for a smooth finish.
- Paper: Smooth Bristol board is ideal, but any sturdy paper will work, as long as it’s suitable for your materials.
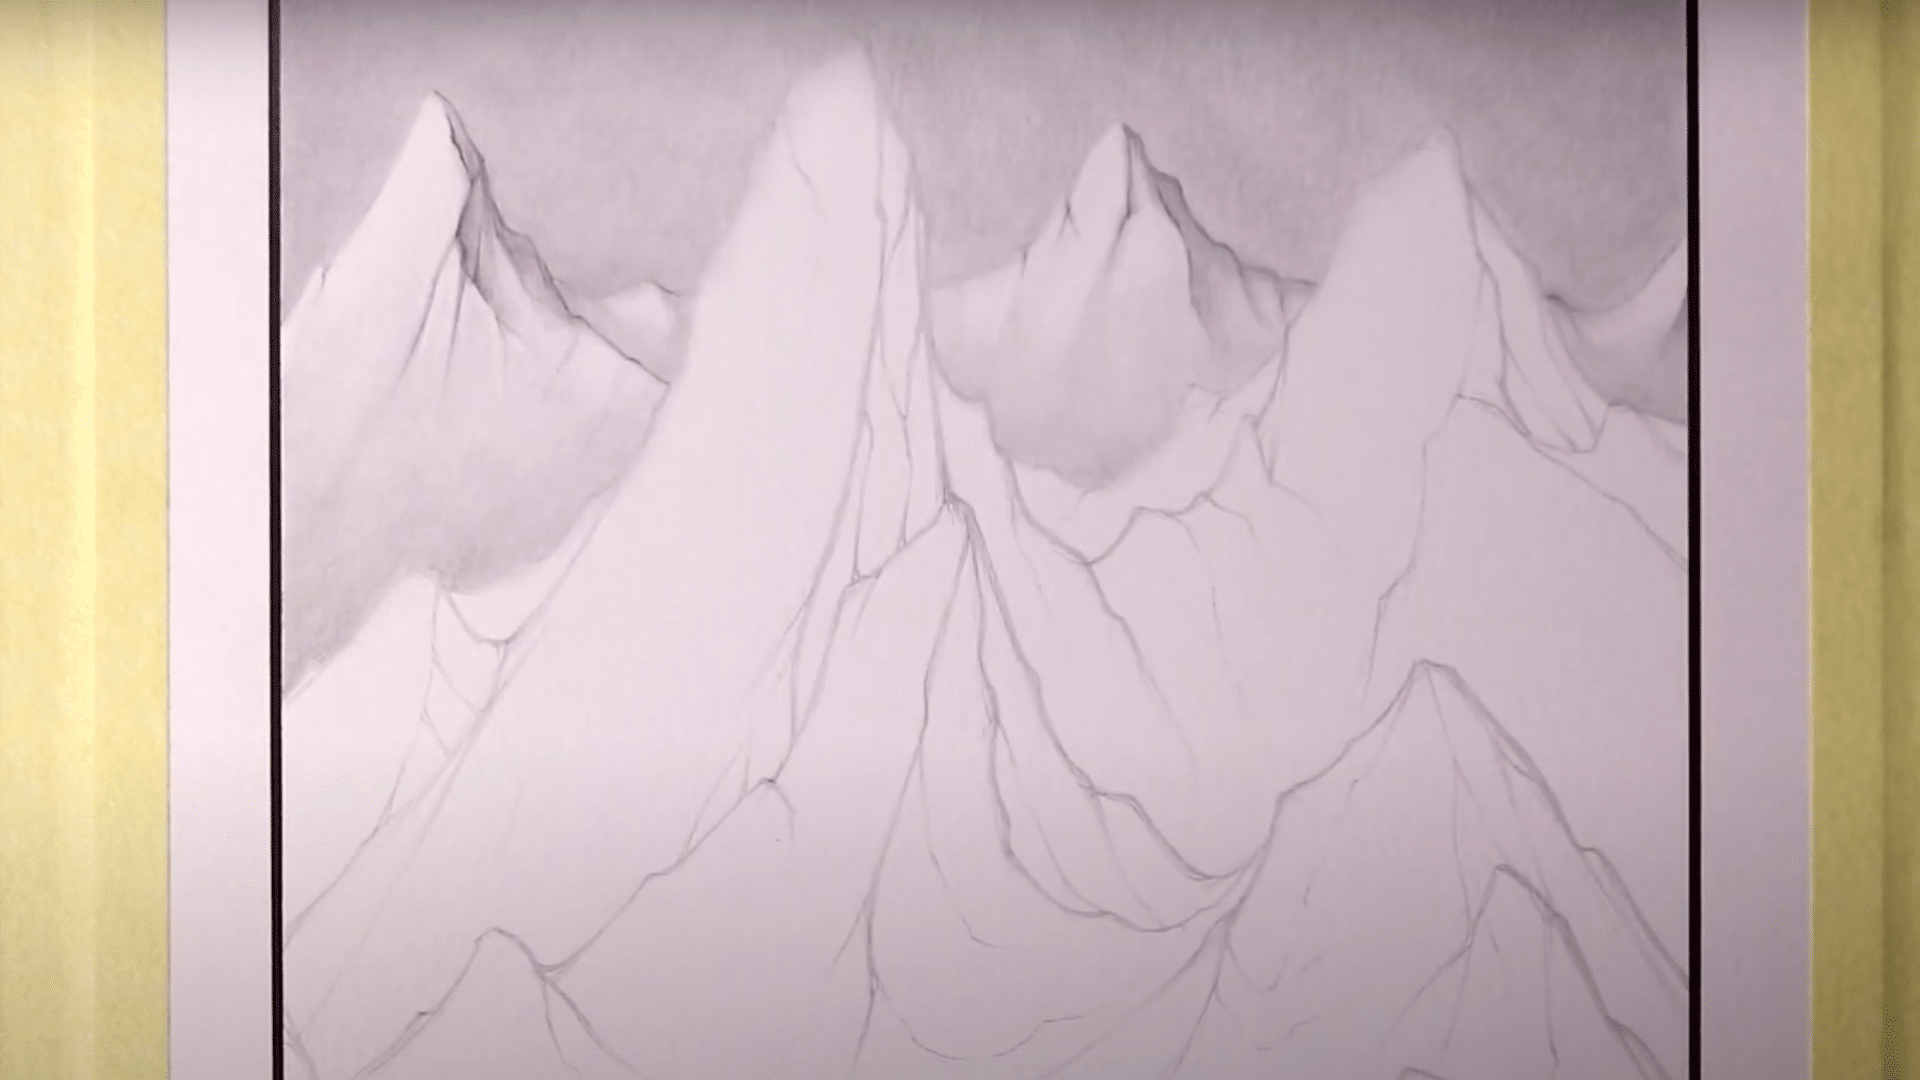
2. Lightly Sketch the Mountain Peaks
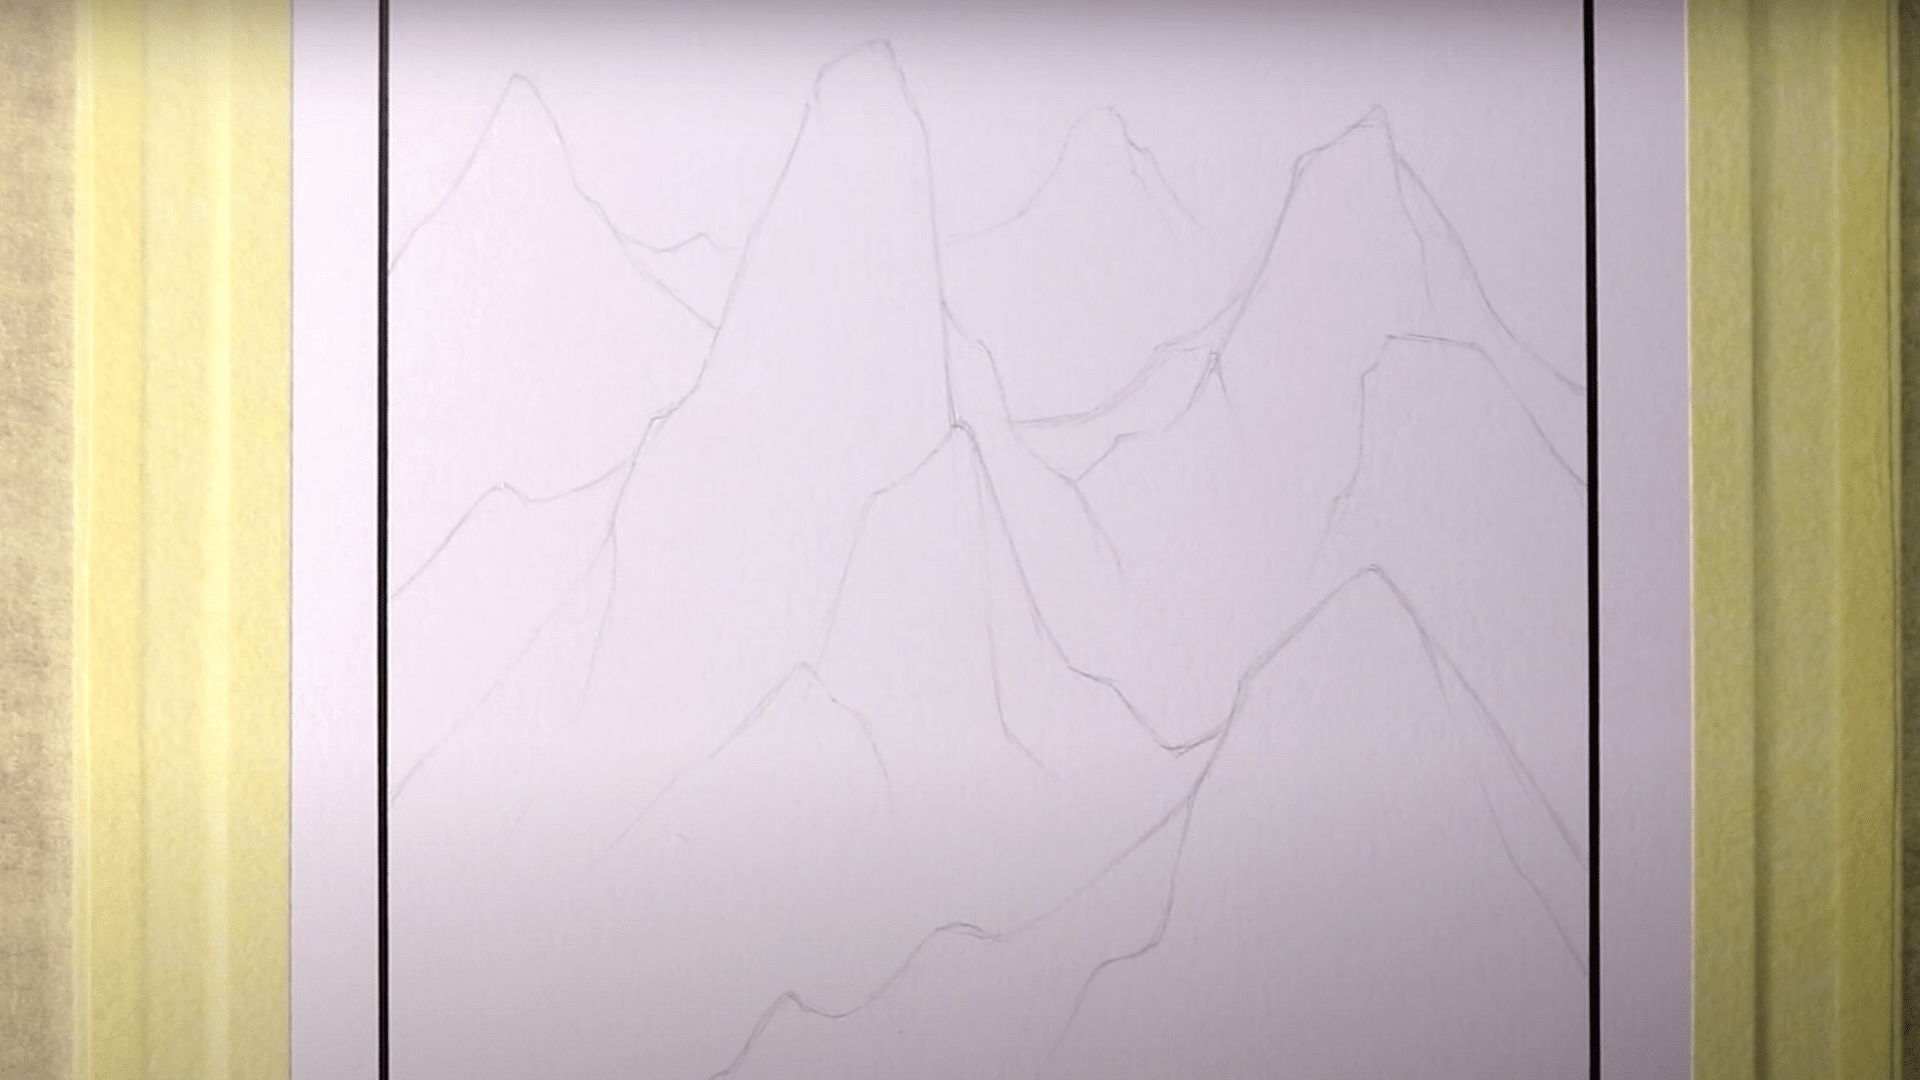
Begin by lightly sketching the rough outlines of mountain peaks. Hold your pencil loosely for free-flowing, soft lines. Don’t worry about perfect shapes; the focus here is on capturing the general idea.
Use photo references, like the Matterhorn, to inspire the zigzagging ridge layout. This sketch will serve as the foundation for your drawing, so keep it light and flexible.
3. Refine the Shapes of Mountains in the Foreground
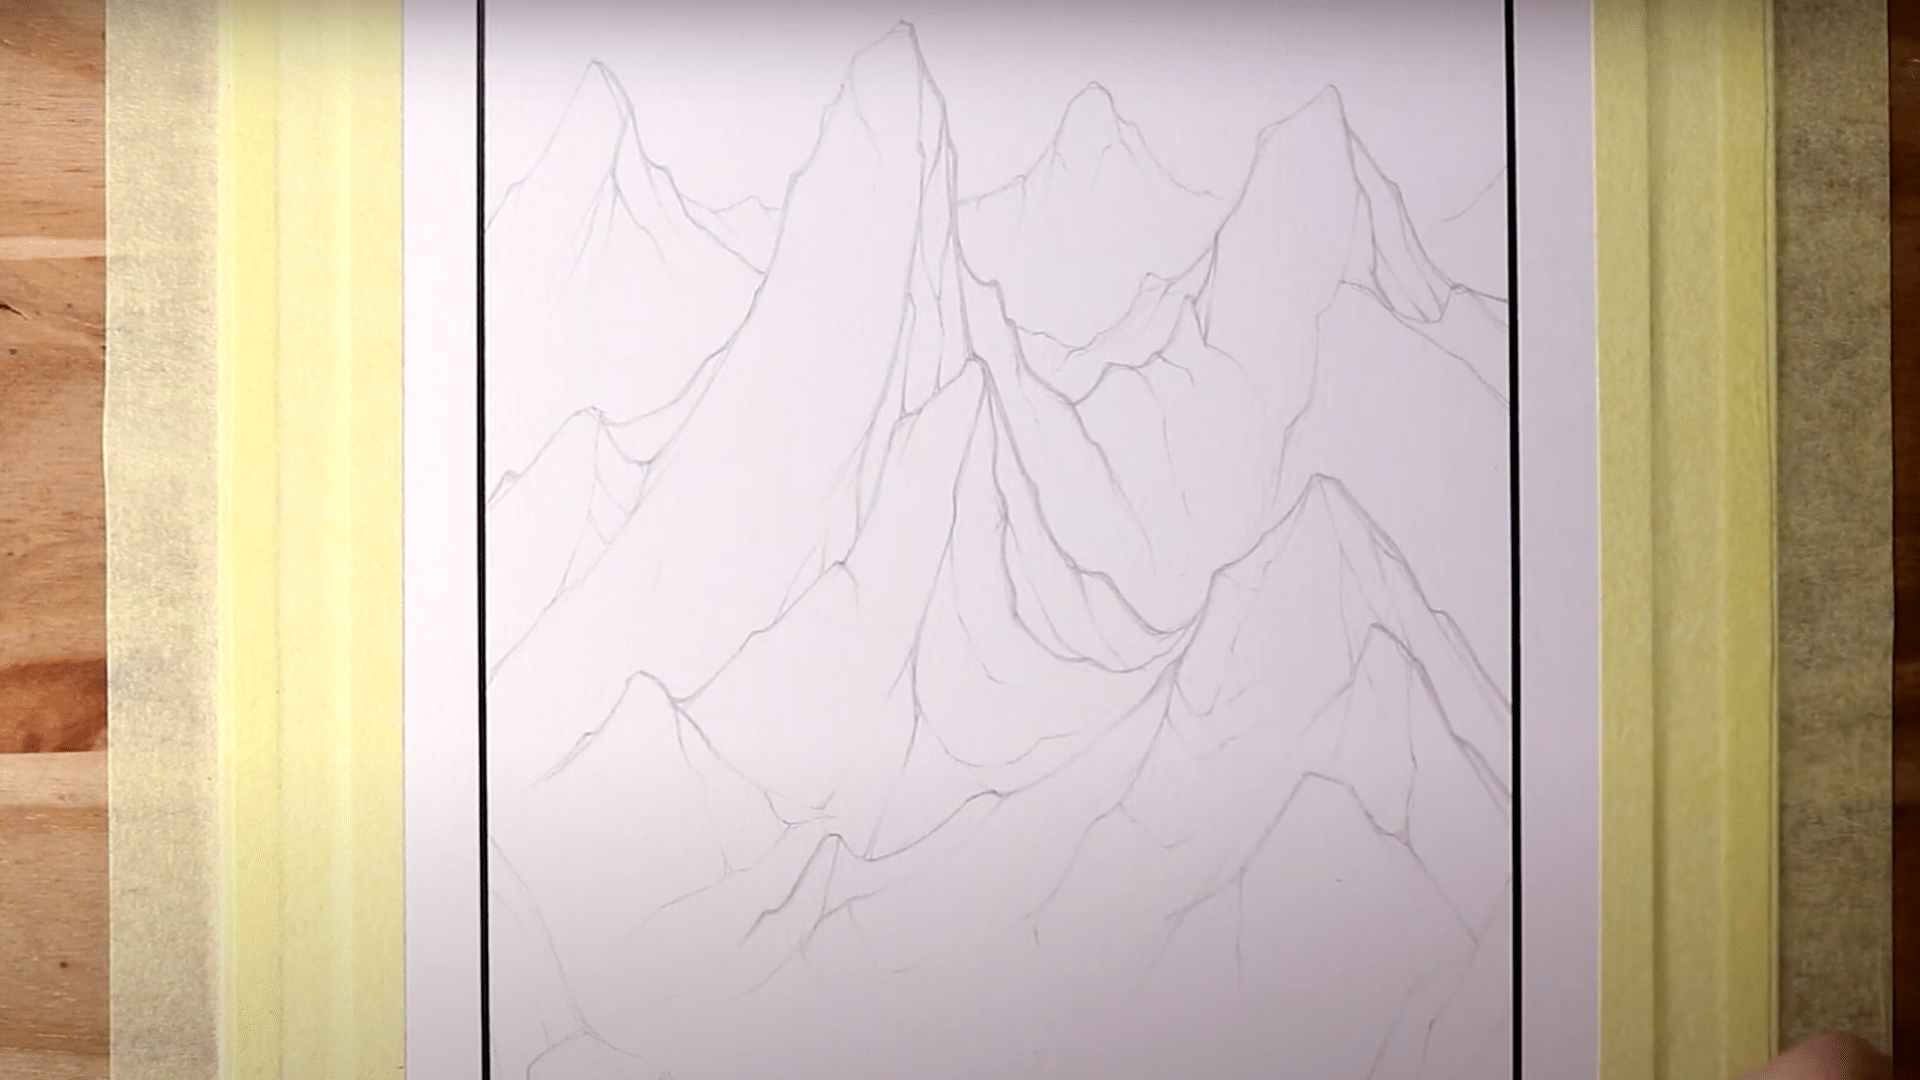
Now, take your time to refine the basic shapes of the mountains, particularly the ones in the foreground. Use your pencil lightly at first, then gradually build up more defined ridges and peaks.
At this stage, you can start imagining how the mountains might be shaped, using reference images like the Matterhorn for inspiration. Focus on the flow of the terrain without worrying about intricate details. This stage is all about getting the form right.
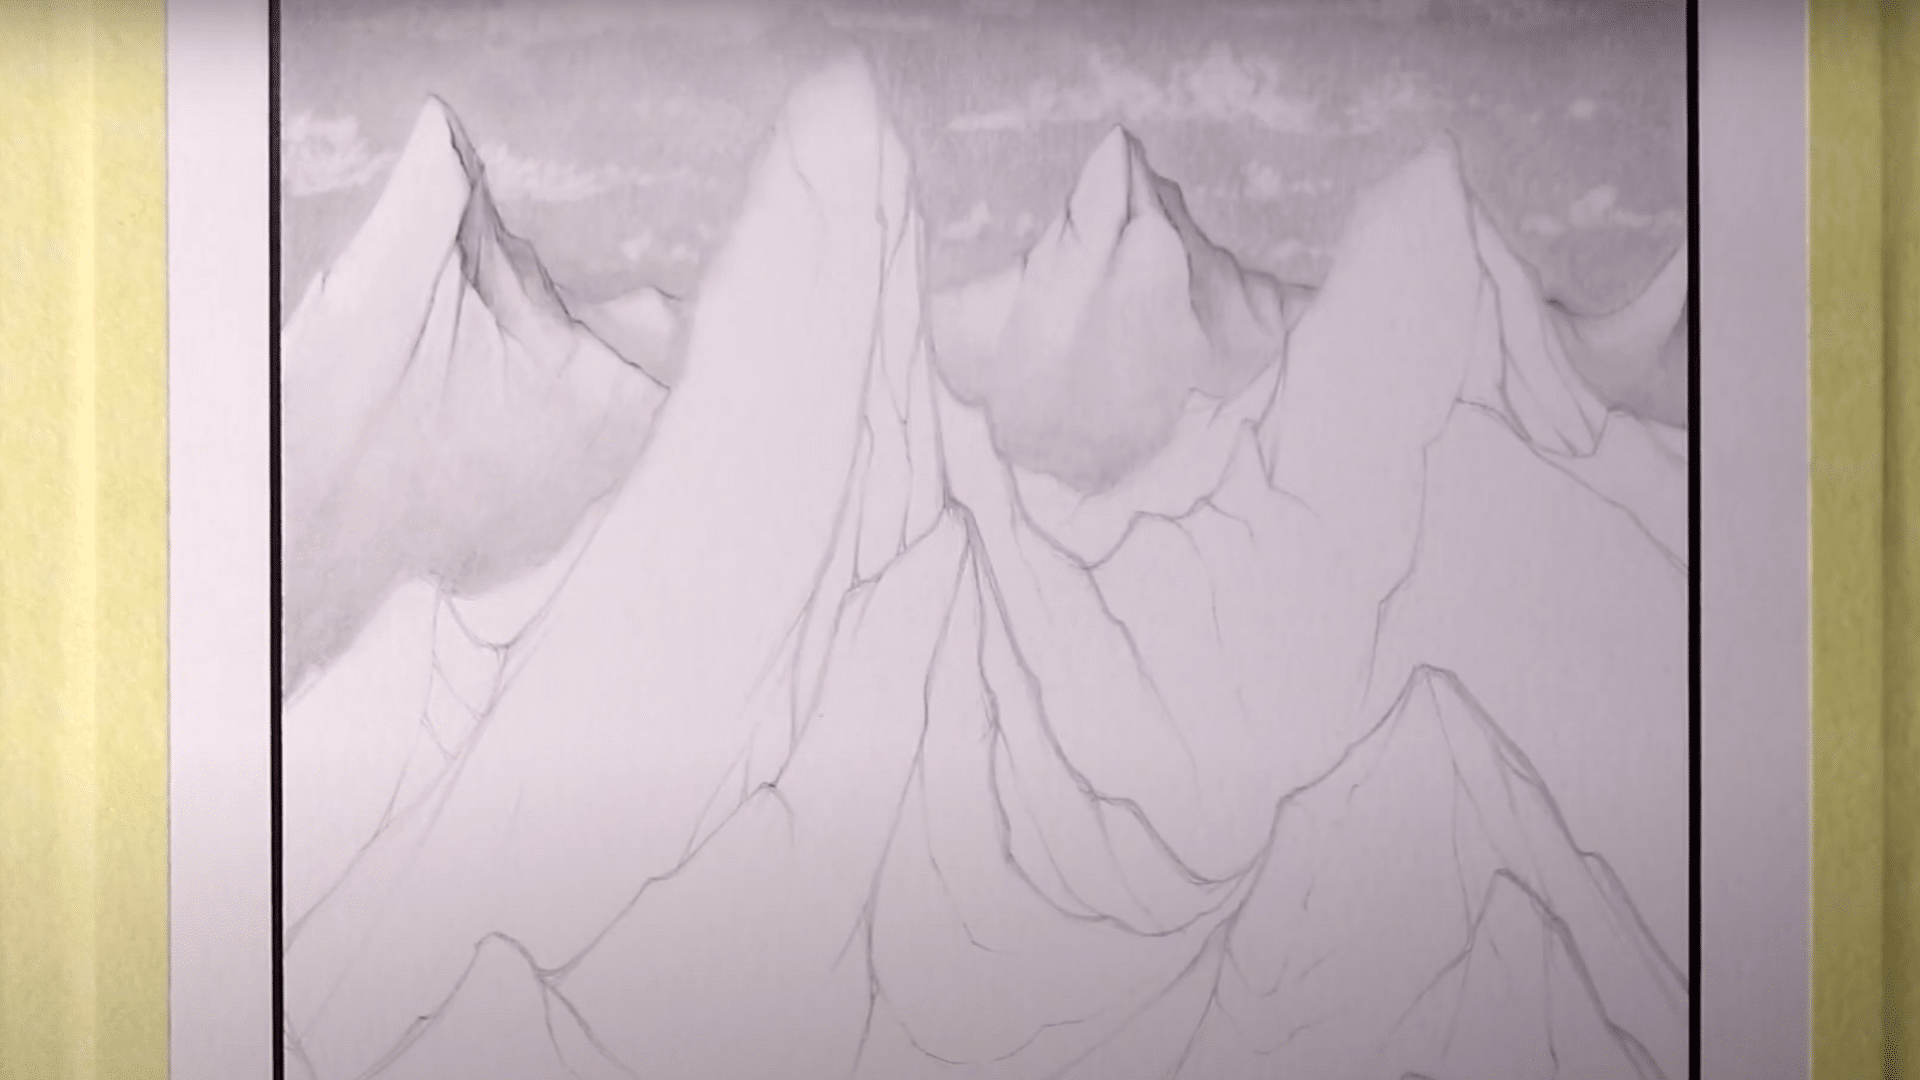
4. Add Background and Mid-Tone Shading
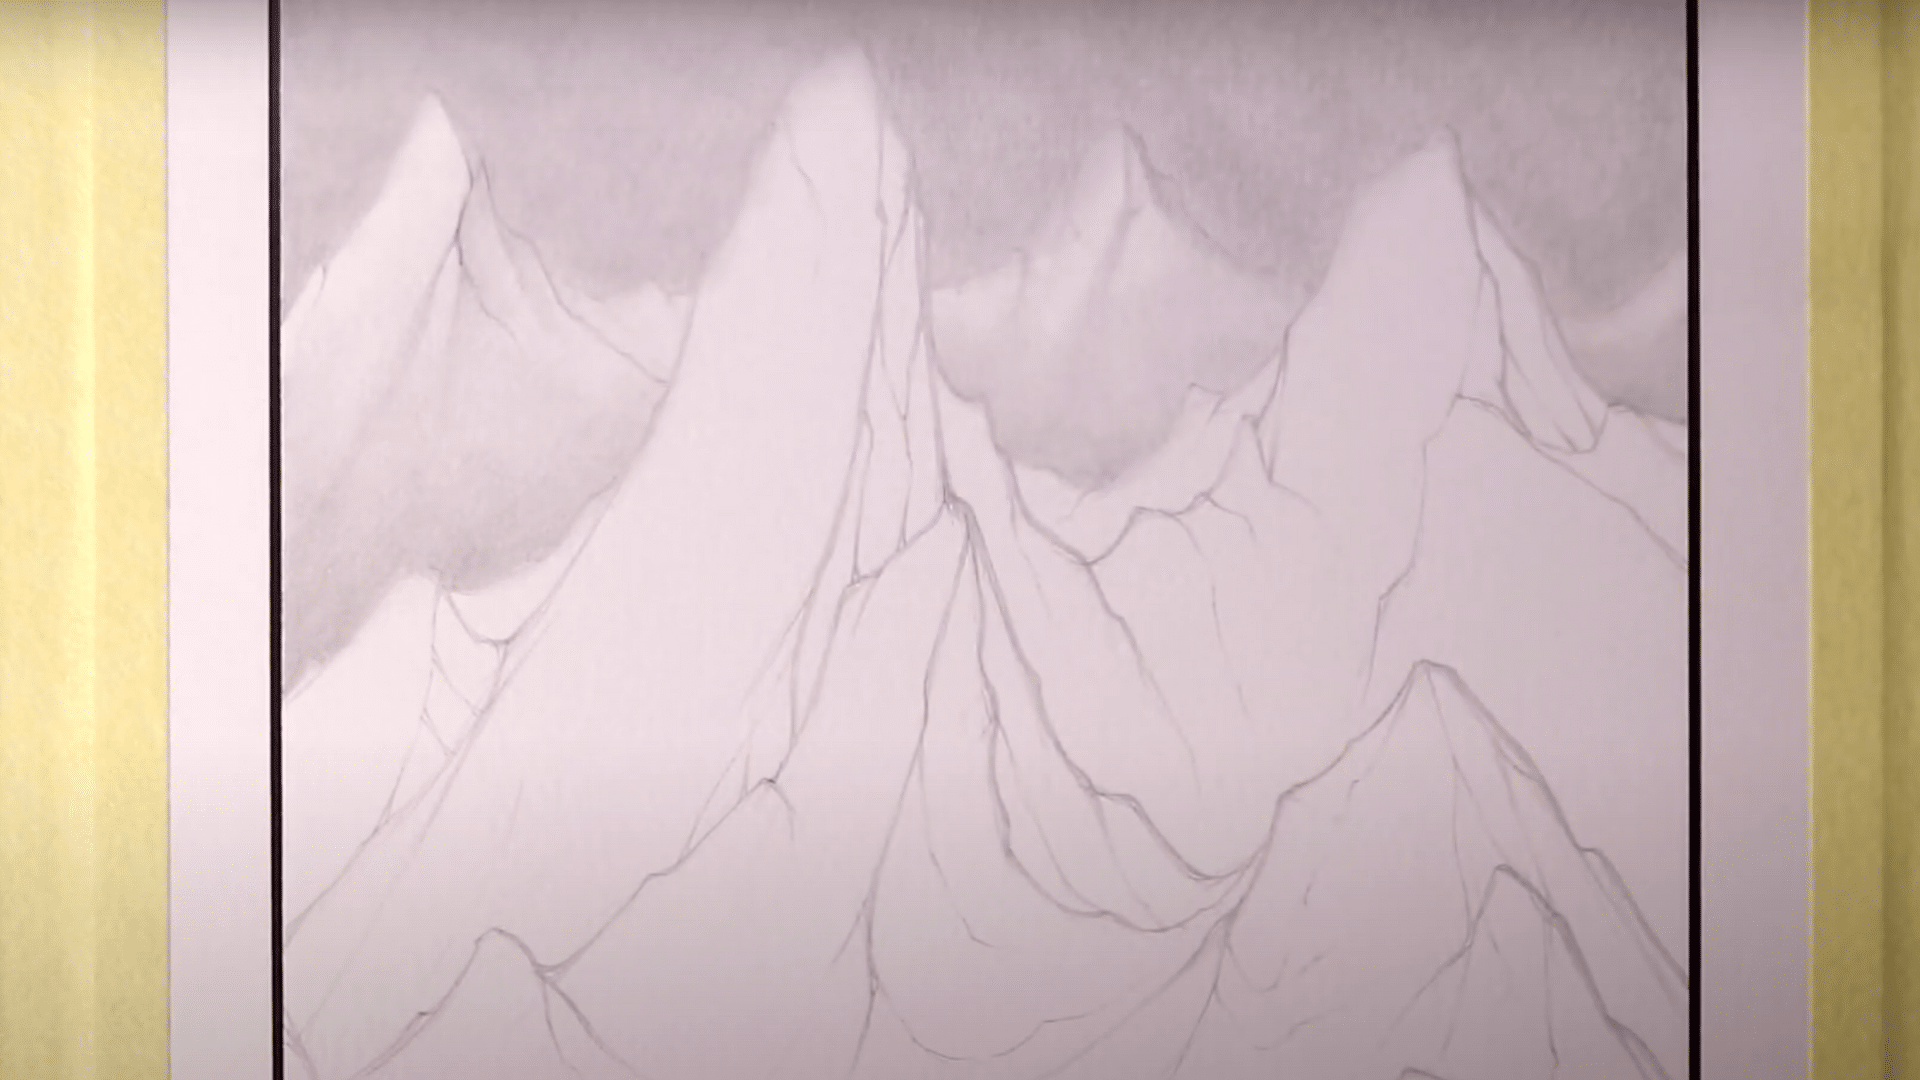
Once you have the basic mountain outlines, it’s time to start shading. Use a 2B pencil to lightly shade the distant mountains, keeping the tones soft. Blend the shading gently using a blending stick, cotton buds, or your fingers to create smooth transitions.
Imagine the sun’s position to decide where the light and shadow will fall, keeping the left side of the peaks lighter if you’re simulating sunlight from the left.
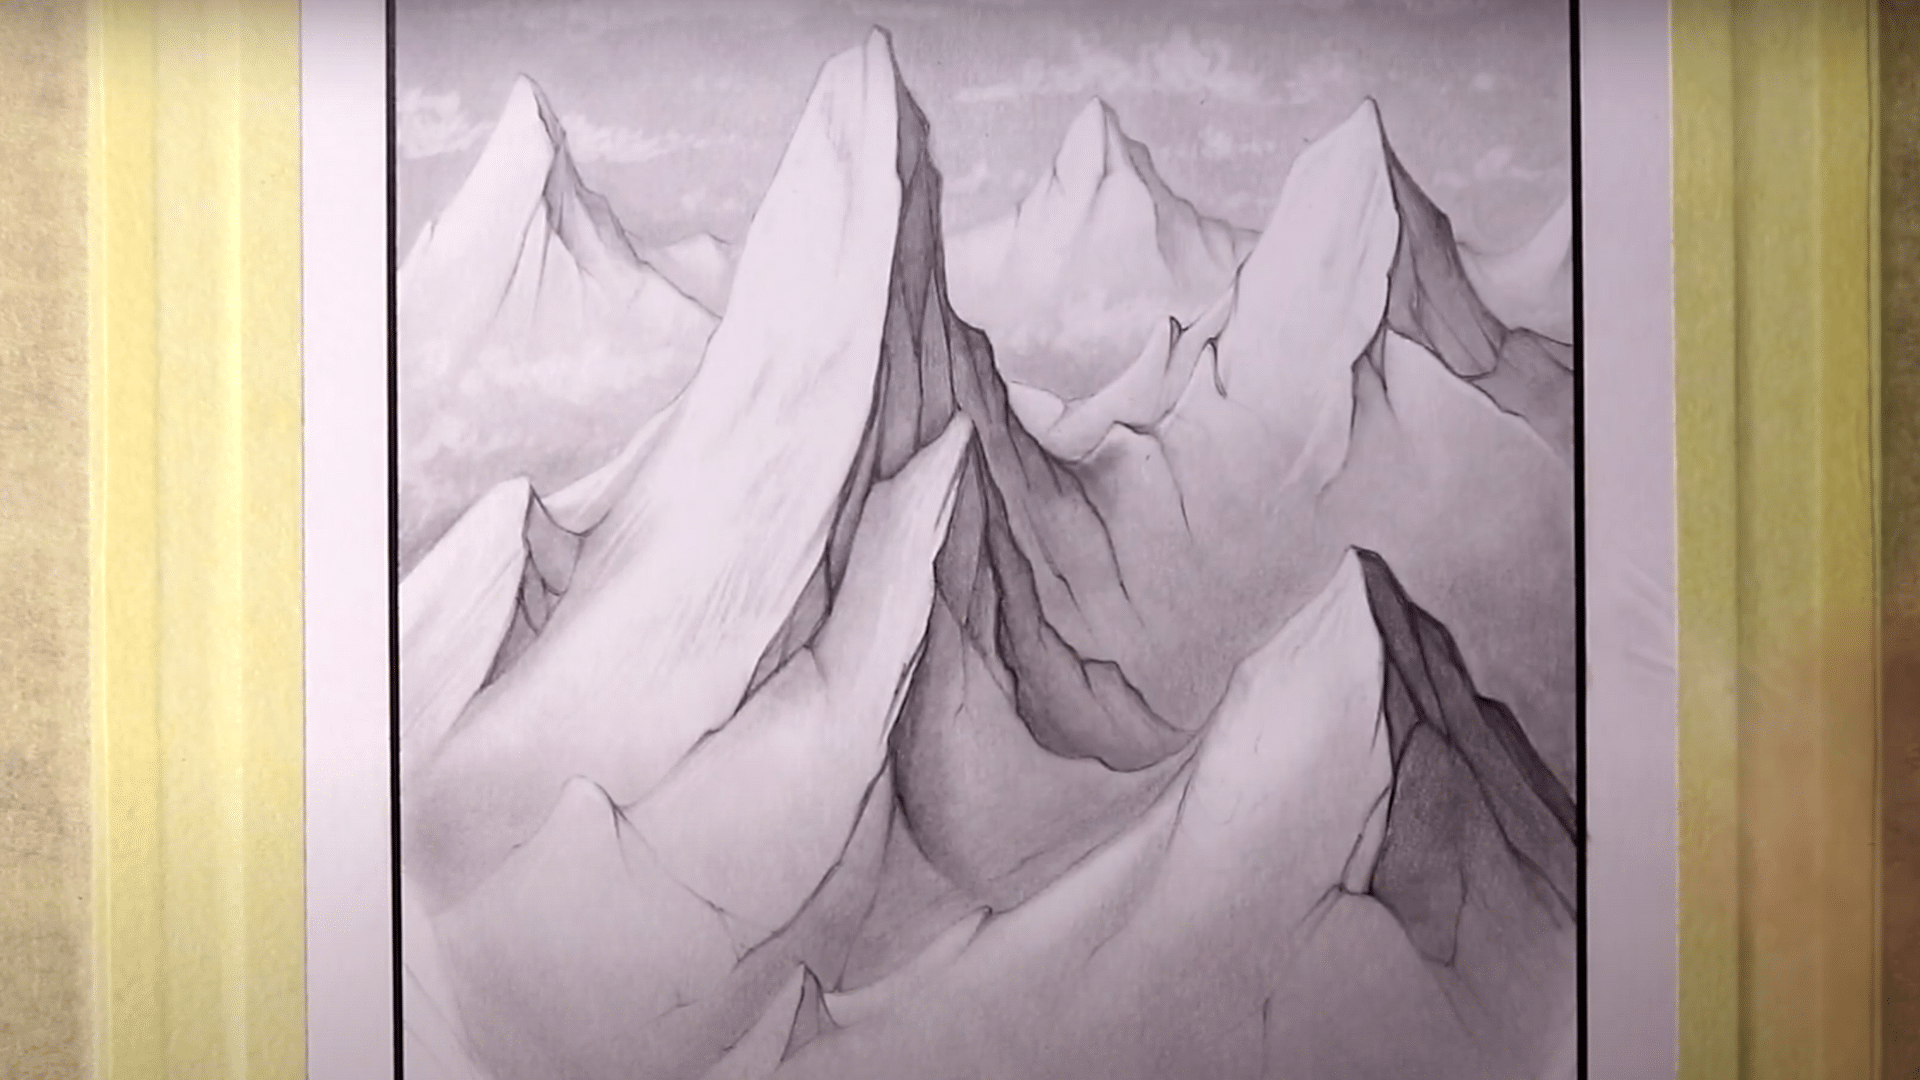
5. Add Deeper Shading and Sharpen Details
Now it’s time to intensify the shading, especially on the mountain peaks. Take your 6B pencil to darken the areas that should appear closer and have more contrast.
Focus on the top of the mountains, keeping these areas sharp and defined, as they catch the most light. Gradually fade the shading as you move downward to enhance the illusion of depth and distance. Here’s how to approach this:
- Use the 6B pencil: Apply heavier pressure to create deep shadows.
- Sharpen the peaks: Ensure the tops remain crisp for a more defined look.
- Blend carefully: Soften the shading where needed to create smooth transitions.
6. Introduce Clouds and Sky Details
After refining the mountain shapes, it’s time to add some clouds to the scene. Gently tap away at the shading with your eraser to create soft, fluffy clouds. This will bring life to the sky and add more realism.
At the same time, use your 2B pencil to add texture to the foreground mountains. Include details like rocky surfaces, small crevices, and natural formations, ensuring these areas have darker shading to emphasize their closeness.
7. Refine the Foreground and Add Detail
In the foreground, you’ll want to use your 2B and 6B pencils for deeper shading. This will make the mountains closest to you stand out more dramatically against the lighter background.
Add shadows and texture to areas like rocks, cracks, and other details that are closer to the viewer. Be sure to blend the shading into the background to maintain a smooth transition.
8. Final Touches and Extra Details
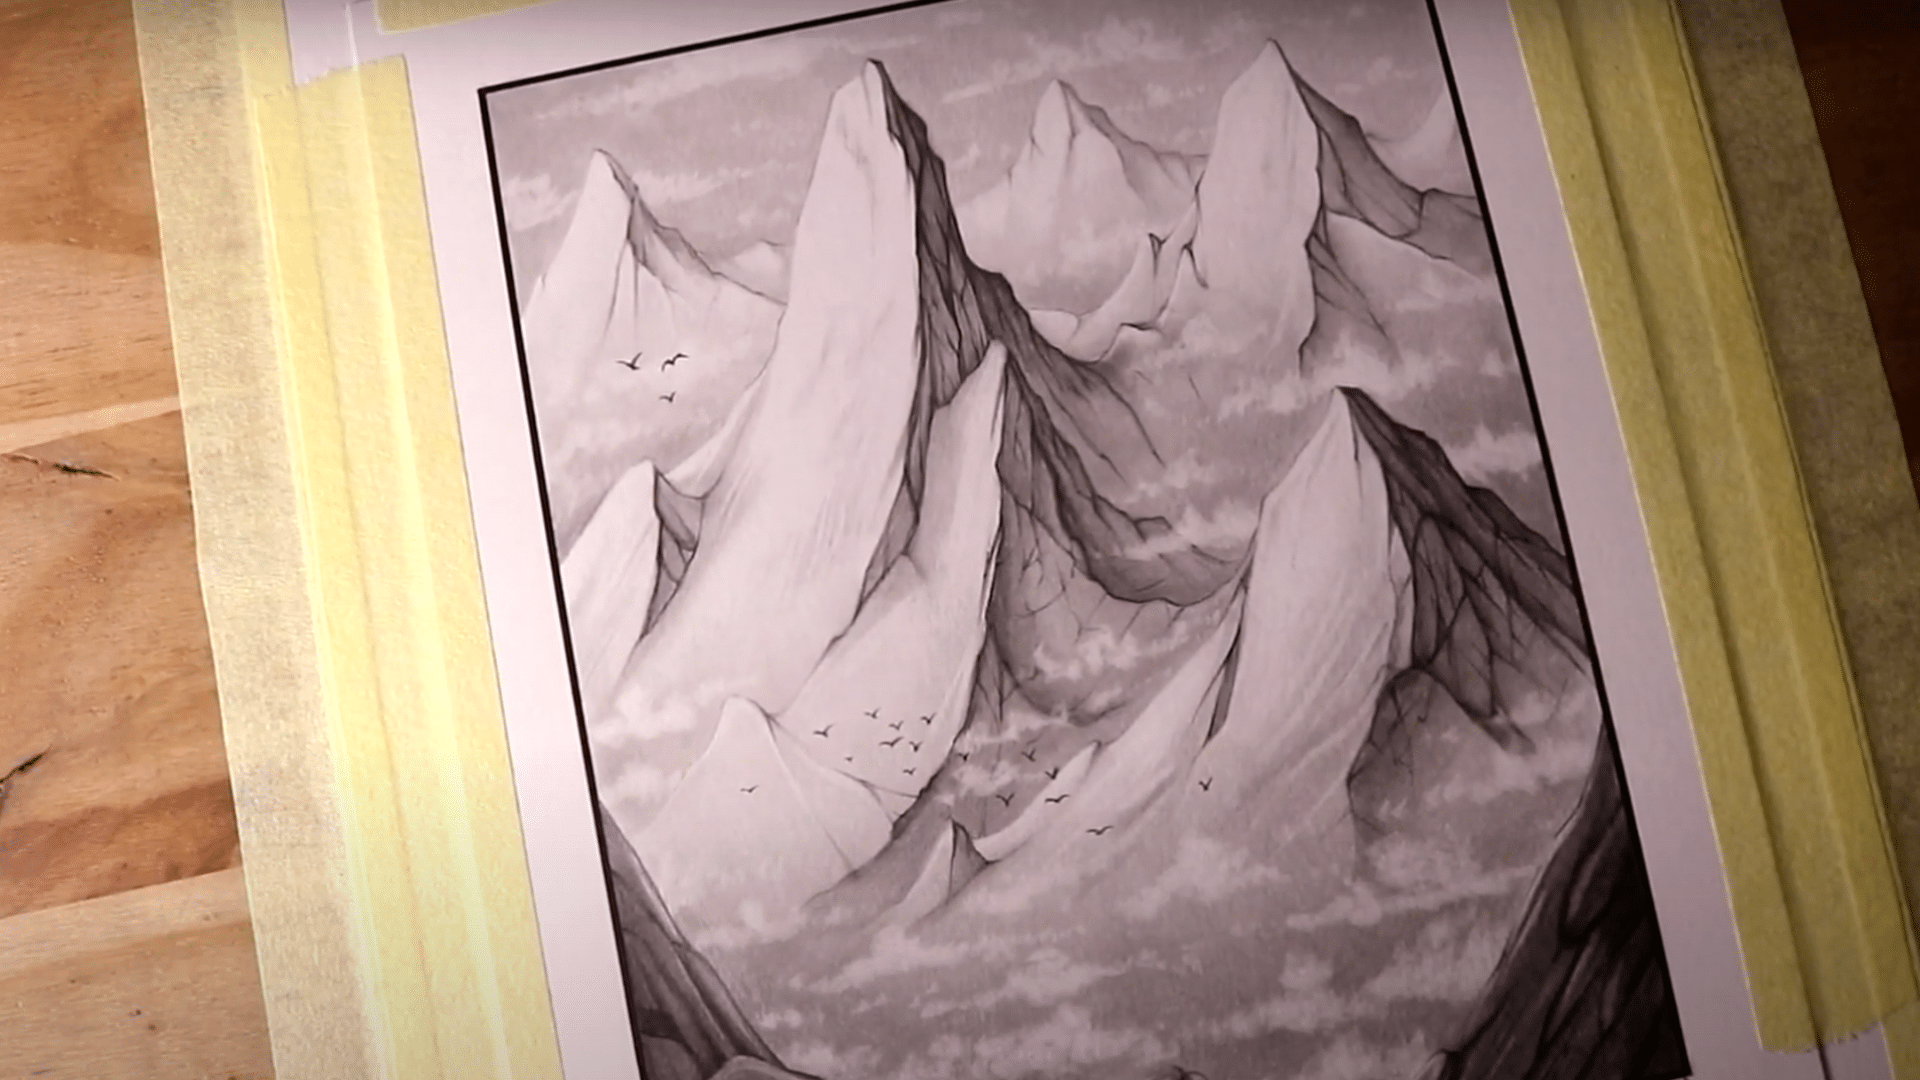
As you approach the final stages, take a step back and assess your drawing. Use your eraser to add more highlight details on the peaks and refine the clouds and background further.
Add any additional touches, like birds flying in the distance, to bring your landscape to life.
Finally, make any necessary adjustments to balance the shading and ensure that the foreground stands out in contrast to the background. Once satisfied, you can step back and admire your mountain range drawing.
Creative Sketching Ideas: Experiment with Techniques
Mountain drawing offers many chances to try new methods. Experimenting with various drawing styles can make your mountains appear more realistic. These ideas will help you move beyond basic shapes and create art with your own style.
Use Different Line Techniques: Try cross-hatching (criss-cross lines) to show rocky areas. Use stippling (small dots) to create texture on mountain sides. Draw contour lines that follow the shape of the land to show how the ground rises and falls.
Play with Light and Shadow: Show where light hits the peaks by leaving those areas white or light. Make shadowed valleys and cliff sides darker. This contrast helps your mountains stand out from the page.
Try Different Angles: Draw mountains from below, looking up for a grand feel. Sketch from above for a map-like view. A side view shows the classic profile we often think of.
Add Natural Elements: Include features such as trees on lower slopes, snow on peaks, or clouds around mountaintops. Small streams or lakes can add a lively element to your scene.
The Final Thoughts
Drawing mountain ranges takes practice, but anyone can learn with the right steps. This guide has shown you the basic techniques, from picking materials to adding final touches.
You now have a clear path to create your mountain range drawing easy art.
Now, grab your pencil and paper, find a photo of a mountain you like, and start sketching. Remember, each drawing makes you better than the last.
Have you tried drawing mountains before? Share your sketches in the comments below! We’d love to see how you use these tips in your artwork.