Rock painting has become a popular craft, but many beginners feel overwhelmed when they see complex designs online. They want to start somewhere simple yet still create something cute and recognizable.
This blog breaks down ladybug rock painting into simple, manageable steps that anyone can follow.
No prior art experience needed, just basic supplies and a willingness to have fun.
This blog covers everything from preparing the surface to adding those perfect finishing touches that make each ladybug special.
These painted rocks make great garden decorations, gifts, or just for fun. Let’s get started on this delightful craft project.
Why Paint Ladybug Rocks?
Ladybug rocks offer the perfect starting point for beginners.
These painted rocks work well in many places. People use them in gardens, on windowsills, or as paperweights. They also make thoughtful, handmade gifts that cost very little to create.
The project requires only basic supplies that most people already have at home. Paint, brushes, and rocks are all you need to get started.
Plus, the whole process takes just a few hours from start to finish. Ladybugs are universally loved symbols of good luck and happiness. This makes the finished rocks welcome additions to any space.
They bring a touch of nature indoors and brighten up outdoor areas too.
Easy Instructions for Painting a Ladybug Rock
Turn an ordinary rock into an adorable ladybug with just a few simple steps and basic craft supplies. This easy painting guide is perfect for kids and beginners looking for a fun, nature-inspired DIY project.
Step 1: Choose and Prepare Your Rock
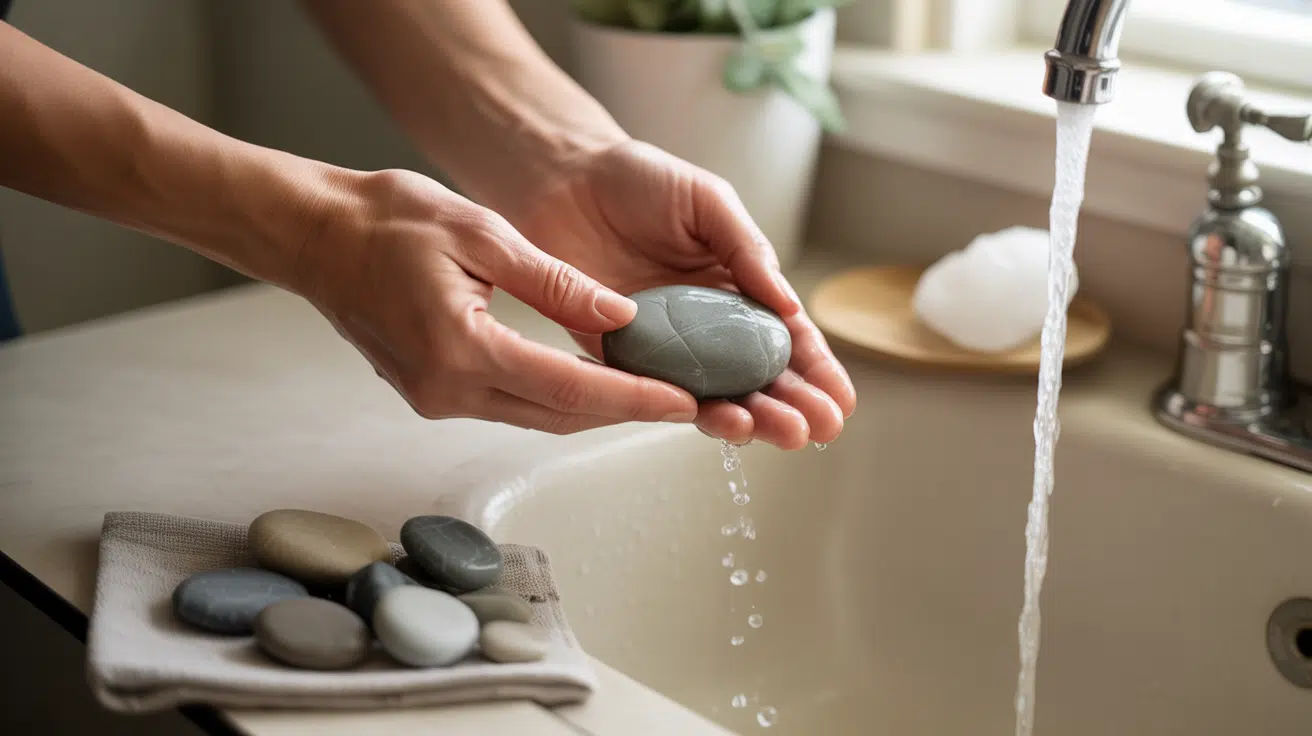
The right rock can make all the difference. Choose smooth, oval-shaped stones that fit in your palm, river rocks are ideal due to their minimal bumps and cracks.
Wash the rock with soap and warm water to remove dirt and debris, then let it dry completely (about 30 minutes). Lightly sand any rough spots for a smoother surface. Once clean and dry, your rock is ready for a base coat.
Step 2: Apply the Red Base Coat
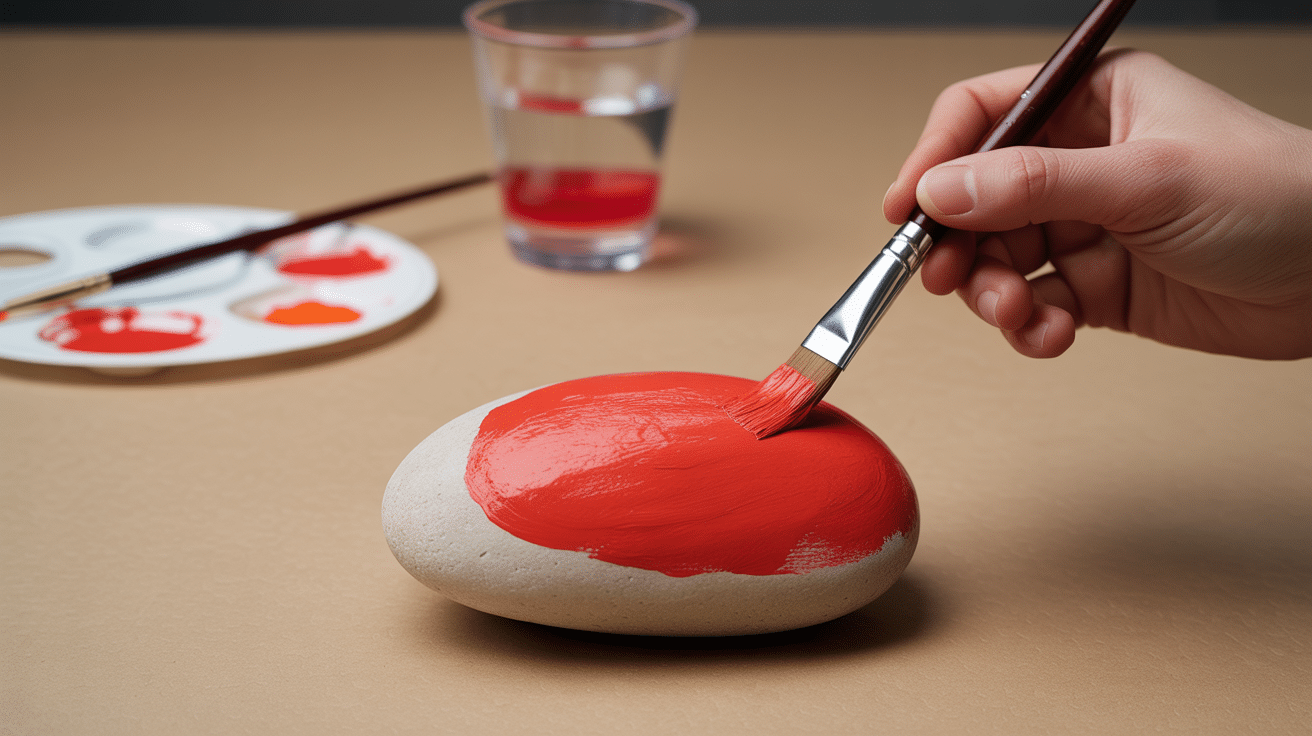
Start by painting the ladybug’s body with bright red acrylic using a medium brush. Cover most of the rock, leaving space at one end for the black head. Apply thin, even coats instead of one thick layer.
It’s normal if the first coat looks patchy, two to three coats usually give full coverage. Let each layer dry for 15–20 minutes before adding the next.
Use good lighting to catch any missed spots. The final red should look bold and even.
Step 3: Paint the Head and Create the Body Line
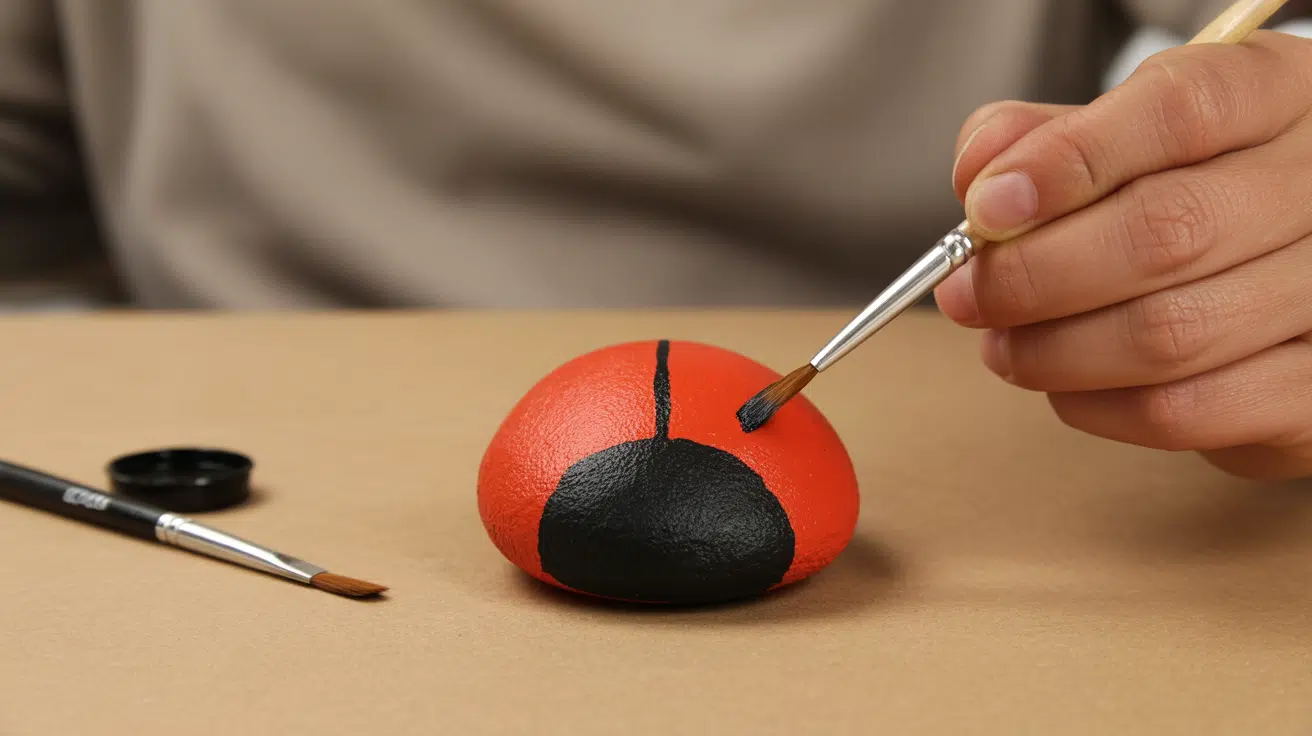
Once the red base is dry, add the black details. Paint a semicircle at one end for the ladybug’s head using a small brush for better control.
Then, paint a thin black line down the center of the red area to separate the wings. Try to keep the line straight, but don’t worry if it’s not perfect.
If you slip up, let it dry, paint over it with red, and try again. Take your time—these little details make a big difference.
Step 4: Add Spots and Final Details
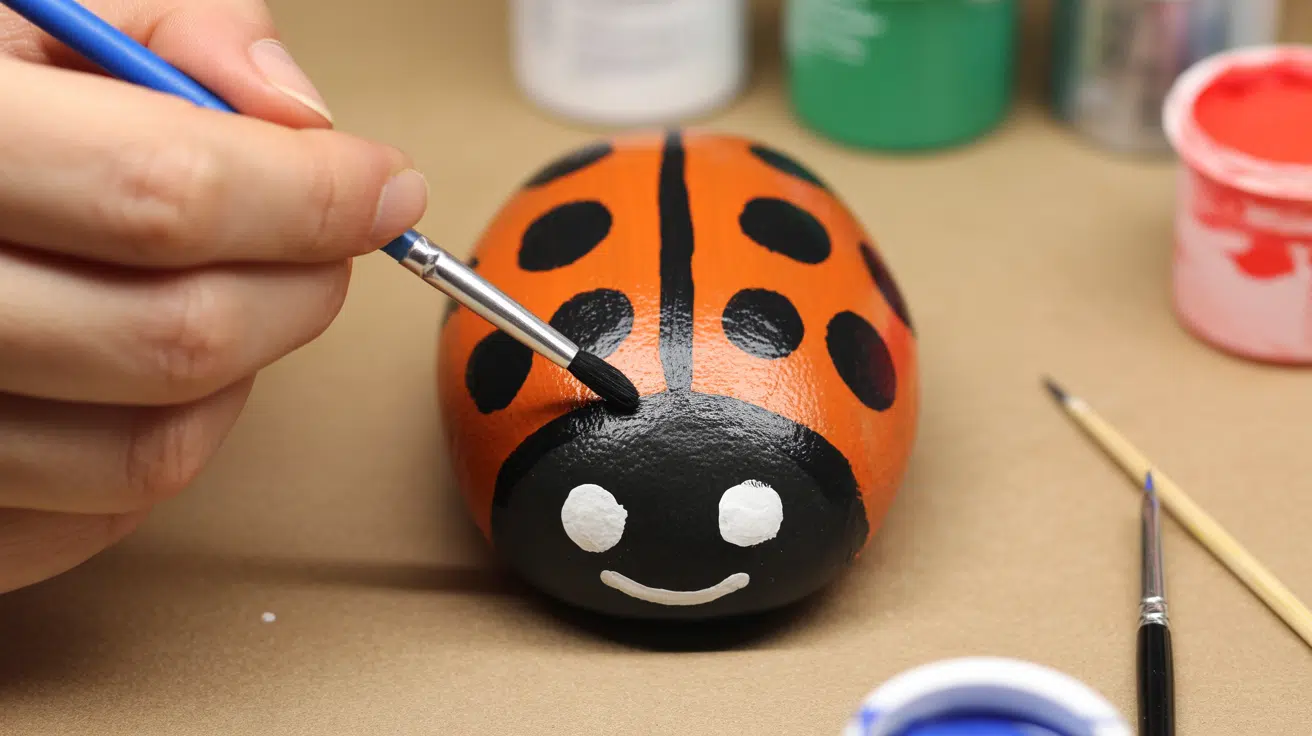
Now for the fun part, adding the ladybug’s signature spots. Use a small brush or a cotton swab to make black dots on each side of the center line. Most ladybugs have 3 to 7 spots, but feel free to get creative.
For the face, add two small white dots for eyes, then tiny black dots in the center. A toothpick works well for fine details like antennae, just two short black lines from the head.
Let the paint dry completely before picking up or displaying your finished ladybug rock.
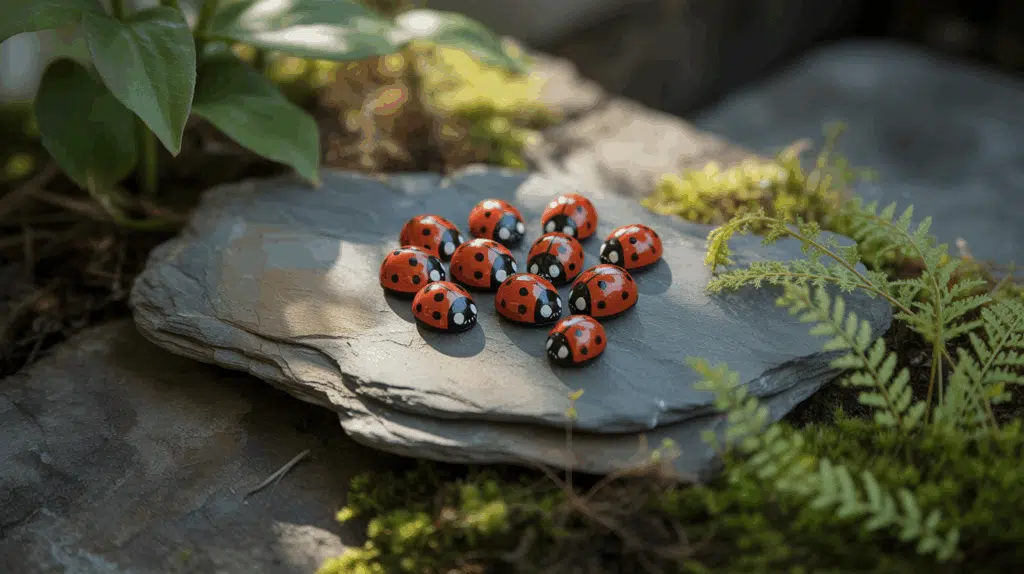
Creative Ladybug Rock Painting Ideas for Inspiration
Once you master the basic ladybug design, try these fun variations to make your rocks stand out and add personality to your collection.
Rainbow Ladybugs

Instead of traditional red, try painting ladybugs in bright rainbow colors.
Use purple, blue, green, or orange for the body while keeping the black head and spots. These colorful versions stand out beautifully in garden settings and appeal to children who love bright, cheerful designs.
Glow-in-the-Dark Ladybugs
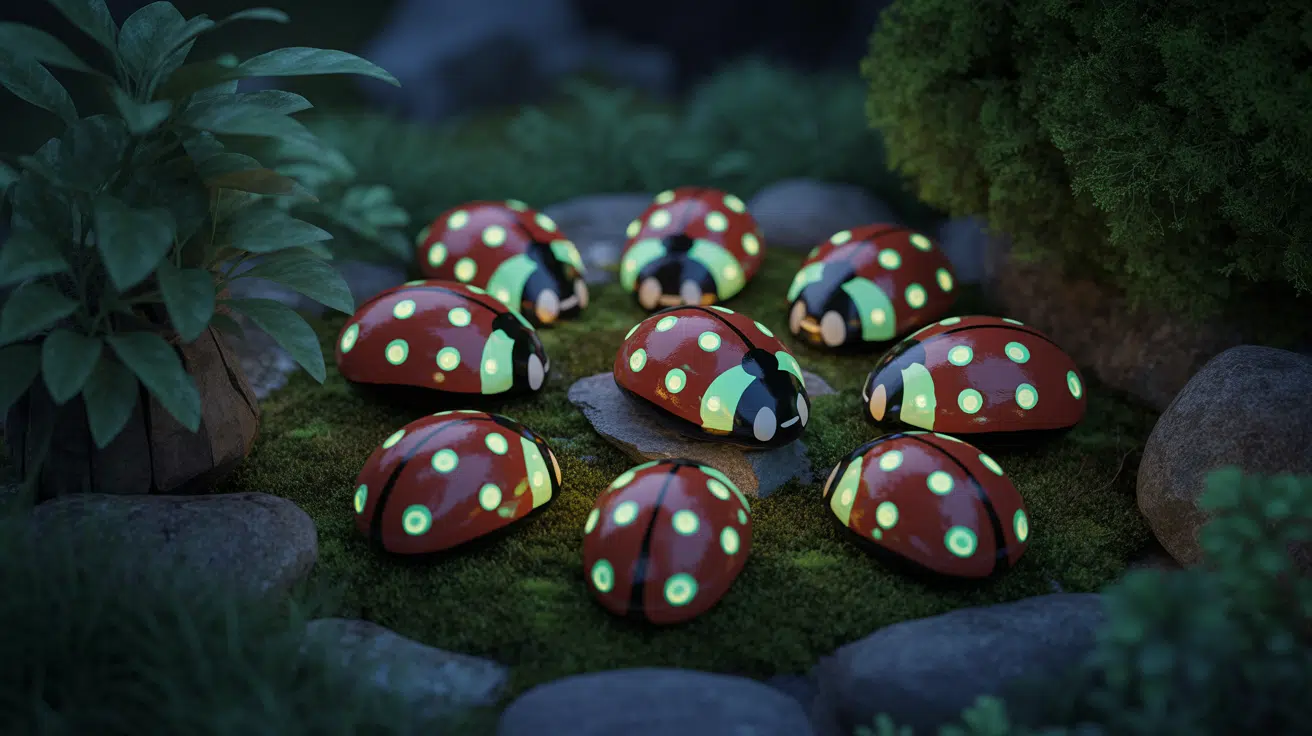
Add special glow-in-the-dark paint to your ladybug rocks for nighttime magic.
Paint the body with regular red paint first, then add glow paint details like spots or outline the entire bug. Charge them in sunlight during the day to see them shine after dark.
Ladybug Families

Create sets of different-sized ladybug rocks to represent families. Paint large parent ladybugs and tiny baby ones using the same techniques, but scaled down.
Group them together in your garden or give them as family gifts. Kids love collecting these miniature rock families.
Seasonal Ladybugs
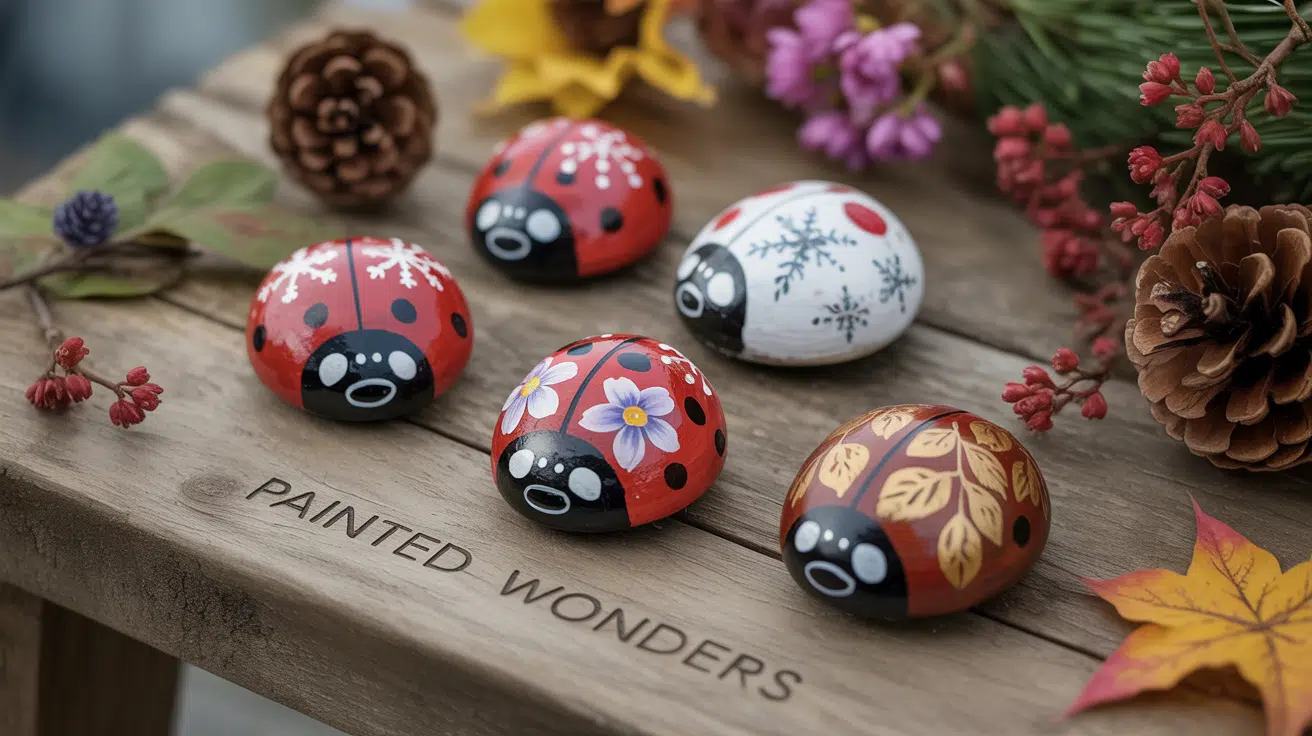
Adapt your ladybugs for different seasons by adding small details. Paint tiny snowflakes on winter ladybugs, add small flower patterns for spring versions, or use autumn colors like deep red and gold.
These seasonal touches make your rocks perfect for year-round display both indoors and outdoors.
Metallic Ladybugs
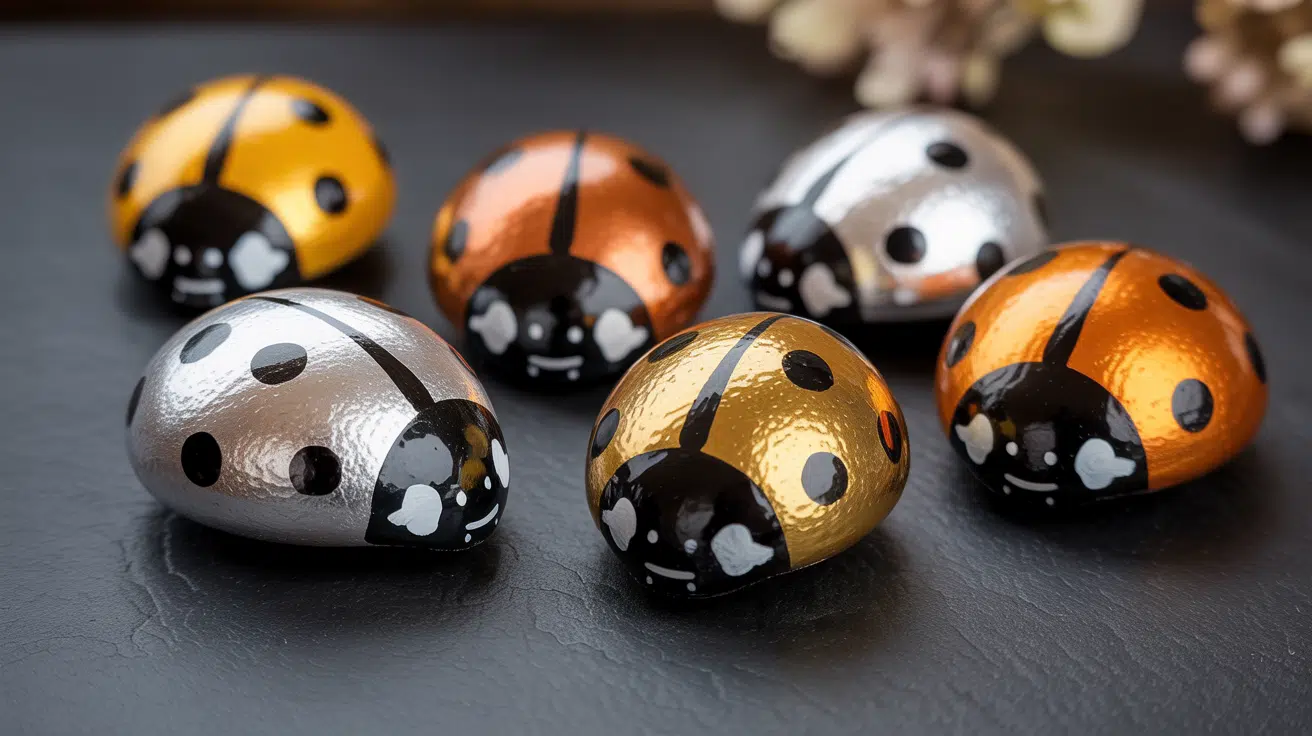
Use metallic acrylic paints to give your ladybugs a shimmery, special look. Gold, silver, or copper bodies with black details create stunning effects.
These metallic versions work well as decorative pieces for indoor spaces and make excellent gifts for adults who appreciate more sophisticated crafts.
Textured Ladybugs
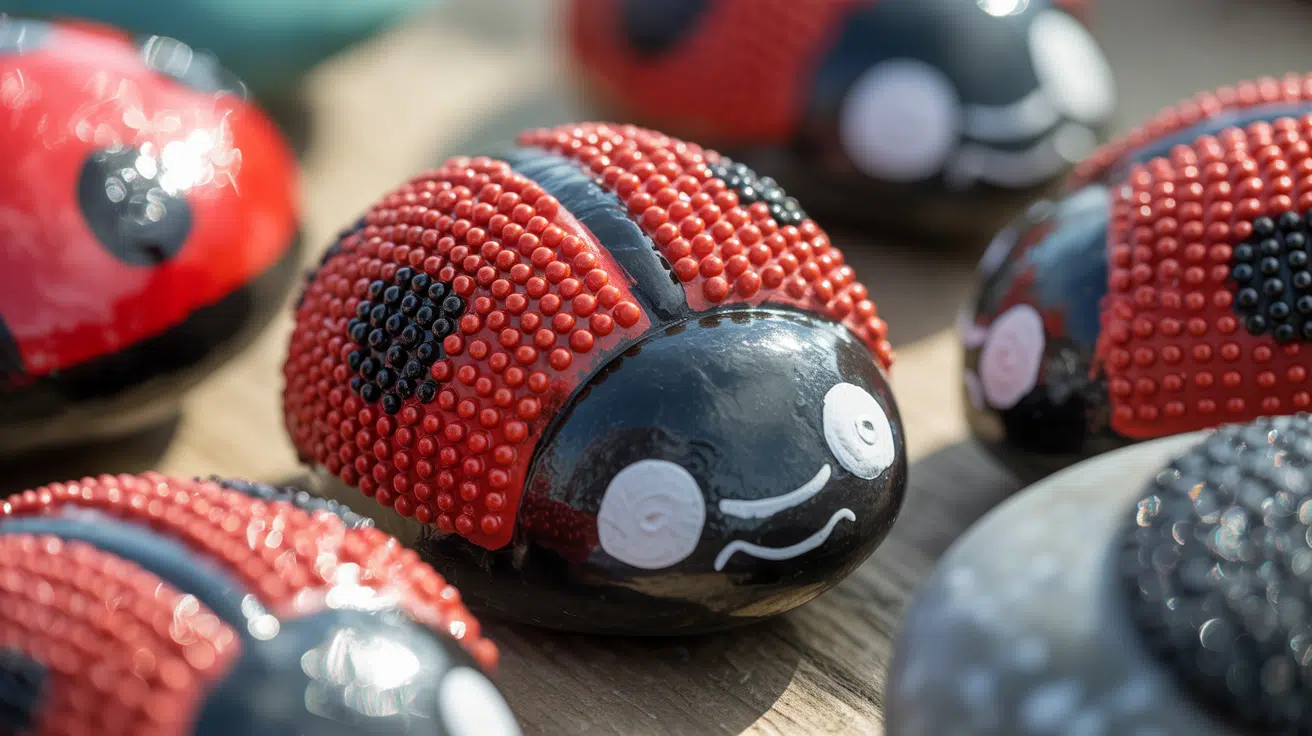
Before painting, add texture using small beads, sand mixed with paint, or raised paint techniques. Apply the texture while the base coat is still wet, then paint over it once dry.
This creates interesting surface patterns that make your ladybugs more tactile and visually interesting.
Final Thoughts
Painting ladybug rocks turns out to be much simpler than most people expect.
With just a few basic supplies and these easy steps, anyone can create charming decorations that bring joy to homes and gardens. This craft connects people across all ages.
So grab some rocks and paint today. Start with one basic ladybug, then try the creative variations we shared.
Share your finished rocks with neighbors, hide them in parks for others to find, or keep them as reminders of time well spent creating something beautiful with your own hands.