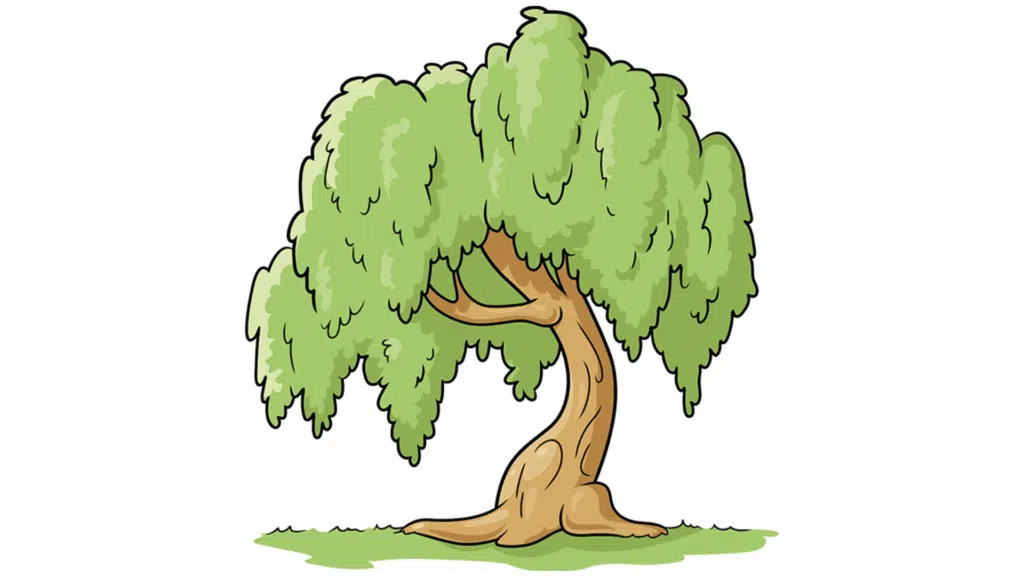
Drawing a willow tree can feel challenging when you’re staring at a blank page. Many beginners worry they can’t capture those flowing branches and drooping leaves that make willow trees so beautiful.
We’ll show you exactly how to draw a willow tree that looks natural and graceful. This step-by-step method breaks down the process into manageable parts, so you won’t feel overwhelmed. You’ll learn how to sketch the basic trunk shape, add those characteristic drooping branches, and create realistic foliage.
By the end, you’ll have a complete willow tree drawing and the confidence to try more nature sketches on your own.
List of Materials Required
The following are the materials you’ll need for the willow tree drawing.
| Item | Description |
|---|---|
| Drawing paper | Preferably medium weight (70-100 lb) |
| Pencil | HB or 2B for sketching |
| Eraser | Soft kneaded or plastic eraser |
| Black marker/pen | Fine tip for outlining |
| Coloring supplies | Colored pencils, markers, or crayons (optional) |
| Ruler (optional) | For steady base alignment |
| Circular template | Useful for drawing the grass base circle |
Willow Tree Drawing Easy Tutorial for Beginners
Learn how to draw a beautiful willow tree with this easy step-by-step tutorial designed for beginners. In just a few simple steps, you’ll learn how to draw willow tree drawing easy.
1. Draw the Hanging Vines with Curved Hooks
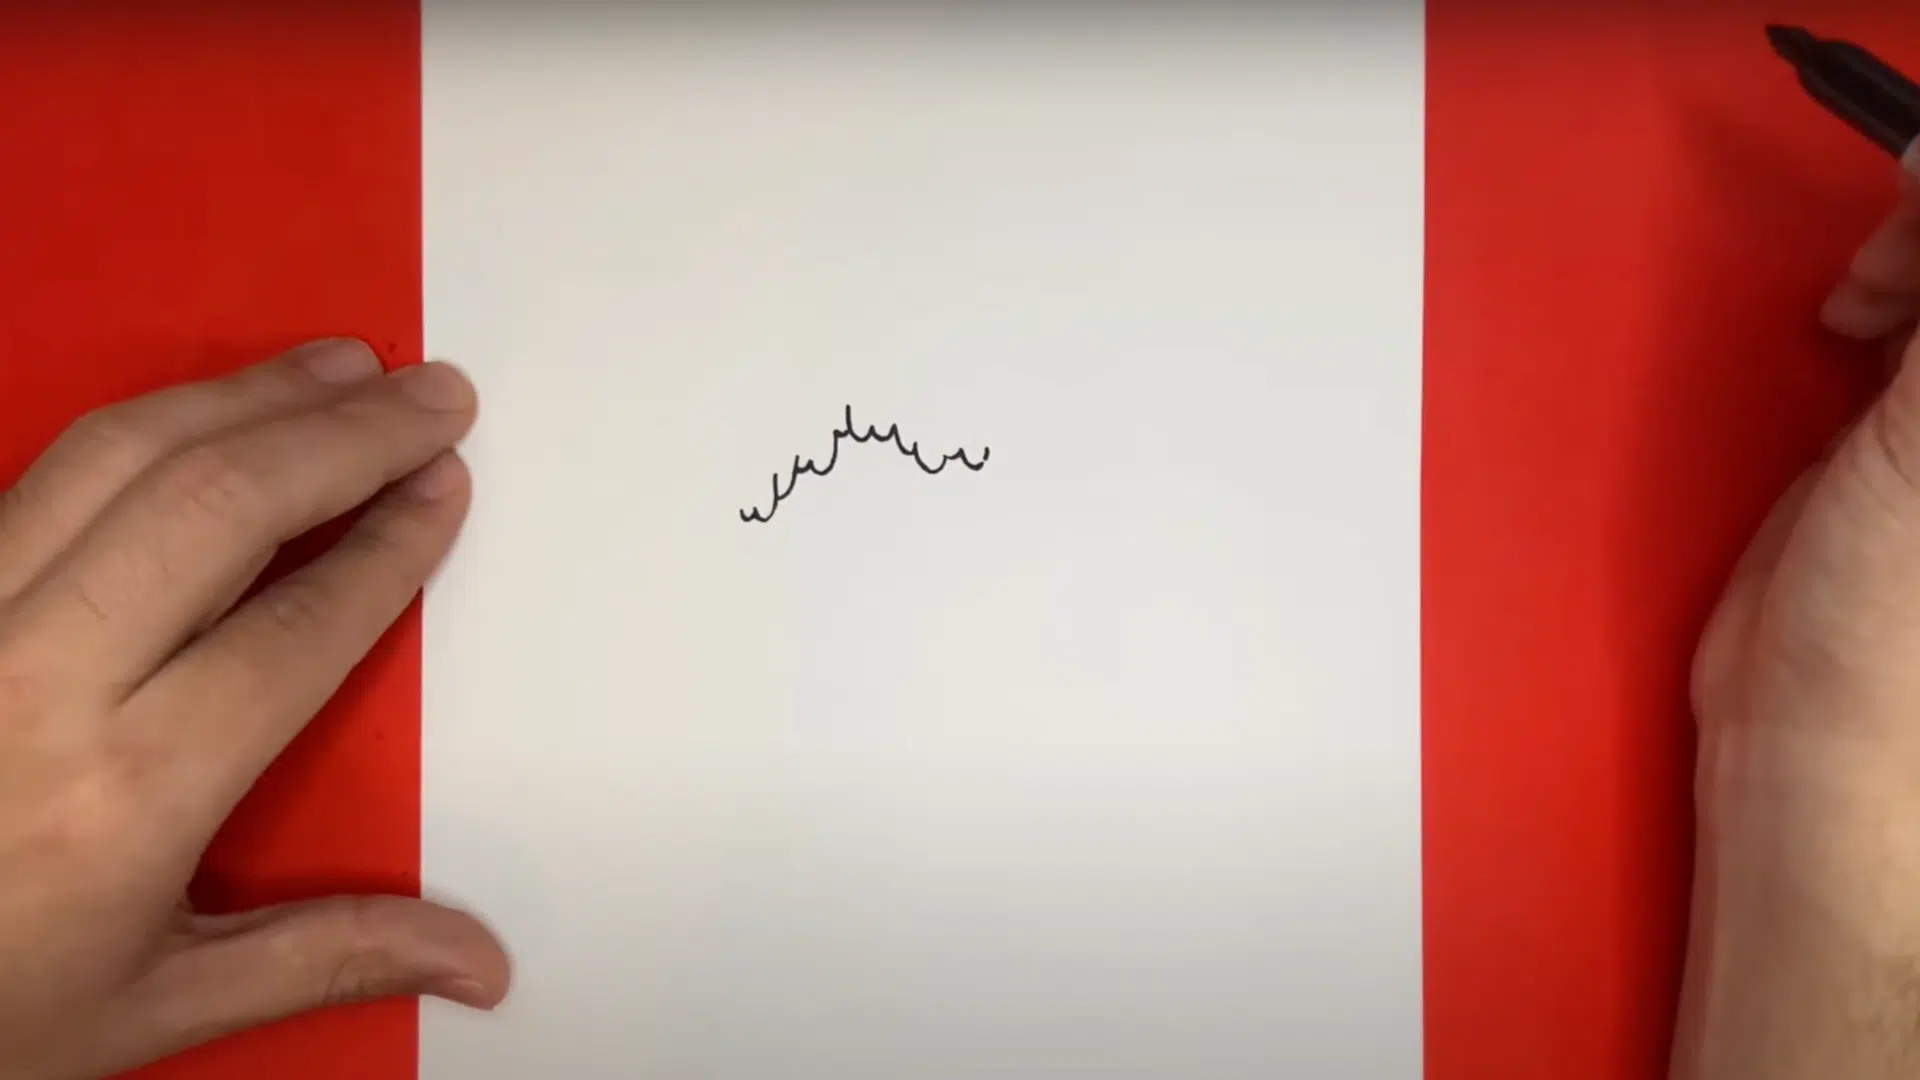
Begin your willow tree by sketching a long, slightly curved vertical line composed of many small, hook-like shapes along its sides. These hooks mimic the flowing, draping branches of the weeping willow. Keep your pencil movements light and flexible, allowing each hook to vary slightly to give a natural look.
2. Create the Tree Base with Curvy Lines
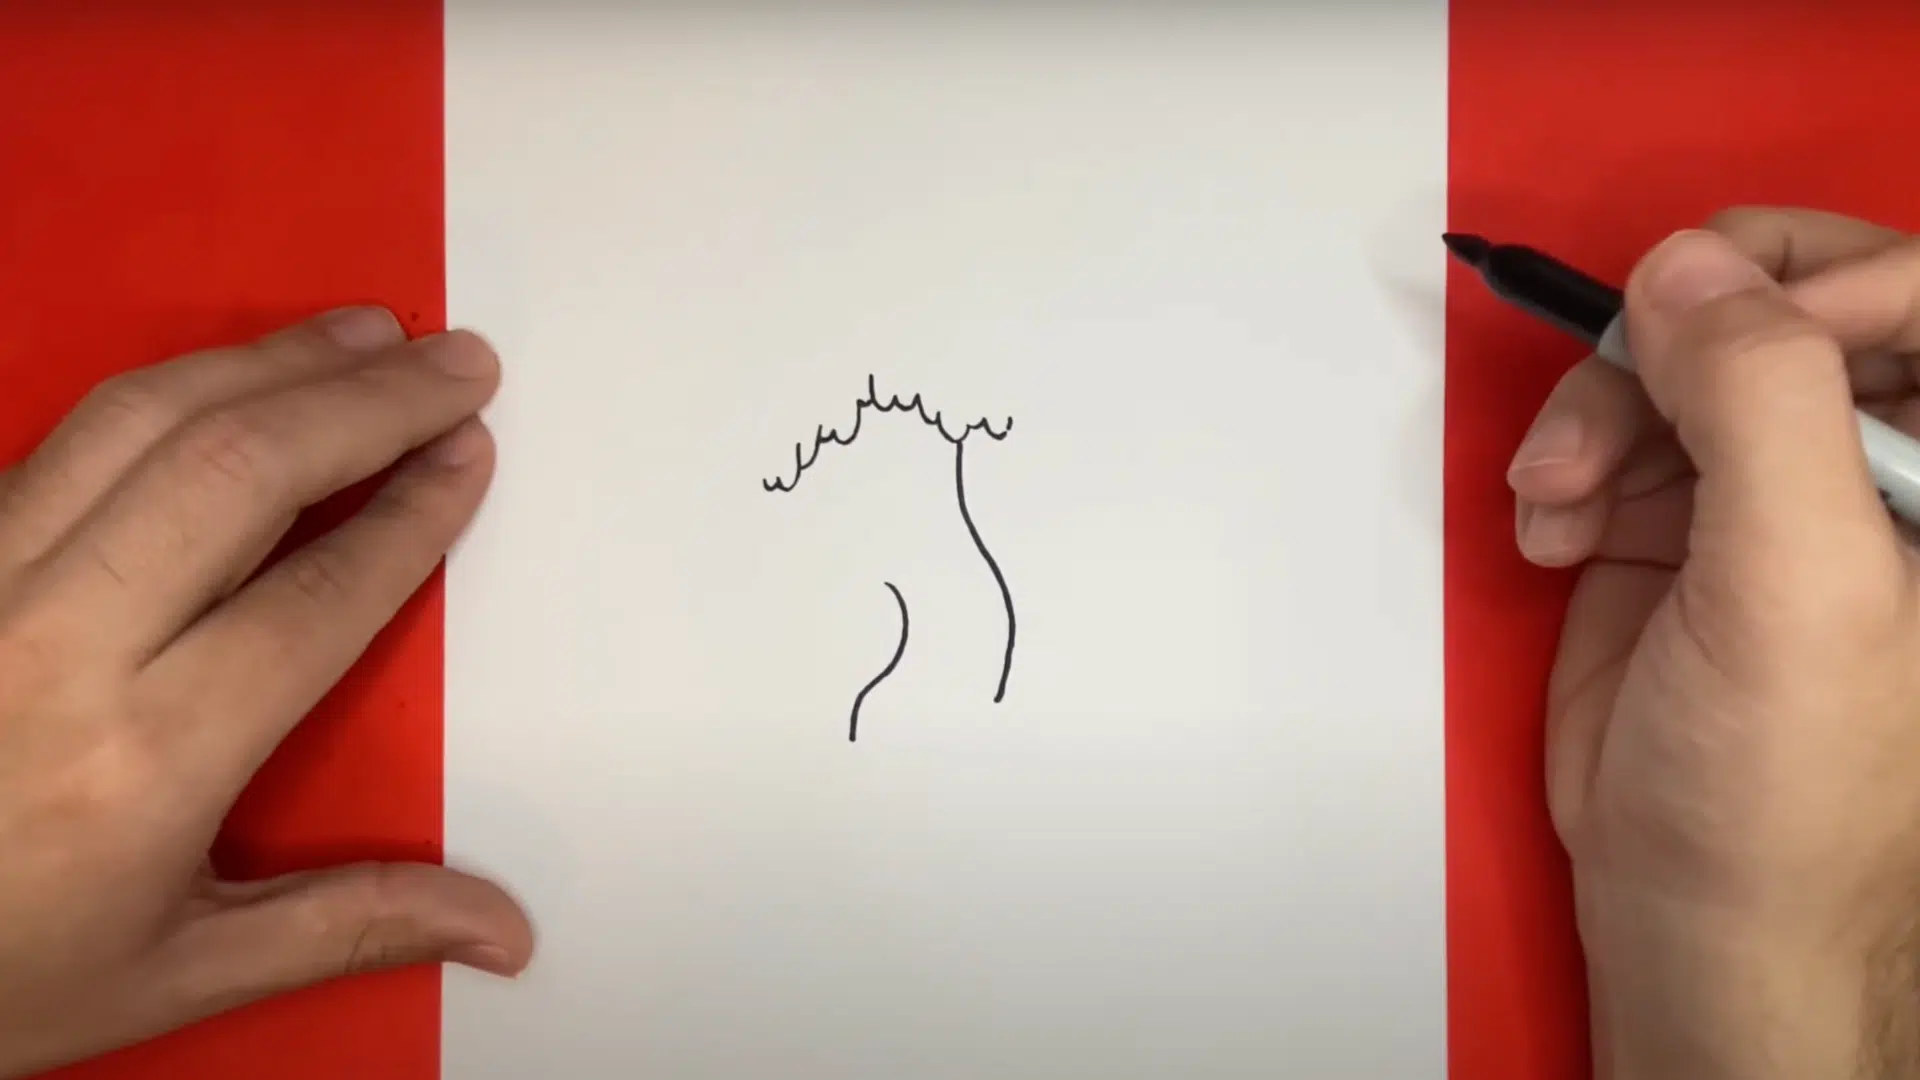
Directly underneath your vine lines, sketch two curvy vertical lines that will serve as the edges of the tree trunk. The first line doesn’t need to connect at the base, but the second one should. These lines form the sturdy body of the tree and provide support for the weeping branches above. Make the lines flow organically, suggesting natural bark texture and gentle curves that echo the softness of the willow’s form.
3. Add Tree Roots and Close the Base
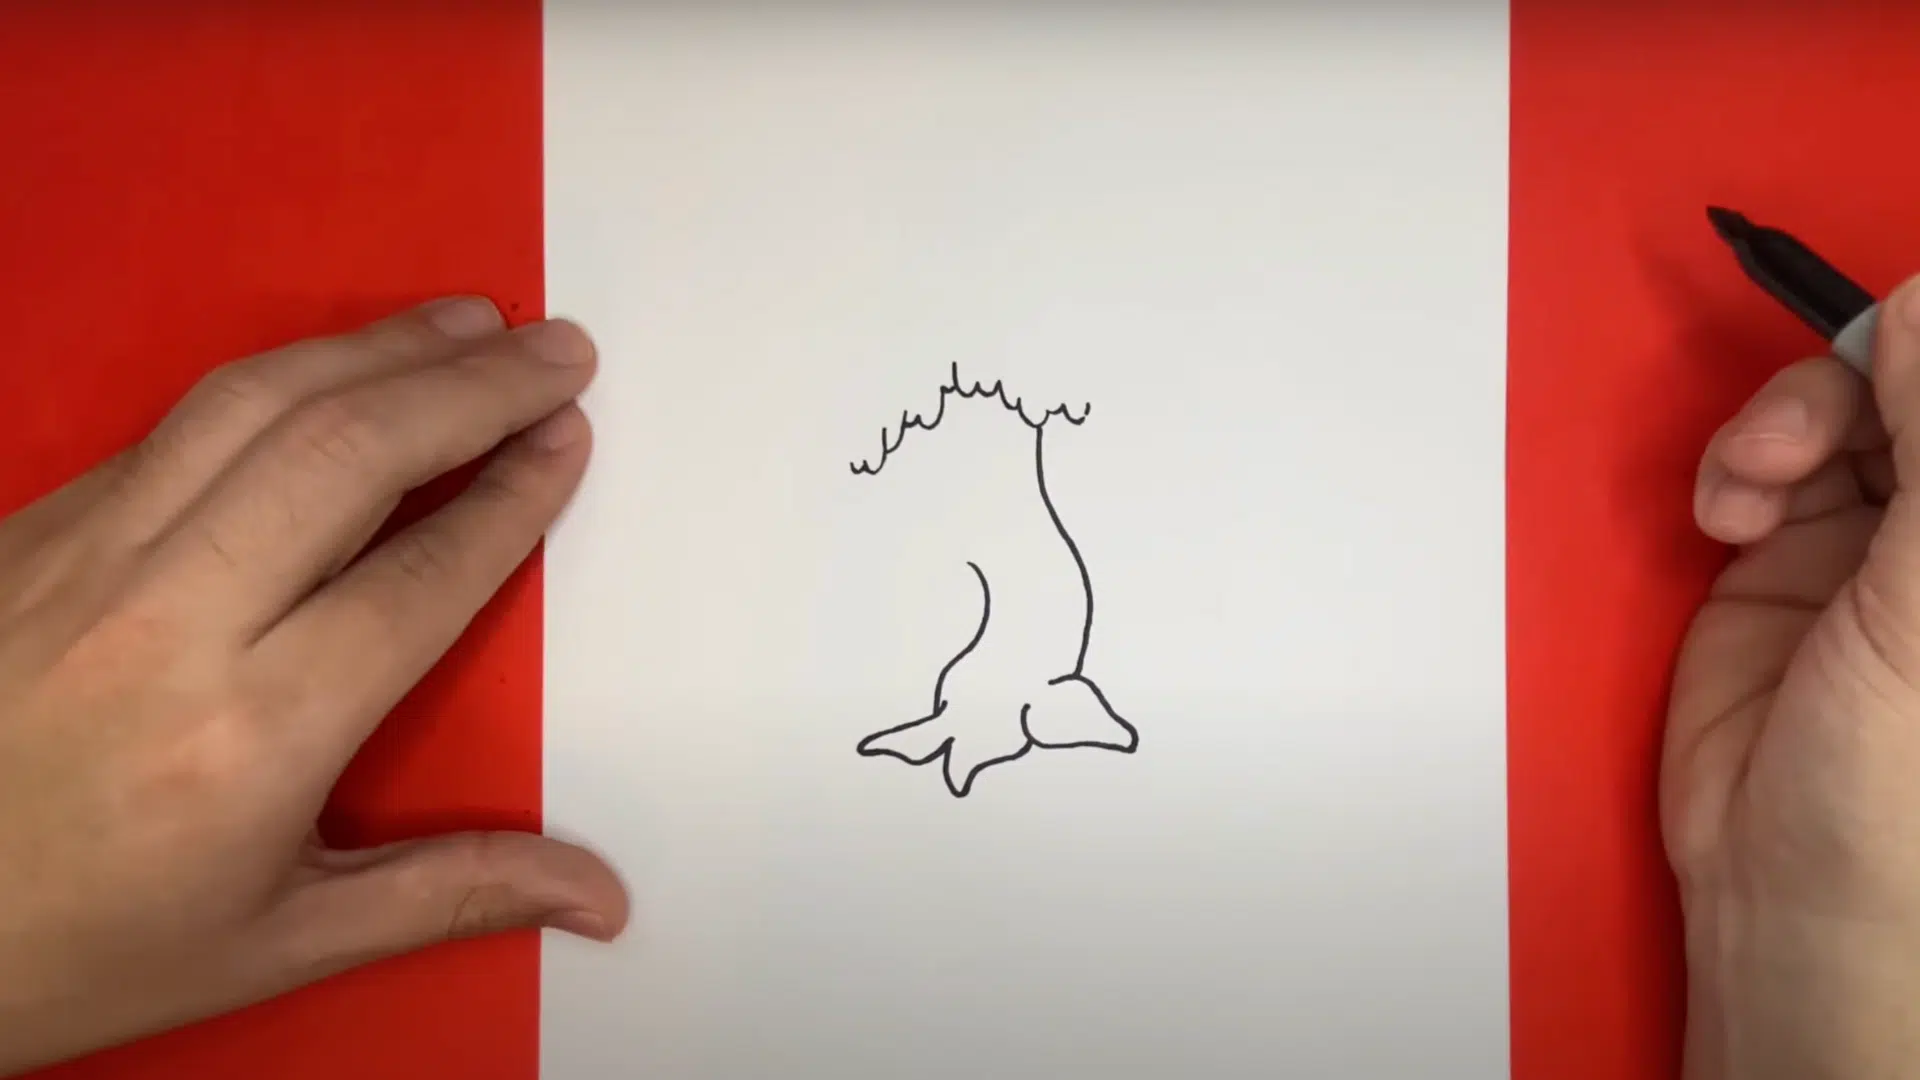
To ground your willow, add three small roots at the base of the trunk to close the shape. Each root can curve outward gently, providing a natural and stable look. Use curving, slightly uneven lines to mimic how real roots break through soil. Once done, connect the roots neatly to the bottom of the tree trunk lines to complete the base.
4. Connect the Base with the Hanging Vines
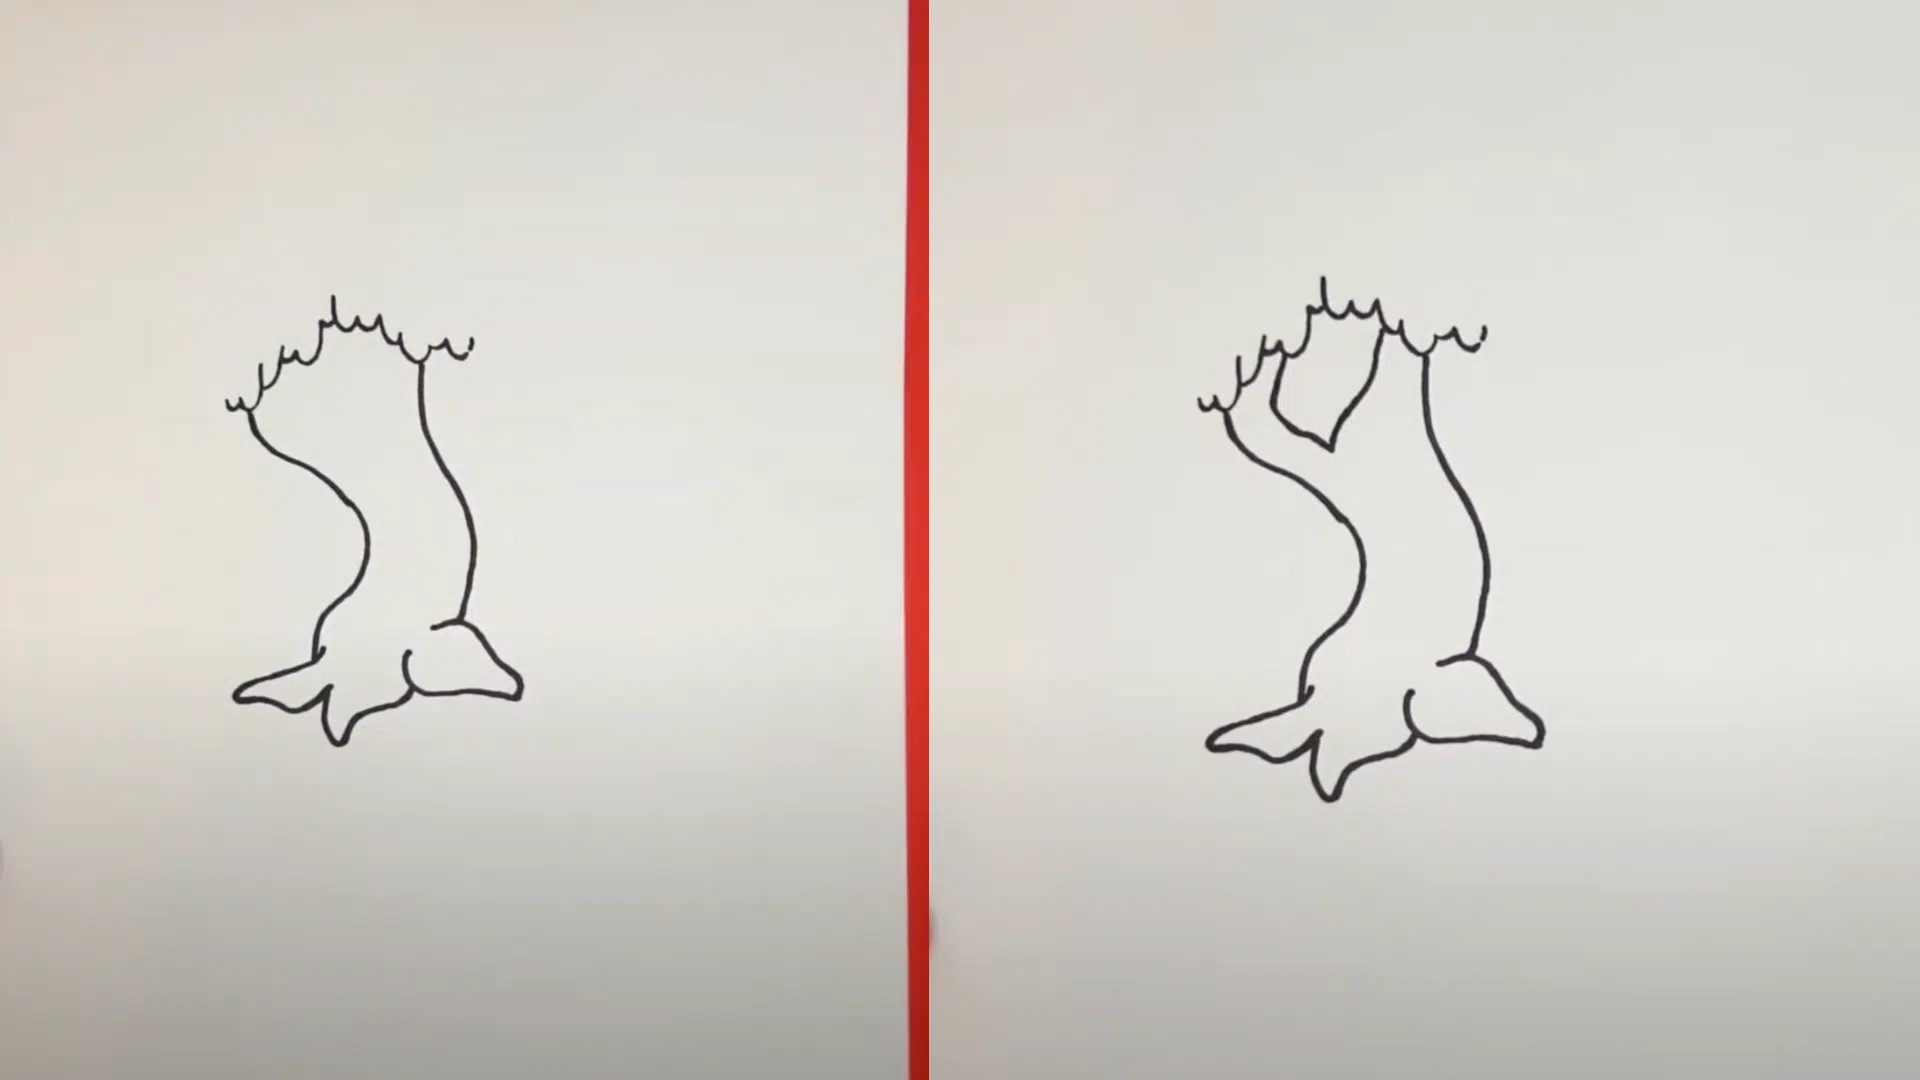
Now link the top part of the base to the draping lines above. You can split the trunk into two main branches as you draw upward, allowing them to gradually transition into the vine sections. These lines will curve and gently split as they rise, suggesting the organic way willow branches stretch outward and then droop.
5. Sketch the Top Crown of the Tree
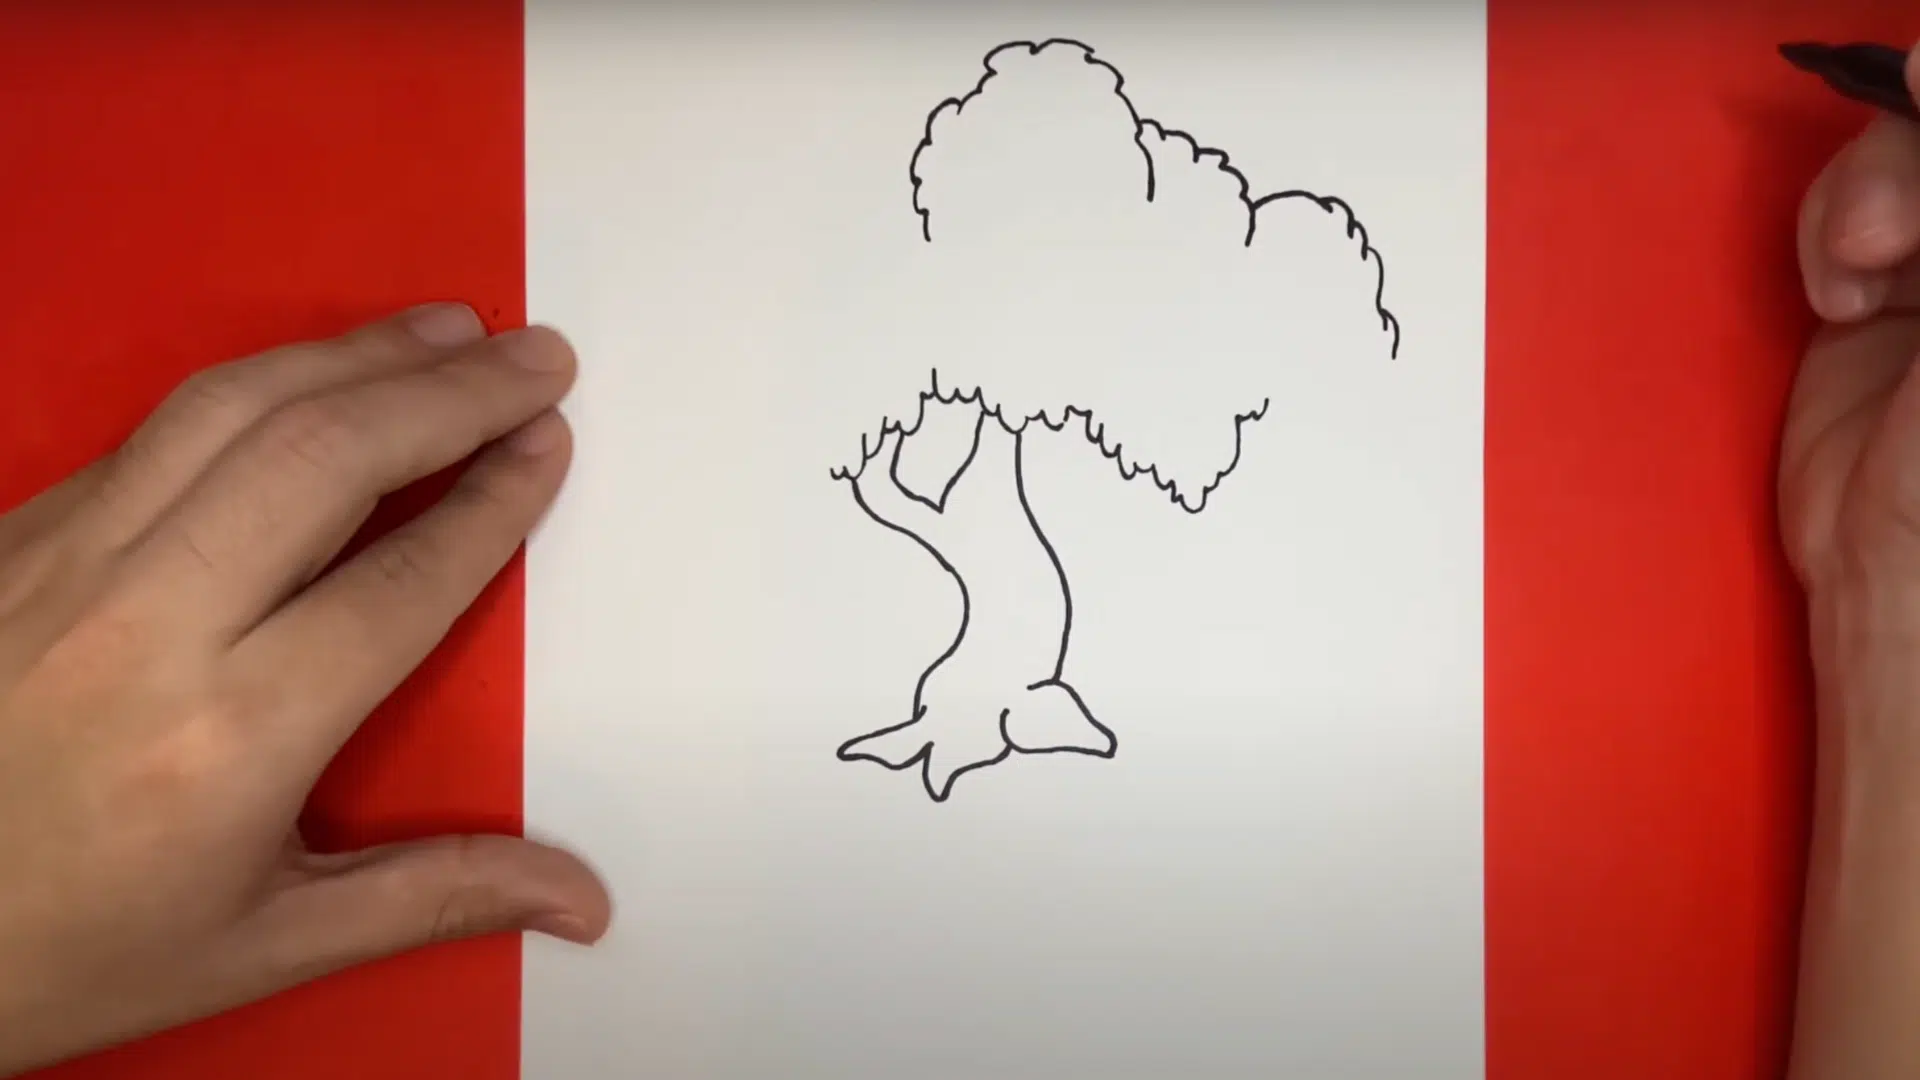
Move to the very top of your drawing and begin sketching a cloud-like crown using soft, bumpy lines. These curves represent the densely packed leafy canopy. Keep the shapes loose and organic, much like puffs of cotton.
Try to keep both sides of the crown balanced in width so one doesn’t overpower the other. Eventually, connect this top section with the middle vines and trunk area to unify the overall shape.
6. Mirror the Top on the Other Side

Now work on the opposite side of your crown to mirror the shape and details you just created. This time, let your lines trail slightly downward, reflecting the hanging nature of willow branches.
Keep the lines consistent in style but allow for slight asymmetry for a natural effect. This section will complete the top half of your willow tree, bringing a sense of balance, movement, and softness to the overall silhouette.
7. Final Touches: Ground & Details
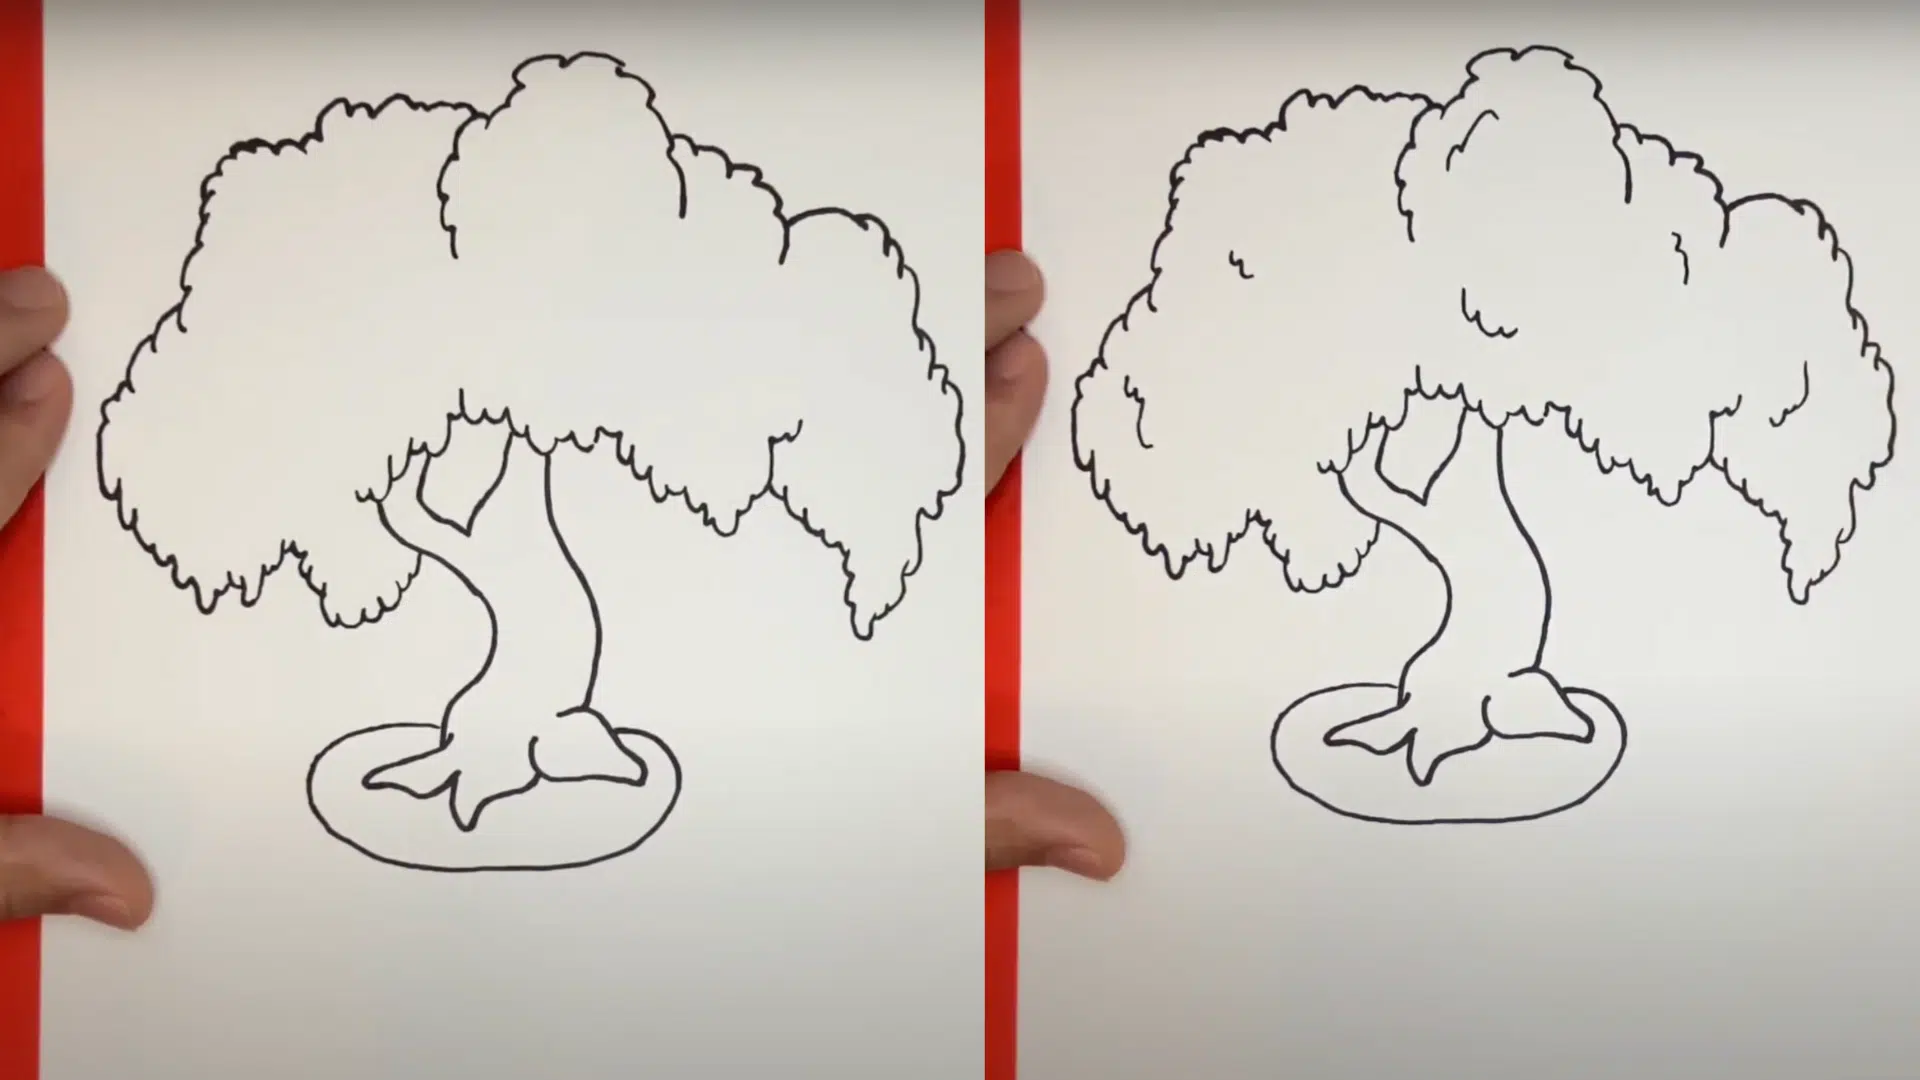
Wrap up your drawing by sketching a soft circular shape at the base to represent grass around the tree. Add inner bark lines to the trunk and gentle shading or line strokes on the foliage for texture.
Once satisfied, you may ink over the lines and erase pencil marks. Color your willow using shades of green, brown, and even hints of yellow or blue to bring your artwork to life with warmth and charm
Wrapping It Up
You’ve now mastered the art of drawing a beautiful willow tree from start to finish. Each step built upon the last, from that initial trunk sketch to those final flowing branches that give willow trees their magic.
This method is effective because it emphasizes observation and patient practice.
Try applying these same principles to other trees like oaks or maples. Each species has its character, but the foundation remains the same.