Staring at a blank canvas feels scary when you have no idea what to paint. You want to try painting, but your mind goes blank the moment you sit down with your supplies.
Most beginner guides throw out vague advice like “just paint what inspires you” without giving you real starting points.
This guide gives you specific, simple painting ideas sorted by category. Each one includes a quick description and three easy steps.
You’ll learn what supplies you need, how to approach each painting from start to finish, and common mistakes to avoid.
By the end, you’ll have a clear list of beginner-friendly subjects that actually build your skills instead of frustrating you.
Getting Started with Painting as a Beginner
Start with simple subjects that use basic shapes. Focus on painting the same thing multiple times instead of trying something new every session. This builds your skills faster than jumping around.
Stick to three or four colors at first. Be patient with yourself. Your first paintings won’t be perfect, and that’s completely normal. This list takes away the stress of choosing what to paint.
Each idea is designed to be easy enough that you can finish it and feel good about your progress.
Simple subjects let you focus on learning how paint behaves without getting lost in complicated details.
What I Need Before I Start (quick Checklist)
Start with what you have. You don’t need expensive supplies to learn. Many beginners use student-grade paint and basic brushes and still create beautiful work.
| Supply | What to Get |
|---|---|
| Paint | Acrylic (best for beginners, dries fast), Watercolor (soft, forgiving), or Gouache (opaque, smooth) |
| Surface | Acrylic paper, watercolor paper, or small stretched canvas (8×10 or 9×12 size) |
| Brushes | 3-4 basic brushes: one flat, one round, one detail brush (synthetic works fine) |
| Pencil & Eraser | Regular pencil for sketching outlines, soft eraser for corrections |
| Water Cup | Any cup or jar to rinse brushes between colors |
| Paper Towels | For blotting brushes and fixing mistakes quickly |
| Palette | Plastic plate, ceramic dish, or disposable palette paper for mixing colors |
| Optional Tools | Masking tape (clean edges), palette knife (texture), sponge (soft blending) |
Easy Sky and Weather Painting Ideas for Beginners
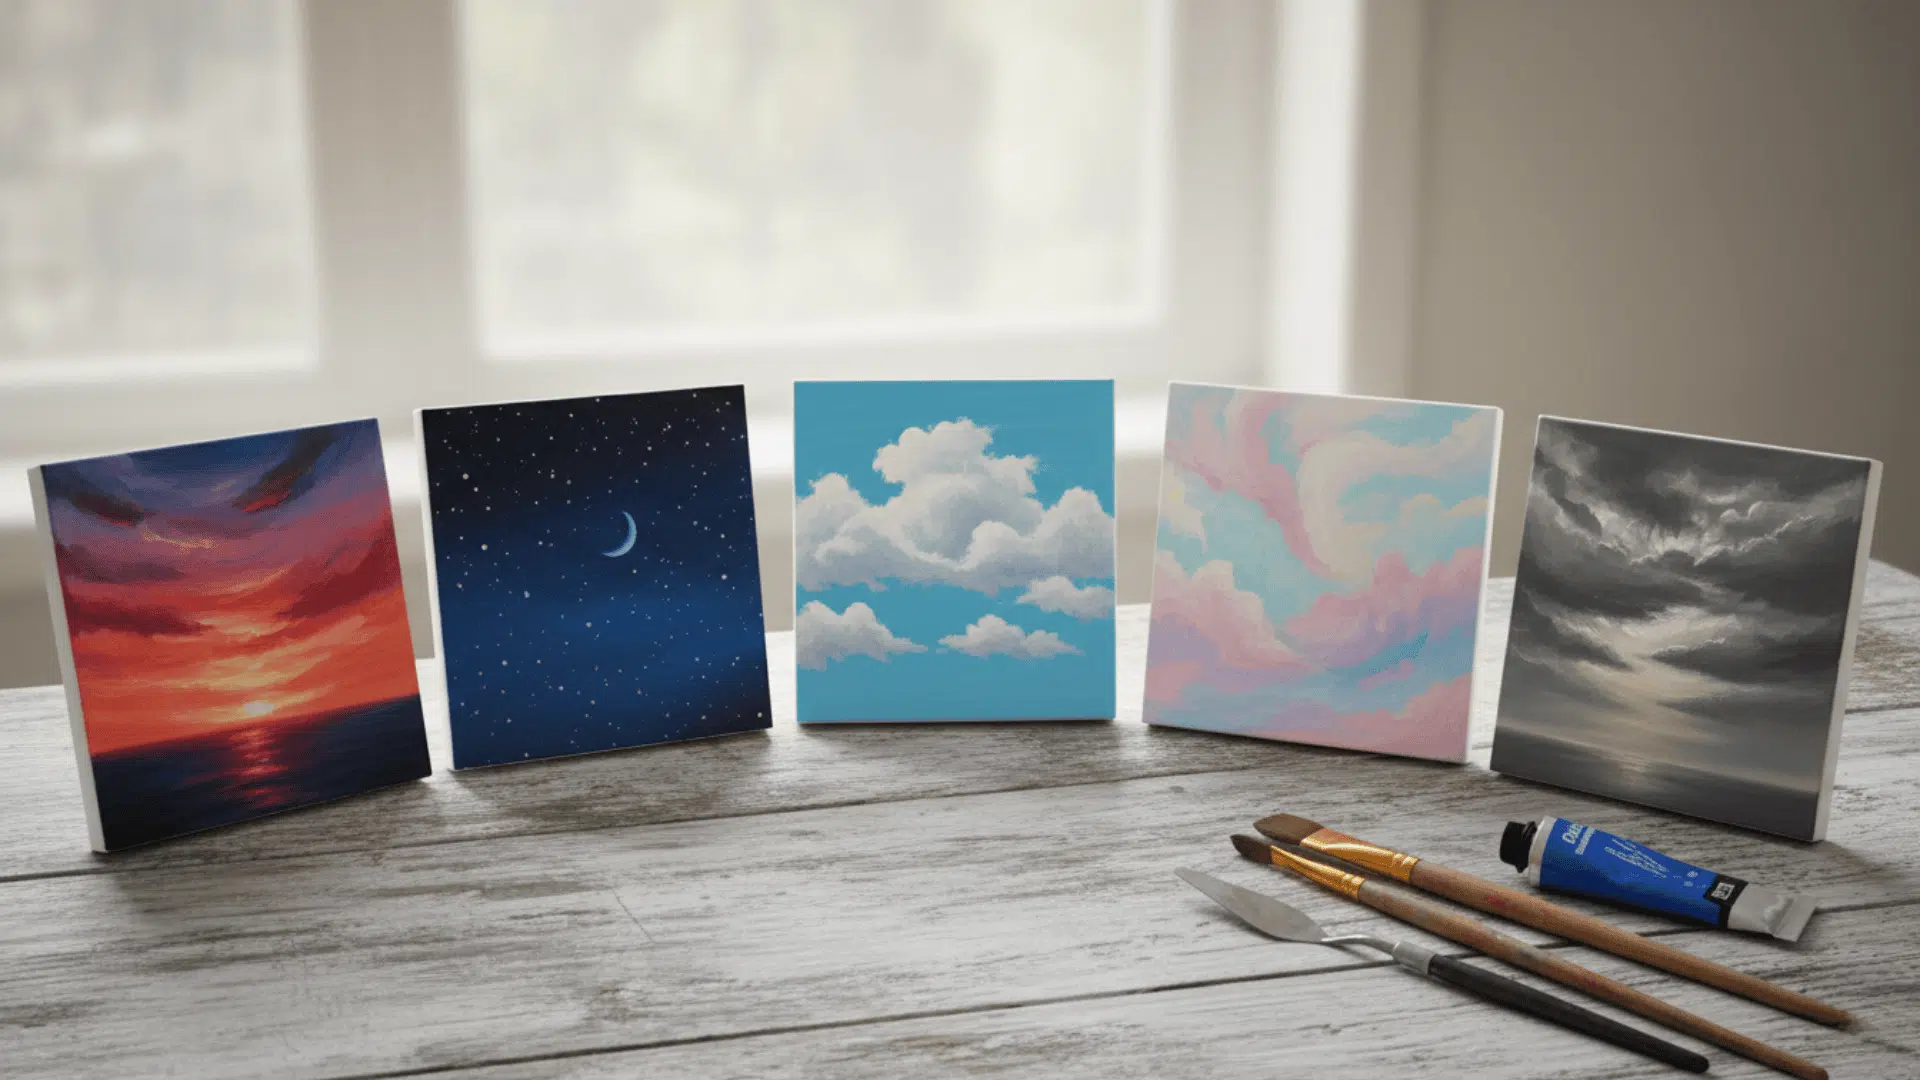
Sky and weather subjects are perfect starting points because they don’t require precise details. Once you feel comfortable with blending and brushwork, you can move into more structured scenes.
1. Sunset Gradients
Sunset gradients are one of the easiest ways to practice blending colors. You only need three to four warm colors that fade into each other. The soft transition from orange to pink to purple creates an instant mood.
Steps:
- Start with yellow at the bottom and orange in the middle of your canvas
- Add pink above the orange and blend where the colors meet
- Finish with purple or dark blue at the top, smoothing all transitions
2. Night Sky and Stars
A night sky painting teaches you about dark backgrounds and light accents. You can make it as simple or detailed as you want. Stars add interest without requiring perfect shapes.
Steps:
- Paint the entire background in dark blue or black
- Let it dry completely before adding stars
- Use white paint on a thin brush or toothbrush to flick small dots across the sky
3. Moon and Clouds
This subject combines a bright focal point with soft shapes around it. The moon is just a circle, and clouds are loose brushstrokes. You can paint this in under 30 minutes.
Steps:
- Paint a blue or purple sky as your background
- Add a white or pale yellow circle for the moon
- Use white paint in loose strokes to create fluffy cloud shapes
4. Rainbow Scenes
Rainbows are stripes of color that curve across the sky. This teaches you color order and brush control. Kids and adults both enjoy painting these because they’re cheerful and simple.
Steps:
- Paint a light blue or cloudy gray background
- Use a pencil to sketch a curved arc lightly
- Paint each color stripe in order: red, orange, yellow, green, blue, purple
5. Stormy Skies
Stormy skies use dark grays and blacks with hints of blue or purple. This painting type helps you practice moody color mixing. The rough brushstrokes make it forgiving for beginners.
Steps:
- Mix gray, black, and dark blue loosely on your canvas
- Use quick, sweeping strokes to show movement in the clouds
- Add lighter gray or white streaks to show breaks in the storm
6. Foggy Mornings
Foggy scenes are soft and blurry with very little detail. You use light grays and whites to create a misty effect. This subject teaches you how to paint atmosphere instead of sharp objects.
Steps:
- Paint a pale gray or lavender background
- Use a dry brush with white paint to add soft, hazy layers
- Keep everything blurry with no hard edges or strong contrast
7. Lightning Scenes
Lightning adds drama to a dark sky with just a few bright lines. You need a dark background and white or yellow paint for the bolts. This is great for practicing straight and jagged lines.
Steps:
- Paint a dark, stormy sky in blacks, grays, and deep purples
- Let the background dry fully
- Use a small brush to paint thin, jagged white or yellow lines for lightning bolts
8. Cotton Candy Skies
Cotton candy skies use soft pinks, purples, and blues that blend. These colors remind people of sunsets or dreams. The gentle hues make this a relaxing subject to paint.
Steps:
- Wet your canvas or paper with clean water
- Drop in pink, lavender, and light blue paint, letting them blend naturally
- Tilt the canvas slightly to help colors flow and mix
9. Aurora Lights
Aurora lights are wavy bands of green, blue, and purple across a dark sky. This teaches you how to layer transparent colors. The flowing shapes are forgiving and fun to paint.
Steps:
- Paint a dark blue or black night sky
- Use green paint in wavy horizontal strokes across the middle
- Add hints of purple, blue, or pink along the edges of the green
10. Simple Sun Studies
Painting the sun helps you practice circles and glowing effects. You can paint it rising, setting, or high in the sky. Adding rays or a soft glow around it makes it feel more realistic.
Steps:
- Paint a background in sky colors (blue, orange, or pink)
- Add a yellow or orange circle for the sun
- Use lighter yellow around the sun to create a soft glow effect
11. Cloud Practice Scenes
Clouds are one of the best subjects for beginners because no two look the same. You can paint them fluffy, wispy, or scattered. This helps you get comfortable with loose, relaxed brushwork.
Steps:
- Paint a light blue sky background
- Use white paint with a little gray mixed in for shadow areas
- Dab and blend the paint in rounded, puffy shapes
Easy Landscape and Place Painting Ideas for Beginners
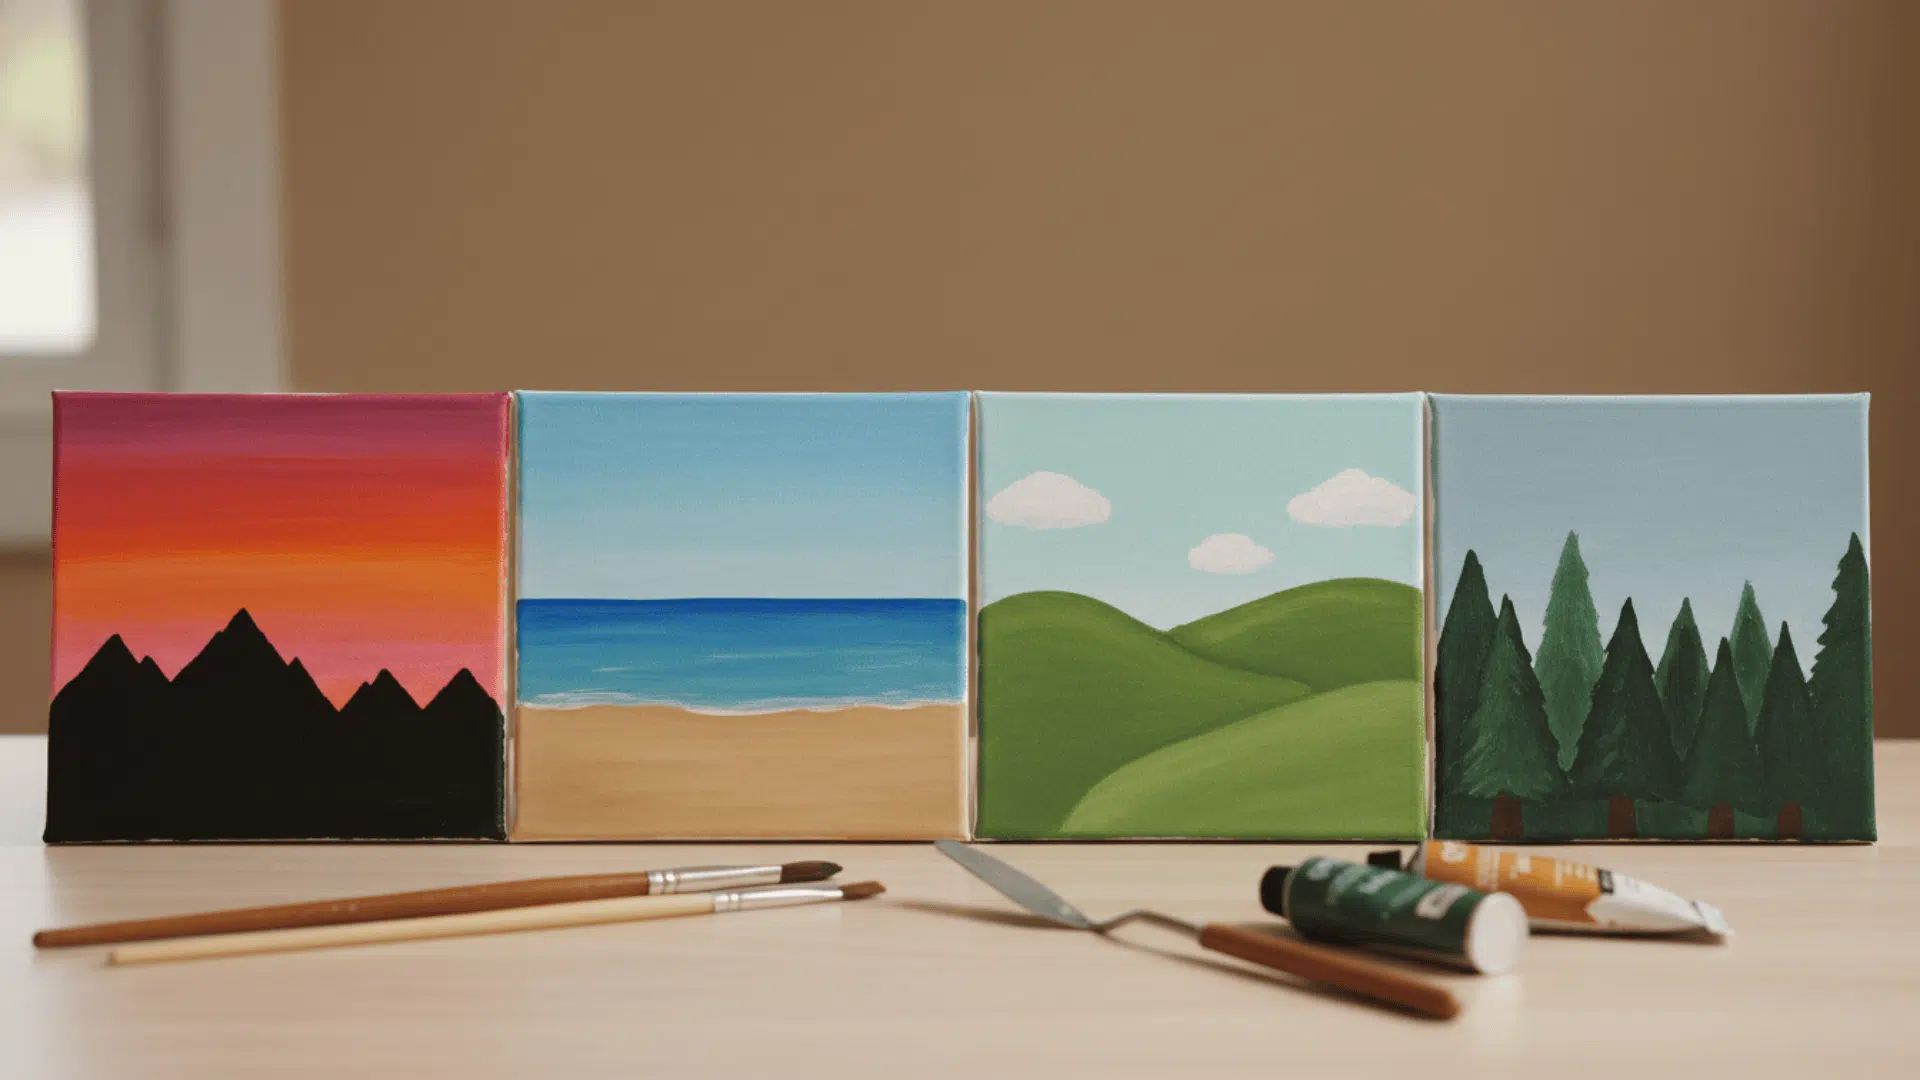
Landscape subjects help you practice creating depth and using horizontal space. These scenes are satisfying because they feel complete even with minimal detail.
12. Mountain Silhouettes
Mountain silhouettes are simple shapes painted in dark colors against a bright sky. You don’t need to paint details like trees or rocks. Just the outline of peaks creates a strong image.
Steps:
- Paint a colorful sky (sunset or sunrise colors work well)
- Let the sky dry completely
- Use black or dark blue to paint jagged mountain shapes along the bottom
13. Beach Horizons
A beach scene is just two main areas: sky and sand, divided by a horizontal line. You can add a simple sun or a few waves for interest. This teaches you about horizontal composition.
Steps:
- Paint the top half in light blue for the sky
- Paint the bottom half in tan or beige for the sand
- Add a thin line of darker blue where the ocean meets the sky
14. Desert Scenes
Desert paintings use warm earth tones like orange, brown, and tan. You can add a cactus or simple dunes. The minimal details make this a calm, easy subject.
Steps:
- Paint a pale orange or peach background for the sand
- Add darker orange or brown hills in the distance
- Paint a simple cactus shape in green with a few lines for texture
15. Pine Tree Hills
Pine trees are just triangles stacked on top of each other. You can paint a whole forest by repeating this shape. This subject teaches you about layering and depth.
Steps:
- Paint a light blue or sunset sky
- Use dark green to paint triangle shapes for trees in the background (smaller and lighter)
- Add larger, darker triangles in the foreground for closer trees
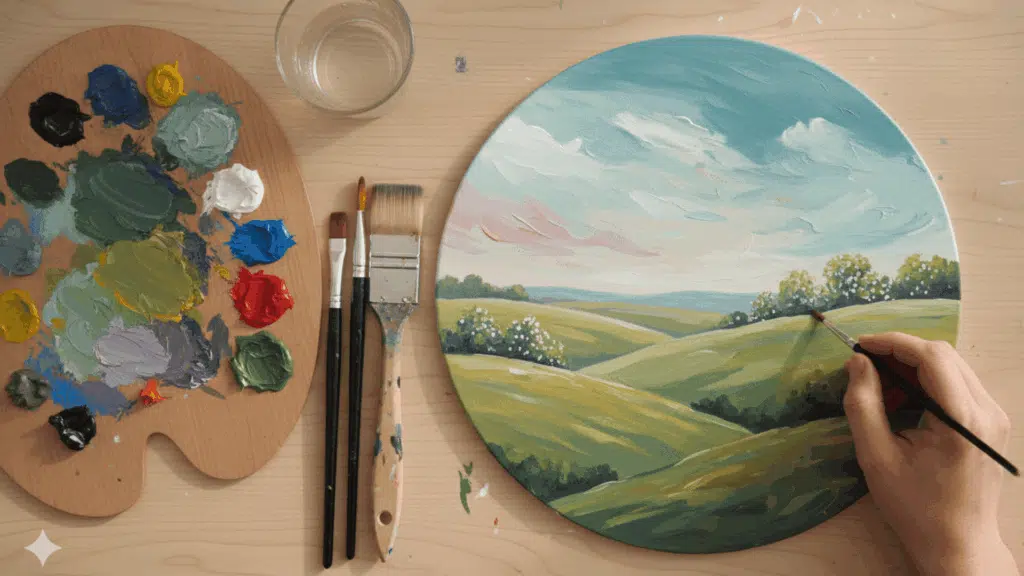
16. Rolling Fields
Rolling fields are gentle curves painted in greens, yellows, or golds. You can add a simple fence or path if you want. The flowing lines are relaxing to paint.
Steps:
- Paint a light blue sky at the top
- Use green paint to create soft, curved horizontal lines for hills
- Add a slightly darker green for shadows on the lower parts of each hill
17. Lake Reflections
A lake painting is split in half with the same image above and below the waterline. The reflection is just a mirror of what’s on top. This teaches you about symmetry.
Steps:
- Paint a simple scene in the top half (mountains, trees, or sky)
- Flip the same image upside down in the bottom half for the water
- Use horizontal brushstrokes in the water area to show ripples
18. Minimal City Skylines
City skylines are just rectangles and squares in different heights. You can paint them black against a colorful sky. Adding a few lit windows makes it feel alive.
Steps:
- Paint a colorful gradient sky (sunset or night)
- Use black paint to create rectangle shapes of different heights along the bottom
- Add tiny yellow squares for windows in some buildings
19. Snow Cabins
A snow cabin is a simple rectangle with a triangular roof. You paint it in browns or reds and surround it with white for snow. This subject is cozy and seasonal.
Steps:
- Paint a light gray or blue sky
- Add a simple rectangle house with a triangle roof in brown or red
- Paint white around and on top of the cabin for snow
20. Roads Into Distance
A road painting uses perspective to show depth. The road starts wide at the bottom and gets narrower as it goes up. This teaches you a basic rule of how things look farther away.
Steps:
- Paint a simple landscape background (fields or desert)
- Use gray or brown to paint a road that starts wide and narrows toward the horizon
- Add a dashed yellow or white line down the middle
21. Tropical Islands
A tropical island is a small curved shape in water with a palm tree. You use blues for water, greens for the island, and brown for the trunk. It’s simple but recognizable.
Steps:
- Paint the entire background in light blue for water
- Add a slightly curved shape in green or tan for the island
- Paint a brown trunk with green palm leaves on top
22. Waterfalls
A waterfall can be as simple as white vertical strokes falling between rocks. You use blues and grays for water and darker colors for stones. The flowing movement is satisfying to paint.
Steps:
- Paint a background with greens and browns for forest or rocks
- Use white and light blue to paint vertical flowing lines for the waterfall
- Add a darker blue at the bottom for the pool where water collects
Easy Flower and Plant Painting Ideas for Beginners
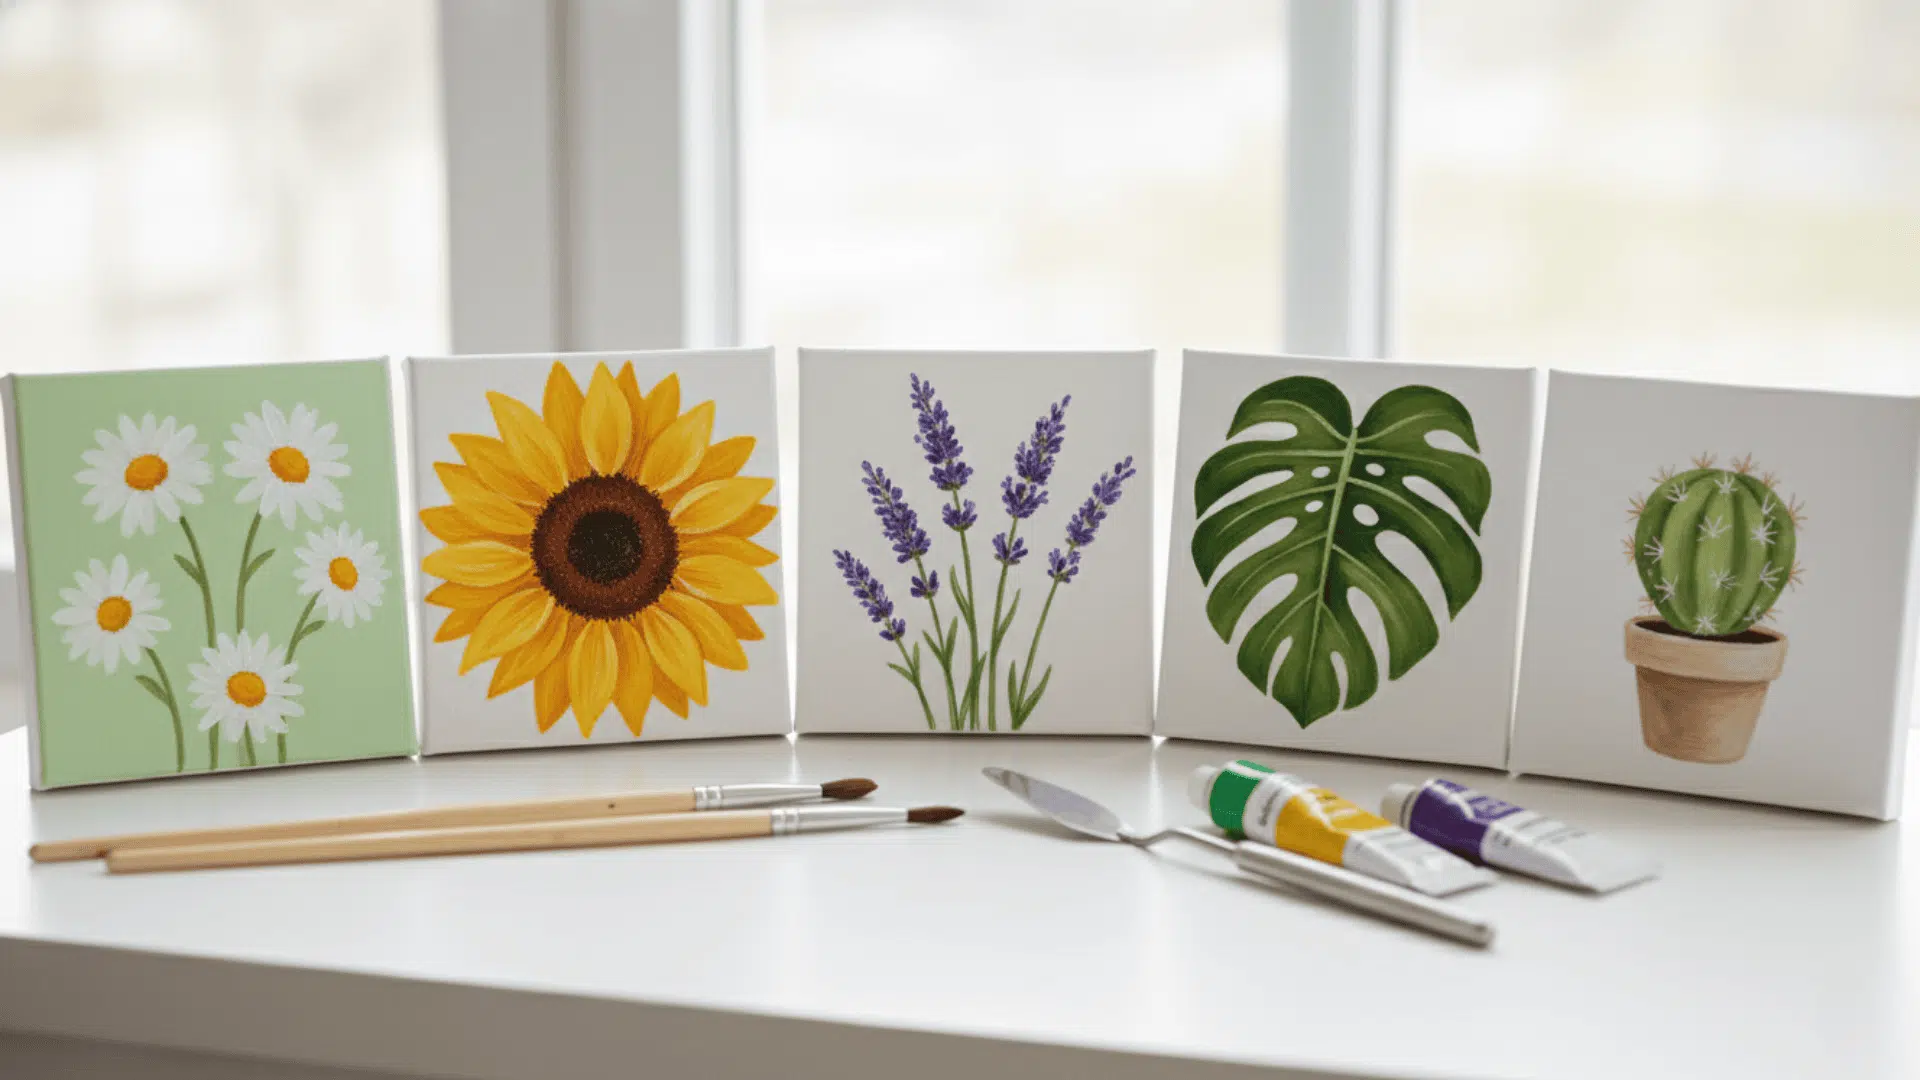
Flowers and plants offer organic shapes that help you practice curves and color mixing. These subjects feel fresh and natural, making them popular choices for beginners.
23. Daisies
Daisies are simple flowers made of white petals around a yellow center. You can paint one large daisy or a bunch of small ones. The repetitive petal shapes are calming to paint.
Steps:
- Paint a soft colored background (blue, green, or pastel)
- Add a yellow circle for the flower center
- Paint white oval petals around the center in a circle
24. Lavender Stems
Lavender is painted as thin green stems with small purple dots clustered at the top. You can paint several stems together for a fuller look. This teaches you about repeated minor marks.
Steps:
- Paint a light background in cream, white, or soft blue
- Use green paint to create thin vertical lines for stems
- Dab purple paint in clusters along the top part of each stem
25. Sunflowers
Sunflowers have bright yellow petals and a large brown center. The bold colors make them stand out. You can paint just the flower head or include a green stem and leaves.
Steps:
- Paint a background in any color (blue sky or neutral tone)
- Add a large brown or dark circle for the center
- Paint yellow petals around the center in an oval or teardrop shape
26. Tulips
Tulips are cup-shaped on thin stems. You can paint them in any color: red, pink, yellow, or purple. The simple form makes them perfect for practicing smooth curves.
Steps:
- Paint a soft background color
- Use green to paint thin stems
- Add a U-shaped or cup-shaped flower at the top of each stem in your chosen color
27. Roses
A simple rose is made of spiral strokes that start small in the center and get larger. You don’t need to paint every petal perfectly. Loose, curved marks create the rose shape.
Steps:
- Paint a background in a soft color
- Start with a small spiral in the center, using red or pink
- Add larger curved strokes around the center to build out the petals
28. Monstera Leaves
Monstera leaves are large, heart-shaped, with holes and splits in them. The unique pattern is recognizable and fun to paint. You only need green and a little darker green for shadows.
Steps:
- Paint a light background
- Use green to paint a large heart or oval leaf shape
- Add slits and holes by painting the background color through parts of the leaf
29. Potted Cactus
A potted cactus is just an oval or rounded shape in a simple pot. You can add small lines for spines. This subject is trendy and takes just a few minutes to complete.
Steps:
- Paint a background color of your choice
- Add a brown or terracotta pot shape at the bottom
- Paint a green cactus shape (oval, round, or tall) with small lines for texture
30. Eucalyptus Sprigs
Eucalyptus has thin stems with small, rounded leaves arranged in pairs. The soft blue-green color is calming. You can paint a few sprigs or a whole bunch.
Steps:
- Paint a soft neutral or white background
- Use a thin brush to paint curved stems in brown or dark green
- Add small oval leaves in light blue-green along each side of the stem
31. Wildflower Meadows
A wildflower meadow is a loose collection of small flower shapes in different colors. You don’t need to paint specific types. Just dots and simple shapes scattered across green.
Steps:
- Paint a green background for the grass
- Add small flower shapes in various colors (pink, purple, yellow, white) scattered across the green
- Use thin green lines to suggest stems connecting some flowers
32. Leaf Wreaths
A wreath is a circle of leaves painted green. You can add berries or flowers for extra color. The repeating pattern around the circle is simple and satisfying.
Steps:
- Lightly sketch a circle with a pencil
- Paint small leaf shapes in green all around the circle
- Add small red or white dots for berries if desired
33. Mushrooms
Mushrooms have a curved cap on top of a short stem. You can paint them in red with white spots for a fairy tale look. Or use natural browns and tans.
Steps:
- Paint a background (forest floor or grass)
- Use light brown or cream to paint a short stem
- Add a curved cap on top in red, brown, or tan with optional white spots
Animal and Cute Character Painting Ideas for Beginners
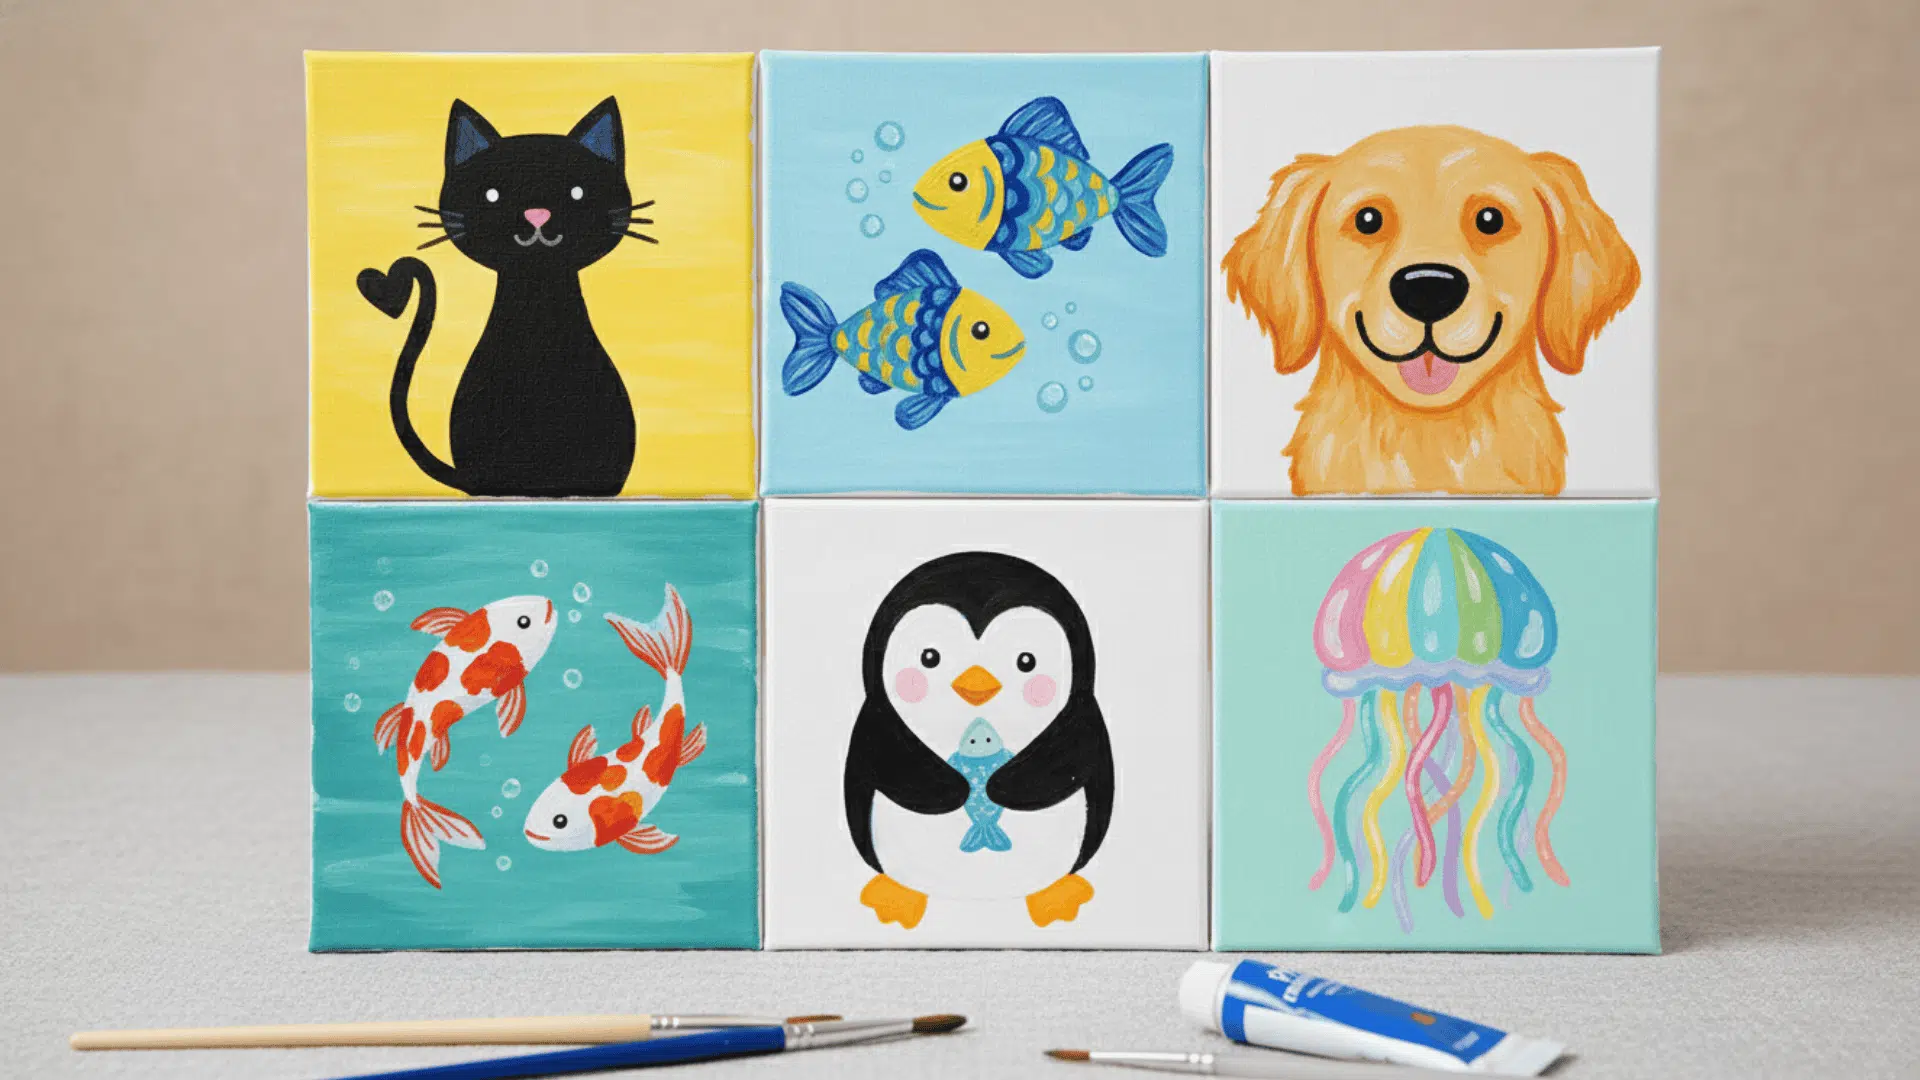
Animal subjects bring personality to your paintings. Even simple shapes can create characters people connect with, and you don’t need to master anatomy to make them recognizable.
34. Cat Silhouettes
A cat silhouette is just the outline filled with black or a dark color. You can show the cat sitting, standing, or stretching. No facial details are needed, so it’s very forgiving.
Steps:
- Paint a colorful background (sunset, moon, or abstract colors)
- Let it dry completely
- Use black paint to fill in a simple cat outline shape
35. Dog Faces
A simple dog face uses circles and ovals for the head, ears, and snout. You add two dots for eyes and a nose. The friendly expression is easy to capture.
Steps:
- Paint a background color
- Use brown, tan, or black to paint a circle for the head
- Add two floppy or pointed ears, dot eyes, and a nose
36. Fish
Fish have oval bodies with triangular fins and a tail. You can make them colorful and add scales with small curved lines. This subject is fun and kid-friendly.
Steps:
- Paint a blue background for water
- Use orange, yellow, or any bright color to paint an oval body
- Add triangle shapes for fins and tail, plus a dot for the eye
37. Turtles
Turtles have a rounded shell and a small head peeking out. You paint the shell in green or brown with a pattern of shapes. The slow, calm nature makes them a peaceful subject.
Steps:
- Paint a background (water or sand)
- Paint a large oval or circle for the shell in green or brown
- Add a small head, four legs, and a pattern of hexagons or circles on the shell
38. Butterflies
Butterflies have symmetrical wings on each side of a small body. You can paint each wing as a simple shape and add any colors or patterns you like. Symmetry makes this easier.
Steps:
- Paint a light background
- Paint a small dark line or oval in the center for the body
- Add matching wing shapes on each side using bright colors
39. Bees
Bees are round-bodied with black and yellow stripes. You add small wings and antennae. They’re cheerful and straightforward, perfect for practicing stripes and small details.
Steps:
- Paint a background (sky or flowers)
- Use yellow to paint an oval body
- Add black stripes across the body, small wings, and two thin antennae
40. Penguins
Penguins are black and white with orange feet and beaks. The rounded body shape is easy to paint. Their simple coloring makes them a quick, fun project.
Steps:
- Paint a light blue or white background for ice or snow
- Paint a black oval body with a white oval belly in the center
- Add a small orange triangle beak and two orange feet
41. Owls
Owls have large, round eyes and a compact body. You can paint them sitting on a branch. The big eyes and simple shape make them a popular beginner subject.
Steps:
- Paint a background (tree branch or night sky)
- Use brown or gray to paint a rounded body
- Add two large circles for eyes, a small triangle beak, and feather details with short strokes
42. Jellyfish
Jellyfish have a dome top with flowing tentacles below. You paint them in soft colors against a dark ocean background. The flowing shapes are relaxing and freeform.
Steps:
- Paint a dark blue or purple ocean background
- Paint a rounded dome shape at the top in pink, purple, or blue
- Add wavy, flowing lines below for tentacles
43. Whales
Whales are large curved shapes with a tail fin and sometimes a spout of water. You paint them in blues or grays. The simple outline makes them instantly recognizable.
Steps:
- Paint an ocean background in light blue
- Use dark blue or gray to paint a large curved body
- Add a tail fin at one end and a small water spout above if desired
44. Koi Fish
Koi fish have long, flowing bodies with fins and tails. You can paint them in orange, white, or red with simple patterns. They’re often shown swimming in water with ripples.
Steps:
- Paint a water background in light blue or green
- Use orange or red to paint a long oval body with a pointed face
- Add fins along the sides and back, plus a flowing tail
Abstract and Everyday Object Painting Ideas for Beginners
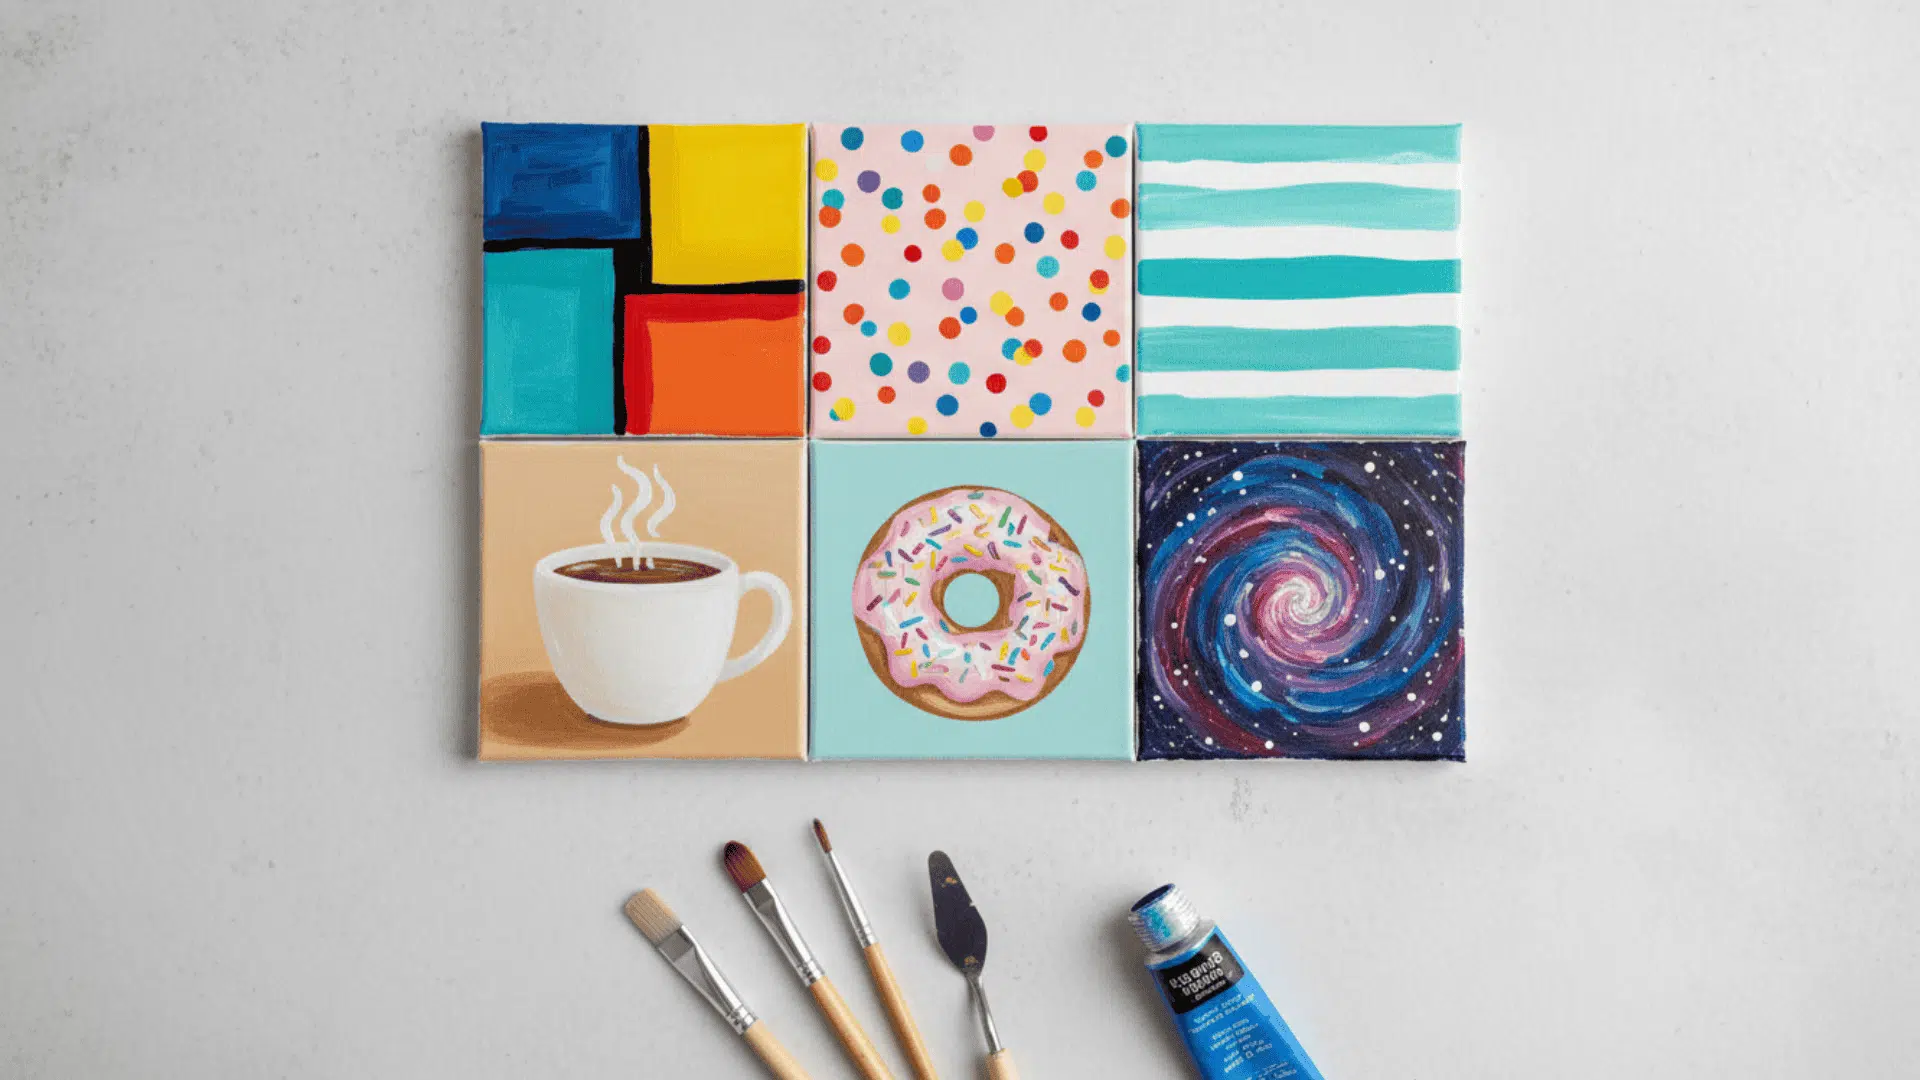
Abstract and everyday subjects give you freedom to experiment. These ideas help you focus on color, shape, and composition without worrying about making things look realistic.
45. Color Blocks
Color blocks are squares or rectangles painted in different colors. You arrange them in a grid or random pattern. This teaches you about color relationships and composition.
Steps:
- Divide your canvas into sections using light pencil lines
- Paint each section a different color
- Let colors stay bold or blend slightly where they meet
46. Geometric Shapes
Geometric paintings use circles, triangles, and squares arranged together. You can overlap them or keep them separate. This subject helps you practice clean edges and balance.
Steps:
- Lightly sketch shapes on your canvas with a pencil
- Paint each shape in a different color
- Fill in any background space with a neutral or contrasting color
47. Polka Dot Patterns
Polka dots are just circles repeated across the canvas. You can make them all the same size or vary them. Use a round object or brush tip to keep them consistent.
Steps:
- Paint a solid background color and let it dry
- Use a round brush, sponge, or bottle cap dipped in paint
- Press dots evenly across the canvas in a pattern or randomly
48. Stripes and Textures
Stripes are straight or wavy lines that repeat. You can paint them thick or thin, vertical or horizontal. Adding texture with a dry brush or sponge makes them more interesting.
Steps:
- Use painter’s tape to mark off stripe sections if you want clean edges
- Paint alternating stripes in different colors
- Remove tape while the paint is slightly wet for crisp lines
49. Abstract Galaxies
Abstract galaxies use dark backgrounds with splattered white stars and swirls of color. You don’t follow rules, blend purples, blues, pinks, and blacks. This is a stress-free project.
Steps:
- Paint a background mixing dark blue, purple, and black loosely
- Add swirls of lighter pink, blue, or teal using circular motions
- Splatter white paint with a toothbrush or flick it from a brush for stars
50. Simple Mandalas
Mandalas are circular patterns that repeat around a center point. You can paint them with simple dots and lines. The repetitive nature is calming and meditative.
Steps:
- Lightly draw a circle with a center point
- Paint small repeated shapes (dots, petals, lines) around the center in rings
- Keep adding layers of patterns, moving outward from the center
51. Checkerboards
A checkerboard is a grid of squares in alternating colors. You can use any two colors you like. This teaches you patience and precision with straight lines.
Steps:
- Use a ruler and pencil to draw a grid of squares
- Paint every other square in one color
- Fill the remaining squares with a second color
52. Coffee Mugs
Coffee mugs are simple cylinder shapes with a handle. You can add steam lines above and place them on a flat surface. This everyday object is instantly relatable.
Steps:
- Paint a background color
- Use any color to paint a mug shape (a rounded rectangle with a curved handle)
- Add a few wavy white lines above for steam
53. Donuts
Donuts are circles with smaller circles cut out of the center. You paint them in fun colors and add sprinkles or frosting. They’re playful and easy to customize.
Steps:
- Paint a background color
- Paint a circle in brown, pink, or tan
- Add frosting on top with a different color and tiny lines or dots for sprinkles
54. Book Stacks
Book stacks are rectangles piled on top of each other at slightly different angles. You can paint the spines in various colors. This subject is cozy and simple.
Steps:
- Paint a background color
- Paint a horizontal rectangle for the first book
- Add more rectangles stacked above it, each in a different color
55. Fruit Sets
Fruits like apples, oranges, and bananas are simple, rounded shapes. You can paint a few together as a still life. The basic forms help you practice highlights and shadows.
Steps:
- Paint a neutral background
- Paint round or oval shapes for fruit in reds, oranges, or yellows
- Add a small white highlight on each fruit and a darker shadow underneath
Final Touches
You now have things to paint easily that remove the guesswork from your practice sessions. Start with subjects that excite you most, not what seems “correct” or impressive.
Your first ten paintings will teach you more than any tutorial video. Focus on finishing pieces instead of making them perfect.
Progress happens when you keep showing up with your brush, even when results feel messy.
Pick one idea from this list today and paint it. Don’t wait for the right mood or better supplies. Set a timer for 20 minutes and start.
Share your work in the comments below or tell us which painting idea you’re trying first. We’d love to see what you create.