Store-bought puffy paint costs too much and runs out way too fast. Plus, who knows what chemicals are actually in those bottles?
Making your own puffy paint at home is cheaper, safer, and honestly more fun. You probably have everything you need sitting in your kitchen right now.
In this guide, you’ll learn what puffy paint is, four different recipes to try, step-by-step instructions for each method, and how to fix common problems.
We’ll also cover safety tips, cleanup hacks, and the best surfaces to paint on. Let’s get started.
What Is Puffy Paint?
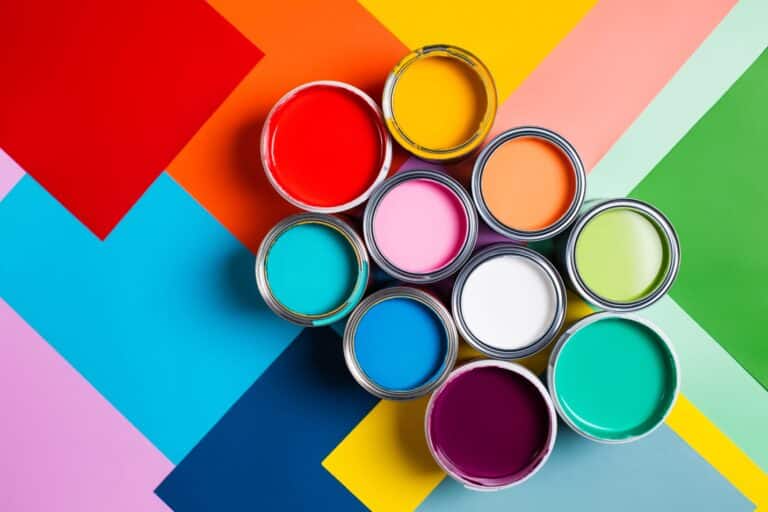
Puffy paint is a homemade craft paint that puffs up when it dries or gets heated. It creates a raised, 3D texture on surfaces. You can make this paint at home using simple kitchen ingredients.
The paint feels soft and spongy after it dries. Kids love using it because it adds dimension to their artwork. A basic puffy paint recipe includes glue, shaving cream, and food coloring.
The paint works on paper, cardboard, fabric, and wood. It’s safe, non-toxic, and easy to clean up. Many parents prefer homemade versions over store-bought options.
Common Uses for Puffy Paint
- Decorating t-shirts and fabric bags: Add custom designs that stand out and have a textured feel.
- Creating greeting cards: Make birthday or holiday cards more special with raised letters.
- Kids’ art projects: Let children make colorful paintings with a fun, puffy texture.
- Window decorations: Draw seasonal designs that peel off easily without damage.
- Sensory play activities – Help young kids learn through touch and creative play.
Puffy paint works well for craft projects at home or in classrooms. Teachers use it for art lessons because it keeps kids engaged. Parents enjoy making it because the ingredients are already in most kitchens.
The paint dries quickly and doesn’t need special equipment. You can store leftover paint in airtight containers for later use. It’s perfect for rainy day activities when kids need something fun to do.
How to Make Puffy Paint
Creating your own puffy paint recipe at home takes just a few minutes and basic supplies. Follow this simple guide to make colorful, textured paint that kids will love using for their craft projects.
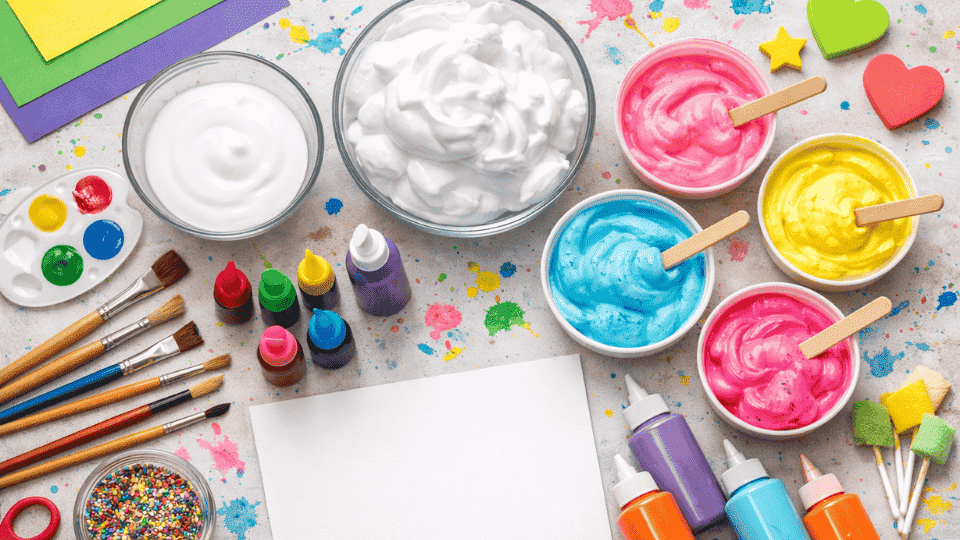
Materials & Supplies
Making your own puffy paint is simple with the right supplies. Most ingredients are already in your kitchen pantry or bathroom cabinet.
| Item | Amount | Purpose |
|---|---|---|
| White school glue | 1 cup | Base ingredient that holds everything together |
| Shaving cream | 1 cup | Creates the puffy, raised texture |
| Food coloring | Few drops | Adds color to your paint |
| Mixing bowl | 1 medium | For combining all ingredients |
| Spoon or whisk | 1 | To mix the paint smoothly |
| Small containers | 3-4 | For dividing paint into different colors |
Step-by-Step Guide
Step 1:Pour the glue. Add 1 cup of white school glue to your mixing bowl.
Step 2: Add shaving cream – Squeeze in 1 cup of shaving cream over the glue.
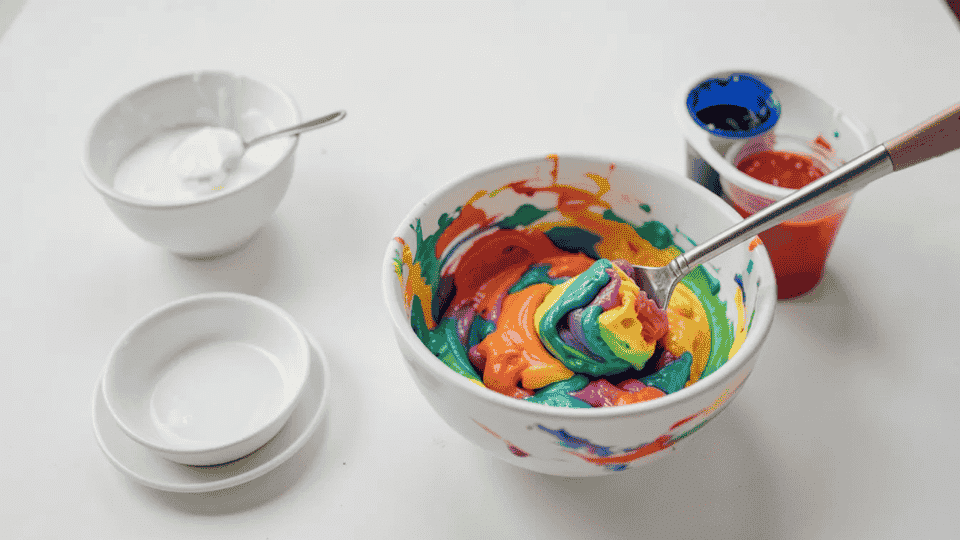
Step 3: Mix together – Stir gently until both ingredients blend into a fluffy mixture.
Step 4: Divide the mixture – Spoon the white mixture into separate small containers.
Step 5: Add color – Drop food coloring into each container and mix well.
Step 6: Start painting – Use brushes, squeeze bottles, or fingers to apply the paint.
Step 7: Let it dry – Leave your artwork flat for 4-6 hours until completely dry.
4 Puffy Paint Recipes With Variations
There are several ways to make a puffy paint recipe at home, depending on what you have available. Each version offers different textures and effects that work well for various craft projects.
1. Classic Puffy Paint Recipe
This traditional puffy paint recipe is the easiest method that works every time. You only need three basic ingredients that most homes already have in stock.
Ingredients
| Item | Amount |
|---|---|
| White school glue | 1 cup |
| Shaving cream (foam type) | 1 cup |
| Food coloring or liquid watercolors | Few drops |
Step-by-Step Instructions
Step 1: Pour one cup of white school glue into a clean mixing bowl.
Step 2: Add one cup of shaving cream directly on top of the glue.
Step 3: Gently mix the two ingredients with a spoon until you get a smooth, fluffy texture.
Step 4: Divide the white mixture into small containers or cups for different colors.
Step 5: Add three to four drops of food coloring to each container and stir well.
Step 6: Apply the paint to your surface using brushes, squeeze bottles, or cotton swabs.
Step 7: Let your finished project dry flat in a safe spot for four to six hours.
Best For: Everyday painting & sensory fun
This classic version works perfectly for daily craft activities with kids of all ages. The texture is soft and thick, making it easy to control and fun to touch.
2. Glitter Puffy Paint
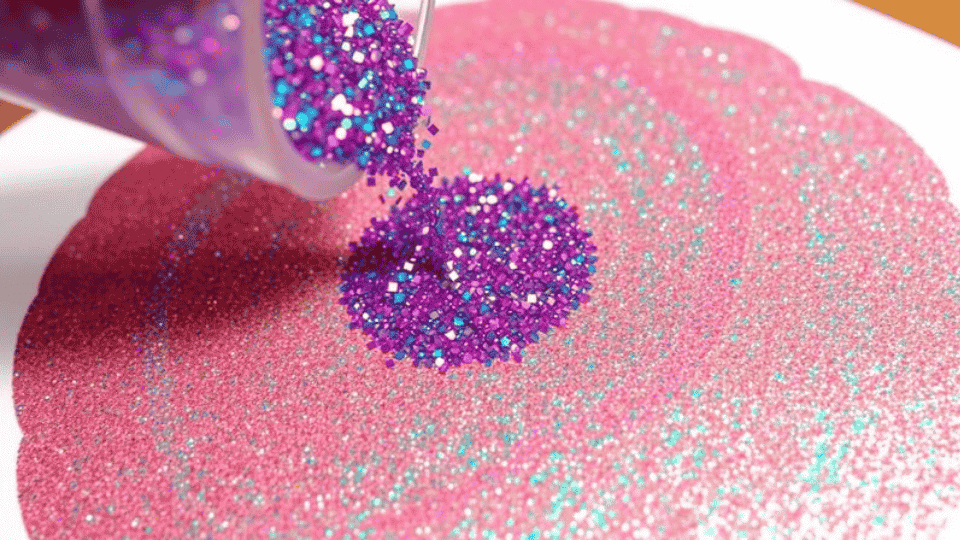
Add some sparkle to your standard puffy paint recipe by mixing in glitter for special projects. This version keeps the same fluffy texture but adds shine that catches the light beautifully.
Ingredients
| Item | Amount |
|---|---|
| Classic puffy paint base (glue + shaving cream) | 1 batch |
| Fine craft glitter | 1-2 tablespoons per color |
| Extra glue (if needed) | 1-2 tablespoons |
Step-by-Step Instructions
Step 1: Make one full batch of the classic puffy paint recipe following the basic method.
Step 2: Divide your prepared paint into separate small containers for each color you want to make.
Step 3: Add 1 to 2 tablespoons of fine craft glitter to each paint container.
Step 4: Stir the glitter into the paint slowly and gently to avoid clumping or uneven spots.
Step 5: Add one to two extra tablespoons of glue if the mixture feels too thick to spread.
Step 6: Test your sparkle paint on a piece of scrap paper first to check the shine level.
Step 7: Apply the glitter paint to your project and let it dry completely for six to eight hours.
Best For: Special occasion crafts
Perfect for birthday cards, holiday decorations, or party crafts that call for extra sparkle. Use fine glitter for smoother application and store leftovers in airtight jars.
3. Microwave Puffy Paint
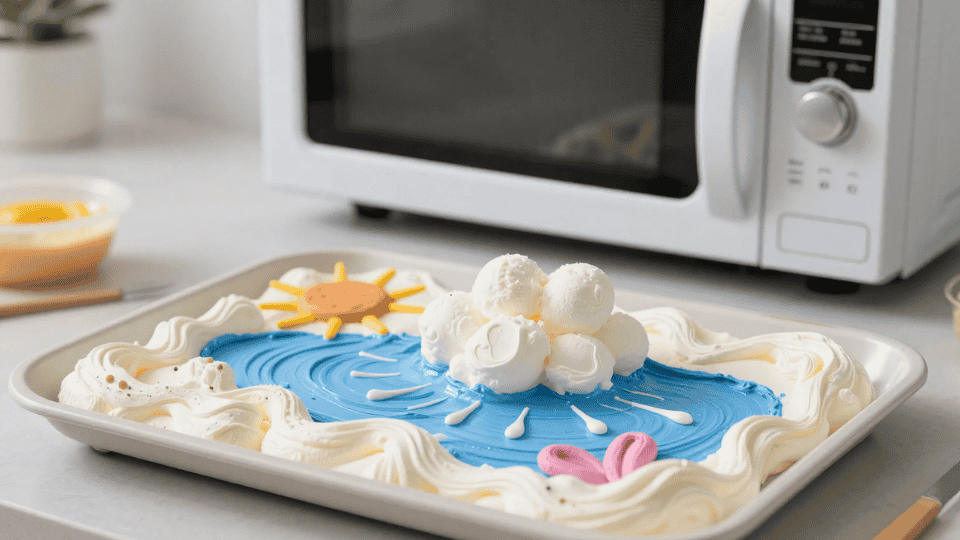
This flour-based puffy paint recipe creates an exciting effect when microwaved for a few seconds. The paint expands dramatically, giving kids a fun science lesson along with their art project.
Ingredients
| Item | Amount |
|---|---|
| All-purpose flour | 3 tablespoons |
| Salt | 1 tablespoon |
| Water | 3 tablespoons |
| Food coloring | Few drops |
| Small squeeze bottles or zip bags | One per color |
Step-by-Step Instructions
Step 1: Mix three tablespoons of flour and one tablespoon of salt together in a small bowl.
Step 2: Add three tablespoons of water slowly to the dry mixture and stir until completely smooth.
Step 3: Divide the thick paste into separate cups or bowls for each color you plan to make.
Step 4: Add several drops of food coloring to each cup and mix thoroughly until the color is even.
Step 5: Pour each colored paint into small squeeze bottles or plastic bags with the corner tips cut off.
Step 6: Draw your designs on thick cardboard or microwave-safe paper plates using the squeeze bottles.
Step 7: Place the artwork in the microwave on high for 20 to 30 seconds, and watch it puff up.
Best For: Science experiments and wow-factor projects
Kids love watching the paint rise and expand in the microwave. Always supervise children and let the surface cool completely before touching.
4. No-Glue Puffy Paint
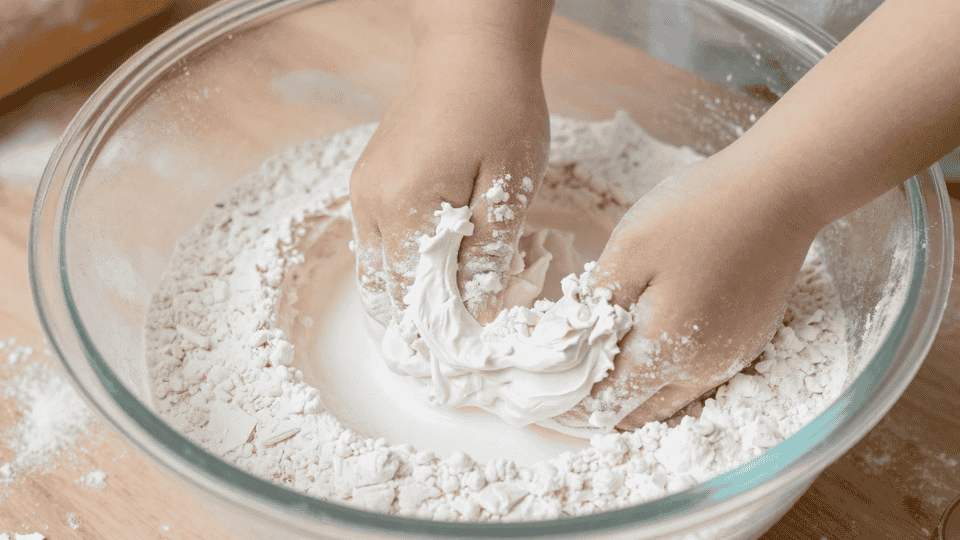
Make a safer puffy paint recipe without glue for very young children or toddlers. This version uses only edible ingredients, making it worry-free if little ones accidentally taste it.
Ingredients
| Item | Amount |
|---|---|
| Self-rising flour | 1 cup |
| Baking soda | 1 teaspoon |
| Water | 1 cup |
| Food coloring or natural dye | Few drops |
| Salt (optional, helps preserve) | 1 teaspoon |
Step-by-Step Instructions
Step 1: Pour one cup of self-rising flour into a medium-sized mixing bowl as your base ingredient.
Step 2: Add 1 teaspoon each of baking soda and salt to the flour, then mix all the dry ingredients together.
Step 3: Slowly pour in one cup of water while stirring constantly to prevent lumps from forming in the mixture.
Step 4: Keep mixing until you achieve a smooth, pancake-batter consistency throughout the bowl.
Step 5: Split the white paint mixture into different small containers so you can make multiple colors at once.
Step 6: Stir several drops of food coloring into each container until each color reaches the shade you want.
Step 7: Paint your design on paper or cardboard and let it air dry in a safe place for eight to twelve hours.
Best For: Toddler-safe crafts and peace of mind
This no-glue version is perfect for very young children since all ingredients are food-safe. It takes longer to dry but offers parents peace of mind during craft time.
Safety Tips & Easy Clean-Up for Puffy Paint Projects
Working with a puffy paint recipe is fun, but you’ll need a few helpful tips first. These simple guidelines will keep craft time safe and stress-free for everyone involved.
- Safety First: Most puffy paint recipes use non-toxic ingredients, but always supervise young children during craft time.
- How to Protect Clothing & Surfaces: Cover your work area with newspapers or plastic tablecloths and dress kids in old clothes or smocks.
- How to Wash Off Puffy Paint: Rinse fresh paint with warm water and soap immediately, or soak dried paint before scrubbing gently.
- Storing Leftovers: Store leftover paint in airtight containers in the refrigerator for up to one week maximum.
Troubleshooting Common Puffy Paint Problems
Sometimes your puffy paint recipe might not turn out exactly as expected on the first try. Here are quick fixes for the most common issues you might face while making or using puffy paint.
| Problem | Solution |
|---|---|
| Too Runny or Too Thick? | Add more shaving cream if it’s too runny, or more glue if it’s too thick, one tablespoon at a time. |
| Paint Not Puffing Up | Make sure you’re using foam shaving cream, not gel, and let it dry completely for at least 6 hours. |
| Colors Too Pale — How to Improve Pigment | Use gel food coloring instead of liquid, or add more drops until you reach the desired brightness. |
| Surface Choice Tips (best paper/canvas) |
Use thick cardstock, canvas, or cardboard instead of thin paper, which may wrinkle or tear when wet. |
Is homemade puffy paint safe?
Yes, most homemade puffy paint recipes are safe when made with non-toxic ingredients like school glue and shaving cream.
Always check the labels on your supplies to make sure everything is marked non-toxic before starting. Young children should have adult supervision during craft time to prevent accidental ingestion.
The no-glue version made with flour and water is the safest option for toddlers, since all ingredients are edible. Avoid using spray shaving cream that contains harsh chemicals or strong fragrances.
If anyone has sensitive skin or allergies, test a small amount on their arm first. Overall, homemade puffy paint is much safer than many store-bought craft paints, which often contain unknown chemicals.
Final Thoughts
Making your own puffy paint recipe at home is simple, affordable, and safe for kids. You can choose from four different methods depending on what ingredients you have available.
The classic version with glue and shaving cream works great for everyday crafts.
Try the glitter version for special occasions or the microwave method for a fun science experiment. The no-glue recipe is perfect for toddlers who might taste the paint.
Start with the basic ingredient recipe today and see how easy it is. Your kids will love the soft, puffy texture, and you’ll love saving money. Share your puffy paint creations with us in the comments below.