That strip of putty around your window glass isn’t just for looks. It keeps rain out, seals out cold air, and holds the glass firmly in place. When it cracks or starts falling off, things go wrong fast.
Glazing a window might sound like a contractor’s job. It is not. With the right putty, a steady hand, and some practice, this is something you can do on a weekend.
This guide covers every step, from removing old compound to getting clean, straight glazing lines.
You will also learn which putty actually works, what to skip, and when calling a professional makes more sense.
What Does It Mean to Glaze a Window?
The word “glazing” gets used in a few different ways. It can refer to the glass itself, the putty compound that seals it inside the frame, or the process of installing both.
Most homeowners searching for this topic want to know about the putty, specifically how to replace it when it cracks, shrinks, or falls off.
Glazing is not the same as caulking. Caulk is not a proper substitute for glazing compound around glass panes.
The right material is a proper glazing putty, and choosing the correct type for your window makes all the difference.
Types of Glazing Putty: Which One Should You Use?
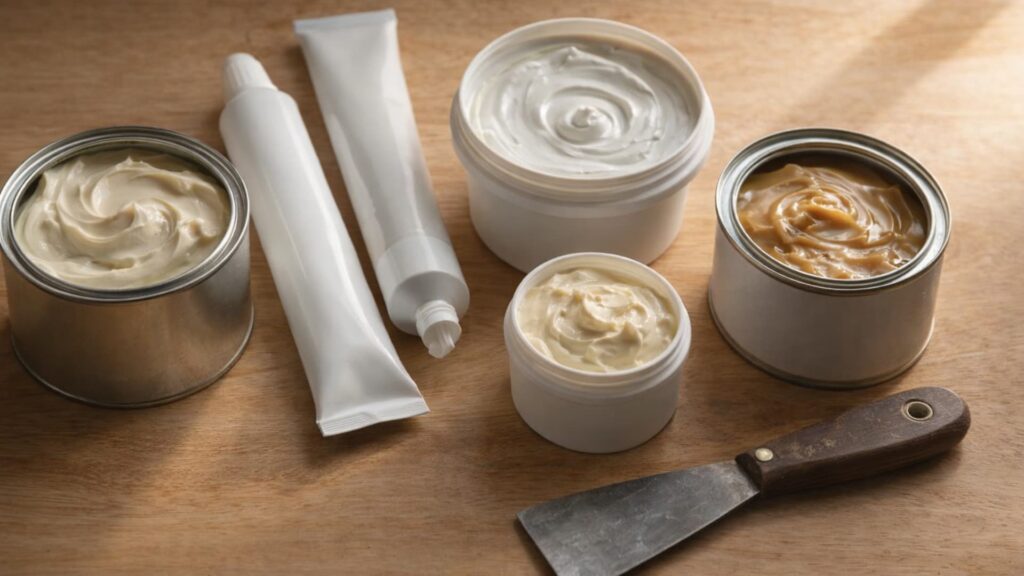
Not all glazing putty is the same. The type of window you have and how soon you need to paint will determine which compound is right for the job.
| Putty Type | Best For | Drying Time Before Paint | Notes |
|---|---|---|---|
| Linseed Oil Putty | Wood windows | 2 to 4 weeks | Long-lasting, preferred by restoration experts |
| DAP 33 | Wood windows | 7 to 10 days | Widely available but tricky to work with |
| Sarco Type-M | Wood windows, shop work | About 7 days | Easier to apply, good for beginners |
| Sarco Dual Glaze | Wood windows, in-place work | 2 to 3 weeks | Gives more working time before painting |
| Latex Glazing Compound | Wood or metal frames | 3 to 7 days | Cleans up with water, good for quick jobs |
| Steel or Aluminum Putty | Metal window frames | Varies by brand | Do not use wood putty on metal frames |
Signs Your Window Needs Reglazing
Window glazing does not fail all at once. It shows clear warning signs before it completely gives way.
- Cracked or chipped putty: Cracks along the putty line mean it has dried out and lost its seal.
- Gaps between the glass and the frame: Any visible gap allows air and water to enter the home.
- Cold drafts near the glass: A chill near a closed window often means the compound has failed.
- Water getting in during rain: Missing or loose putty lets rainwater seep into the wood frame.
- Paint peeling near the window edge: Moisture from a broken seal causes paint to bubble and peel.
- Glass that moves when pressed: The glass should be firm and still. Movement means the putty is gone.
Tools and Materials You Need Before You Start
Having the right tools before you start saves a lot of time and frustration. Here is a clear list of everything you will need for this job.
| Category | Item | Purpose |
|---|---|---|
| Tools | Putty knife (flexible or bent) | Applying and shaping the glazing compound |
| Tools | Heat gun | Softening stubborn old putty for removal |
| Tools | Paint scraper | Removing loose old glazing compound |
| Tools | Utility knife | Scoring and cutting old putty cleanly |
| Tools | Glazing point tool or screwdriver | Pressing glazing points into the frame |
| Tools | Leather gloves and safety glasses | Protection during glass and putty work |
| Materials | Glazing putty or compound | The main sealing material for the glass |
| Materials | Glazing points or spring clips | Securing the glass in the frame |
| Materials | Oil-based primer | Sealing bare wood before applying putty |
| Materials | Whiting powder (chalk dust) | Cleaning oil residue off the glass after glazing |
| Materials | Mineral spirits | Cleaning tools and glass when using oil-based putty |
| Materials | Replacement glass (if needed) | Replacing a broken or cracked pane |
How to Glaze a Window: Step-by-Step Guide

The process of glazing a window is straightforward once you know the order of each step. Take it one step at a time, and the results will speak for themselves.
Step 1: Remove the Old Glazing and Prepare the Frame
Take out the sash if possible and lay it flat on a workbench. Use a putty knife and paint scraper to chip away all old, loose compound. For putty that will not budge, use a heat gun.
Hold it close until the putty softens, then scrape it out. Pull out the old glazing points with pliers. Once the frame is clear, sand any rough spots and apply an oil-based primer to the bare wood. Let it dry fully.
This step prevents the wood from pulling oil out of the new putty too quickly, which can cause early cracking.
Step 2: Knead the Putty and Apply Back Bedding
Take your glazing putty out of the can and work it in your hands like dough. Keep kneading until it is soft, smooth, and warm. Cold or stiff putty is hard to work with and does not bond properly.
If dried skin has formed on top of the putty in the can, scrape it off and throw it away. Do not mix it back in. Once ready, roll the putty into a thin rope and press it into the frame groove where the glass will sit.
This layer is called back bedding. It cushions the glass and creates an airtight seal at the base.
Step 3: Set the Glass and Secure the Glazing Points
Press the glass pane into the putty bed with firm, even pressure around the edges. Some putty will squeeze out on the inside of the frame. That is completely normal.
Push glazing points into the wood frame using a putty knife. Use one point per side, plus one extra for every 12 inches of glass size. For metal frames, use spring clips instead.
Once the points are in, scrape the excess putty off the inside of the glass. It should sit flat and clean.
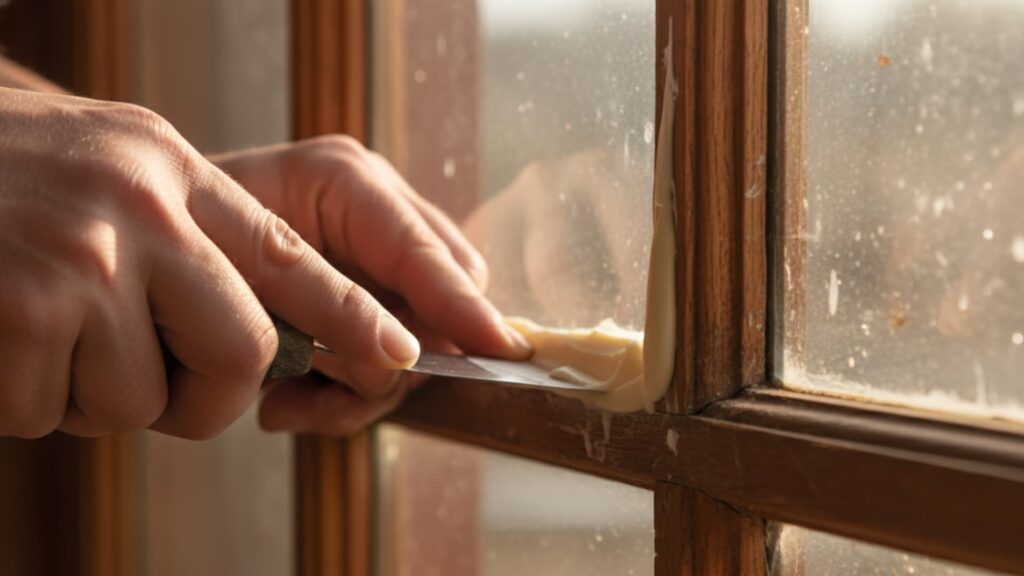
Step 4: Apply the Finish Glaze
Roll a rope of putty and press it along each side of the glass. Fill the joint between the glass and the frame fully. Hold your putty knife at a 45-degree angle.
Draw it along the putty in one smooth stroke with steady pressure. This creates the angled line that sheds water away from the glass. Keep the line one-sixteenth to one-eighth of an inch back from the interior edge.
This keeps it hidden from the inside. Finish the corners last and shape them to a clean, sharp mitered point.
Step 5: Clean, Let It Cure, and Paint
Right after glazing, apply whiting powder to the glass to absorb any oil left behind by the putty. Wipe it off cleanly. Do not wait until the end of the day.
Turn the sash around and check every side from the inside. The putty should not be visible at all from the interior. If you can see it, reduce that line a little. Once you are satisfied, leave the putty to cure.
Do not apply primer over it. Topcoat with paint once it is ready. Make sure the paint overlaps slightly onto the glass edge to fully seal the putty.
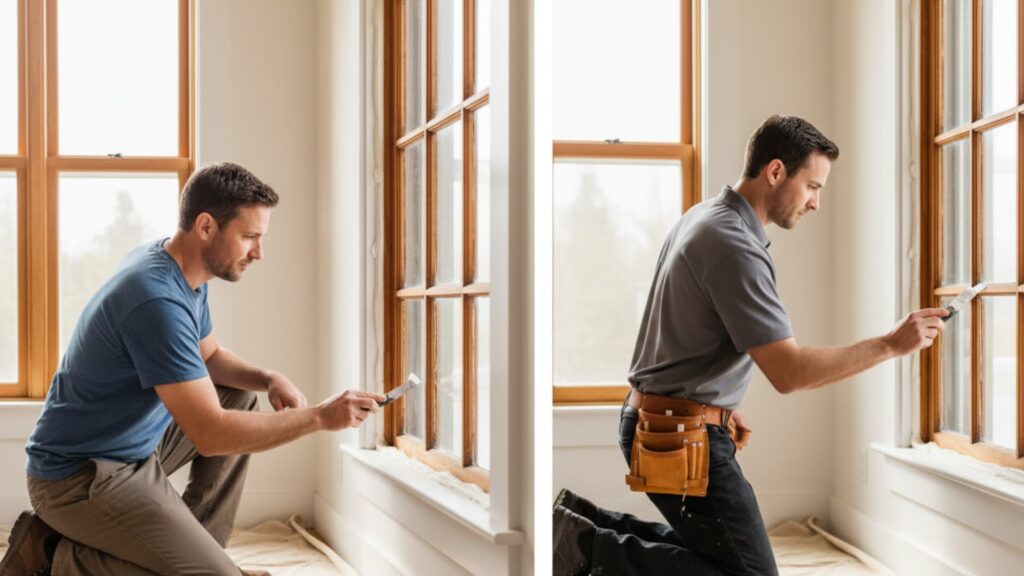
How to Glaze a Window In Place?
Glazing a window in place, without removing it from the frame, follows the same basic steps but on a vertical surface. Use a bent glazier’s knife for better control at awkward angles.
Apply whiting powder using a cloth pressed flat against the glass rather than dusting it on. Check the glazing line from inside the house after each side you complete.
In-place work takes more patience, but it is a practical option when the window cannot be safely removed.
DIY vs. Hiring a Professional: What Makes More Sense?
Most homeowners can glaze a window themselves. But there are situations where hiring someone with experience is the smarter call.
| Factor | DIY | Hire a Professional |
|---|---|---|
| Cost | Lower upfront cost | Higher cost, but often includes a warranty |
| Skill needed | Basic comfort with hand tools | No skill required from the homeowner |
| Glass replacement | Risky without practice | A professional will cut and fit the glass |
| Time | 15 minutes to several hours per pane | Faster with years of experience |
| Window type | Best for simple single-pane wood windows | Better for large, historic, or metal-framed windows |
| Mistakes | Putty can be scraped off and redone | Errors are handled by the contractor |
| Warranty | No financial protection for DIY work | Most professional installs come with a warranty |
Pro Tips for Clean and Long-Lasting Results
Getting the basics right is one thing. These small details are what separate a neat, lasting glaze job from one that starts cracking within a year.
- Use fresh putty: Putty open for more than three to four months has likely separated and should be replaced.
- Work at room temperature: Cold putty does not soften properly, even after kneading.
- Keep lines small: A smaller line looks cleaner and stays invisible from inside the window.
- Clean oil off the glass right away: Waiting until the end of the day makes this step far harder.
- Skip primer on the putty: Apply only the topcoat paint directly over the cured putty.
- Store extra putty in the freezer: This extends shelf life from a few months to about a year.
- Check every side from the inside: The putty line should not be visible when looking through the glass from indoors.
- Shape corners last: Sharp, mitered corners are the mark of a clean glazing job.
How Long Does Window Glazing Last?
When done correctly with the right putty and proper paint coverage, window glazing can last 30 to 40 years.
The key factors are using a quality compound, keeping lines clean and fully packed, and making sure the paint overlaps slightly onto the glass to protect the putty edge from water.
Skipping the paint step or painting too soon significantly shortens the life of the glaze.
Conclusion
Glazing a window is one of those jobs that look harder than they are. Once you understand what the putty does and how to apply it correctly, the whole process makes complete sense.
The difference between a good glazing job and a poor one comes down to three things. Use the right putty, keep lines clean, and be patient with the curing time. Get those right, and the results will last for decades.
If this is your first time, start with one small pane. Practice the angle, check from the inside, and build from there.
Have you glazed a window before, or are you about to try it for the first time? Drop a comment below and let us know how it went.
Frequently Asked Questions
What Is the Easiest Way to Glaze a Window?
Remove the old compound, prime the bare wood, and press fresh putty into the frame with a putty knife held at a 45-degree angle. Using warm, well-kneaded putty and a quality glazier’s knife makes the job far easier for a first-timer.
Is It Better to Caulk or Glaze Windows?
Glaze, every time. Caulk is not a proper substitute for glazing compound around glass panes. Glazing putty bonds to both glass and wood, sheds water, and lasts for decades when applied and painted properly.
Can You Glaze Your Own Windows?
Yes, most homeowners can glaze a single-pane wood window themselves. It takes basic hand tools, the right putty, and some patience. The process does have a learning curve, but any mistakes can be scrapped and redone.
How Do They Glaze Windows?
Professionals press putty into the frame groove, set the glass on a bed of compound, secure it with glazing points, then tool a clean, angled line of putty along each side of the glass. The finish is then left to cure before a coat of paint seals it completely.