
Your yard is the first thing people see. Yet so many homeowners leave it ignored, not because they don’t care, but because they think fixing it takes a lot of money or skill. It doesn’t.
Good yards don’t need a landscaper on speed dial or a big renovation budget. With the right simple landscaping ideas, you can go from a dull patch of grass to a space you actually want to spend time in.
This guide gives you practical, budget-friendly ideas, step by step, so you know exactly where to start and what to do next.
Before You Start: How to Plan Your Yard
Jumping straight into buying plants or laying stones is one of the most common and costly mistakes homeowners make. A little planning upfront saves you time, money, and a lot of frustration later.
| Step | What to Do | Why It Matters |
|---|---|---|
| Observe your yard | Spend a day watching where sunlight hits and where water collects | Helps you pick the right plants for the right spots |
| Sketch it out | Draw your yard on paper before buying anything | Easier to move lines on paper than dig up planted beds |
| Set a budget | Decide your total spend before visiting a nursery | Stops overspending and keeps the project realistic |
| Know your zone | Look up your USDA Hardiness Zone online | Tells you which plants will survive your local winters |
Start with one afternoon of observation before spending a single dollar. Walk your yard; note the wet patches, the dry corners, and where the sun actually falls. That one step saves you from the single biggest landscaping mistake: planting the wrong thing in the wrong spot.
25 Simple Landscaping Ideas
From low-maintenance plants to creative design tricks, here’s how you can bring your backyard vision to life.
1. Plant Perennials That Come Back Every Year
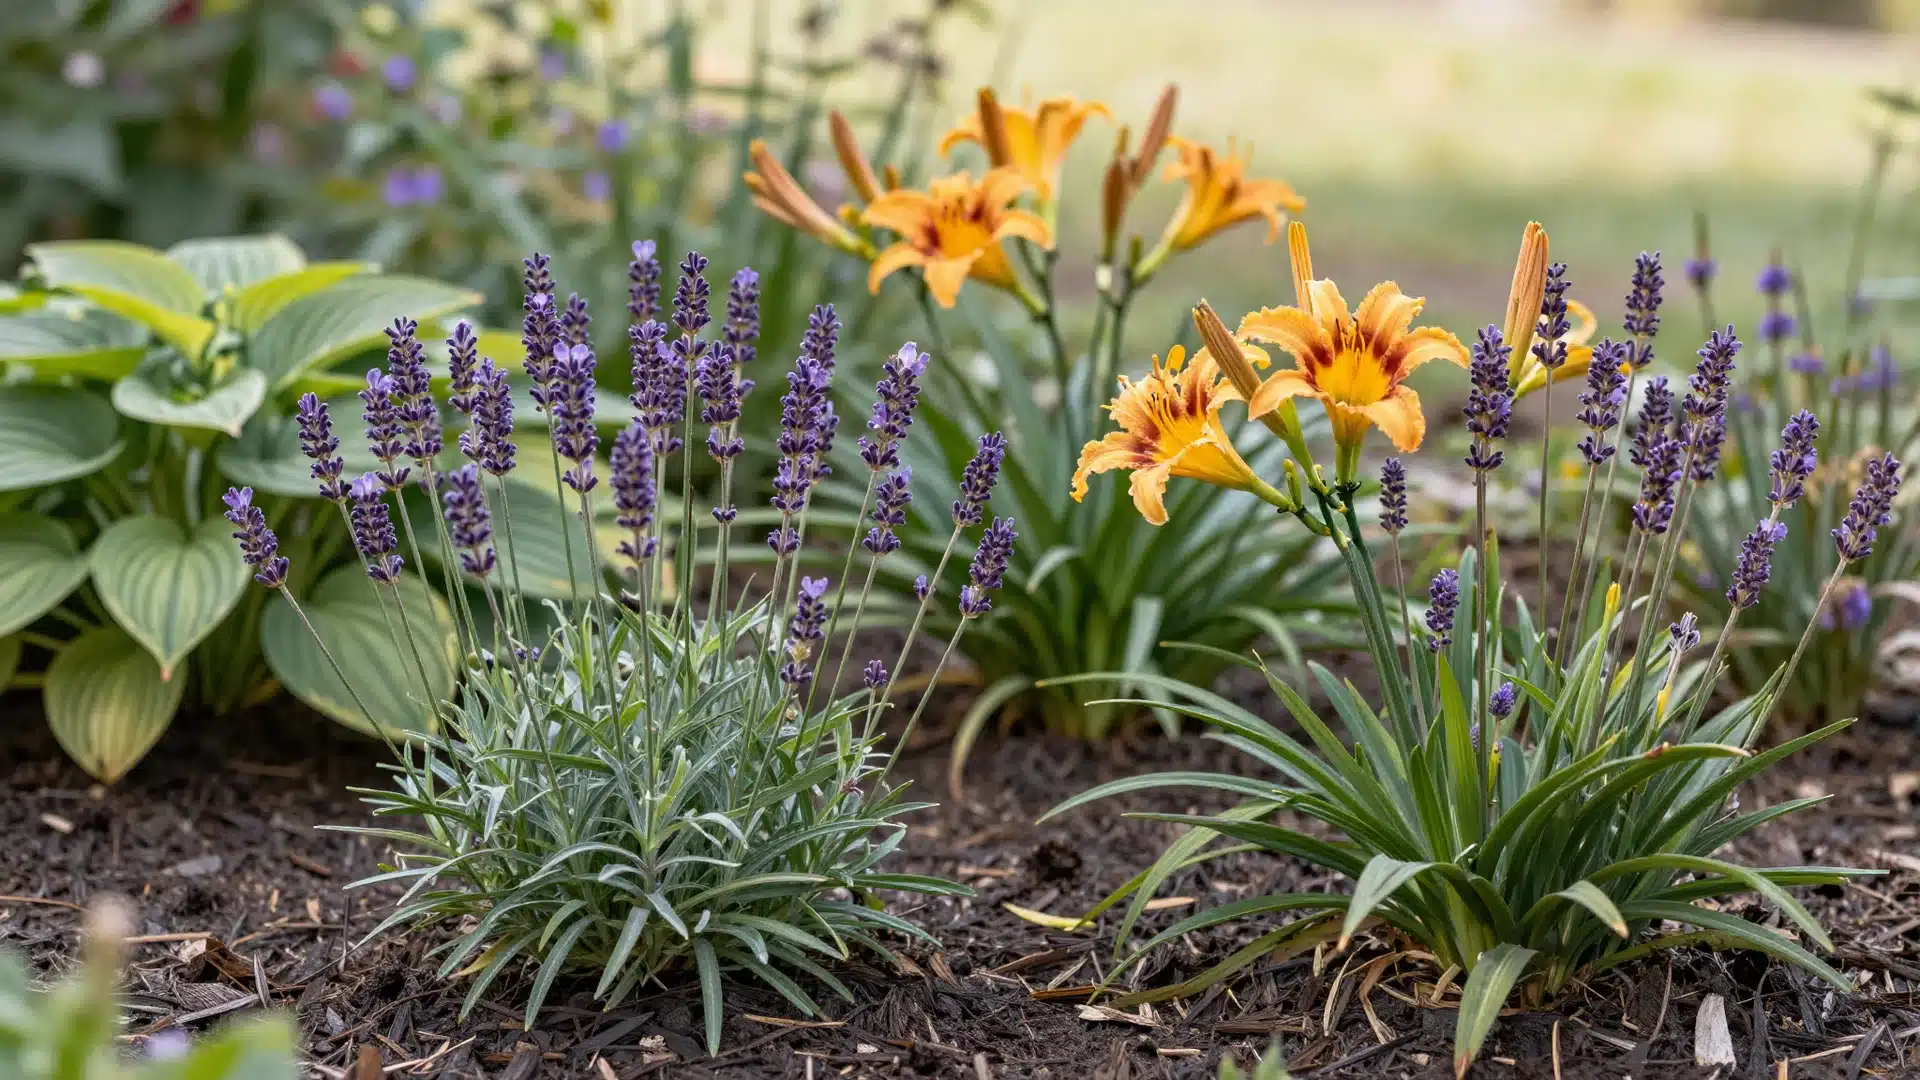
Alt Text: A vibrant garden bed featuring purple lavender spikes, yellow daylilies, and lush green hostas.
Perennials regrow each spring without replanting. Lavender, hostas, daylilies, and coneflowers are solid, low-effort picks that give you color season after season.
- Step 1: Choose perennials suited to your sunlight level (full sun, partial shade, or full shade).
- Step 2: Dig holes twice the width of the root ball and plant in clusters of 3 or 5.
- Step 3: Water thoroughly after planting, then add 2 to 3 inches of mulch around the base.
- Step 4: Cut plants back in fall or early spring. Most take care of themselves from there.
2. Add Mulch Around Flower Beds and Trees
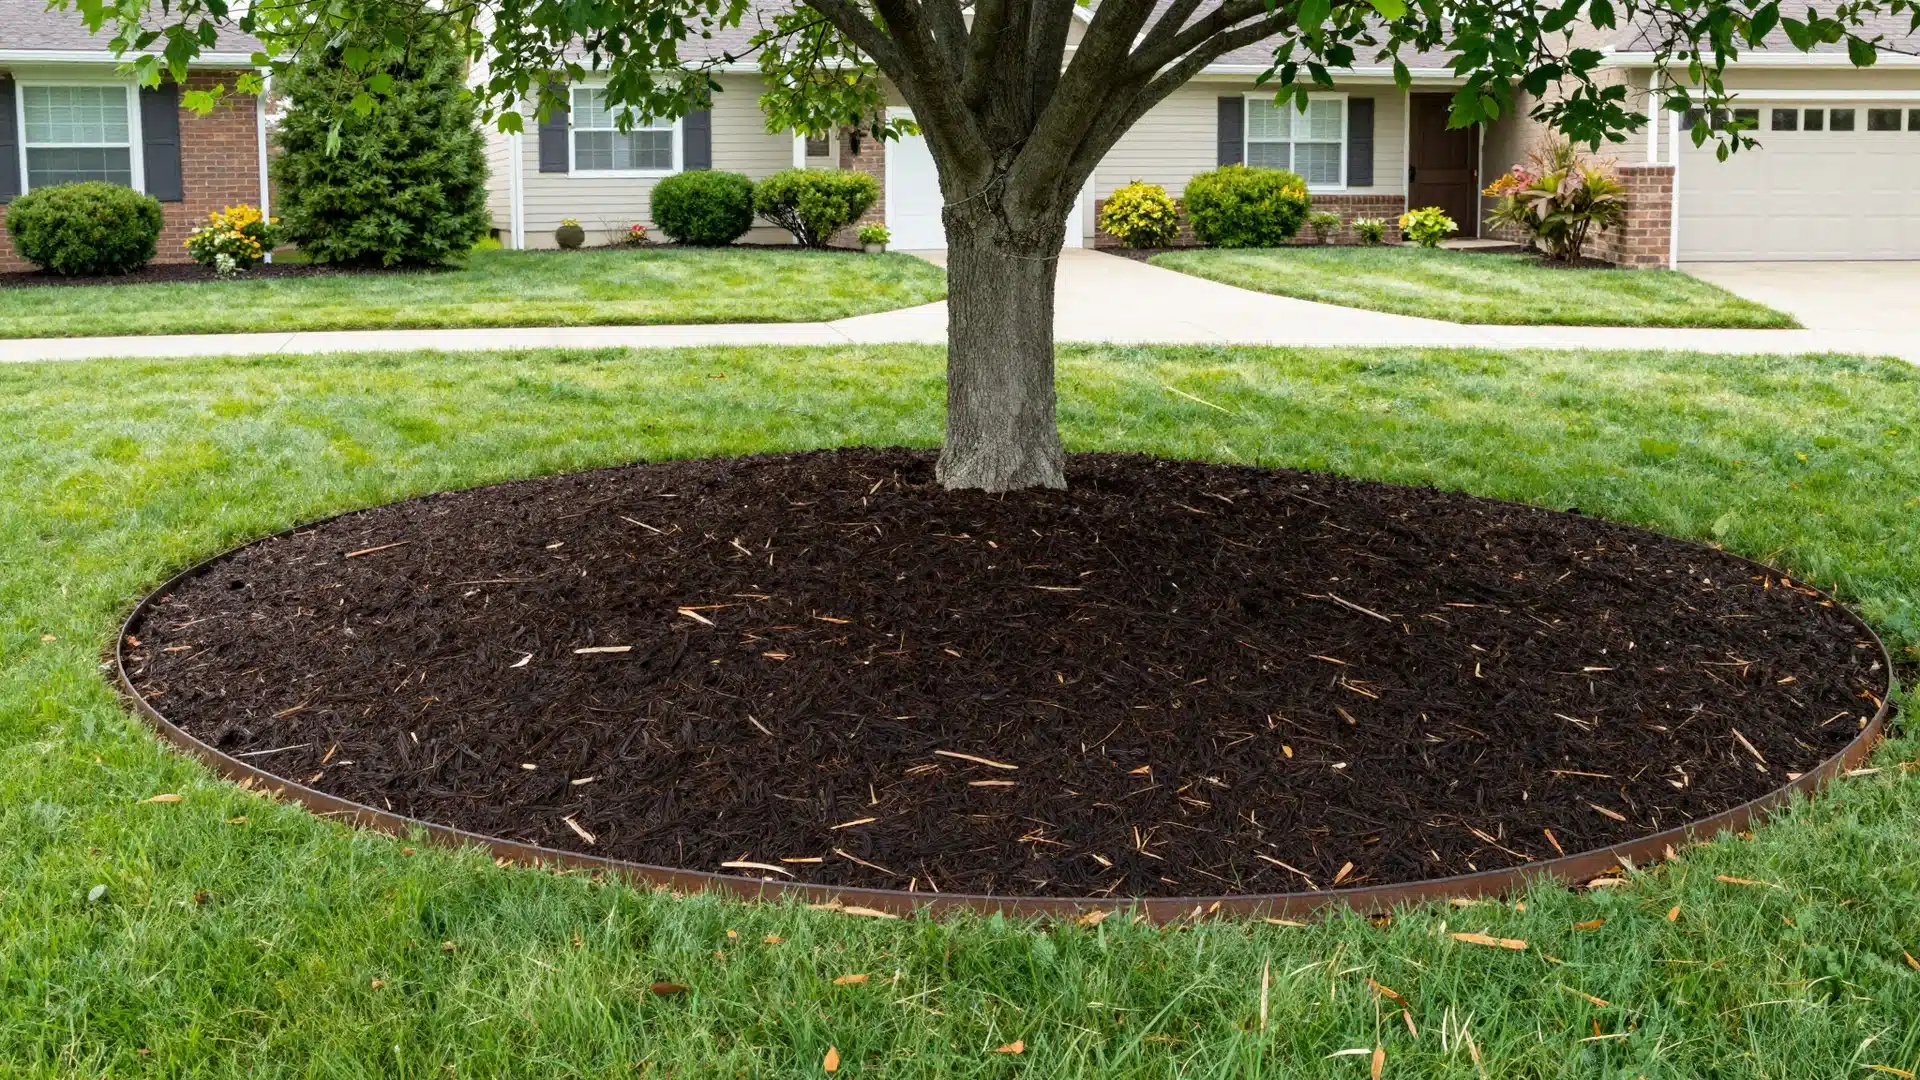
Alt Text: A freshly mulched garden bed with dark wood chips surrounding small green plants and a large tree base.
Mulch holds moisture, blocks weeds, and gives beds a clean, finished look. Wood chips, shredded bark, and pine needles all work well.
- Step 1: Clear the bed of weeds by hand or with a hoe.
- Step 2: Pick a mulch color that complements your home. Cedar is popular for its reddish tone.
- Step 3: Spread mulch 2 to 3 inches deep, keeping it a few inches away from plant stems.
- Step 4: Add stone or metal edging around the bed to give it a sharp, defined border.
3. Build a Simple DIY Walkway
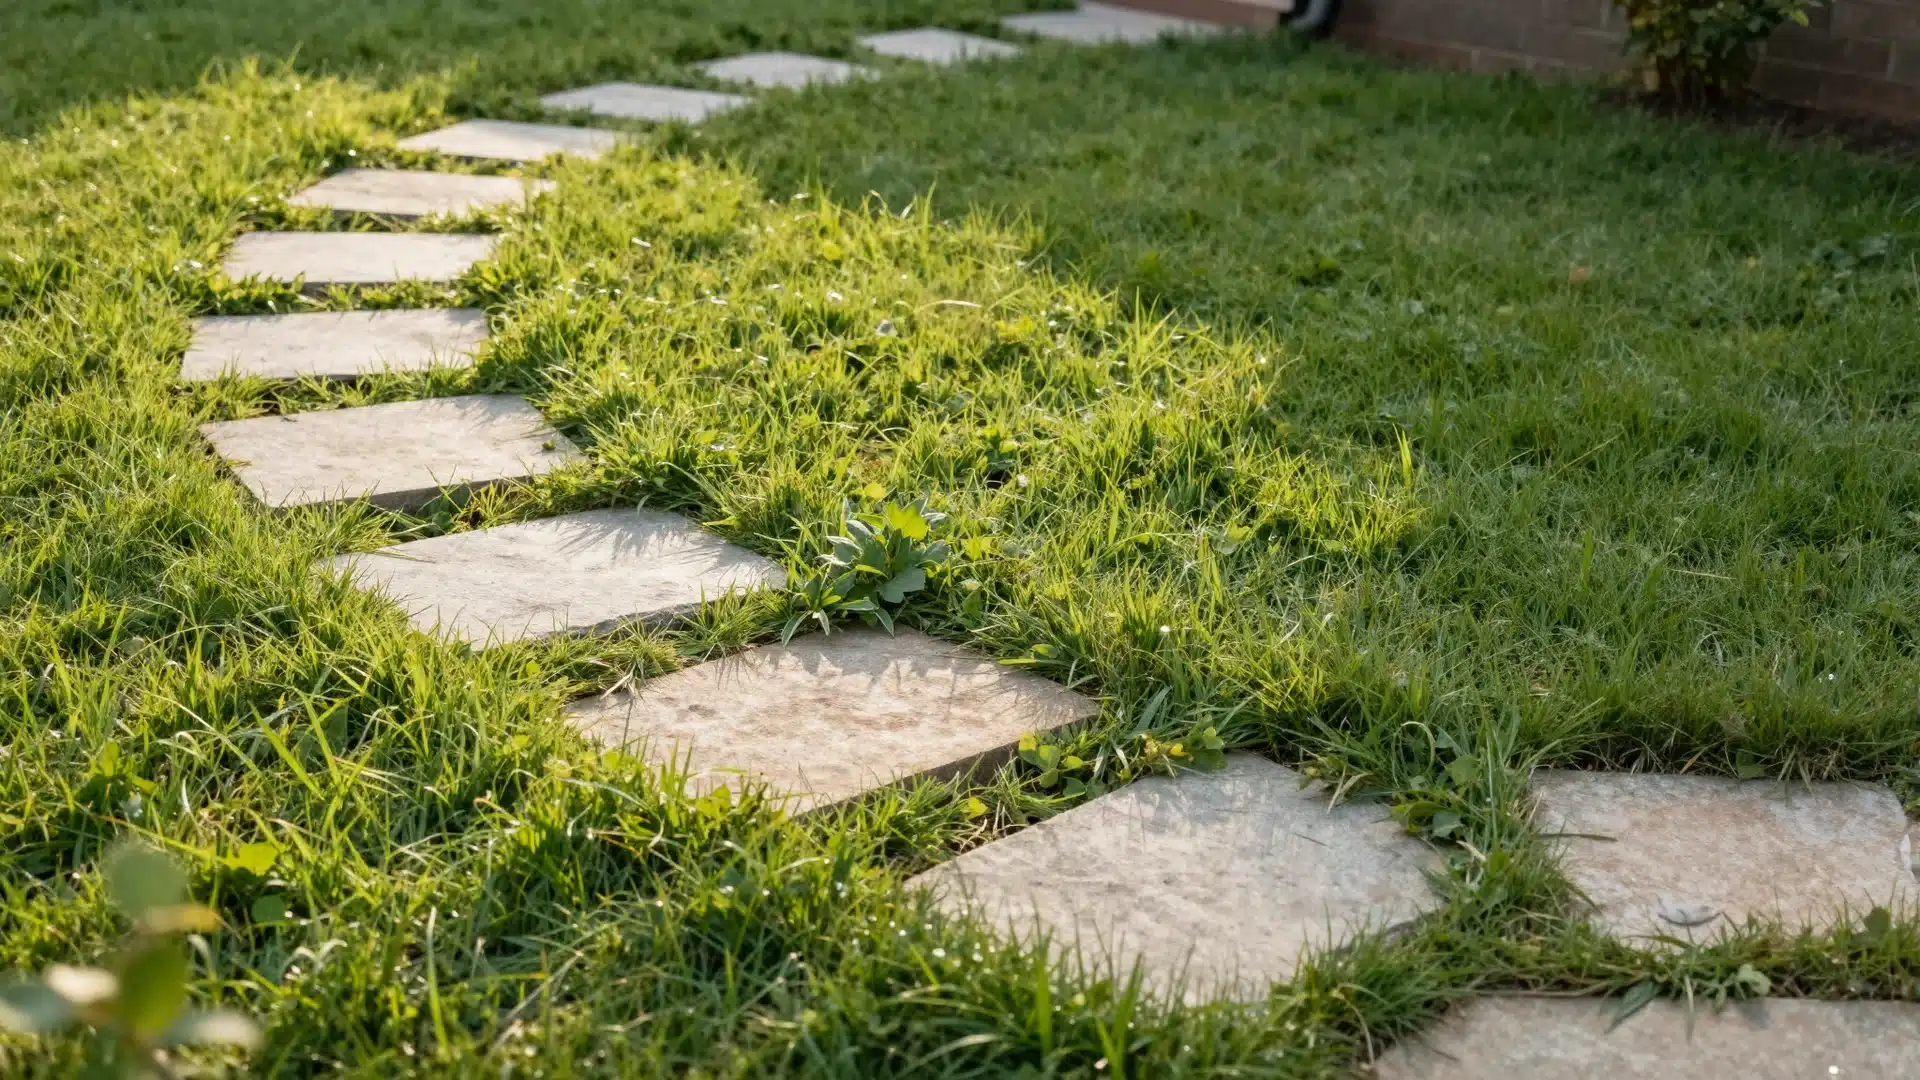
Alt Text: Large rectangular stone pavers create a clean, modern walkway through a well-maintained green lawn.
A clear path adds structure and makes the whole yard feel more intentional. Pavers, gravel, stepping stones, or repurposed brick all work on a tight budget.
- Step 1: Mark the path with garden stakes and string to get a straight or curved line.
- Step 2: Dig down 2 to 3 inches and lay landscape fabric to stop weeds.
- Step 3: Set stones or bricks on top. For gravel, pour and rake it evenly over the fabric.
- Step 4: Press stones firmly into the ground so they don’t shift when walked on.
4. Create a Rock Garden
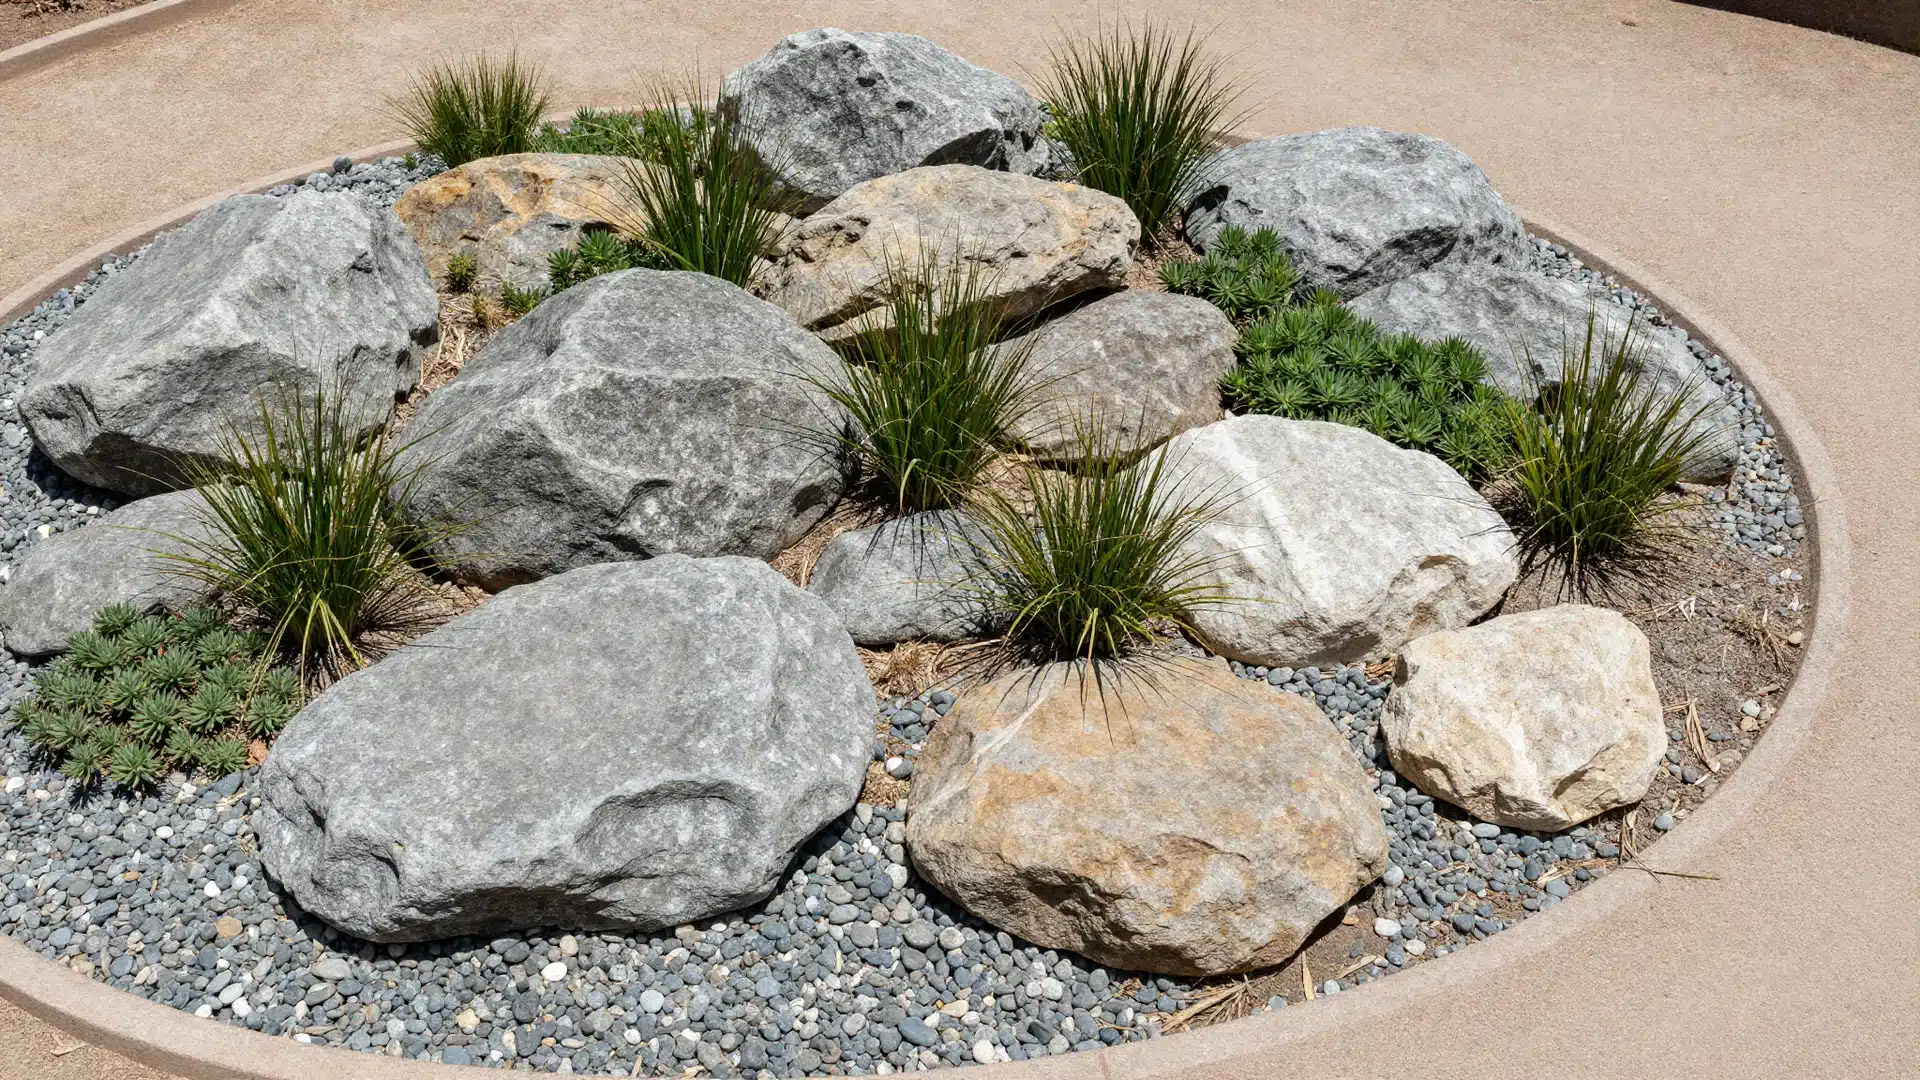
Alt Text: A decorative rock garden using various-sized river stones, pebbles, and small drought-resistant green plants.
Rock gardens work well in dry areas or wherever grass refuses to grow. They need almost zero upkeep once in place.
- Step 1: Clear existing grass and weeds, then lay landscape fabric.
- Step 2: Place larger boulders first as anchor points, then fill in with medium and small rocks.
- Step 3: Mix rock types and sizes for visual variety. Flat stones, river rocks, and pebbles work well together.
- Step 4: Tuck in ornamental grasses or low-growing sedum between the rocks for added life.
5. Set Up a Vertical Garden on a Fence or Wall
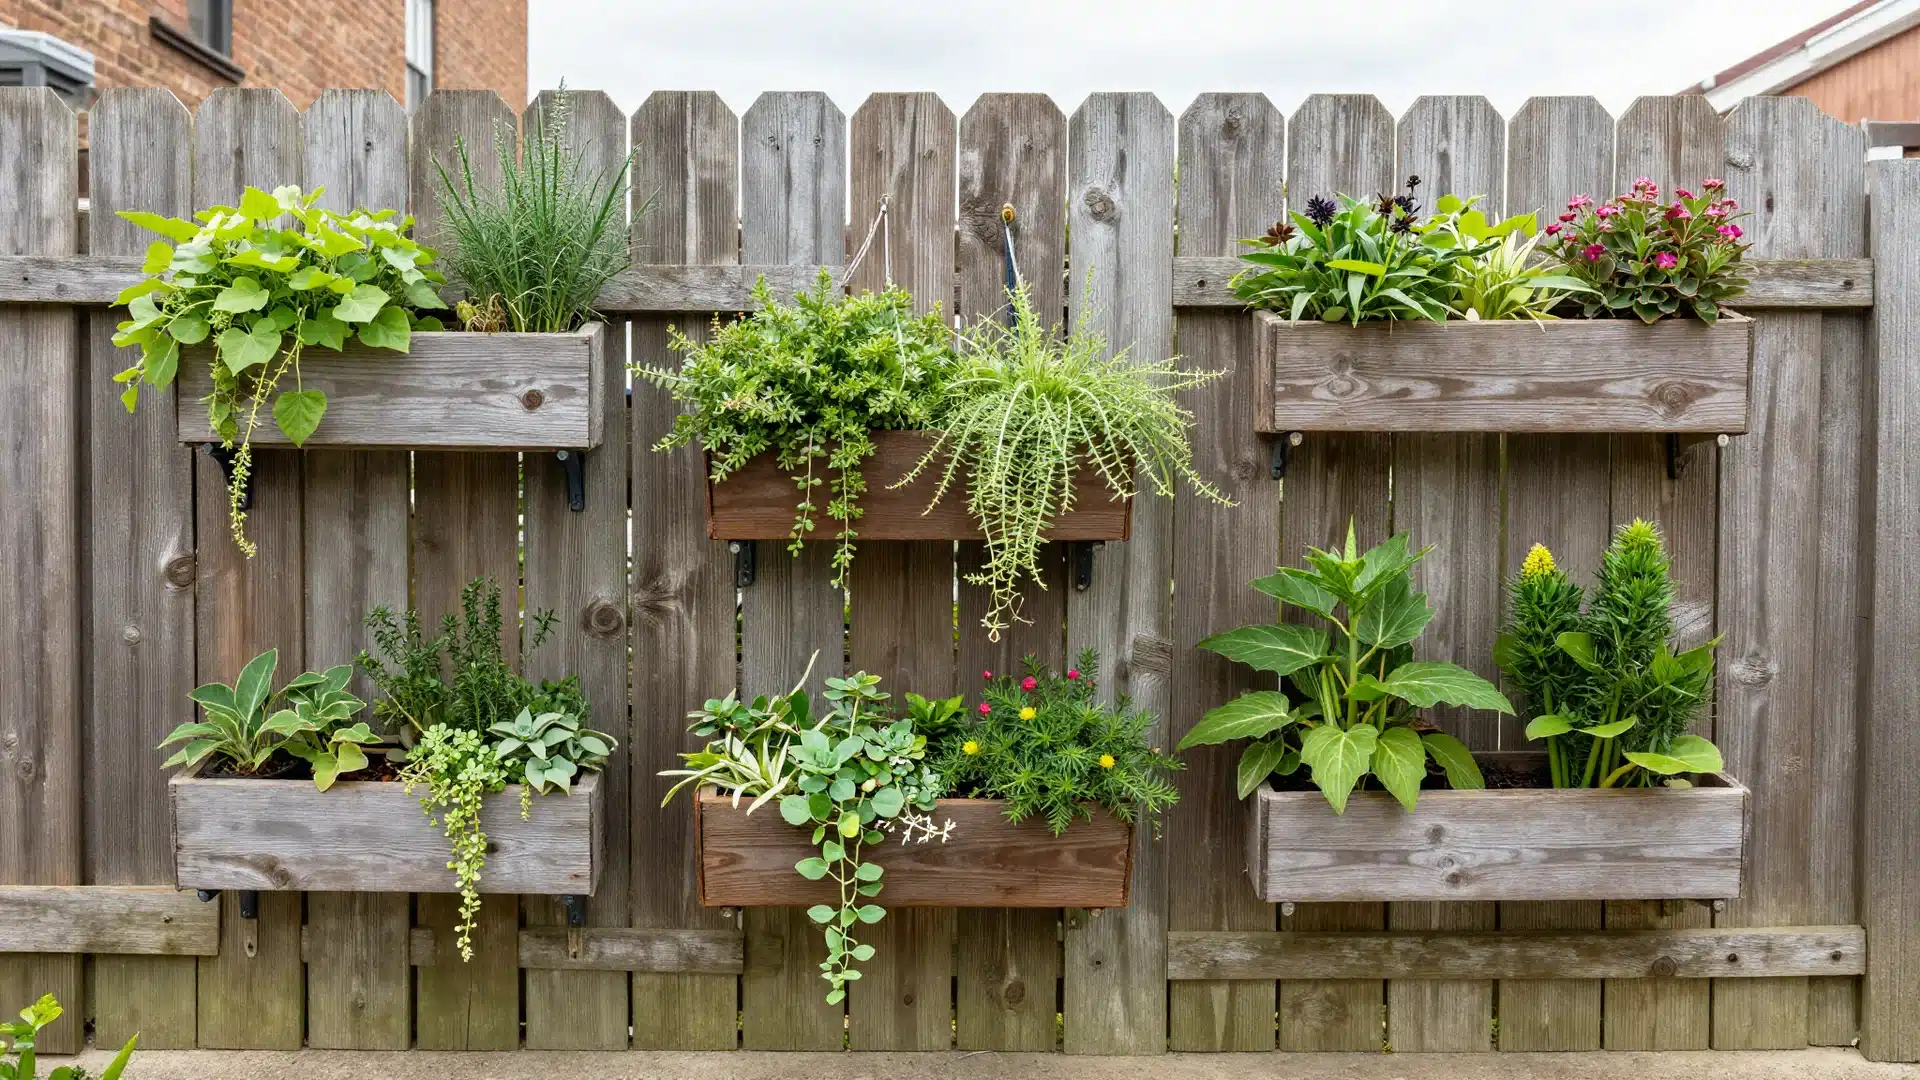
Alt Text: A vertical garden with multiple rows of wooden planter boxes attached to a dark brown backyard fence.
When floor space is limited, grow upward. Vertical gardens use fence or wall space to hold herbs, succulents, or flowers.
- Step 1: Choose a wall or fence that gets enough sunlight for what you want to grow.
- Step 2: Mount wooden pallets, fence pockets, or hanging pots securely to the surface.
- Step 3: Fill with potting soil and plant herbs, trailing flowers, or strawberries.
- Step 4: Water more often since vertical containers dry out faster than ground-level beds.
6. Install Outdoor Solar Lighting
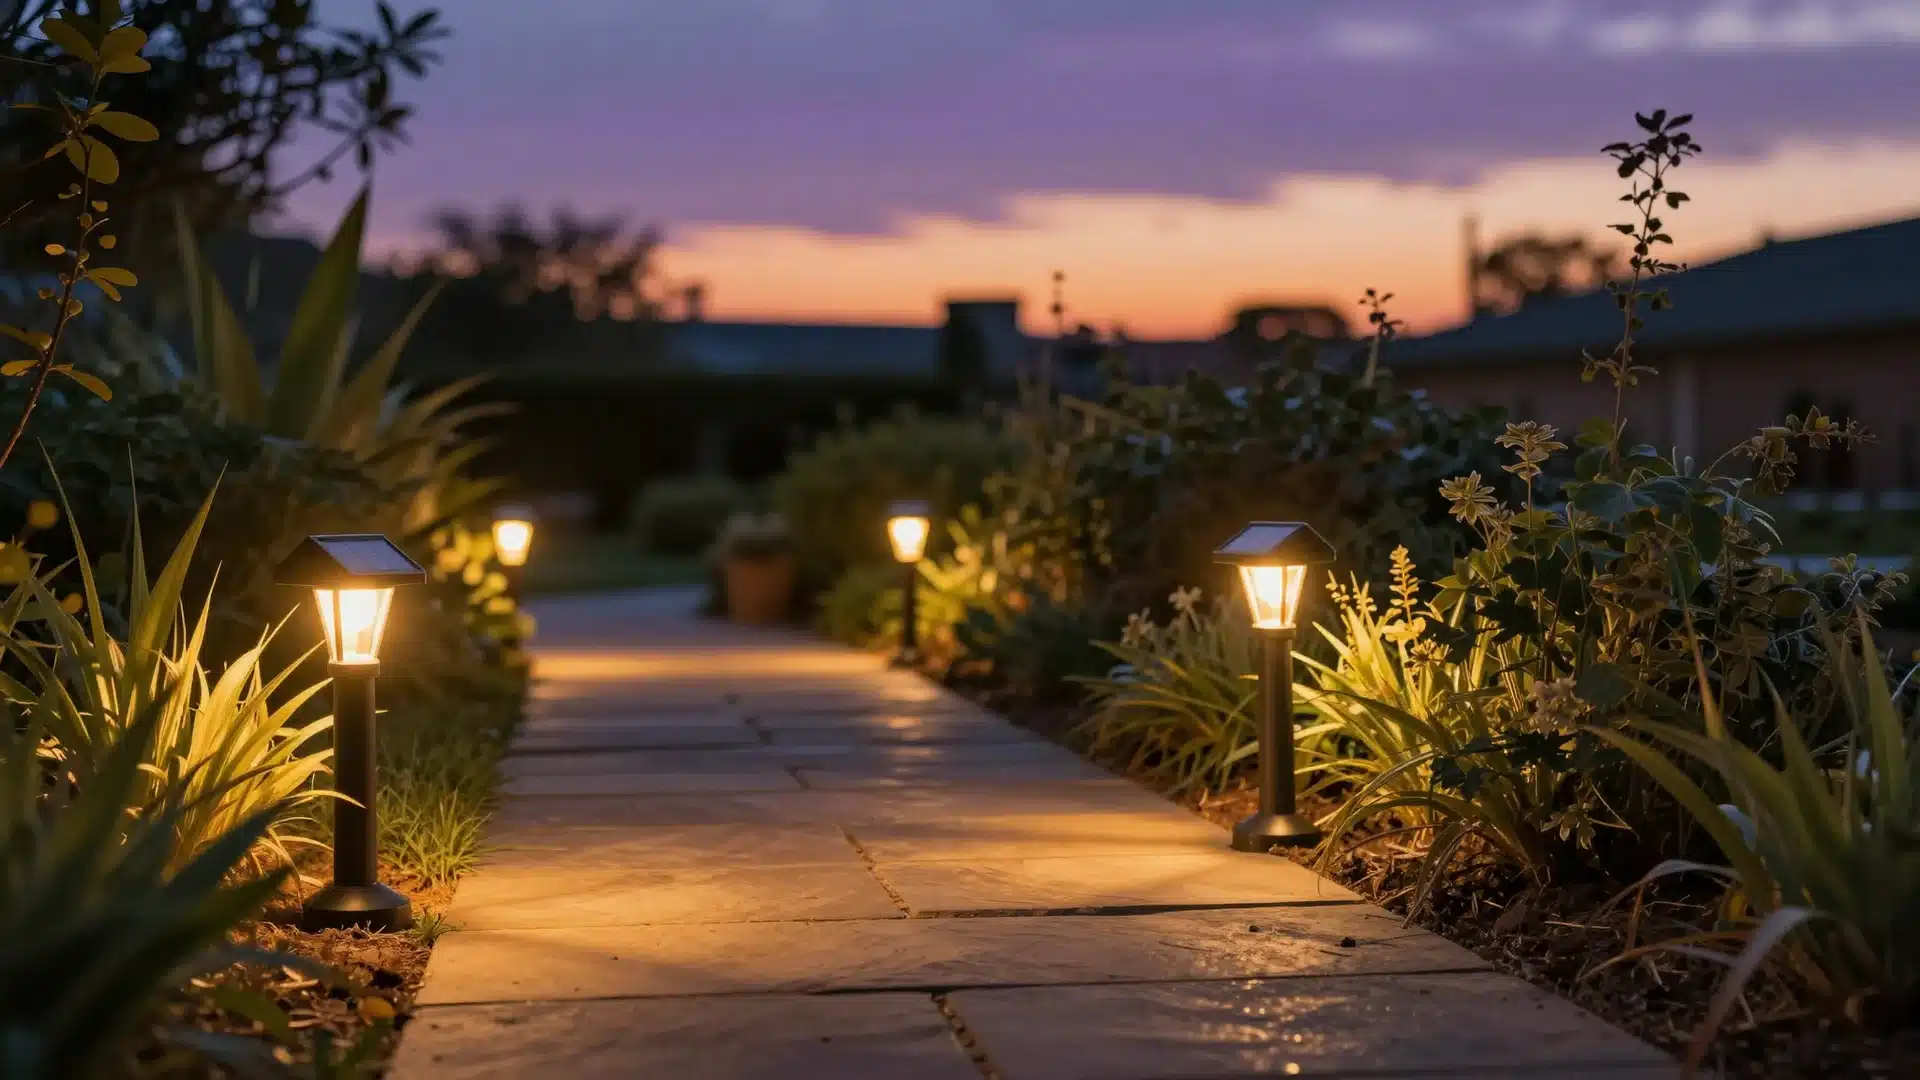
Alt Text: Small black solar-powered stake lights illuminate the edge of a garden path at dusk
Solar lights need no wiring, no electrician, and add nothing to your electricity bill. They charge during the day and turn on automatically at night.
- Step 1: Decide where you want light: along path edges, in seating areas, around trees, or on steps.
- Step 2: Choose the right type: stake lights for paths, string lights for overhead warmth, spotlights for trees.
- Step 3: Place solar panels where they get at least 6 hours of direct sunlight daily.
- Step 4: Press stakes firmly into the ground or mount fixtures to the walls using the included hardware.
7. Make a DIY Raised Garden Bed
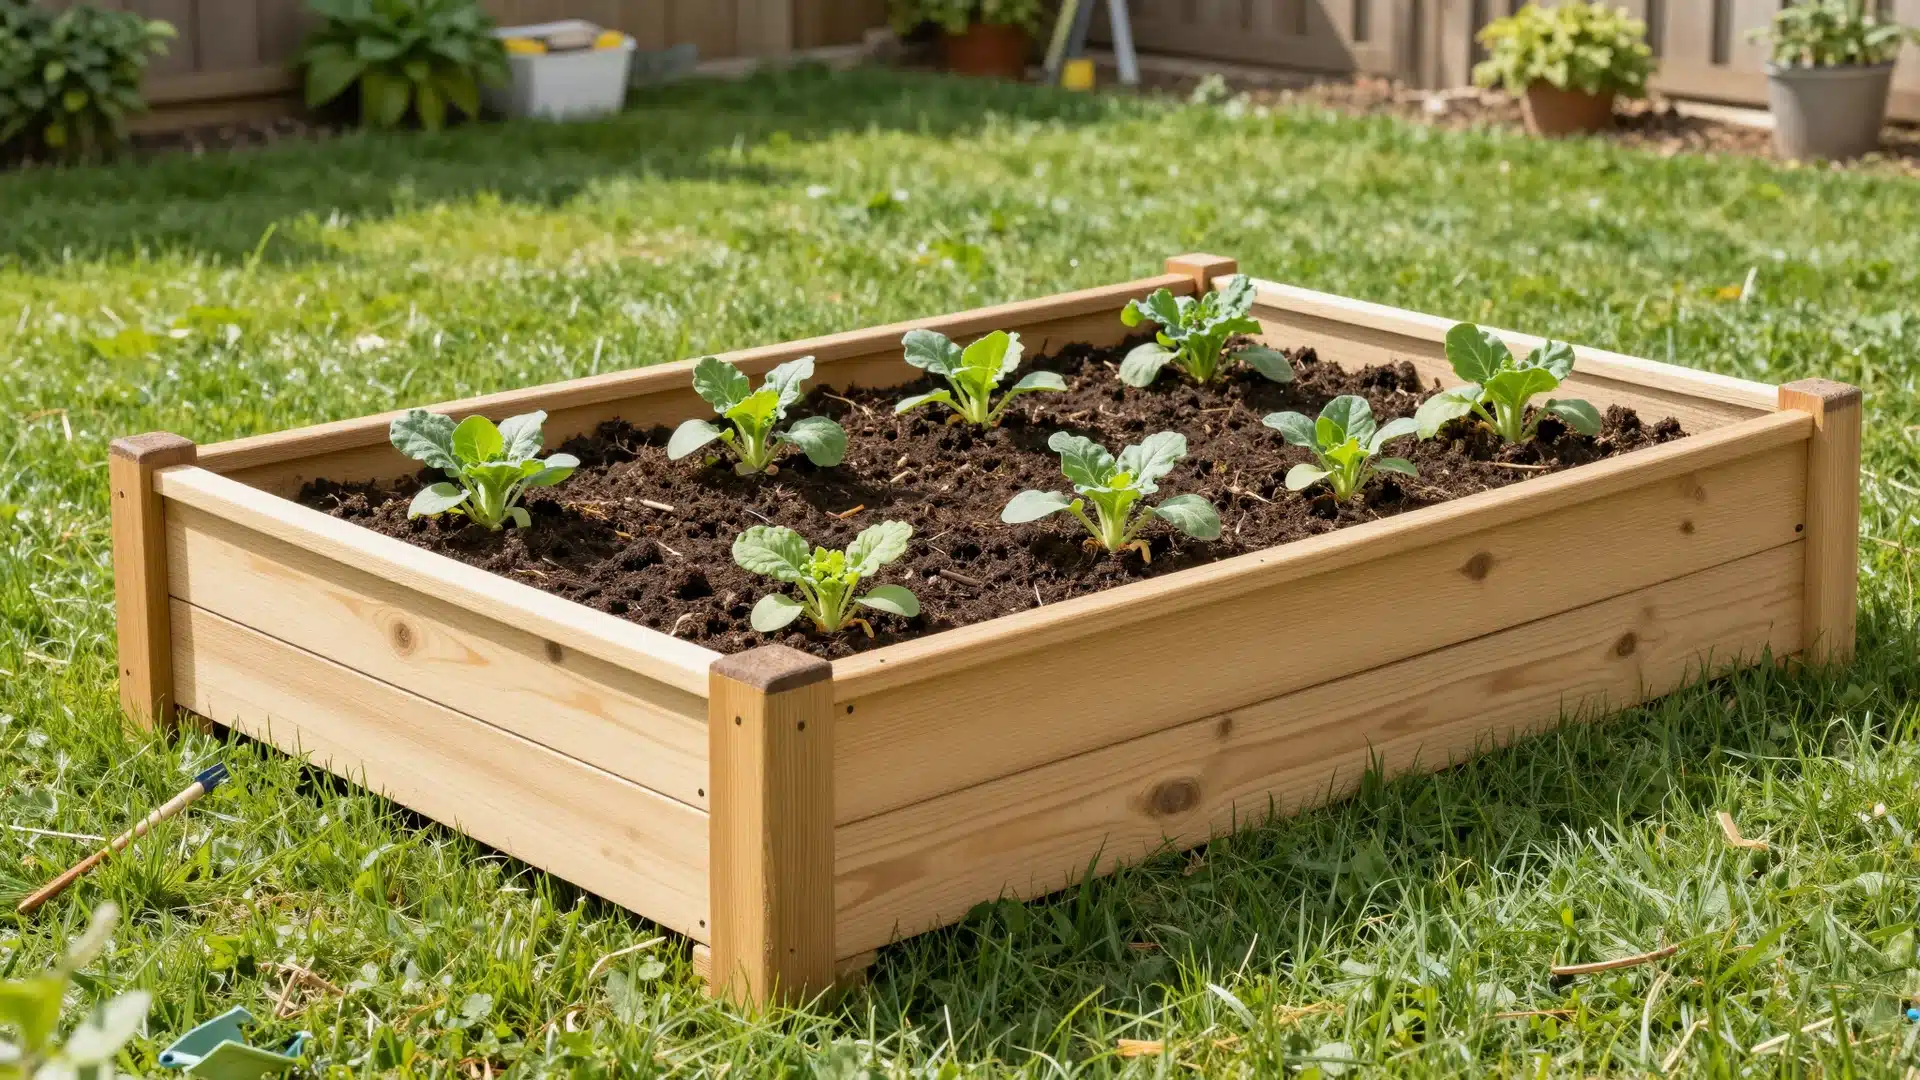
Alt Text: A sturdy rectangular raised garden bed made of light wood filled with dark soil and young green sprouts.
Raised beds let you control soil quality from the start, which means fewer weeds, better drainage, and healthier plants. You can build one for as little as $50.
- Step 1: Choose a spot with at least 6 to 8 hours of direct sunlight per day.
- Step 2: Build a simple rectangular frame from untreated cedar or pine boards.
- Step 3: Fill with a mix of topsoil, compost, and perlite for drainage and nutrition.
- Step 4: Plant vegetables, herbs, or flowers, then water at the base to keep foliage dry.
8. Plant a Low-Maintenance Native Garden
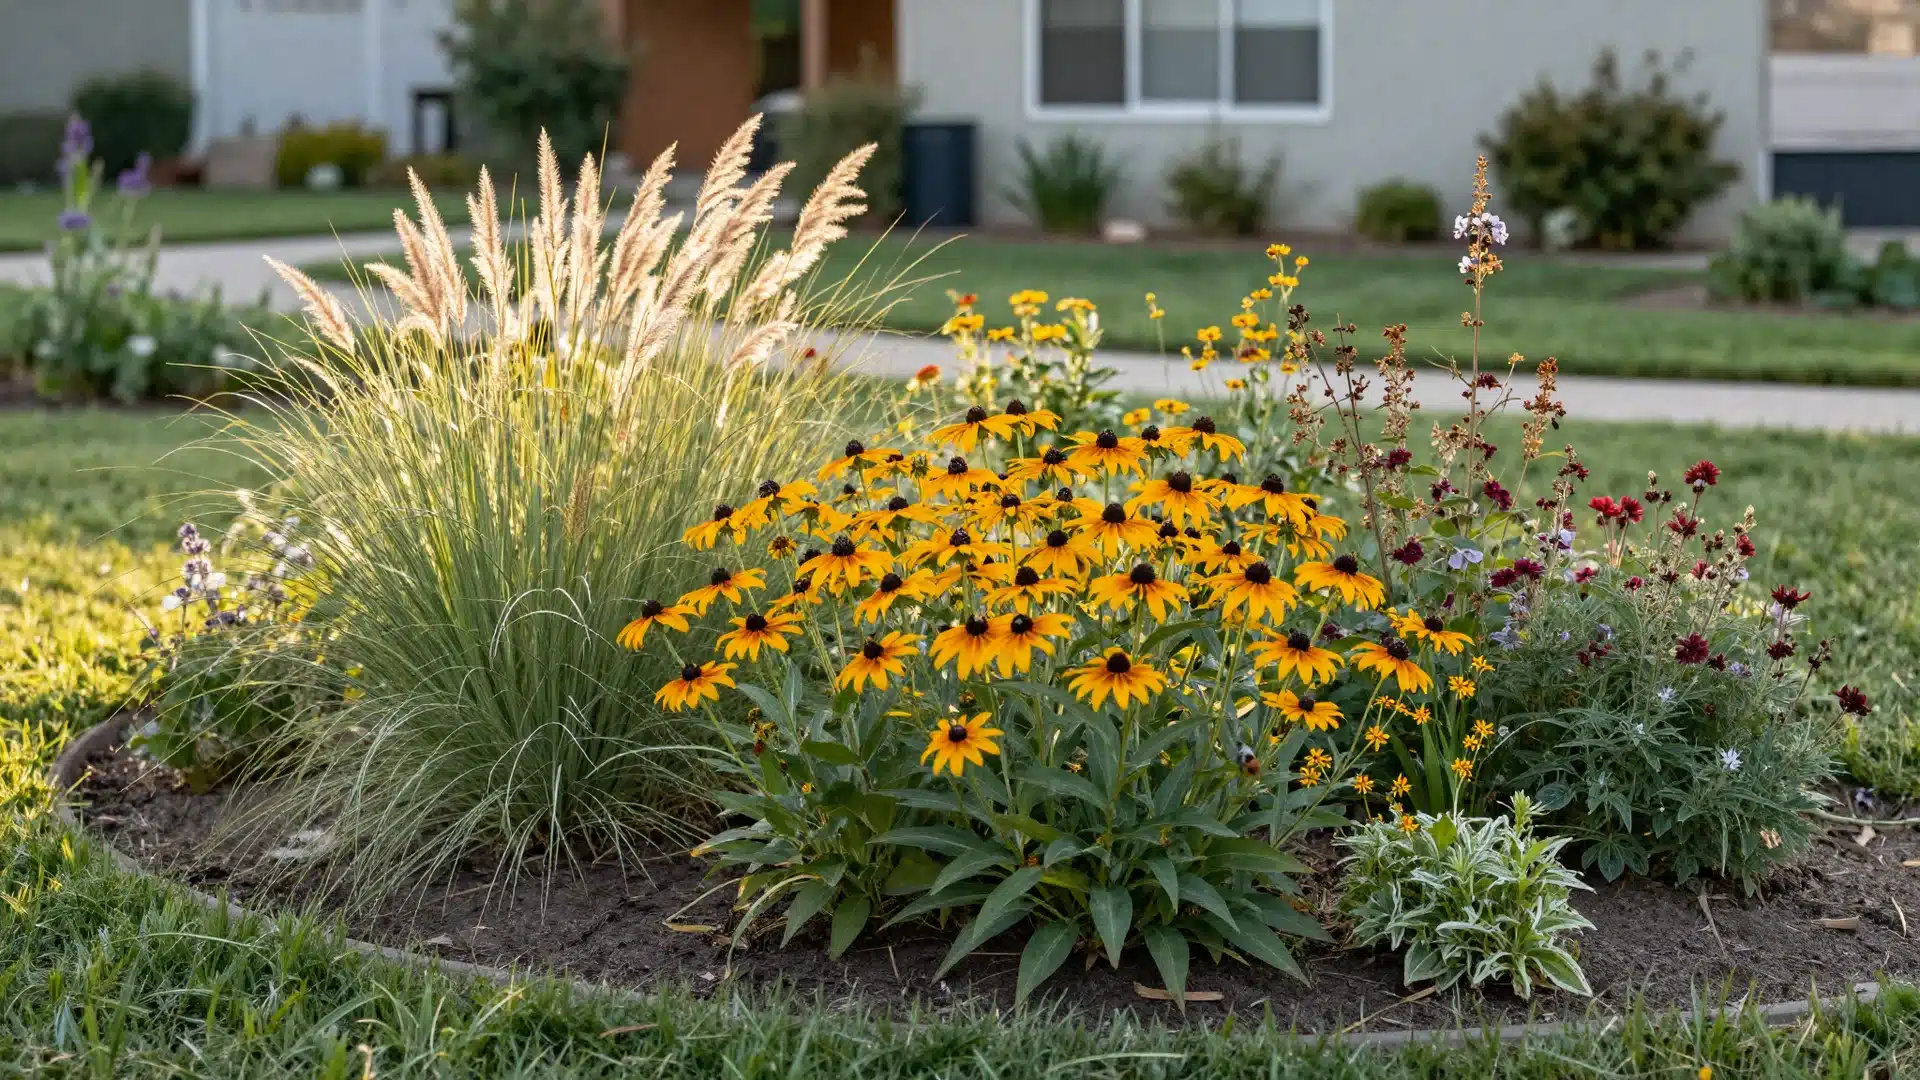
Alt Text: A natural-looking garden area filled with native ornamental grasses and colorful wildflowers in a sunny yard.
Native plants have adapted to local rainfall, temperature, and soil, which means far less attention than imported varieties.
- Step 1: Visit a local native plant nursery or check your state’s native plant society website.
- Step 2: Pick 3 to 5 species that cover different seasons so something is always blooming.
- Step 3: Plant in groups for a natural, full look and to reduce watering needs.
- Step 4: Skip the fertilizer. Native plants do better without it in your local soil.
9. Add River Rock Ground Cover
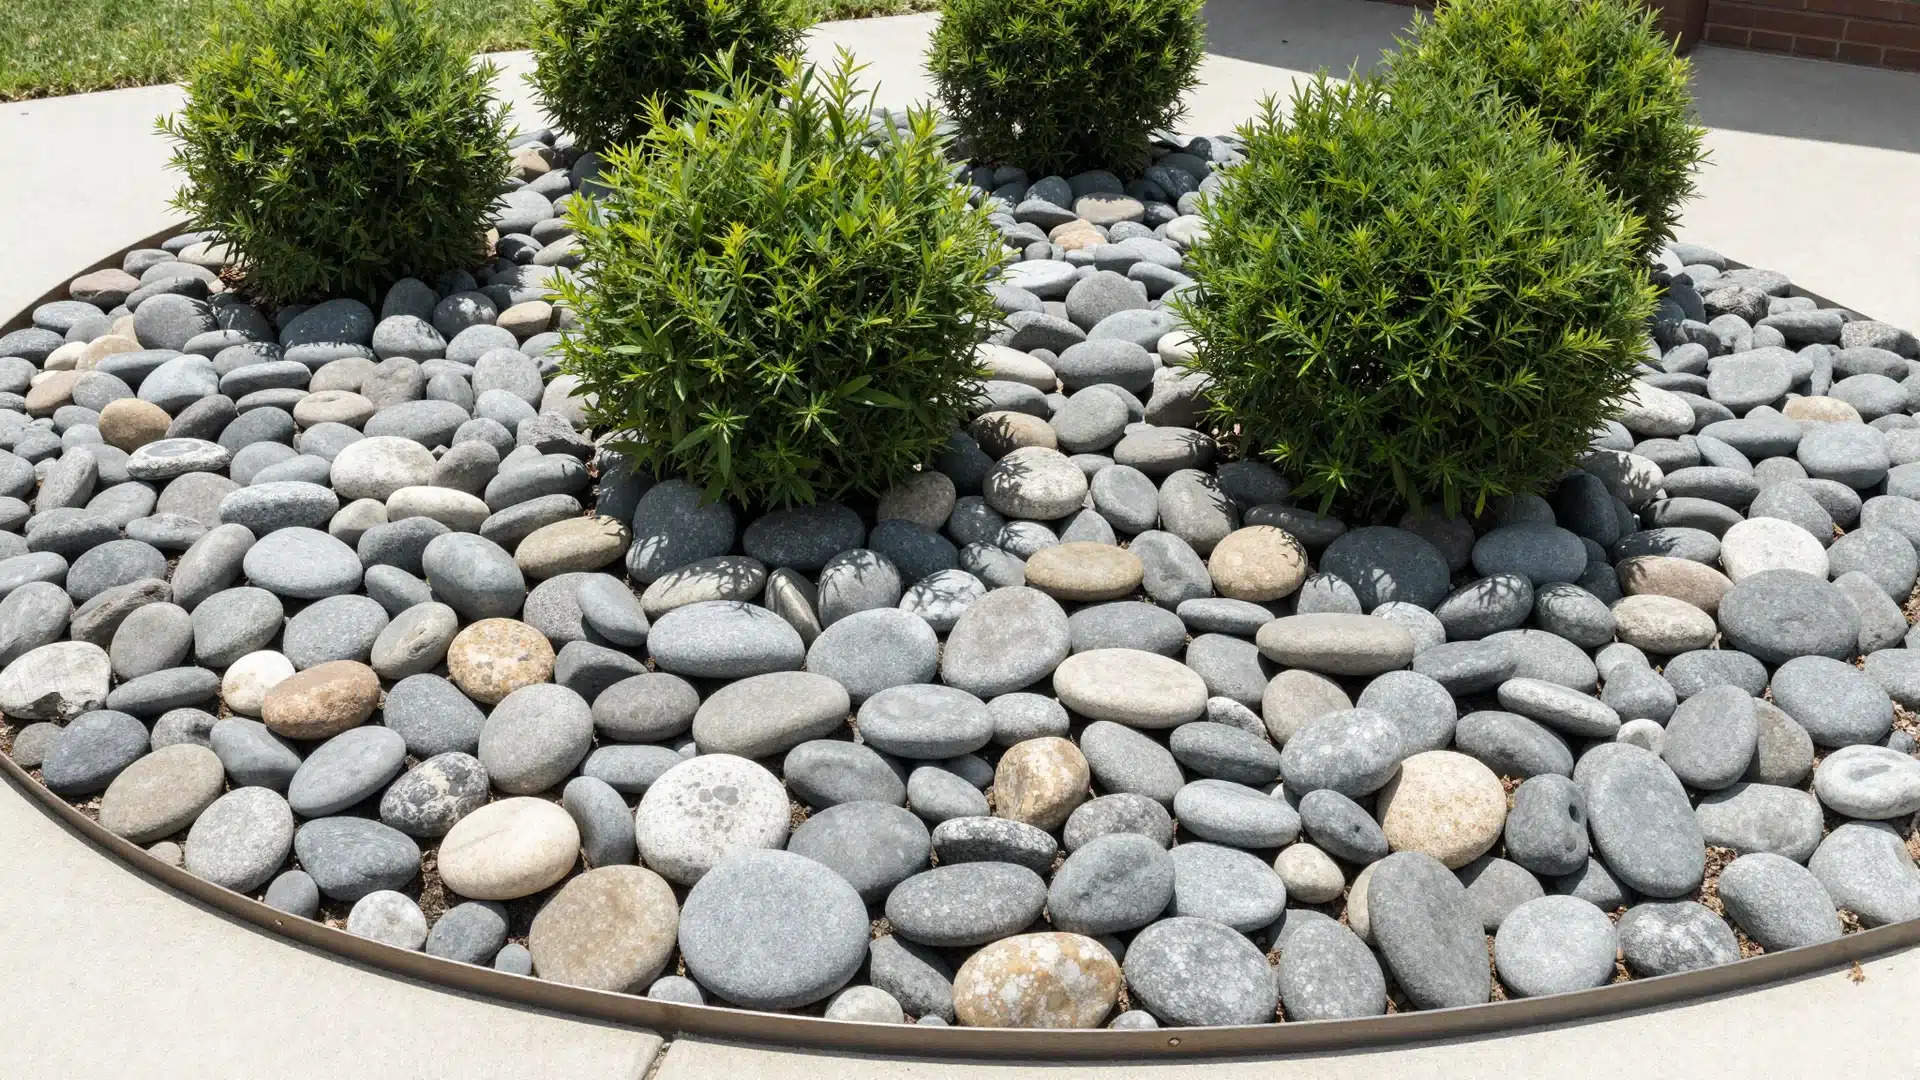
Alt Text: Smooth grey and white river rocks used as ground cover in a clean landscape bed next to a stone path.
River rock is an excellent alternative to mulch in large or dry areas. It lasts for years and keeps maintenance to a minimum.
- Step 1: Clear the area and lay landscape fabric to block weeds from pushing through.
- Step 2: Pour river rocks on top, spreading to a depth of 2 to 3 inches.
- Step 3: Use edging to contain the rock and keep it from spreading onto the lawn.
- Step 4: Rinse rocks with a garden hose once or twice a year to keep them looking fresh.
10. Lay a Gravel Patio
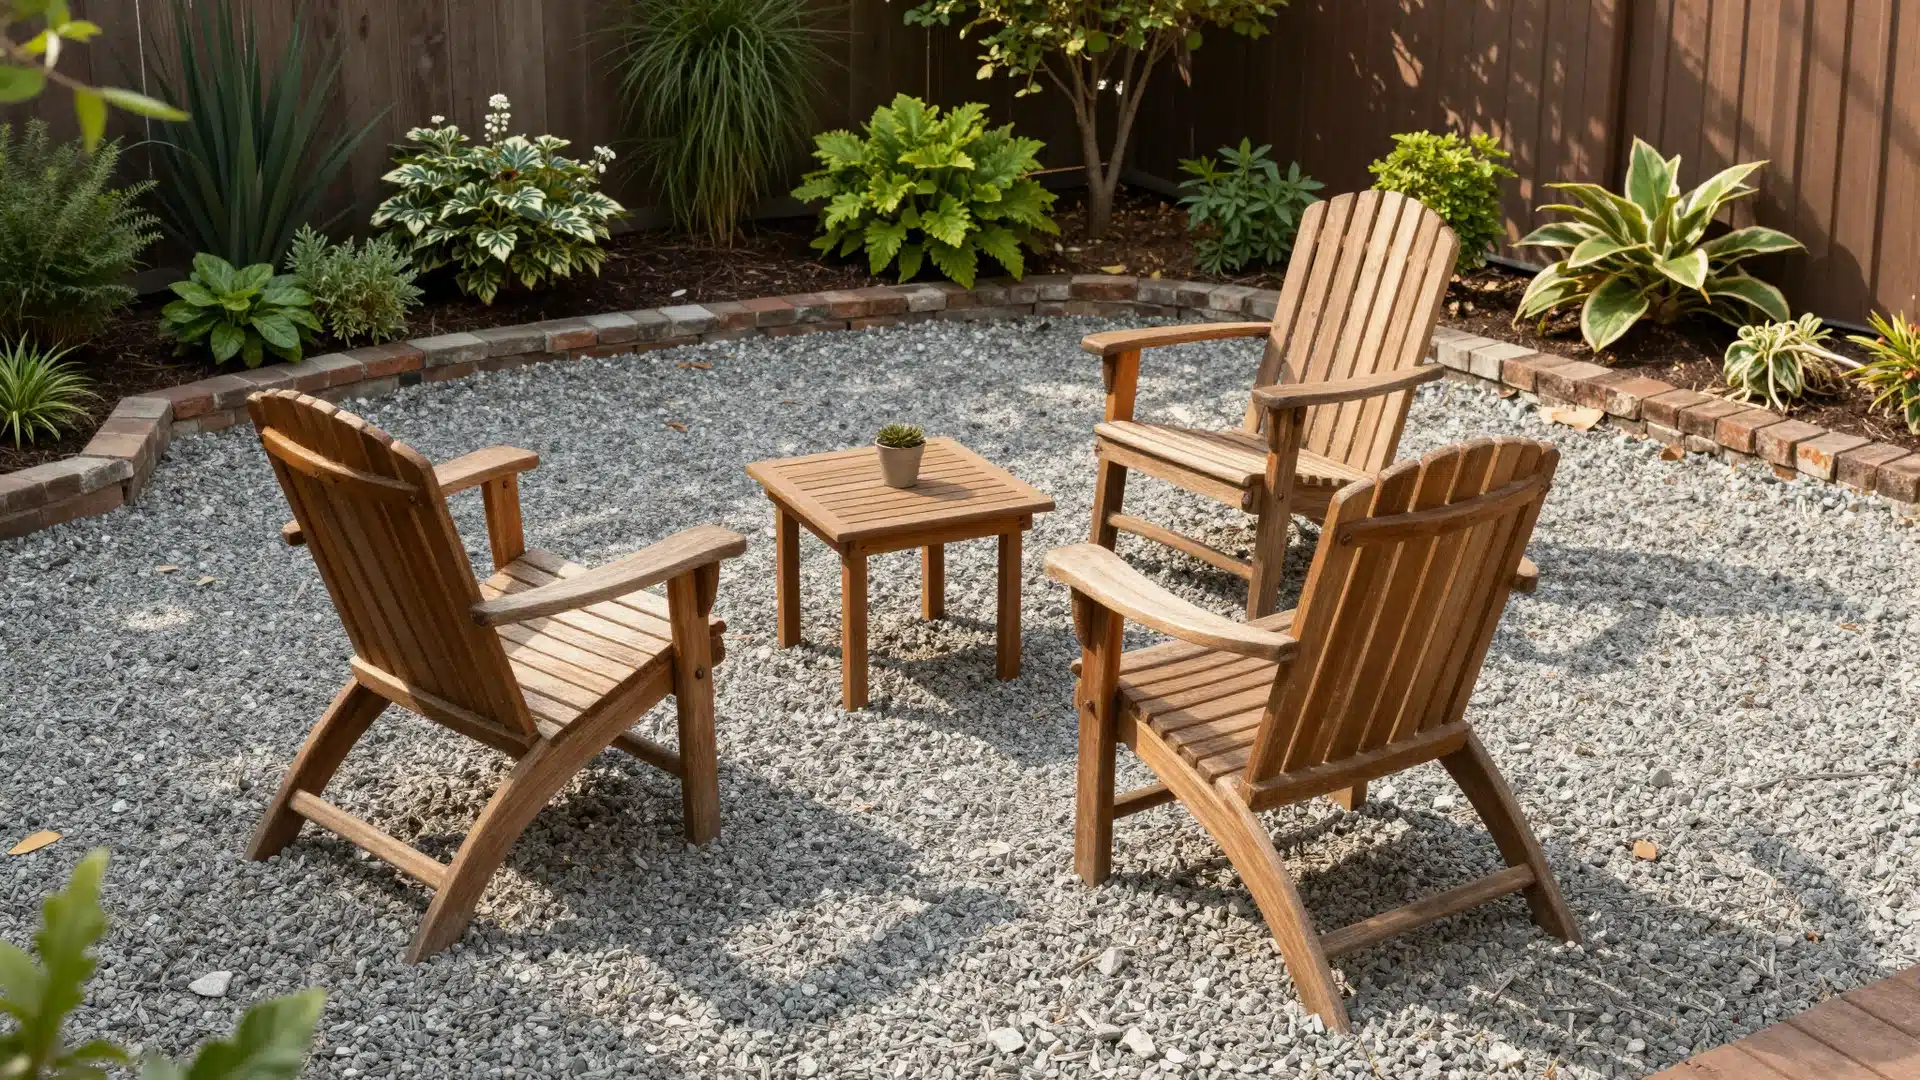
Alt Text: A cozy outdoor seating area featuring a light grey gravel floor surrounded by green shrubbery.
A gravel patio costs far less than concrete or pavers and can be completed in a single weekend.
- Step 1: Mark the patio area, then remove the grass and dig down about 3 inches.
- Step 2: Lay landscape fabric over the area and secure the edges with staples.
- Step 3: Pour gravel and rake level. Decomposed granite gives a more compact, stable surface.
- Step 4: Add edging around the perimeter to contain the gravel, then set outdoor furniture on top.
11. Build a DIY Trellis for Climbing Plants
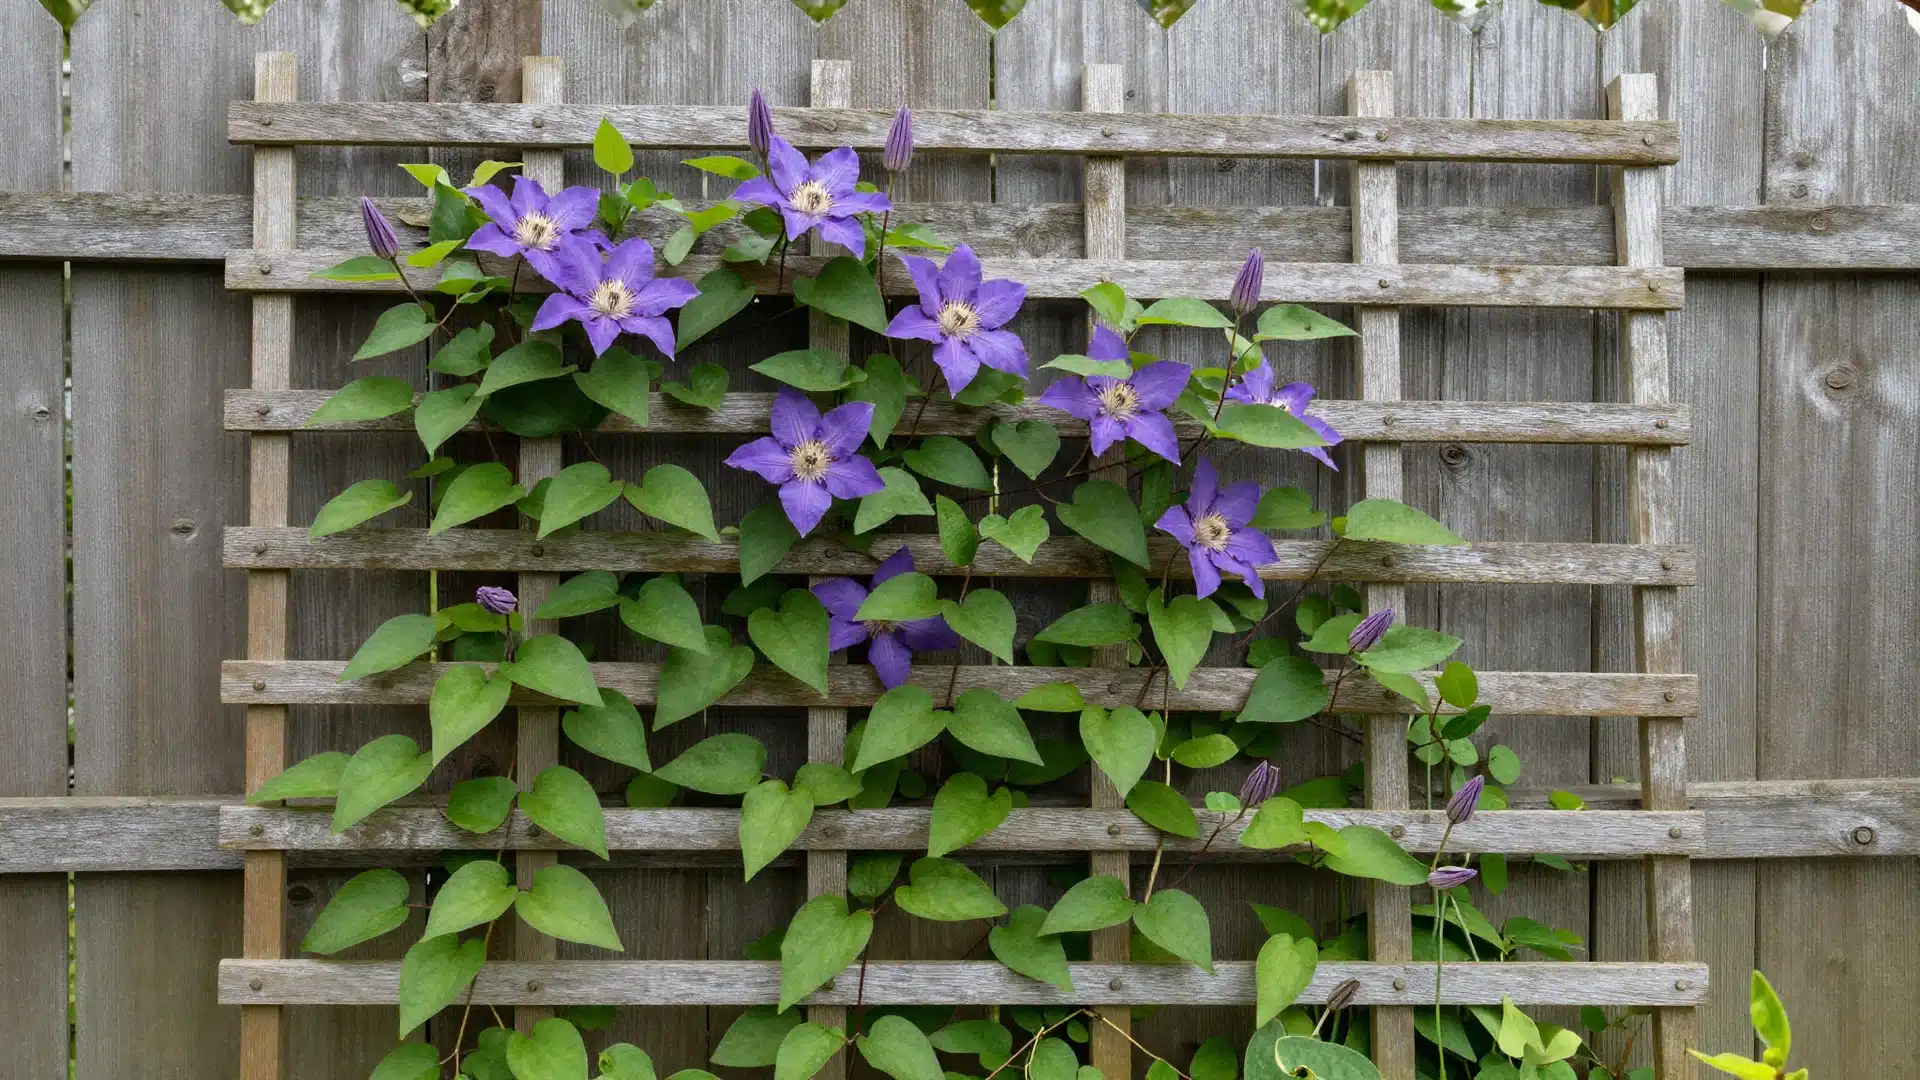
Alt Text: A tall wooden diamond-pattern trellis with green climbing vines growing upward against a sunny wall.
A trellis adds height, structure, and privacy. It works well against a fence, on a wall, or as a freestanding divider.
- Step 1: Choose your material: cedar wood, bamboo, or copper pipe; all hold up outdoors.
- Step 2: Cut and assemble into a grid pattern using screws, zip ties, or wire.
- Step 3: Anchor the trellis firmly into the ground or attach it securely to a fence.
- Step 4: Plant climbing varieties like clematis or wisteria at the base and guide stems onto the trellis.
12. Create Landscape Borders with Edging
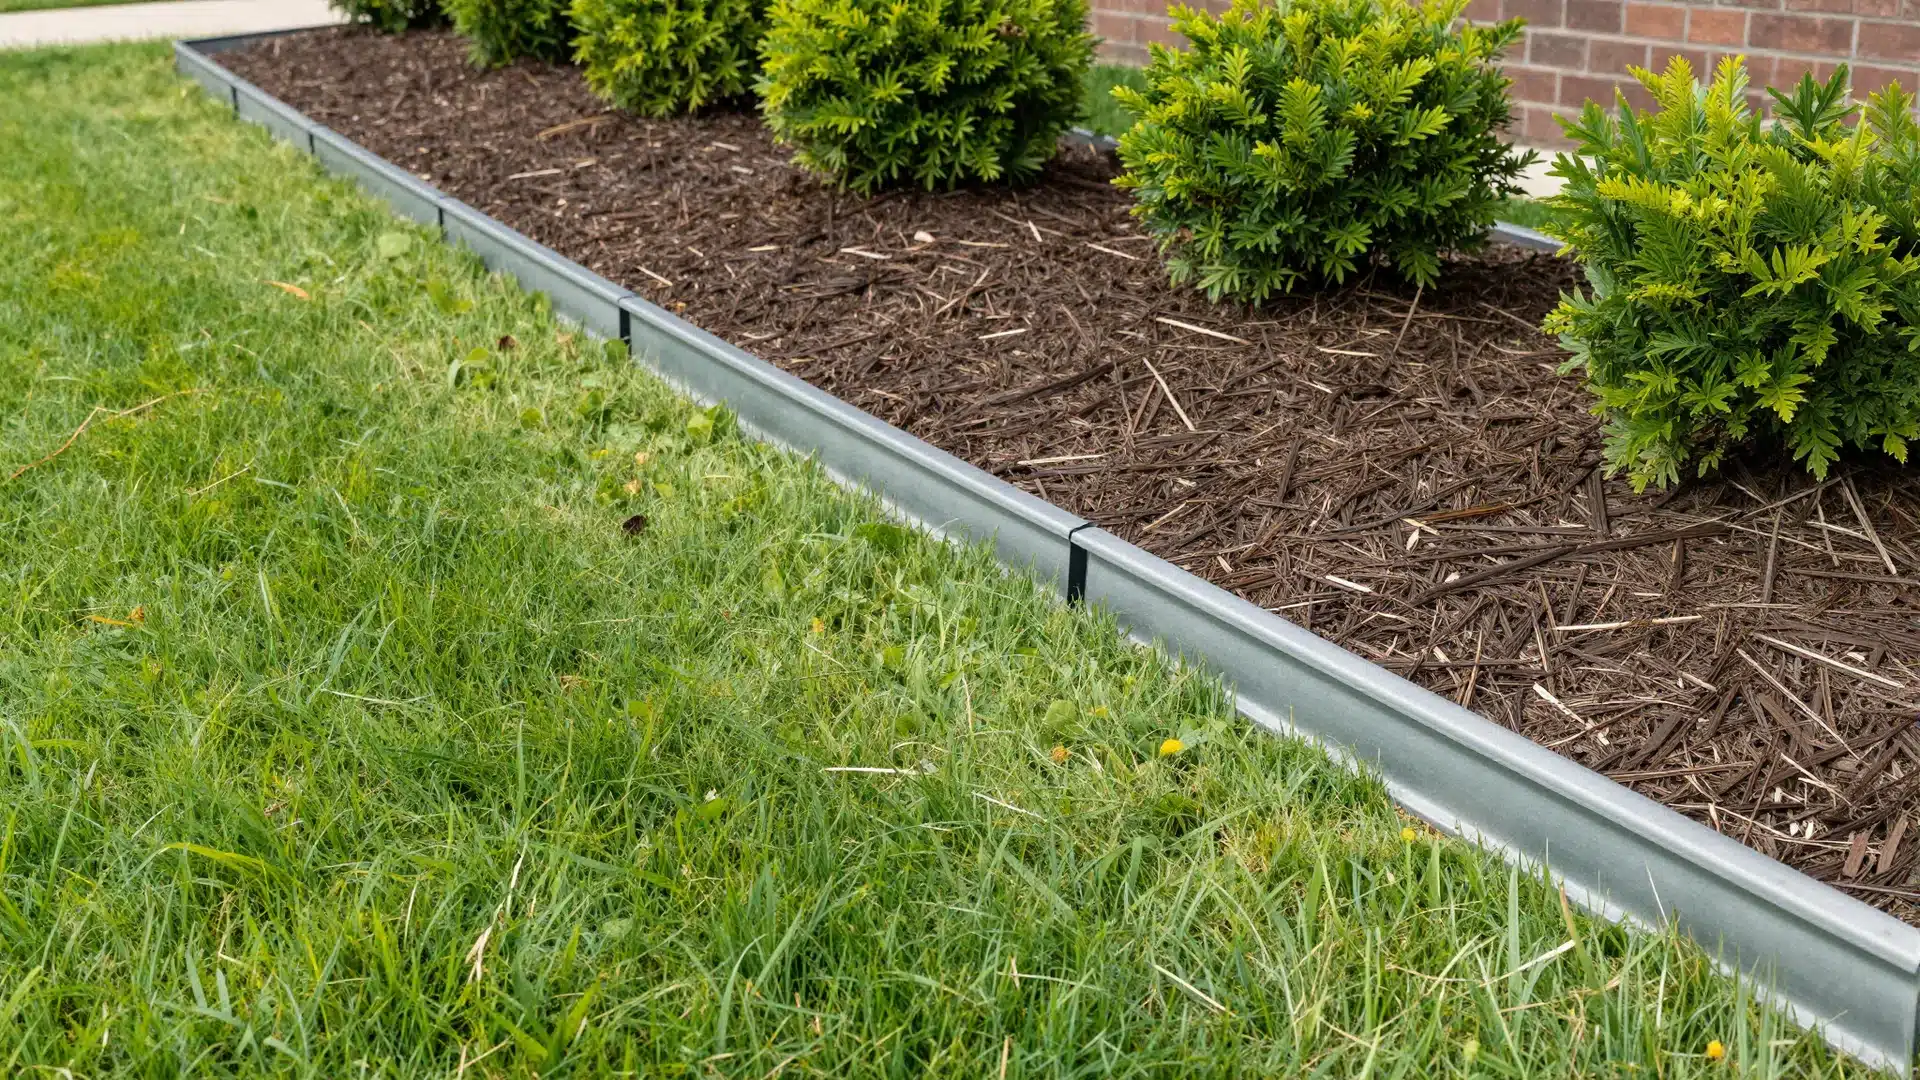
Alt Text: Thin metal landscape edging creates a sharp, clean border between a mulch bed and a green lawn.
Edging draws a clean line between your lawn and garden beds so the two don’t blend.
- Step 1: Decide on a material: metal, concrete, plastic, or natural stone. Each gives a different look.
- Step 2: Mark the border line using a hose laid on the ground to create a smooth curve.
- Step 3: Dig a shallow trench along the line and press your edging into it.
- Step 4: Backfill soil on both sides, then trim any grass that overlaps.
13. Upcycle Old Materials into Planters
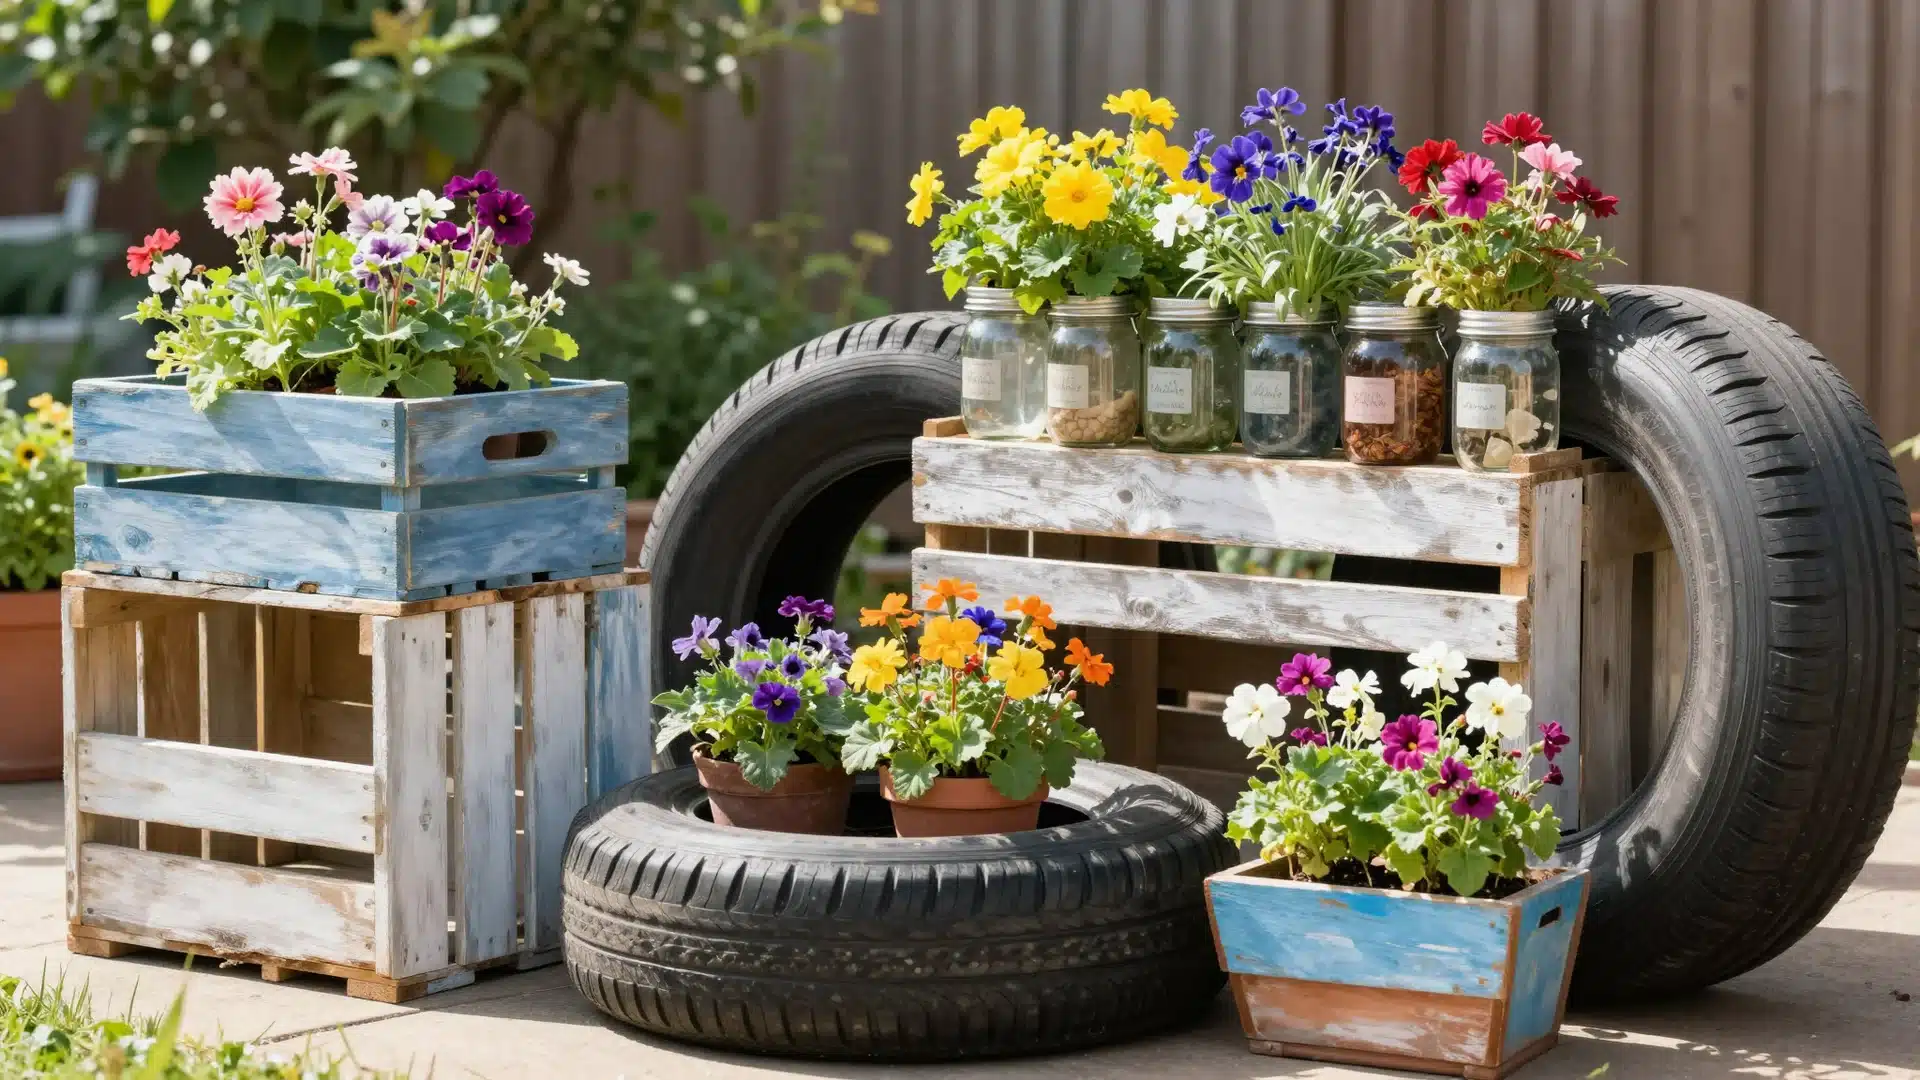
Alt Text: Creative garden planters made from upcycled wooden crates and colorful painted tires filled with flowers.
Old tires, wooden pallets, mason jars, and wooden crates all become unique planters. This saves money and gives your yard a personal feel that store-bought pots can’t replicate.
- Step 1: Choose a container with drainage holes, or drill a few into the bottom.
- Step 2: Paint or seal the exterior with outdoor-rated paint for a finished look.
- Step 3: Fill with potting mix suited to the plants you want to grow.
- Step 4: Place containers where they match the sunlight needs of your chosen plants.
14. Add a Dry Stream Bed
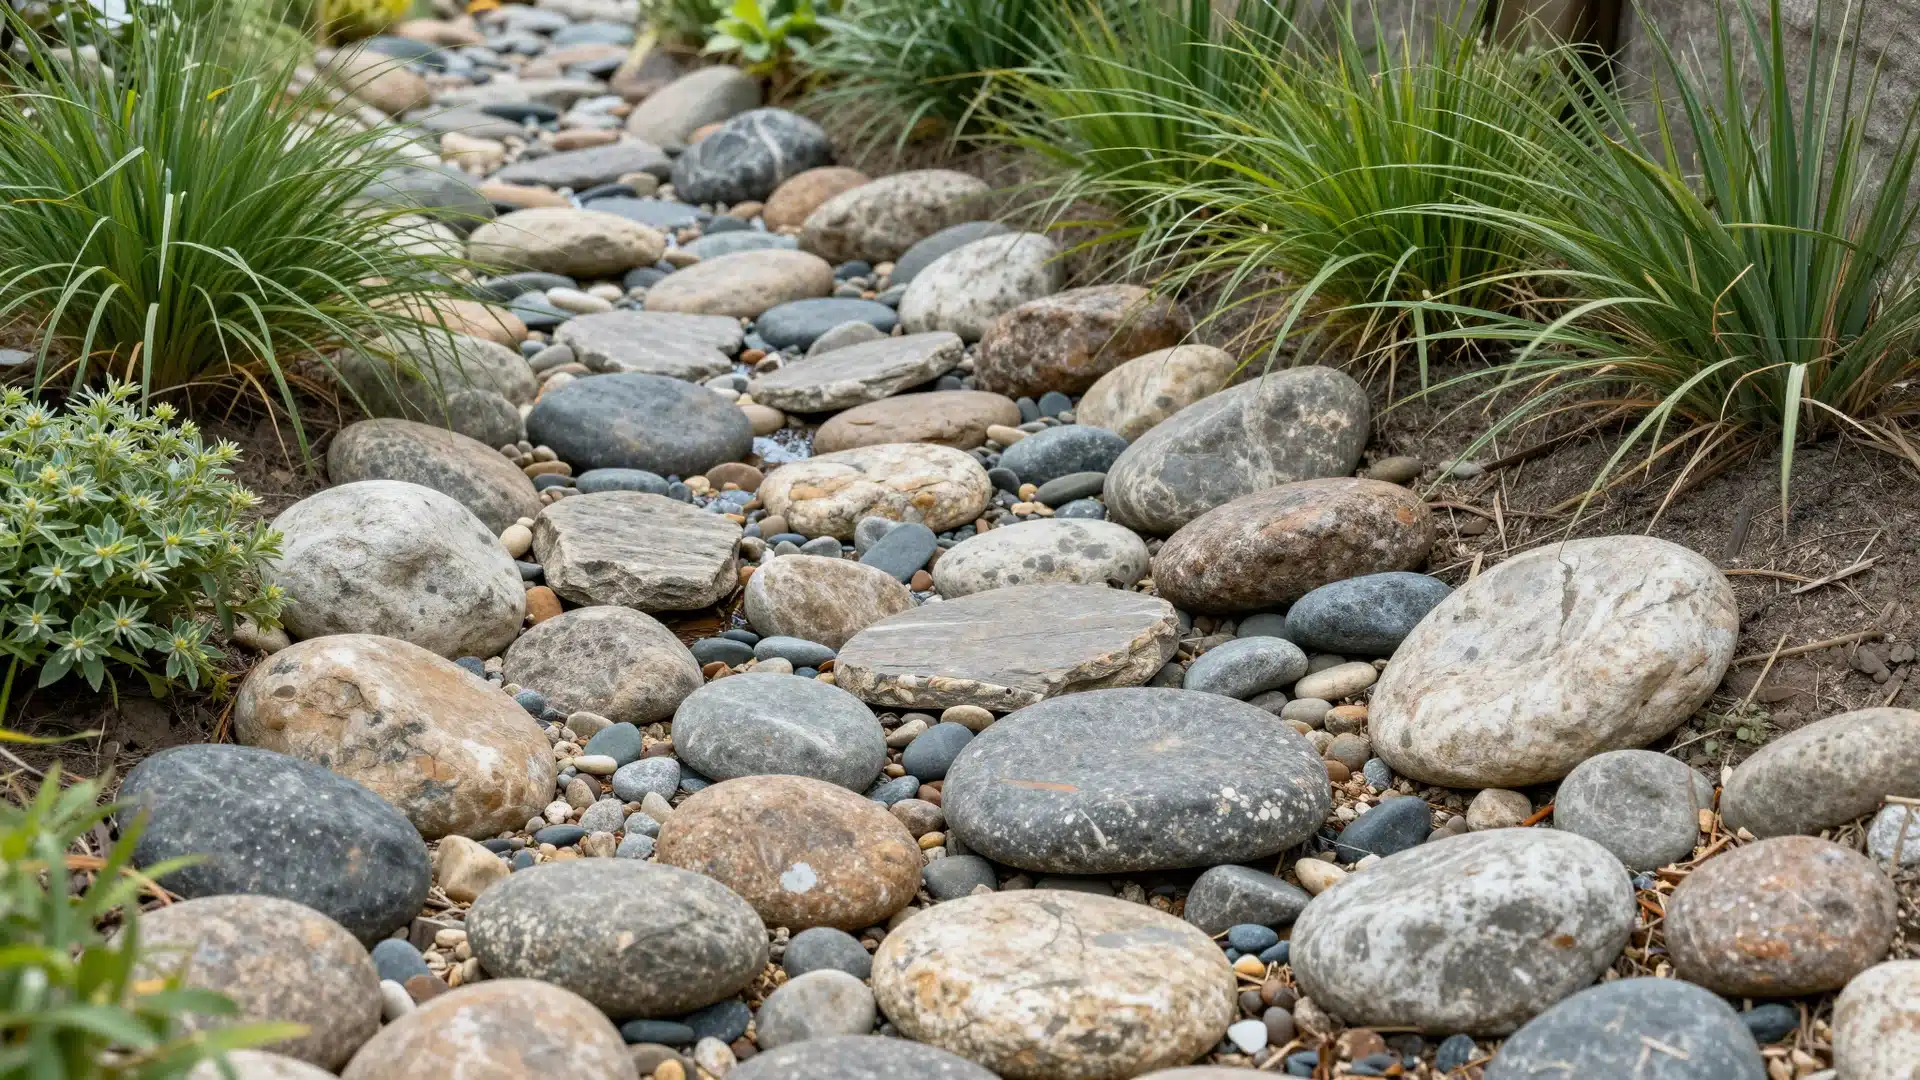
Alt Text: A dry stream bed made of various-sized river rocks winding through a garden to help with drainage.
If your yard floods after heavy rain or has soggy patches, a dry stream bed solves the drainage problem while looking like a planned design feature.
- Step 1: Plan the path from a high point to a low drainage area.
- Step 2: Dig a shallow trench about 6 to 12 inches deep along the path.
- Step 3: Line with landscape fabric, then fill with gravel, river rocks, and flat stones.
- Step 4: Add larger stones along the edges to frame the stream and give it a natural look.
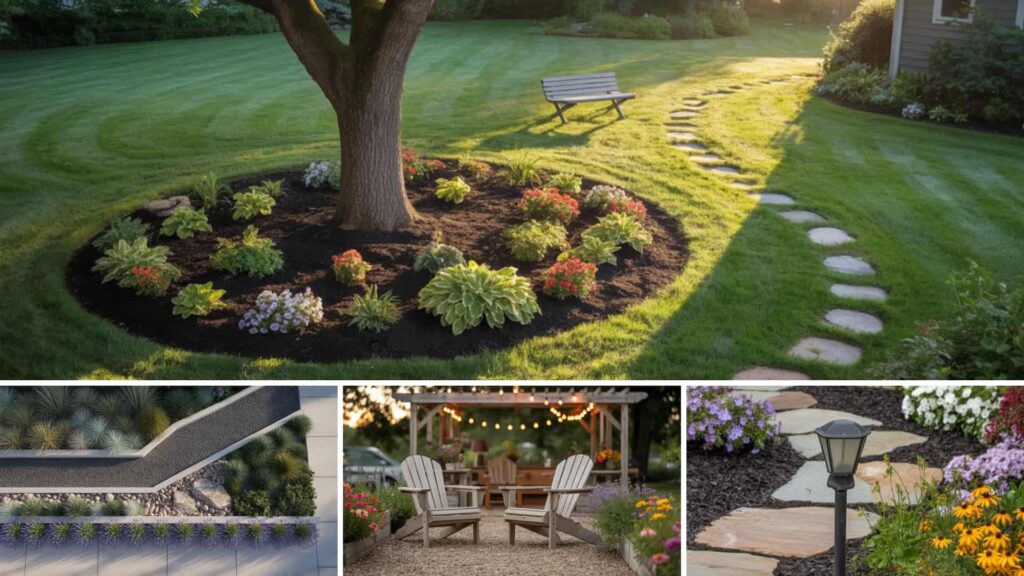
15. Plant a Simple Flower Bed Around a Tree
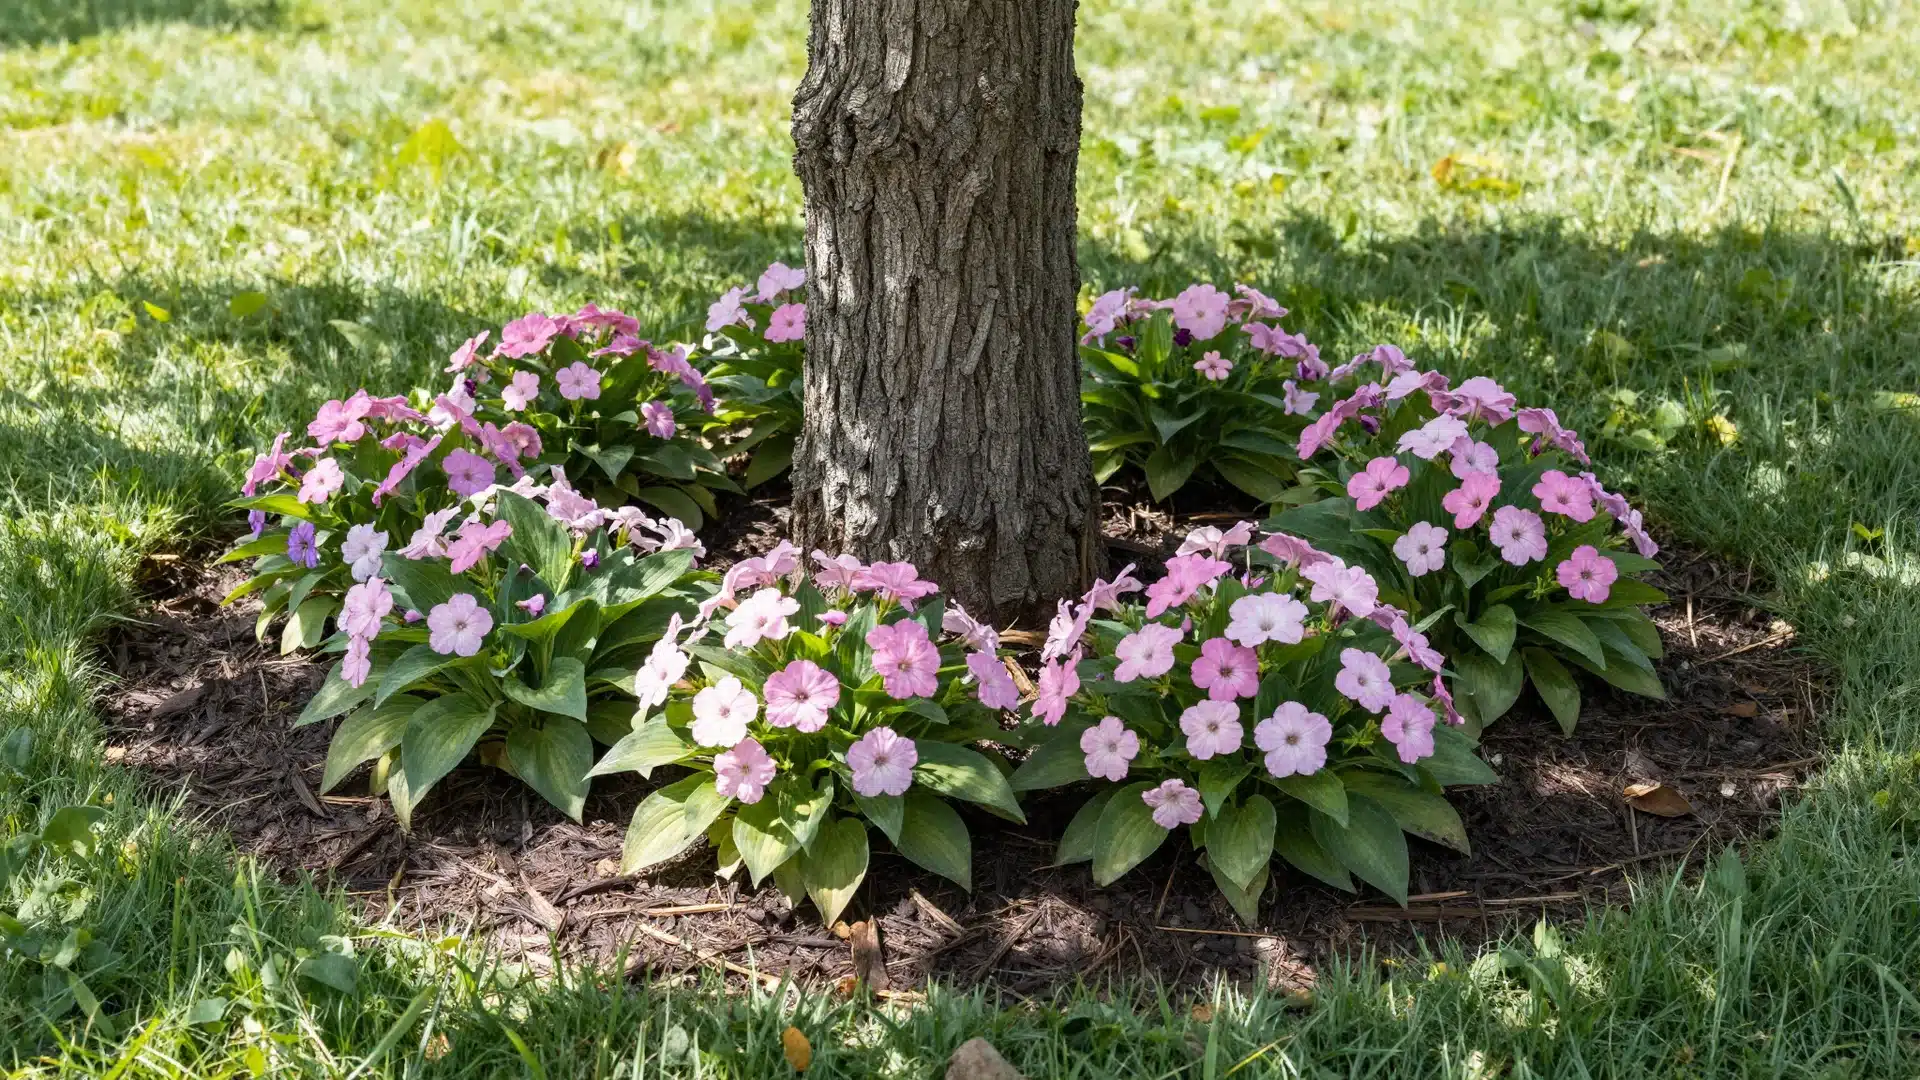
Alt Text: A circular flower bed filled with shade-loving plants surrounding the base of a mature shade tree.
A ring of flowers around a tree trunk turns a plain feature into a focal point.
- Step 1: Use a garden hose to mark a circle around the trunk, staying at least 6 inches from the bark.
- Step 2: Remove grass inside the circle and loosen the soil gently without disturbing roots.
- Step 3: Plant shade-tolerant flowers like hostas, impatiens, or astilbes based on available light.
- Step 4: Add mulch inside the ring to hold moisture and keep the bed tidy year-round.
16. Build a DIY Pergola for Shade
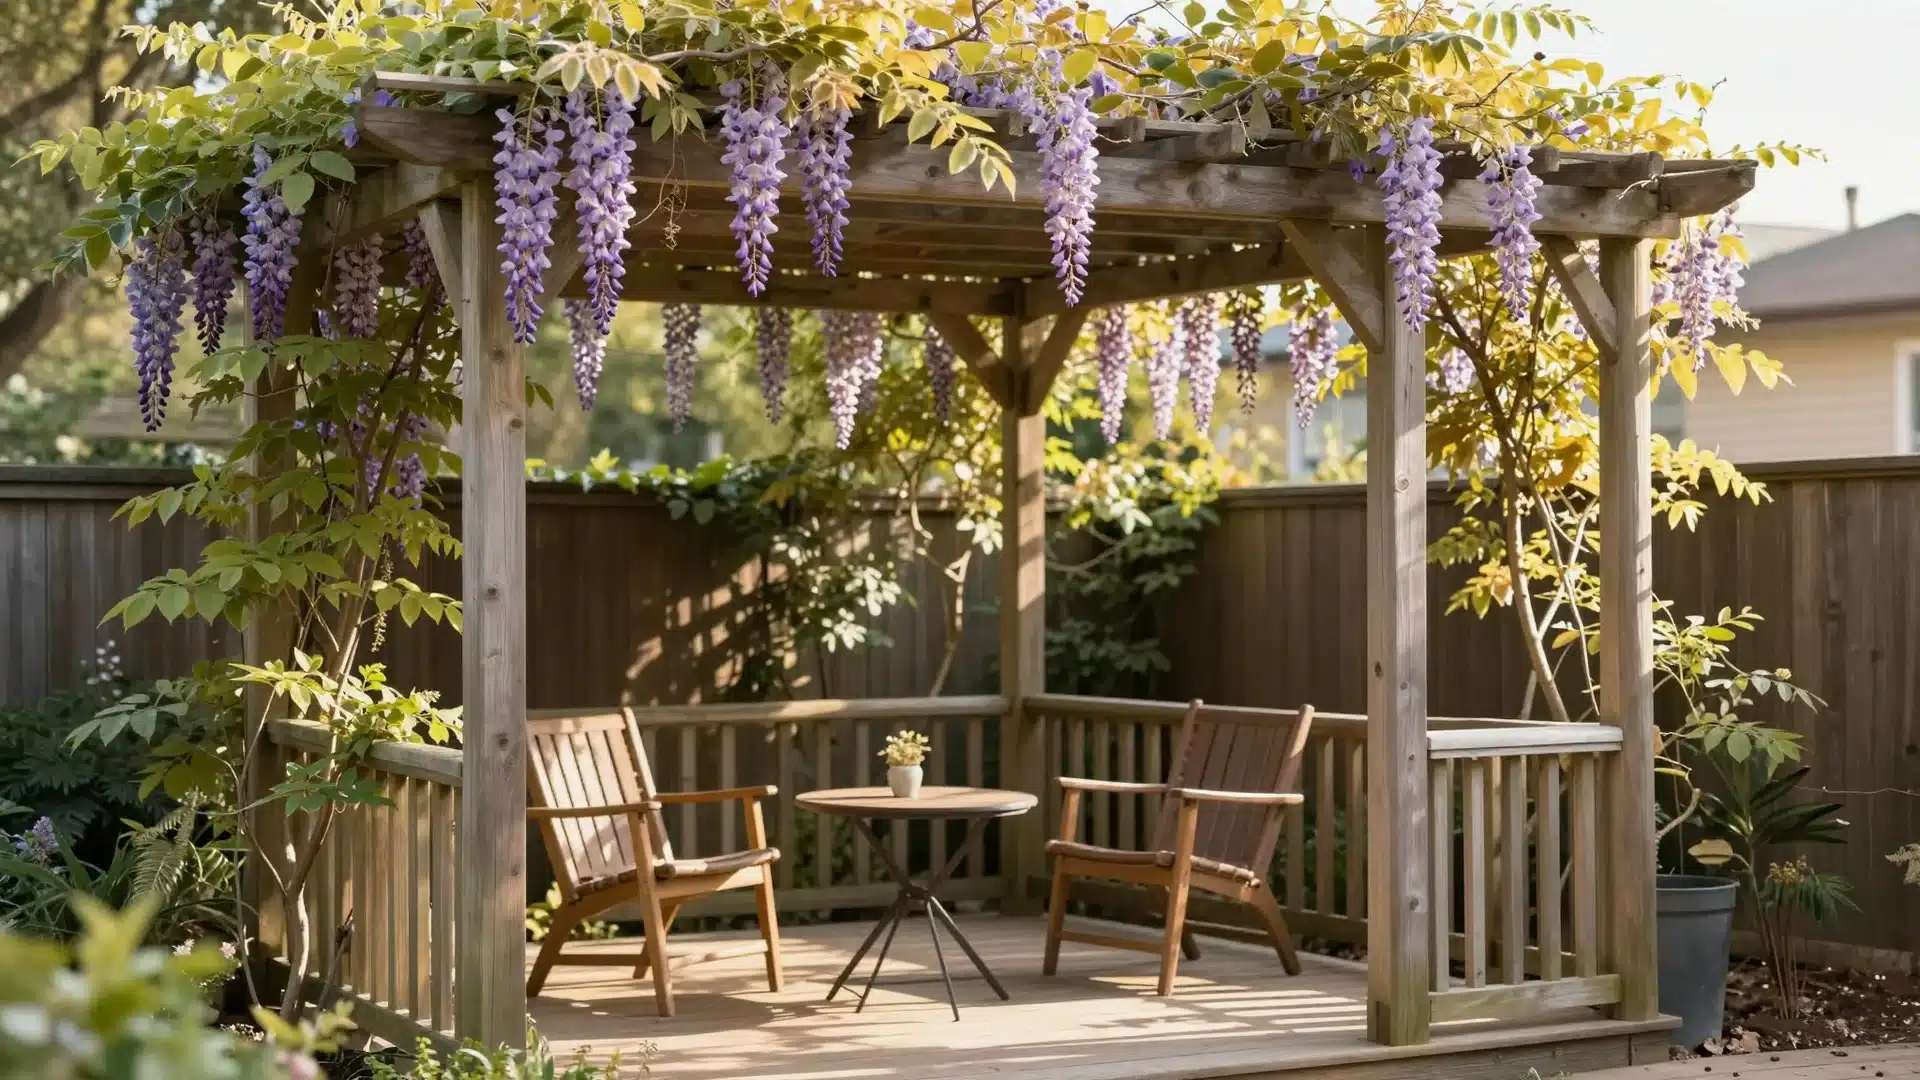
Alt Text: A large wooden pergola structure providing a shaded architectural feature over a backyard patio area.
A pergola gives your backyard structure, creates a defined outdoor room, and adds shade without blocking all the light.
- Step 1: Choose a flat, level spot and mark the four corner posts with stakes.
- Step 2: Dig post holes at least 2 feet deep and set posts in concrete for stability.
- Step 3: Attach horizontal beams and rafters across the top using outdoor-rated hardware.
- Step 4: Add climbing plants at the base or hang string lights along the rafters to finish the look.
17. Install a Simple Water Feature
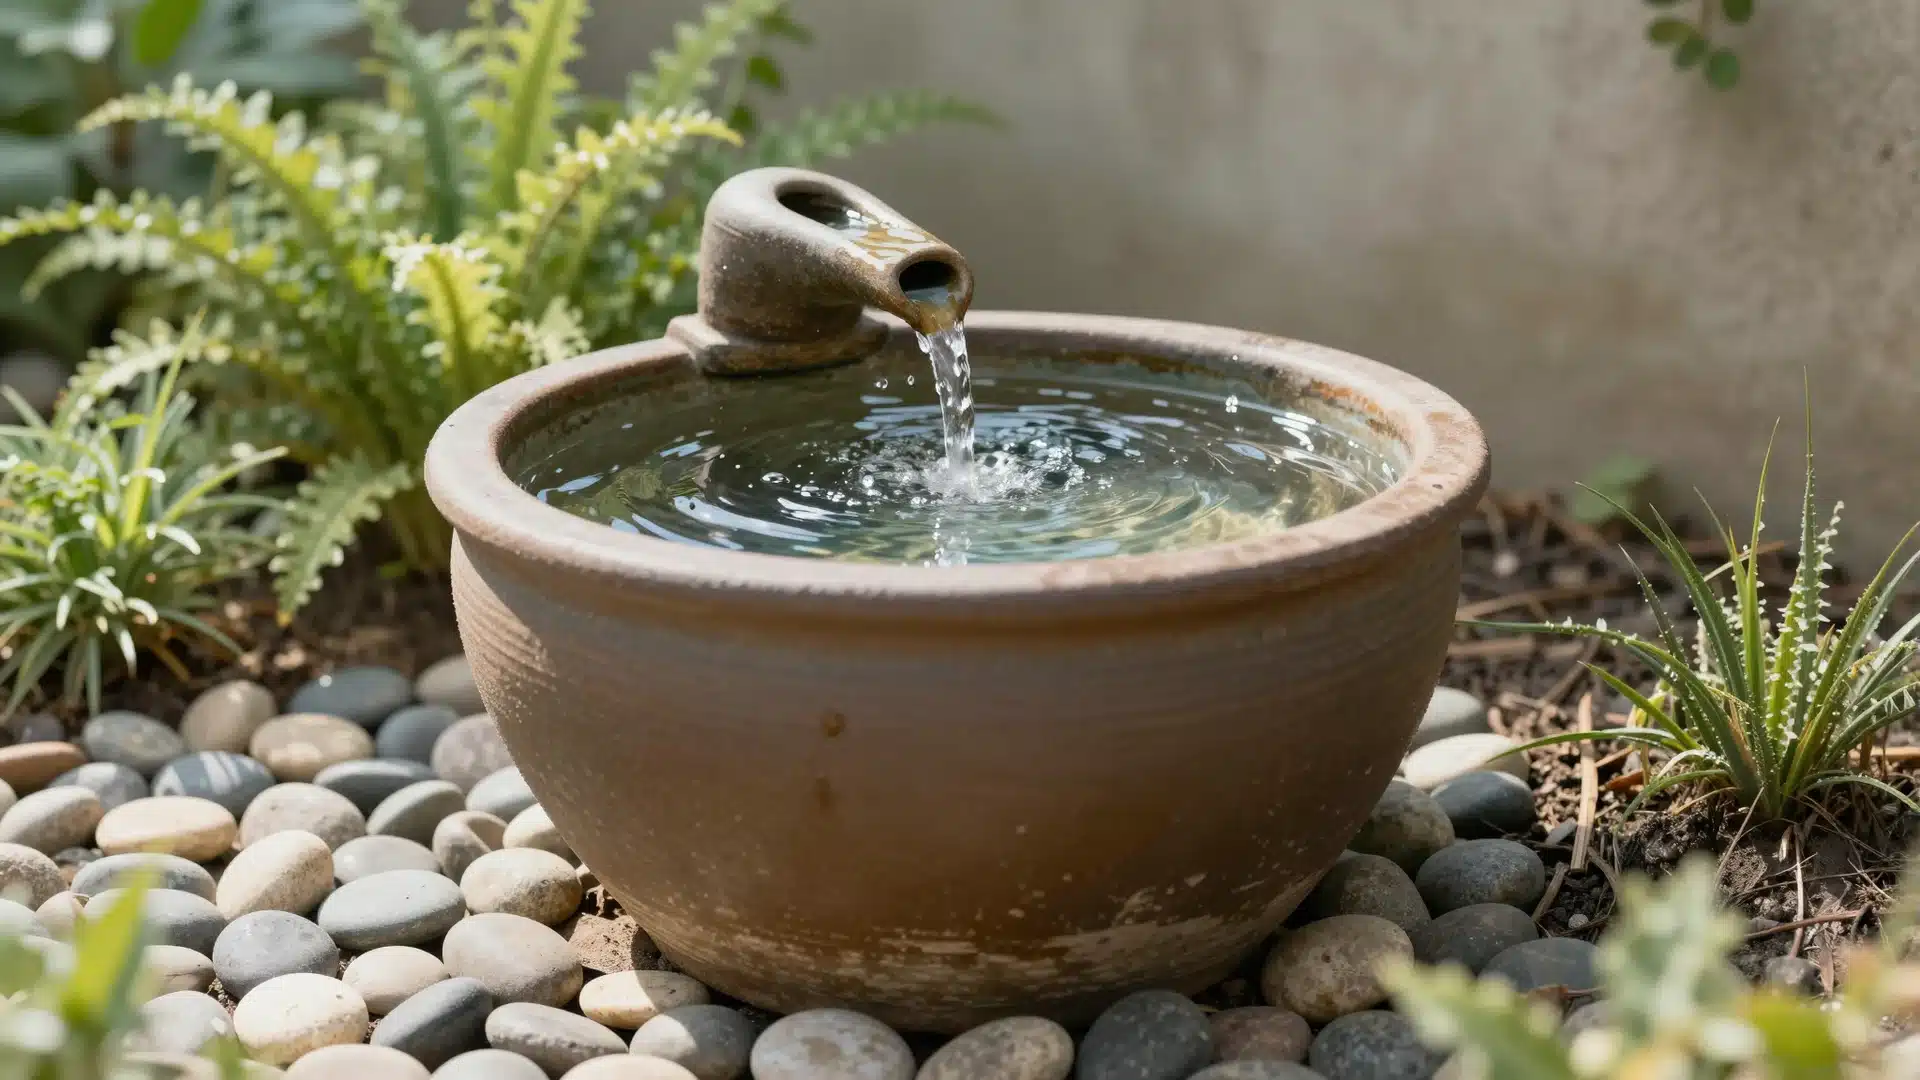
Alt Text: A small decorative water fountain made of stacked stone pots flowing into a bed of smooth river rocks.
The sound of running water makes any outdoor space feel calmer. A barrel fountain or a simple tiered pot setup works just as well as a full pond.
- Step 1: Choose a container large enough to hold a submersible pump.
- Step 2: Place the pump at the bottom and run the tubing up through a decorative feature.
- Step 3: Fill with water and top with rocks to cover the pump and add visual interest.
- Step 4: Plug into an outdoor-rated extension cord and test the flow before finalizing placement.
18. Create a Separate Outdoor Seating Zone
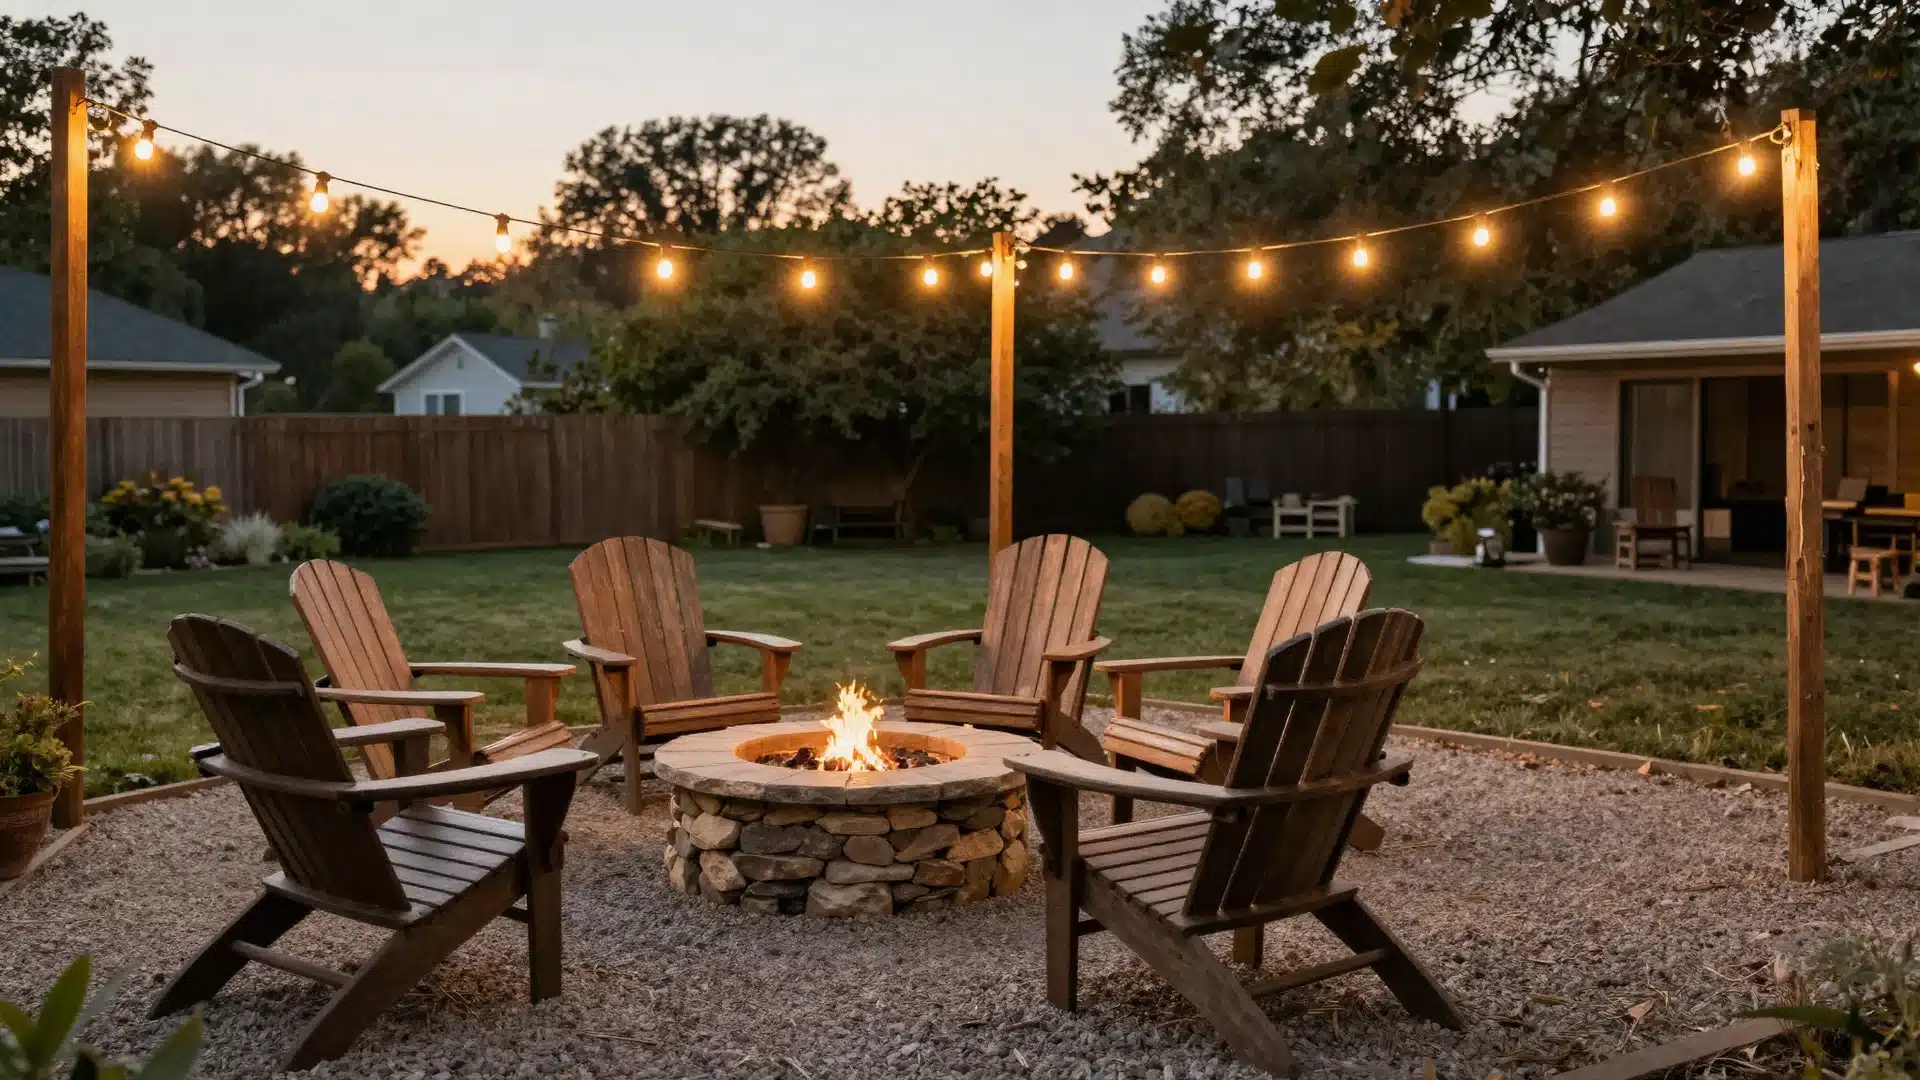
Alt Text: A defined outdoor seating zone with wooden chairs and a table set on a dedicated stone patio.
Defining a clear seating area turns an open yard into a space that feels usable and intentional.
- Step 1: Pick a flat spot, away from overhanging branches, and at a comfortable distance from the house.
- Step 2: Place a fire pit in the center or to one side, following local clearance codes.
- Step 3: Arrange seating around it using Adirondack chairs, pallet chairs, or wooden benches.
- Step 4: Add an outdoor rug to define the zone and hang string lights or solar lanterns overhead.
19. Use Layered Planting for Visual Depth
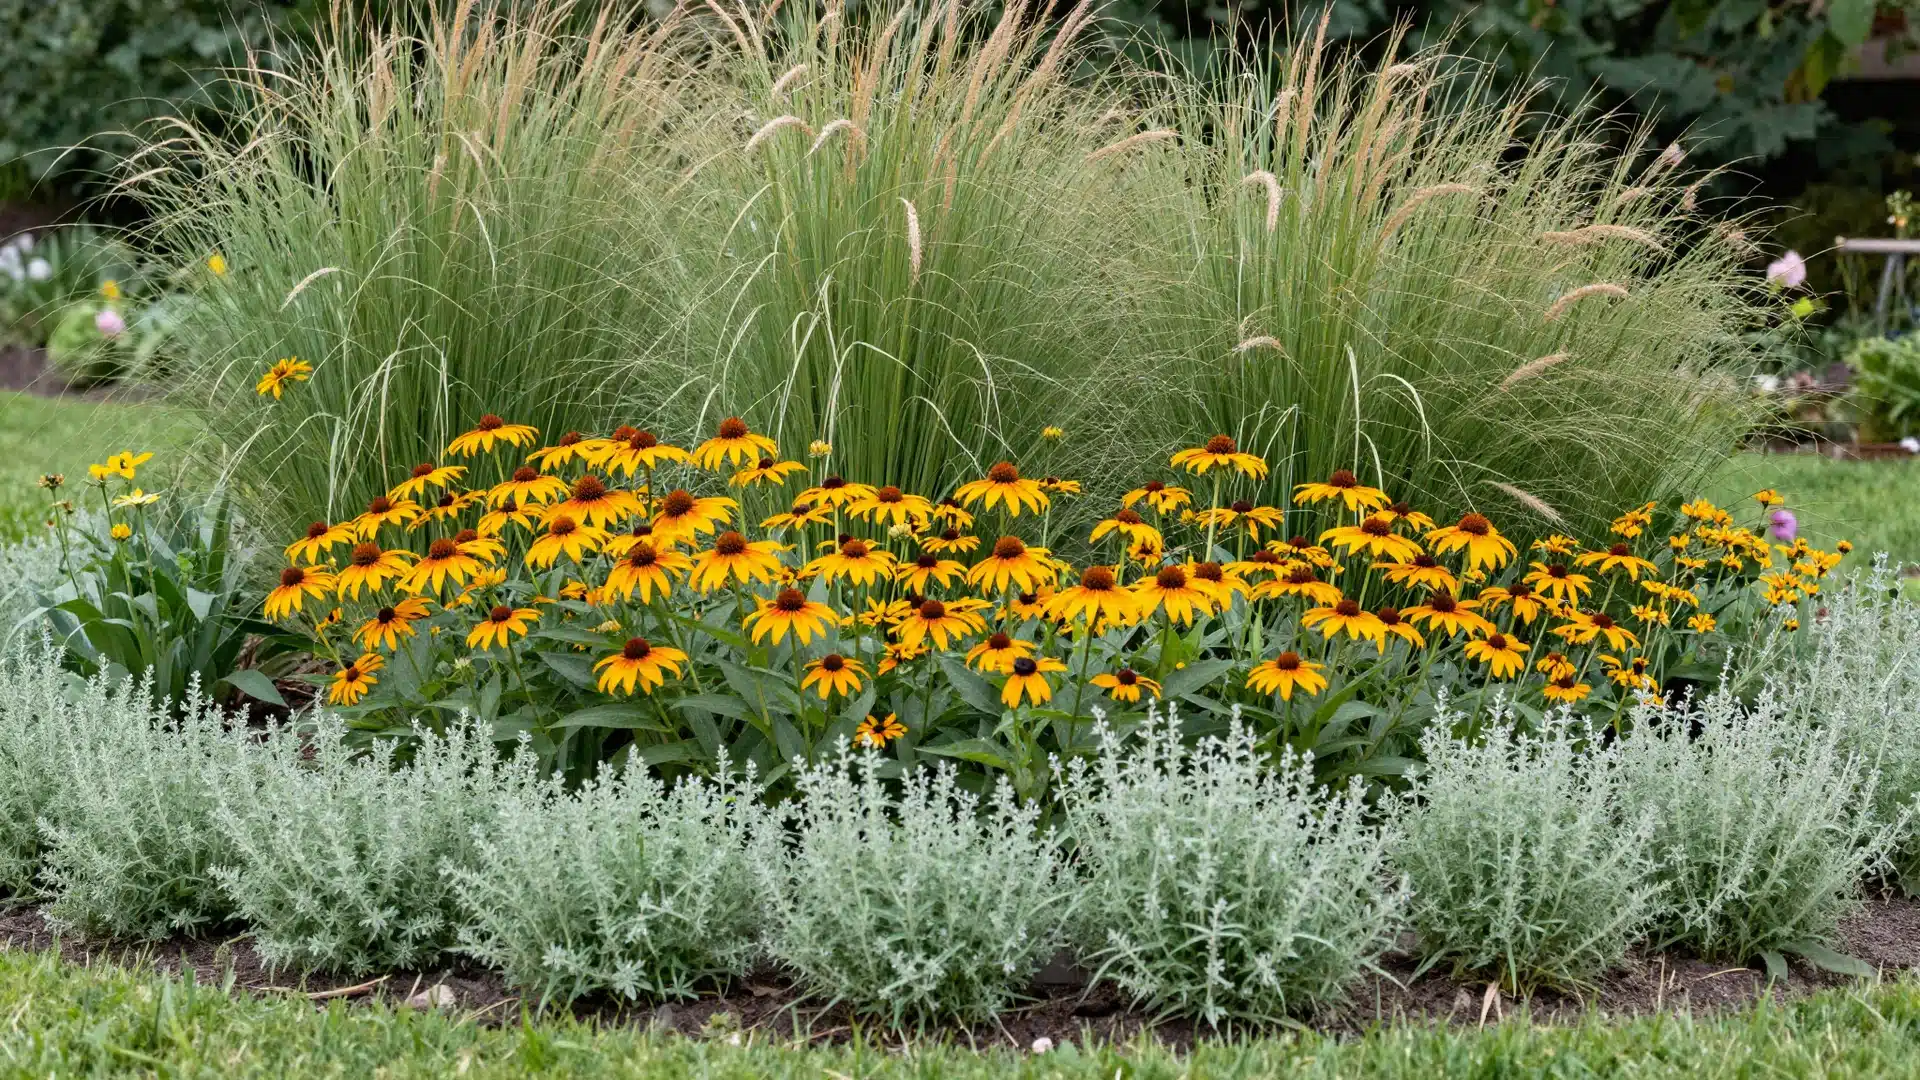
Alt Text: A layered garden bed with tall shrubs in the back, medium flowers in the middle, and low ground cover.
Layering plants by height makes beds look full and professional. It works in any size yard.
- Step 1: Plan three tiers: tall plants at the back, medium in the middle, and low growers in front.
- Step 2: Use ornamental grasses or butterfly bush for the back row.
- Step 3: Fill the middle with coneflowers, peonies, or black-eyed Susans.
- Step 4: Fill the front row with creeping thyme, alyssum, or hostas.
20. Paint or Stain a Wooden Fence
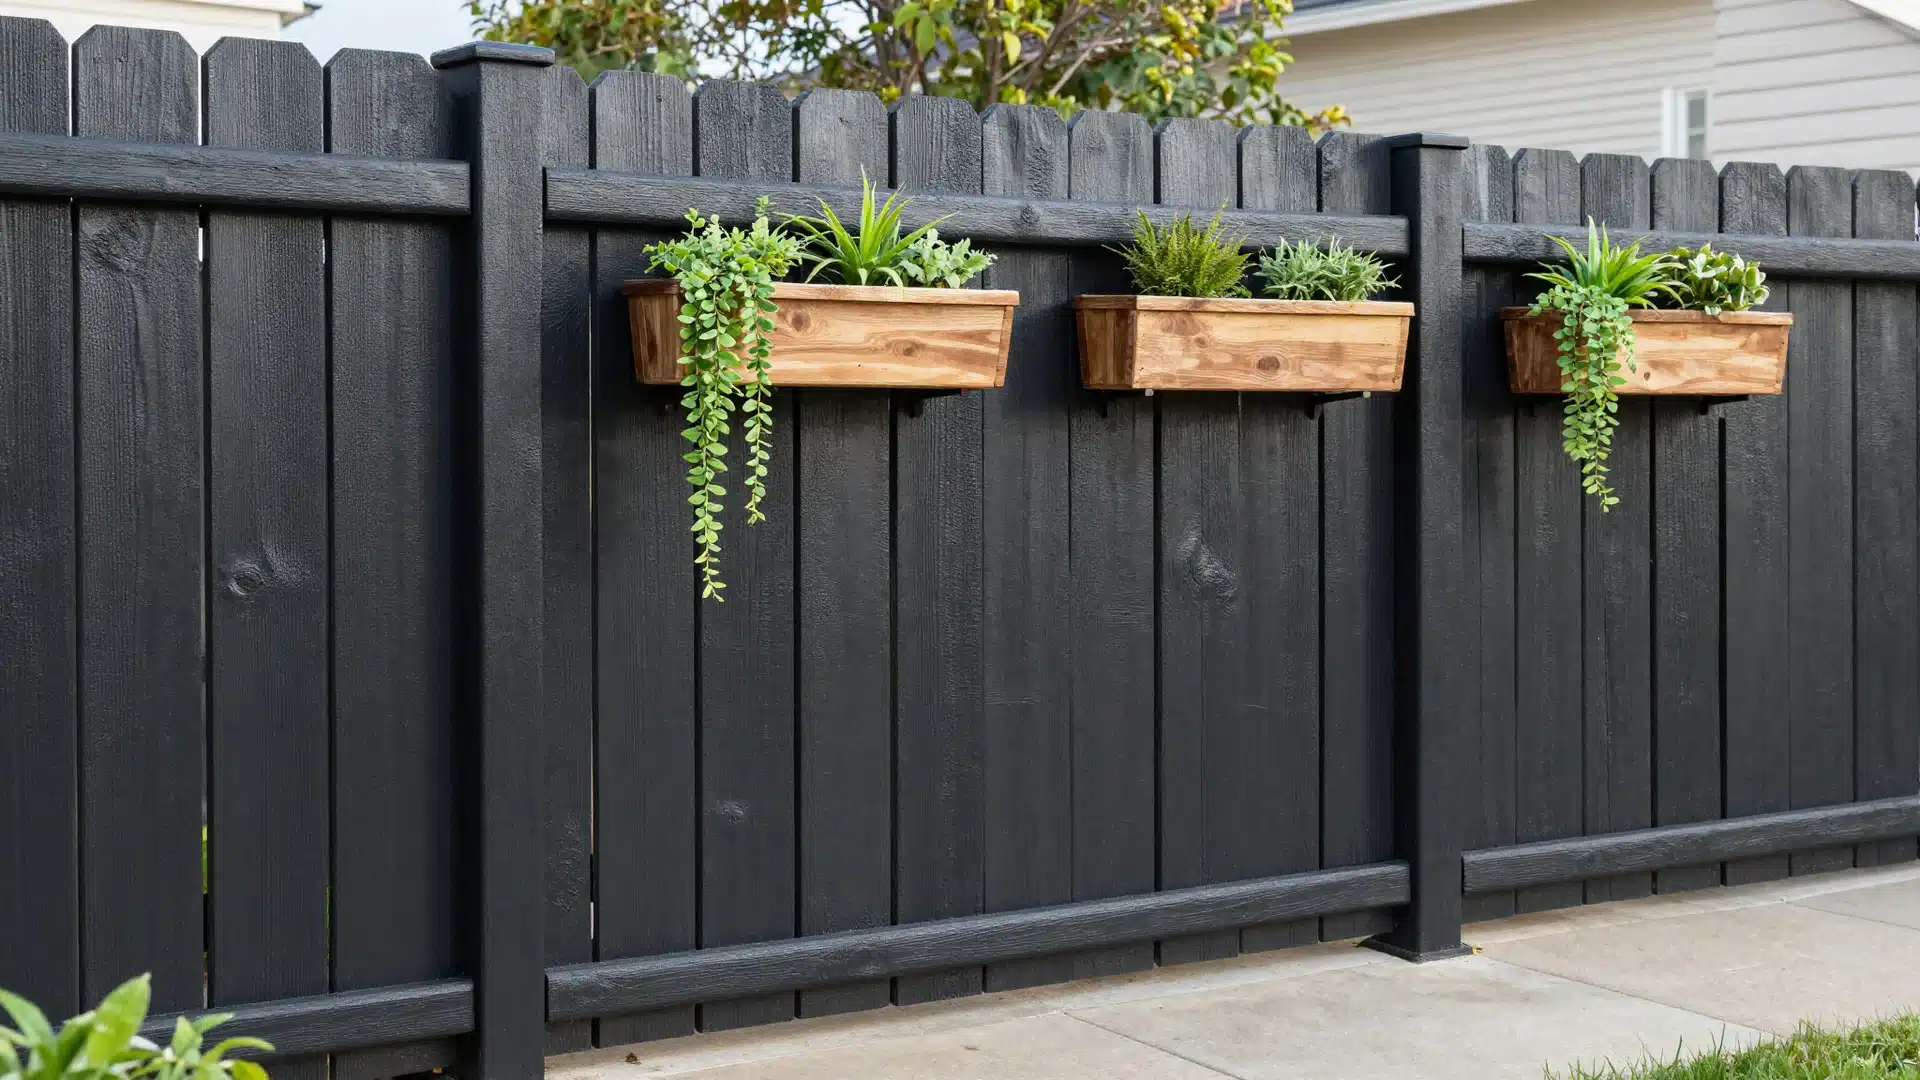
Alt Text: A fresh coat of dark protective stain to a vertical slat wooden garden fence.
A freshly painted or stained fence changes the entire feel of the yard in a single weekend.
- Step 1: Clean the fence with a pressure washer or a stiff brush and soapy water. Let it dry fully.
- Step 2: Sand rough patches and apply a wood primer if you’re painting.
- Step 3: Apply outdoor-rated paint or stain. Cedar and charcoal tones are popular right now.
- Step 4: Add wall-mounted planters to the freshly finished fence for extra greenery.
21. Try Hydrozoning: Group Plants by Water Needs
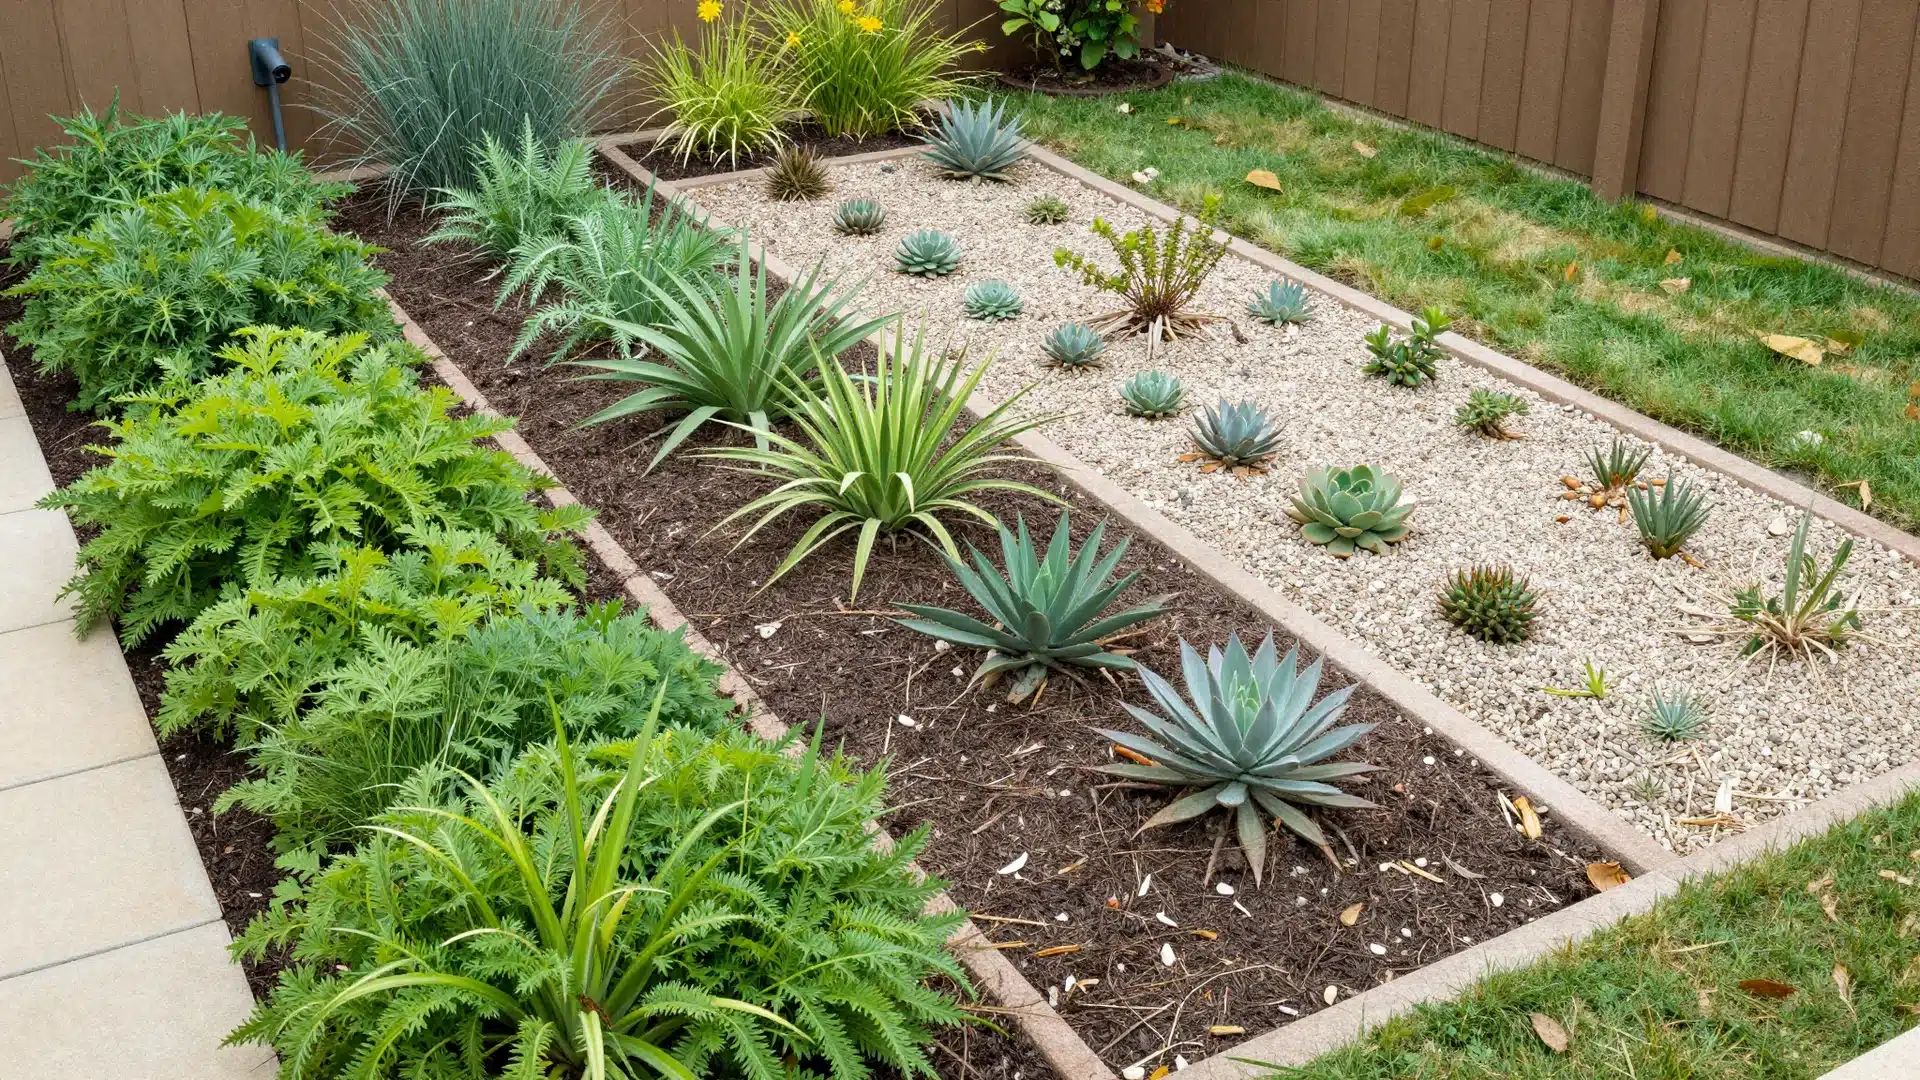
Alt Text: A garden divided into hydrozones with drought-tolerant succulents in one area and lush leafy plants in another.
Hydrozoning is the practice of grouping plants with similar water needs together. Research from Colorado State University Extension shows this can cut outdoor water use by up to 40%.
- Step 1: Sort your plants into three categories: high-water, moderate-water, and low-water.
- Step 2: Map out zones in your yard based on natural drainage and distance from your water source.
- Step 3: Plant thirsty varieties near downspouts and drought-tolerant ones further out.
- Step 4: Set up separate watering schedules per zone to make maintenance easier.
22. Build a Simple Fire Pit Seating Area
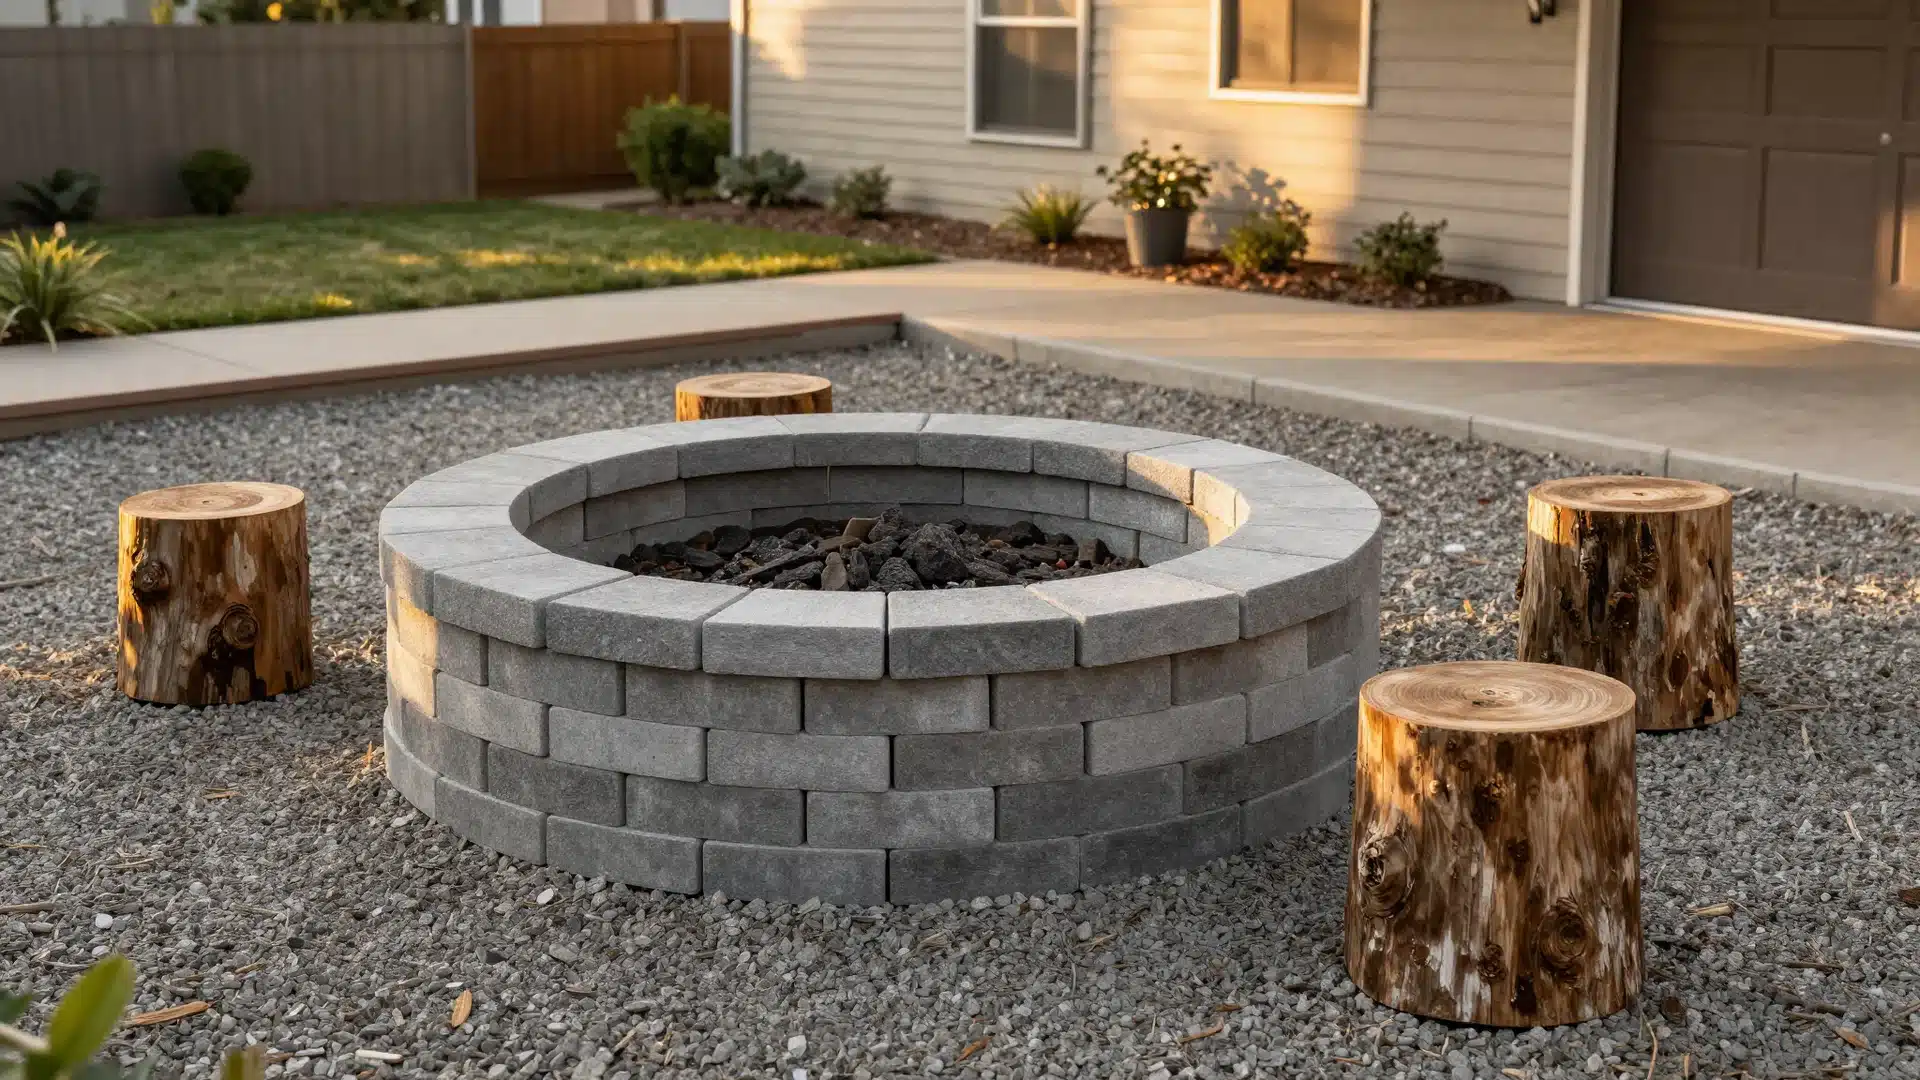
Alt Text: A circular stone fire pit surrounded by Adirondack chairs on a bed of crushed stone in a backyard.
A fire pit gives your backyard a clear gathering spot without a big build. You can put one together in a weekend using basic materials, and it instantly makes the space feel more intentional and usable.
- Step 1: Choose a flat, open spot at least 10 feet away from fences, trees, or the house.
- Step 2: Mark a circle about 4 feet in diameter, dig down 6 inches, and fill the base with gravel for drainage.
- Step 3: Stack retaining wall blocks or fire bricks in a ring two to three layers high around the gravel base.
- Step 4: Arrange seating around the pit using log stumps, concrete blocks with cushions, or simple wooden benches.
23. Install a Simple Privacy Screen
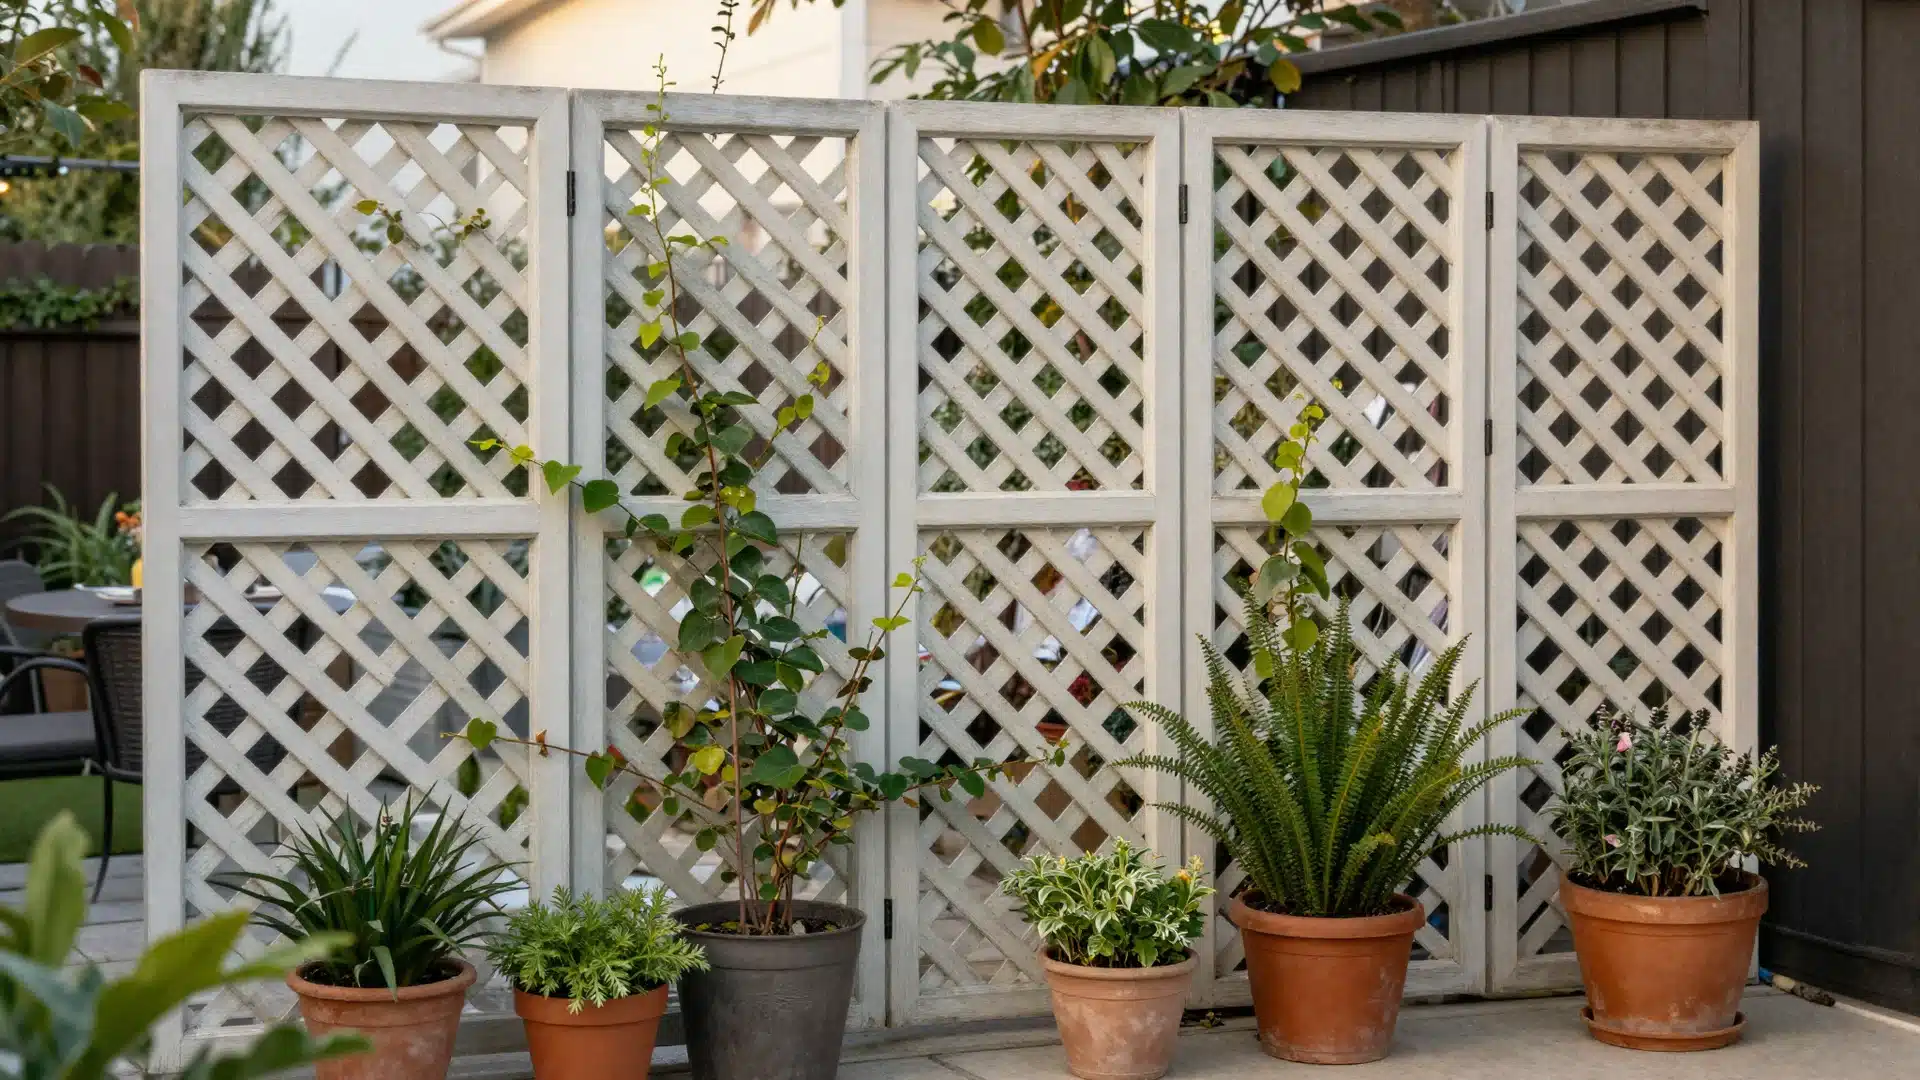
Alt Text: A wooden lattice privacy screen partially covered in green climbing ivy next to a backyard seating area.
A section of lattice, a row of tall plants, or louvered wood can block the view where you need it without closing off the whole yard.
- Step 1: Identify the spots where you feel most exposed, such as a patio or side yard.
- Step 2: Choose your screen: lattice panel, louvered wood, bamboo roll, or a row of arborvitae.
- Step 3: Install posts or anchor points firmly before attaching the screen material.
- Step 4: Add potted plants or climbing vines in front to soften the look and blend it into the yard.
24. Create a Pollinator-Friendly Bed
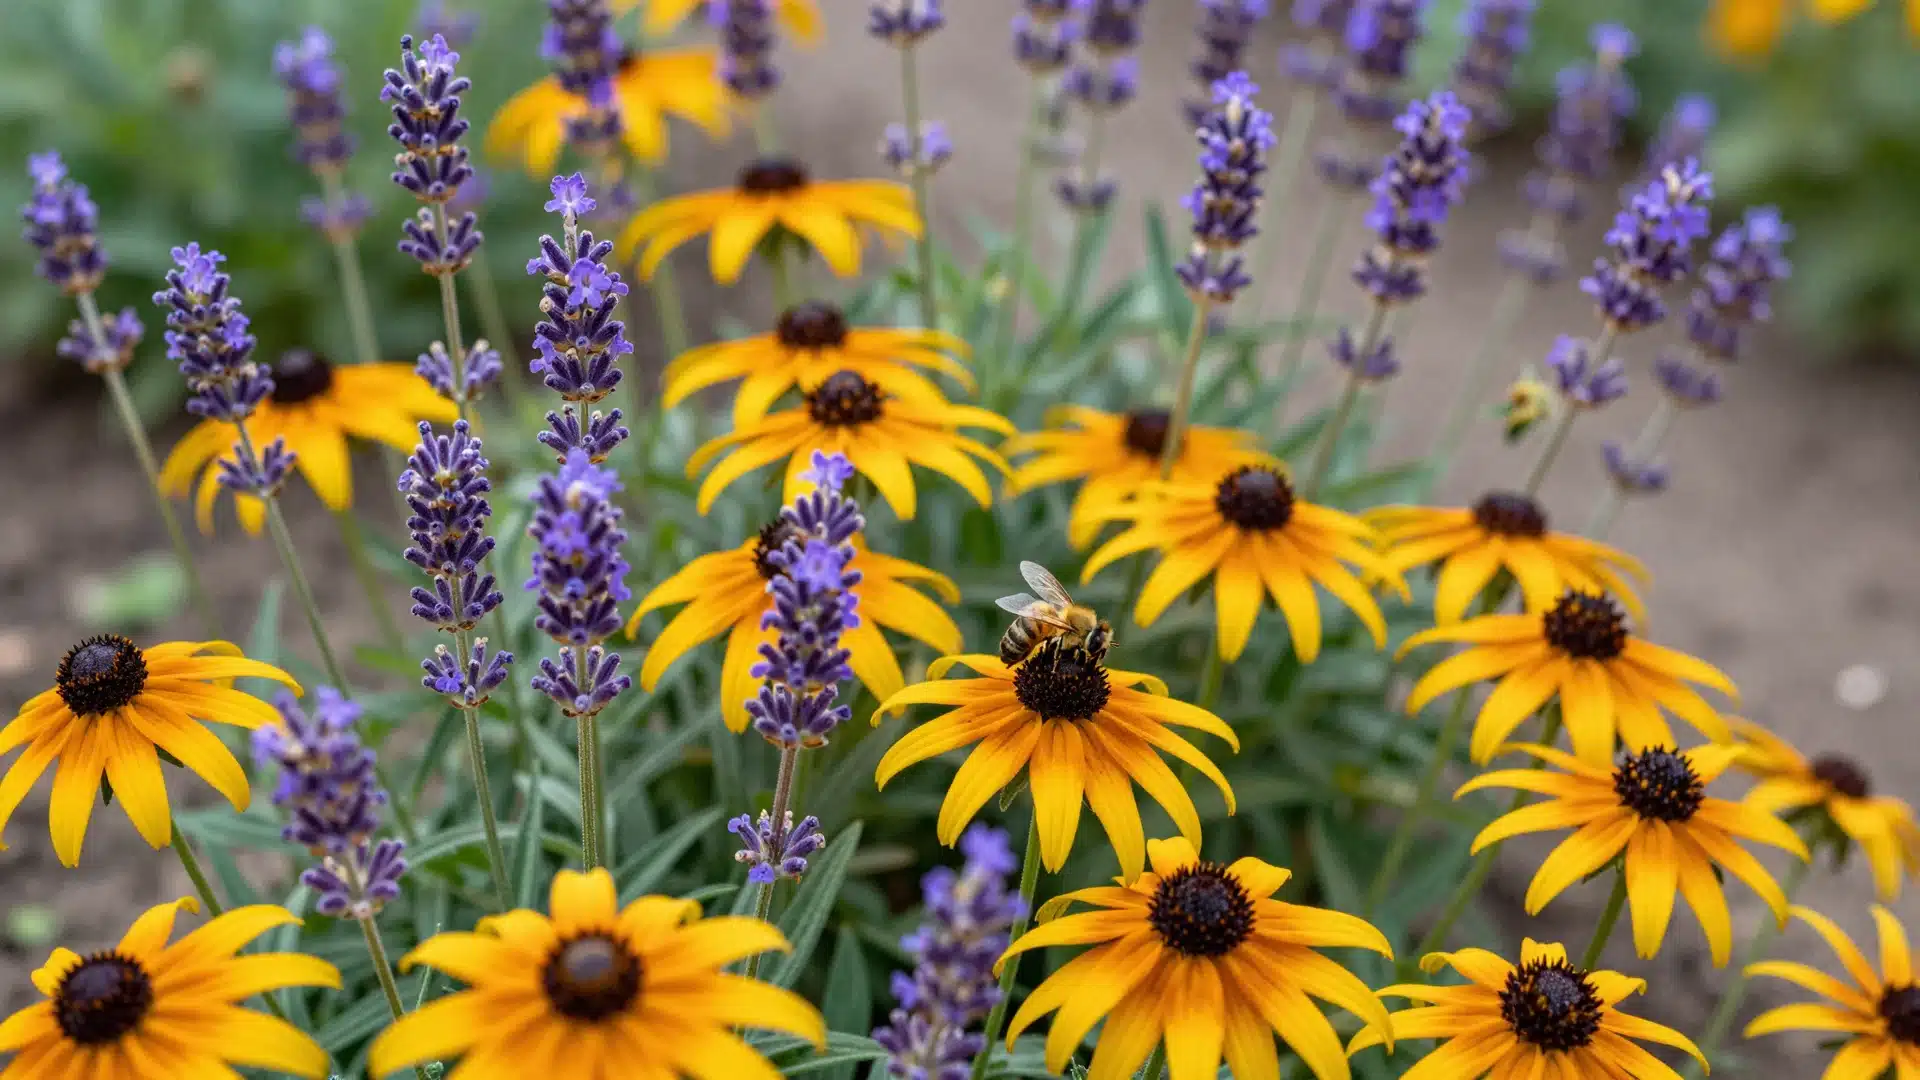
Alt Text: A sunny garden bed filled with pollinator-attracting flowers like coneflowers and black-eyed Susans.
A bed planted for pollinators supports bees and butterflies while giving you a colorful, low-effort garden all season. Lavender, black-eyed Susan, coneflower, and salvia are all solid choices.
- Step 1: Choose a sunny spot with at least 6 hours of direct sun.
- Step 2: Pick a mix of early, mid, and late-season bloomers for food from spring through fall.
- Step 3: Plant in clusters of the same species rather than scattering individual plants.
- Step 4: Avoid chemical pesticides in or near the bed since they harm the pollinators you’re trying to attract.
25. Use Bold Repetition with a Limited Plant Palette
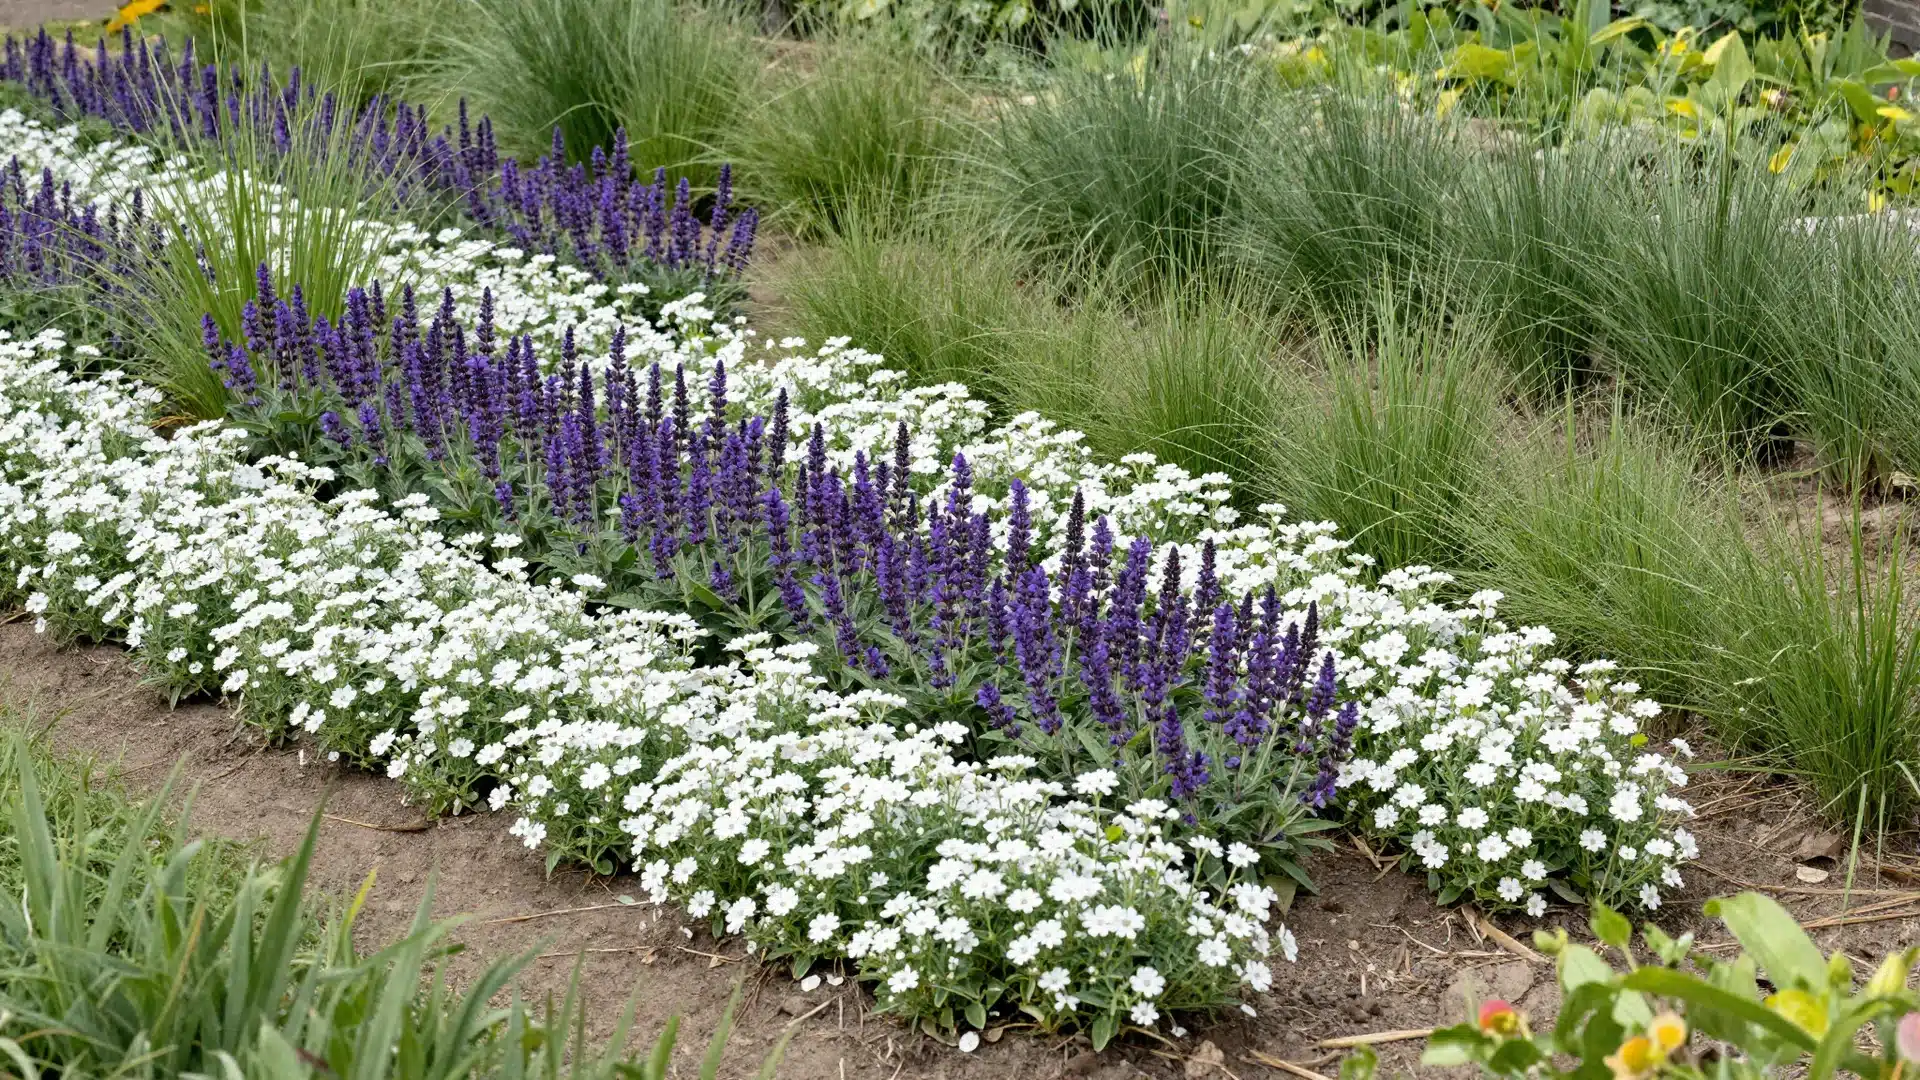
Alt Text: A cohesive landscape design repeating the same three plant species across several identical garden beds.
Choosing 2 to 3 plant types and repeating them throughout the yard creates a cohesive look that’s far easier to maintain than a mix of 15 different varieties.
- Step 1: Pick one structural plant, one colorful bloomer, and one ground cover.
- Step 2: Use these three as the base of every bed in your yard in different arrangements.
- Step 3: Vary the spacing and grouping slightly so repetition feels natural rather than rigid.
- Step 4: Stick to your palette for at least one full season before adding anything new.
Simple Landscaping Ideas by Yard Type
Your yard’s size, shape, and sunlight level all affect which ideas will work best. Here’s a quick one-line guide matched to common yard types.
- Small backyards: Use vertical planters, wall-mounted pots, and a compact seating area to make the most of limited space.
- Large yards: Break the space into distinct outdoor rooms using pathways, garden beds, and anchor trees to give each zone its own purpose.
- Sloped or uneven yards: Build terraced levels with low retaining walls and use dry stream beds to safely direct water runoff.
- Shaded yards: Focus on shade-tolerant plants like hostas and ferns, use lighter-colored mulch to reflect available light, and add solar lighting for warmth at night.
How Much Does Simple Landscaping Cost?
DIY landscaping costs range from $100 to $500 for small projects like flower beds or a few pots, $500 to $2,000 for mid-scale work like a gravel patio or garden path, and $2,000 to $10,000 or more for larger jobs like decks or irrigation systems.
The good news is that most of the ideas in this guide fall well under $500 when done yourself, especially if you buy plants at end-of-season sales, use recycled or repurposed materials, and propagate plants from cuttings instead of buying new ones.
To Sum It Up
A better yard doesn’t require a big budget, a professional crew, or weeks of work.
The simple landscaping ideas in this guide are designed to be done in stages, one weekend at a time, starting wherever makes the most sense for your space and goals.
Pick one idea, try it this weekend, and see how it changes the way you feel about your yard. Once you see results, the next step gets a lot easier.
Which of these simple landscaping ideas are you planning to try first? Leave a comment below and let us know.
Frequently Asked Questions
What Is the Cheapest Option for Landscaping?
Mulching existing beds is the most affordable starting point. A bag of mulch costs $3 to $8, and it instantly makes any bed look cleaner and more finished.
What Is the Rule of 3 in Landscaping?
The rule of 3 means planting in odd-numbered groupings of 3, 5, or 7 rather than pairs. Odd numbers look more natural and less rigid in a garden setting.
What Is the 70 30 Garden Rule?
The 70 30 rule means covering 70% of your garden with plants or ground cover and leaving 30% as open space, paths, or hardscaping. It keeps a yard from feeling either bare or overcrowded.
Which Plants Should Never Be Planted Together?
Fennel should not be planted near most vegetables since it releases compounds that stunt their growth. Mint spreads aggressively and does better in its own contained pot away from other plants.