

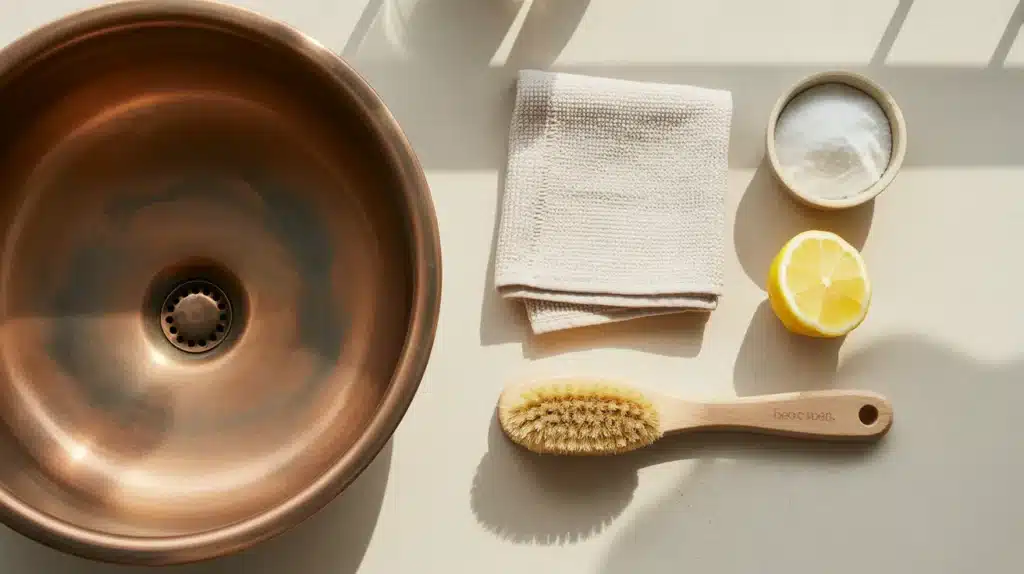
A copper sink looks good the day you install it. Then life happens. Ketchup sits too long. Water dries and leaves marks. You grab the nearest cleaner and suddenly the finish looks off. Sound familiar?
Copper is not like your regular kitchen sink. It reacts to food, water, and the wrong products faster than you would expect.
The good part is, it is also quite forgiving. Most issues fix on their own if you know what to do.
This guide covers exactly how to clean a copper sink properly, from a quick daily routine to fixing stubborn spots, picking the right products, and keeping it looking great for a long time.
Why Copper Sinks Need Special Care?
Unlike stainless steel or ceramic, copper is a reactive metal. It changes color when it meets air, water, acidic food, or the wrong cleaning products.
Bleach, ammonia, and even some common spray cleaners can permanently alter the finish. The good part is that with the right habits, copper is actually one of the easier sinks to maintain.
What Is Copper Patina and Should You Be Worried About It?
Before you start cleaning, it helps to know what you are actually looking at. That color shift on your sink is not damage, it has a name, and it is completely supposed to happen.
| What It Is | What It Looks Like | What Causes It | Should You Remove It? |
|---|---|---|---|
| Natural patina | Dark brown, amber, or bronze tones | Air, water, and everyday use | No, it protects the copper |
| Verdigris | Green spots | Moisture sitting too long | Optional, it can be removed safely |
| Bright spots | Shiny, rose-gold patches | Acidic foods like lemon or ketchup | No, it fades on its own |
| Tarnish | Dull, dark, uneven tone | Oxidation over time | Only if you prefer a shinier look |
How to Clean a Copper Sink: Daily Routine
The daily routine for a copper sink is short and simple. It takes about two minutes and saves you from dealing with stubborn build-up later on.
Step 1: Rinse with warm water: Do this right after using the sink to wash away food, soap, and debris before anything dries on the surface.
Step 2: Wipe with mild dish soap: Use a soft cloth or a non-scratch sponge with a small drop of dish soap and wipe the entire surface gently.
Step 3: Rinse off the soap: Make sure no soap residue is left behind, as it can cause spotting if it dries on the copper.
Step 4: Dry the sink completely: This is the most important step. Use a dry microfiber cloth and wipe the entire sink dry after every single use.
Deep Cleaning Methods for a Copper Sink
Daily cleaning keeps your copper sink in shape, but some weeks it needs a bit more. Here are four methods that work well for stubborn stains, tarnish, and build-up.
1. Baking Soda and Warm Water
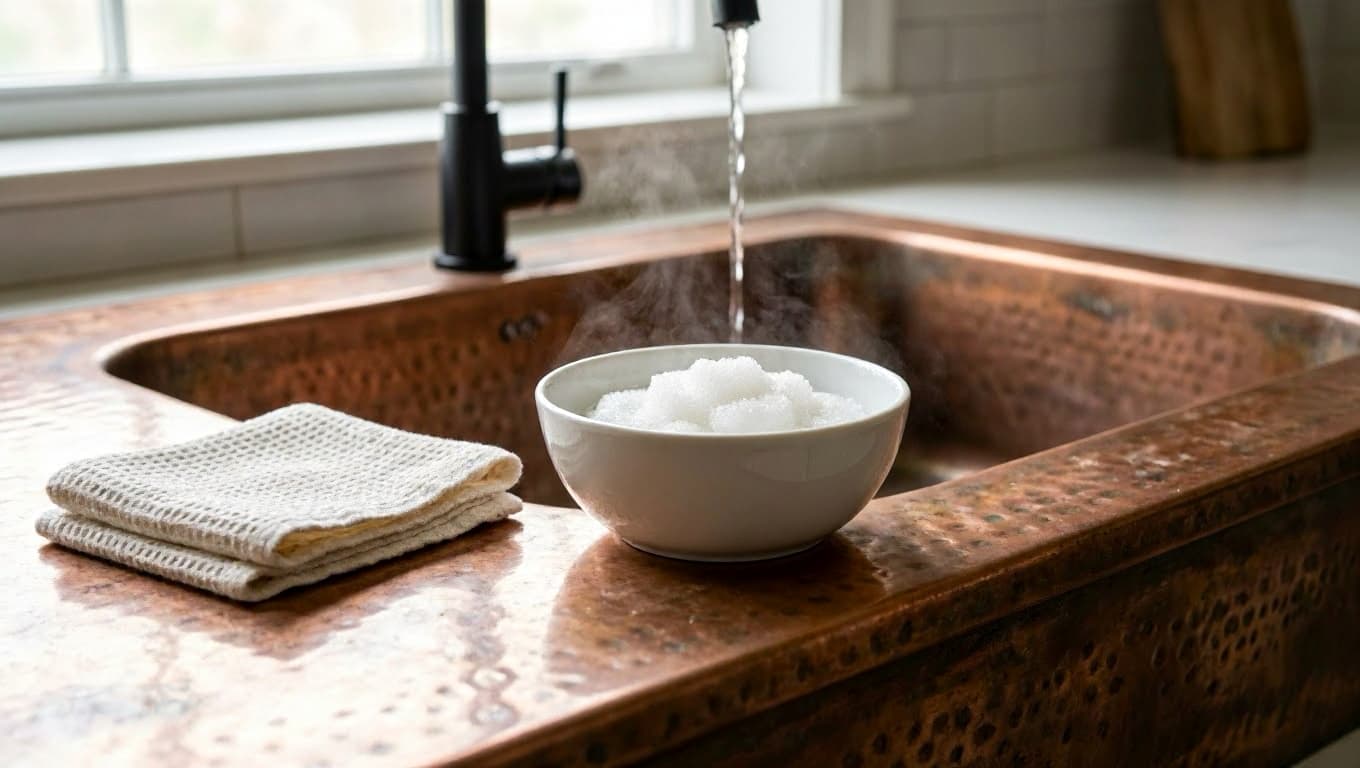
Alt Text: Bowl of baking soda and cloth beside a copper sink with running water.
This is the gentlest deep cleaning option available. It lifts surface grime and light stains without affecting the patina at all. It is safe to use on all copper sink finishes, including lacquered ones.
What You Need:
Baking soda
Warm water
Soft cloth or sponge
Steps:
- Mix baking soda with a little warm water to form a soft paste.
- Apply the paste to the stained area using a soft cloth.
- Rub in small, gentle circles.
- Rinse the sink thoroughly with warm water.
- Dry the sink completely with a microfiber cloth.
2. Lemon Juice and Salt
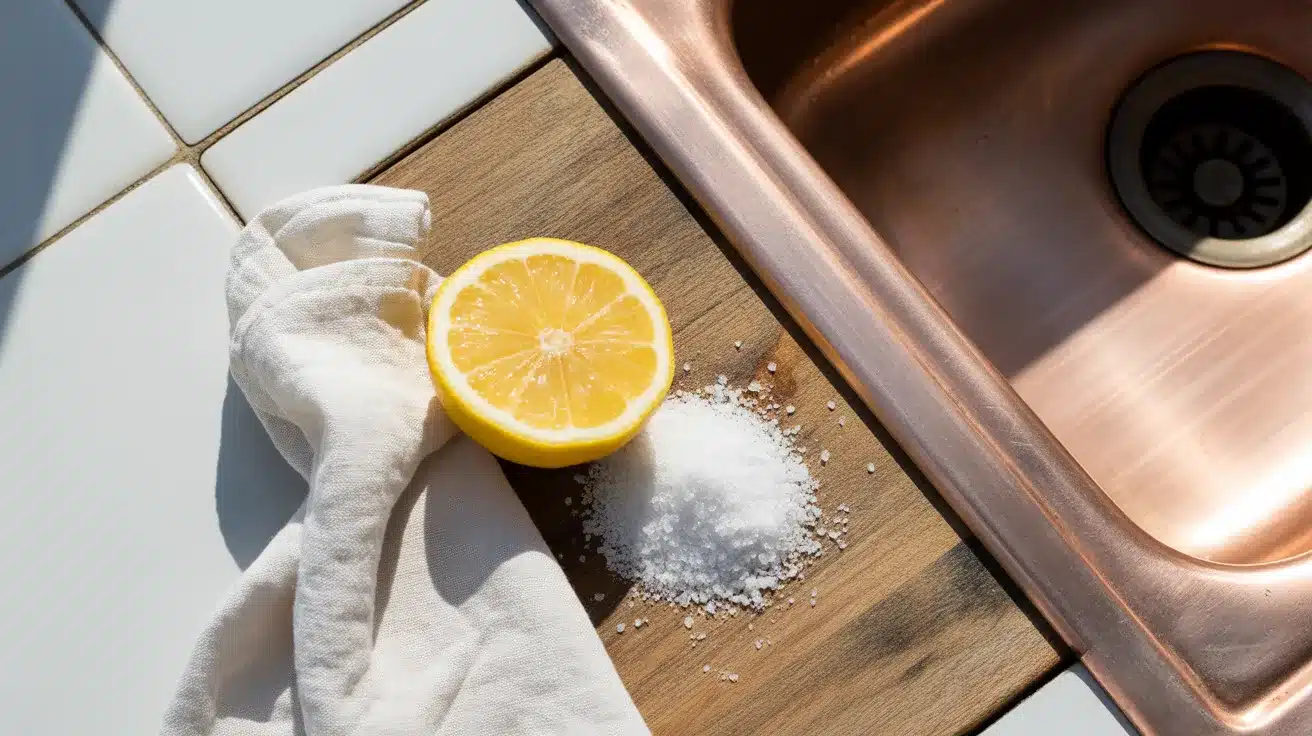
Alt Text: Lemon, salt, and cloth placed next to a copper sink for cleaning.
The acid in lemon juice breaks down surface tarnish and gives dull copper a noticeably brighter look. Use this only on raw or unlacquered sinks, as acid can lift the coating on lacquered ones.
What You Need:
1 lemon, cut in half
Table salt
Warm water
Soft cloth
Steps:
- Dip the cut side of the lemon in table salt.
- Rub it directly on the tarnished area.
- Let it sit for about 5 minutes.
- Rinse well with warm water and dry right away.
3. Vinegar, Salt, and Flour Paste
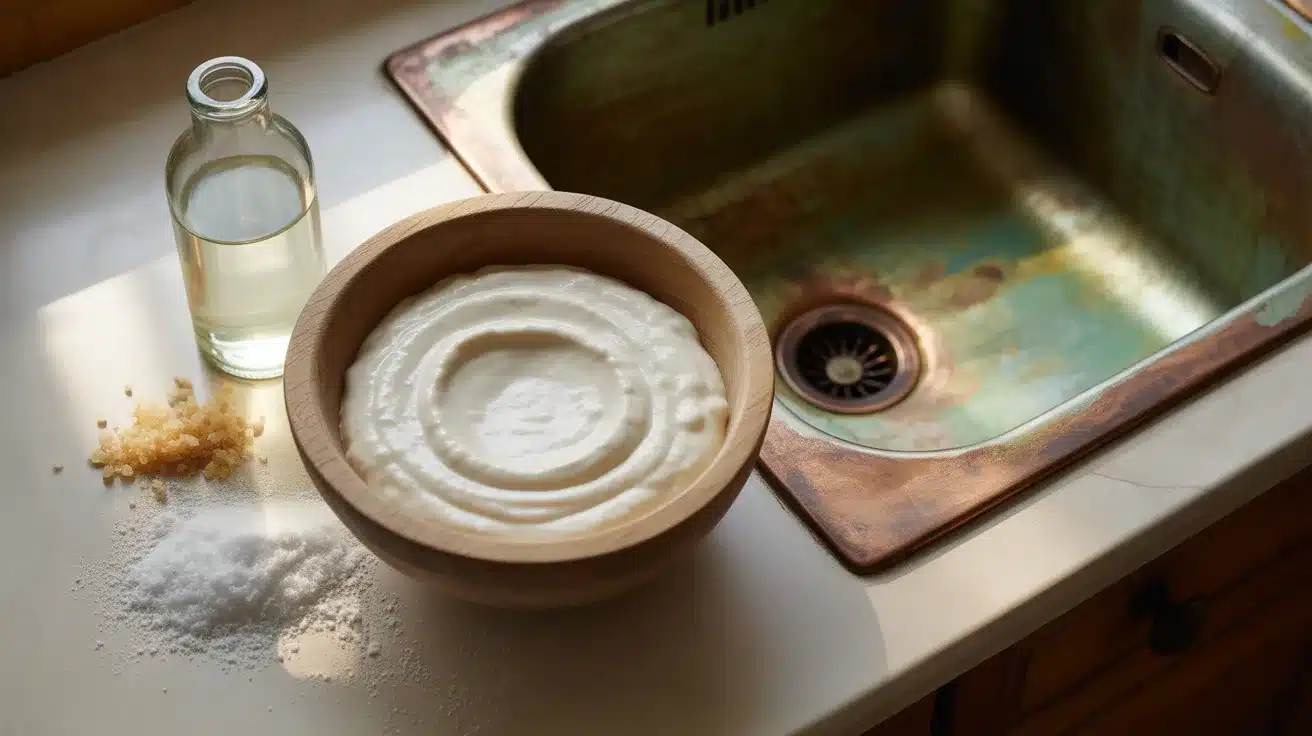
Alt Text: Bowl of cleaning Flour paste with vinegar, and salt beside a copper sink.
This method works well on stubborn tarnish and green spots. The combination of mild acid and salt acts as a gentle scrub without scratching the copper surface. Use only on raw, unlacquered copper sinks.
What You Need:
White vinegar
Salt
All-purpose flour
Soft cloth
Steps:
- Mix equal parts white vinegar, salt, and flour into a thick paste.
- Apply it to the tarnished or spotted area.
- Let it sit for 15 to 30 minutes.
- Rub gently with a soft cloth.
- Rinse thoroughly with warm water and dry at once.
4. The Ketchup Method
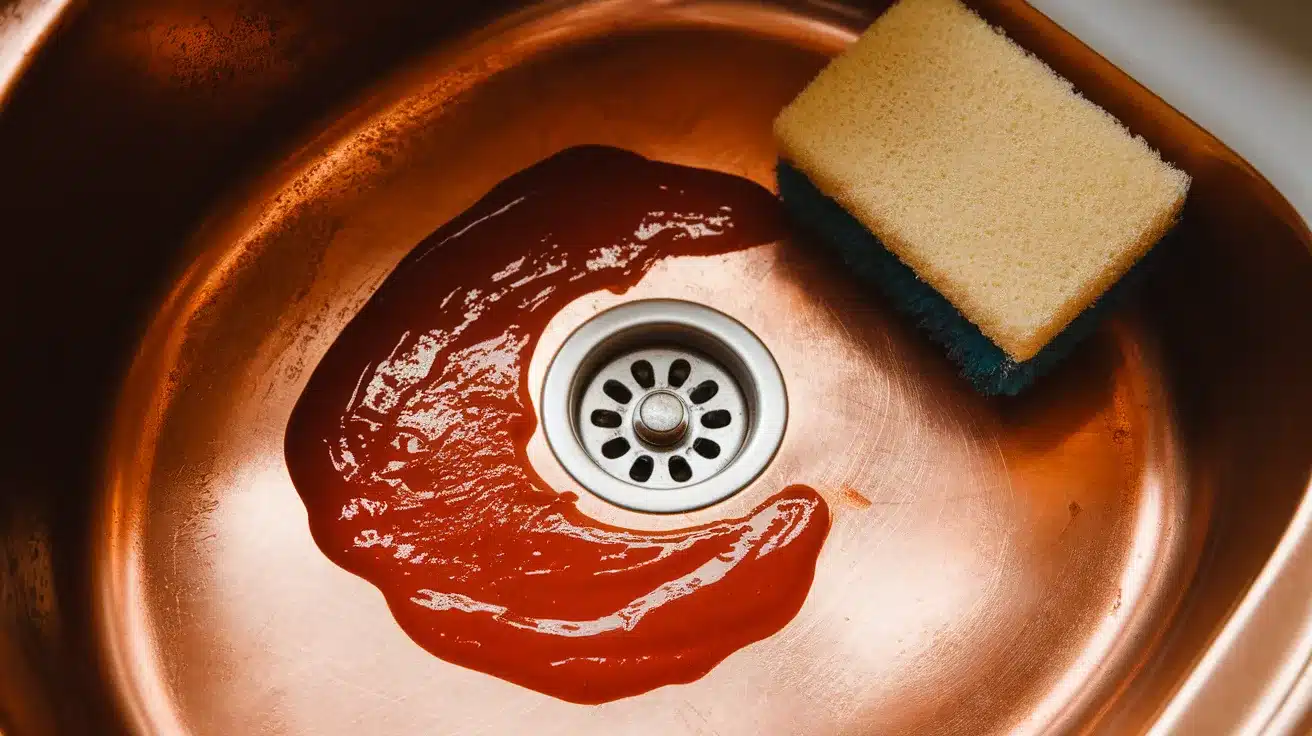
Alt Text: Ketchup applied inside a copper sink with a sponge for cleaning.
This one was found completely by accident. Someone left ketchup sitting in their copper sink and came back to find a shiny clean patch underneath it. The mild tomato acid breaks down tarnish without being too harsh on the copper surface.
What You Need:
Ketchup
Warm water
Soft cloth or flat sponge
Mild dish soap
Steps:
- Clean the sink with soap and warm water first.
- Spread a layer of ketchup across the bottom of the sink.
- Wait 10 to 15 minutes and watch the tarnish lift.
- Rinse fully with warm water.
- Wash with mild soapy water and dry the sink completely.
Quick Comparison:
| Method | Best For | Safe on Lacquered Sink |
|---|---|---|
| Baking soda paste | Light stains, general grime | Yes |
| Lemon and salt | Surface tarnish | No |
| Vinegar, salt, and flour | Stubborn tarnish and green spots | No |
| Ketchup | Restoring shine on raw copper | No |
How to Clean a Copper Sink by Finish Type
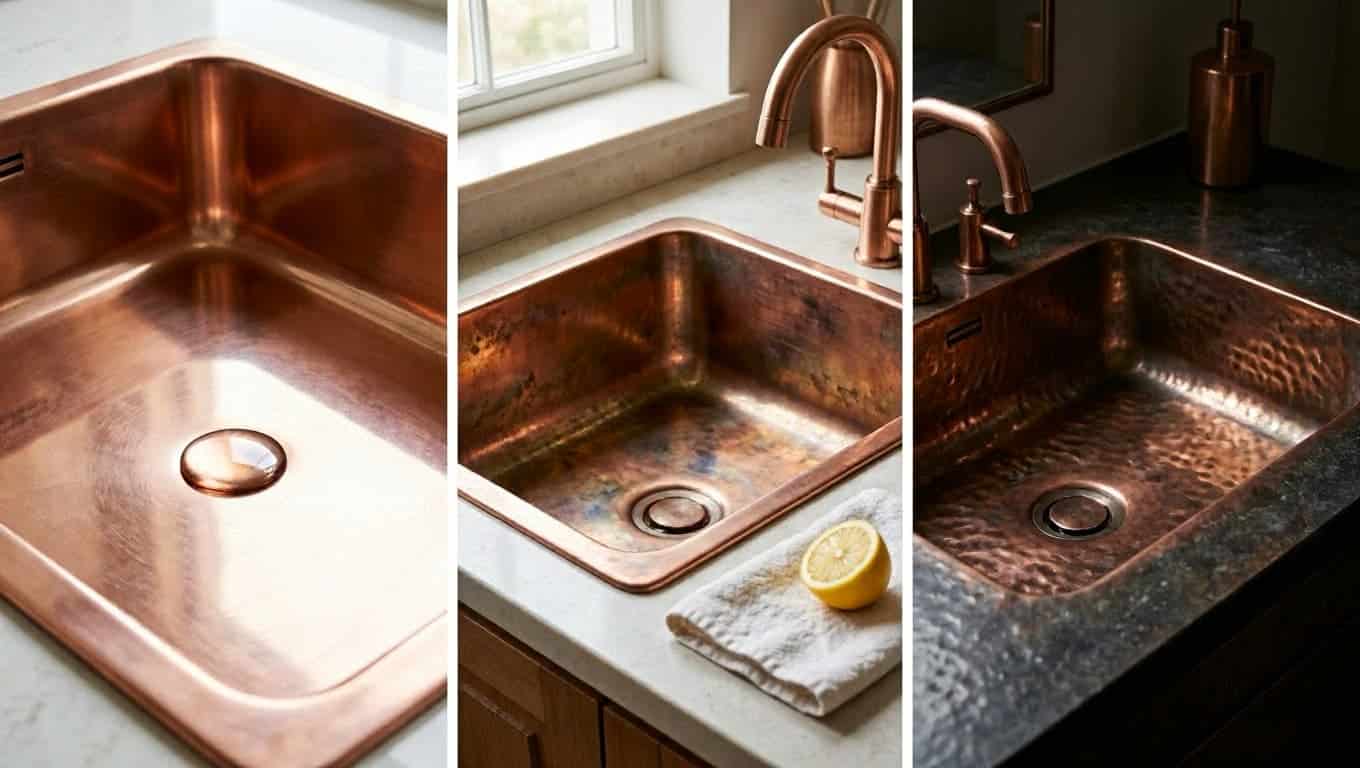
Alt Text: Three copper sinks showing different finishes, from polished to aged patina and hammered texture.
Not all copper sinks respond to cleaning the same way. The finish on your sink determines which products are safe to use and which ones you should stay away from completely.
1. Lacquered Copper Sink
A lacquered sink has a clear protective coating over the copper. This coating keeps the finish stable and slows down color change significantly. Use only mild dish soap and warm water on this type.
Acid-based cleaners, copper polishes, and abrasive pads will strip or cloud the lacquer over time. With proper care, the lacquer layer holds up well for 7 to 10 years before it may need re-coating.
2. Raw or Unlacquered Copper Sink
This type has no protective coating, so the copper reacts directly with everything it touches. You can use mild acid-based cleaners like lemon, vinegar paste, or ketchup for a deeper clean when needed.
Apply carnauba wax or beeswax once a month to slow down the patina process and protect the surface from water spotting.
3. Rustic or Antique Finish Copper Sink
These sinks are heat-treated to create a deep, dark look on purpose. That finish is part of the design, not something to clean off. Use only mild soap and warm water, and avoid any product that removes patina.
Attempting to strip or restore this finish at home with abrasive tools can permanently ruin the appearance and cannot be undone.
How to Fix Common Copper Sink Problems
Even with regular care, copper sinks develop spots and patches that look a bit off sometimes. Most of these issues are surface-level and fix themselves once you know the right approach.
| Problem | What It Looks Like | Cause | How to Fix It |
|---|---|---|---|
| Green spots (verdigris) | Small green patches | Moisture sitting too long in one spot | Dab white vinegar with a soft cloth; use vinegar paste for tougher spots |
| Bright or shiny spots | Rose-gold shiny patches | Acid food contact such as lemon or ketchup | Leave it alone; it fades naturally within a few days |
| Brown film | Uneven dark build-up | Pooling water and heavy patina accumulation | Wipe with a soft damp cloth or gently remove with a fingernail |
| Hard water stains | White or chalky marks near drain | Mineral deposits from water | Dab white vinegar, wait a few minutes, then wipe and dry |
Choosing the Right Copper Sink Cleaner
The right copper sink cleaner depends on your sink’s finish and how much work it actually needs. Here is a quick breakdown of what works and where to use it.
Store-Bought Options
- Bar Keepers Friend (liquid or powder): Works well on polished or matte copper when you want to remove patina and bring back shine. Use it sparingly and only when needed.
- Wright’s Copper Cream: A low-abrasive choice for matte copper surfaces that need occasional polishing.
- Sinkology Copper CareIQ Kit: Made specifically for copper sinks. Helps water bead off the surface and prevents staining on both kitchen and bathroom copper sinks.
- Renaissance Wax: Applied after cleaning to seal and protect the copper surface.
- Carnauba Car Wax: A budget-friendly option many copper sink owners use for their regular monthly waxing routine.
Natural DIY Cleaners
- Mild dish soap and warm water: Safe for all copper finish types, every single day.
- Baking soda paste: Safe for most finishes and works well on light stains and grime build-up.
- Lemon and salt: Use only on raw or unlacquered copper for removing surface tarnish.
- Vinegar, salt, and flour paste: Use on raw copper for stubborn tarnish or persistent green spots.
- Ketchup: Use on raw copper only to restore a bit of shine after heavy tarnishing.
What Not to Use on a Copper Sink?
Bleach, ammonia, steel wool, drain cleaners, and all-purpose spray cleaners are the biggest risks for a copper sink. These strip the finish, cause permanent discoloration, and scratch the surface badly.
Even leaving a damp sponge sitting in the sink overnight can cause spotting. When it comes to copper, simple is always the better choice.
If it is not mild dish soap or a copper-specific product, double-check before it touches the sink.
How to Protect Your Copper Sink After Cleaning?
Cleaning takes care of the problem. Protection keeps it from coming back. A few small habits make a big difference in how long your copper sink stays in good shape.
- Apply wax monthly: Use carnauba wax, beeswax, or Renaissance Wax once a month to create a barrier against water spots and staining.
- Use a sink mat or bottom grid: Place one at the bottom of the sink to protect the copper surface from scratches caused by heavy pots and pans.
- Store sponges outside the sink: A sink caddy keeps wet sponges off the copper so they do not sit and cause water marks overnight.
- Watch for the water bead test: When water stops beading off the surface and spreads flat instead, it is time to reapply a coat of wax.
- Keep chemicals away from under the sink: Bleach and harsh cleaners stored beneath the sink release fumes that can affect the copper from below over time.
Kitchen Copper vs. Bathroom Copper: Difference in Cleaning
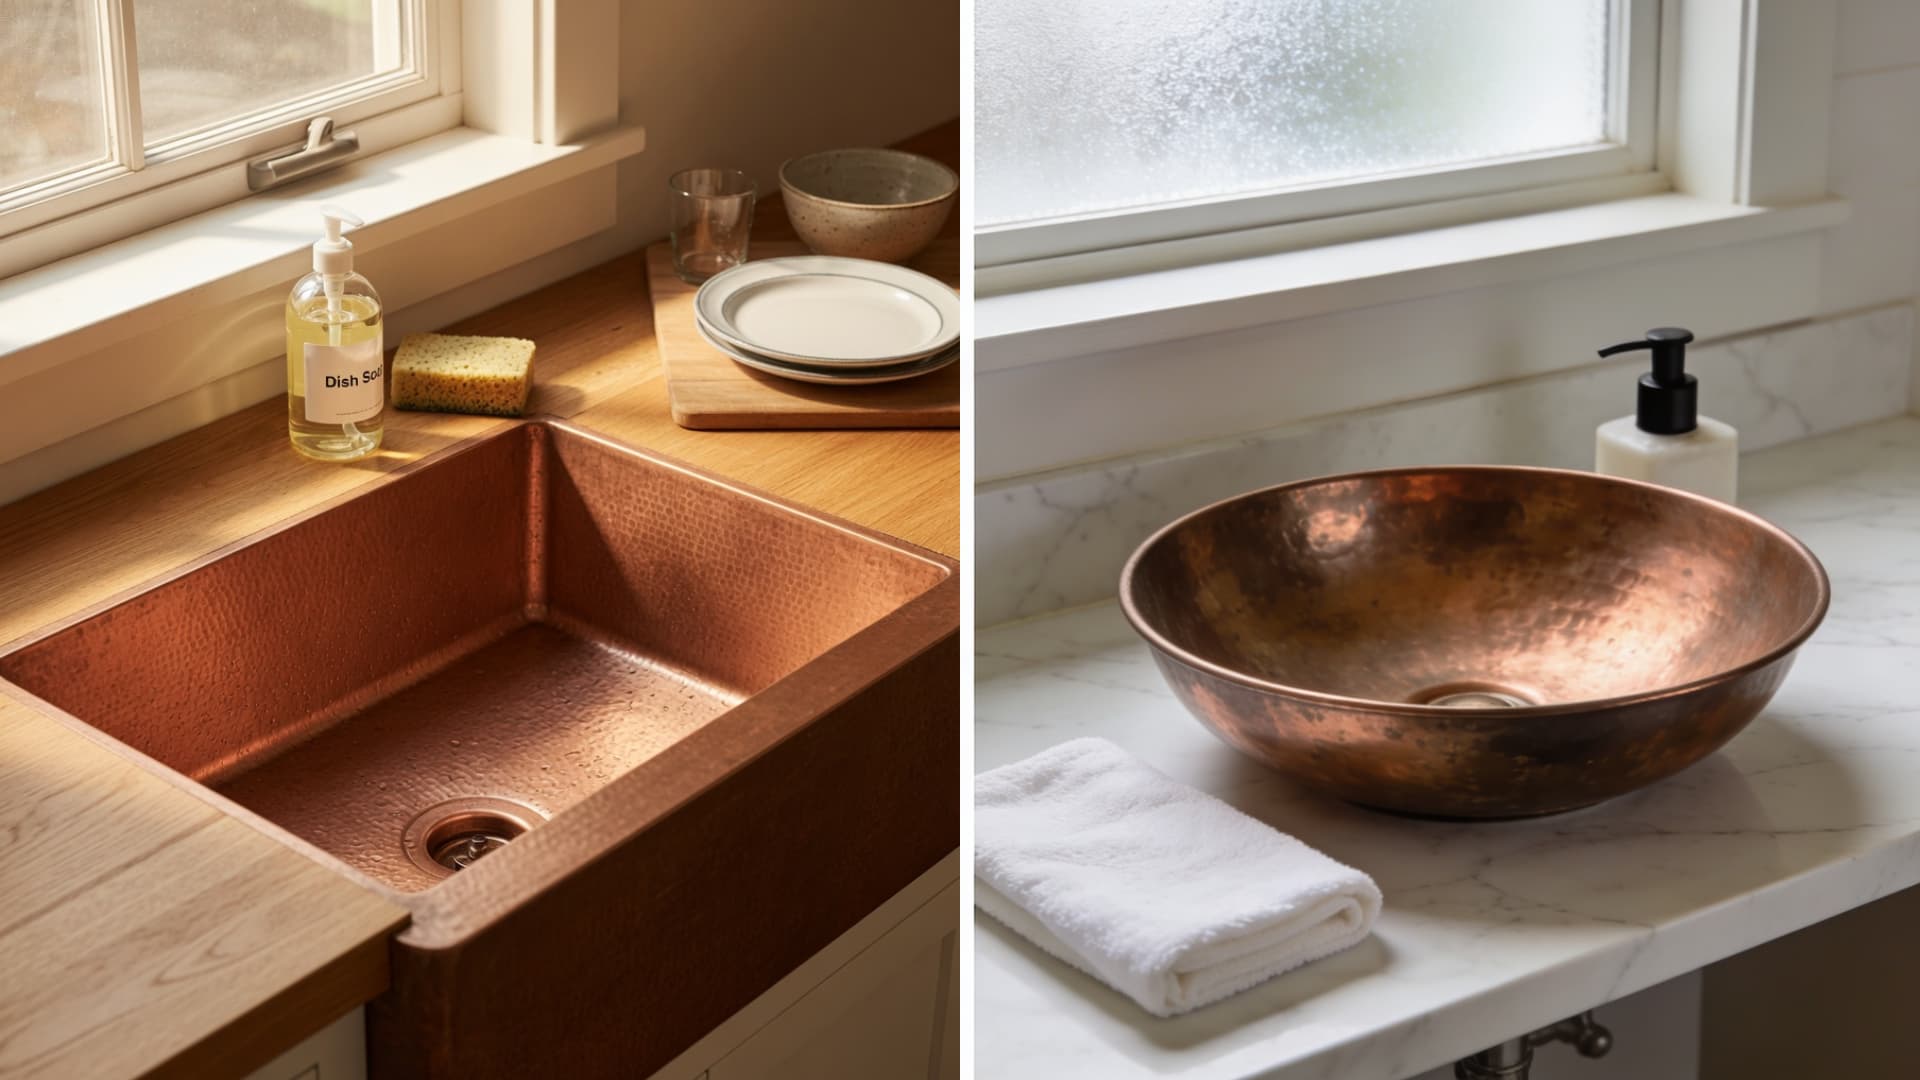
Alt Text: Split image of a copper kitchen sink with cleaning supplies and a copper bathroom sink with soap and towel.
The cleaning method stays the same whether your copper sink is in the kitchen or the bathroom. But the risks in each space are different, and it helps to know what to watch for.
| Factor | Kitchen Copper Sink | Bathroom Copper Sink |
|---|---|---|
| Main risk | Acidic food, grease, food debris | Soap residue, toothpaste, beauty products |
| Cleaning frequency | Daily rinse and dry after each use | Daily wipe-down after washing hands or brushing teeth |
| Watch out for | Tomatoes, citrus, vinegar-based foods | Toothpaste and skincare products left on the surface |
| Deep clean frequency | Weekly or when staining appears | Once or twice a month |
| Wax frequency | Every 4 to 6 weeks | Every 4 to 6 weeks |
When to Call a Professional?
Most copper sink issues can be handled at home with the right approach.
But if the sink has deep scratches that cut through the copper layer, or if a lacquered sink’s coating has fully lifted or bubbled, it is time to call a professional.
Rustic and antique finish sinks that need a full restoration also require professional-grade tools and experience.
Attempting it at home with abrasive equipment can damage the sink in ways that cannot be fixed.
Final Thoughts
Copper sinks are not high maintenance. They just need the right approach. Rinse after every use, dry the surface, and keep harsh chemicals away. That covers most of the daily work.
For deeper cleaning, simple ingredients like baking soda, lemon, or ketchup do a solid job. Pick the right method based on your sink’s finish type and you will rarely run into problems.
The patina will keep changing over time. That is normal. It is actually part of what makes a copper sink look so good in any kitchen or bathroom.
Got a cleaning method that works really well for you? Or a question about a tricky spot? Drop it in the comments below.