
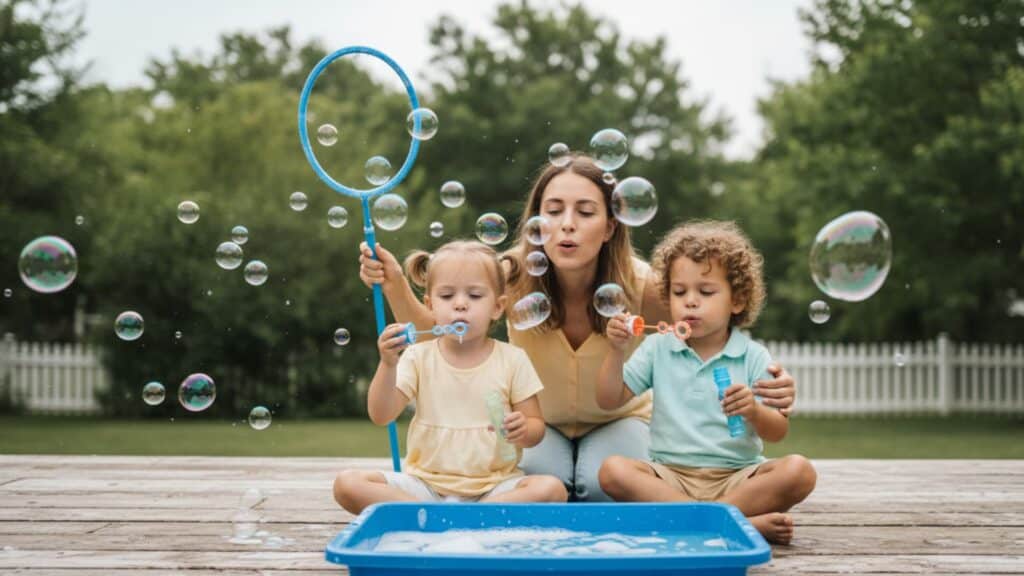
You ran out of bubble solution. The kids are already outside. And the nearest store is 20 minutes away.
Sound familiar?
Making your own homemade bubble solution is easier than most people expect. You only need a few things from your kitchen, and the results are often better than what comes in those small plastic bottles. Bigger bubbles. Less popping. More fun.
This guide walks you through three simple recipes, honest tips on what actually works, and what to do when things go wrong. No special tools needed. Just soap, water, and a little patience.
The Science Behind Bubbles
Soap lowers the surface tension of water, which lets the water stretch into a thin film instead of breaking apart. That film traps air, forming a bubble.
The reason bubbles are always round is simple: a sphere holds the most air with the least surface area. Ingredients like glycerin or sugar slow the rate at which the water in that film dries.
When the film dries, the bubble pops.
What You Need Before You Start
Before you mix anything, check that you have the right ingredients on hand. The table below covers everything you might need, depending on which recipe you choose.
| Ingredient | What It Does | Where to Find It |
|---|---|---|
| Dish soap (Dawn or Joy) | Forms the bubble film | Any grocery store |
| Water | Base of the solution | Your tap or a bottle |
| Glycerin | Slows drying, makes bubbles last longer | Pharmacy or baking aisle |
| Corn syrup | Works like glycerin, thickens the film | Grocery store |
| Sugar | Budget substitute for glycerin | Your kitchen right now |
| Honey | Sticky, works well as a thickener | Your kitchen |
Tools you will need:
- A large bowl or pitcher
- A spoon for slow stirring
- Bubble wands (store-bought or made from pipe cleaners)
- A shallow tray if you are making giant bubbles
How to Make Homemade Bubble Solution: 3 Methods
You do not need to buy anything special to make a great bubble solution at home. These three recipes use what you likely already have, and each one works well for a different situation.
Method 1: Classic Homemade Bubble Solution With Glycerin
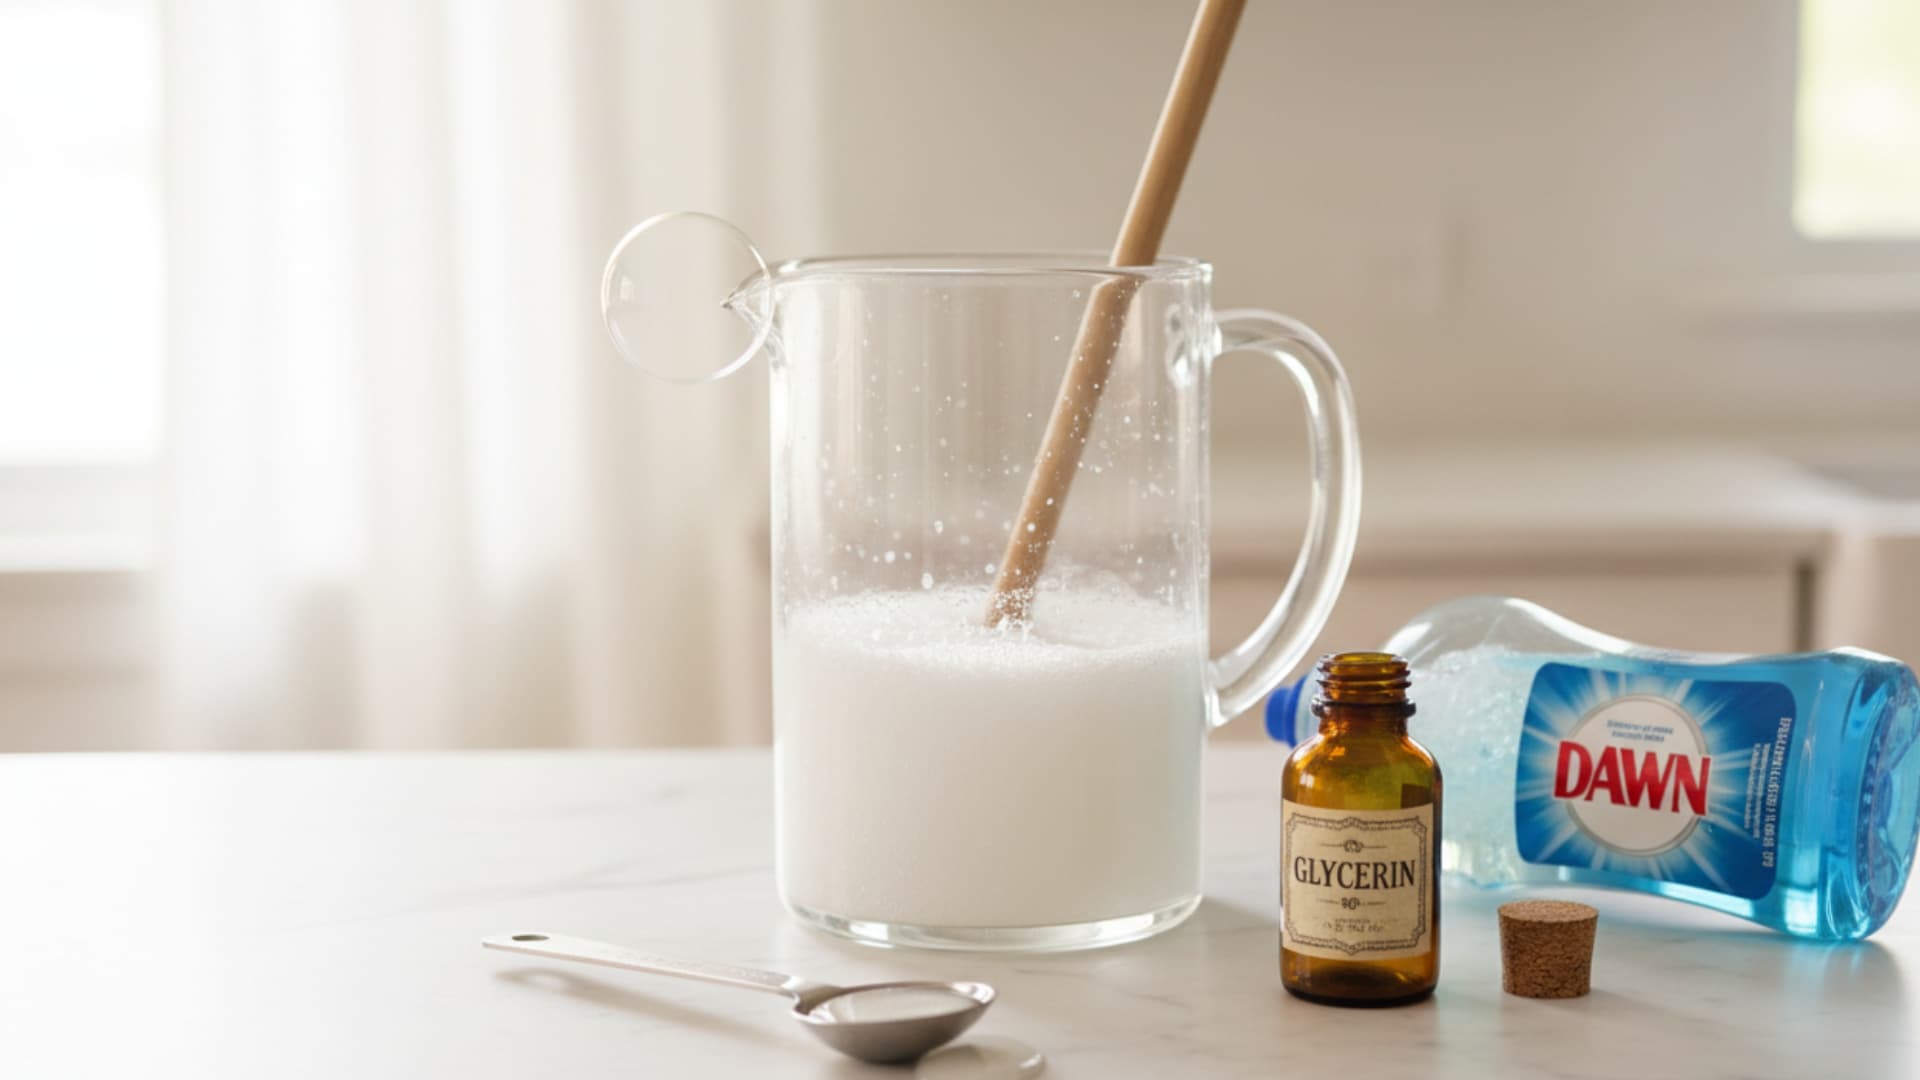
Alt Text: Mixing homemade bubble solution in a glass jug with dish soap, glycerin, and a spoon on a clean surface
This is the go-to recipe for most people. Glycerin keeps the bubble film from drying out too quickly, so the bubbles grow bigger and last longer.
Ingredients
| Ingredient | Amount |
|---|---|
| Water | 1 cup |
| Dish soap (Dawn or Joy) | 2 tablespoons |
| Glycerin | 1 tablespoon |
Steps
Step 1: Start with water. Pour the water into your bowl or pitcher first. Always add water before soap, not the other way around.
Step 2: Add dish soap slowly. Pour it in gently. Do not stir or shake the container quickly. You want the soap to mix in, not foam up.
Step 3: Add the glycerin. Pour it in and stir slowly with a spoon. A few gentle circles are enough.
Step 4: Let it rest. Give the mixture at least one hour before use. Overnight is better. The longer it sits, the stronger the bubbles.
Step 5: Remove foam before use. Foam on the surface weakens bubbles. Scoop it off with a spoon before you dip your wand.
Pro Tip: The best soap-to-water ratio is 1 part soap to 4 parts water. Too much soap, and the mixture gets thick and hard to work with. Too little and the bubbles break right away.
Method 2: Homemade Bubble Solution Without Glycerin
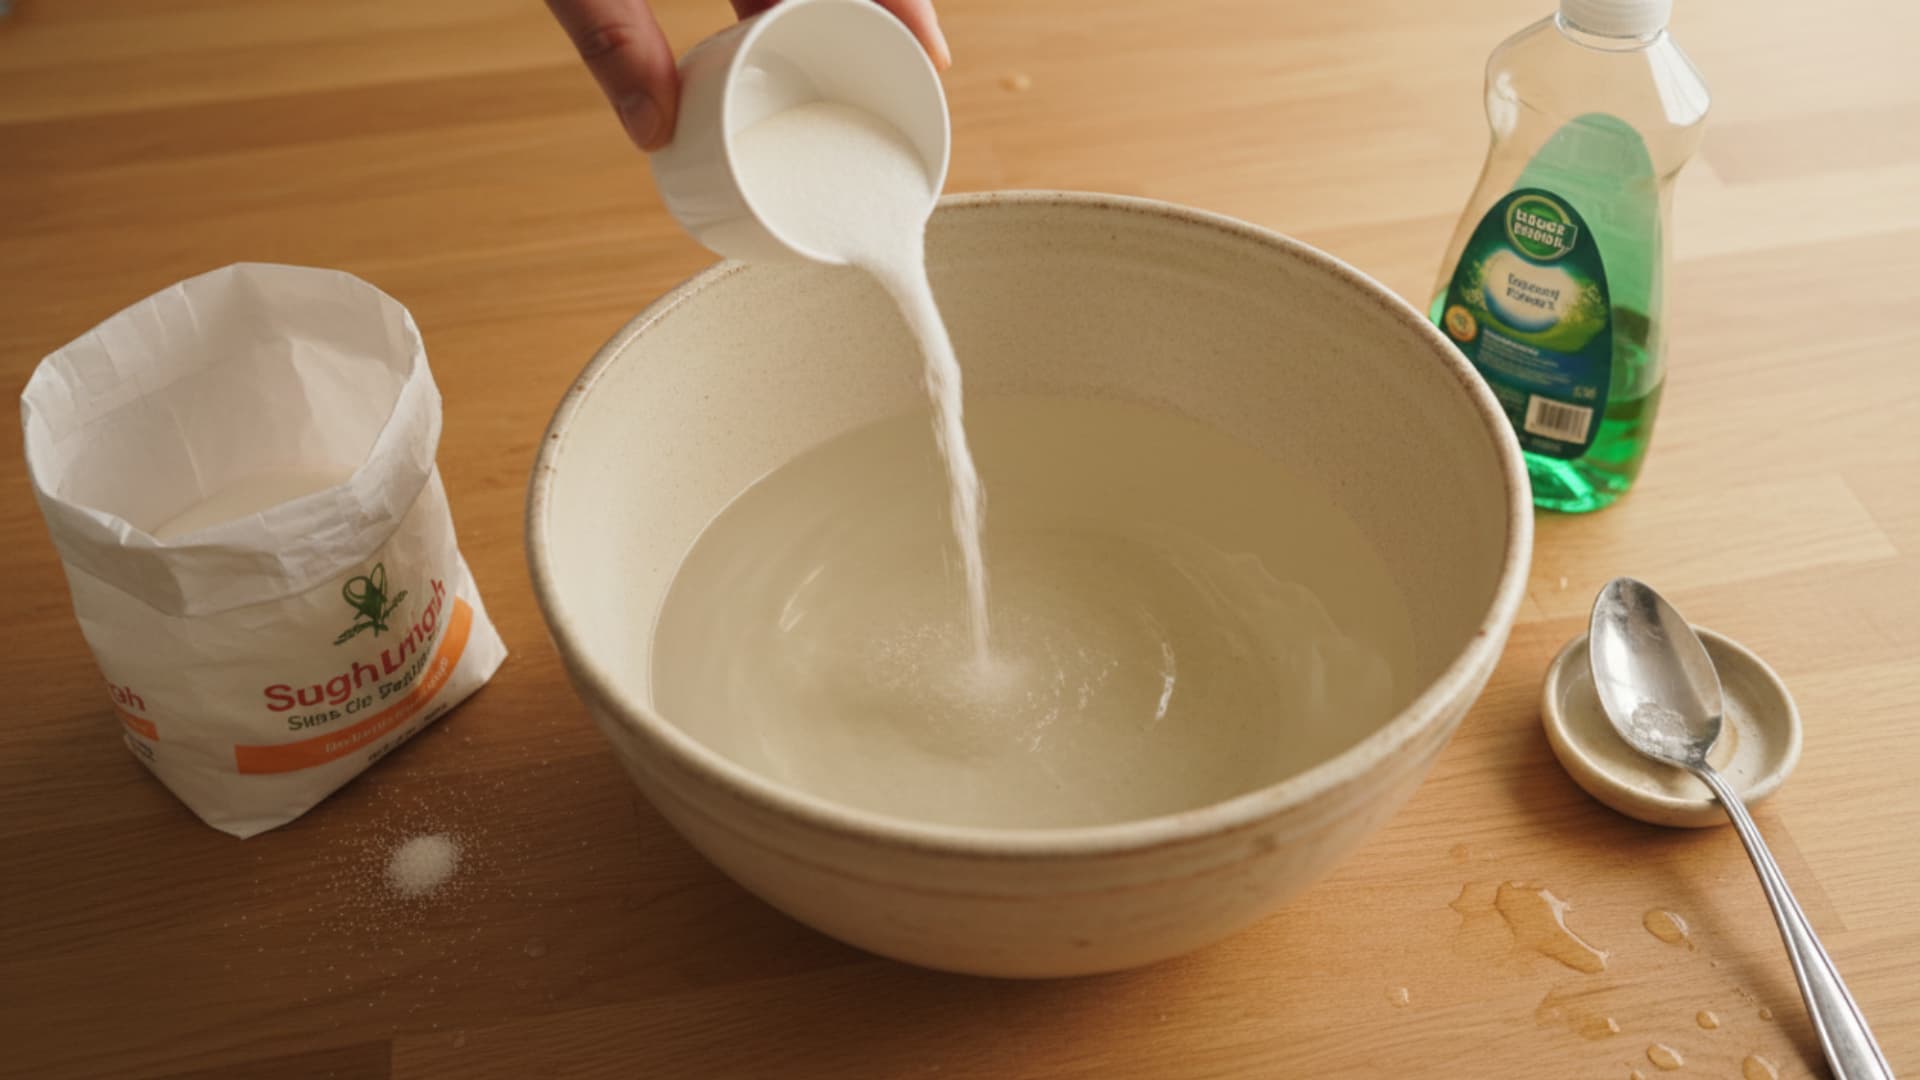
Alt Text: Pouring sugar into a bowl of water with dish soap and ingredients on a table to make a homemade bubble solution
No glycerin at home? Sugar works just as well. Most people already have it in their kitchen, and the bubbles turn out stronger than basic soap and water.
Ingredients
| Ingredient | Amount |
|---|---|
| Warm water | 4 cups |
| Sugar | ½ cup |
| Dish soap (Dawn works best) | ½ cup |
Steps
Step 1: Warm the water. It does not need to boil. Just warm enough for the sugar to dissolve without too much stirring. Cold water makes this step take much longer.
Step 2: Add the sugar and stir. Keep stirring until you see no crystals at the bottom. This step matters a lot. Undissolved sugar weakens the bubble film, leading to early popping.
Step 3: Add dish soap. Pour it in slowly. Stir gently. Avoid fast stirring at this stage.
Step 4: Rest for 30 minutes. The mixture needs a little time to settle. Do not skip this.
Step 5: Blow slowly. When you dip your wand and blow, go slow and steady. Short, fast breaths pop the bubble before it even forms.
Pro Tip: If the bubbles are still popping too fast, add another tablespoon of sugar and let it sit for another 15 minutes.
Method 3: Giant Bubble Solution at Home
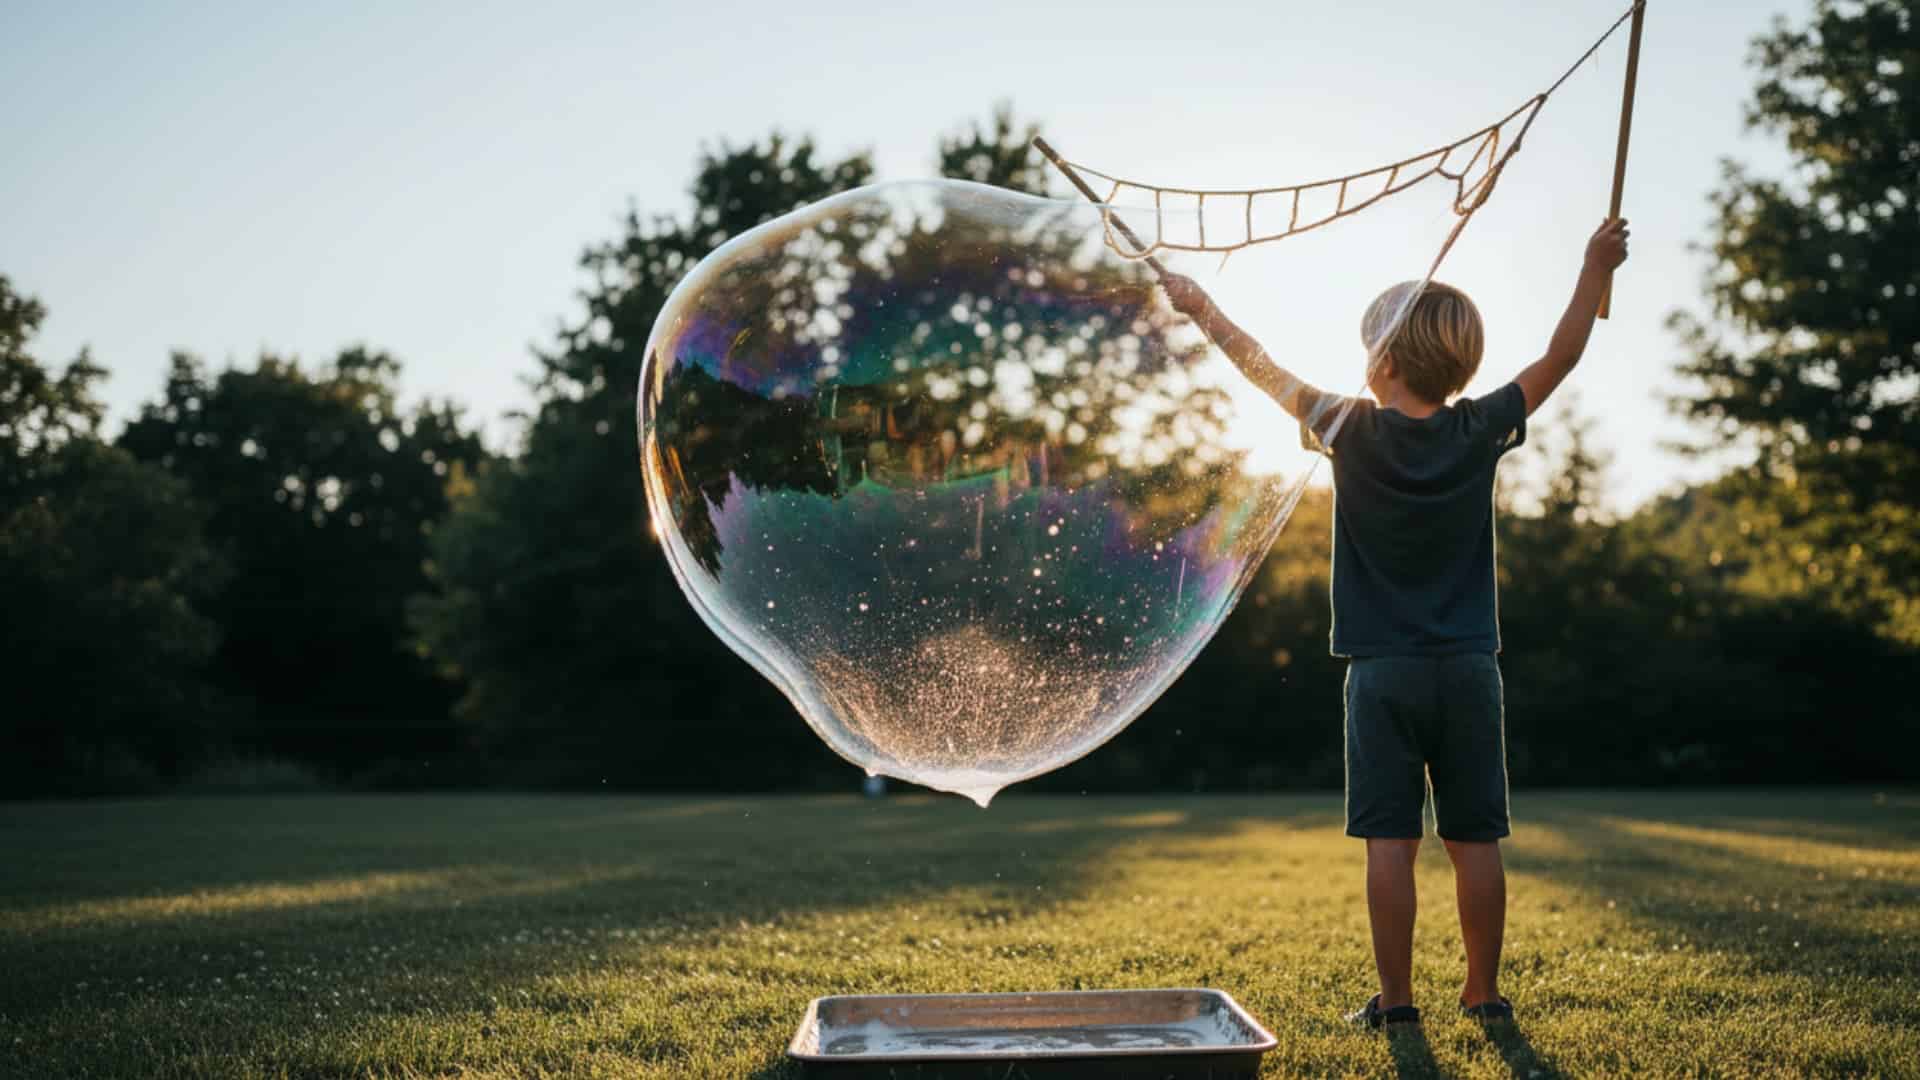
Alt Text: Child outdoors making a giant soap bubble using a string wand, with a large shimmering bubble floating in the air at sunset
This recipe is for when you want bubbles the size of a basketball or bigger. The quantities are larger, and the steps include a few extra tricks that make a real difference with giant bubbles.
Ingredients
| Ingredient | Amount |
|---|---|
| Water | 6 cups |
| Dish soap | 1 cup |
| Glycerin OR corn syrup | 1 tablespoon (glycerin) or ¼ cup (corn syrup) |
Tools you will also need:
- A large shallow tray or baking pan
- A giant wand (two sticks connected with a piece of wet cotton rope works well)
Steps
Step 1: Mix water and soap first. Add them to your large container and stir very slowly. No rushing here.
Step 2: Add glycerin or corn syrup. Stir again with the same slow movement. Patience with the mixing pays off later.
Step 3: Let it sit overnight. This is not optional for giant bubbles. A well-rested mixture produces a much stronger film.
Step 4: Pour into a shallow tray. A baking pan or large casserole dish works well. You need enough depth to fully coat the wand.
Step 5: Pick a good time to play. Cloudy days with some humidity and little wind are the best. Hot sunny days dry the film out almost instantly. If you have to play in the sun, move to a shaded spot.
Step 6: Wave, do not blow. Open the wand wide and slowly wave it through the air. The bubble forms on its own. Blowing directly into the wand usually collapses the film before it can grow.
Pro Tip: If the day is hot and dry, add a bit more glycerin to the mix. It holds onto moisture longer, giving the film more time before it dries out.
What Can You Use Instead of Glycerin in Bubble Solution?
Corn syrup is the closest substitute and works well in any recipe that calls for glycerin. Sugar dissolved in warm water is the easiest kitchen swap.
Honey works too but needs to be mixed into warm water first so it blends in properly. A few drops of vegetable oil are another option and make the bubble film a little harder to pop.
None of these is a perfect replacement, but any one of them will give you noticeably better bubbles than plain soap and water alone.
Fun Things to Do With Your Bubble Solution
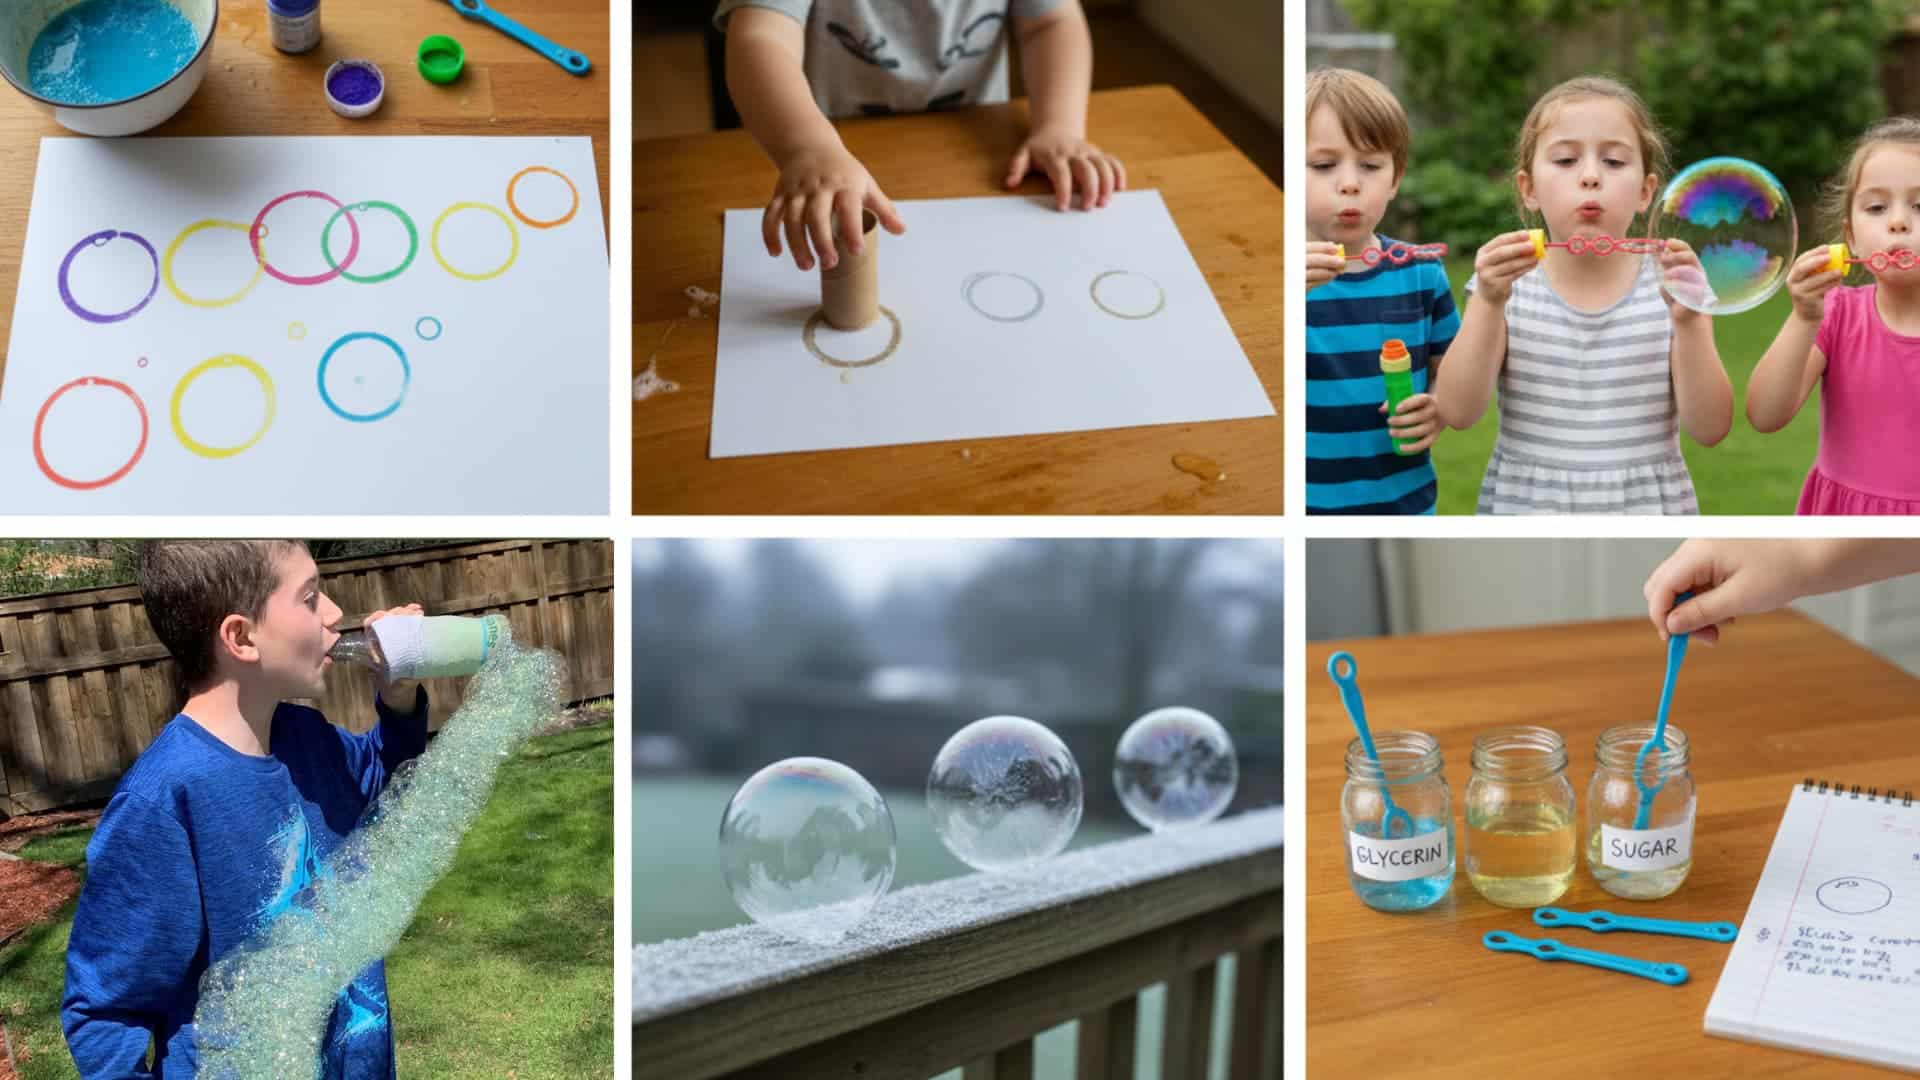
Alt Text: Collage of fun bubble activities, including bubble painting, kids blowing bubbles, frozen bubbles outdoors, and DIY bubble solution ingredients like glycerin and sugar
Once you have a good batch ready, there is more you can do with it than just blowing bubbles in the yard. Here are a few ideas worth trying.
- Bubble art: Stir a few drops of food coloring into a small bowl of the solution, blow bubbles onto paper, and let them pop. The rings they leave behind look great.
- Bubble prints: Dip the open end of a toilet roll tube into the solution and press it onto paper. Each print leaves a perfect circle.
- Biggest bubble contest: See who in the group can blow the largest bubble before it pops. Works well at birthday parties.
- Bubble snake: Cut the bottom off a plastic bottle and stretch an old sock over the opening. Dip the sock end into the solution and blow through the mouthpiece. A long chain of bubbles comes out.
- Frozen bubbles: On a freezing-cold day, blow bubbles outside and let them freeze. If the temperature is low enough, they slowly freeze and form frost patterns on the surface before they collapse.
- Bubble science for kids: Try both the glycerin recipe and the sugar recipe side by side. See which one makes bigger or longer-lasting bubbles. It works well as a simple experiment for school-age kids.
How to Store Your Homemade Bubble Mix?
Pour the leftover solution into a container with a tight-fitting lid and store it somewhere cool and out of direct sunlight. Most batches remain usable for several weeks without issue.
If you use distilled water instead of tap water, the solution can last up to six months. Before each use, give it a slow swirl to recombine the ingredients.
If it starts to smell off or looks strange, throw it out and mix a fresh batch. Soap and water cost almost nothing, so there is no reason to keep a bad batch going.
Final Thoughts
Making your own homemade bubble solution takes less time than a trip to the store, costs less, and usually works better. The glycerin recipe gives you strong, long-lasting bubbles.
The sugar version is great when you want something quick from the kitchen. And the giant bubble recipe is worth trying at least once; there is something about a bubble the size of your head floating into the sky that gets everyone off their phones.
Start with one recipe, see how it goes, and adjust from there. Which method worked best for you? Drop a comment below and share what you tried.