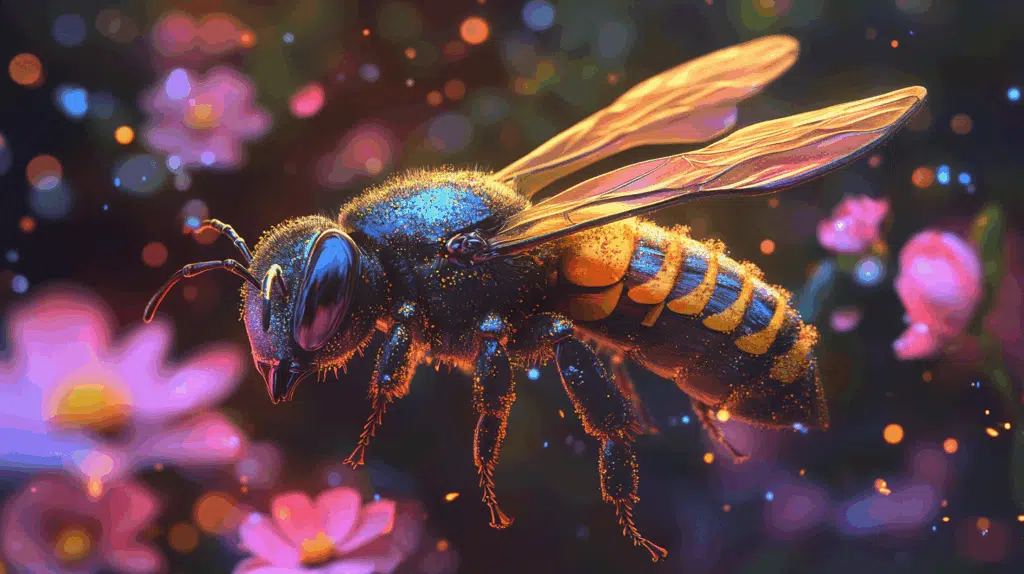
Just like bees build their hives one tiny cell at a time, learning to draw these buzzy little creatures happens step by step. Drawing bees might seem as tricky as catching one without getting stung, but I promise it’s much safer and simpler!
Think of your pencil as the worker bee and your hand as the queen, giving directions for creating something sweet and wonderful on paper. You don’t need the skills of a master artist or fancy tools, just like a bee doesn’t need anything special to make honey, just its natural gifts.
In this guide, you’ll see how even the most basic sketching skills can bloom into charming bee drawings that will have your friends saying, “How did you do that?”
How to Draw a Realistic Bee
Drawing bees might seem difficult at first, but with some basic steps, you can create these lovely bumblebees on paper.
1. Start with the Head
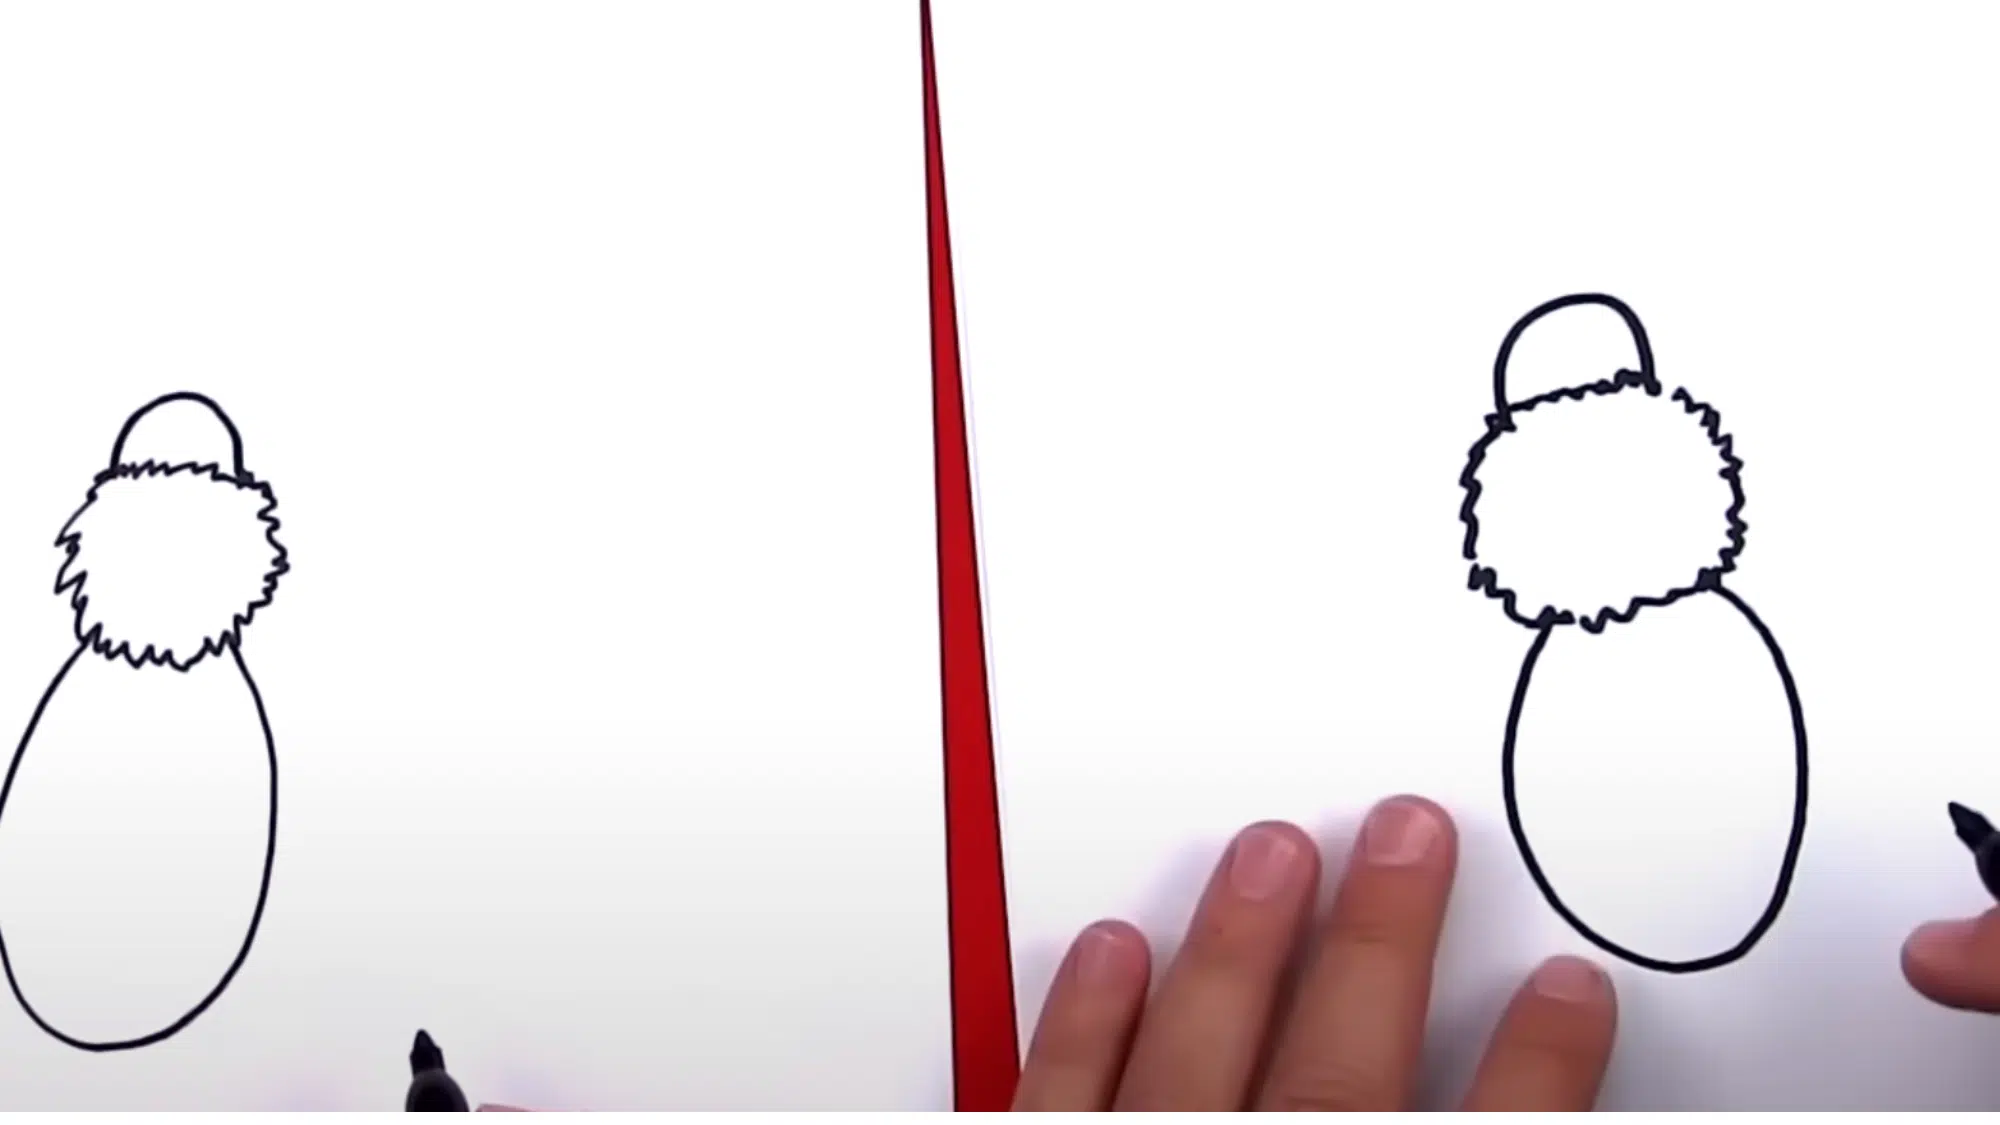
Begin by drawing the head of the bee in the center of your paper. Create a smooth, rainbow-like line (in the shape of an upside-down “U”). This will be the top portion of the head.
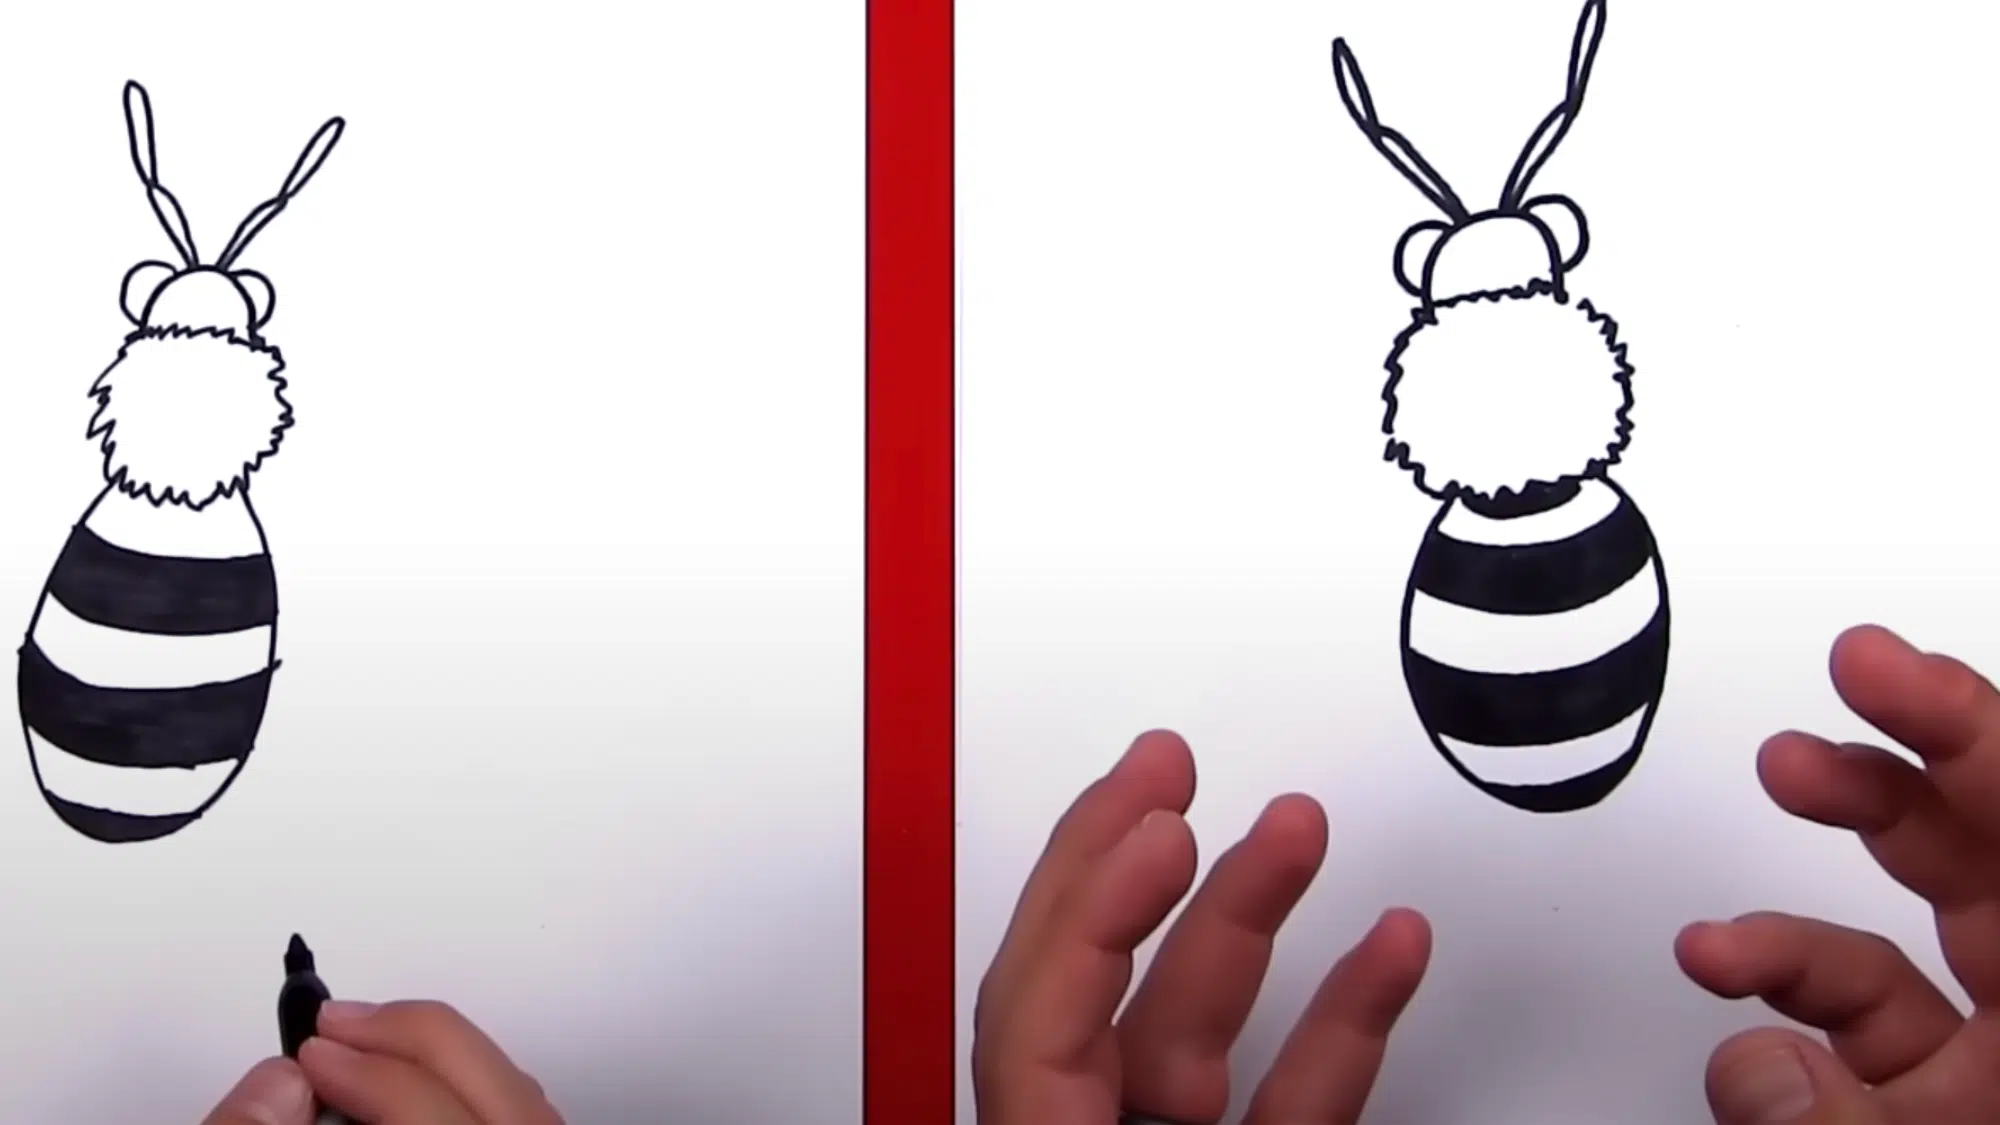
2. Draw the Thorax
Next, draw the thorax, the middle part of the bee’s body. Use a zigzag line around the body to create the fuzzy texture typical of a bee’s thorax.
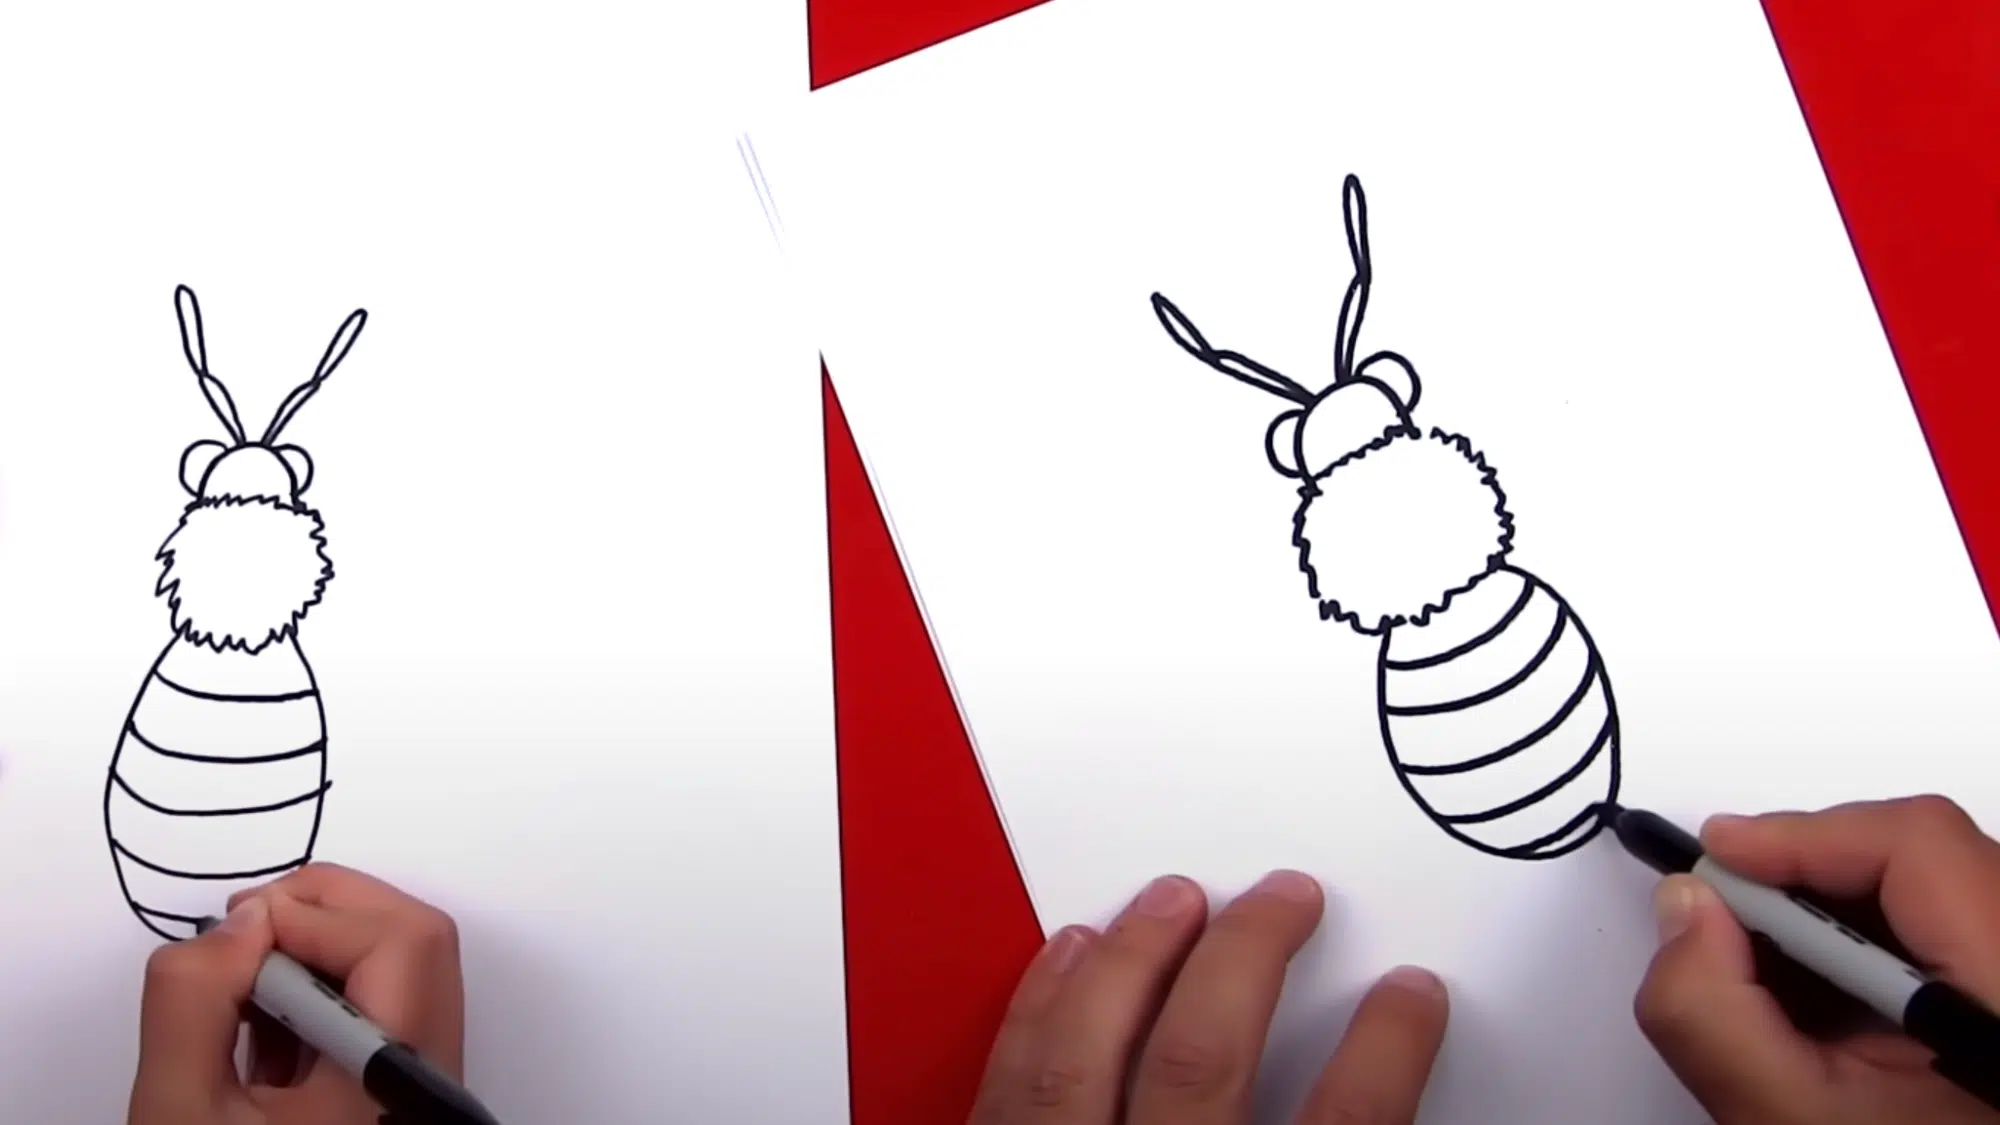
3. Create the Abdomen
Now sketch the abdomen. This is the large, oval-shaped part of the bee’s body. It should curve outward and then inward, giving the bee its characteristic rounded shape.
4. Add the Eyes and Antennas
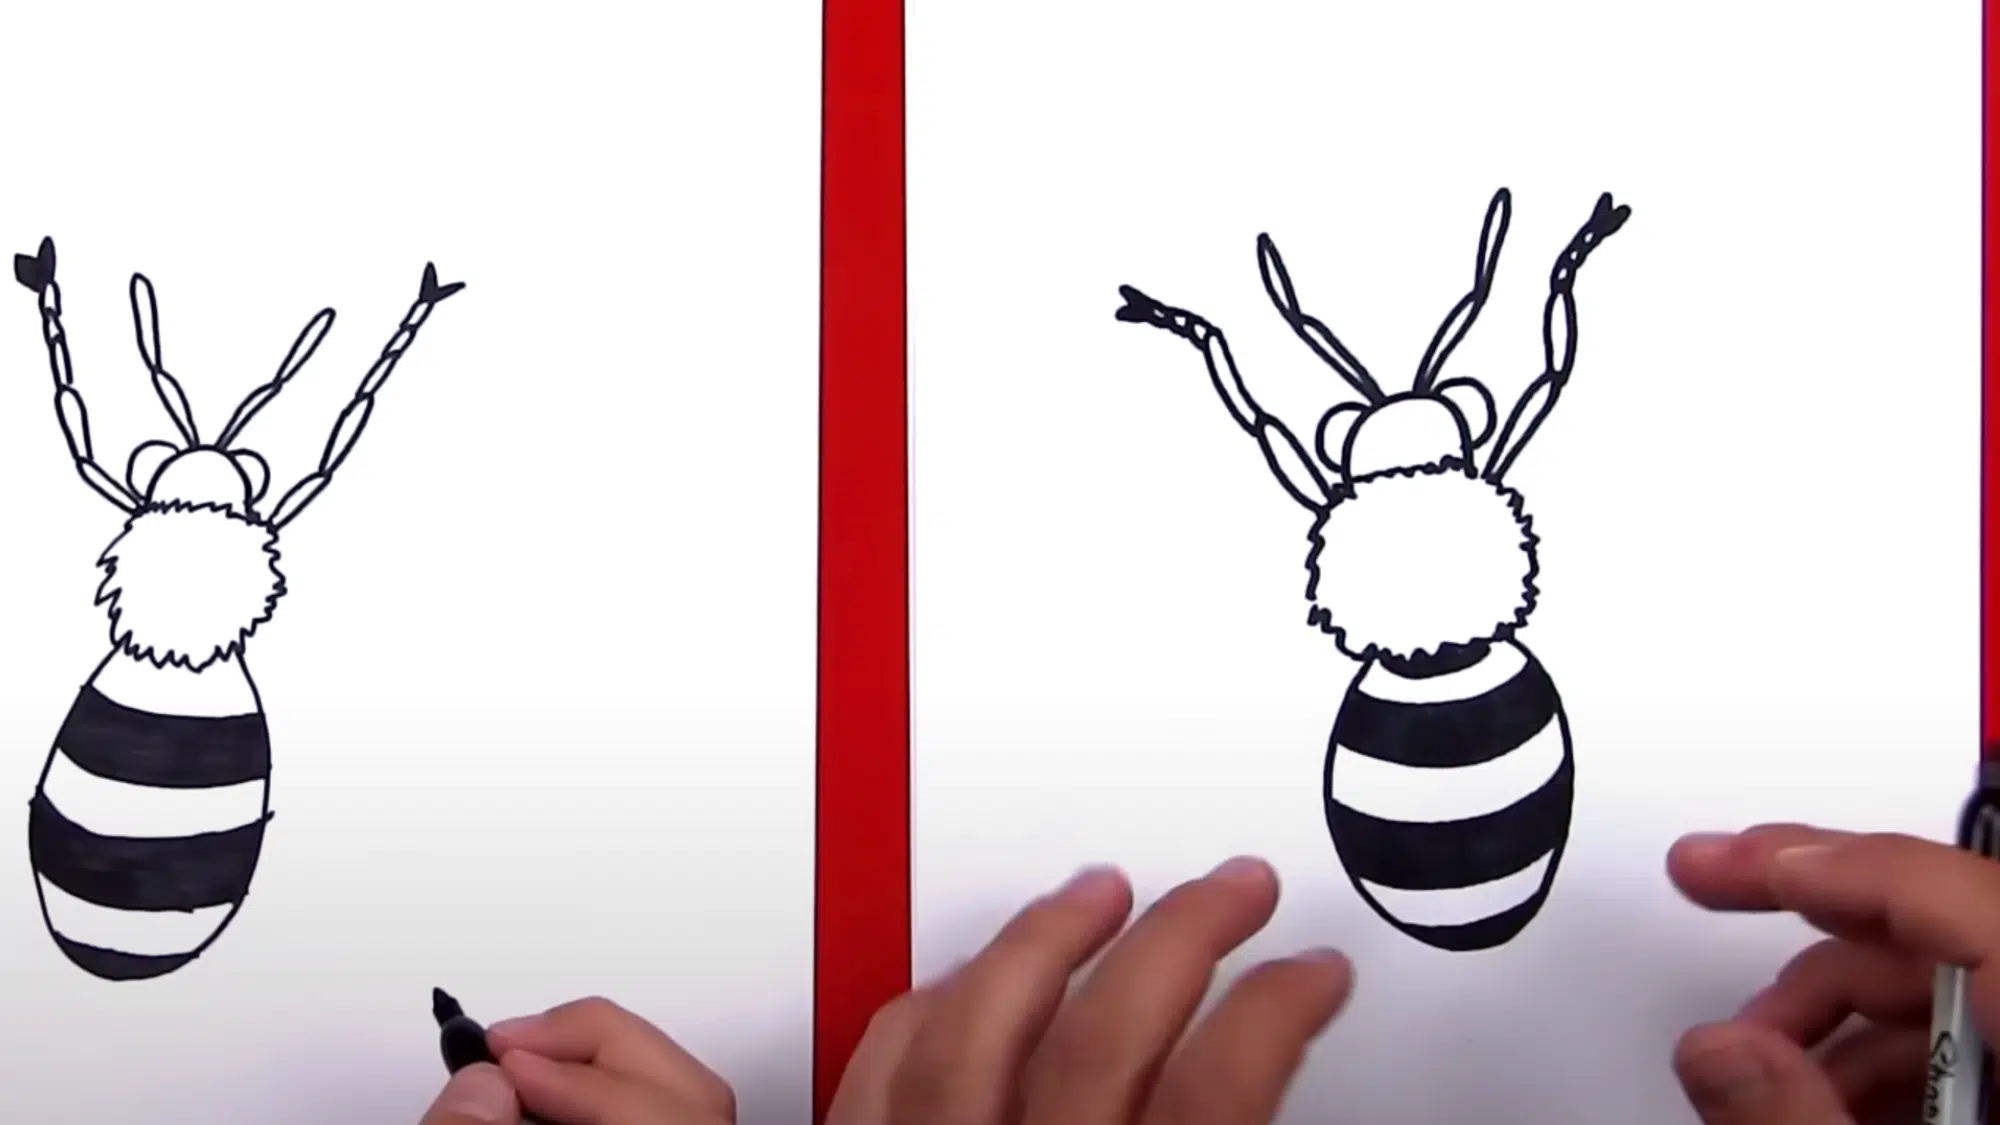
For the eyes, draw two “C” shapes on either side of the head. Then, draw two antennae emerging from the top of the head. The antennas should curve out and back in, mimicking the natural shape of a bee’s antennae.
5. Draw the Stripes
Bees are known for their stripes! Use curved lines to draw the stripes across the bee’s abdomen. Ensure they curve in the same direction to achieve a 3D look. Draw multiple stripes, and leave a bit of space between each.
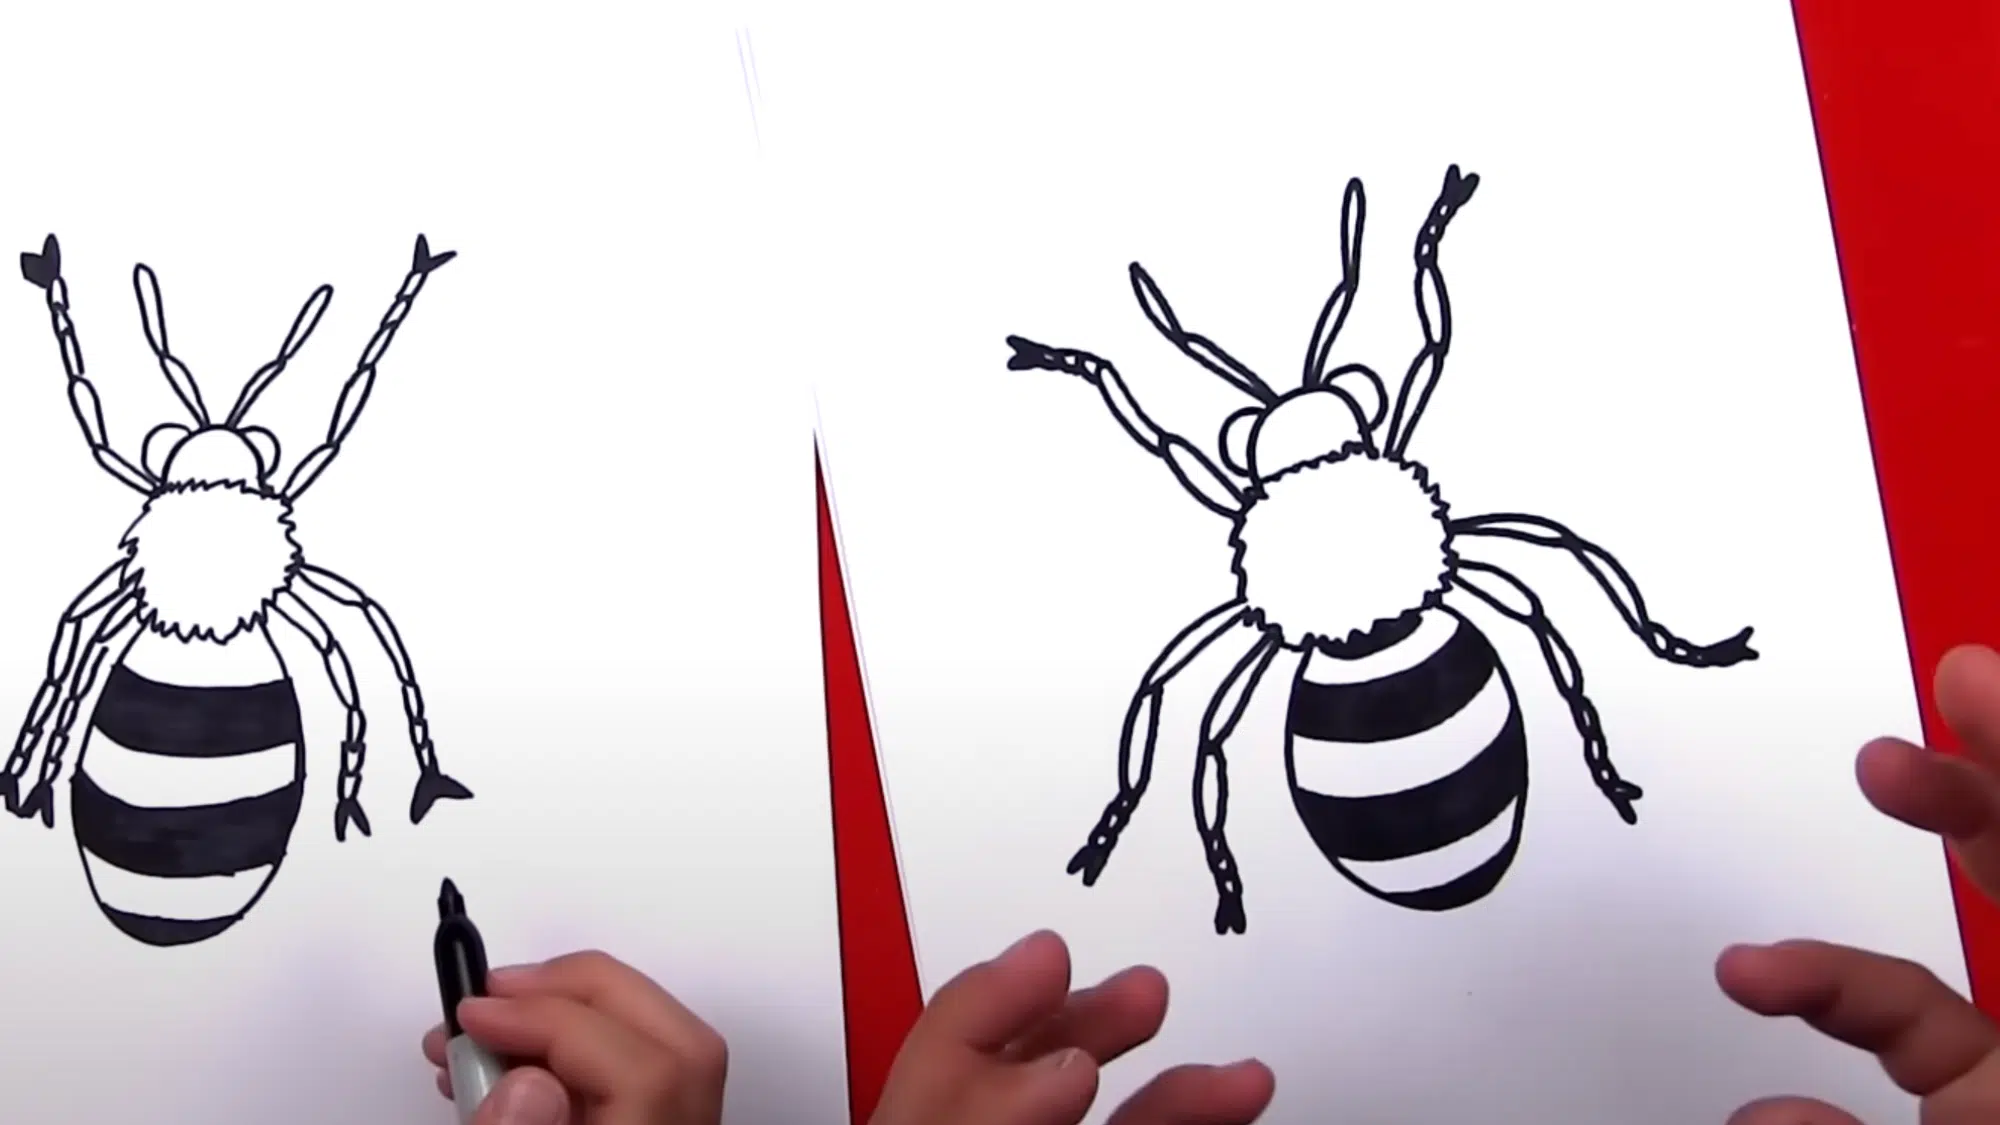
6. Sketch the Legs
Bees have six legs. Start by drawing two front legs using the same shape as the antennas. Then, draw three smaller legs on each side. Make sure to add “M” shapes at the ends for the bee’s toes.
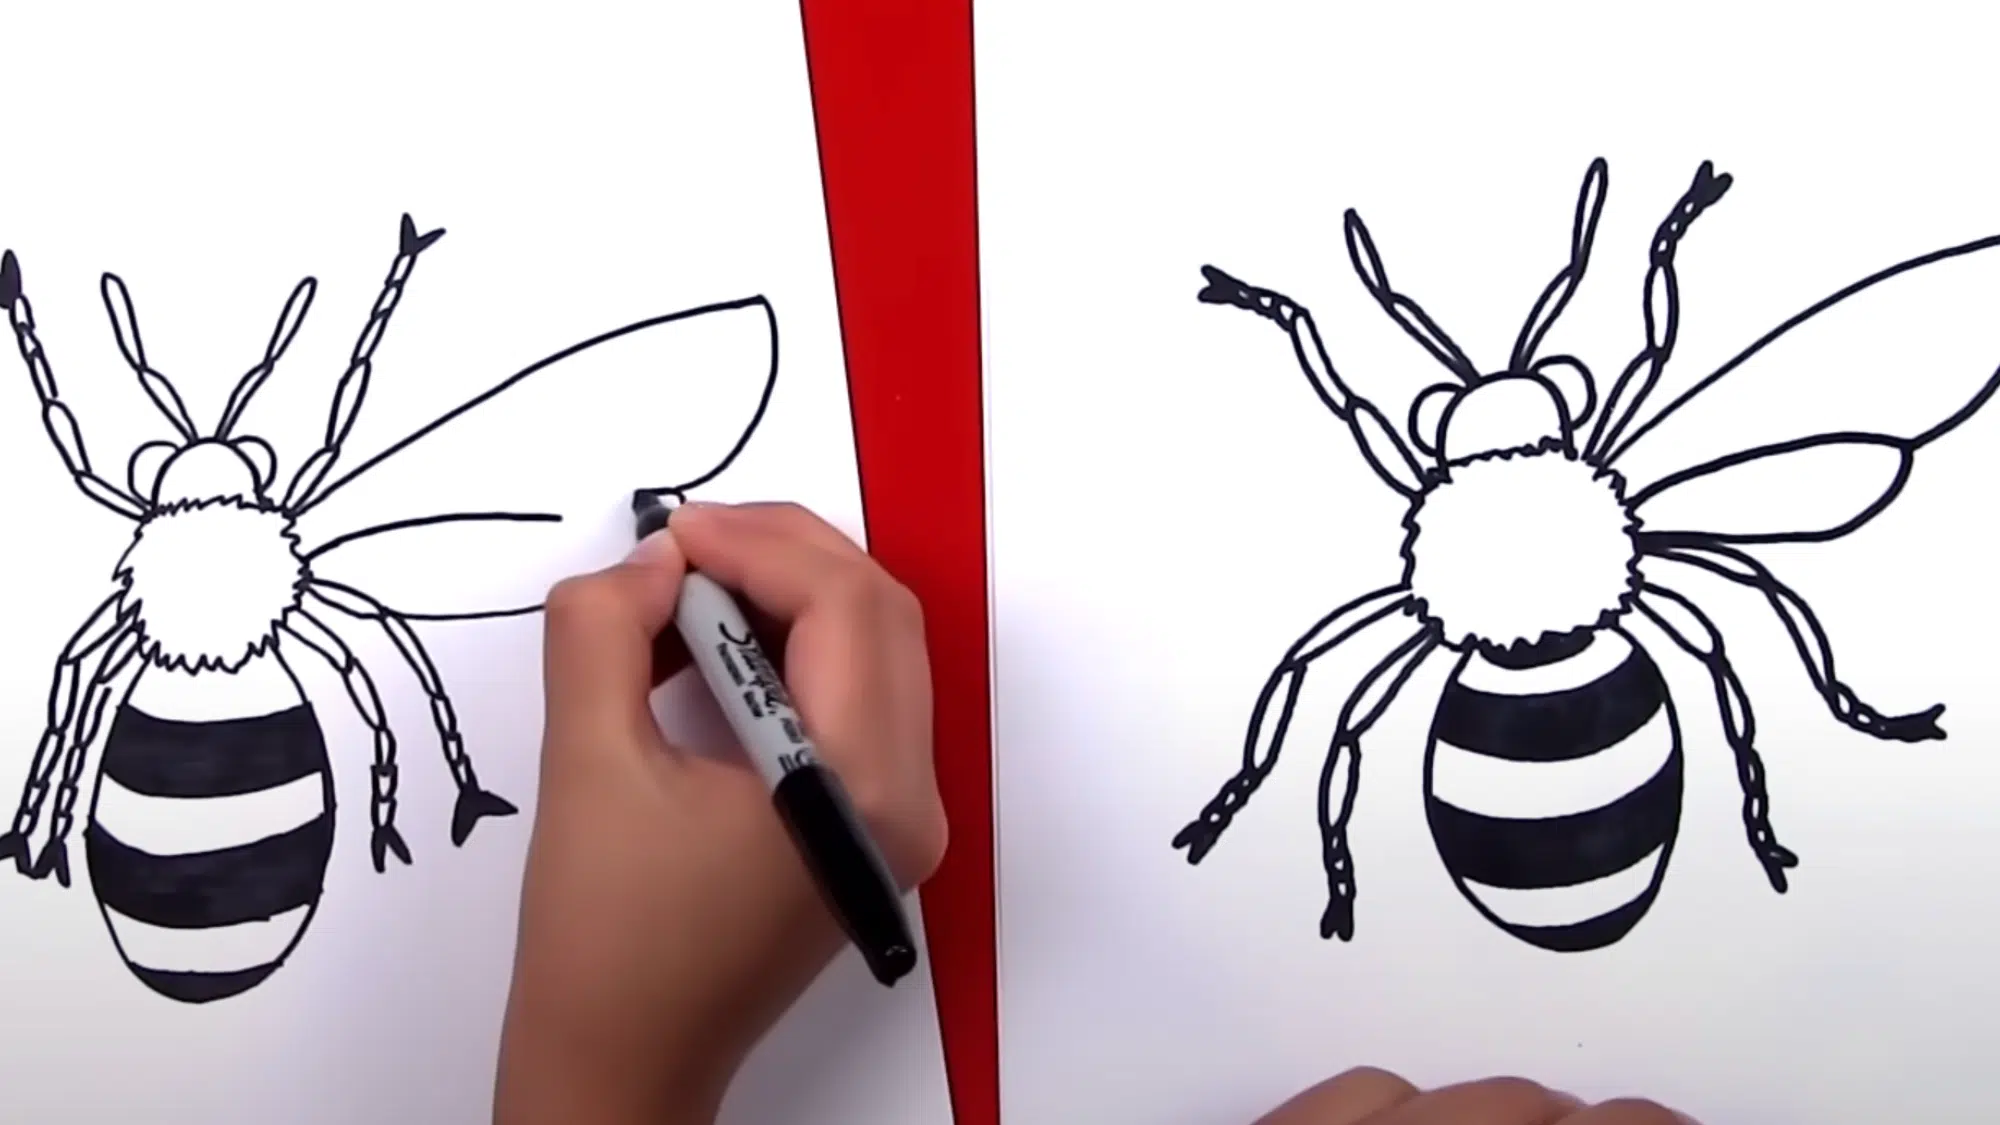
7. Draw the Wings
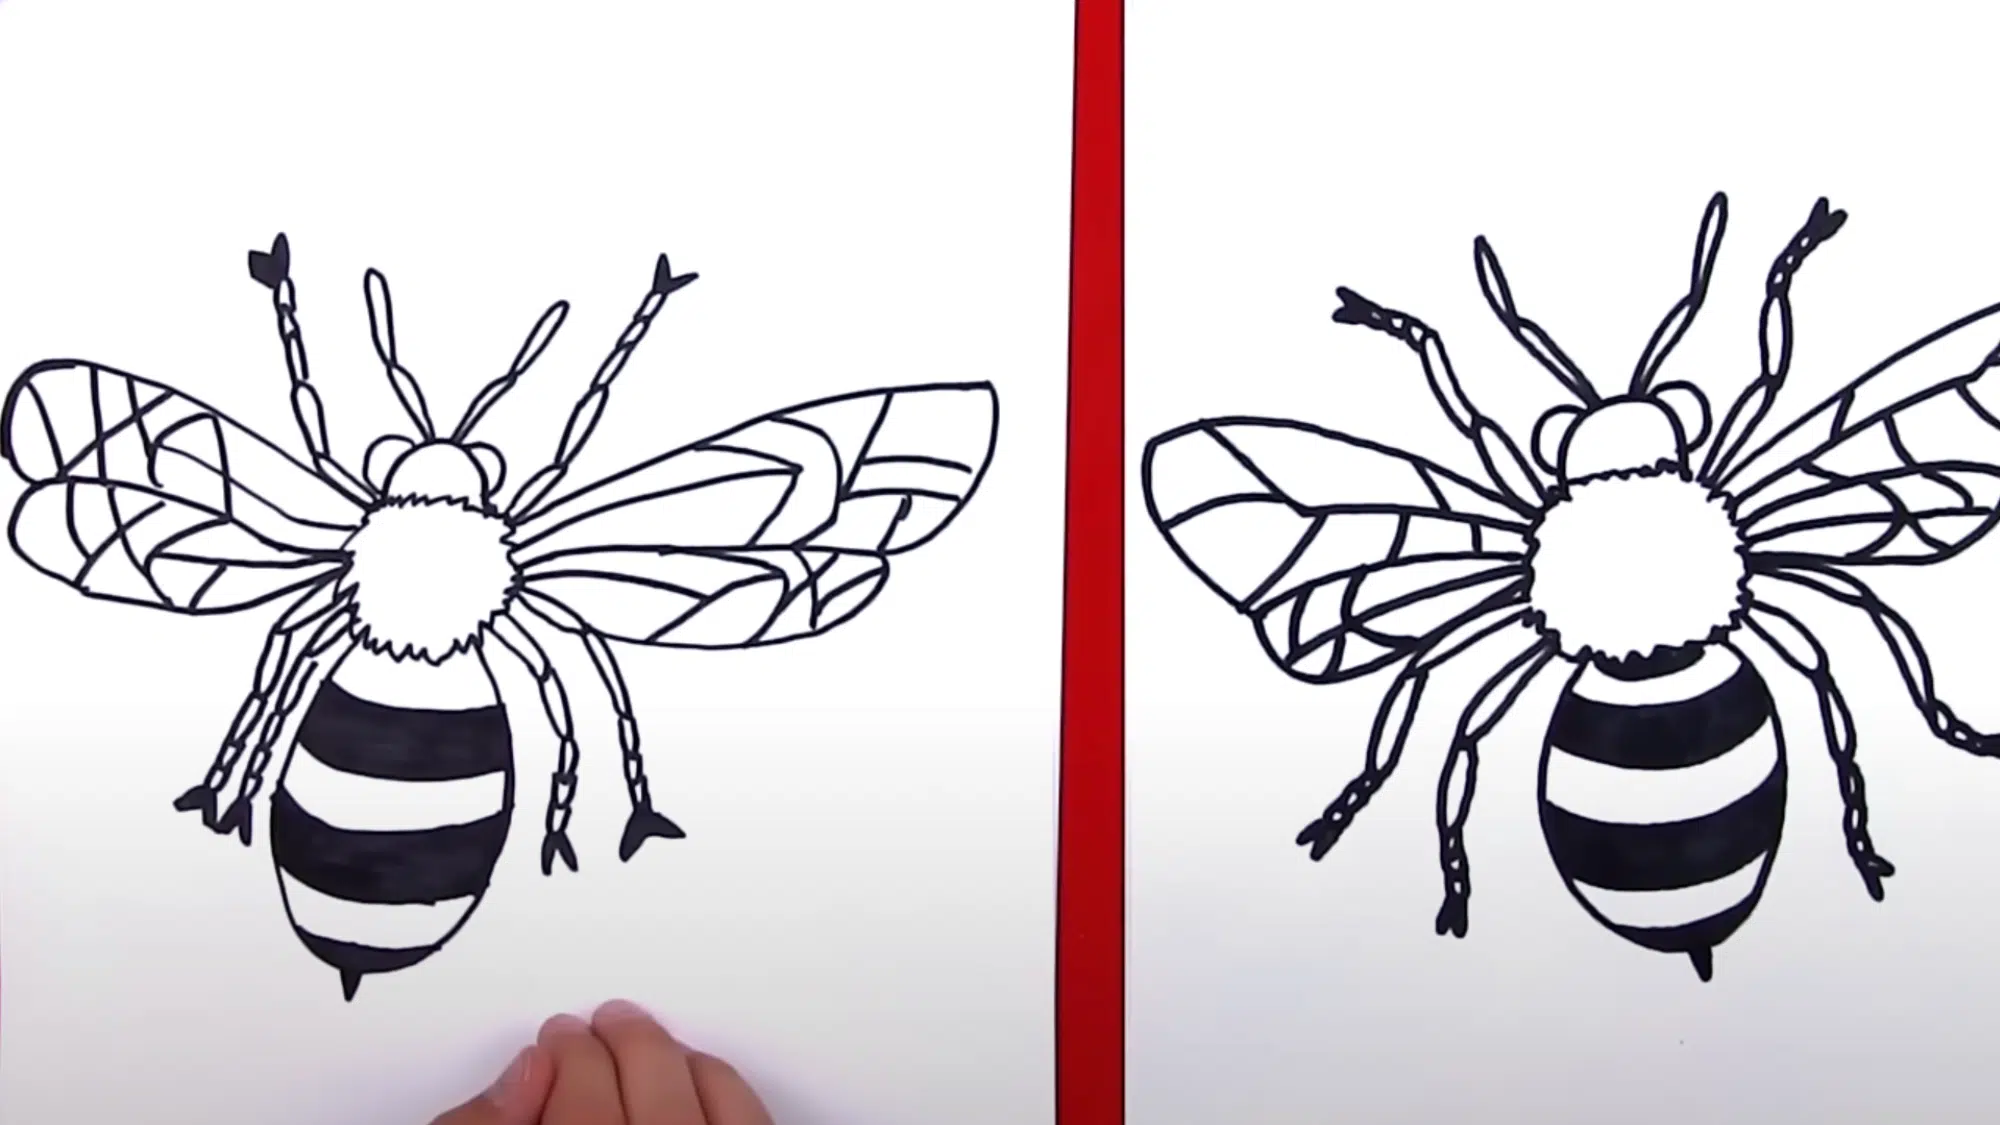
For the wings, start by drawing a curved line extending from the body. Create two bumps in the middle of the line and bring it back to the bee’s body. Repeat this on the other side, drawing the second wing to match the first.
8. Finish with the Stinger
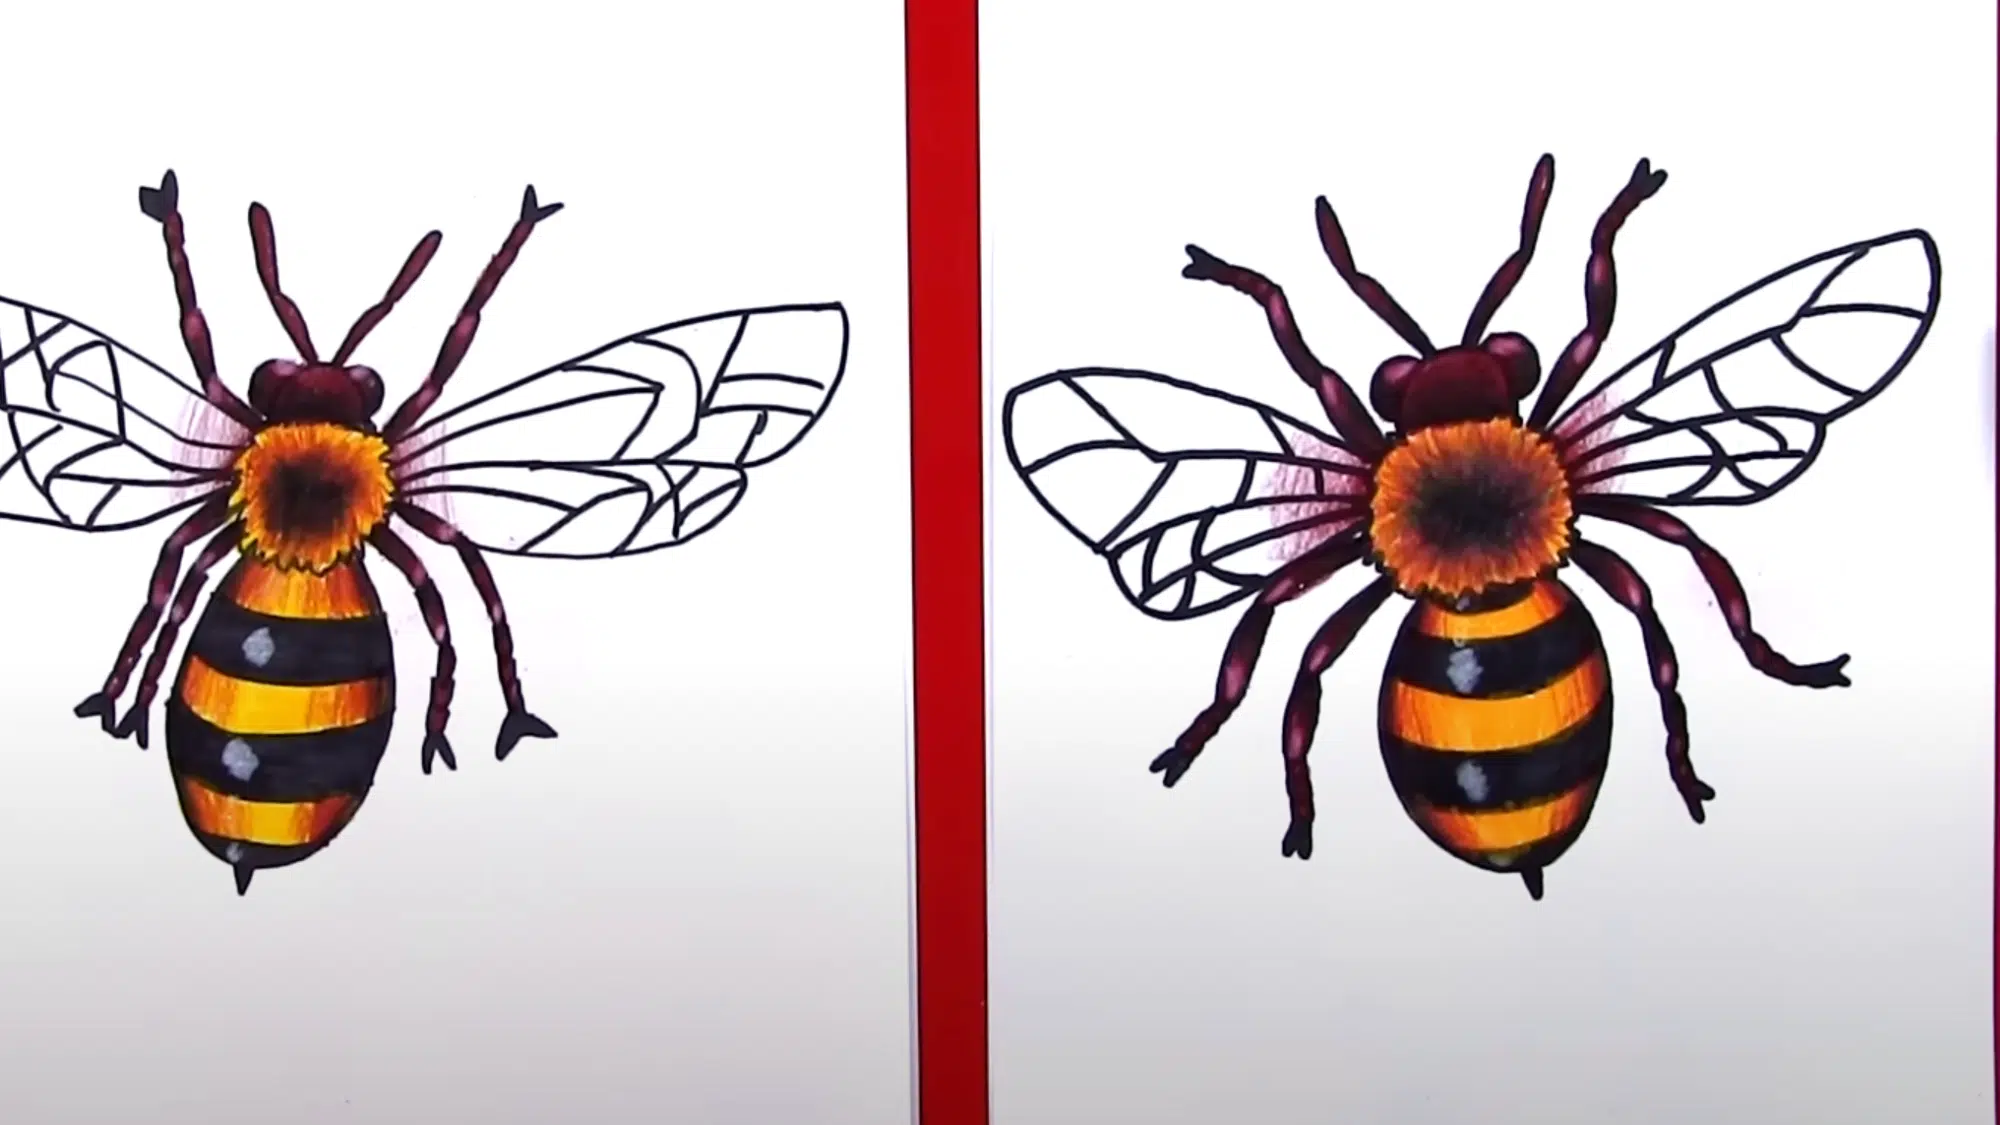
Finally, don’t forget the Stinger! Draw a small “V” shape at the bottom of the abdomen. Once you’ve finished the outline, you can add shading and details to bring your bee to life!
Finally, don’t forget the Stinger! Draw a small “V” shape at the bottom of the abdomen. Once you’ve finished the outline, you can add shading and details to bring your bee to life!
Tips to Avoid While Drawing a Bee
Here, you can see eight common mistakes to avoid when drawing realistic bees. These tips will help you create more accurate bee illustrations.
1. Don’t Ignore Basic Bee Anatomy: Many artists draw bees with just two body sections. Bees actually have three main parts: head, thorax, and abdomen. Ensure that you include all three sections with the correct proportions for a realistic drawing.
2. Bees have two pairs of wings that look different: The front wings are larger than the back wings. When at rest, these wings fold over one another. Drawing all wings the same size and shape makes your bee look fake.
3. Don’t Make Legs Too Simple: Bee legs are complex, not just simple sticks. Each leg has joints and special structures. The back legs of honey bees have pollen baskets.
Drawing basic straight legs will make your bee look cartoon-like rather than real.
4. Skip Perfect Stripes: Real bees don’t have perfectly even black and yellow stripes. Different bee species have unique patterns.
Some have fuzzy bands, others have dots or patches. Study the specific bee type you want to draw instead of using the classic cartoon pattern.
5. Don’t Forget the Fuzz: A common mistake is drawing bees with smooth bodies. Most bees are fuzzy, with hair covering parts of their bodies.
This fuzz is important for collecting pollen. Add texture to show this hairiness for a more lifelike bee.
6. Avoid Oversized Stingers: Many artists draw huge, prominent stingers. In reality, bee stingers are small and often hidden from view unless being used.
Drawing an oversized stinger makes your bee look less natural.
7. Don’t Draw Identical Eyes: Bees have compound eyes and simple eyes. The compound eyes are large and located on the sides of the head, while simple eyes (ocelli) are three small dots on top of the head. Drawing just two simple round eyes will make your bee look wrong.
8. Avoid Incorrect Color Choices: While yellow and black are common bee colors, using bright, crayon-yellow or jet-black isn’t accurate. Real bees have more subtle shades, amber, golden, brown, or even blue-black.
Pointers to Make a Bee Look Lifelike
1. Add Hair Texture
Real bees have fuzzy bodies, especially on their thorax, the middle section. Use small, light strokes to show this fuzziness.
This hair isn’t the same length all over – it’s thicker on the thorax and thinner on the abdomen. This detail alone can make your bee drawing jump from cartoon to lifelike.
2. Show Natural Posture
Bees rarely sit perfectly straight. When drawing, position the legs in a natural stance, with some touching the surface and others slightly raised. The antennae should curve gently rather than stick straight out.
3. Include Wing Transparency
Bee wings are clear with visible veins. Draw the wings with light, thin lines and add the vein pattern. The wings should look see-through, not solid.
When a bee is at rest, the wings fold along the body rather than sticking out. This subtle detail makes a big difference in how real your bee looks.
4. Pay Attention to Color Variation
Real bees aren’t simply yellow and black. Their colors have subtle shifts and tones. The yellow may be more amber or golden, while the black parts often have hints of brown or even blue.
Add slight color variations within each section rather than using flat, uniform colors.
5. Draw Realistic Eyes
Bee eyes are fascinating and complex. Display the large compound eyes on the sides of the head, featuring a slight texture or pattern that hints at the numerous lenses they contain. Also include the three tiny, simple eyes (ocelli) on top of the head.
6. Show Proper Scale
Size matters when drawing bees. If you include flowers or other objects in your drawing, make sure the bee is the right size compared to them.
Most bees are between 1/4 to 1 inch long. Drawing a bee too large or too small compared to its surroundings will instantly make it look less real.
In a Nutshell
Drawing bees that look real isn’t as hard as it seems. By avoiding common mistakes like wrong body parts, smooth bodies, and cartoon-like stripes, you’ll be on the right track.
Remember to add fuzzy texture, draw see-through wings with veins, and pay attention to the right colors.
The small details matter most – how the bee stands, its complex eyes, and the right body size in relation to flowers. Real bees have three body sections, two types of eyes, and six jointed legs.
Next time you draw a bee, take a few minutes to look at actual bee photos first. This simple step will help you notice the tiny details that bring your drawing to life.
With practice and these tips in mind, your bees will soon appear to be buzzing right off the page.