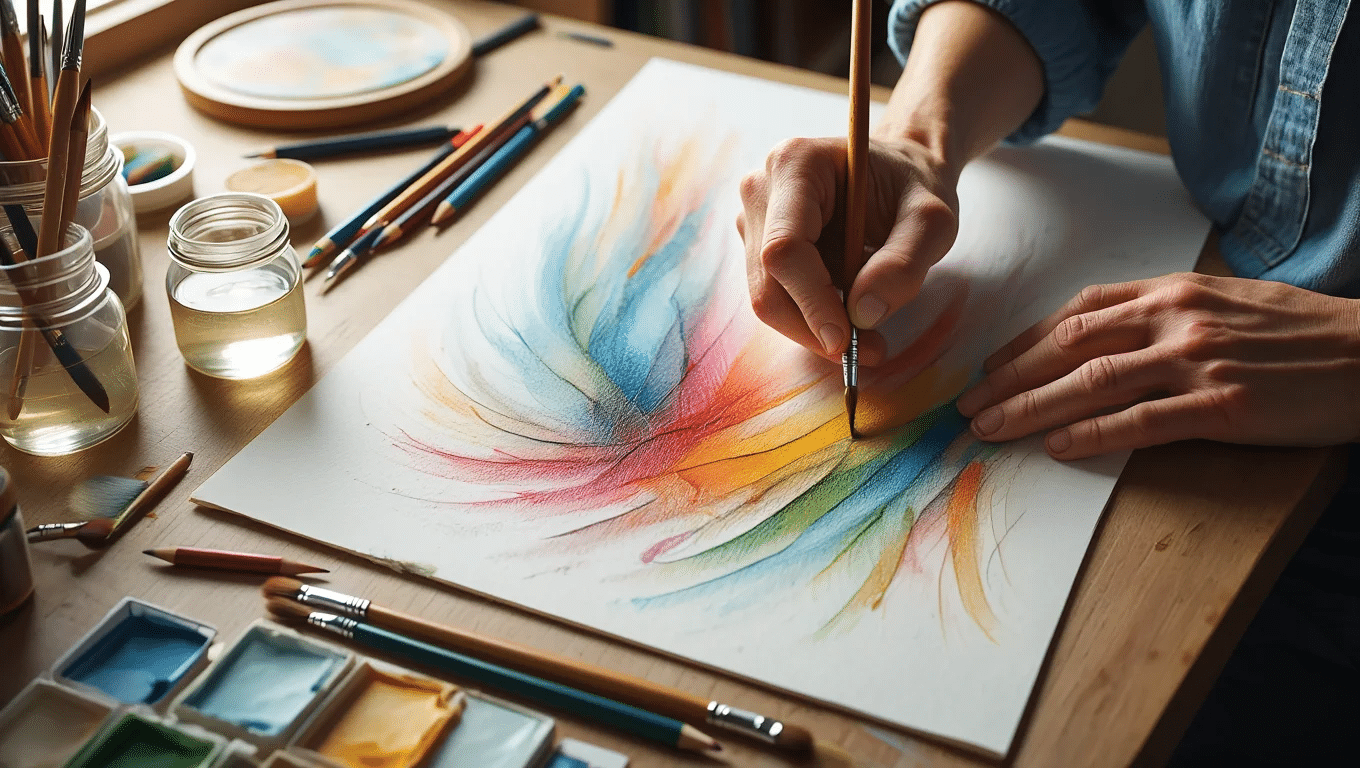
Artists often feel frustrated when trying new techniques only to end up with smudged messes. The good news is that anyone can learn this skill without fancy equipment or years of training.
With solvent drawings, artists learn how to blend colors in ways that give artwork depth and texture that other methods can’t match. Friends and family might even think they’ve been taking secret art classes!
This blog will show the basics of solvent drawing so readers can watch their artwork come to life.
What is Solvent Drawing and How Does It Work?
Solvent drawing is a method that uses chemical liquids to soften and blend art materials like colored pencils, markers, or pastels.
The process is quite simple. Artists apply their medium to paper, then use a solvent to melt the colors together.
The magic happens when the solvent breaks down the wax or oil in the art material. Colors start to flow into each other, and hard lines fade away. This creates soft edges and smooth color changes that would be hard to make by hand alone.
Different solvents offer different results:
- Odorless mineral spirits work well for colored pencils
- Baby oil creates soft blends for casual projects
- Special art blenders come in pens for precise control
The paper choice matters too. Thicker paper handles the wet solvent better without wrinkling or tearing. Most artists use small tools like cotton swabs, brushes, or special blending stumps to apply the solvent with control.
Essential Tips for Effective Solvent Drawing
Solvent drawing requires patience and practice to master. Artists new to this technique should start with small projects to understand how solvents interact with their chosen medium.
Learning a few key principles can help anyone improve their solvent artwork skills quickly.
Start with light layers: Artists should build color gradually with light layers rather than applying heavy pressure at first. This allows for better control when the solvent is applied and prevents muddy colors from forming during blending.
Use quality materials: High-grade colored pencils or markers contain more pigment and respond better to solvents. Better materials create richer colors after blending and last longer on the paper without fading over time.
Control solvent amounts: Too much solvent can make colors run excessively or damage paper. Artists should start with small amounts on a brush or cotton swab and add more only if needed for the desired effect.
Test on scrap paper: Before working on a main project, testing solvent effects on the same type of paper helps predict results. This practice allows artists to see how colors will blend and how much solvent works best.
Allow proper drying time: Rushing the drying process can ruin your solvent piece of art. Patience pays off as the final look only appears once the paper has completely dried, sometimes revealing subtle effects not visible when wet.
Simple Steps for Applying a Solvent in Artwork
Creating remarkable pieces through solvent drawing is a technique that opens up remarkable possibilities for blending and texture.
It is especially valuable for artists working with wax or oil-based colored pencils who wish to achieve painterly effects without traditional paint.
With thoughtful preparation and a bit of patience, anyone can learn to handle solvents with confidence and care.
Step 1: Prepare the Workspace and Gather Materials
The artist should choose a well-ventilated space by opening a window or door and may wear a face mask for added protection.
All supplies including pencils, solvent, brush, and thick watercolor paper should be ready. A paper towel is helpful to manage solvent excess. Setting up carefully ensures a smooth workflow and a safer creative process.
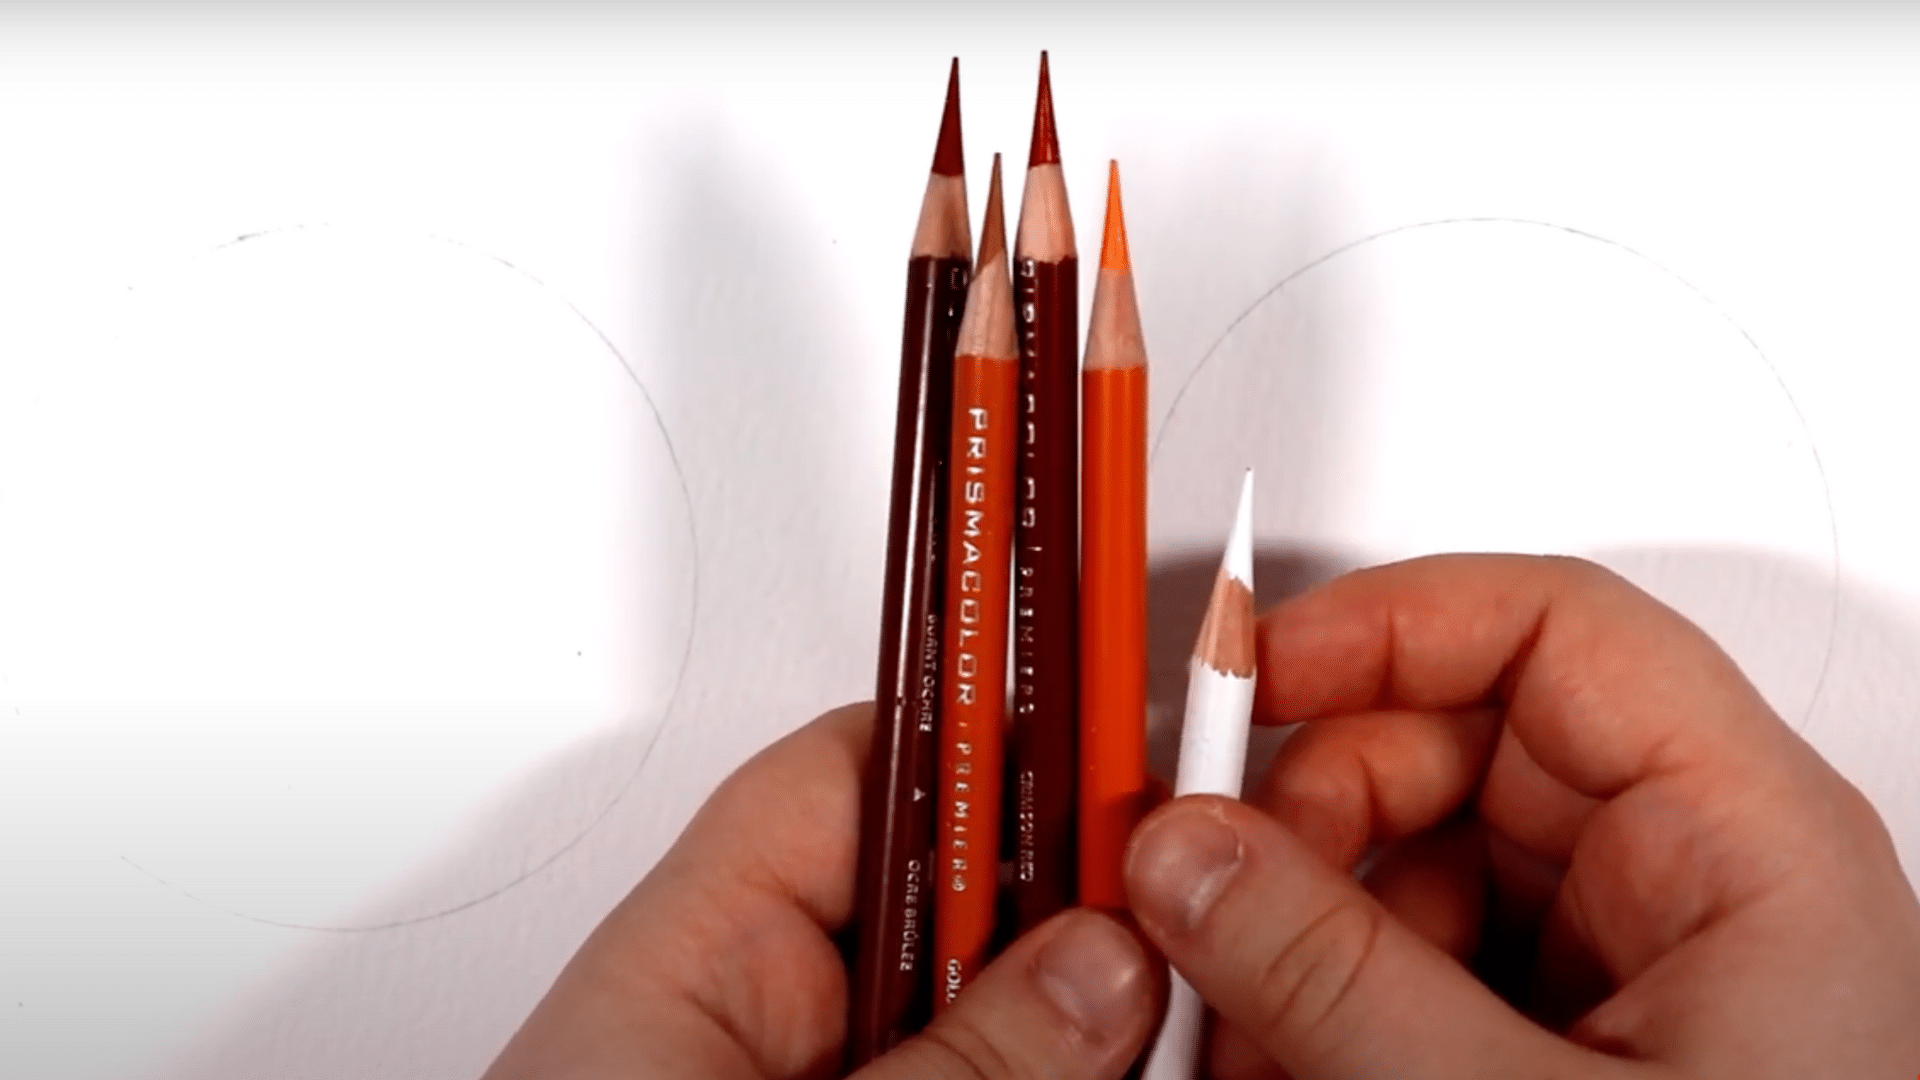
Step 2: Apply the First Layer of Pencil Lightly
The first color layer should be shaded lightly using the side of the pencil to preserve the paper’s tooth. Gentle, circular motions prevent early burnishing and allow for better pigment blending.
It’s important to avoid heavy pressure at this stage. This light base sets the foundation for effective solvent work later on.
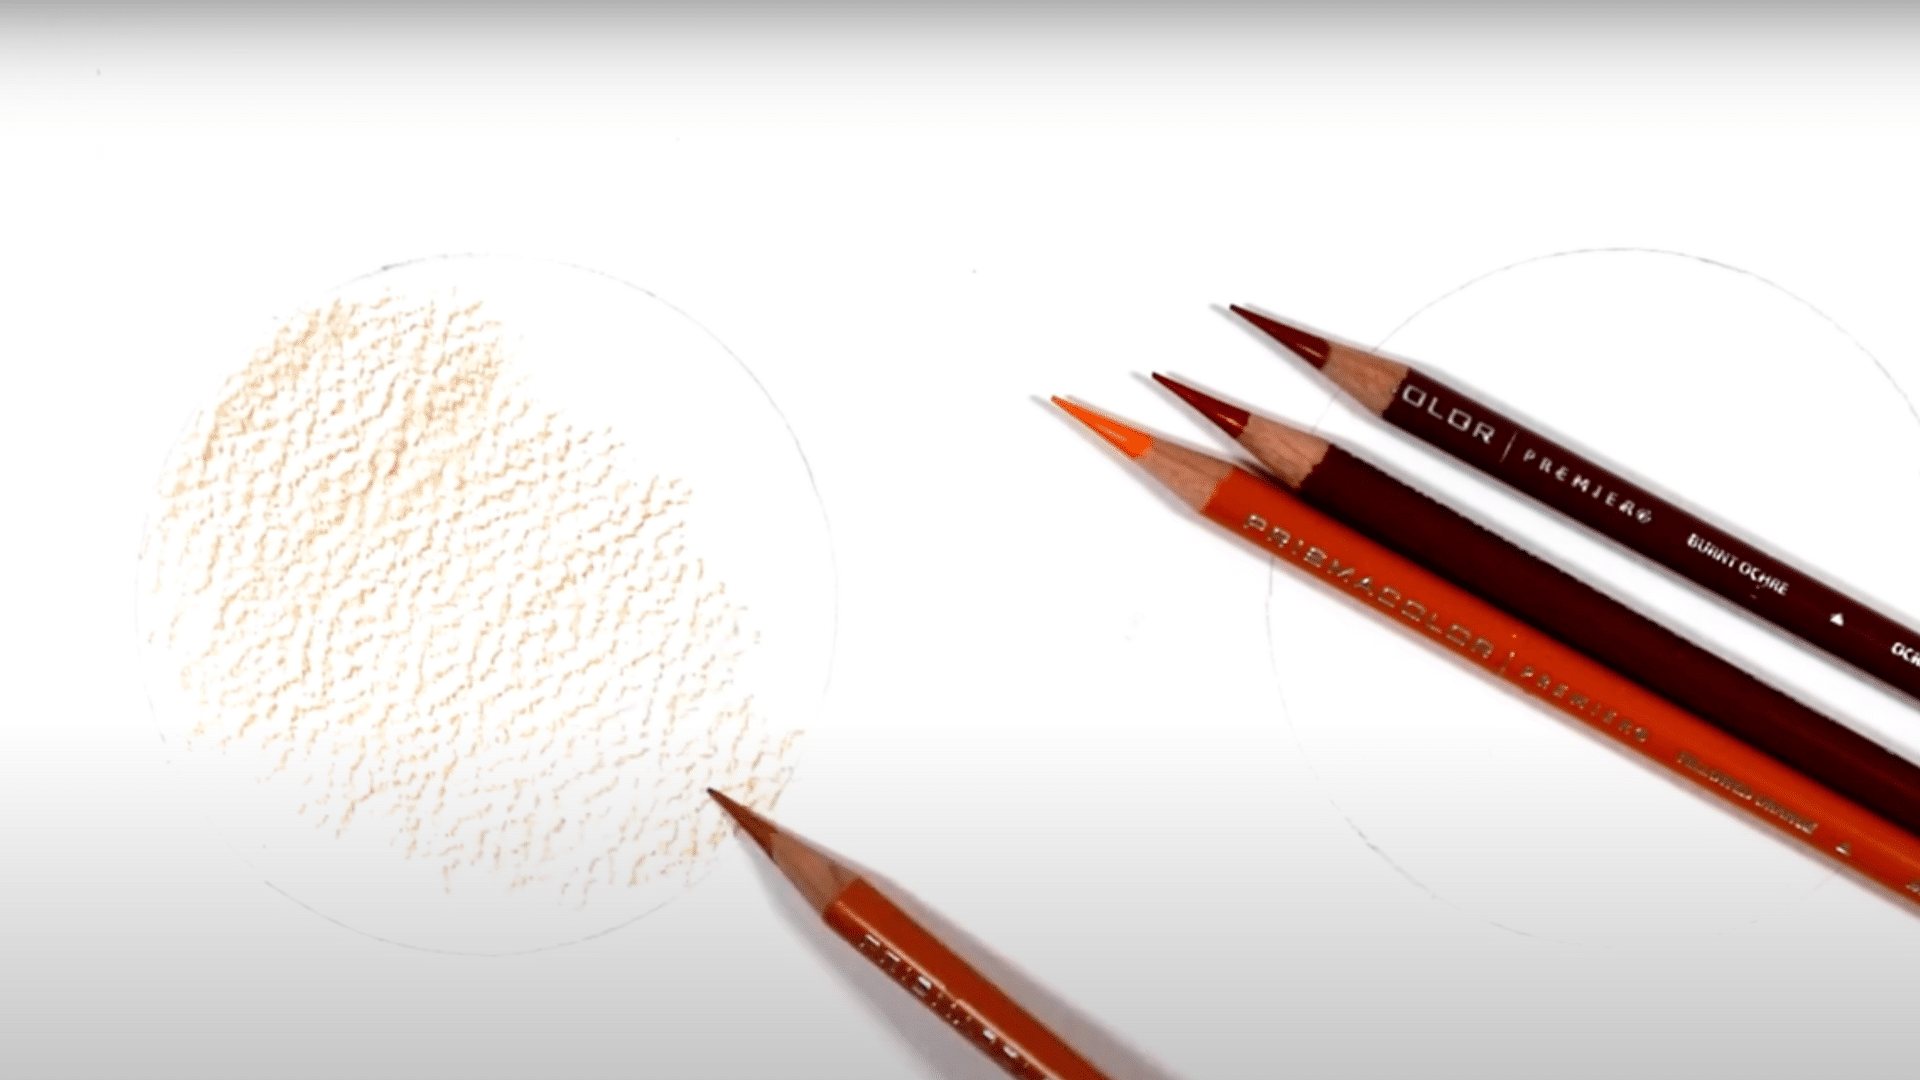
Step 3: Build Five to Seven Layers Before Using Solvent
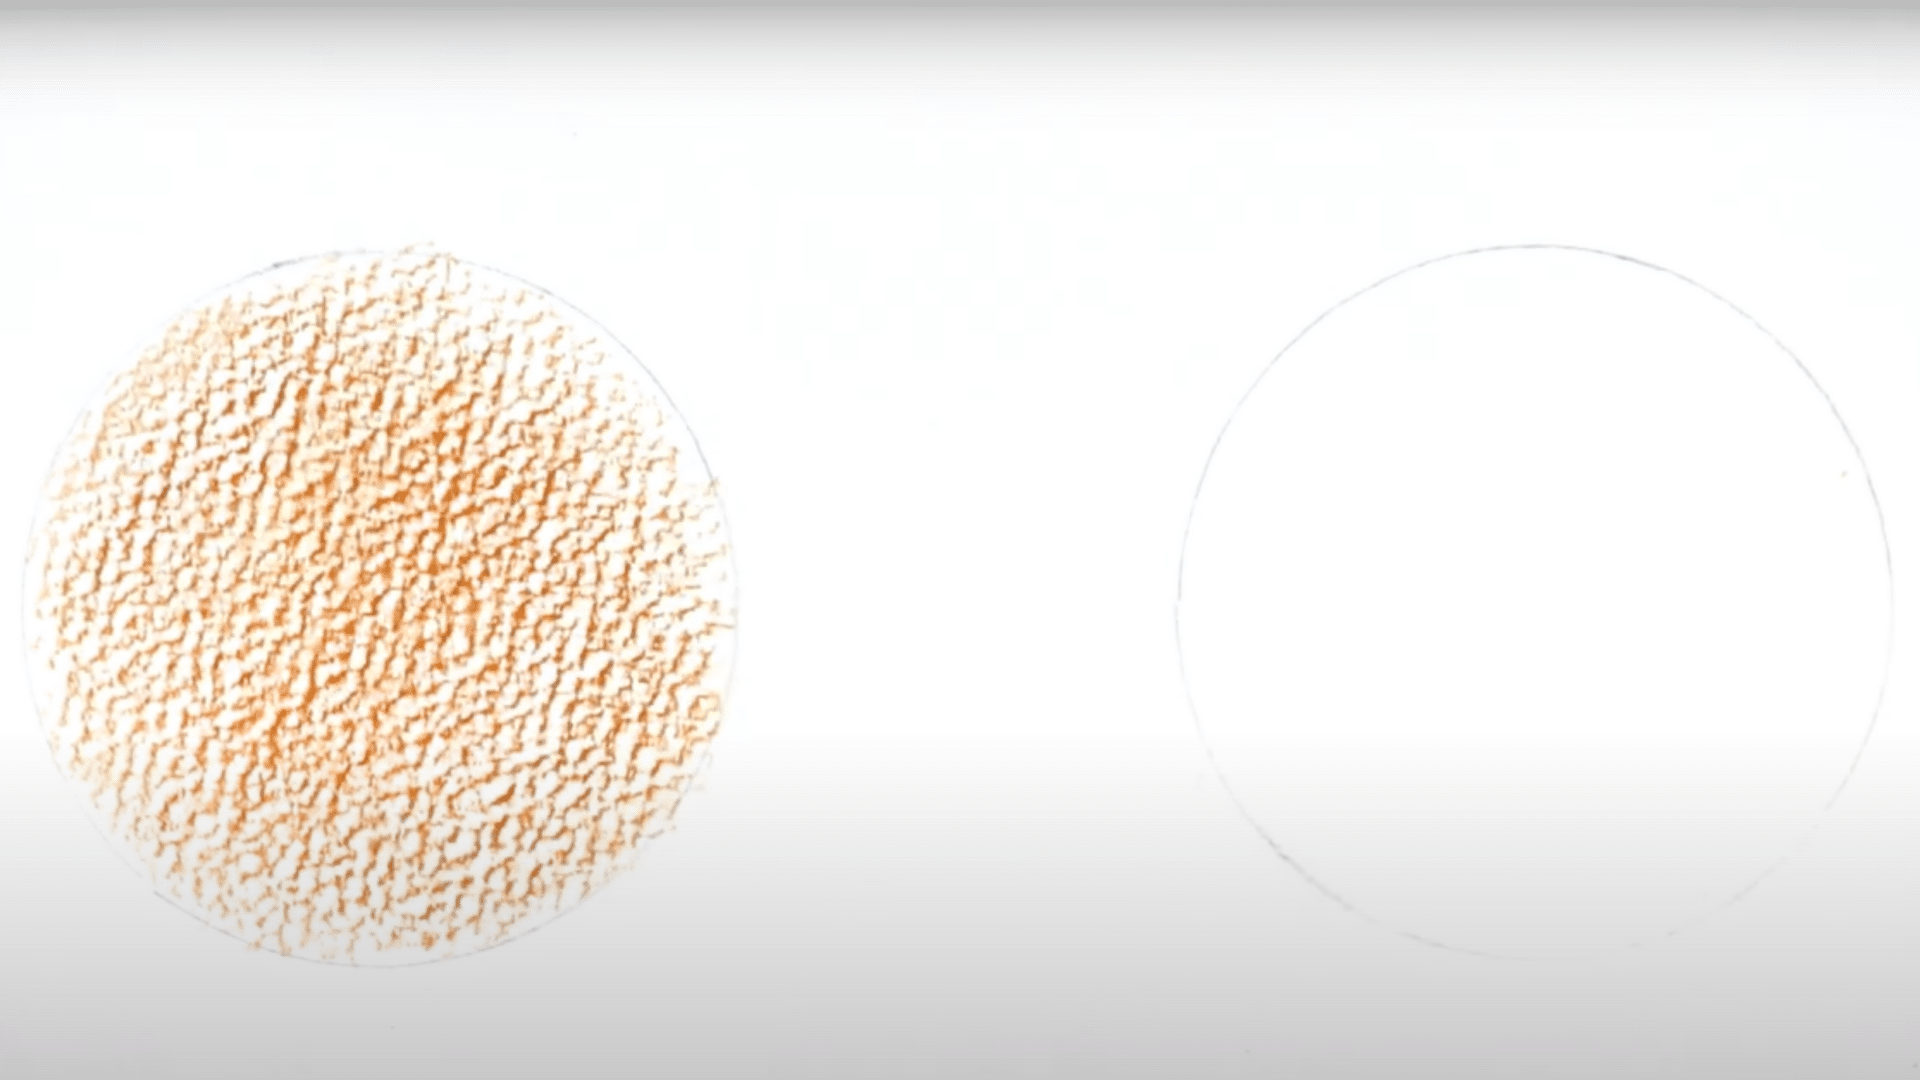
To achieve a rich and smooth blend, layering is essential before introducing any solvent.
The artist should apply light layers of color, gradually increasing pigment without pressing too hard. This preserves the paper’s tooth and prevents waxy buildup that resists blending.
- Aim for five to seven soft layers for best results
- Use light pressure and the side of the pencil
- Alternate and overlap colors for depth and balance
- Avoid heavy strokes, which can flatten texture
Step 4: Apply Solvent with a Soft Brush
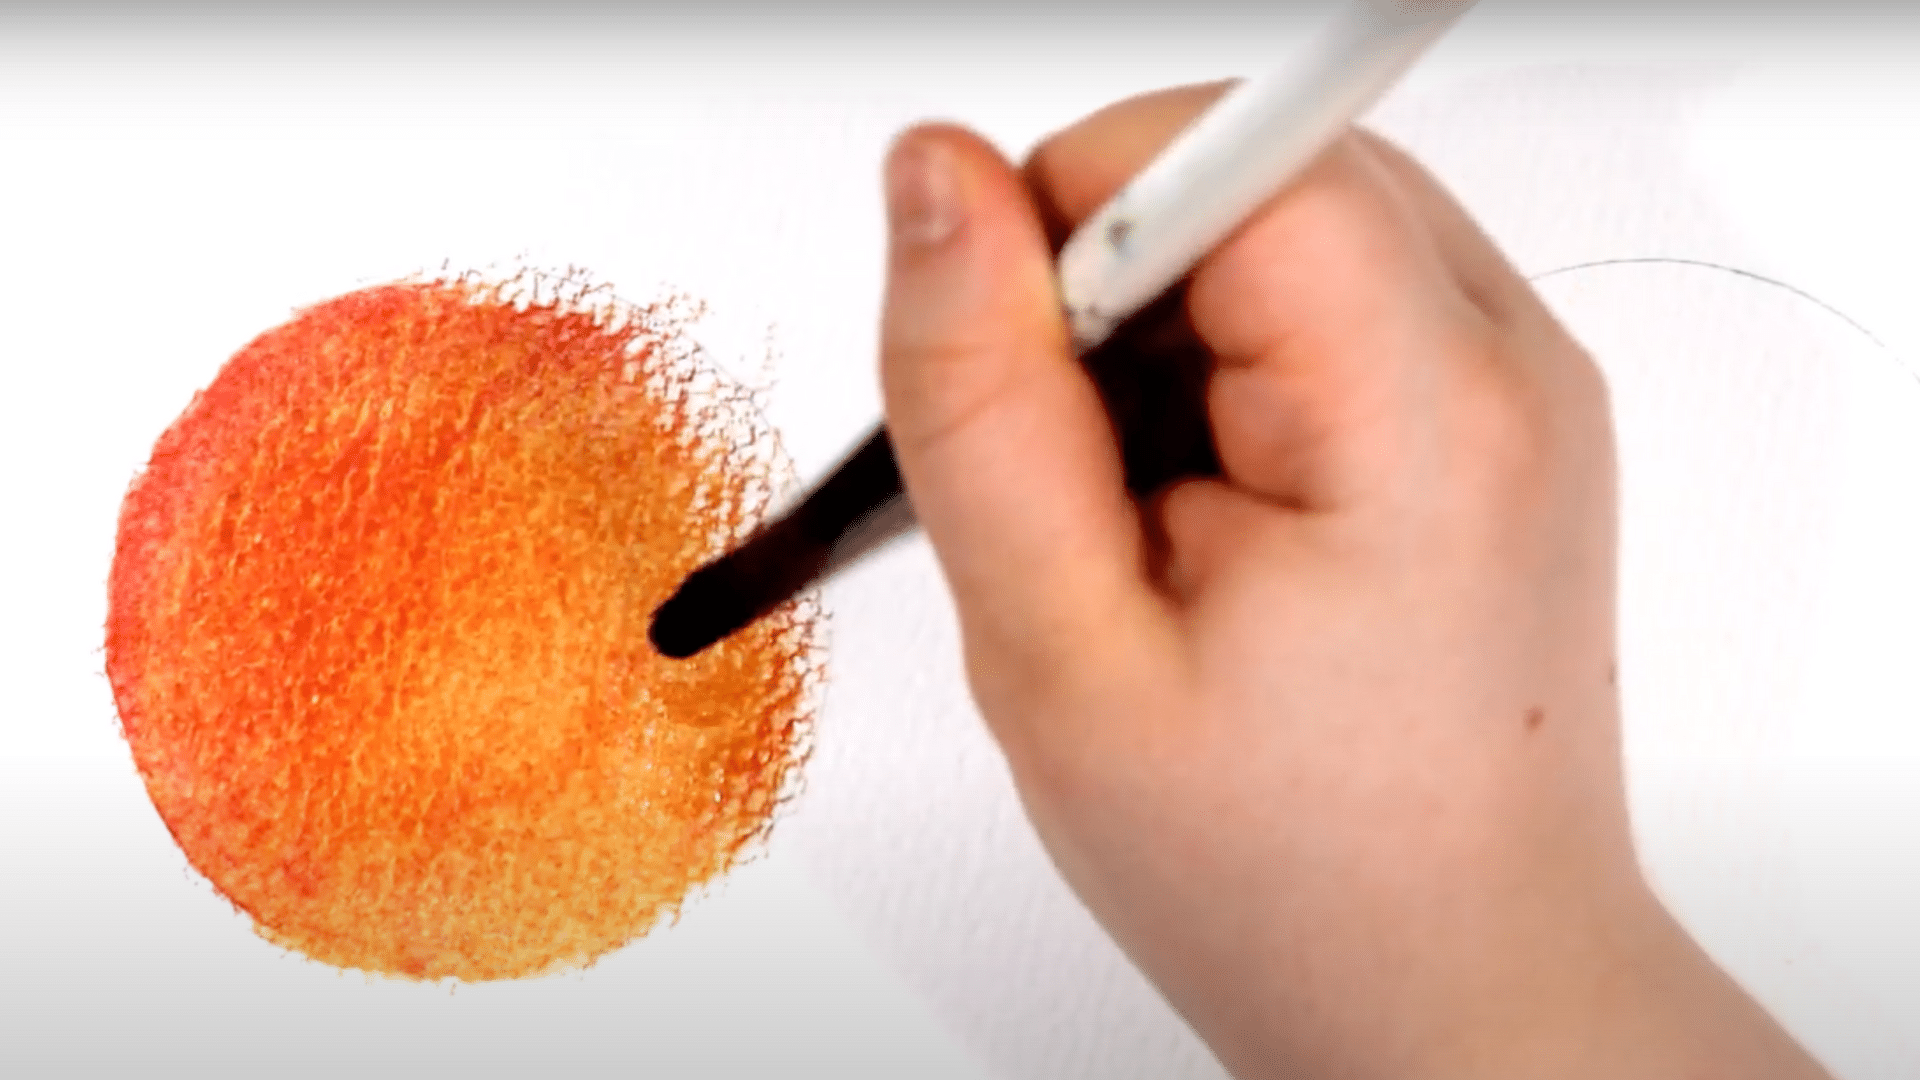
A rounded soft-bristle brush should be dipped lightly into the solvent and dabbed on a towel to remove excess.
The artist then blends the pencil using gentle, circular strokes, letting the solvent do most of the work. Smooth, even movement prevents streaks. A soft touch ensures the paper remains undamaged.
Step 5: Allow Time for the Area to Dry Completely
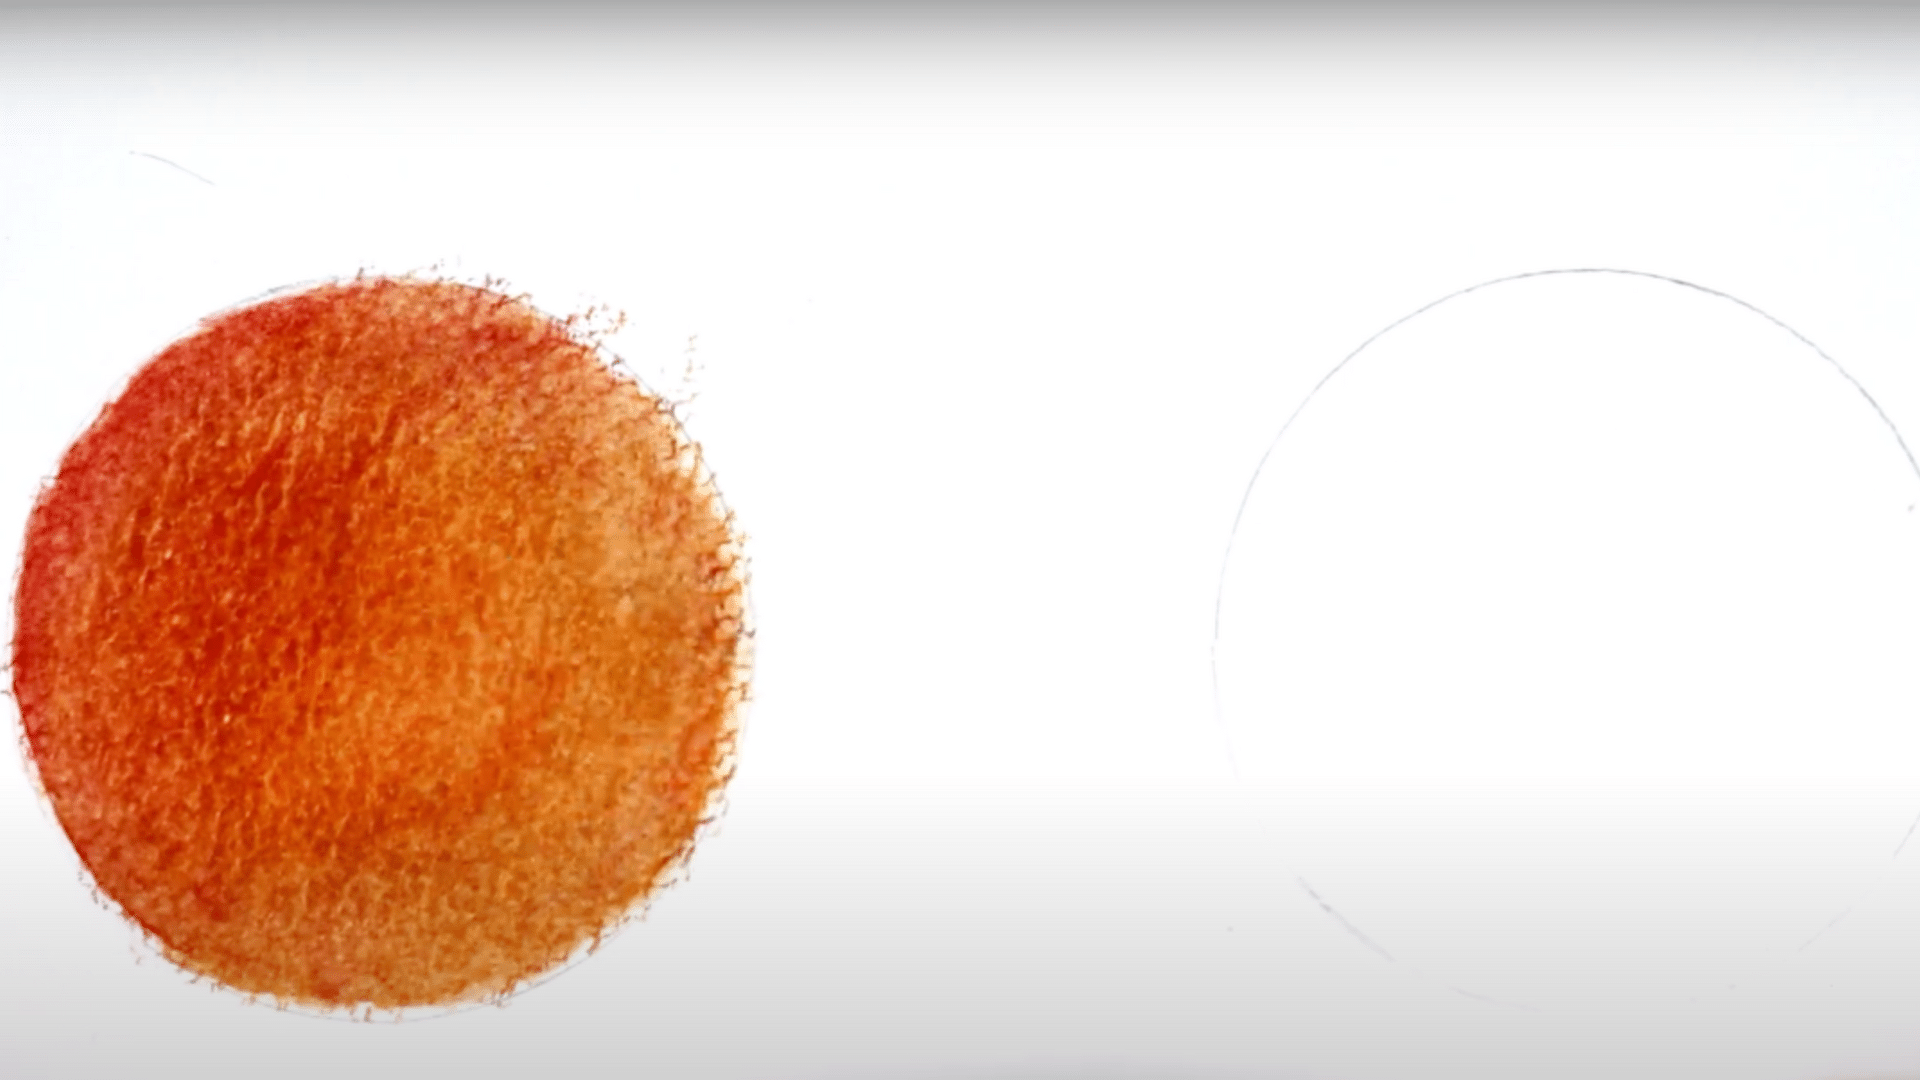
Once blended, the area should be left to dry naturally for 15 to 30 minutes. The artist can check by gently touching the paper; if it feels damp, more time is needed.
Working on wet surfaces may tear the paper. Patience here helps maintain the integrity of the artwork.
Step 6: Add Depth and Further Layers Sparingly
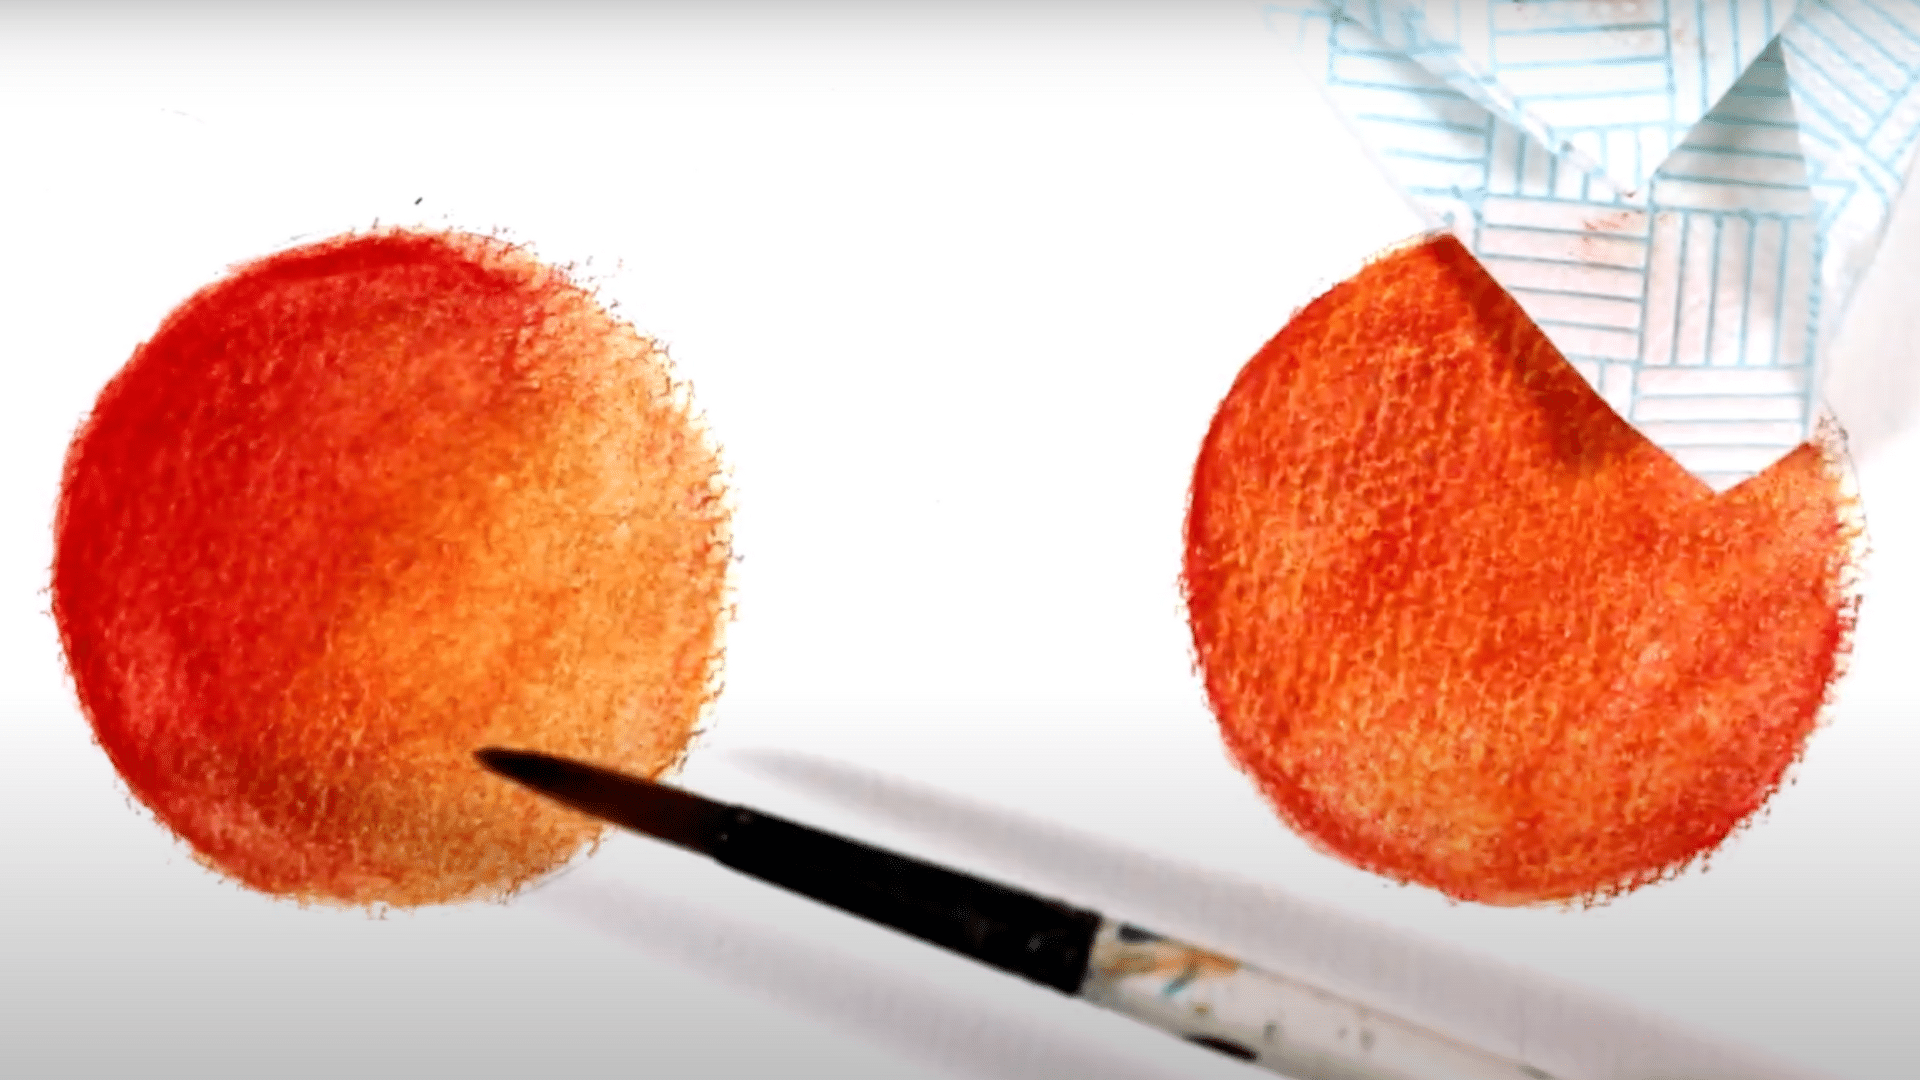
After the first round of blending and drying, more layers can be added to enhance the piece.
This stage is for adjusting contrast, increasing vitality, and refining form. However, caution is key, too much solvent or heavy application can damage the paper.
- Reapply color lightly, focusing on key areas needing depth
- Use less solvent than before; just a slightly damp brush
- Avoid oversaturating already-blended sections
- Let each layer dry fully before adding more detail
Step 7: Finish with Details and Clean-Up
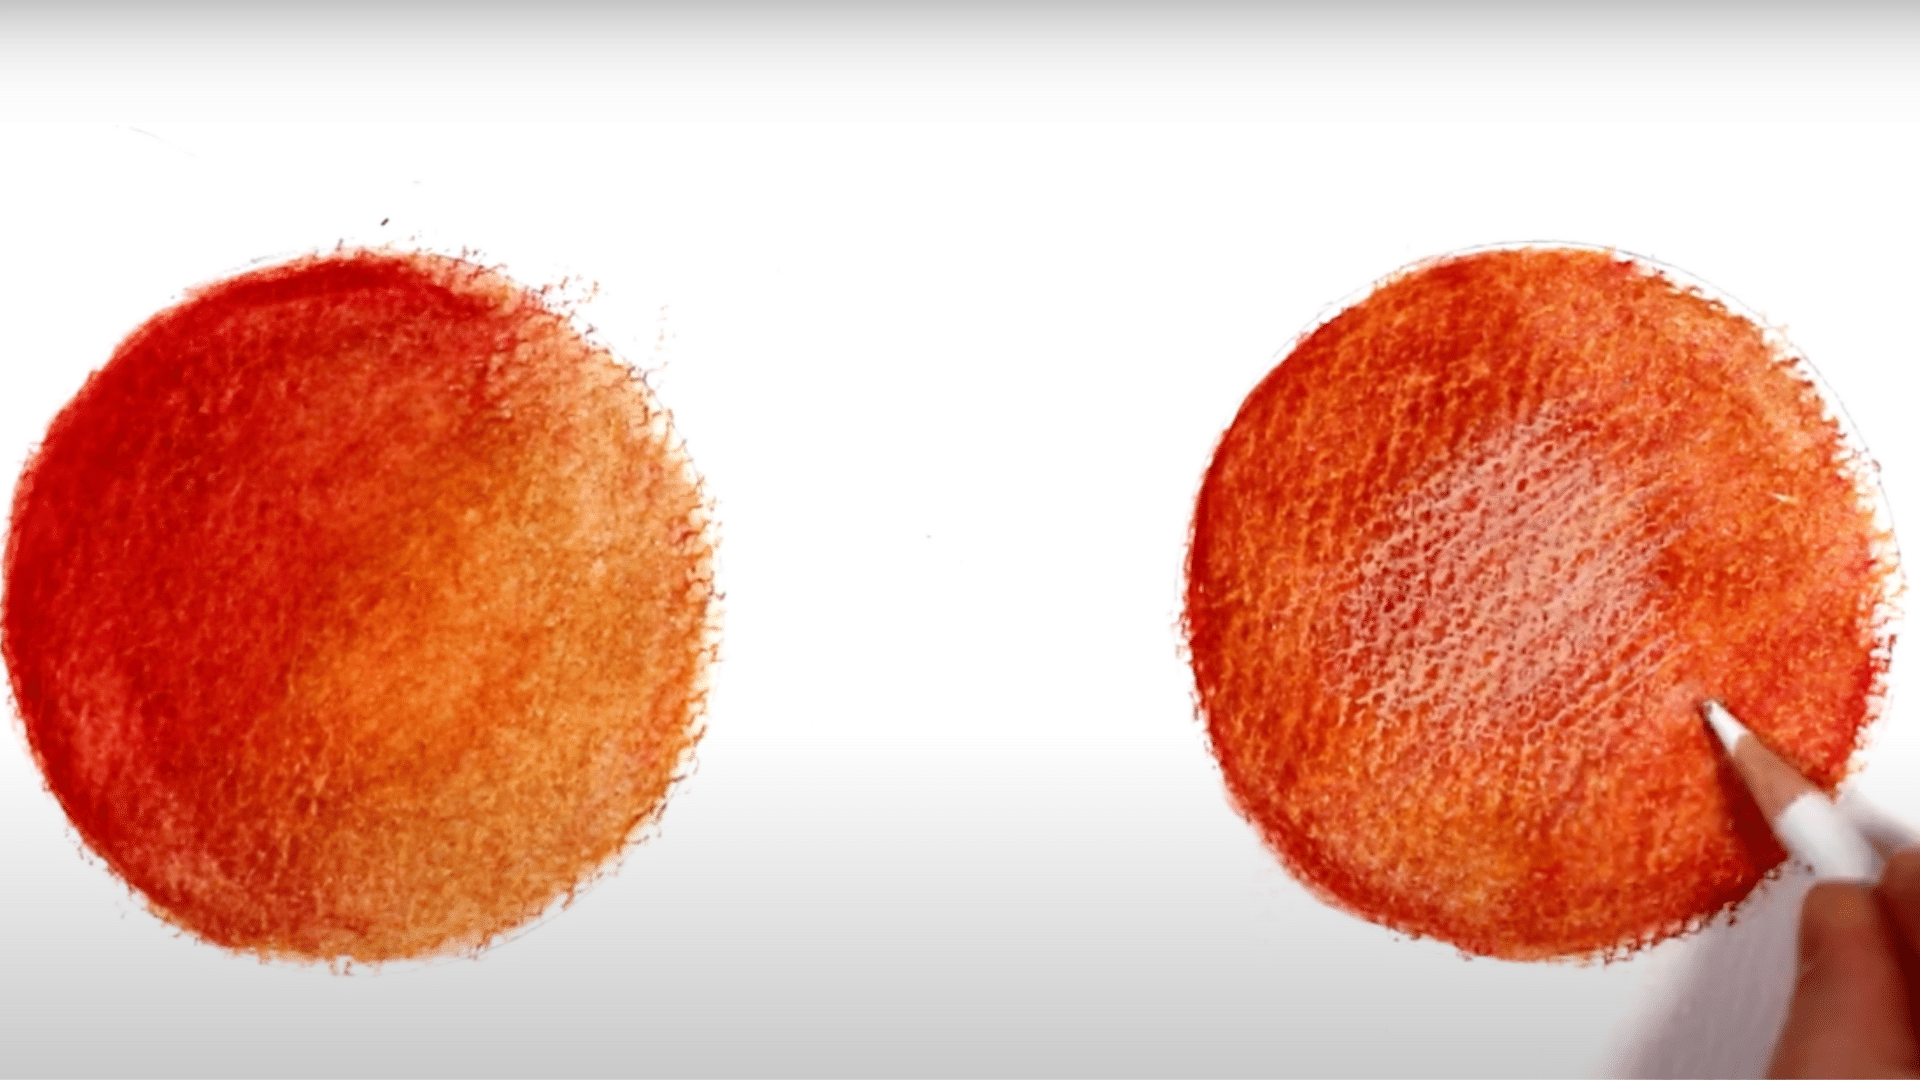
Fine lines and highlights can be added using a sharp pencil for extra clarity and realism. Brushes should be cleaned using warm water and mild soap, then left to dry overnight.
Hands must be washed thoroughly after handling the solvent. Proper clean-up extends the life of tools and promotes safe practices.
Creative Ideas for Solvent Drawing Projects
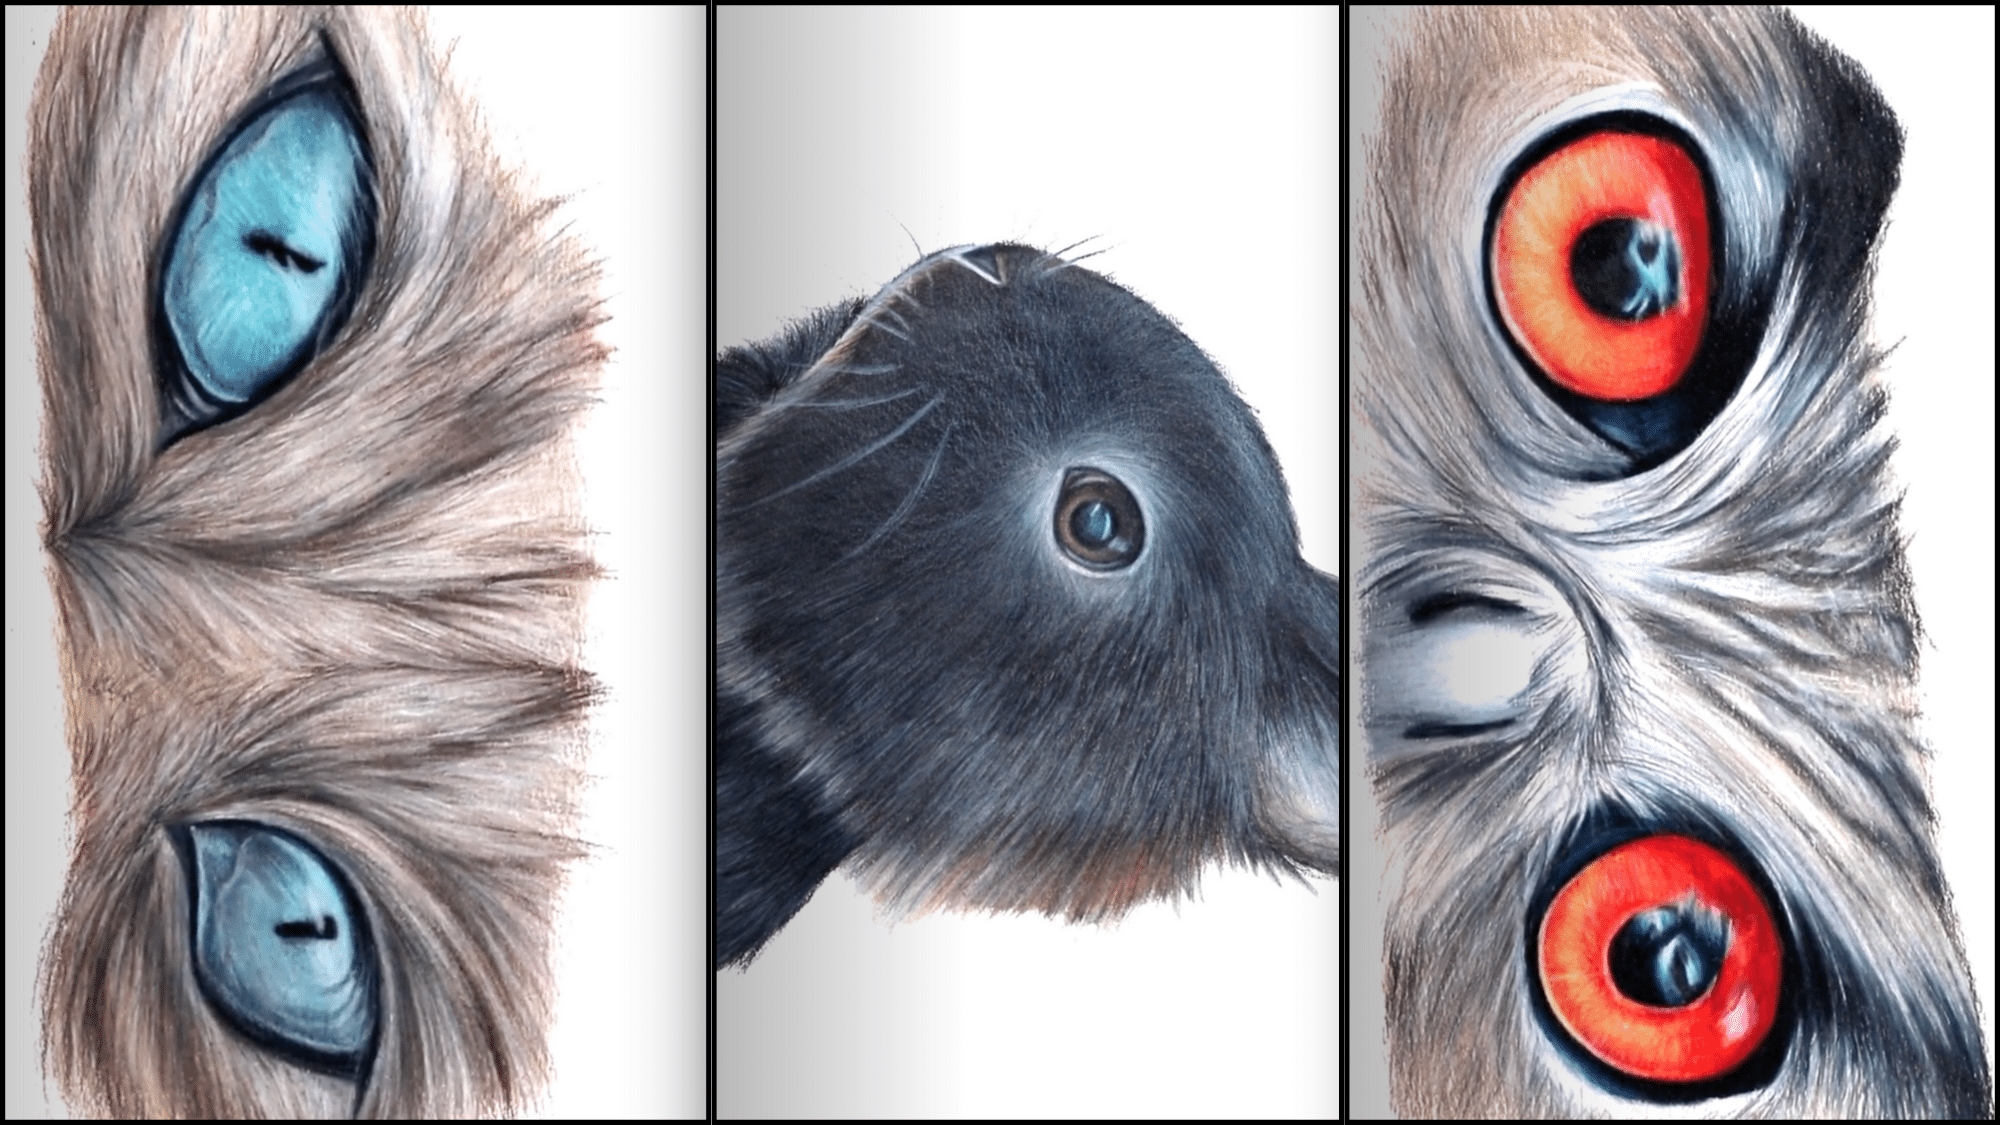
To spark inspiration, here are three drawing studies that apply the solvent technique beautifully. Each one is a chance to explore texture, contrast, and blending skills in a focused, hands-on way.
1. Owl Eye and Feather Study
This study lets the artist practice creating lifelike textures and rich contrast using warm tones. Feather details can be built up in layers, then softened with solvent for realism.
The owl’s eye is a great focal point for sharpening details. It’s an ideal starter for mastering texture and depth.
2. Cat Eye and Fur
This drawing helps refine smooth blending between light and dark fur, useful for adding realism to short hair. The eye detail allows focus on reflections and depth.
The artist can use gentle pencil strokes and solvent to mimic softness. It’s an excellent piece for exploring contrast and flow.
3. Rabbit Portrait (Jet)
This full-subject project combines everything learned, from initial layering to final detail. The rabbit’s fur demands subtle shading and careful blending to create a soft, plush look.
Layering techniques and careful solvent use bring out dimension. It is perfect for developing consistency and realism across a complete piece
Common Mistakes in Solvent Drawing to Avoid
Many artists run into problems when they first try solvent artwork. These mistakes can lead to disappointing results or even damaged artwork. Knowing what to watch out for helps beginners avoid common pitfalls and improve their skills faster.
- Too much solvent: Beginners often add too much liquid to their drawings, causing colors to run together or paper to warp. Artists should use small amounts of solvent and build up slowly, giving each application time to work before adding more.
- Poor paper selection: Using thin or low-quality paper can lead to tearing, excessive wrinkling, or color bleeding through. Artists need to select thick, high-quality paper made for wet media to get the best results from solvent techniques.
- Impatient blending: Rushing the blending process leads to uneven results and muddy colors. Artists should take their time and work in small sections, allowing each area to blend properly before moving to the next part of the drawing.
- Improper ventilation: Working with solvents in closed spaces can cause headaches or breathing issues. Artists should always work in well-ventilated areas, use fans when needed, and take breaks to get fresh air when using stronger solvents.
- Incorrect color layering: Applying dark colors first makes blending difficult and often creates muddy results. Artists should start with lighter colors as a base and gradually build up to darker shades for clean blends and rich depth.
Unique Color Combos for Solvent Artwork
| Color Combination | Colors Included | Effect/Result | Best Used For |
|---|---|---|---|
| Sunset Blend | Orange, Red, Purple, Yellow | Creates warm, soft transitions that mimic sunset skies | Landscapes and background scenes with dramatic lighting |
| Ocean Depths | Navy Blue, Teal, White, Light Blue | Produces flowing water-like effects with various depth levels | Seascapes, underwater scenes, and water features |
| Forest Whispers | Dark Green, Sage, Brown, Yellow-Green | Makes rich, textured foliage with natural light filtering | Tree scenes, forests, and botanical illustrations |
| Cosmic Haze | Purple, Blue, Black, White | Forms misty space scenes with stars and nebula effects | Night skies, space art, and fantasy backgrounds |
| Autumn Glow | Burnt Sienna, Yellow Ochre, Red-Brown, Gold | Develops warm, rich leaf tones with subtle highlights | Fall scenes, leaf studies, and warm-toned still life |
Summing It Up
Solvent drawings offer artists of all skill levels a way to create smooth blends and rich textures in their artwork.
Throughout this blog, readers have learned what solvents do, which materials work best, and how to avoid common pitfalls that beginners face.
The right paper, proper solvent amounts, and patience during the drying process all contribute to successful results.
Why does this matter? Solvent artwork techniques open up new possibilities for expression that might not be achievable with dry media alone. The suggested color combinations provide starting points for creating mood and depth in various subjects.
Artists who master these methods add valuable skills to their creative toolbox.