Are you looking at your empty deck space and wondering how to make it more comfortable? Many homeowners face this challenge.
Building a deck bench means getting exactly what’s needed – the right size, style, and comfort level for any space.
The good news? No fancy tools or years of woodworking practice are required.
This guide will show readers how to build a deck bench with a backrest that’s sturdy, comfortable, and matches their home perfectly.
Time to get started!
What are the Benefits of a Deck Bench with Backrest?
- Space efficiency: A built-in bench takes up less room than separate chairs, giving you more usable space on your deck.
- Cost savings: Building your own bench costs much less than buying outdoor furniture of similar quality and size.
- Custom fit: making a bench that fits perfectly in your space, unlike store-bought options that might be too big or small.
- Weather resistance: When you select the materials, you can choose options that will hold up well in your local climate.
- Personal touch: A bench you build yourself can match your home’s style exactly, adding value and appeal to your outdoor space.
These benefits make a DIY deck bench worth the effort, and you’ll enjoy the results for many years to come.
Tools and Materials Needed to Build a Deck Bench with Backrest
Before you start gathering supplies, let us walk through everything you’ll need for this project. Learning how to build a deck bench with backrest begins with having the right materials and tools on hand:
| Tools | Materials |
|---|---|
| Power drill | 4X4 posts (for the frame) |
| Circular saw | 2X4 lumber (for slats and support) |
| Level | 2X6 lumber (for seat and back) |
| Measuring tape | L-brackets |
| Deck screws | Deck tie brackets |
| Screwdriver | Scrap pieces for tables |
| Clamps | Waterproof stain and sealer |
| Sandpaper | Foam brush for staining |
| Paint roller | Deck screws for assembly |
Making sure you have quality materials and proper tools will save you time and help create a bench that lasts for years to come.
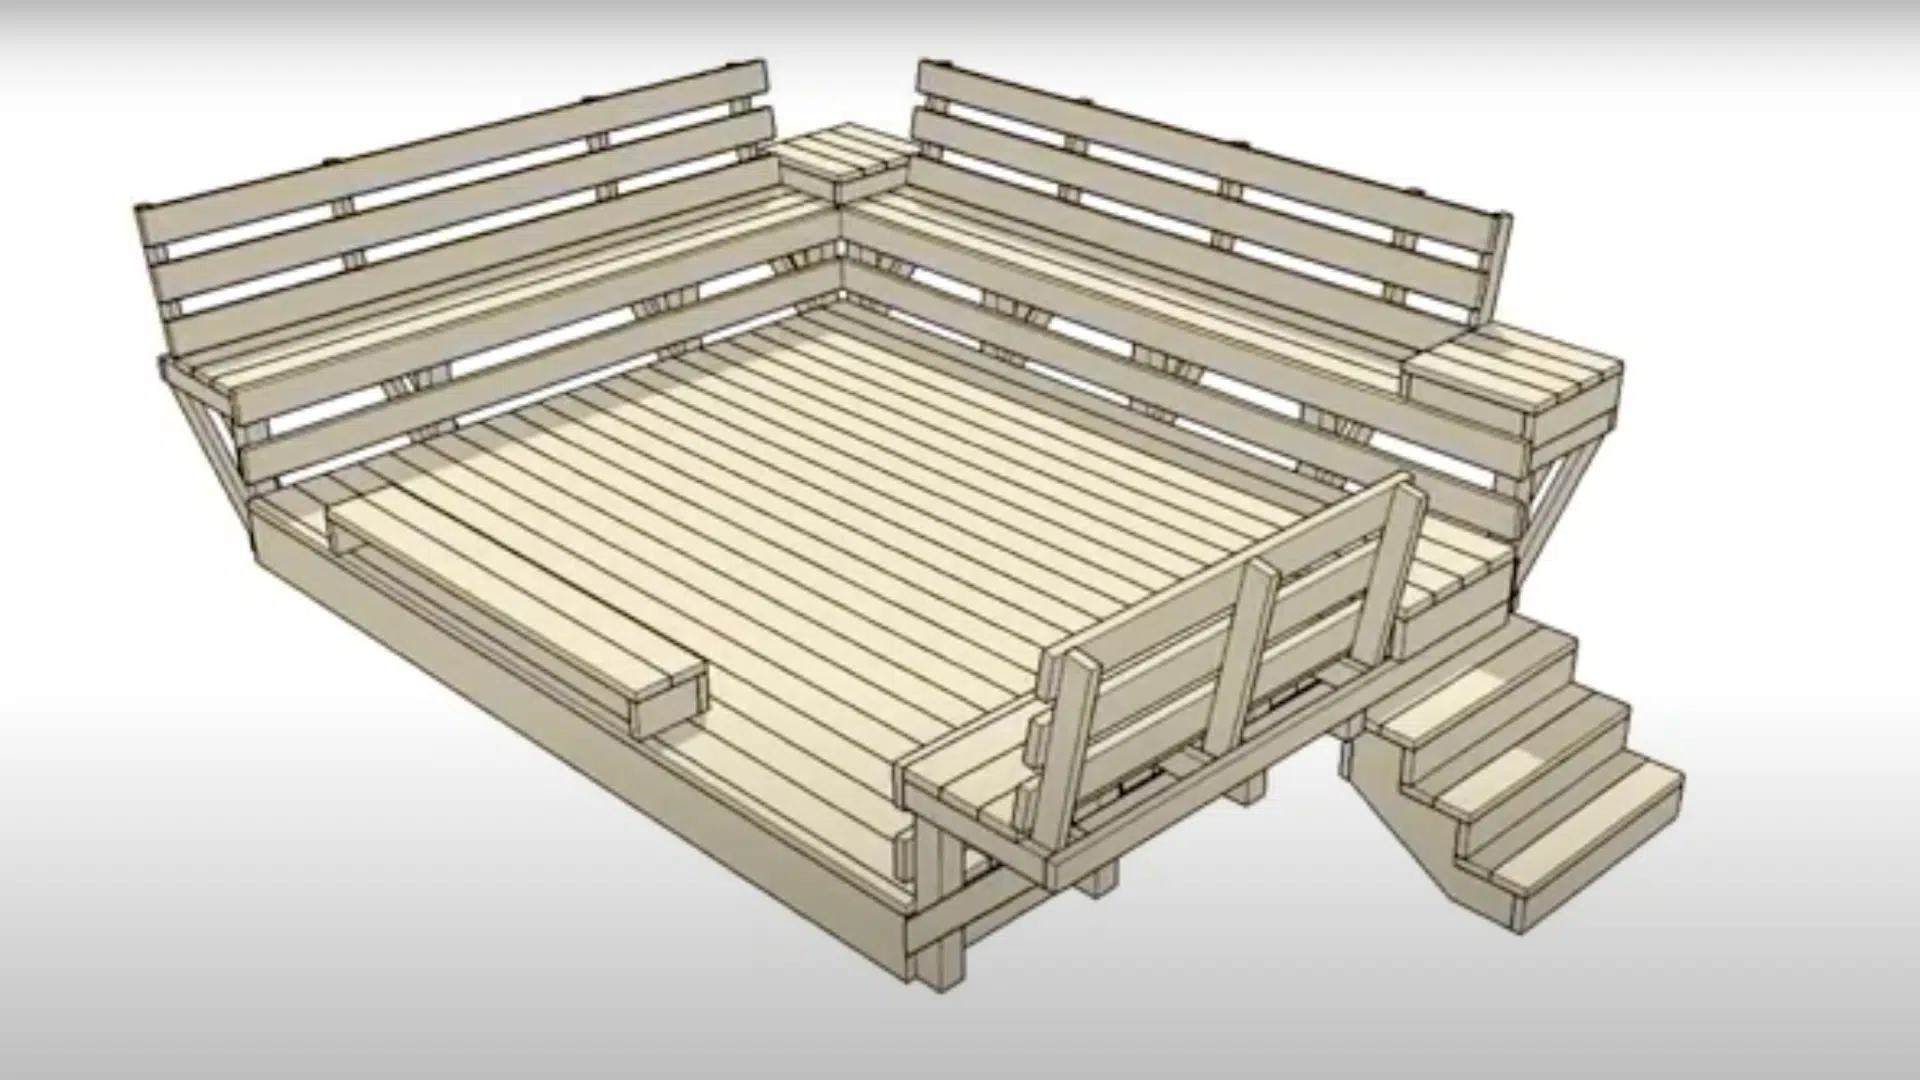
How to Build a Deck Bench with Backrest: Easy Steps
Now that we have our materials ready, let us have a look at the actual construction process. The steps for how to build a deck bench with a backrest are straightforward when broken down into manageable tasks:
Step 1: Prepare Your Materials and Plan the Design
Before you start, it’s essential to have a clear plan. Measure the dimensions of your deck to ensure the bench fits perfectly. Sketch out the design, taking note of where you will place each piece, including the backrest and support structures.
Once you have the design, make a materials list. You will need 2X4’s, 2X6’s, and 4X4’s for the frame and slats. Additionally, gather necessary tools such as screws, brackets, and clamps to aid in the assembly.
Step 2: Attach the 4X4 Posts to the Deck
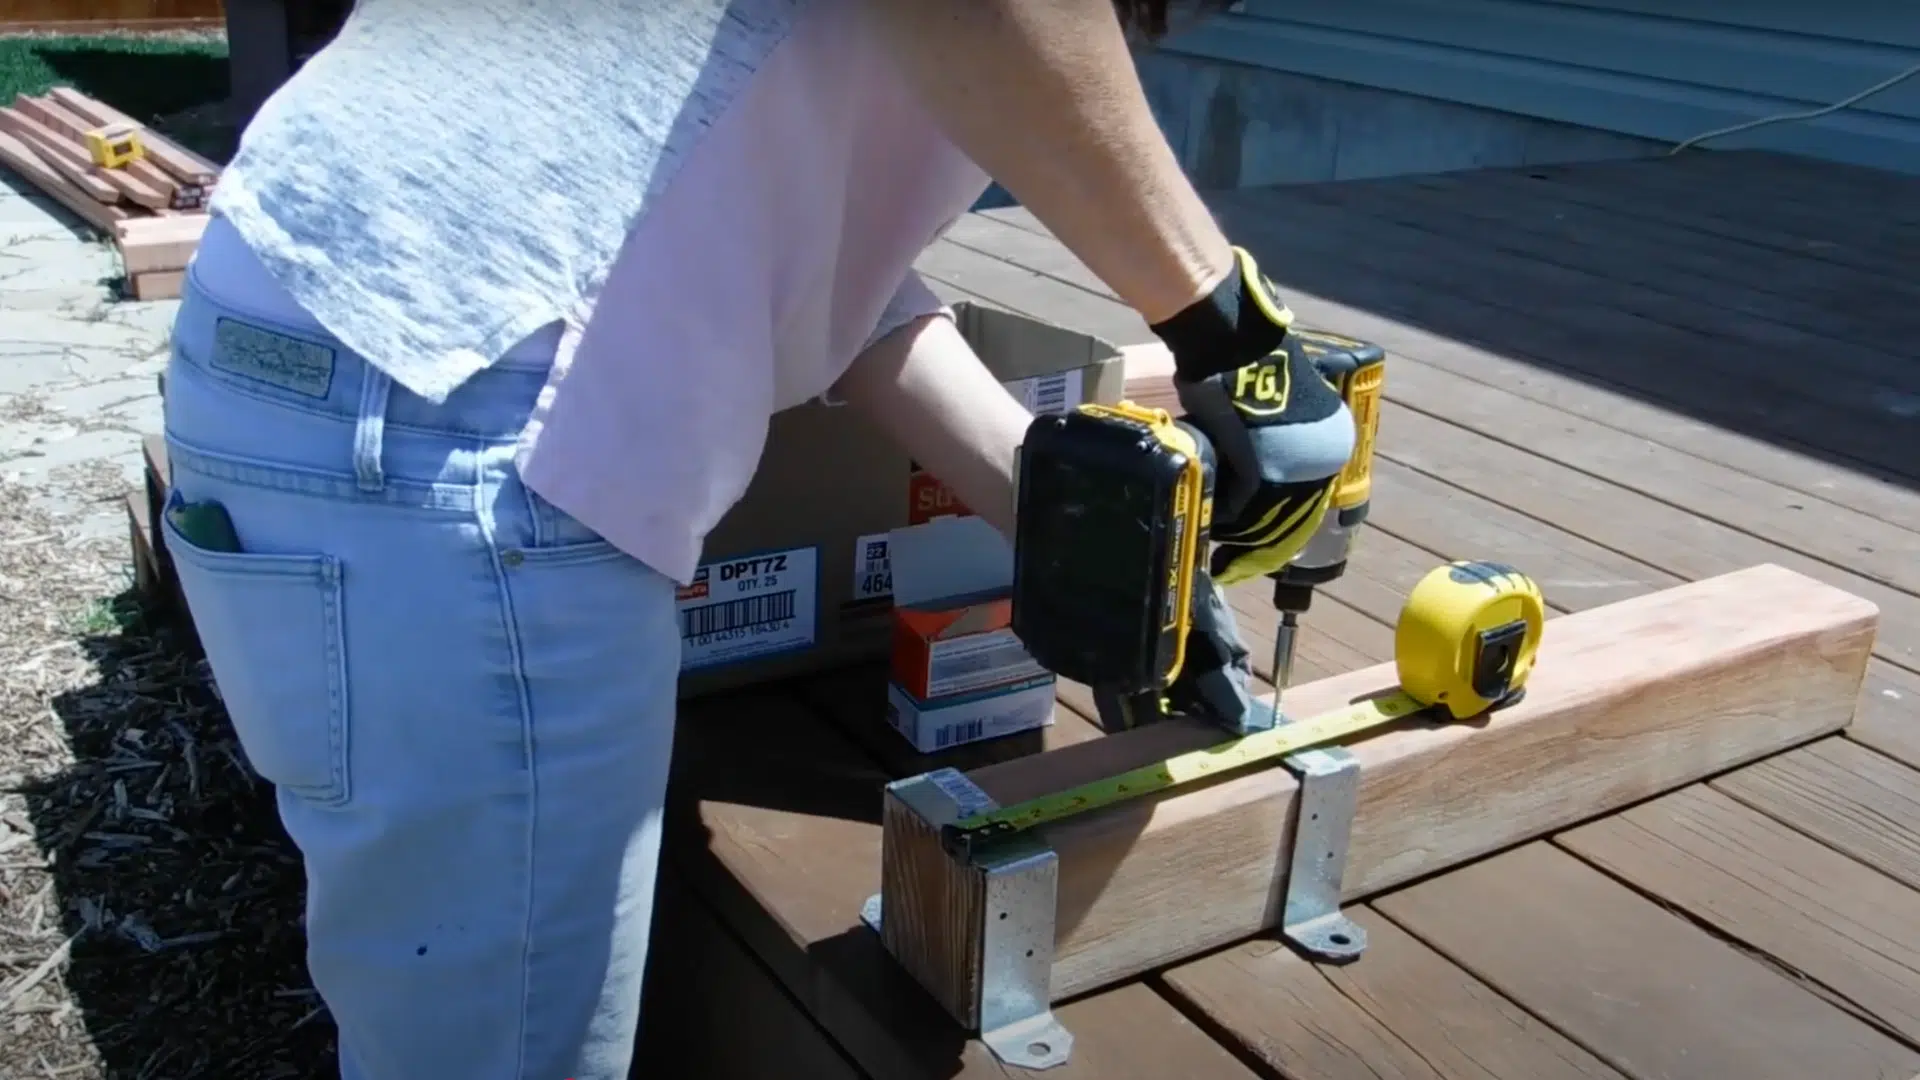
Now, it’s time to secure the 4X4 posts to your deck. Begin by attaching deck tie brackets to each post.
- Place one bracket at the bottom of the post, and another a few inches higher to match your deck’s structure.
- Use deck screws to attach each bracket securely to the deck.
- Check that each post is level before proceeding to ensure the bench is stable.
Step 3: Install the Horizontal Supports
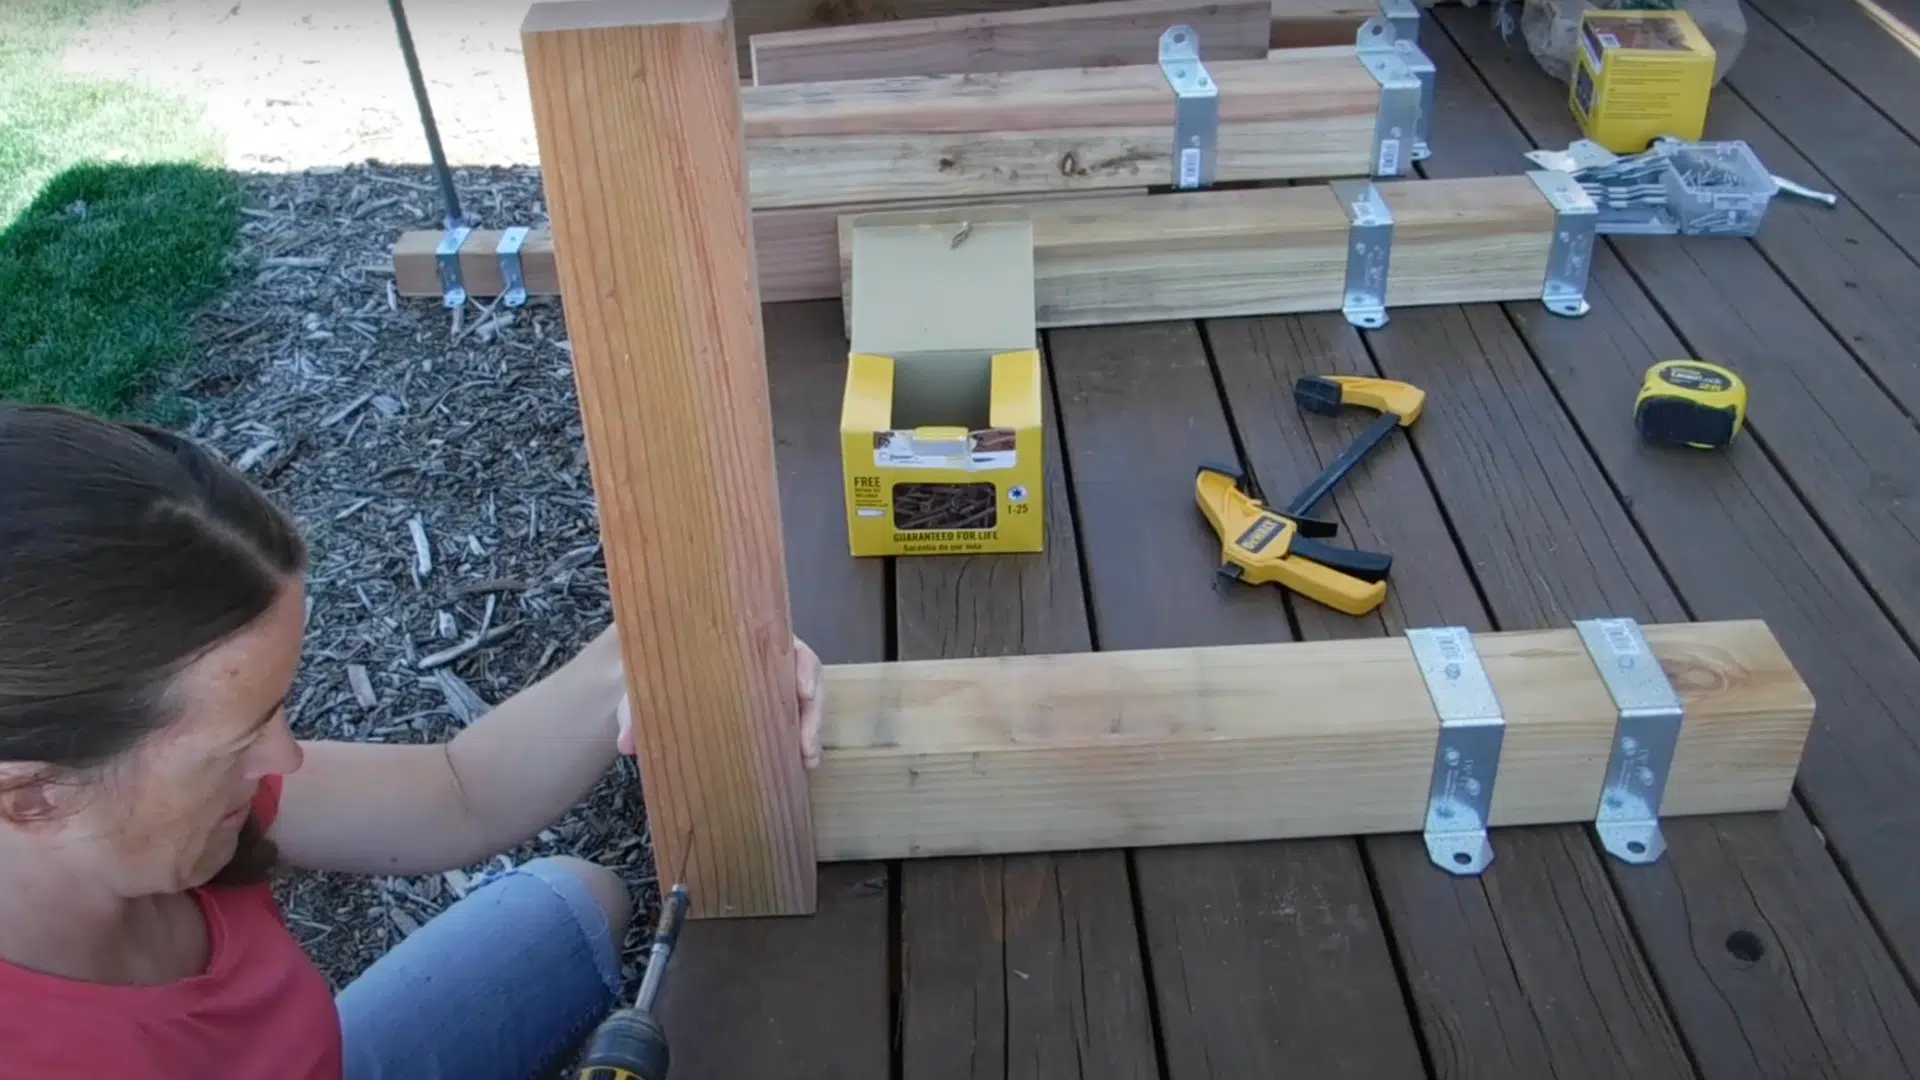
With the posts in place, the next step is to add the horizontal support pieces. Start by positioning the pieces on top of each post. Make sure they are aligned with the posts, and use deck screws to secure them firmly.
- Double-check the alignment to ensure the supports are square.
- Drill screws through the posts into the horizontal pieces.
Once this is done, the structure will have a solid foundation, providing support for the backrest and seat.
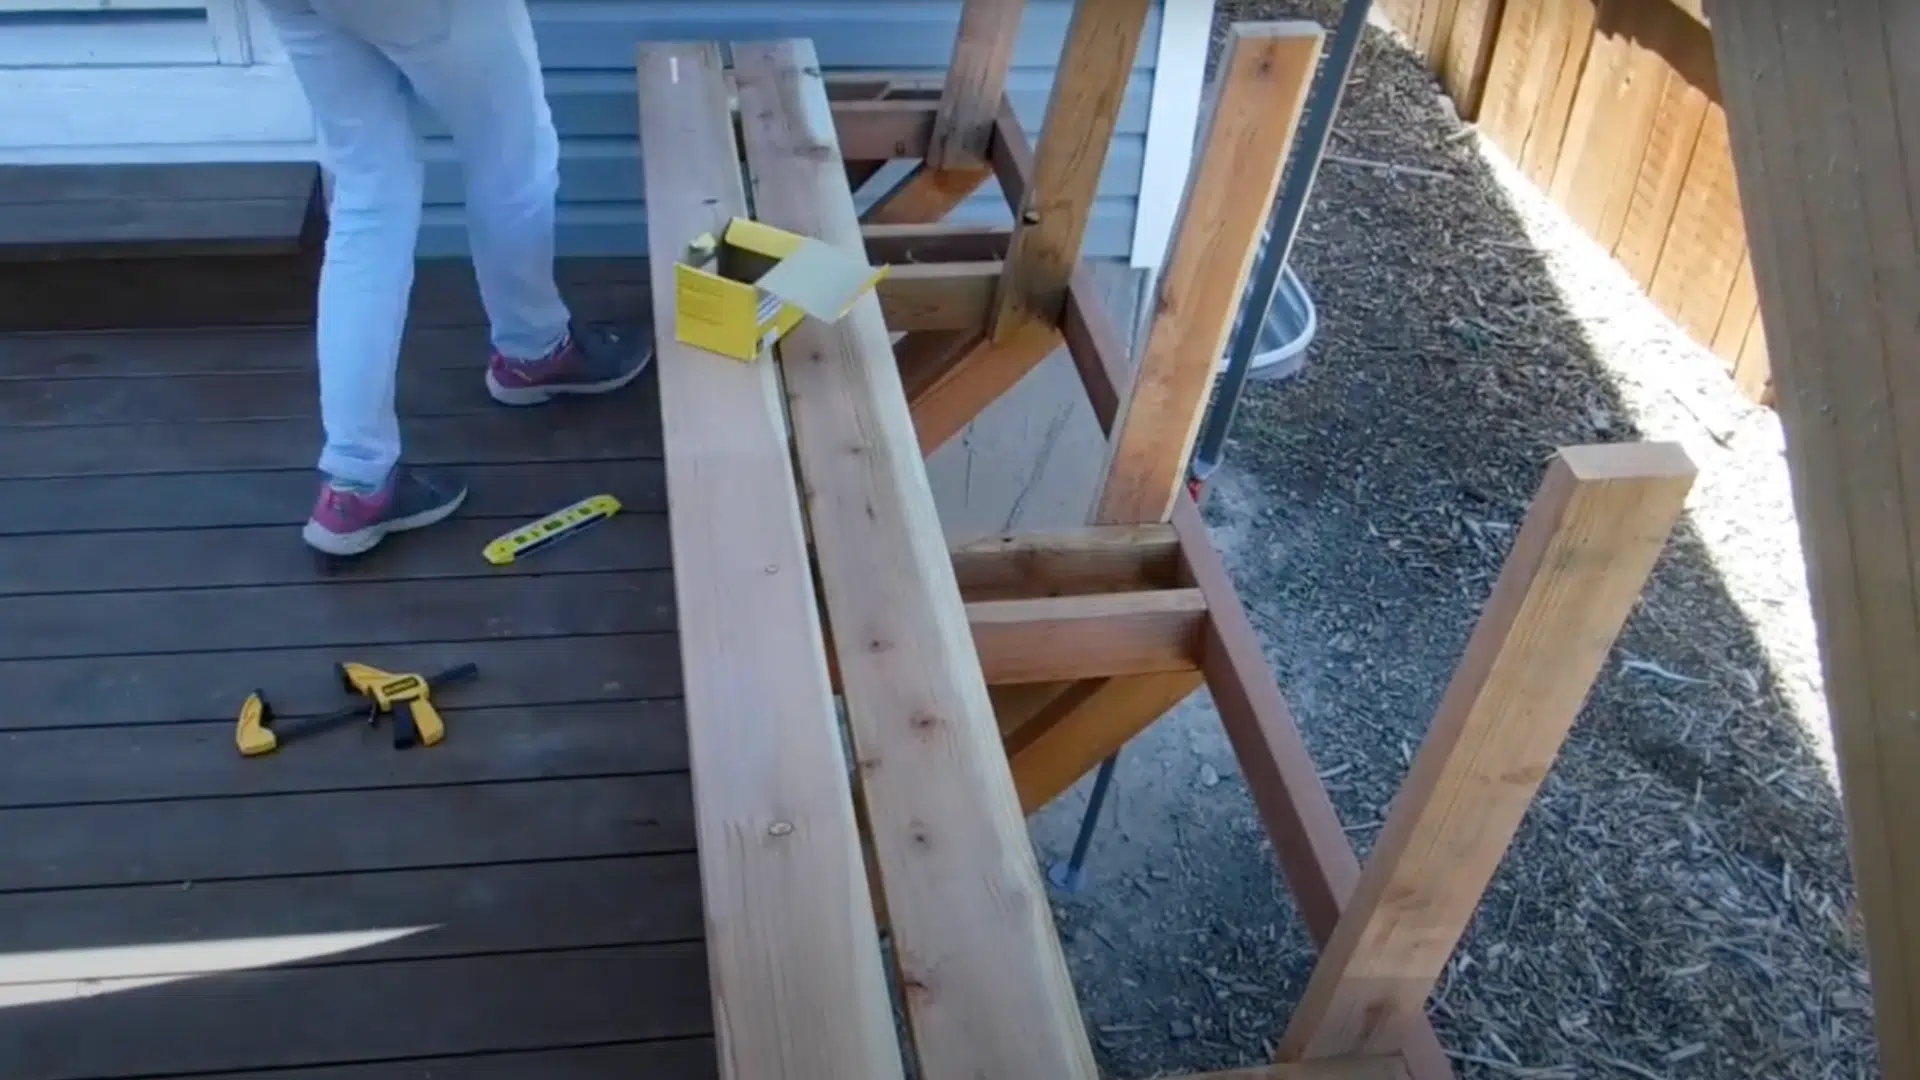
Step 4: Attach the Diagonal Supports
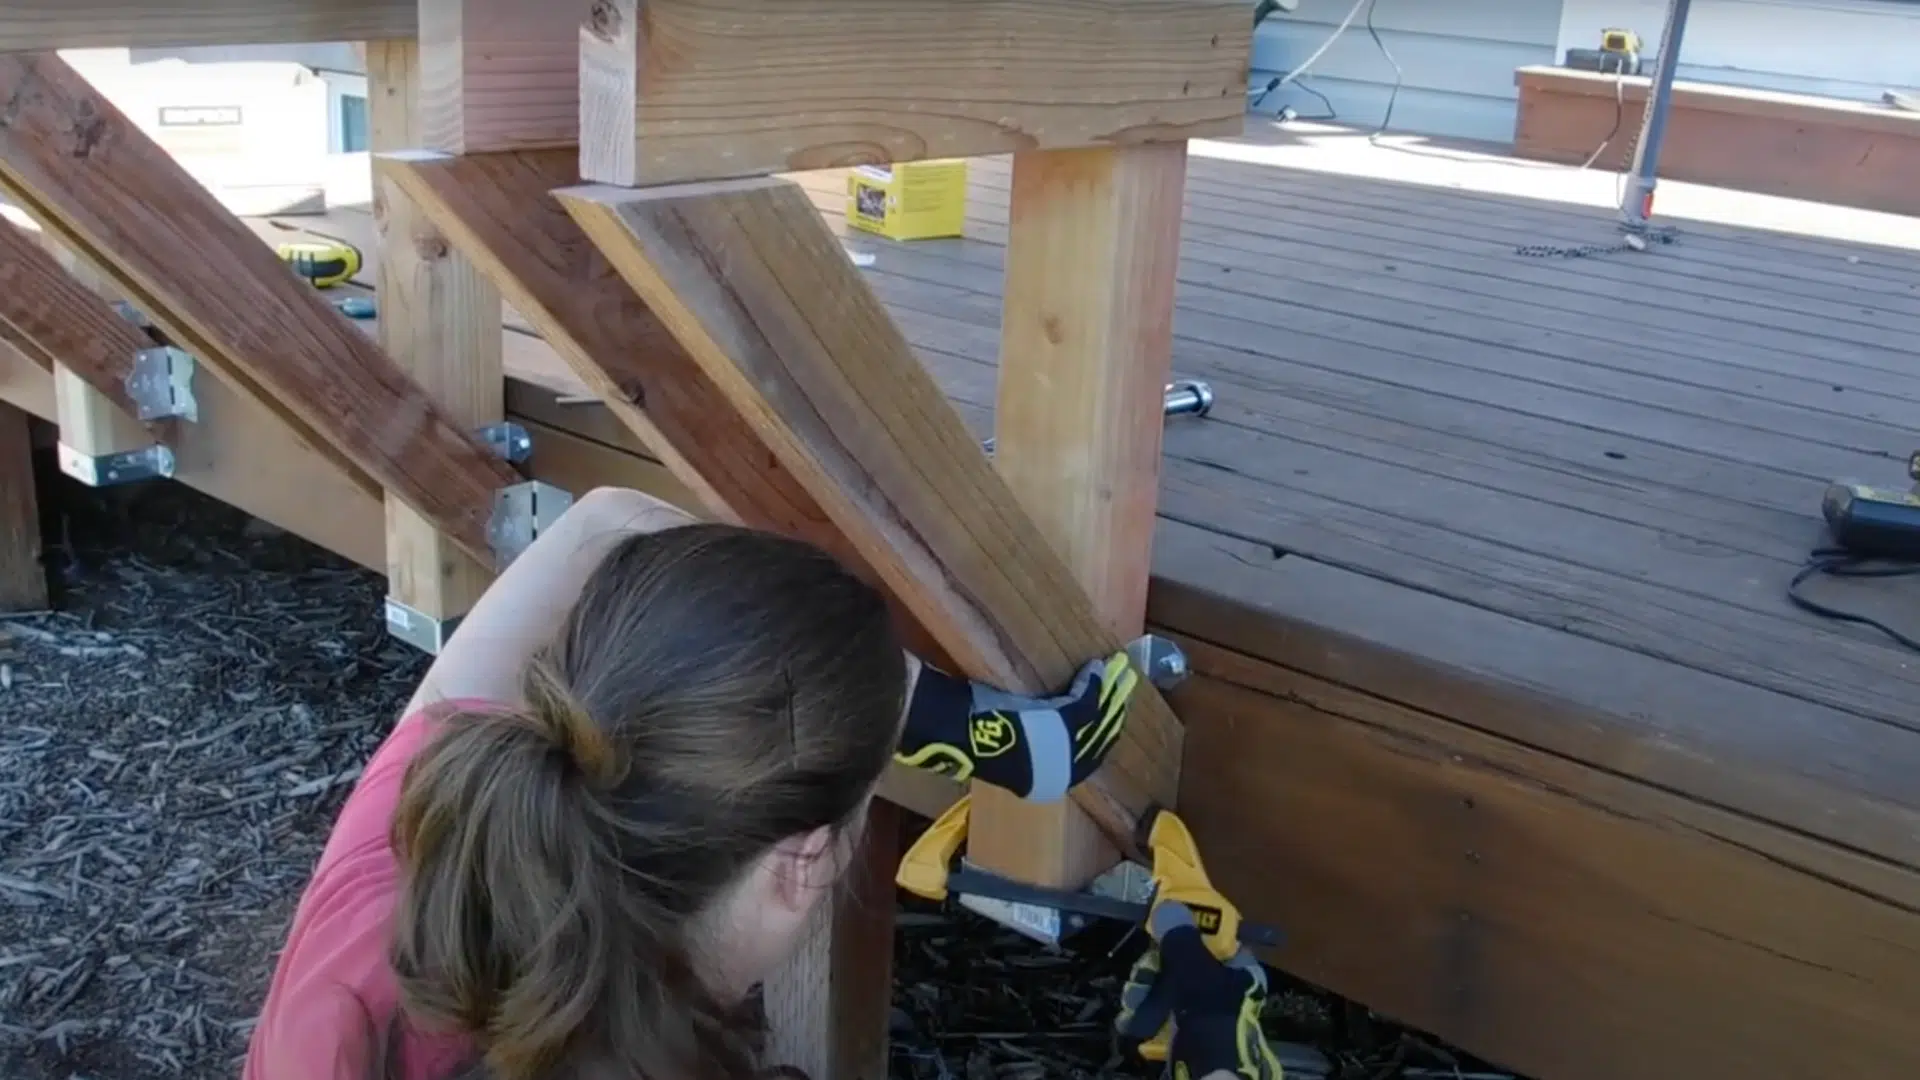
For additional support and stability, it’s important to install the 45-degree diagonal supports. Begin by positioning the L-brackets on the deck. Attach each bracket to the horizontal supports, ensuring the angles are correct.
After securing the brackets, proceed to fasten the diagonal supports.
Use deck screws to attach them to the brackets and horizontal supports. Be sure to pre-drill your holes to avoid damaging the wood. These angled pieces will add strength and reinforce the bench structure.
Step 5: Install the Back and Front Skirts
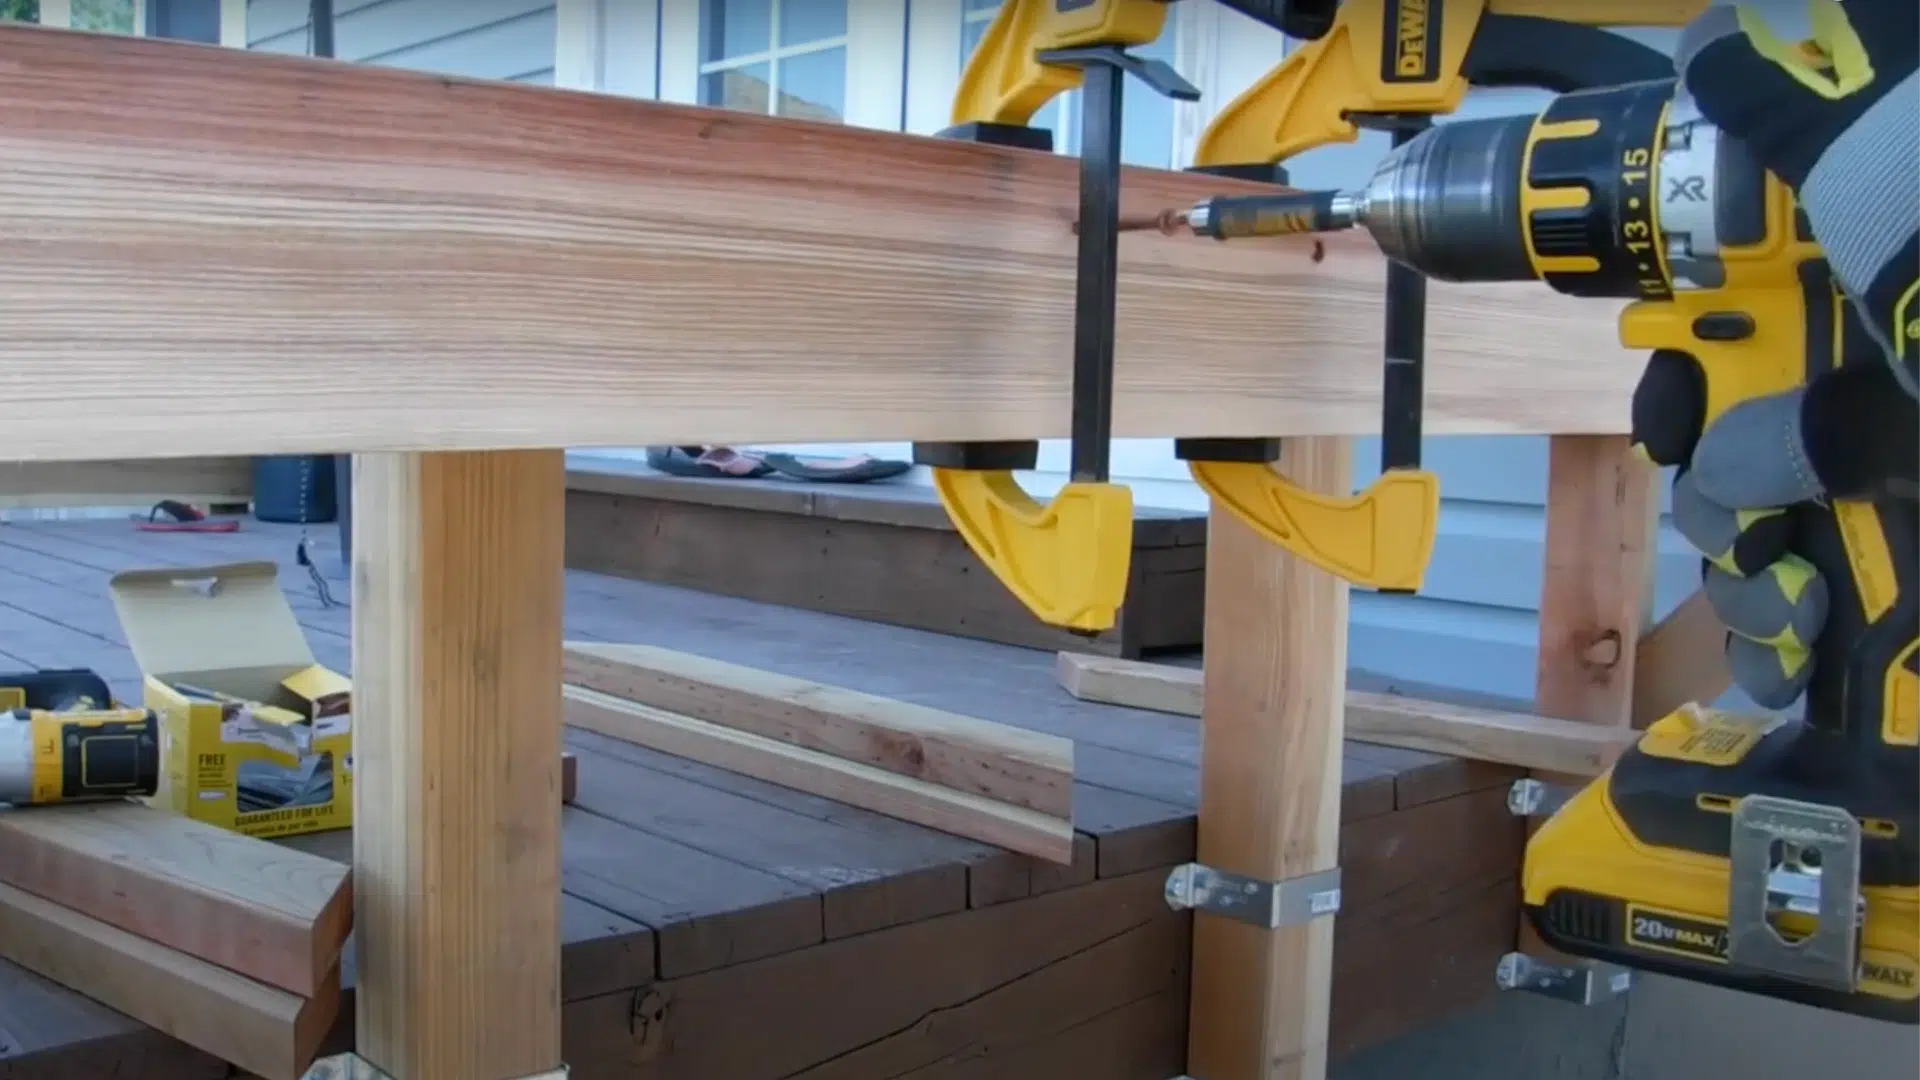
Next, it’s time to install the back and front skirts. These are essential for the visual appeal and structural integrity of the bench.
- Attach the back skirt to the horizontal supports using screws.
- Drill screws through the supports into the back skirt, ensuring the structure is level.
- Repeat this for the front skirt.
Take extra care to align everything, ensuring there are no gaps or misalignments that could affect the bench’s functionality.
Step 6: Mount the Back Supports
To give the bench added comfort, mount the back supports next. Clamp the pieces of the back support into place on the bench frame.
Once the pieces are securely clamped, use deck screws to attach the supports to the horizontal pieces. Ensure that the bottom of each support is flush with the horizontal support.
After securing them, add screws to the outside skirt to further reinforce the backrest.
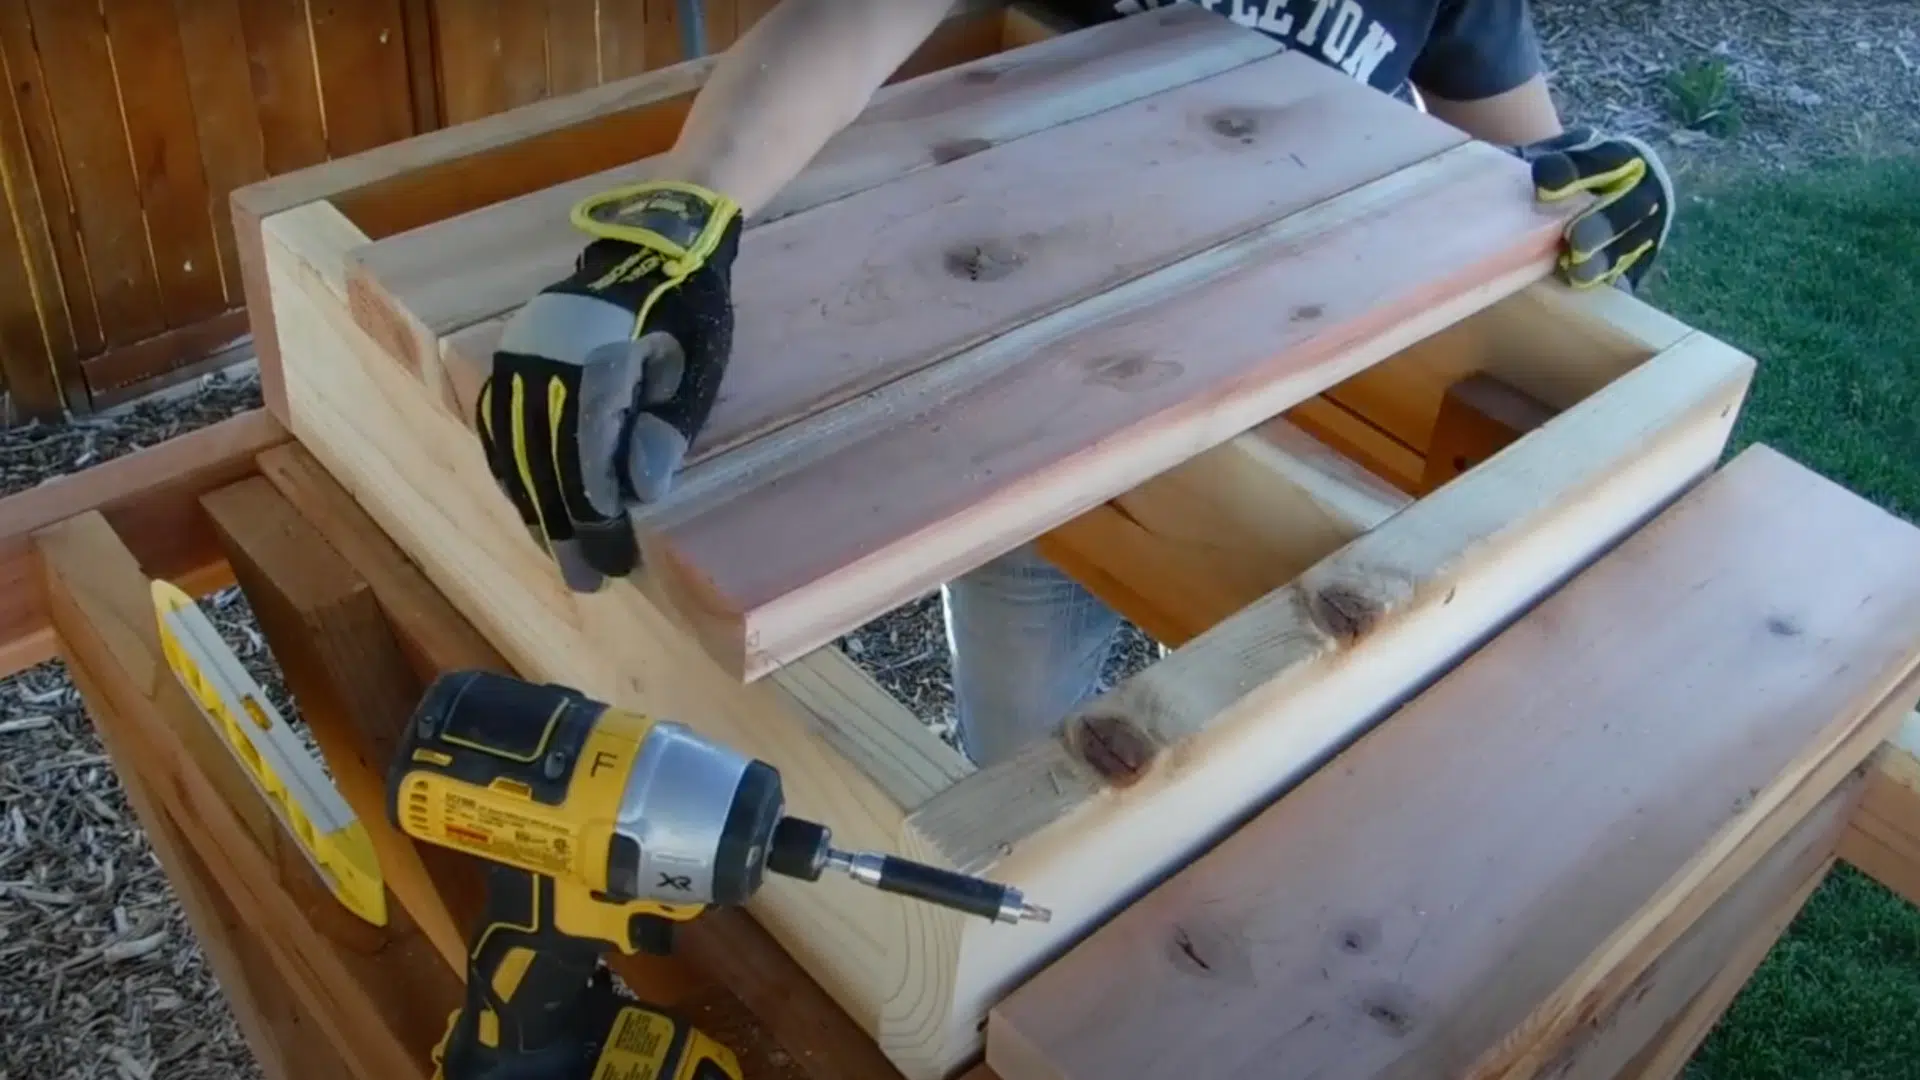
Step 7: Install the Slats
Start by installing the seat slats on the deck bench. Begin by evenly spacing each slat, leaving a small gap between them for ventilation and drainage.
Secure each slat to the horizontal supports with deck screws, ensuring they are aligned properly for a clean and uniform look. Take care to drill the screws straight to prevent any misalignment.
Step 8: Attach the Tables and Seal
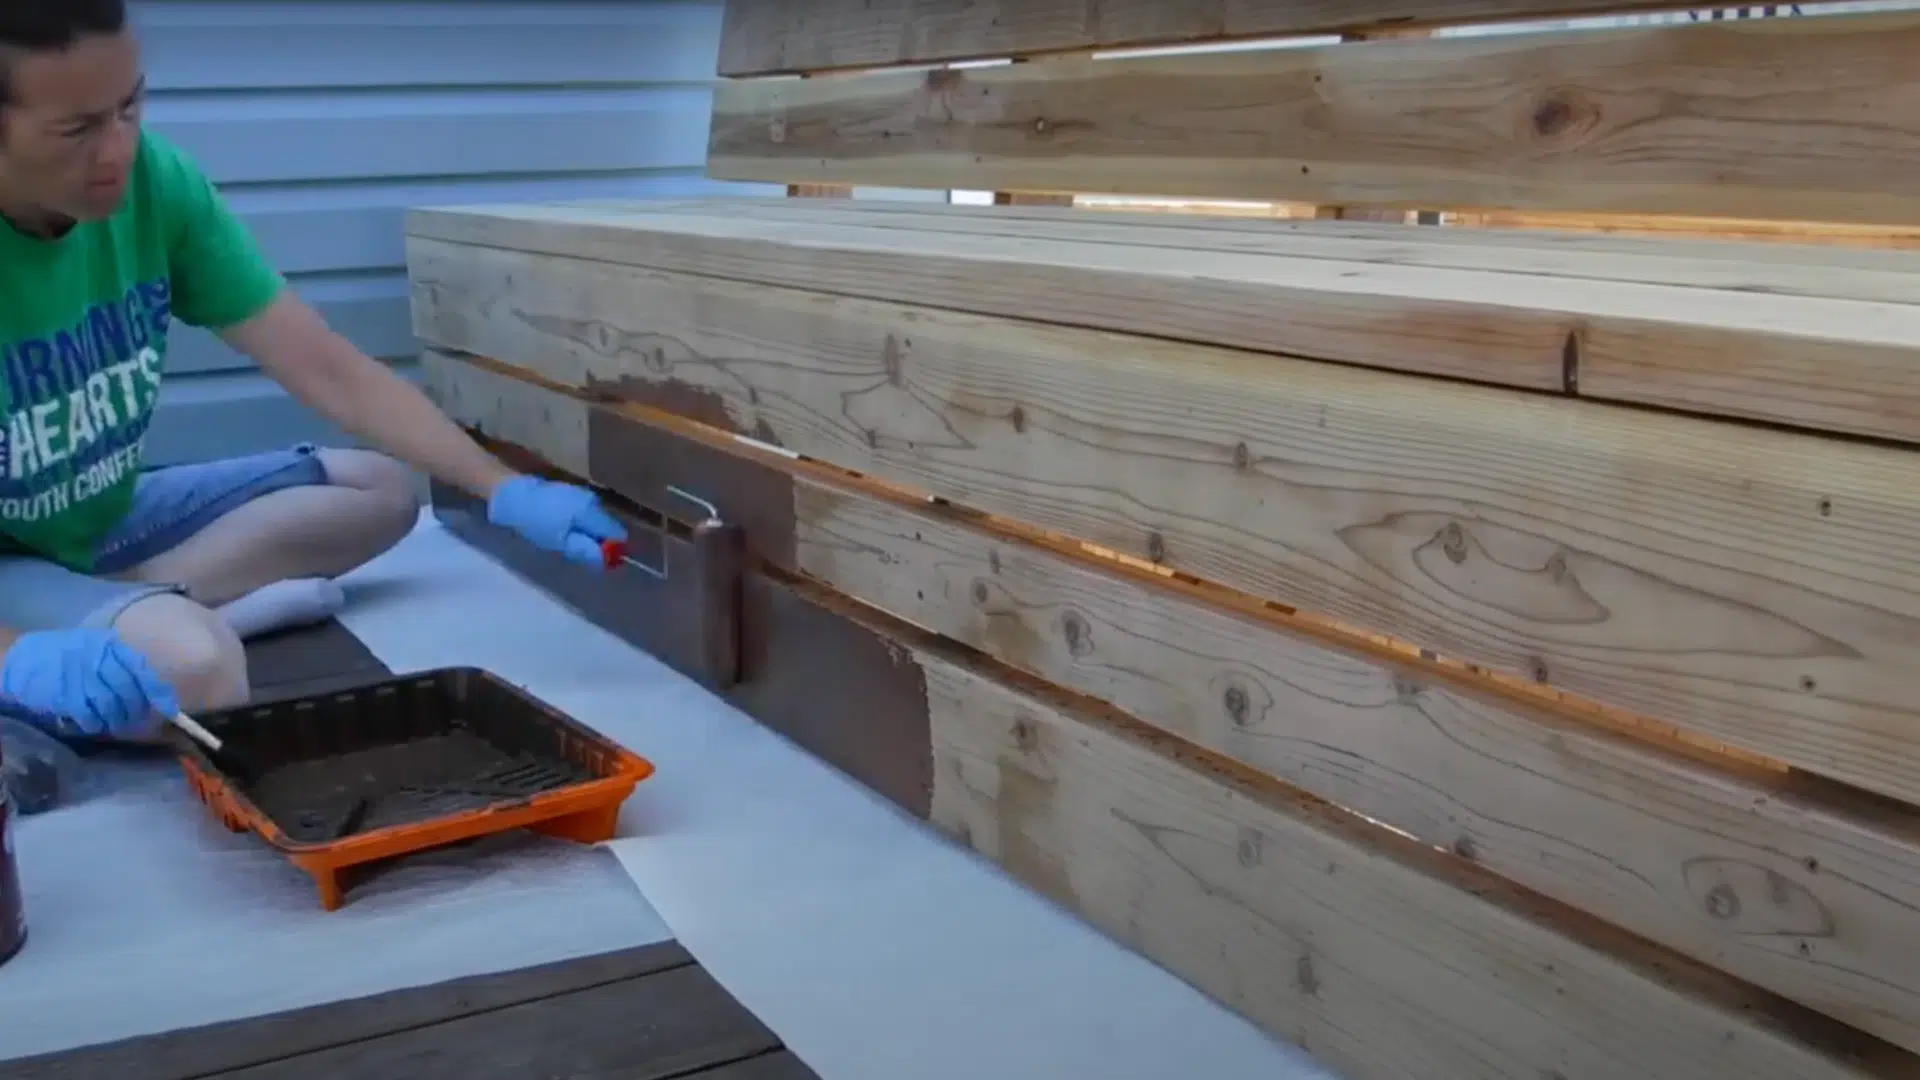
Now, focus on building the side tables.
Use scrap wood pieces to create the table structure, cutting them to fit the desired size. Secure each piece with deck screws to ensure stability. After attaching the tables, finish by sanding the entire bench and side tables.
Apply a stain or sealant to protect the wood from the elements and to improve its appearance.
With these steps completed, you’ll have a beautiful, custom bench that makes your deck more functional and comfortable for everyone!
For a more detailed tutorial on how to build a deck bench with a backrest, check out the video below:
Innovative Design Ideas for Your Deck Bench with Backrest
When learning how to build a deck bench with backrest, it’s important to look at different innovative design ideas that highlight the functionality and style of your outdoor space.
Below are some creative ways to upgrade your deck bench with a backrest:
1. Rustic Wood Appeal
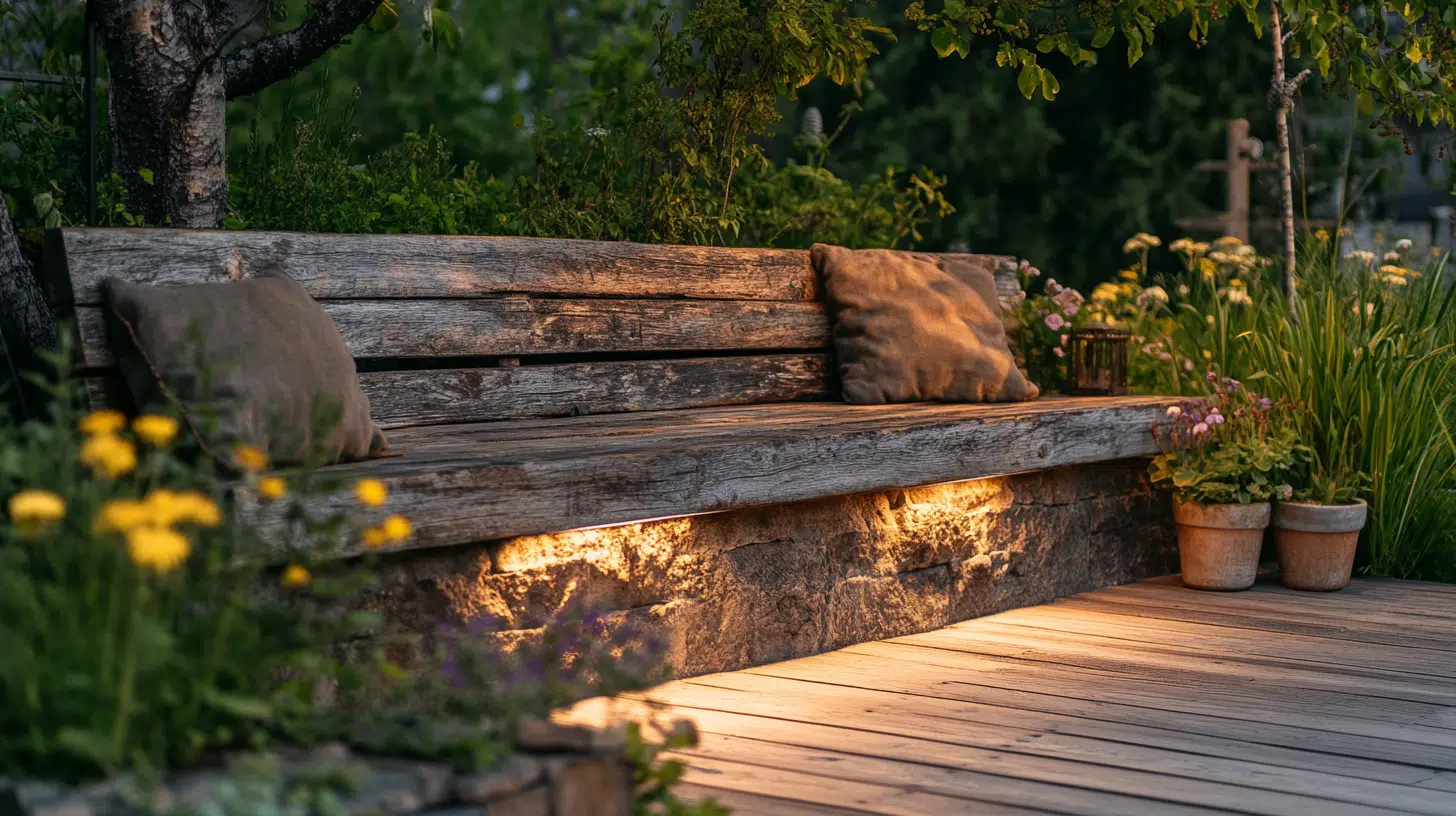
Incorporate reclaimed wood to create a rustic vibe. This look adds warmth and character to your deck while being eco-friendly.
- DIY difficulty level: Intermediate
- Customization options: Add stains or distressed finishes
- Approximate budget range: $100–$200
2. Hexagonal Bench Design
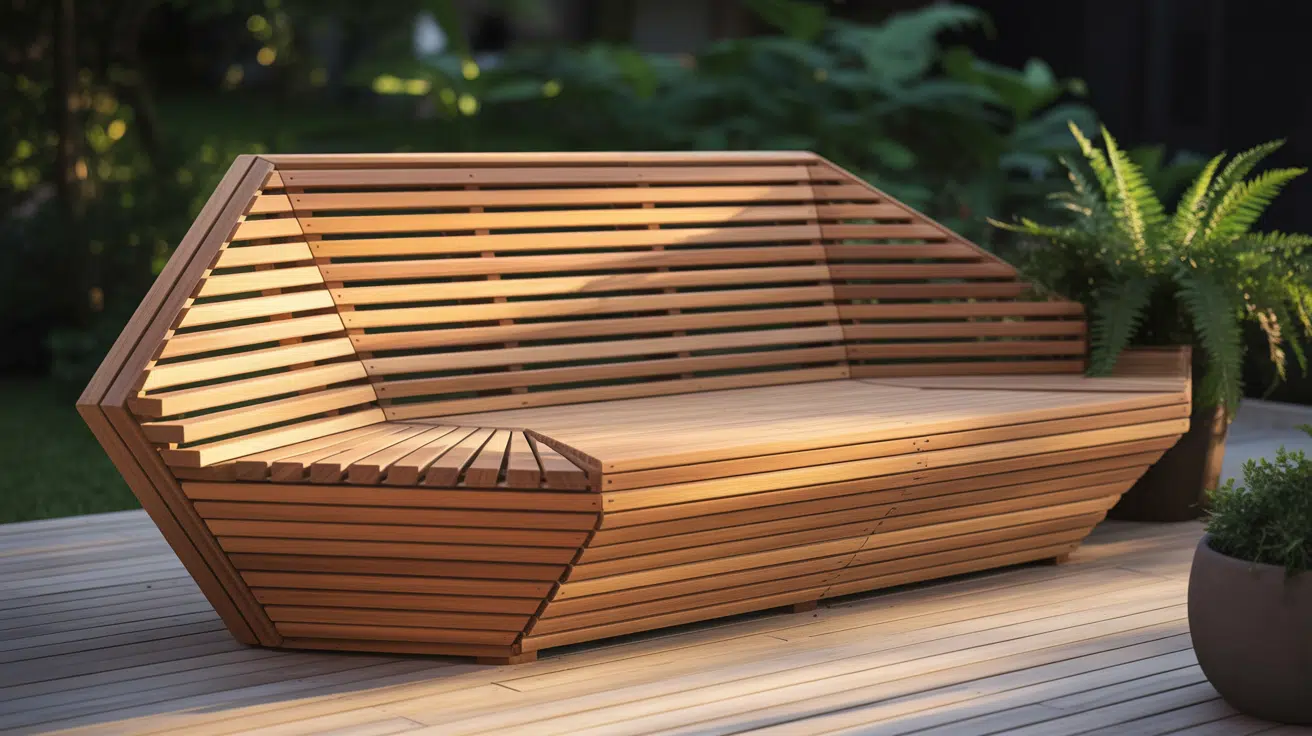
Break away from traditional shapes with a unique hexagonal bench design, offering a stylish twist to your outdoor seating.
- DIY difficulty level: Advanced
- Customization options: Shape, slat design
- Approximate budget range: $200–$350
3. Modern Minimalist Design
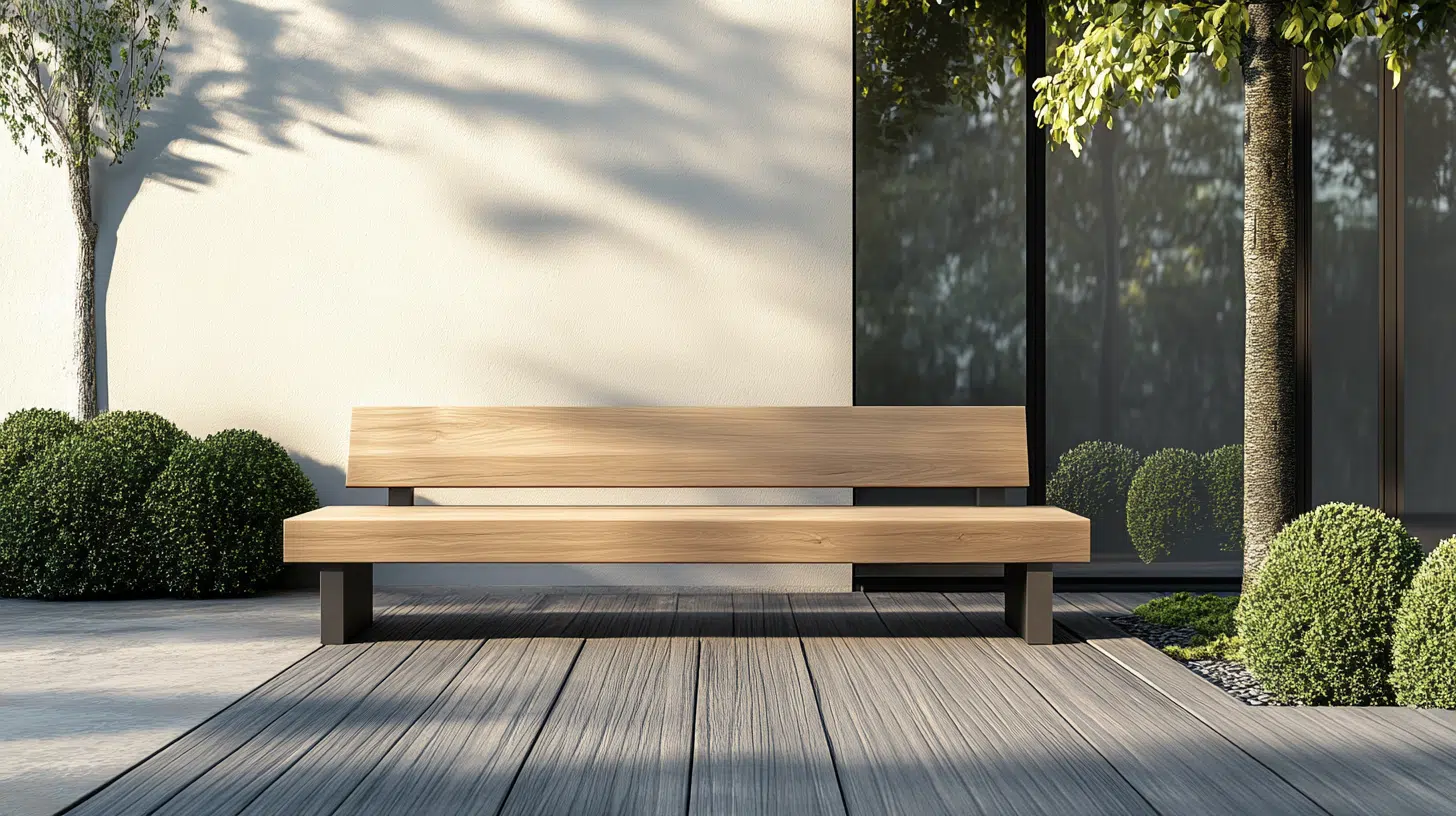
Go sleek with clean lines, straight edges, and a minimalist aesthetic. Use smooth, high-quality wood for a contemporary vibe.
- DIY difficulty level: Easy
- Customization options: Simple paint or natural wood finish
- Approximate budget range: $75–$150
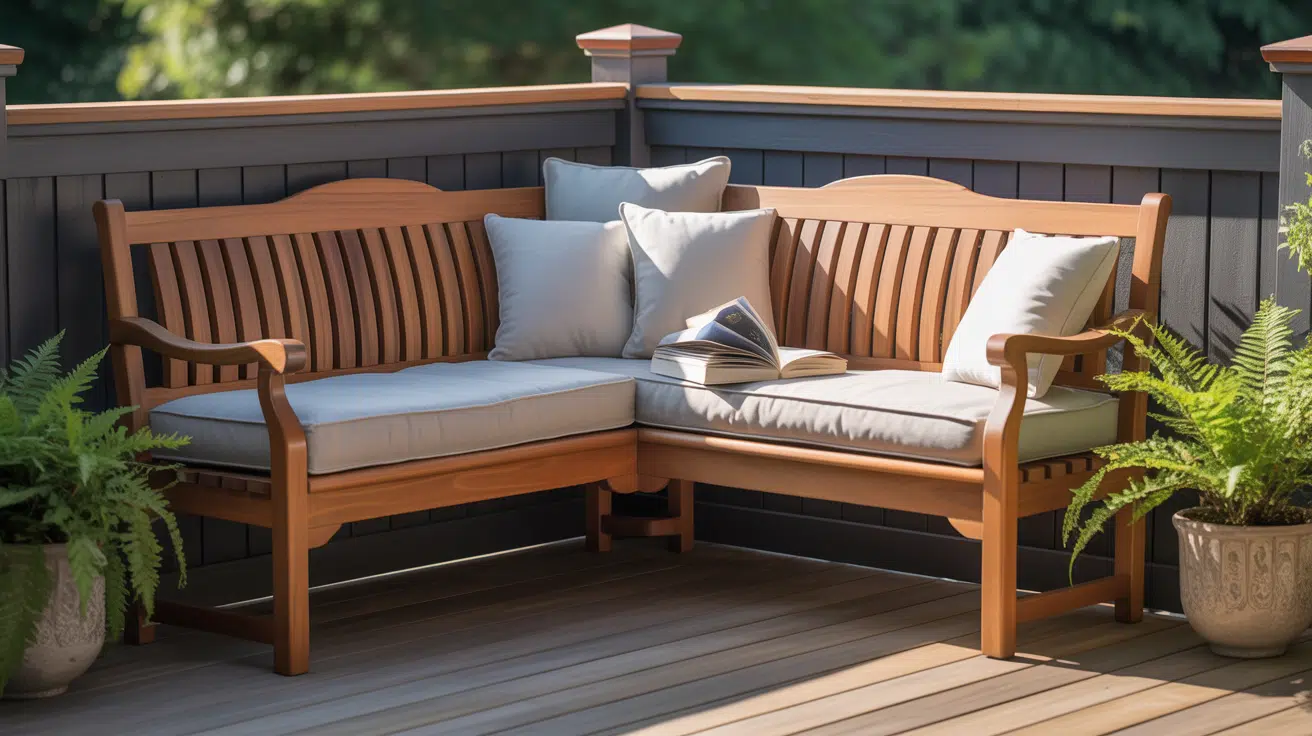
4. L-Shaped Corner Bench
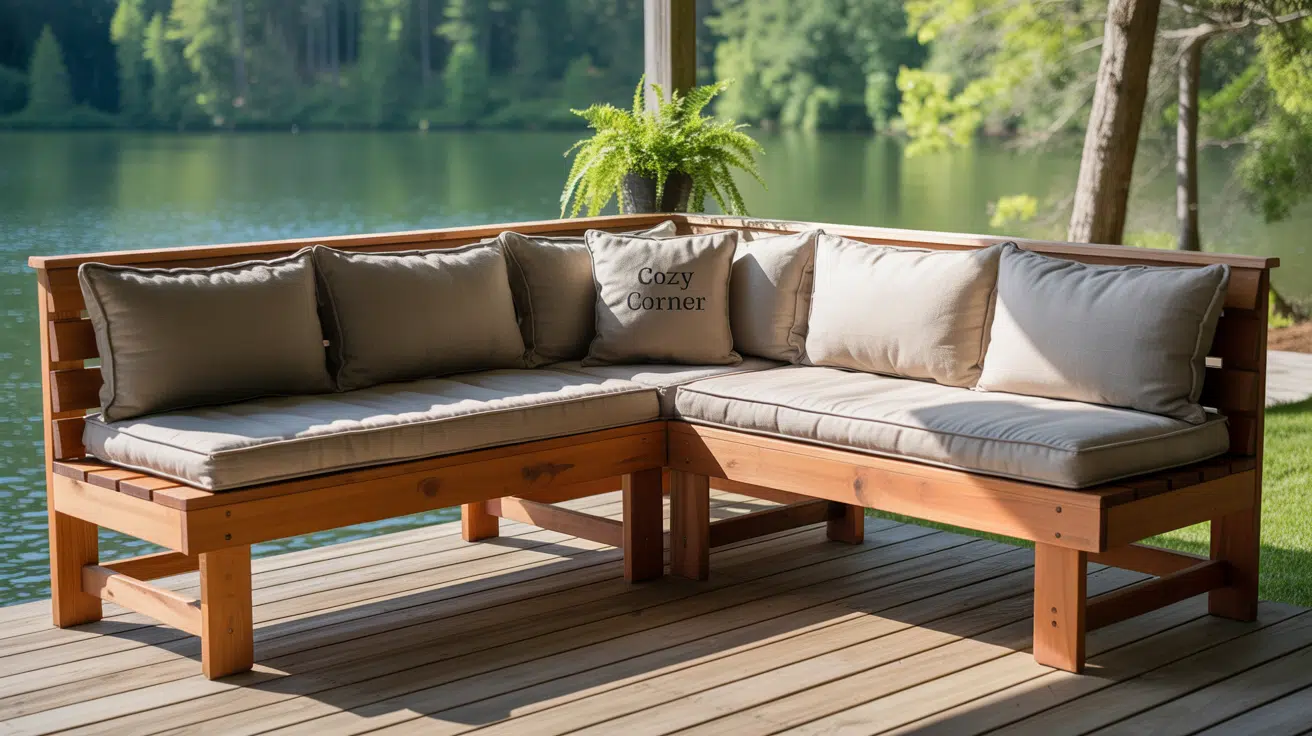
Perfect for corner spaces, this L-shaped bench maximizes seating while offering a cozy nook for relaxation.
- DIY difficulty level: Advanced
- Customization options: Cushions, backrest height
- Approximate budget range: $200–$400
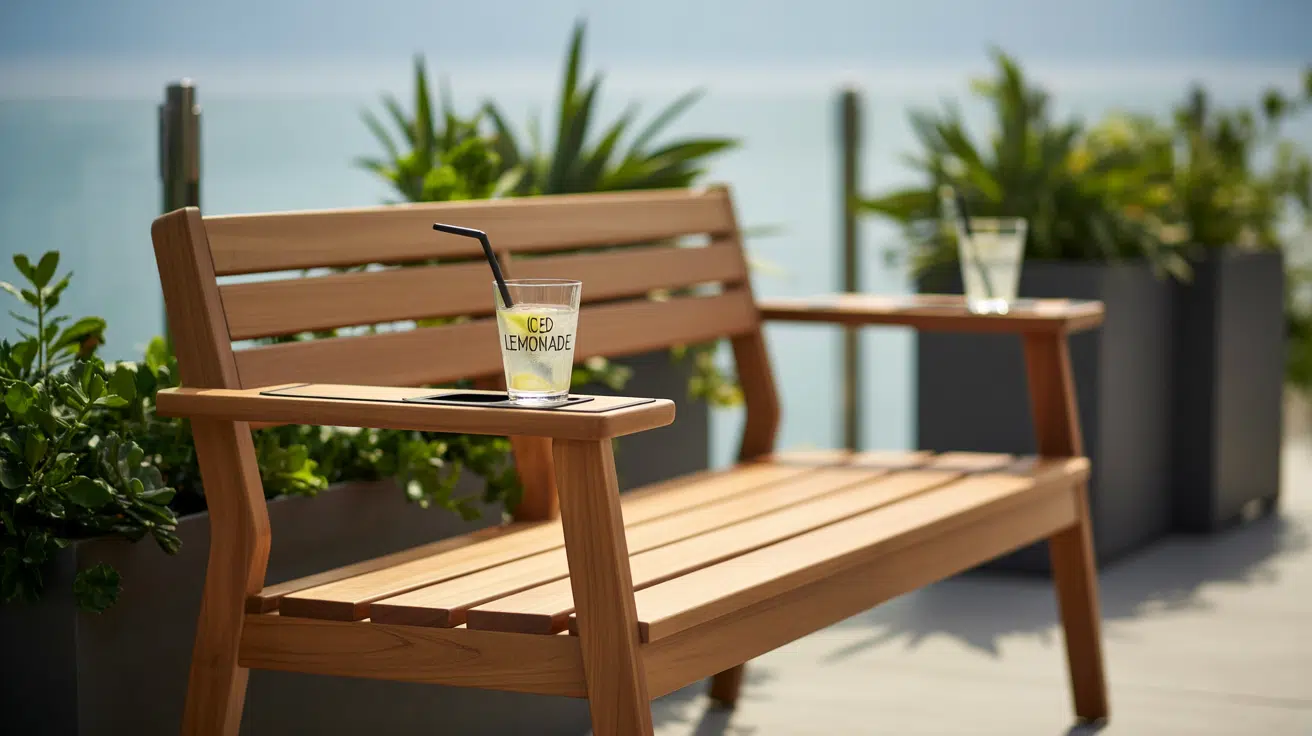
5. Bench with Pull-Out Table
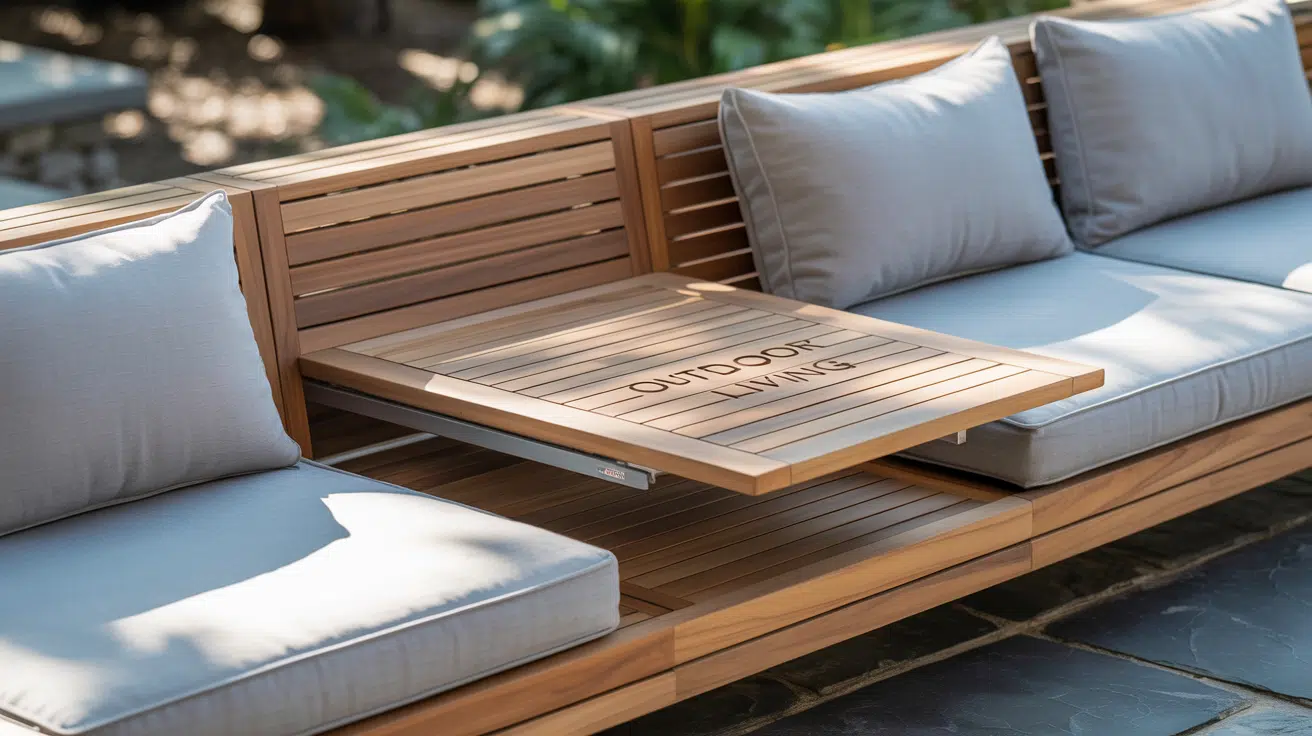
Integrate a pull-out table into the backrest, providing a convenient place for drinks or food while you relax.
- DIY difficulty level: Intermediate
- Customization options: Table size, additional storage
- Approximate budget range: $150–$250
6. Colorful Painted Design

Add a pop of color by painting your bench in lively hues that complement your deck’s overall theme.
- DIY difficulty level: Easy
- Customization options: Choose any color or pattern
- Approximate budget range: $50–$100
7. Bench with Side Planters
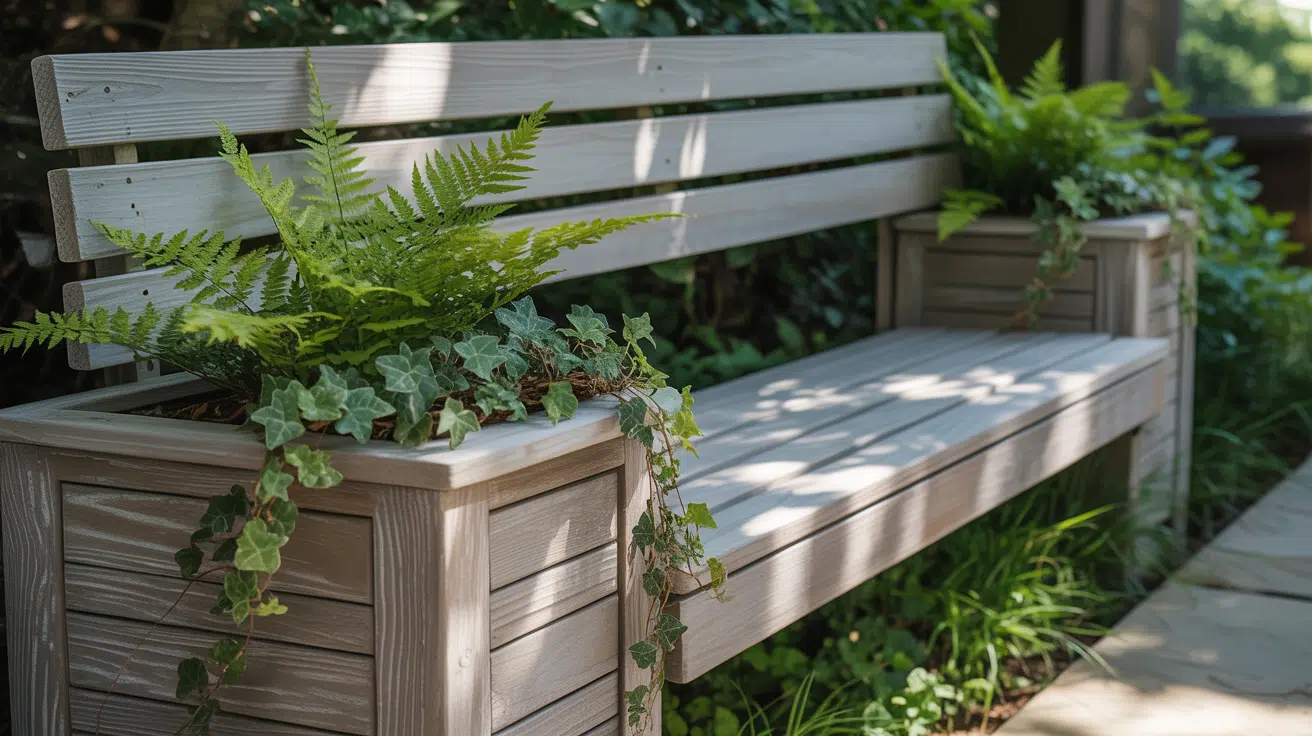
Incorporate side planters as part of the bench for a fresh, green look. This adds both beauty and functionality to your outdoor area.
- DIY difficulty level: Intermediate
- Customization options: Size of planters, plant types
- Approximate budget range: $150–$300
8. Modular Bench System
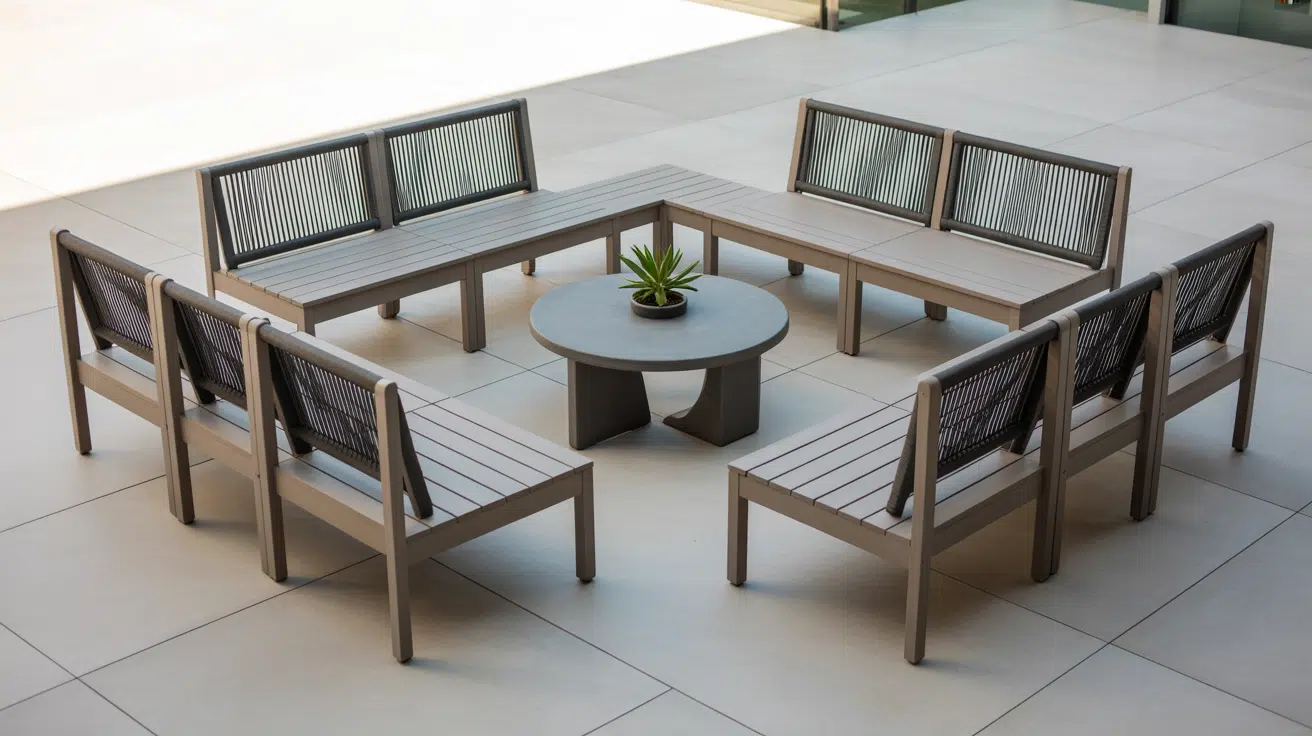
Create a modular system of interchangeable pieces for flexible seating arrangements, ideal for large decks or gatherings.
- DIY difficulty level: Advanced
- Customization options: Modular shapes, backrest heights
- Approximate budget range: $300–$500
9. Floating Bench Design
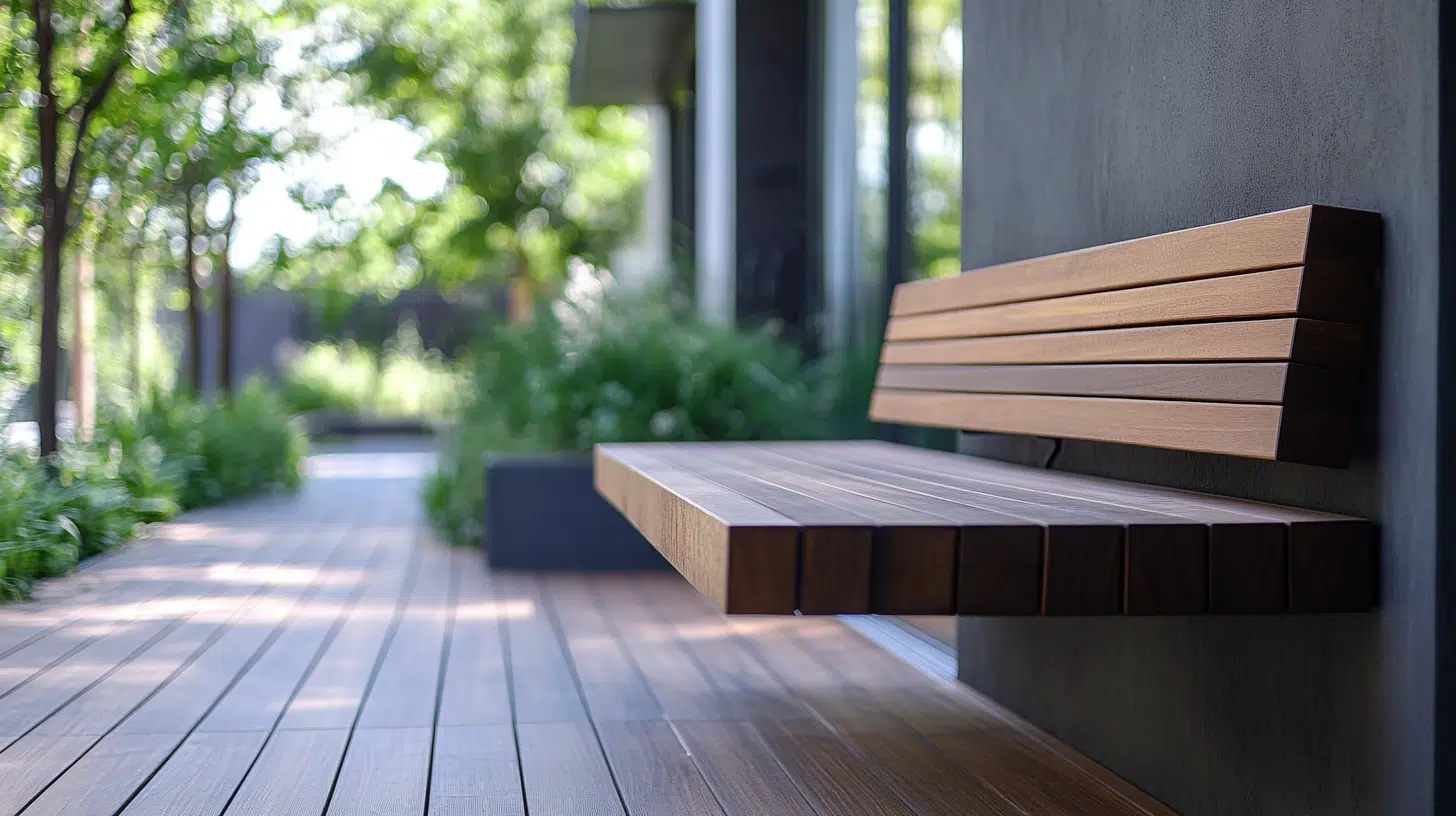
Opt for a floating design that appears to hover above the deck, adding a modern touch with sleek lines and hidden supports.
- DIY difficulty level: Advanced
- Customization options: Floating effect, wood finishes
- Approximate budget range: $200–$400
10. Built-In Cupholders
Add built-in cupholders on the armrests for convenience and to keep drinks steady while lounging.
- DIY difficulty level: Intermediate
- Customization options: Size of cupholders, placement
- Approximate budget range: $75–$150
11. Bench with Backrest Cushions
For added comfort, attach padded cushions to the backrest of your deck bench. This design makes your bench even more relaxing.
- DIY difficulty level: Easy
- Customization options: Cushion fabric, thickness
- Approximate budget range: $50–$100
These innovative design ideas provide plenty of inspiration for how to build a deck bench with backrest that suits both your style and needs. Get creative and start building your dream outdoor seating space today!
Wrapping It Up
Building a deck bench isn’t just about adding seating – it’s about creating memories.
Now that you know how to build a deck bench with a backrest, your outdoor space will become a favorite spot for morning coffee, family gatherings, or quiet evening relaxation.
Have you built a deck bench before? What tips would you add?
Share your experience in the comments below – we’d love to hear what worked for you and any challenges you faced along the way!