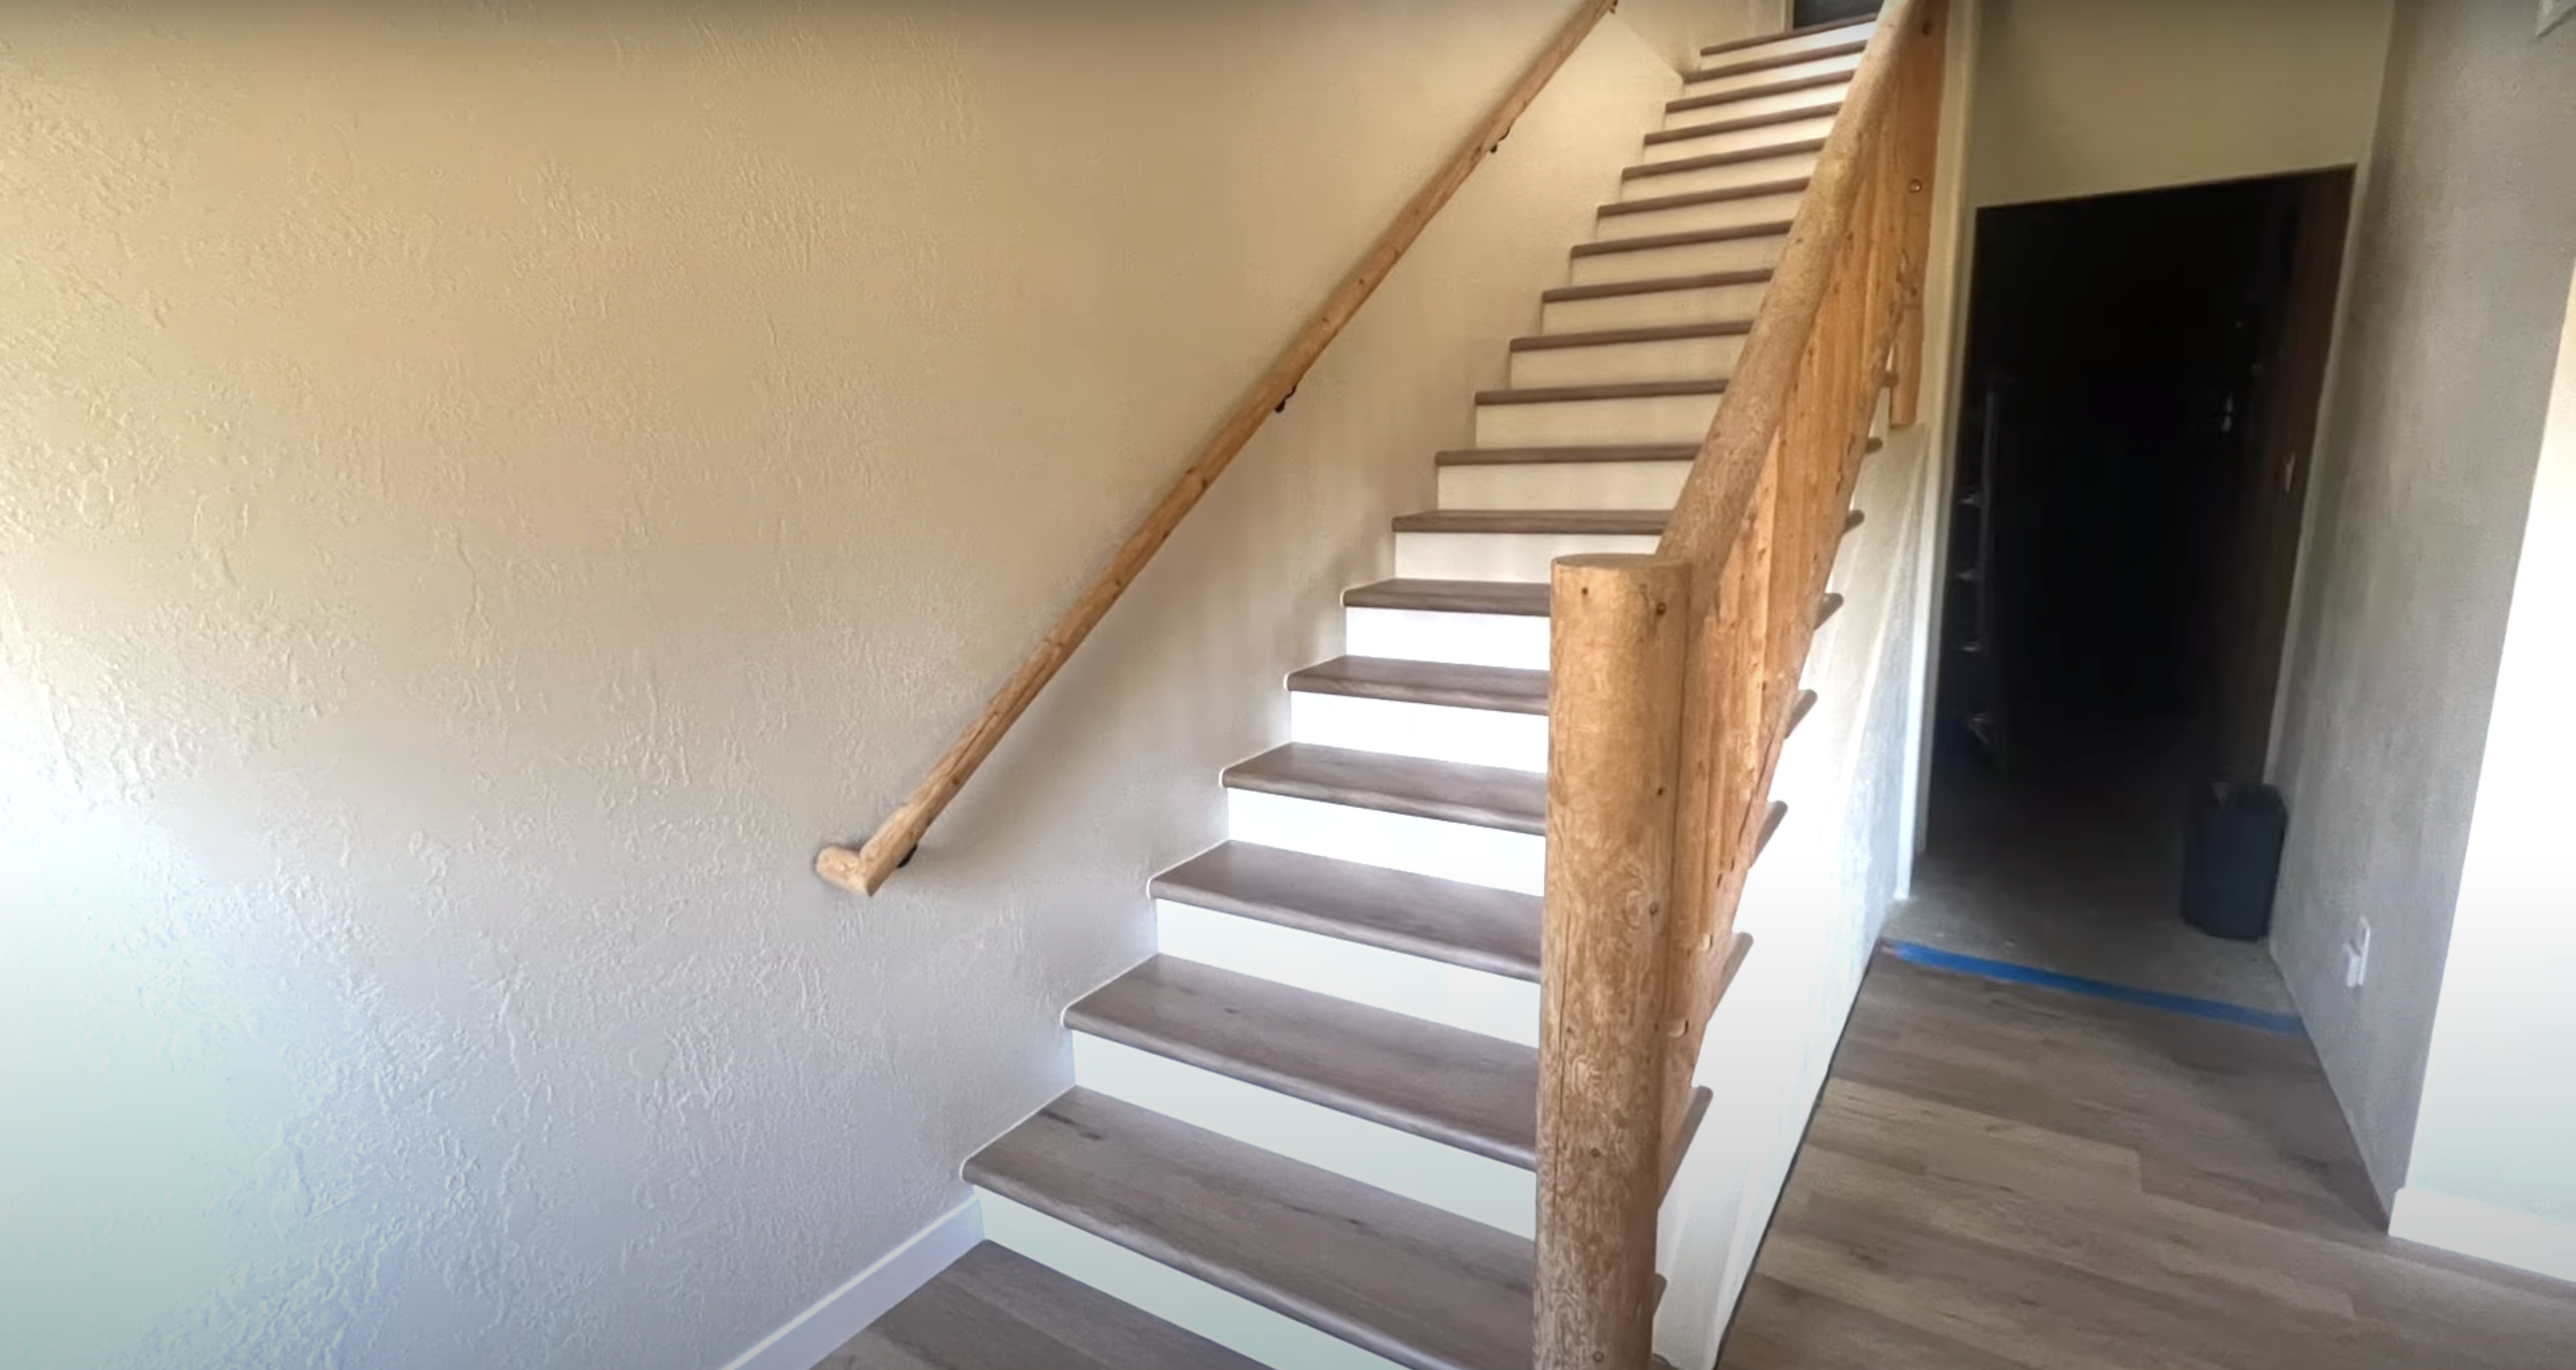
Are you tired of looking at those worn-out stairs in your home? Many homeowners put off fixing their staircase because they think it’s too hard. But anyone can transform old, shabby stairs into something fresh with simple DIY stair treads.
This blog will show you how to create and install your stair treads in just one weekend. No fancy tools or expert skills needed!
You’ll learn how to measure correctly, find budget-friendly materials, cut with confidence, and secure your treads properly.
The steps are broken down into manageable chunks that even first-time DIYers can follow. By Sunday evening, you’ll have a staircase that looks brand new and the satisfaction of having done it yourself.
Reasons to Upgrade Your Stair Treads
Old, creaky stairs don’t just look bad; they can be dangerous. Updating stair treads is one of the most impactful yet overlooked home improvements that many homeowners put off.
- Safety comes first: Worn treads create trip hazards and can lead to falls, especially for children and older adults
- Noise reduction: New treads can eliminate those annoying squeaks and creaks when walking up and down
- Increased home value: Updated stairs make a strong impression on potential buyers if you plan to sell
- Visual impact: Stairs are often a central feature, so improving them changes how your entire home feels
- Cost-effective renovation: Compared to other home projects, stair tread upgrades give big results for less money
- Easy weekend project: Most stair tread replacements can be completed in 1-2 days with basic tools
- Personal satisfaction: The before-and-after effect of updated stairs brings genuine joy to homeowners.
Tools & Materials Required for DIY Stair Tread
When planning a DIY stair tread project, having the right tools and materials makes all the difference. If installing new treads or updating old ones, preparation ensures a smoother, more polished finish.
Here’s a handy guide to everything you’ll need before you get started.
| Category | Item | Purpose |
|---|---|---|
| Tools | Measuring tape | Accurate measurement of stair dimensions |
| Circular saw / Miter saw | Cutting stair treads to size | |
| Drill and drill bits | Pre-drilling and securing treads | |
| Hammer or nail gun | Fastening nails or brads | |
| Carpenter’s square | Ensuring 90-degree angles | |
| Level | Checking evenness | |
| Pry bar | Removing old stair treads or trim | |
| Sander or sanding block | Smoothing edges and surfaces | |
| Safety goggles and gloves | Protection during cutting and sanding | |
| Materials | Stair treads (wood, laminate, etc.) | Main surface material |
| Construction adhesive | Securing treads to the stairs | |
| Wood filler | Filling gaps and holes | |
| Nails or screws | Fastening stair treads | |
| Paint, stain, or sealant | Finishing the stair surface | |
| Caulk (optional) | Sealing gaps along edges |
Step-By-Step Installation Guide: DIY Stair Treads
When altering your stairway with DIY stair treads, it’s crucial to follow a step-by-step approach to achieve professional-looking results.
With some planning, careful measurement, and patience, you can upgrade your staircase beautifully without hiring a professional. Here’s a detailed guide on diy stair treads broken down into seven simple steps to help you succeed.
Step 1: Prepare the Stairway Area
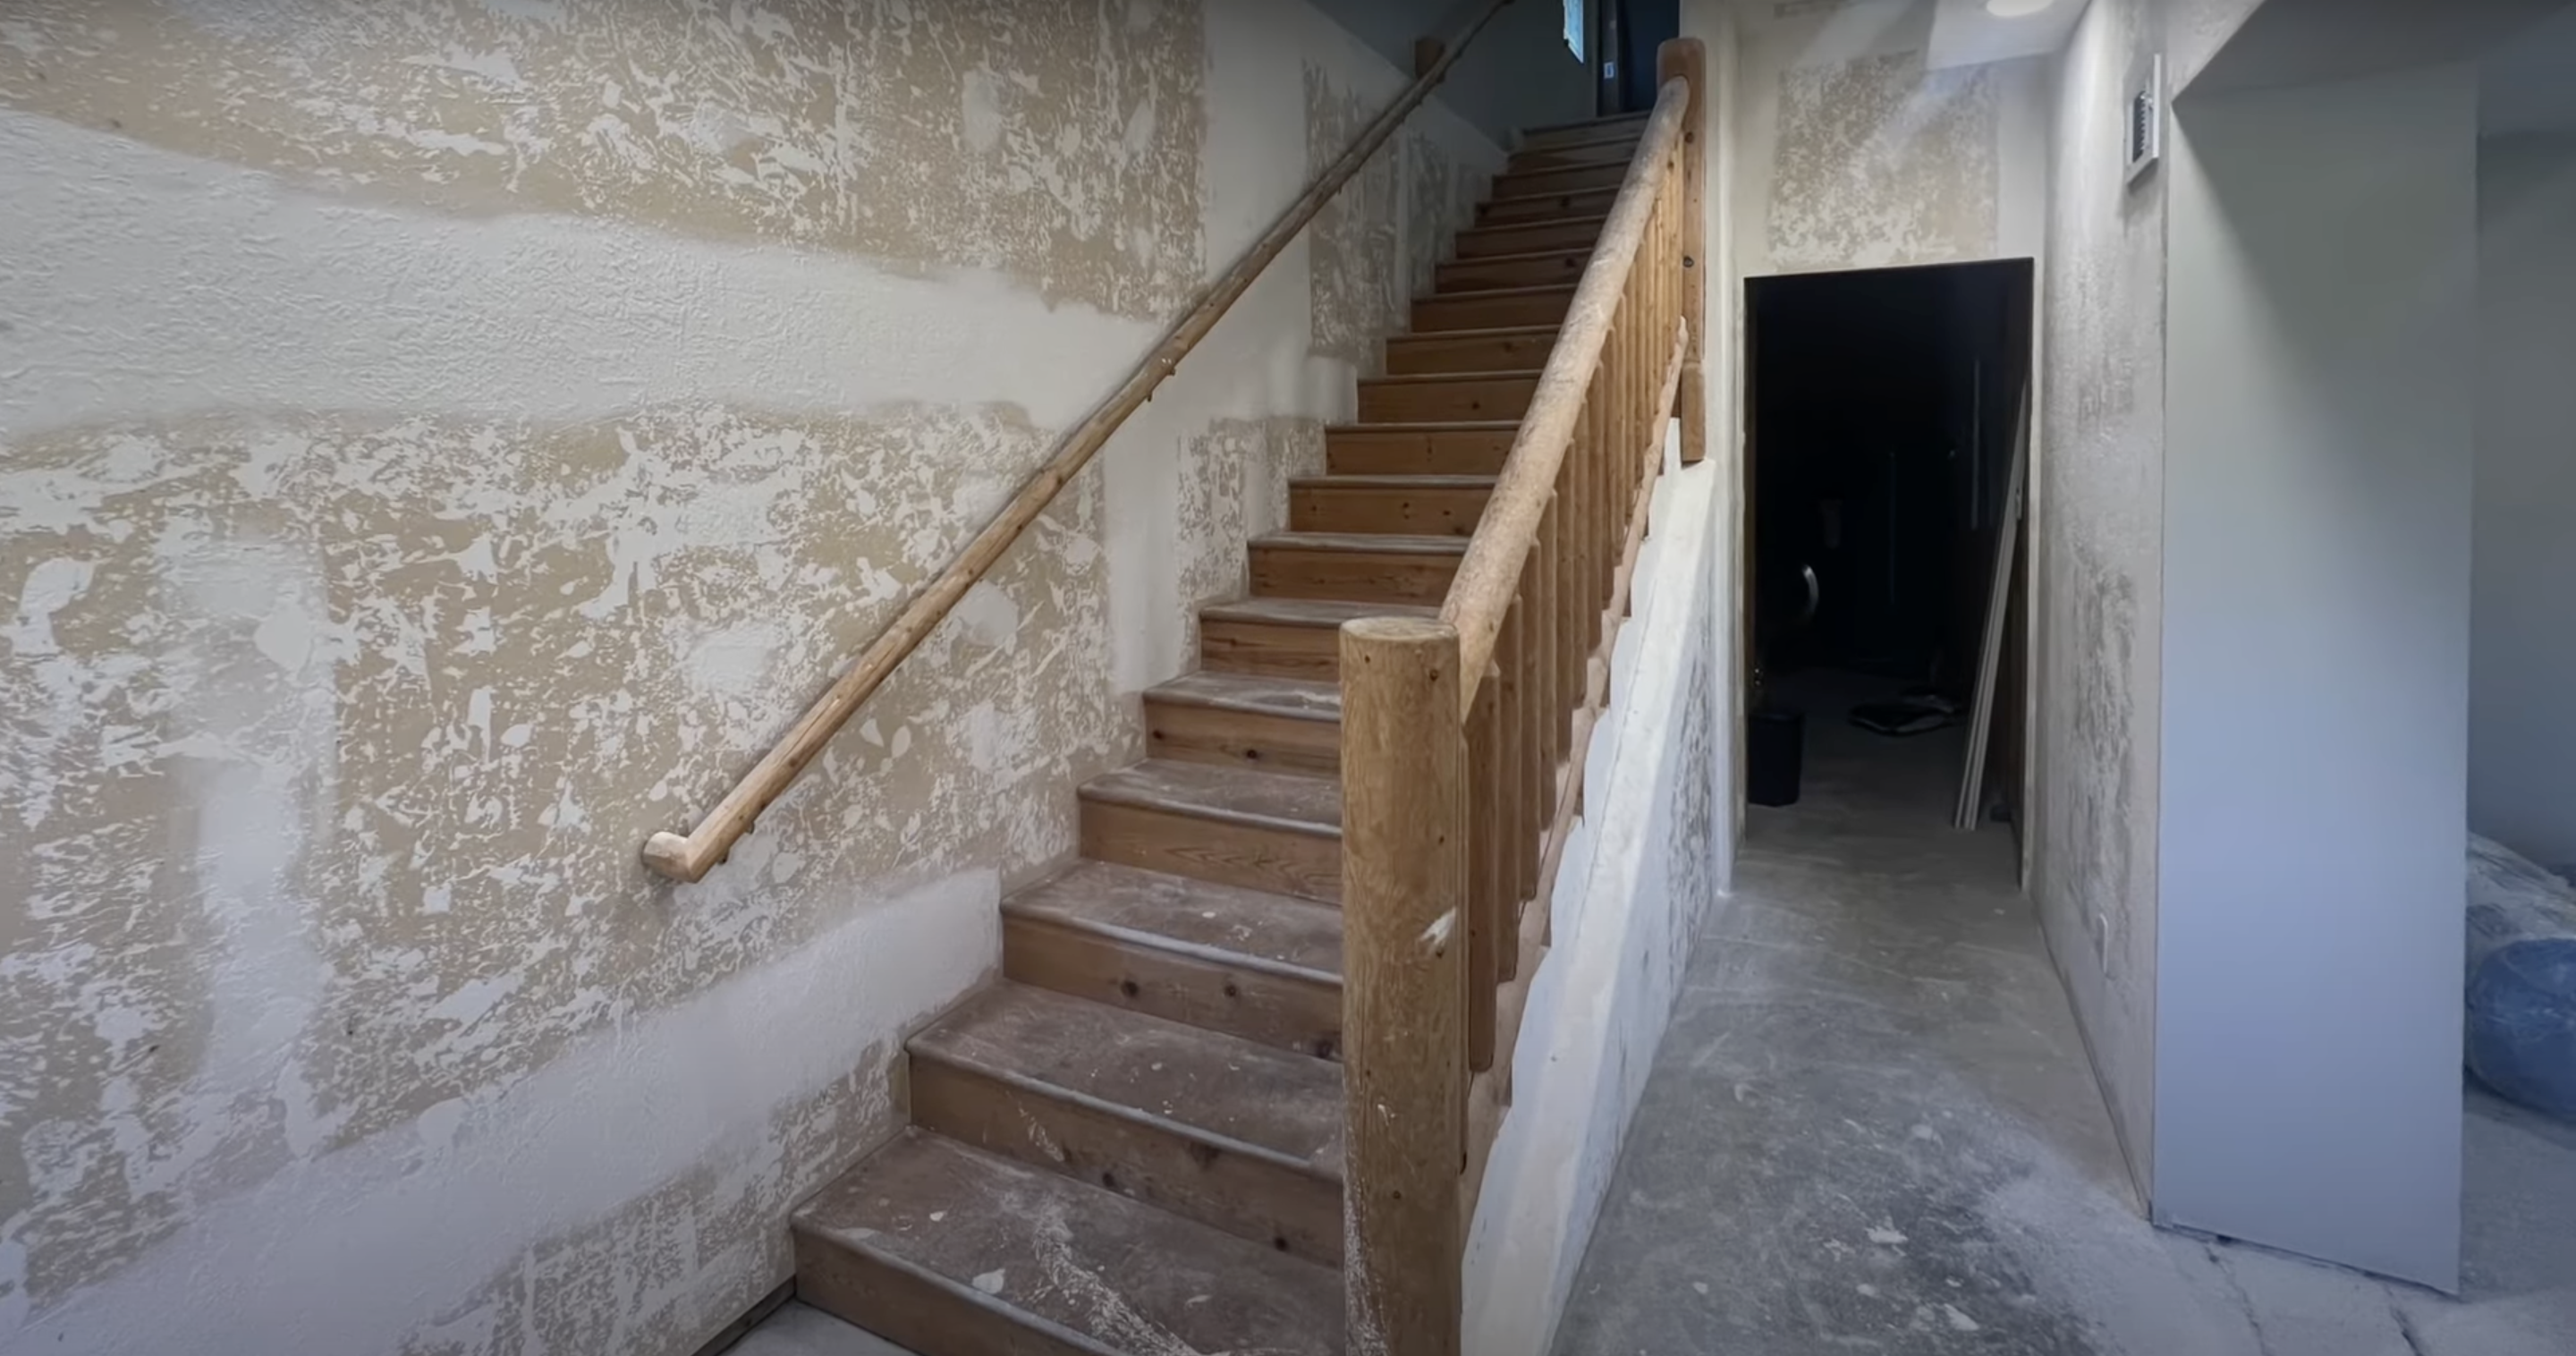
Remove any existing handrails or obstacles for easier access to the stairway. Clean the stairs thoroughly and complete any wall painting beforehand to avoid damaging new treads. Ensure all surfaces are free from debris for proper adhesion and easier installation.
Pro Tip: Always paint stairwell areas before starting tread installation to avoid messy touch-ups later.
Step 2: Install the Risers
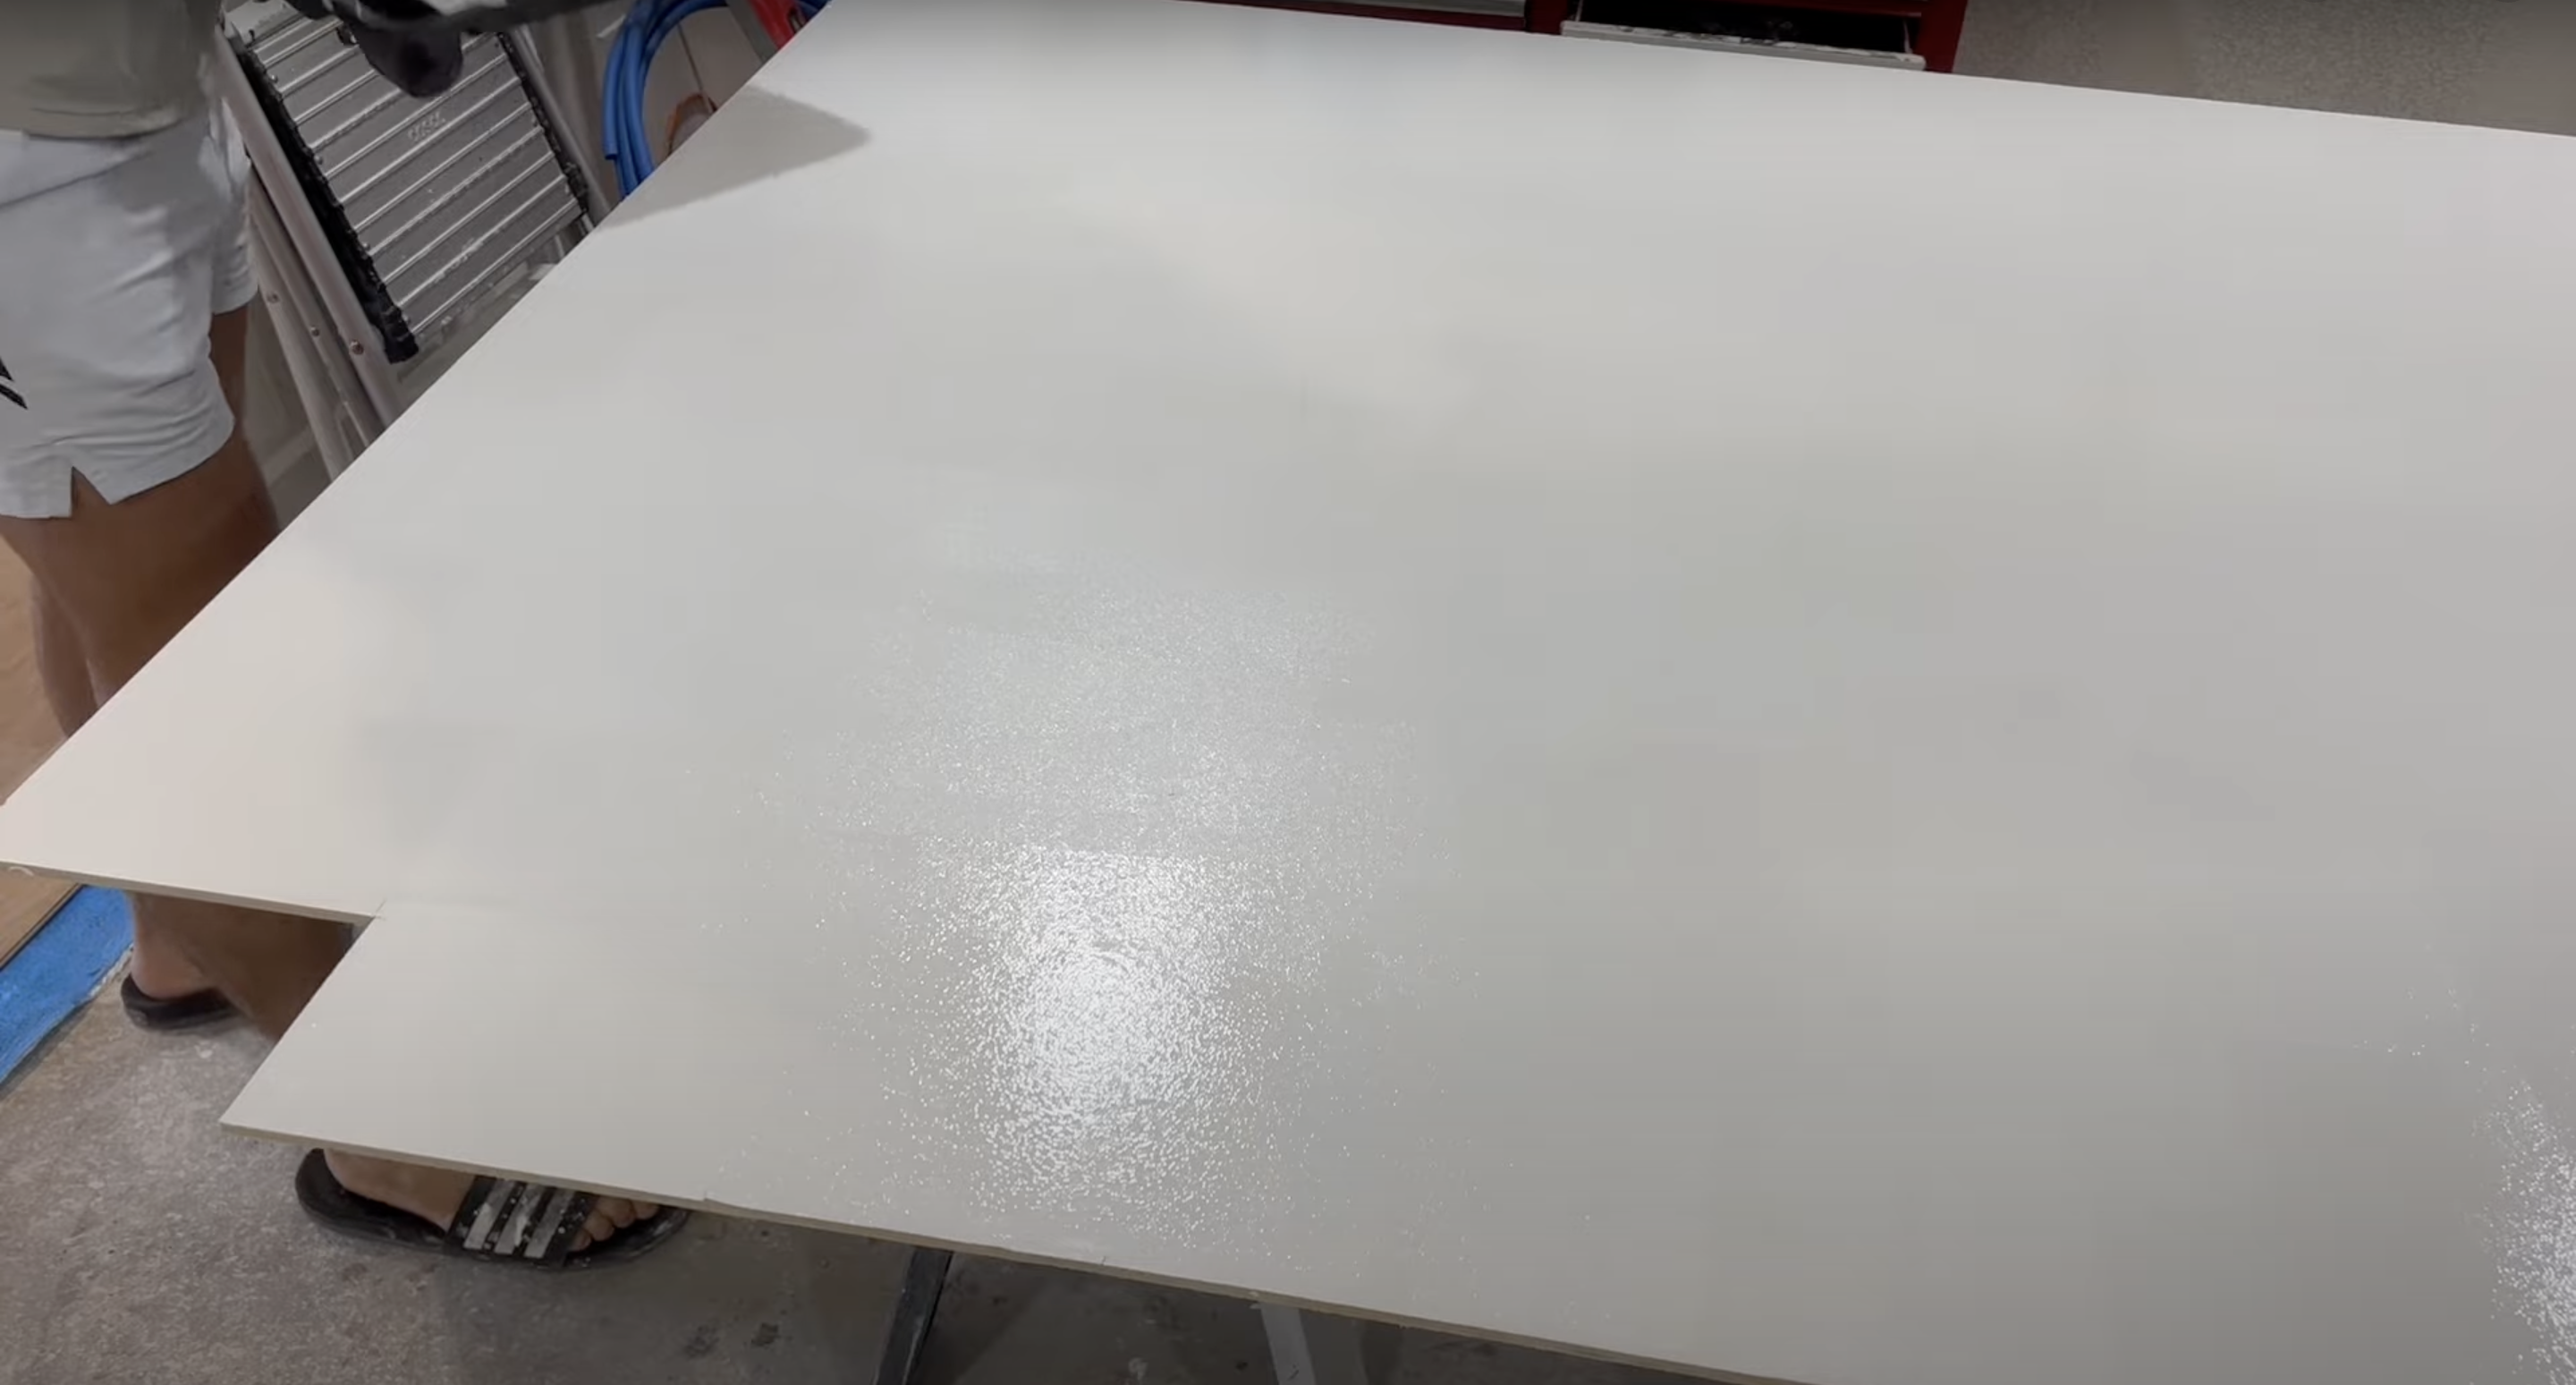
Measure each stair individually using a stair gauge, cut MDF panels to fit, and dry-fit them to check accuracy. Apply a generous amount of construction adhesive on the backside and press firmly into place, adding brad nails if necessary for extra support.
Safety Tip: Wear gloves while handling adhesives to protect your skin from irritation.
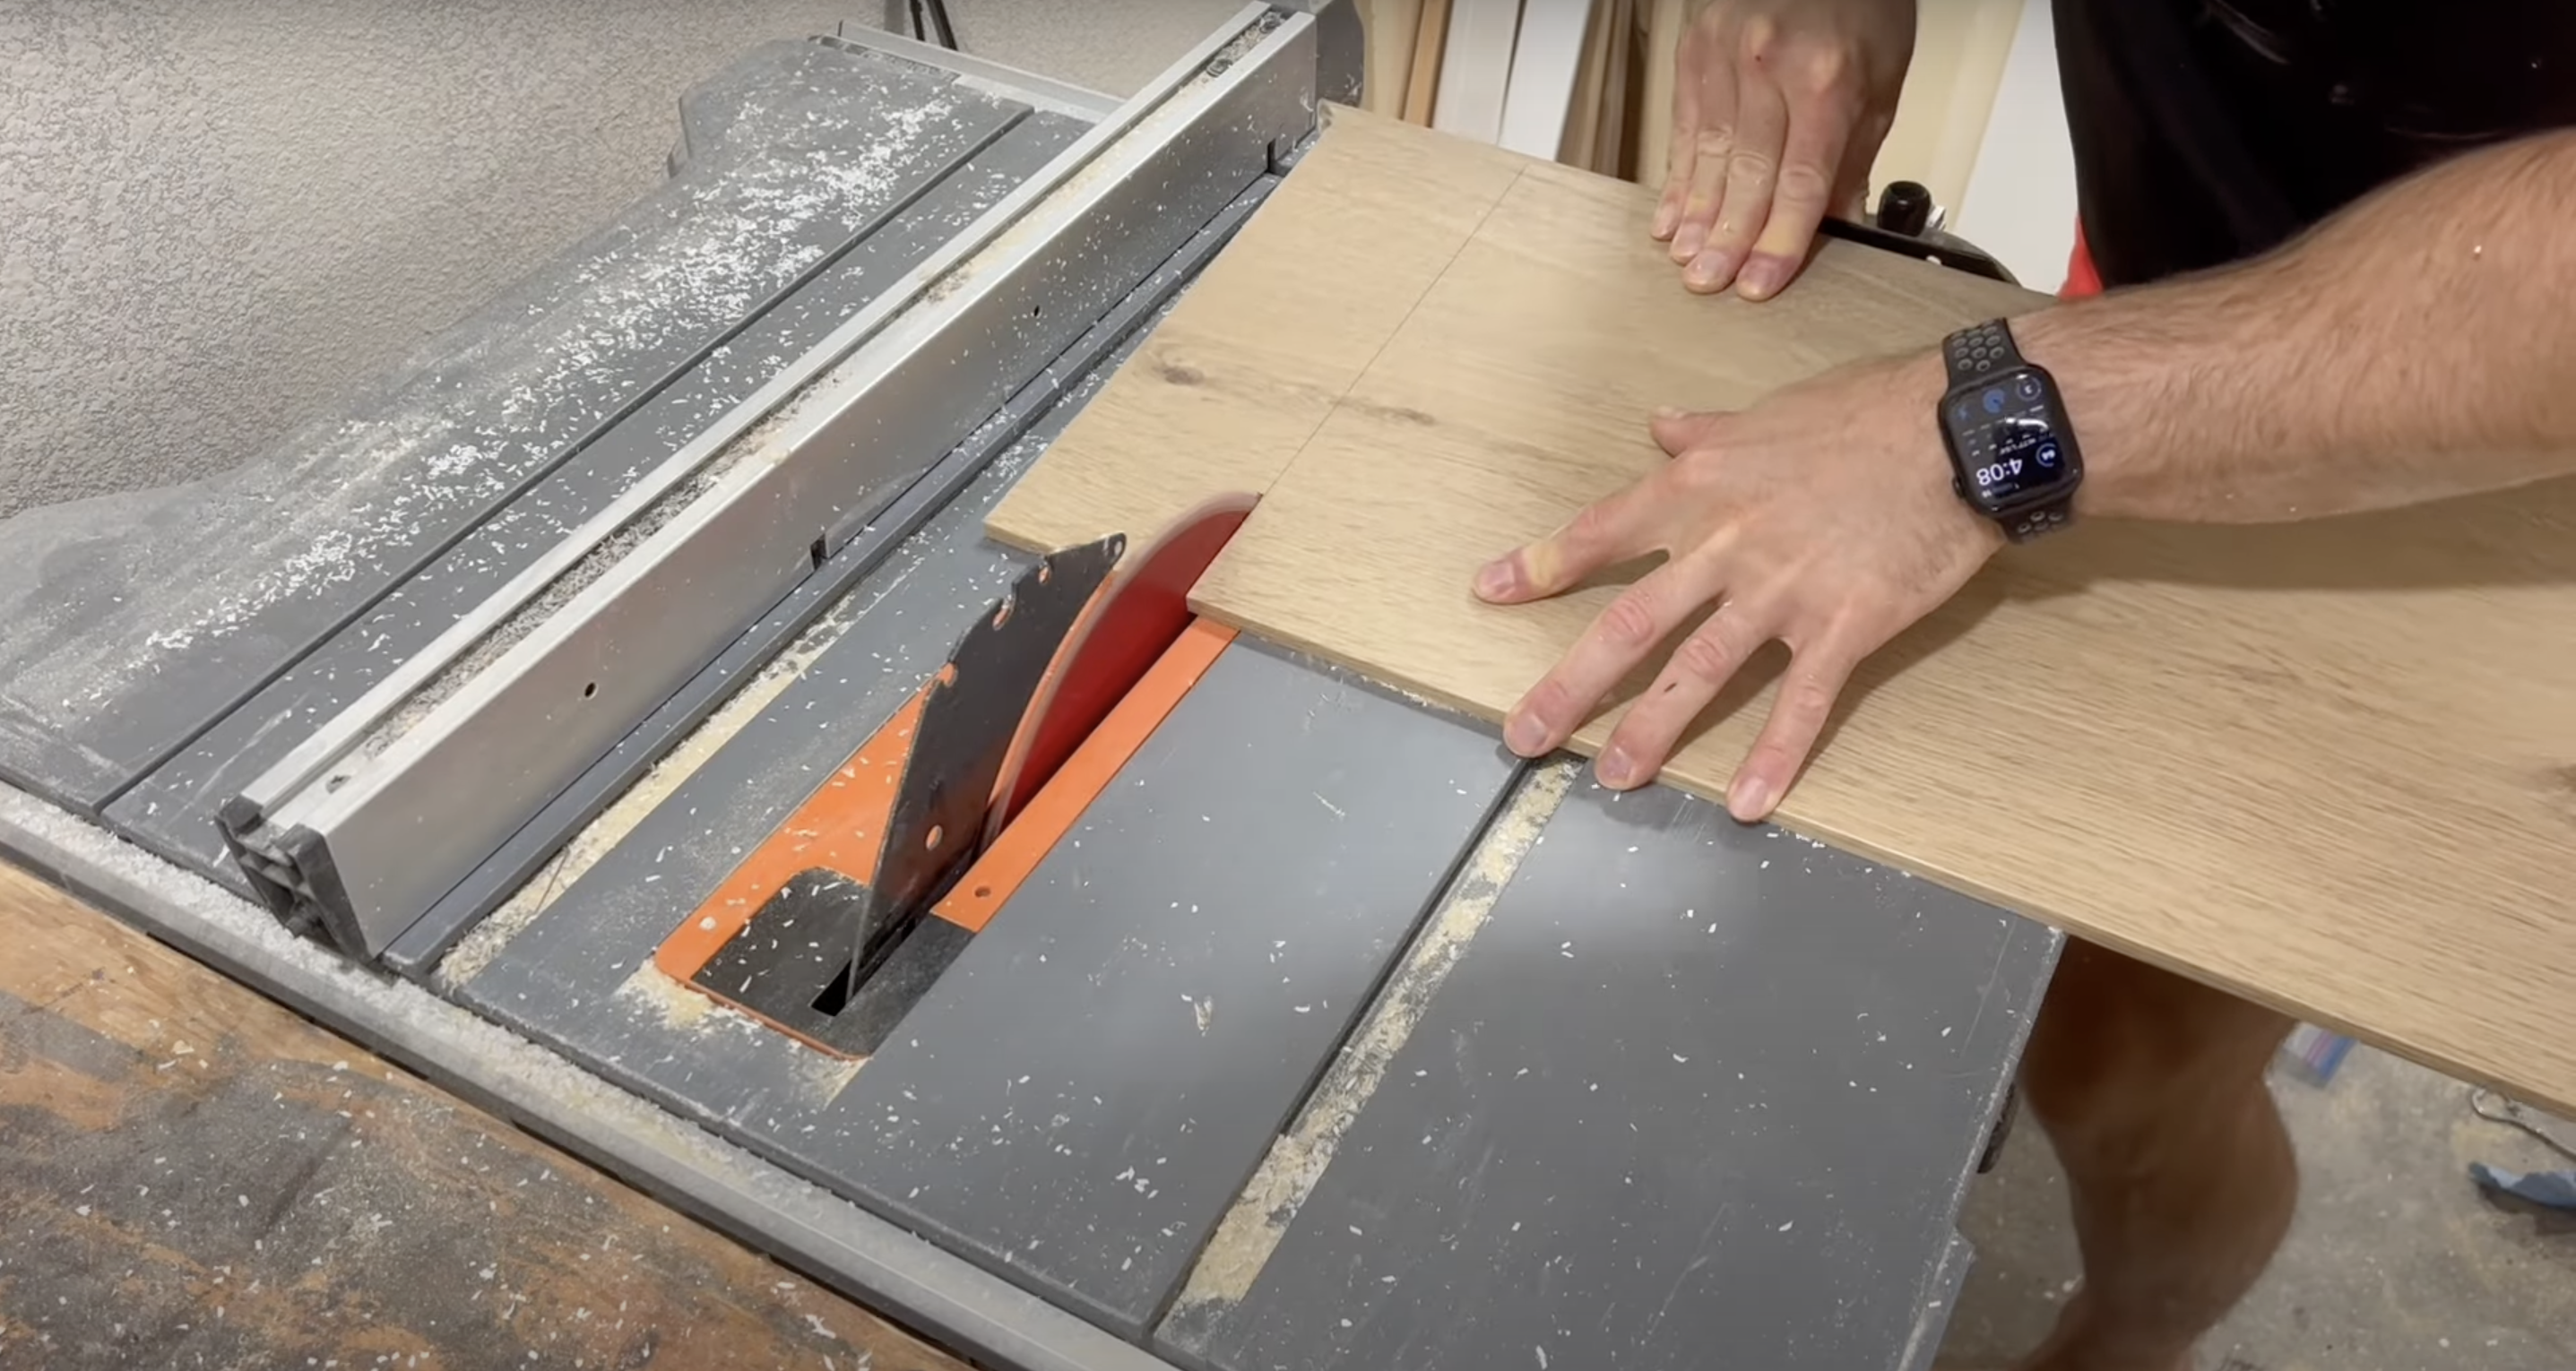
Step 3: Prepare the Stair Treads

Inspect stairs for any protruding screw heads and drive them down if needed. Measure each tread width carefully using the stair gauge, mark the angles if required, and cut them to fit snugly. Always dry-fit the tread first to avoid costly mistakes.
Pro Tip: Use a table saw for clean, straight cuts when trimming stair treads.
Step 4: Sand and Clean the Tread Surface
Roughly sand the underside of each tread with coarse-grit sandpaper to create a better grip for the adhesive. Make sure the stair surfaces are dust-free before applying glue to ensure a strong, lasting bond between the tread and the stair base.
Safety Tip: Always wear safety goggles while sanding to prevent dust particles from entering your eyes.
Step 5: Attach the Stair Treads
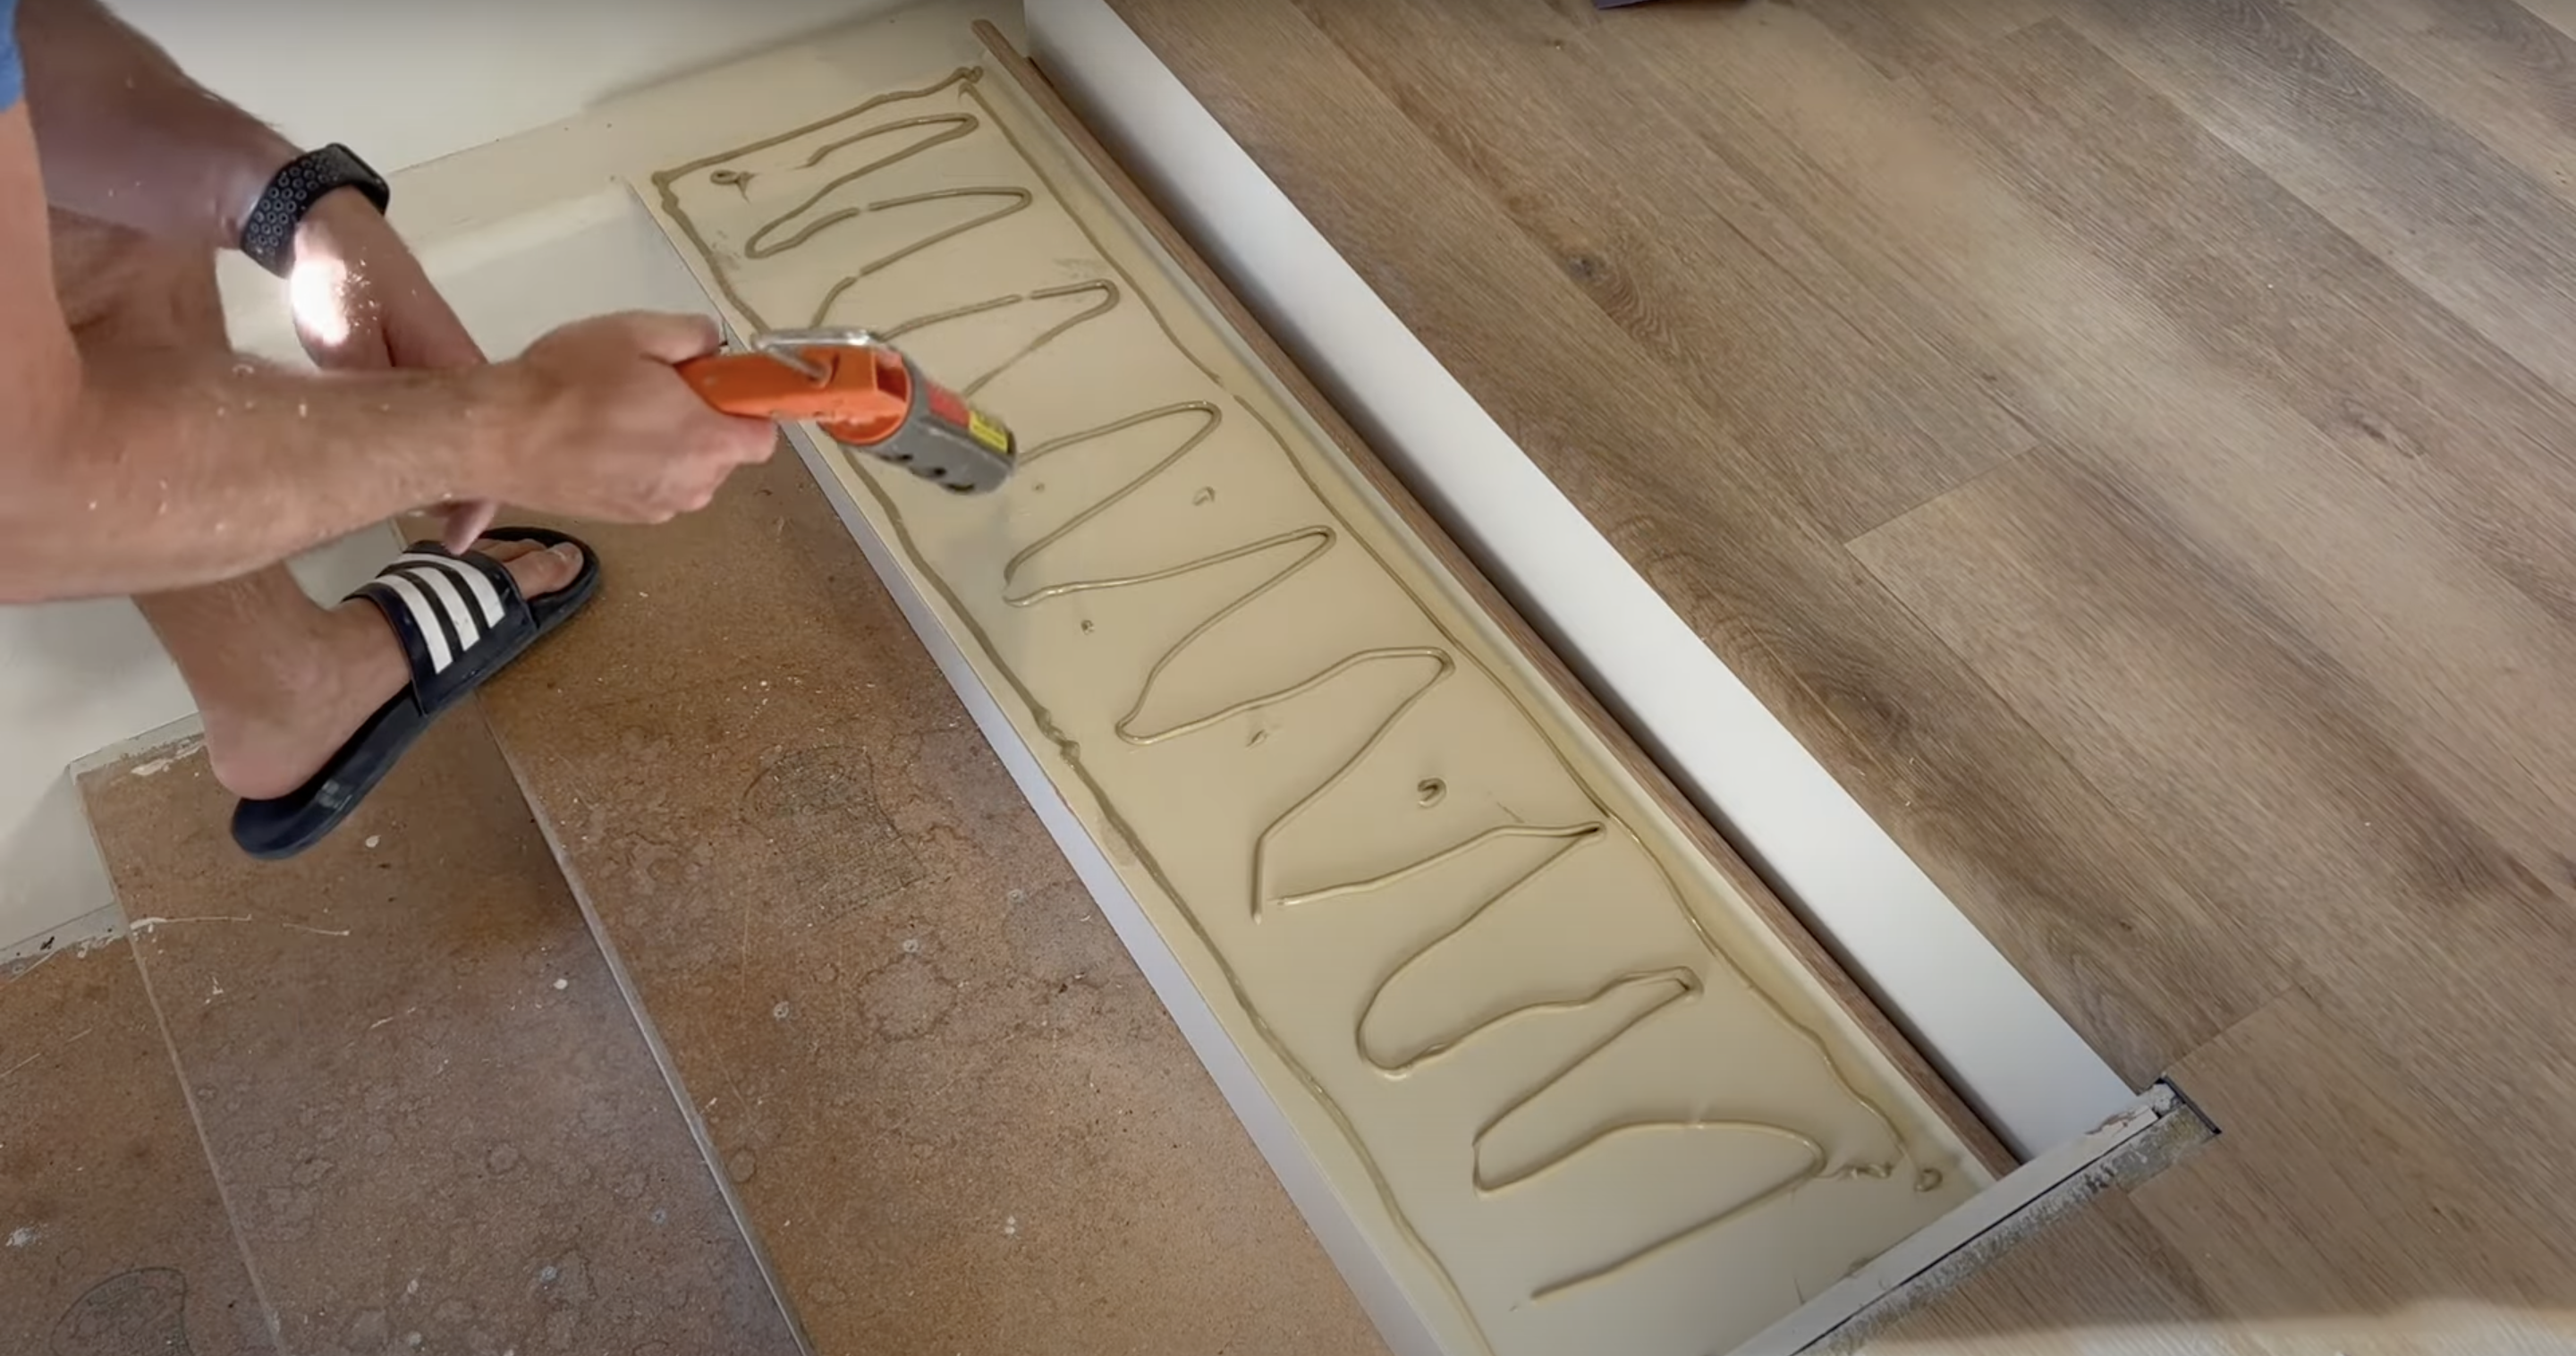
Generously apply construction adhesive to the stair base or the underside of the tread. Carefully position and press the tread into place, ensuring full contact. Walk over the tread to press it down firmly, and weigh it down for at least 24 hours for optimal curing.
Pro Tip: Use at least 50 lbs of weight per step to ensure secure bonding during adhesive curing.
Step 6: Handle Open Stair Edges

For open stair edges, preserve the flared side of the tread and fit an included edge piece. Carefully cut the piece at 45° angles for a seamless finish. Attach using construction adhesive and a small amount of super glue for instant hold, reinforcing with brad nails if needed.
Pro Tip: Save all trimmed corner pieces; they help complete flawless end cuts during installation.
Step 7: Final Touches and Caulking

Apply flexible caulking along all edges where the stairs meet the walls or risers to fill small gaps. Smooth the caulk using a spreader tool for a polished finish. This step increases the seamless look and prevents dust buildup in gaps over time.
Safety Tip: Use low-VOC caulking in enclosed spaces to maintain good indoor air quality.
Tips for Maintenance for DIY Stair Tread
After installing your beautiful new stair treads, you’ll want to keep them looking good for years to come. Good maintenance not only keeps your stairs looking fresh but also helps them last longer.
Here are some simple ways to maintain your DIY stair treads:
- Regular Cleaning: Sweep or vacuum your treads weekly to remove dirt and grit that can scratch the surface. For deeper cleaning, use a damp cloth with mild soap.
- Spill Response: Clean up spills right away to stop liquids from soaking into wood or causing damage to the finish. Blot spills gently rather than rubbing them.
- Protective Pads: Add felt pads to furniture legs if you move items up or down the stairs to avoid scratches and dents.
- Check Fasteners: Every few months, check that all screws and nails are tight. Loose fasteners can cause squeaks and make the treads unstable.
- Touch-Up Finish: Apply a fresh coat of finish once a year or when you notice wear spots to maintain protection.
- Avoid Harsh Cleaners: Skip strong chemicals that might strip the finish. Instead, use cleaners made for your tread material.
- Humidity Control: Try to keep indoor humidity steady. Too much change can cause wood treads to expand and contract.
The Bottom Line
Taking on a DIY stair treads project might seem like a big task at first, but it’s truly one of the most rewarding weekend projects for your home. The steps we’ve covered make it simple for anyone to achieve great results.
Remember that good maintenance is key to enjoying your new stairs for many years. With regular cleaning and occasional checks, your stair treads will continue to look fresh and function well.
Best of all, this project gives you the chance to add your personal touch to an often overlooked part of your home. Each time you walk up those stairs, you’ll feel a sense of accomplishment knowing you did it yourself.
Ready to start? Grab your measuring tape, pick out your materials, and transform those stairs into something you’ll be proud to show off!