Parents often struggle to find engaging craft activities that use simple household items without creating chaos.
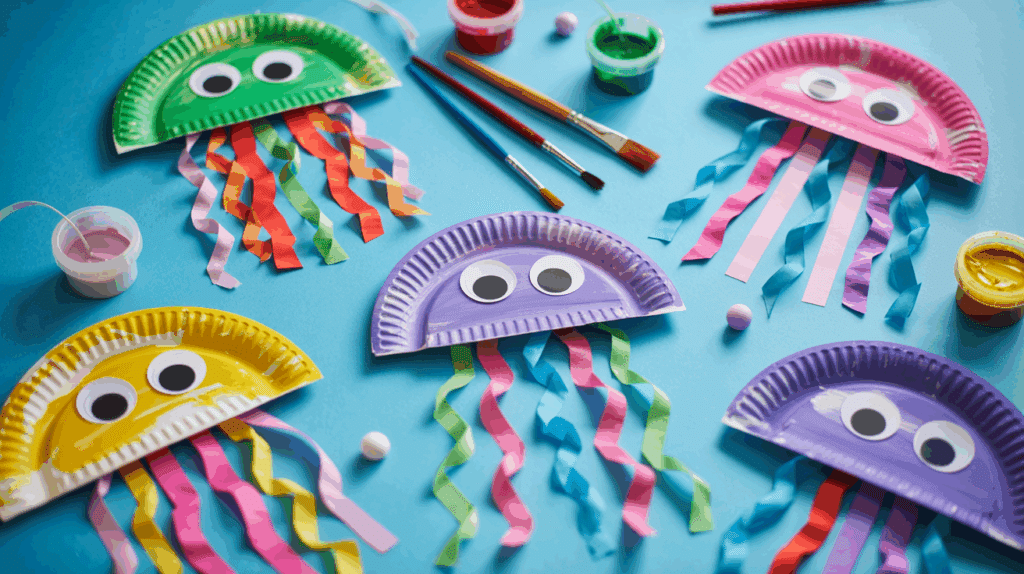
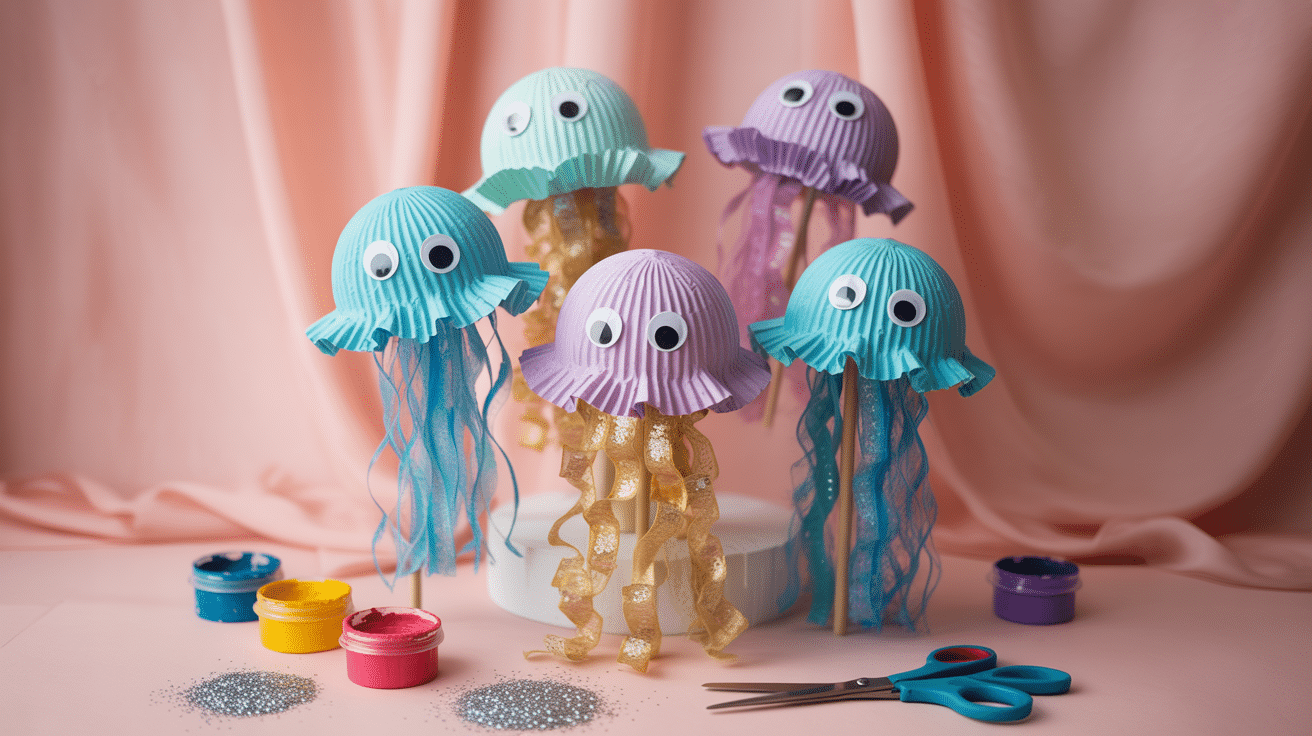
This paper plate jellyfish craft offers the perfect solution for busy families. It evolves basic materials into a delightful ocean creature that children love creating.
This blog post covers everything from gathering supplies to adding finishing touches, helping families make beautiful jellyfish decorations together while keeping the mess to a minimum.
What Makes Paper Plate Jellyfish Craft Fun for Kids?
Children find this ocean-themed activity irresistible because it combines creativity with hands-on learning. The simple process gives kids complete control over their artistic choices while teaching them about sea creatures.
What makes this paper plate jellyfish craft particularly appealing is how quickly children see their vision come to life with just a few basic steps.
Key reasons kids love this activity:
- Instant satisfaction – Results appear quickly, keeping young attention spans engaged throughout the project
- Personal expression – Each child can choose their own colors and decorating style for a unique creation
- Sensory experience – Cutting, gluing, and painting provide satisfying tactile feedback
- Proud display piece – The finished jellyfish looks impressive enough to hang in bedrooms or show to friends
Tips for Creating the Best Jellyfish Crafts
Creating impressive jellyfish decorations requires attention to a few key details that make all the difference.
These simple strategies help crafters achieve professional-looking results.
1. Choose lively colors: Bright blues, purples, and pinks make jellyfish pop off the page and capture attention immediately. Ocean-themed shades create realistic-looking creatures while neon colors add a playful twist.
2. Cut streamers at different lengths: Varying the tentacle sizes creates natural movement and realistic proportions that mimic real sea creatures. This prevents the flat, uniform look that makes crafts appear basic.
3. Layer materials for texture: Adding tissue paper over paint or combining different paper types creates depth and visual interest. Multiple layers give the jellyfish’s body dimension while making colors appear richer.
4. Secure attachments properly: Using adequate glue or tape prevents tentacles from falling off during play or display. Taking time to press attachments firmly ensures the paper plate jellyfish craft stays intact for weeks.
5. Add finishing details: Small touches like glitter, sequins, or drawn faces bring personalities to each creation. These final elements evolve basic crafts into characters that children want to name and play with.
Tools and Materials Needed to Create Paper Plate Jellyfish
| Item | Purpose |
|---|---|
| Paper plate | Forms the dome of the jellyfish |
| Yellow paper sheets | Used to decorate the jellyfish’s body |
| Craft glue | Helps attach paper and tentacles securely |
| Scissors | For cutting paper and trimming yarn |
| Yarn or ribbon | Represents the jellyfish’s long tentacles |
| Googly eyes | Adds personality to the jellyfish’s face |
| Hole punch (optional) | Creates a hole for hanging the jellyfish |
Easy Steps to Create Stunning Paper Plate Jellyfish
Creating a jellyfish from a paper plate is a delightful way to bring under-the-sea magic to any craft session.
The paper plate jellyfish craft offers an easy setup and lots of room for personalization.
Step 1. Cover the Plate with Yellow Paper
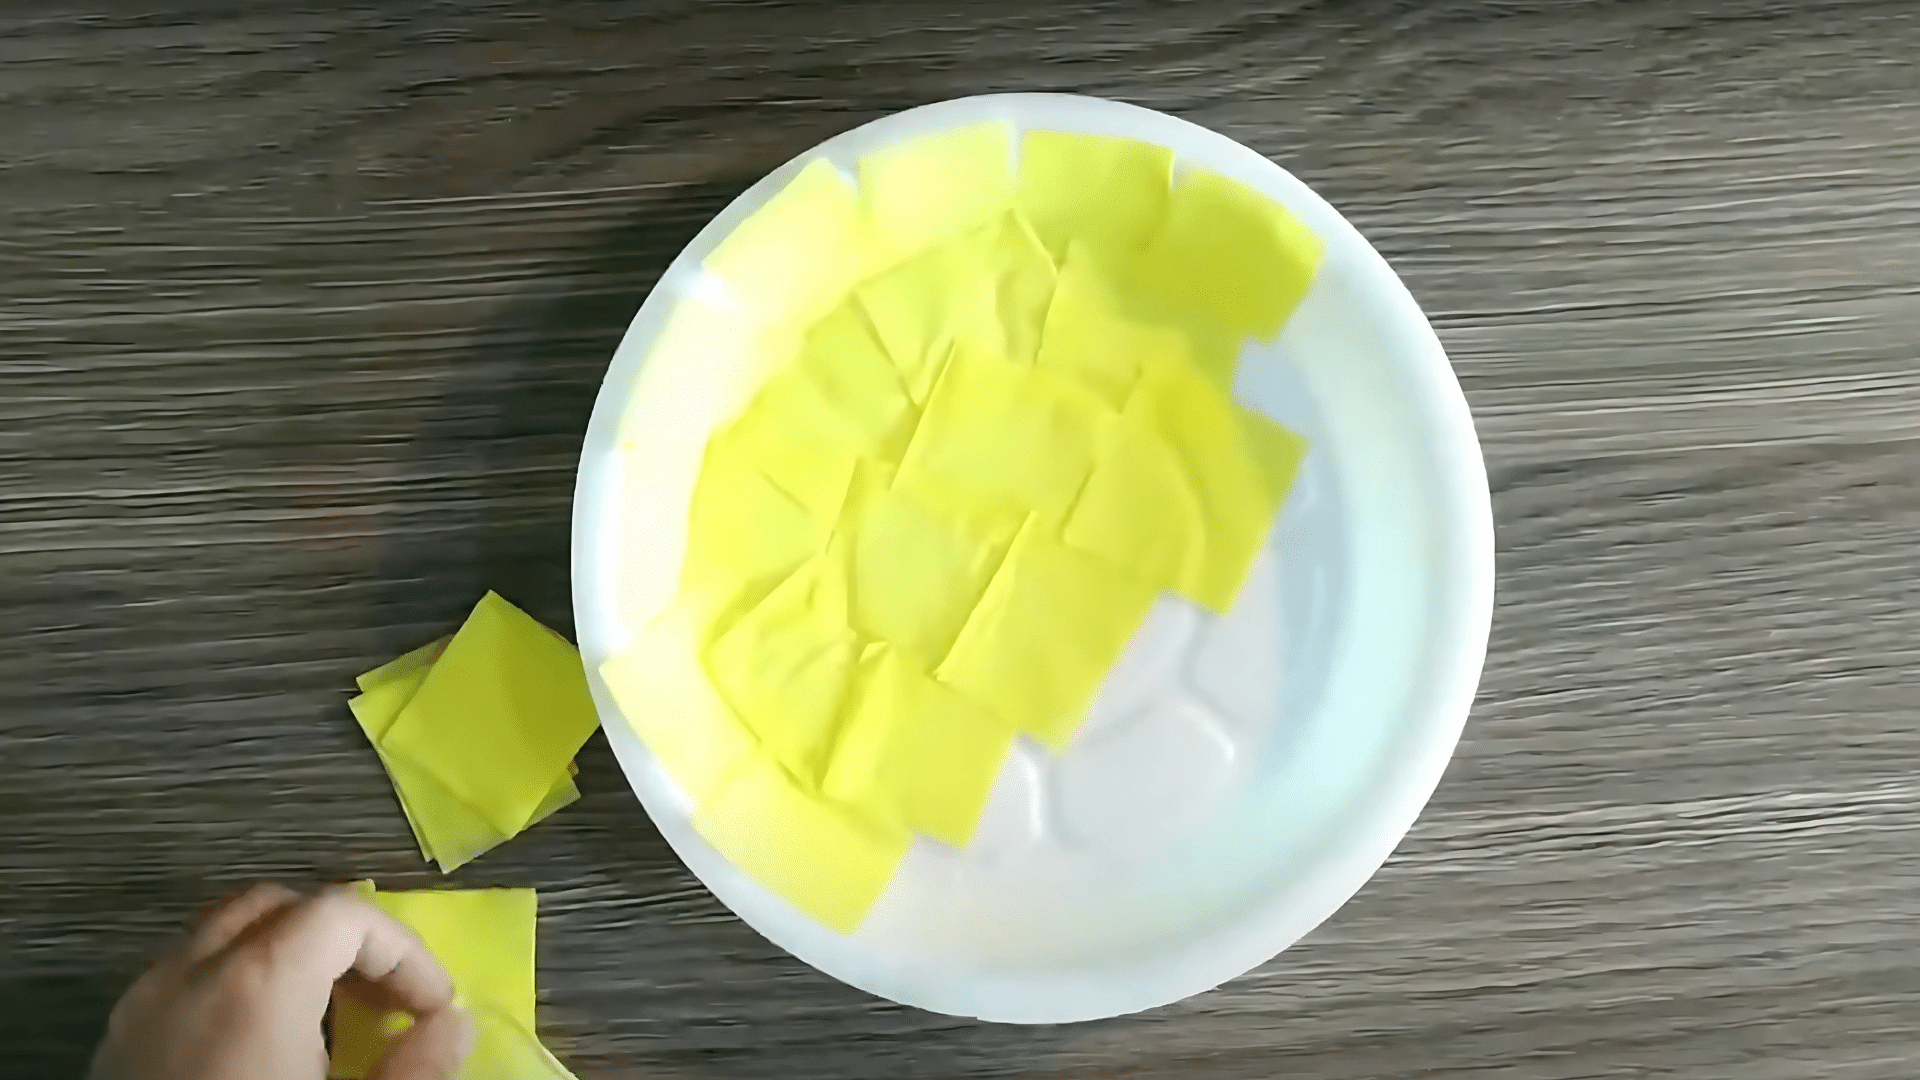
Begin by tearing or cutting pieces of yellow paper into small squares or uneven shapes. Turn the paper plate over so the smooth side faces up.
Apply glue across the surface and start pasting the yellow paper pieces one by one until the entire plate is fully covered.
Step 2. Cut the Plate into a Jellyfish Shape
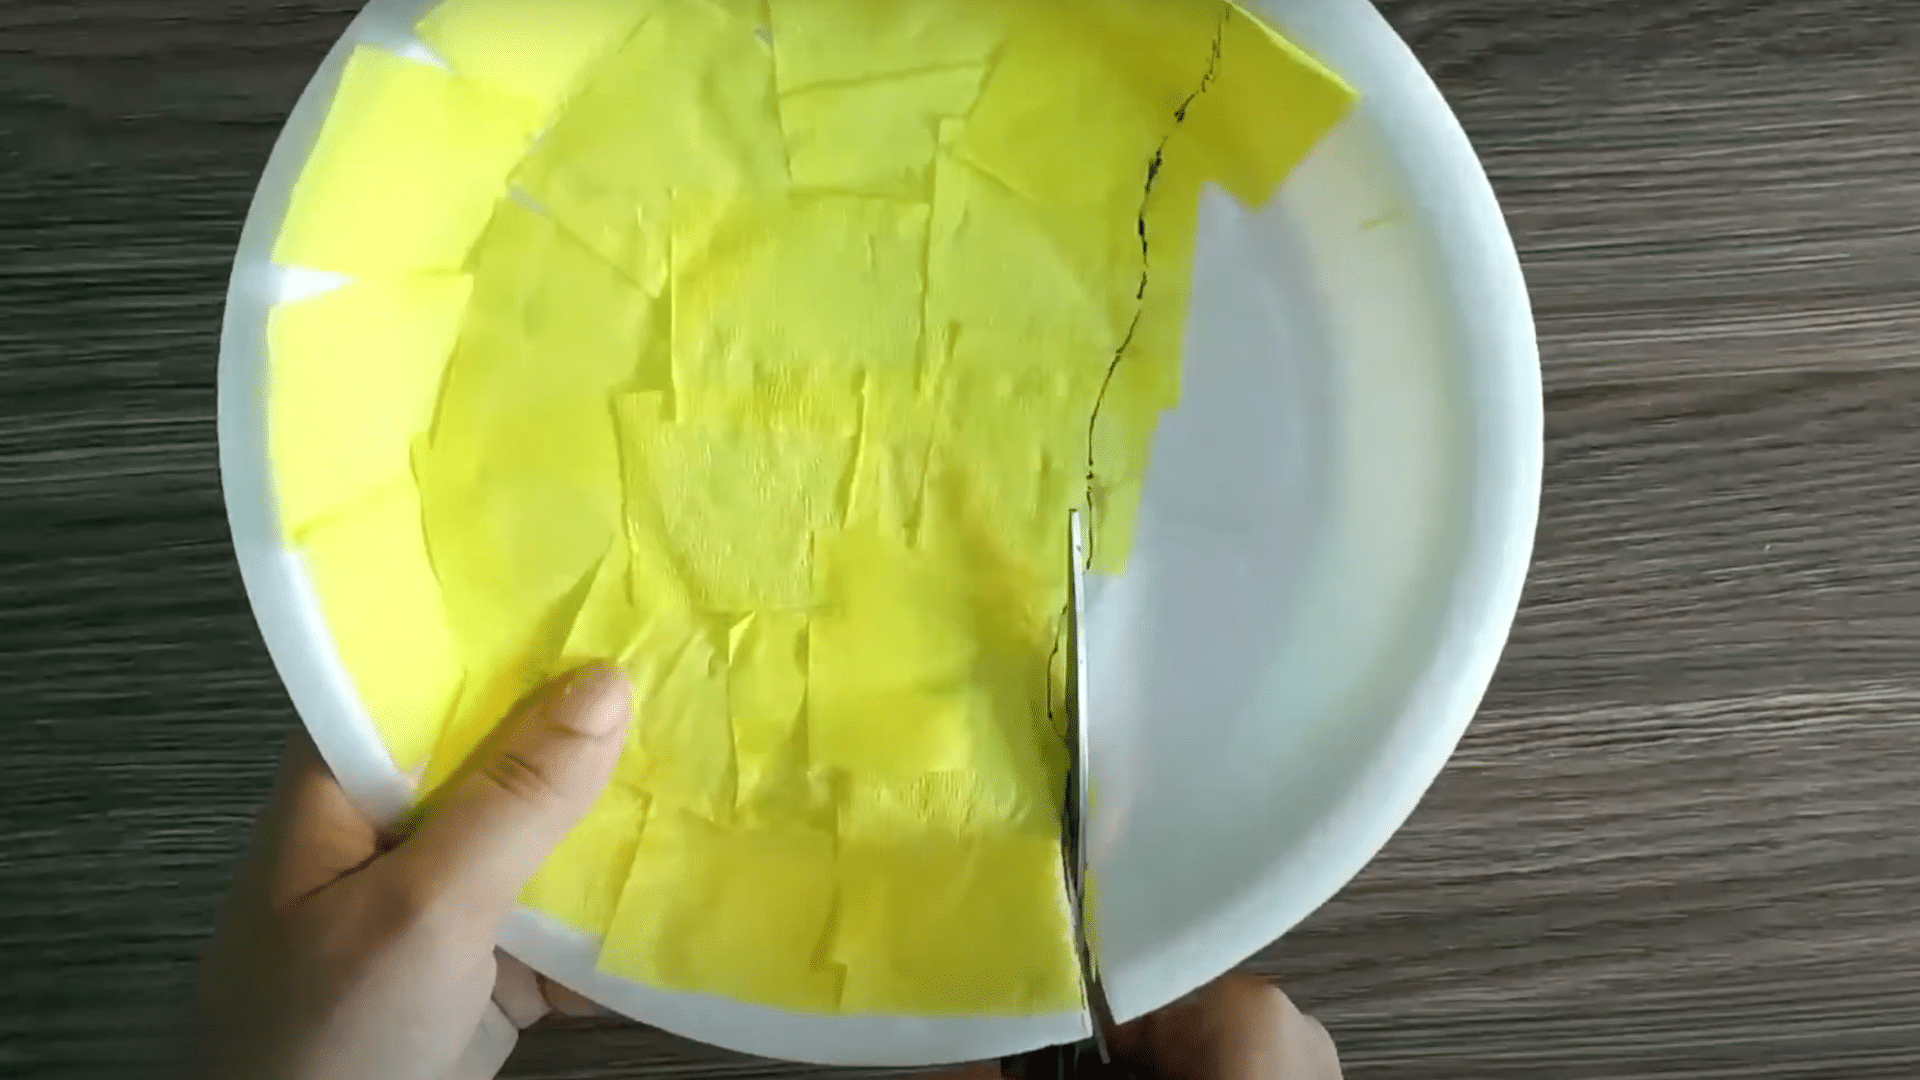
Once the paint is dry to the touch, fold the plate in half gently without creating a crease. Cut along the fold to split it evenly into two halves.
One half will serve as the jellyfish’s main body. The second half can be stored for a future craft used to create a matching friend or decorated separately as a fun bonus activity.
Step 3. Design the Tentacles
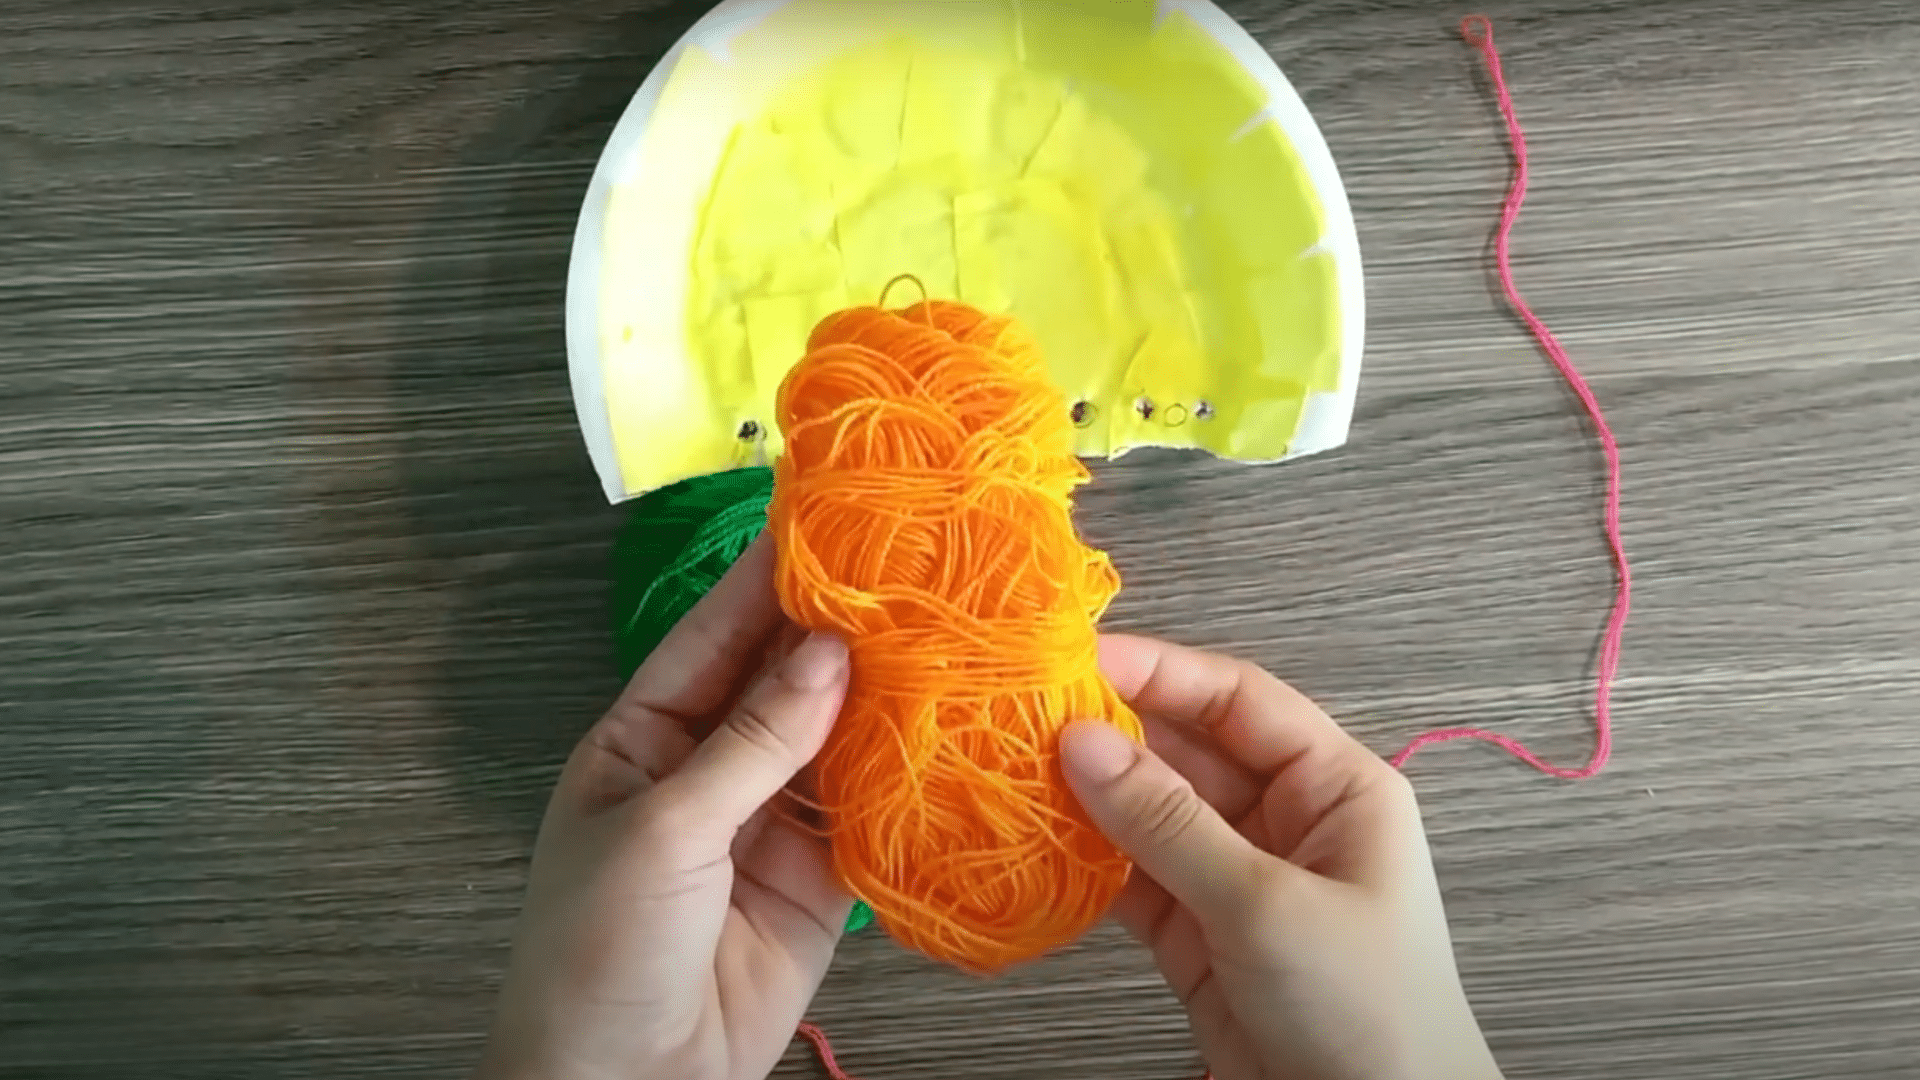
The tentacles bring the jellyfish to life, so choosing the right materials is key. Yarn or ribbon in bright or ocean-inspired shades works well.
Each strand should be cut to an equal length, ideally between 10 to 12 inches, to create a balanced and flowing effect. A variety of textures can add extra charm and dimension.
- Cut 6 to 10 strands of yarn or ribbon to equal lengths.
- Use a mix of colors to enhance visual interest.
- Arrange the pieces in the desired color order.
- Line up the top ends to prepare them for easy attachment.
Step 4. Secure Tentacles to the Back
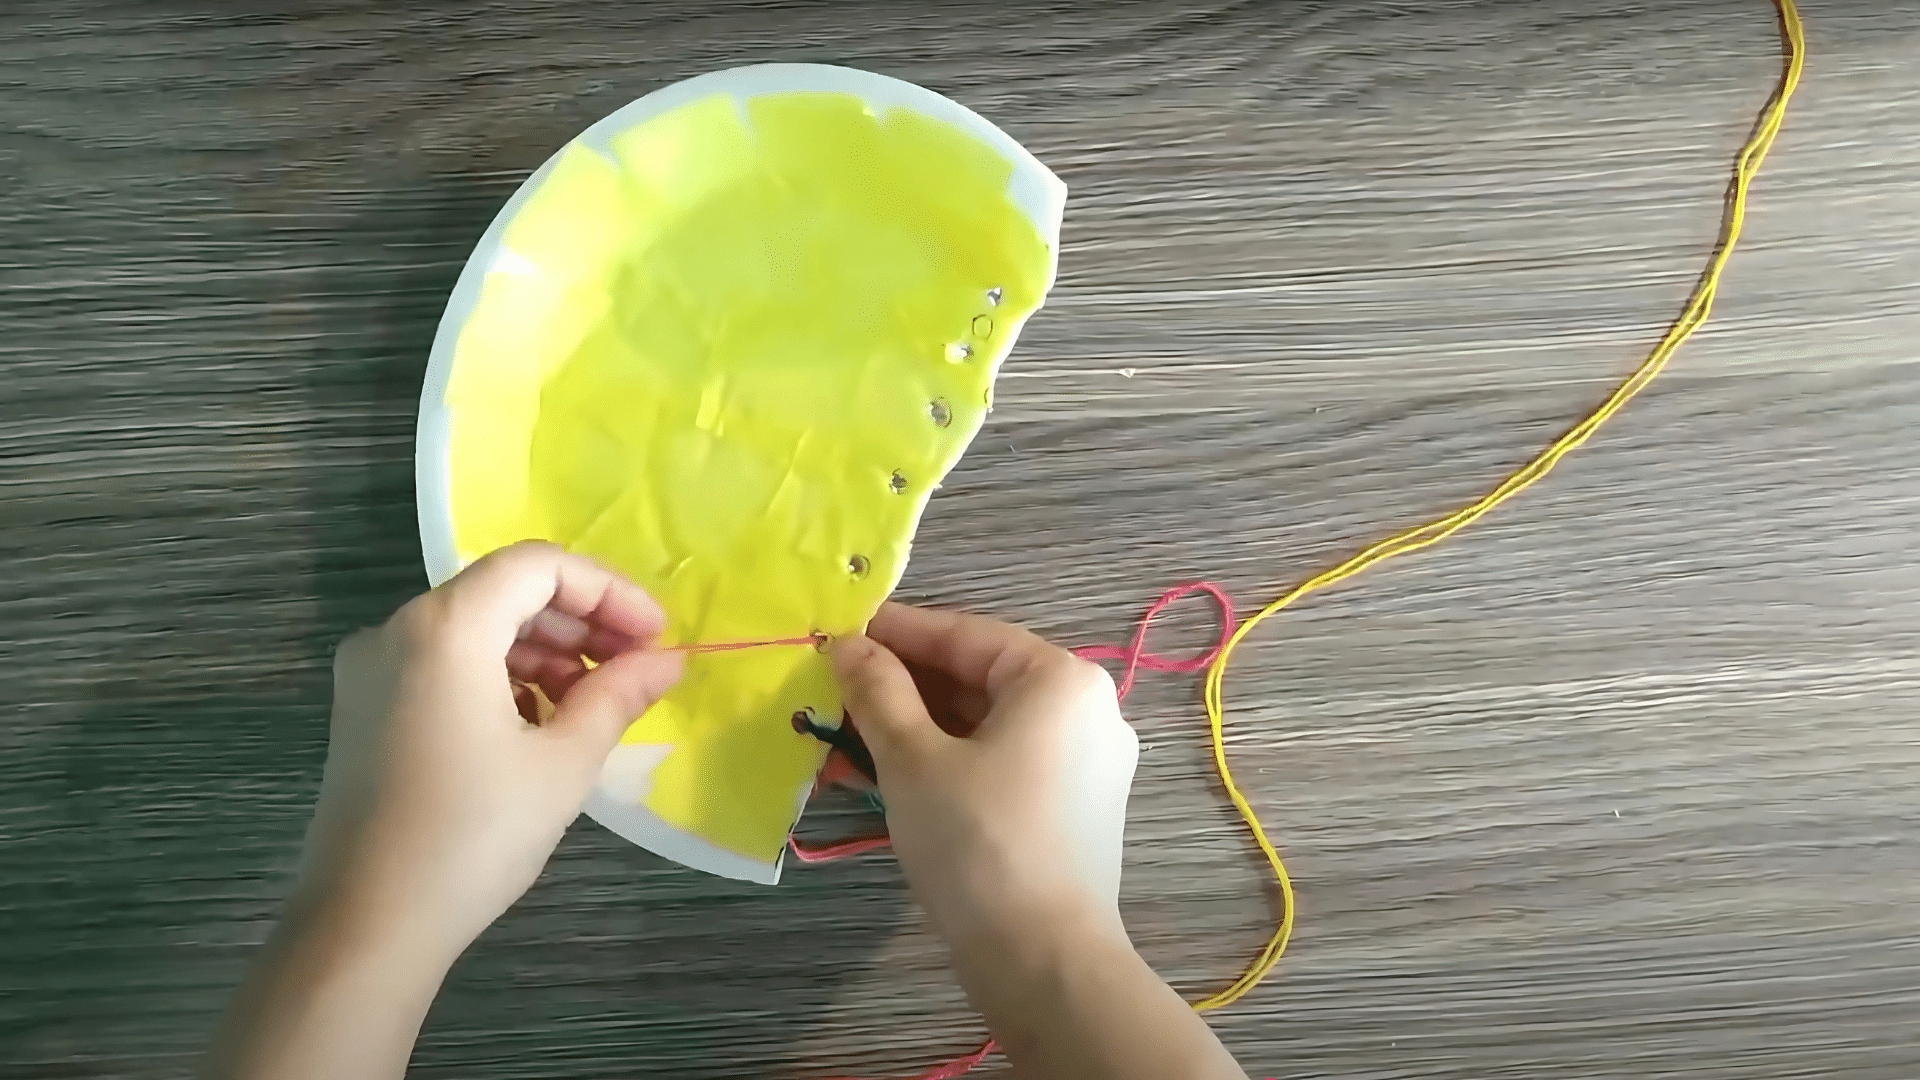
Once the tentacles are prepared, they can be attached to the jellyfish’s body. The paper plate half should be turned over so the undecorated side is facing up.
A line of glue should be applied across the flat edge where the tentacles will be secured. Positioning them correctly helps the jellyfish appear more spirited when displayed.
- Press each yarn piece gently into the glue line.
- Keep the spacing even for a neat and full appearance
- Allow the glue to dry completely before flipping the plate
- Ensure the strands are firmly attached and hanging downward
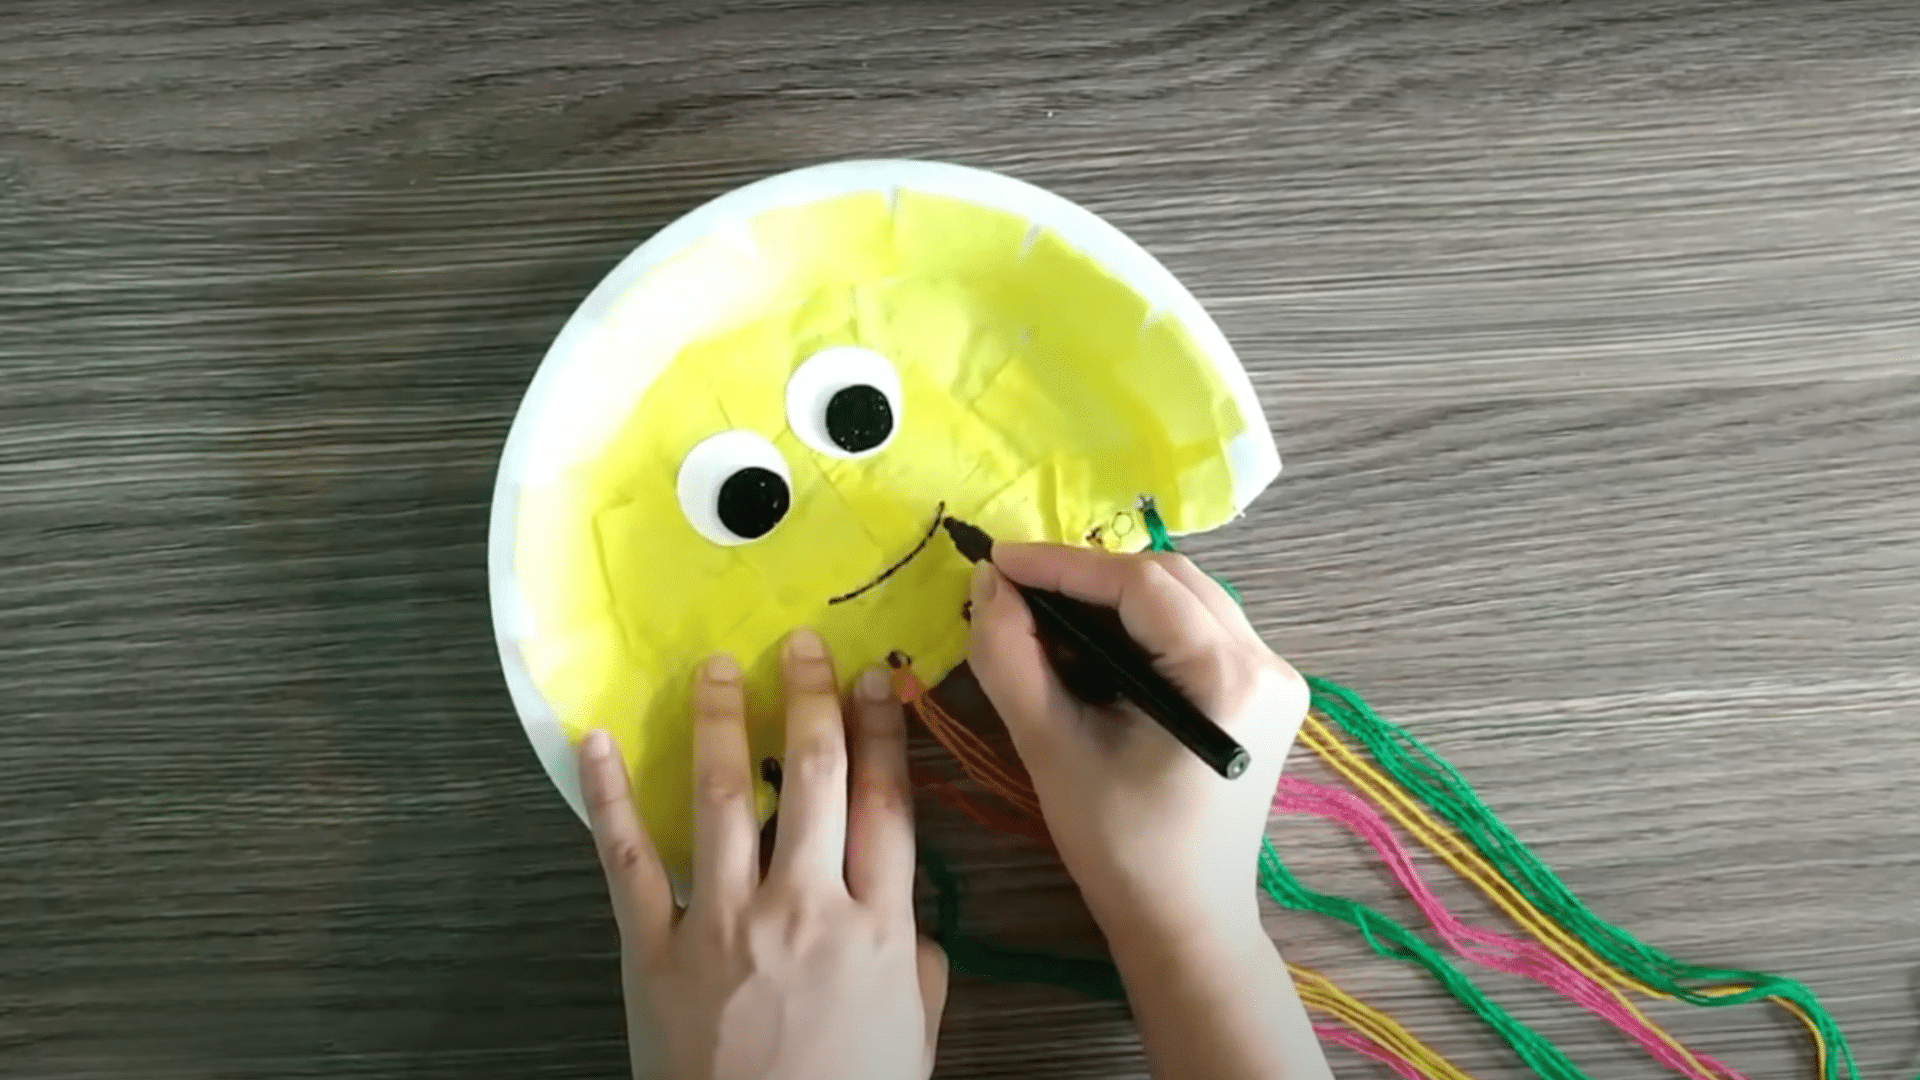
Step 5. Add Googly Eyes and Personality
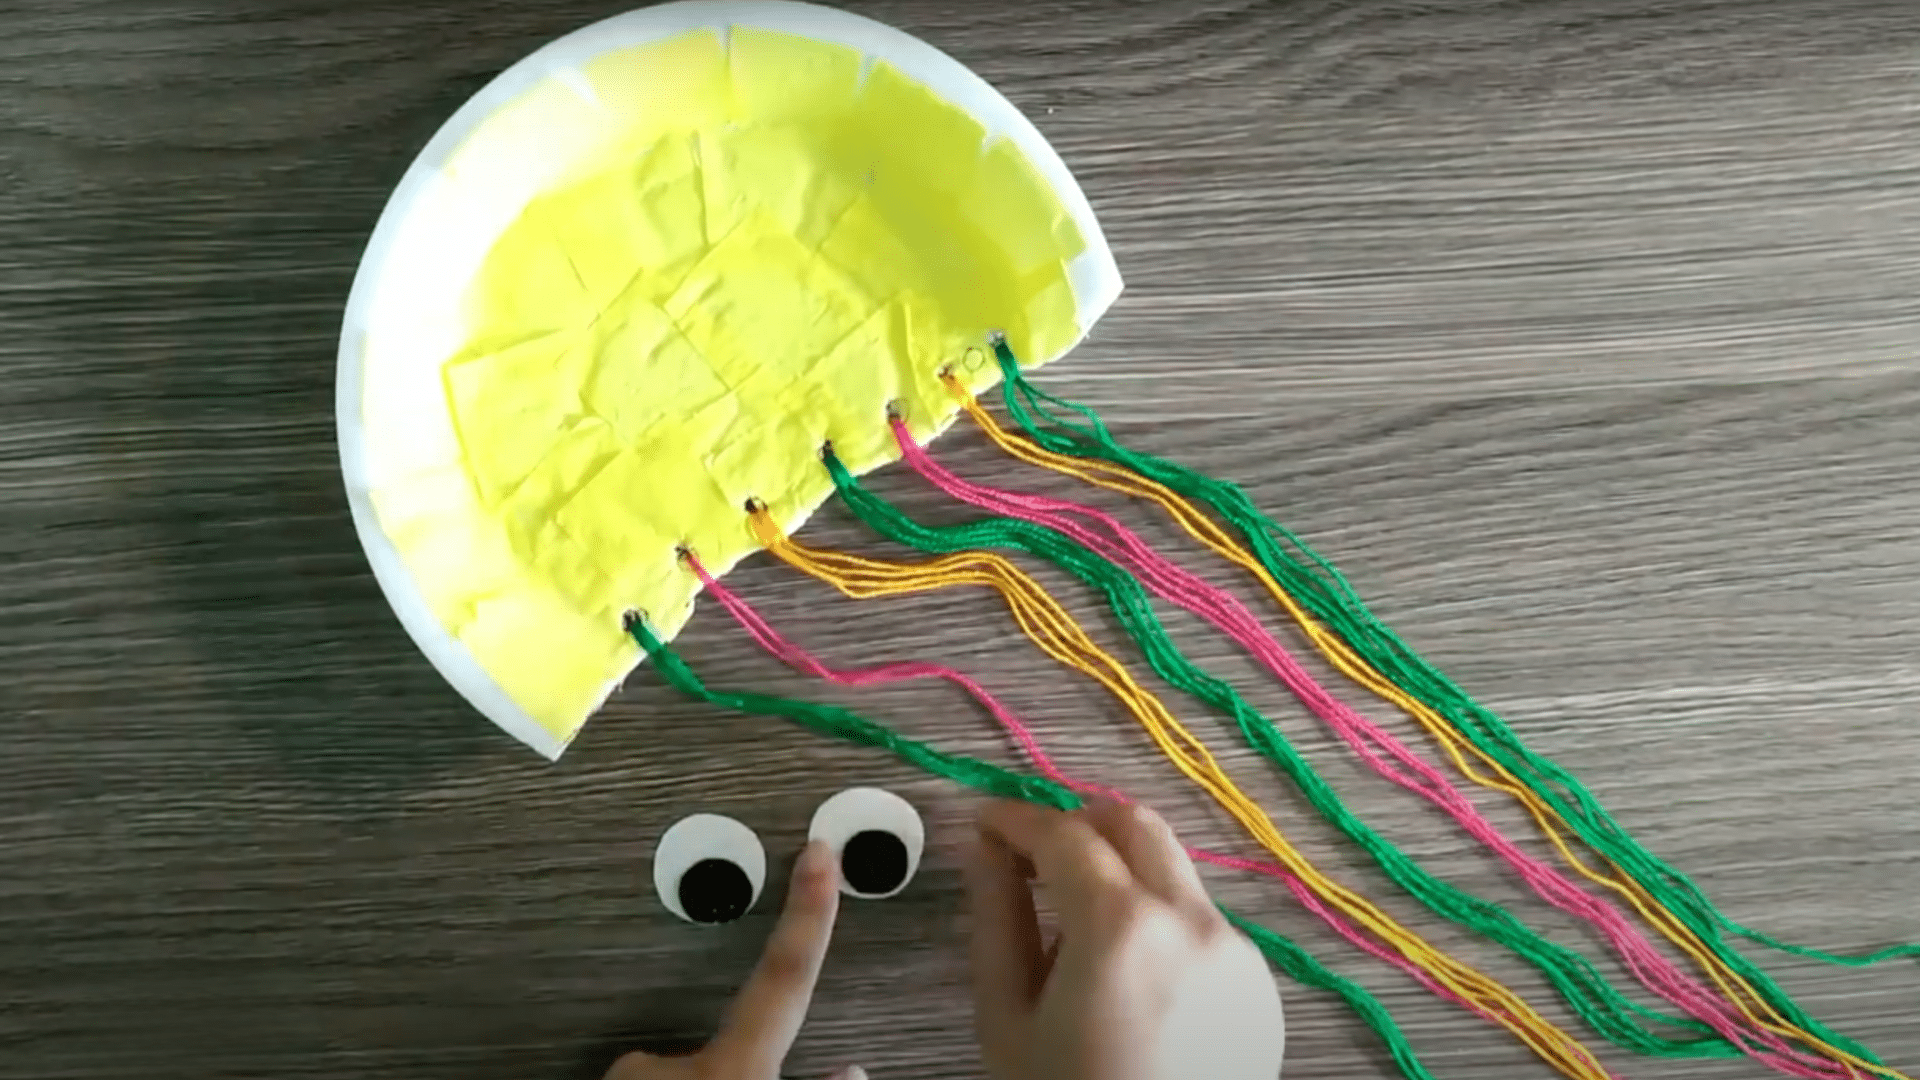
Flip the plate back to its colorful painted side. Glue two googly eyes near the top of the curved edge, giving the jellyfish a fun animated look.
If desired add paper cheeks tiny sticker dots or a drawn-on smile for extra personality. Kids may enjoy naming their jellyfish or adding decorations like glitter or stickers for a special touch.
Step 6. Create a Hanging Loop
For display, make a small hole near the center top of the jellyfish’s curve using a hole punch. Thread a short piece of yarn through the hole and knot it tightly to form a loop.
This will allow the jellyfish to be hung on walls in windows or from ceiling hooks. Be sure the knot is firm and the yarn is secure to support the weight of the craft.
Step 7. Hang and Enjoy the Jellyfish
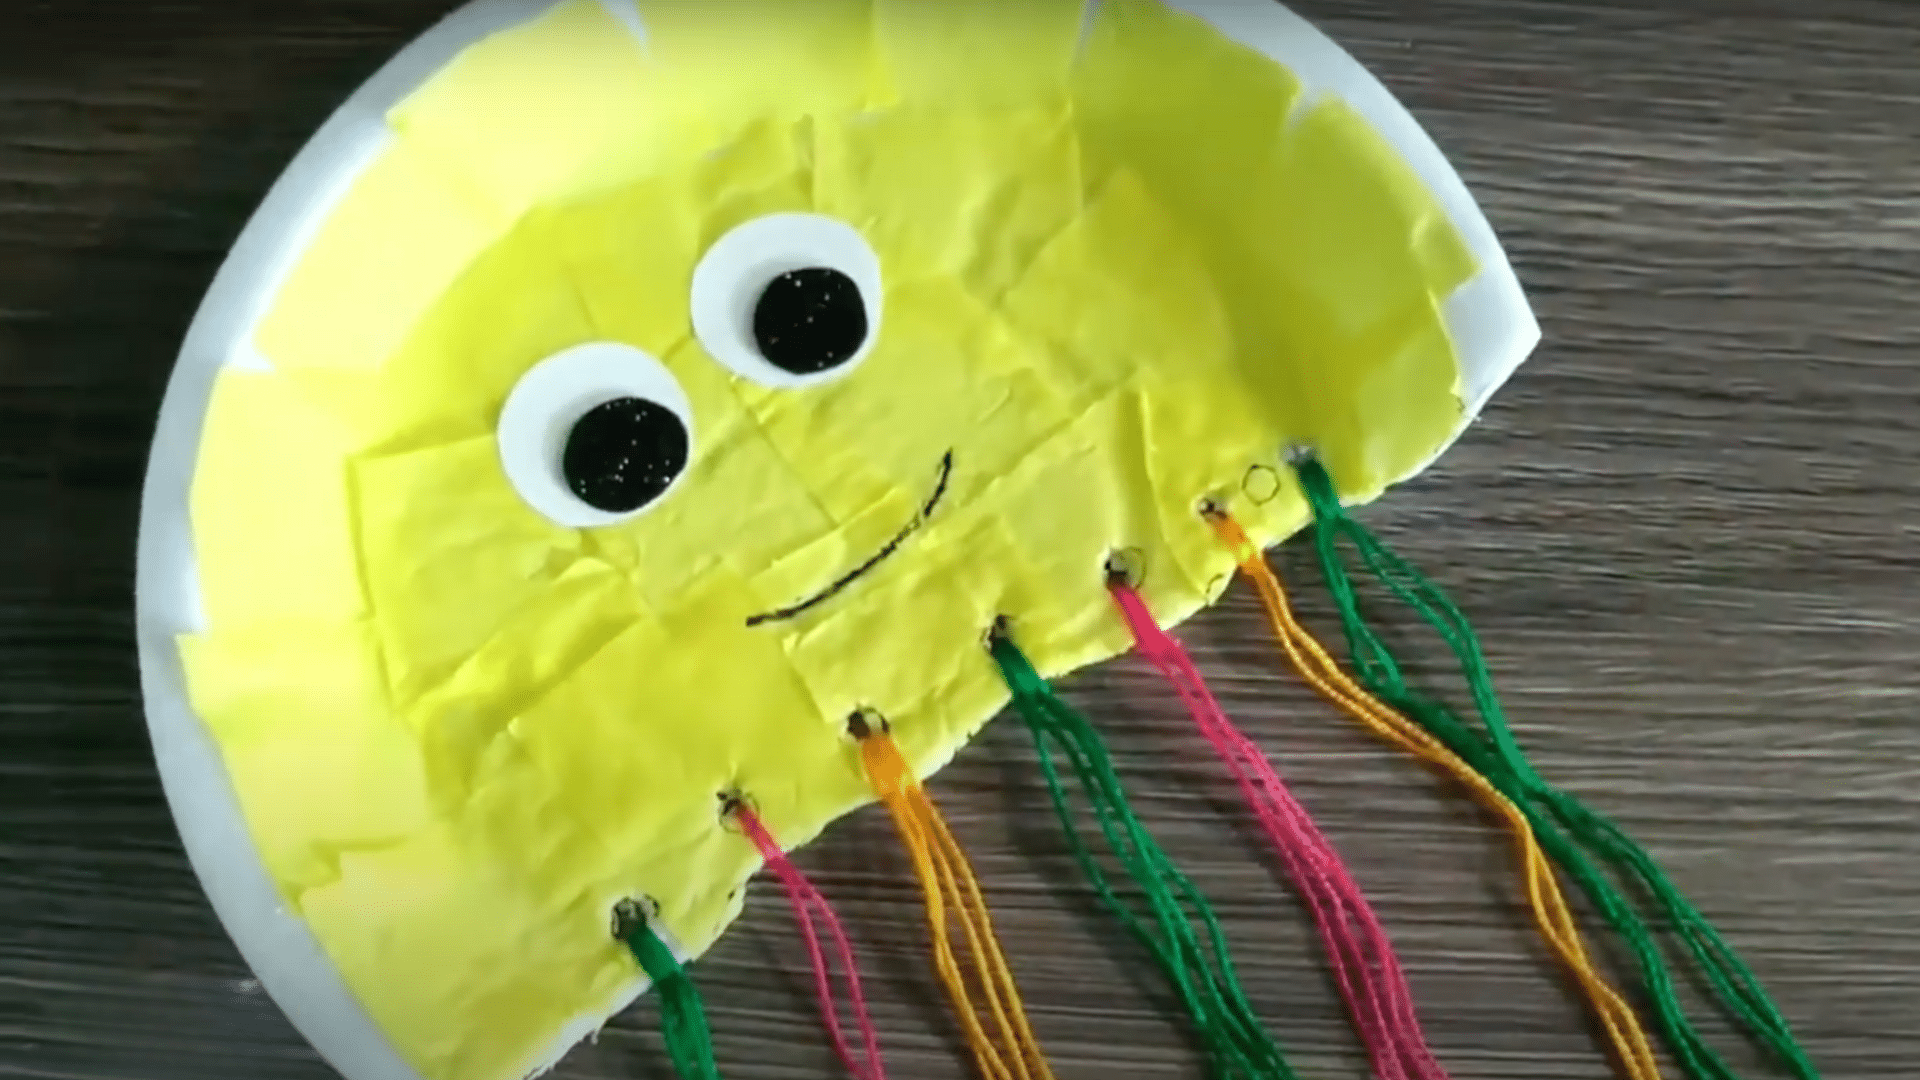
With everything assembled and dry, it’s time to display your underwater friend. Hang it in a sunny spot where the tentacles can flutter freely or add it to a classroom ocean wall.
These jellyfish crafts are not only fun to make but also bring charm and creativity to any space. Each one turns out unique, making it a lovely keepsake of your child’s imagination.
Fun Facts About Jellyfish to Inspire Your Crafting
Learning about real jellyfish adds excitement and educational value to any craft project. These ocean creatures have incredible features that can spark creative ideas for decorating and designing.
Sharing these facts while crafting helps children appreciate the animals they are creating.
- Jellyfish glow in the dark: Many species produce their own light through a process called bioluminescence. Crafters can recreate this effect by adding glow in the dark paint or stickers to their paper plate jellyfish craft for nighttime magic.
- They have no brains or hearts: Despite lacking these organs, jellyfish have survived for over 500 million years in our oceans. This fact often surprises children and makes them appreciate how simple yet effective these creatures are.
- Some jellyfish are bigger than humans: The largest species can grow tentacles longer than a school bus, while others are smaller than a coin. This size variety gives kids permission to make their crafts any size they want.
- They move by contracting their bodies: Jellyfish push water out of their bell-shaped bodies to propel themselves forward. Children can mimic this movement by gently bouncing their finished crafts up and down.
- Jellyfish are mostly water: These creatures consist of about 95% water, making them nearly transparent in the ocean. Kids can recreate this translucent effect using clear materials or light washes of watercolor paint.
The Bottom Line
This paper plate jellyfish craft proves that meaningful activities do not require expensive supplies or complicated instructions. Families can create lasting memories while children learn about ocean life through hands-on creativity.
The combination of simple materials and engaging results makes this project perfect for rainy days or classroom activities.
Gather your supplies today to start making these delightful sea creatures that will bring smiles and educational fun to any setting.