We all have heard about playdough. If you don’t, then let us tell you that playdough is a crafting compound used by young children to make arts and crafts projects; it was first used as a wallpaper cleaner. It is a non-toxic material used by young children to mold it in all shapes.
How to make playdough is quite interesting and easy. When it rains outside, and you want your young ones to be busy with some activity, then playdough is alone enough to hold their attention.
It keeps little ones entertained at home and can also be used at children’s parties to keep them involved in the activities. Little ones can straightway get the results that give immediate gratification.
When we make playdough using our own recipe at home, we get softer and more playdough in quantity than the one purchased from the store. So what are you waiting for?
Let’s get started and learn how to make playdough at home.
What is Playdough?
If you do not have kids at home or around, this term would be new for you. But playdough is a versatile and beloved modeling compound if we talk in scientific language.
But it might surprise you that this product has been cherished by children and artists alike for generations. It is a soft, pliable, and non-toxic material that can be molded, shaped, and sculpted into various forms using one’s hands or simple tools.
Its primary ingredients typically include flour, water, salt, oil, and colorants, which give it its vibrant hues. Playdough offers a delightful sensory experience, promoting creativity and fine motor skills development in children as they explore their imagination and create an array of objects, animals, and shapes.
Its versatility extends beyond entertainment, as it is often used in educational settings to foster learning through hands-on activities, making it a timeless and cherished playtime staple in households and classrooms worldwide.
So you should give it a thought and learn how to make playdough at home.
What are the Benefits of Making Playdough at Home?
Everything has its own perks; similarly, playdough has some benefits of making it at home. Moreover, it is the perfect rainy-day activity as you can spend some time with your kids making this and teach them how to make playdough. Also, this is fun to make. Thus, we have mentioned some benefits or reasons why you should make playdough at home.
1. Budget Friendly
Homemade playdough is more economical than store-bought versions, as the ingredients are readily available and inexpensive. You can make a larger quantity for a fraction of the cost of buying pre-made playdough.
2. Customizable
When you make playdough at home, you have the freedom to customize it to suit your preferences. You can experiment with different colors, scents, and textures, tailoring the playdough to match your child’s interests and sensory preferences.
3. Safe and Free from Toxic Substance
Homemade playdough recipes often use simple, non-toxic ingredients that children can handle and play with. You can choose natural food coloring options and avoid harmful additives, providing peace of mind during playtime.
4. Educational Experience
Involving children in the process of making playdough can be a fun and educational activity. They can learn basic measuring, mixing, and following instructions, fostering important cognitive and fine motor skills development.
5. It Creates a Bond with Your Child
Preparing playdough together can be a bonding experience for parents, caregivers, and children. It offers an opportunity for quality time and encourages communication and teamwork.
6. Fresh and Pure
Homemade playdough can be made whenever it is needed. If the playdough starts to dry out or lose its texture over time, you can easily whip up a new batch. Moreover, it is pure as you are making it on your own.
7. Environment Friendly
Anything that is homemade is protective of the environment at a point. Making playdough at home reduces the need for single-use plastic containers that store-bought playdough often comes in, contributing to a more sustainable lifestyle.
These are some mere reasons for making playdough, but the satisfaction that you get as you know your child.
Ingredients Required to Make Playdough at Home
You can make playdough at your home in no time and with all the basic ingredients in your kitchen, and you can also add any desired color to it and in the desired quantity. You can also involve your younger ones in the making process, as it is so much fun doing it at home.
Let’s discuss what ingredients are needed to make play dough at home:
- 2 cups of flour
- 2 tablespoons of any oil
- ½ cup of salt
- 1 cup warm water
- Food coloring
- After the play dough is made, it can be kept in the fridge to use for a long time.
Steps to Make Play Dough at Home
Let’s start with all the ingredients ready at your place:
- Put 2 cups of flour in a large bowl. The size of the bowl should be large so that the flour can be mixed easily without spilling it.
- Add ½ cup of salt and mix it with the flour, as salt acts as a preservative and also adds texture and body to the dough.
- Add 2 tablespoons of oil. Any oil present in your kitchen will work. Adding oil to the playdough makes it less sticky and gives it elasticity. It makes playdough nontoxic so that if your little ones take a bite of it, then it won’t affect them.
- Now add hot boiling water to it. Warm water will give it the right consistency and elasticity needed.
- Mix all the ingredients till it forms a dough. If you need it to be in the same form, you are done here, and if you want to add some color to it, follow the next points.
- After it gets cooled down, break it into small balls as per the types of color you want in your play dough.
- Now make a small hole in the center of each ball pour food color in the center, and mix the dough with the color thoroughly.
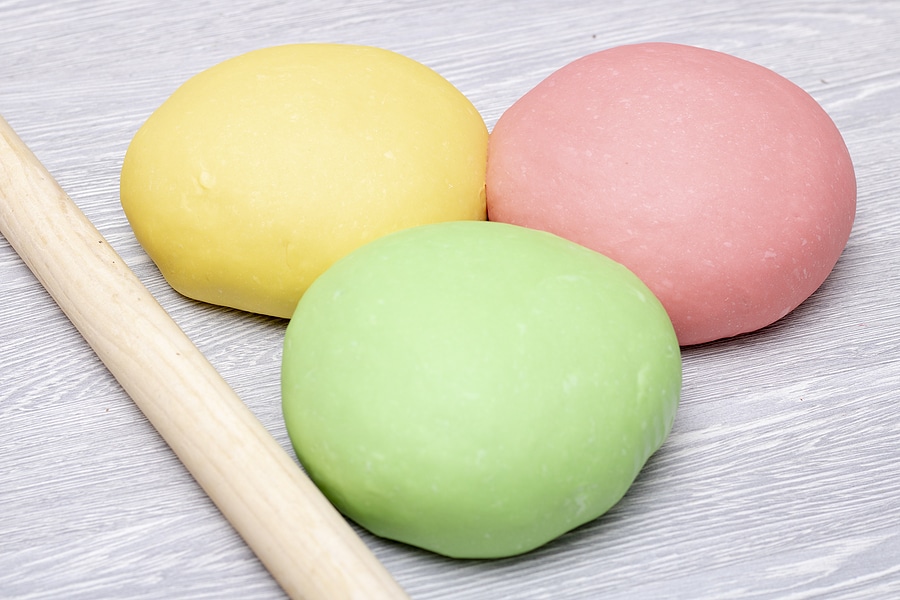
- If you want to make a different color from the ones available in stores, you can mix two different colors in the dough.
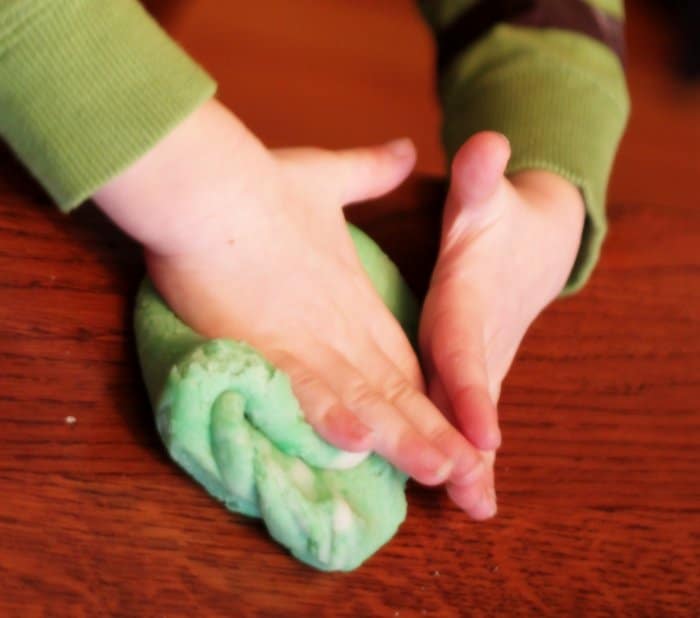
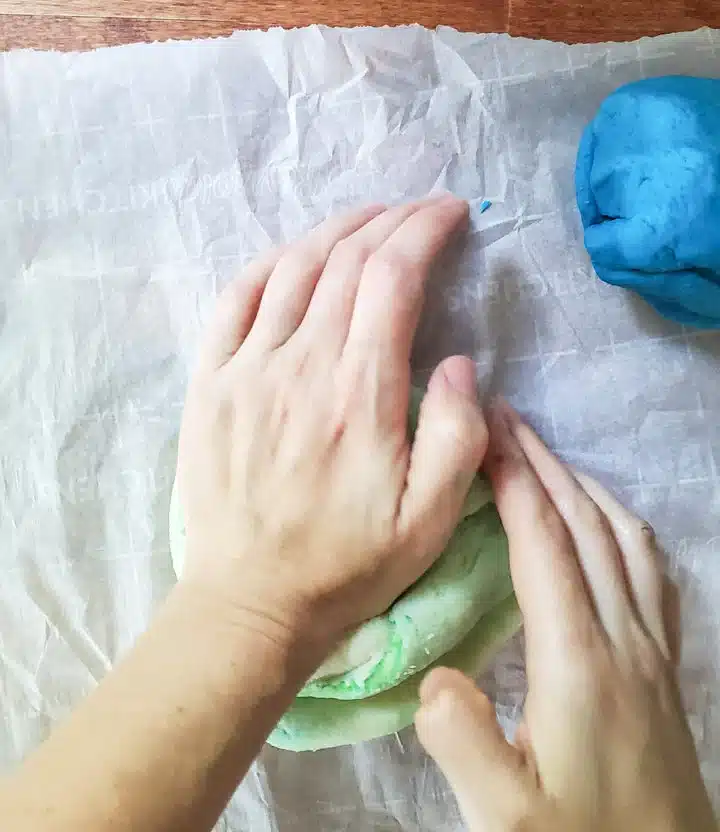
- Knead the playdough thoroughly till the food color gets completely mixed with the dough.
- If you want to add some fragrance to it, then add it before you knead it so it can also be mixed well with the play dough.
How to Protect Your Hands from Staining Food Coloring?
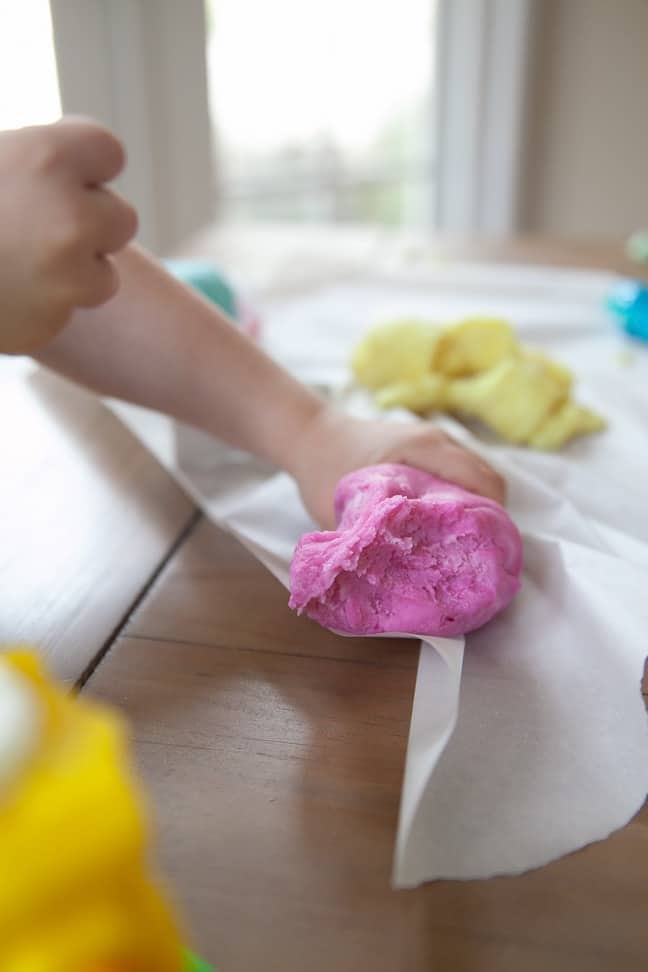
It is obvious that while you are learning how to make playdough at home, adding food coloring can stain your hands. Thus, it is necessary to protect your hands. However, protecting your hands from staining due to food coloring is a simple process that involves a few practical measures.
First and foremost, wearing disposable or reusable gloves provides an effective barrier between the coloring and your skin, preventing direct contact. Additionally, utilizing tools like spoons or spatulas during mixing or handling can further minimize the risk of staining.
In the event that some coloring does come in contact with your hands, swiftly washing them with soap and warm water is crucial to remove the color before it sets.
Applying a thin layer of petroleum jelly, coconut oil, or hand lotion before working with food coloring can act as a temporary protective barrier. Opting for natural food coloring alternatives may also be beneficial, as they tend to stain less. By being cautious with your clothing choices during these activities and protecting your work area with newspaper or plastic wrap, you can enjoy the creative process of food coloring without worrying about unsightly stains on your hands.
How to Store Playdough?
Once you have learned the art of how to make playdough at home, it is time to store it. Properly storing homemade playdough is essential to maintain its texture and longevity for future use. Once playtime is over, allow the play dough to cool completely to room temperature. Next, gather the playdough into a smooth ball and remove any air pockets.
Store the playdough in an airtight container or a resealable plastic bag, squeezing out as much air as possible before sealing. Make sure the container is clean and dry before adding the playdough to prevent mold growth. Label the container with the date so that you can keep track of its freshness. Ideally, store the play dough in a cool, dry place, away from direct sunlight and heat sources.
When properly stored, homemade playdough can last for several weeks, providing endless opportunities for creative and imaginative play in the days to come. If you notice any signs of mold or the playdough becoming dry or crumbly, it’s best to discard it and make a fresh batch. Now you know how to make playdough as well as how to store it at home.
What to Do if Your Playdough Dries Out?
At times, the playdough dries out, even the store-bought ones. If you learned how to make play dough, you must know what to do once it has dried out. However, you can take some measures to remove the dryness of the play dough.
Begin by sprinkling a few drops of water onto the dry playdough. Start with just a little water to avoid making it too sticky. Then, knead the playdough thoroughly, incorporating the water evenly throughout the entire batch.
If the play dough is still too dry, add a few drops of water until it reaches the desired consistency. Be patient and avoid adding too much water too quickly, as it can make the playdough too sticky or gooey.
Alternatively, you can place the dry playdough in an airtight container with a damp paper towel or a slice of moist bread for a few hours or overnight, which can help restore its moisture. With these simple techniques, your dried-out playdough can be rejuvenated, ready to inspire creativity and imaginative play once again.
Is It Possible to Make a Playdough Recipe with Gluten-Free Flour?
The easiest way to make playdough is to make it with gluten-free flour. You can use commercially available gluten-free all-purpose flour blends or make your own by mixing various gluten-free flour like rice flour, tapioca flour, and potato starch.
Remember that the playdough’s texture and consistency may vary slightly with gluten-free flour, so you might need to adjust the amount of water or flour to achieve the desired consistency. Now, you have the necessary information on how to make playdough with gluten-free flour.
Differences Between Homemade and Commercial Playdough
Home-made playdough and commercial playdough have some notable differences that set them apart in terms of ingredients, texture, and overall characteristics.
Home-made playdough is typically crafted from simple and readily available kitchen ingredients like flour, water, salt, oil, and food coloring, making it a cost-effective and customizable option. On the other hand, commercial playdough often contains synthetic additives and preservatives for extended shelf life and may come in a wider range of vibrant colors.
Texture-wise, homemade playdough can vary based on the recipe used, but it generally has a softer and more pliable feel. Commercial playdough, however, tends to have a smoother and more consistent texture due to the manufacturing process.
While both types offer creative opportunities for children, homemade playdough can be a fun and educational activity in itself, allowing children to engage in the preparation process.
Commercial playdough, though convenient, may contain allergens like wheat or artificial components that some parents might prefer to avoid. In the end, the choice between homemade and commercial playdough depends on individual preferences, desired features, and any specific considerations regarding ingredients and environmental impact.
Things to Keep in Mind Before Making the Playdough
Once you have started knowing how to make playdough at home, there are some things to keep in mind before making the playdough.
- Gather all the necessary ingredients before you begin. Double-check the measurements to ensure accuracy.
- Slowly mix the dry ingredients together before adding the liquids. This helps to achieve a smooth and consistent texture.
- Pay attention if the recipe involves cooking, as overcooking can make the playdough dry and crumbly.
- Knead the playdough thoroughly to ensure all the ingredients are well combined and the texture is smooth.
- Take into consideration any allergies or sensitivities when selecting ingredients. Consider using gluten-free flour or natural food coloring alternatives if needed.
Conclusion
How to make playdough is now just a mere question as you know all the necessary details regarding making the playdough. This is not just a recipe for your kids to play with but a quality time to spend with your kids.
Moreover, to make them learn a new thing. This DIY activity is fun and will help you bond better with your kid. However, if your kid is involved, you will also have to take care of them.
Also, follow all the necessary things that we have mentioned above. And make beautiful colored playdough. With the process of how to make playdough, we have also mentioned how to store it properly, along with methods to dampen it when it dries out.
Follow all the instructions properly, and make sure to have fun while making playdough at home.