Parents and teachers often struggle to find effective calming tools for children who feel overwhelmed, anxious, or overstimulated during daily activities.
Store-bought sensory toys can be expensive and may not meet specific needs or preferences.
DIY sensory bottles provide an affordable and customizable solution that offers instant calm and focus for children of all ages. You’ll learn to create these powerful tools using common household materials and simple techniques.
This blog covers what sensory bottles are, their benefits for emotional regulation, step-by-step creation instructions, and safety considerations.
The Sensory Science Behind the Bottles
Sensory bottles work by engaging multiple sensory systems simultaneously, creating a calming neurological response that helps regulate emotions and attention.
The visual tracking of moving objects activates the brain’s focus centers while reducing overstimulation from environmental distractions.
The rhythmic movement of contents triggers the vestibular system, which processes balance and spatial orientation. This gentle stimulation helps organize sensory input and promotes self-regulation.
Different textures, colors, and sounds provide controlled sensory experiences that can either calm or alert the nervous system based on individual needs.
Materials Needed To Make DIY Sensory Bottles
To create sensory bottles, you’ll need a mix of simple household items and a few craft supplies. These materials help you build bottles that stimulate sight, sound, and even touch.
From basic containers and liquids to playful fillers and decorative extras, each component is chosen to encourage creativity, engagement, and sensory exploration for kids of all ages.
Basic Bottle Essentials:
- Clear plastic bottles (e.g., Voss water bottles, smoothie bottles, or sensory bottle tubes)
- Distilled water (for clarity and hygiene)
- Funnel (for easy pouring)
- Super glue or hot glue (for sealing lids securely)
- Glycerin or clear liquid soap (to slow the movement of objects)
Dry Fillers:
- Small Trinkets
- Buttons
- Pipe cleaners (cut into pieces)
- Beads (pony beads, alphabet beads, etc.)
- Confetti or sequins
Liquid Fillers:
- Glitter
- Food coloring (to tint the water).
Steps to Make DIY Sensory Bottles at Home
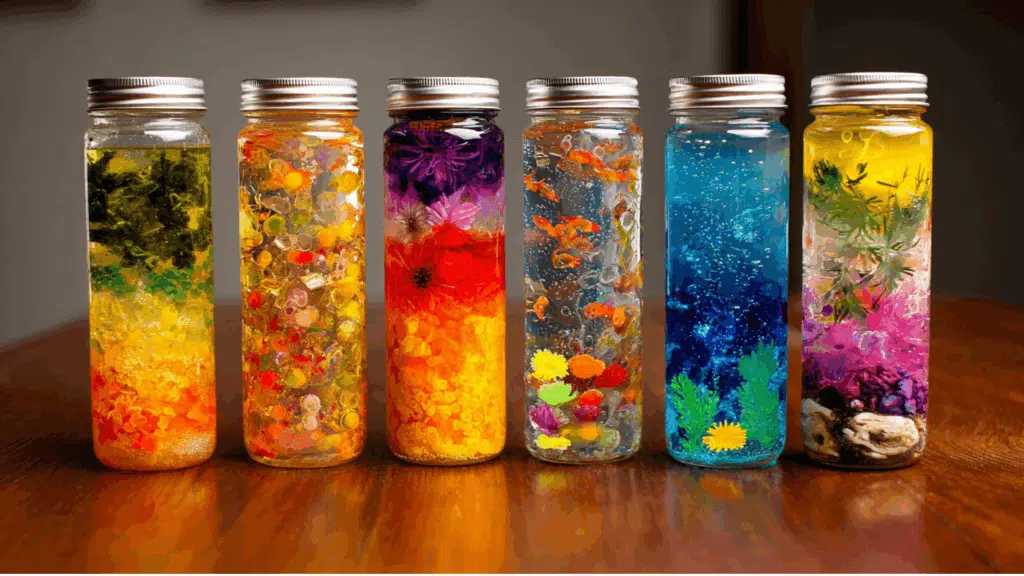
Creating sensory bottles at home is a simple, fun, and budget-friendly activity. With just a few household or dollar-store items, you can craft colorful, calming bottles that engage the senses.
Whether filled with glitter, beads, or themed trinkets, each bottle offers a unique hands-on experience.
1. Gather Your Supplies
Start with clear bottles, such as Voss water bottles, for their wide mouths and tall design.
You’ll also need distilled water, glycerin (found in cake supply aisles), super glue, and fun filler materials; think glitter, pony beads, pipe cleaners, or small trinkets. Most of these can be sourced from the dollar store or craft stash at home.
2. Prepare the Bottles
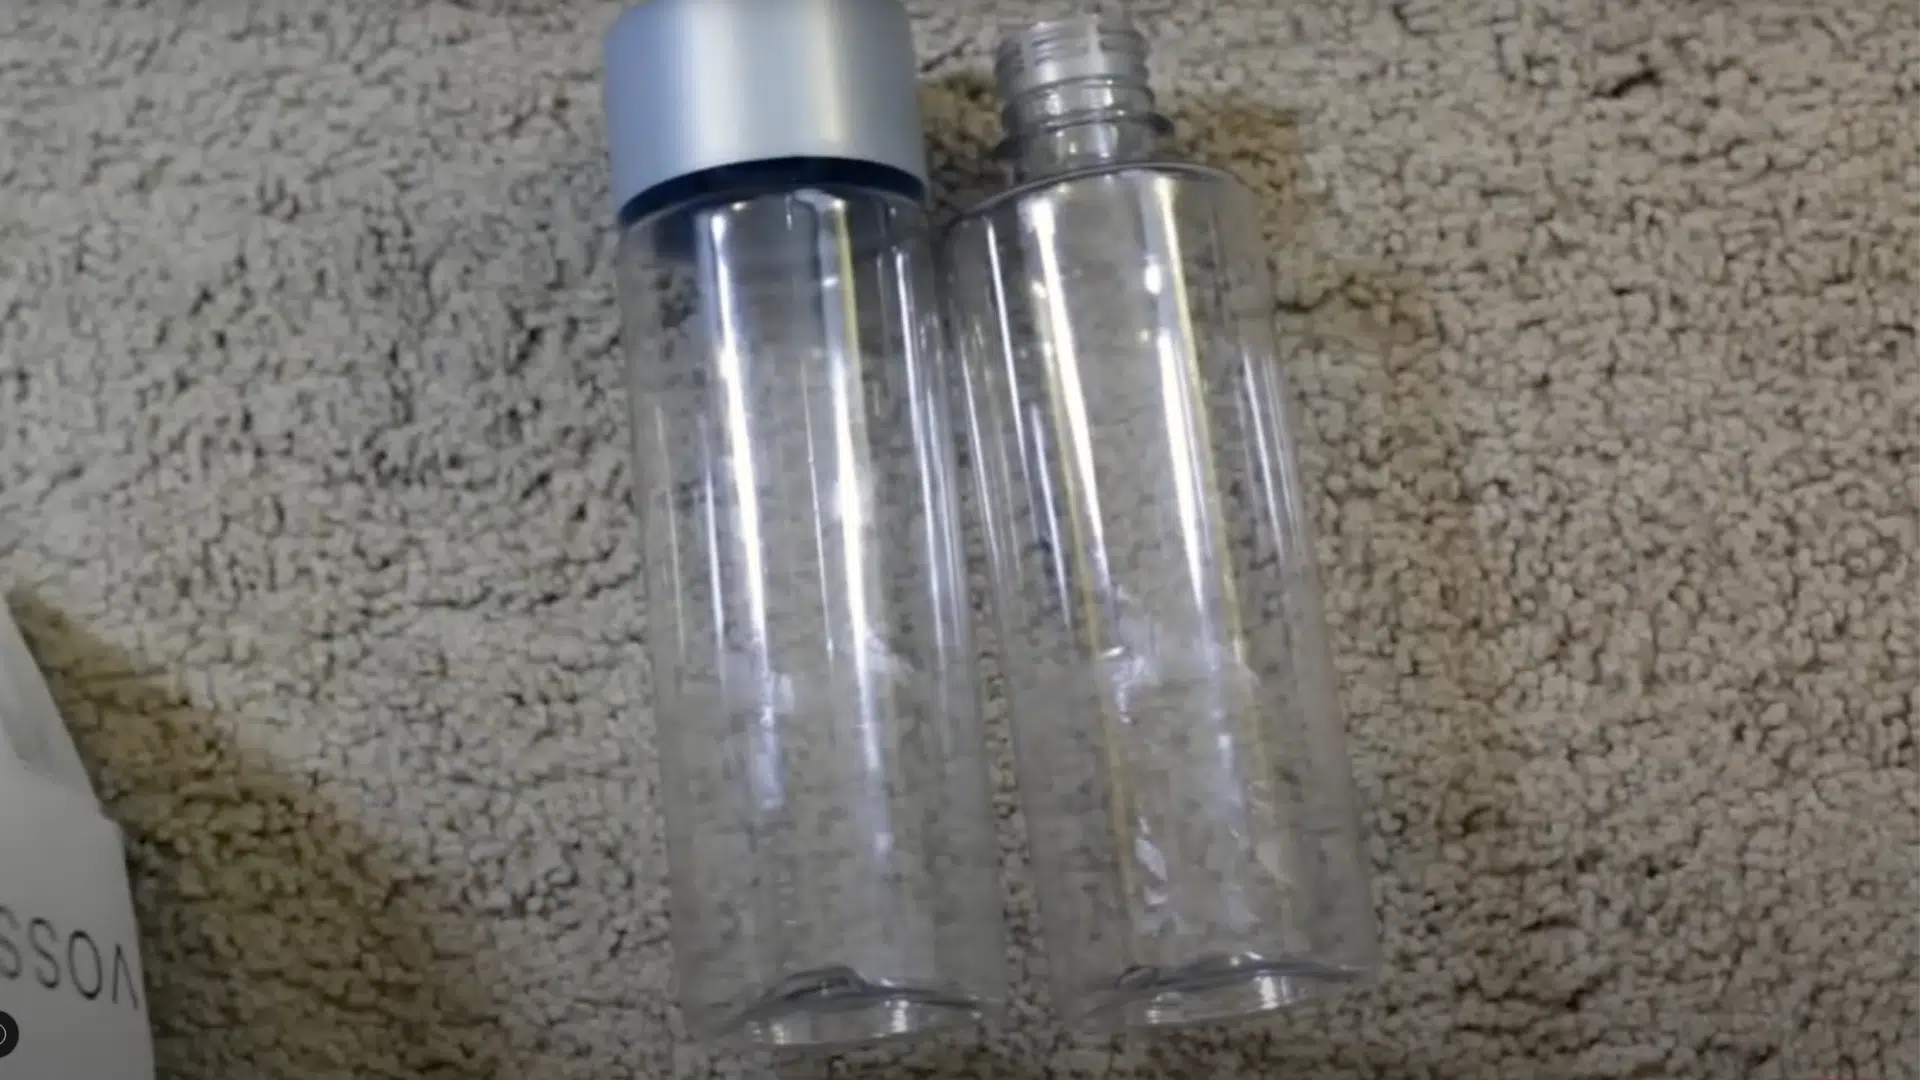
Empty, rinse, and dry the bottles thoroughly. Peel off any labels to create a clean, transparent look for a better visual effect.
Voss bottles are ideal since the labels are easy to remove, leaving you with a sleek canvas that showcases your fillers beautifully. A clean bottle helps your design stand out and keeps everything inside clearly visible.
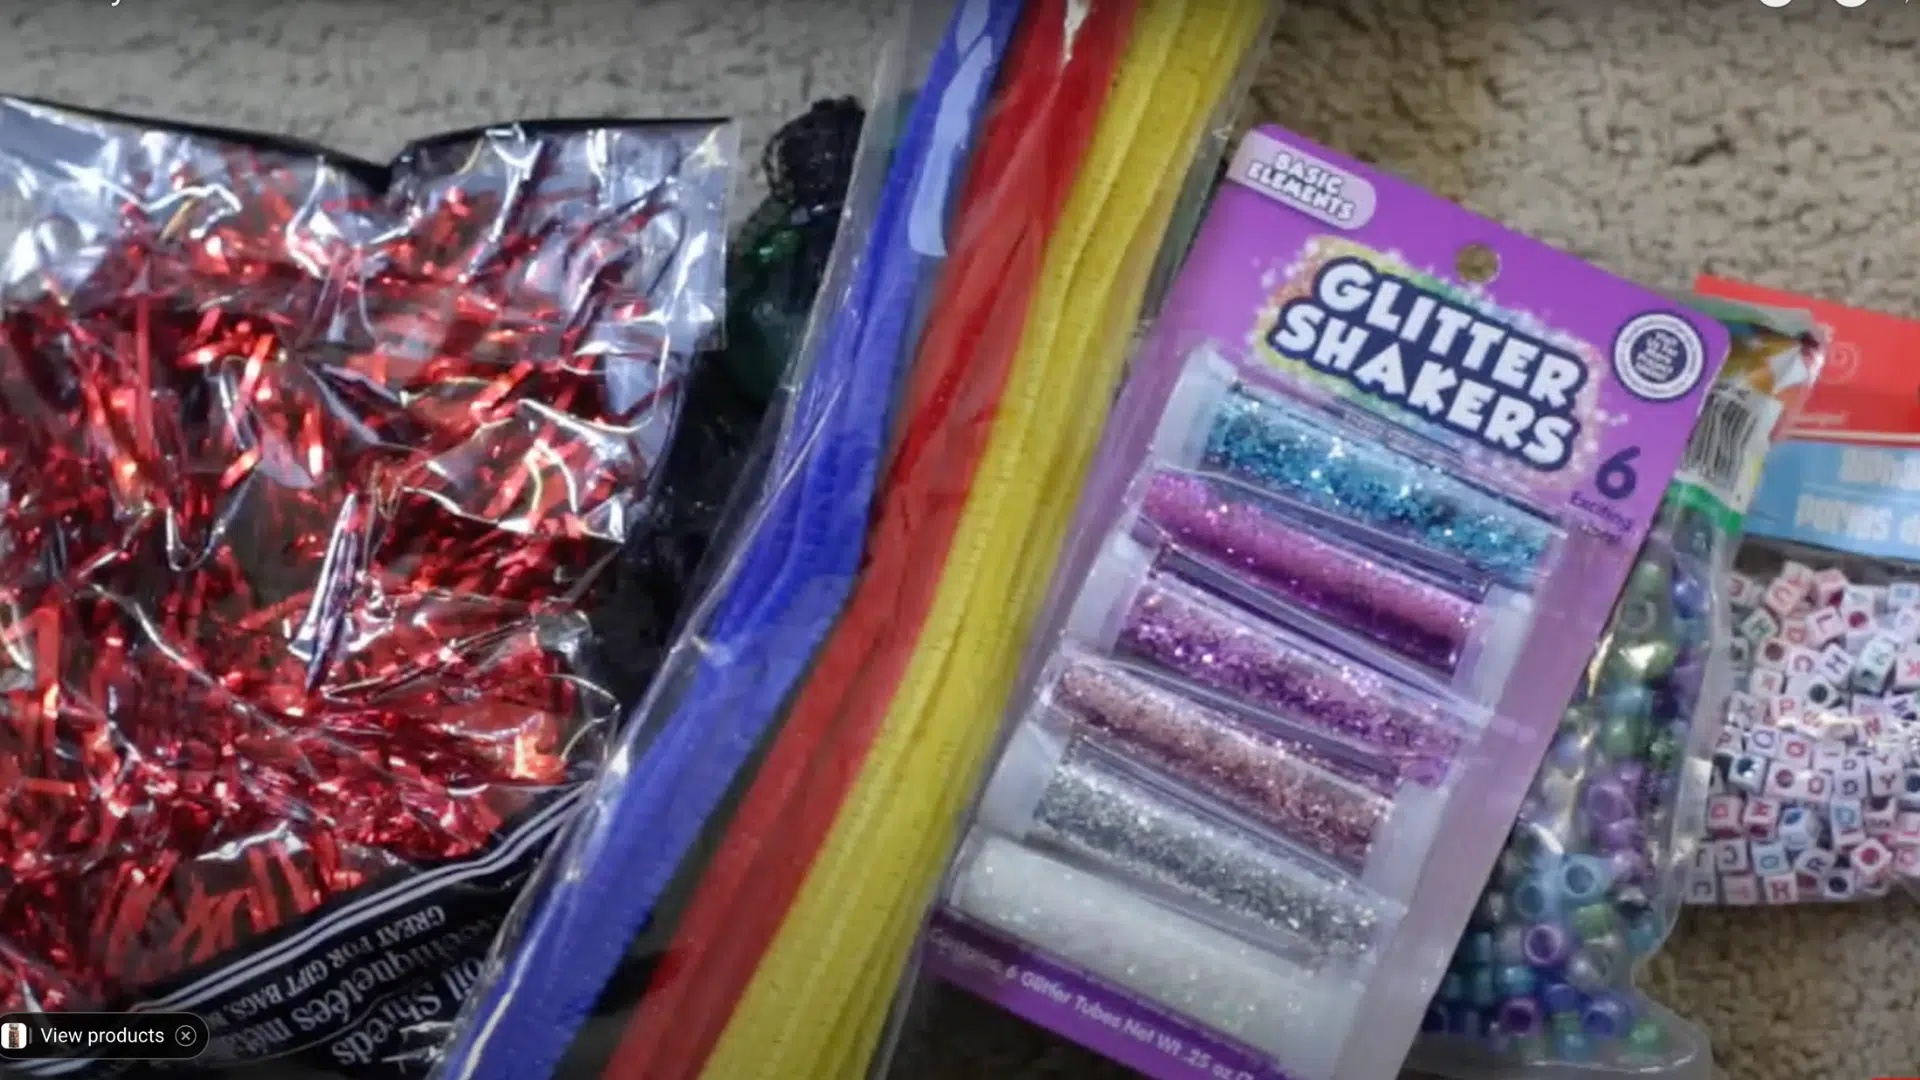
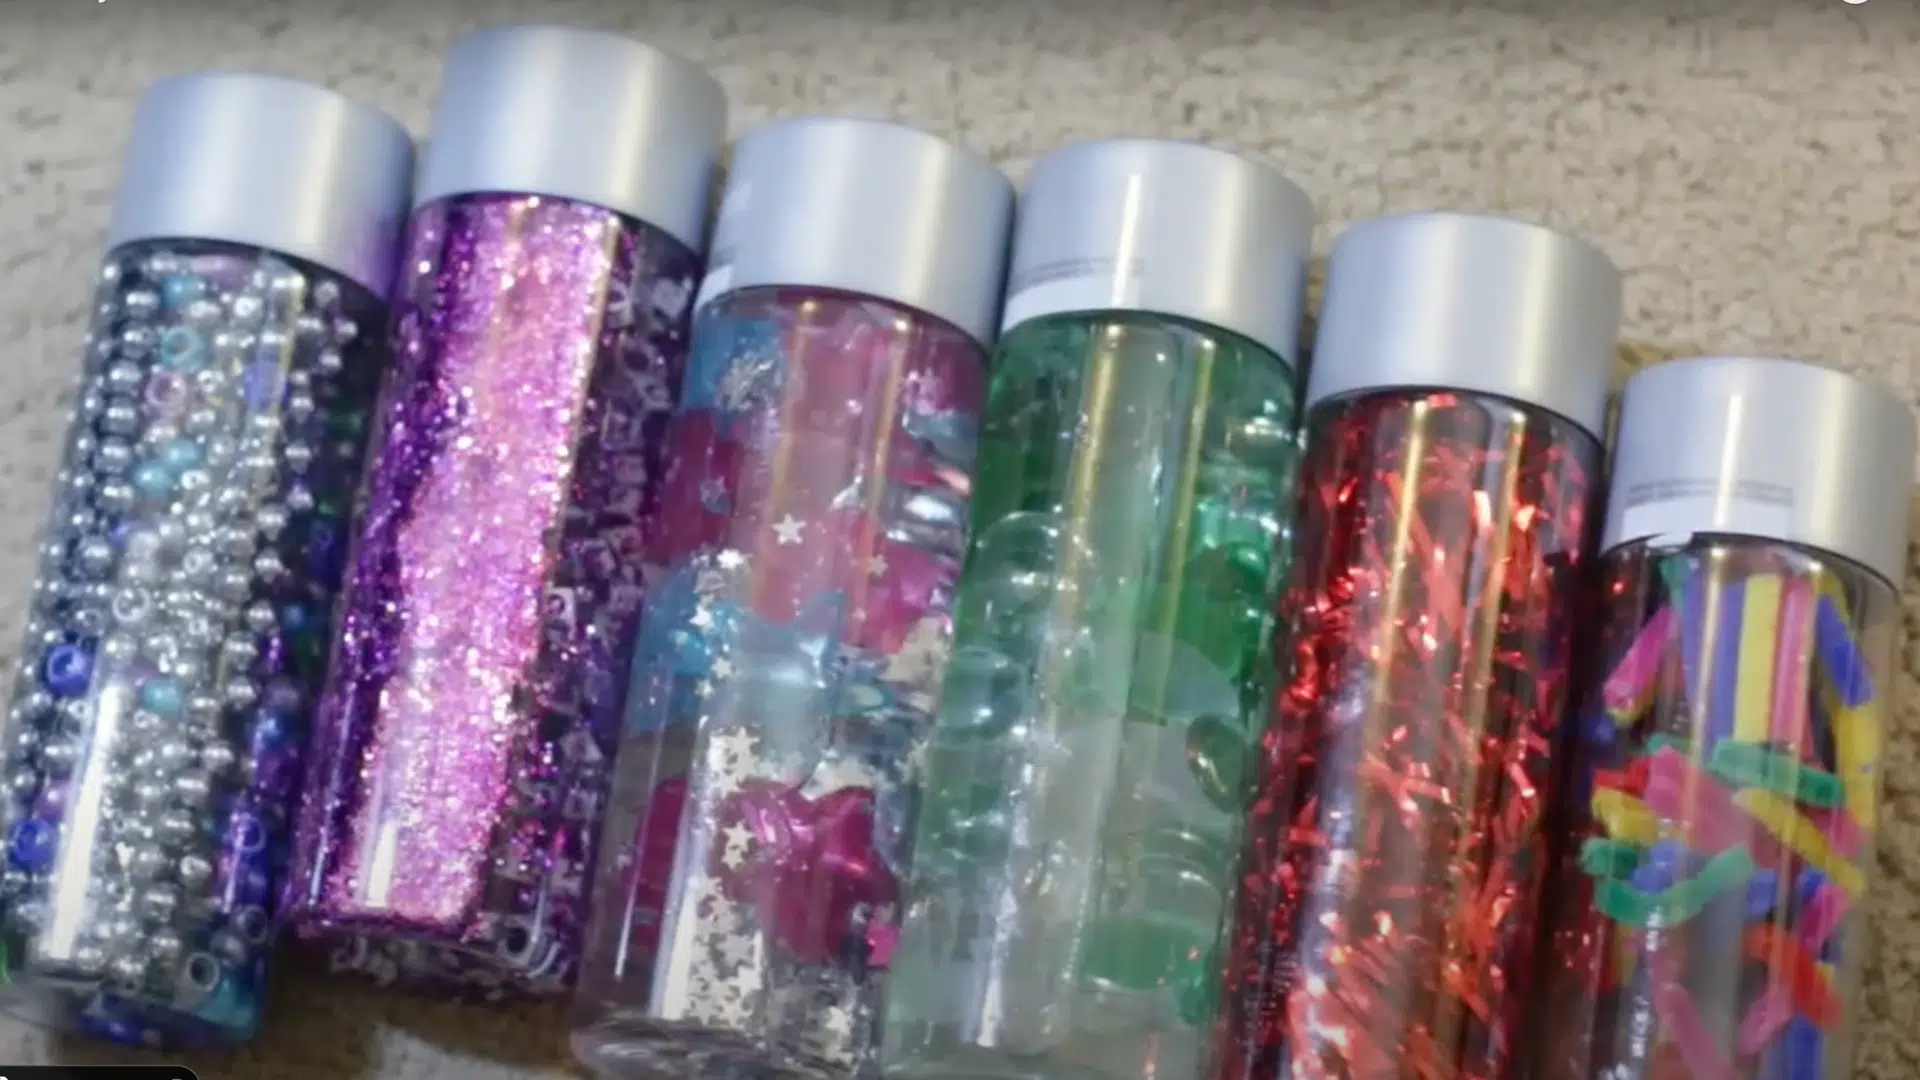
3. Choose Your Fillers
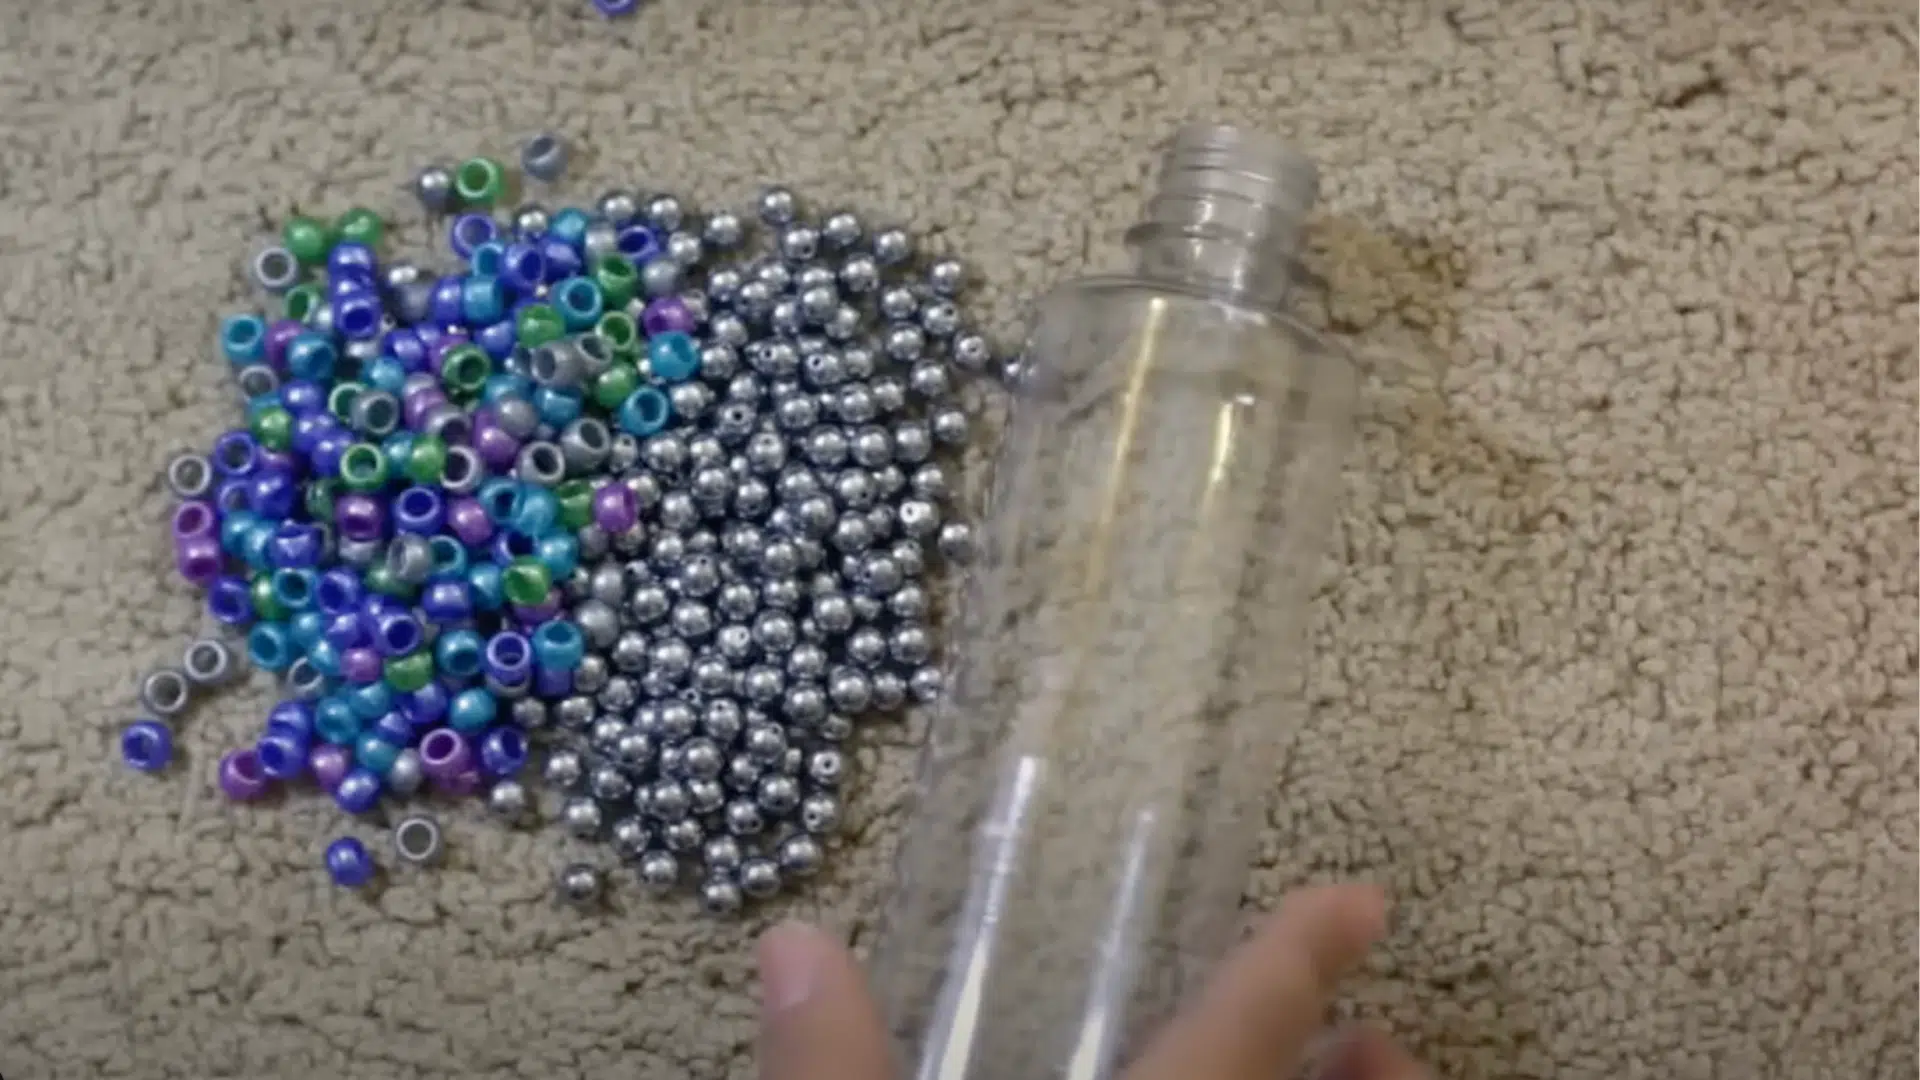
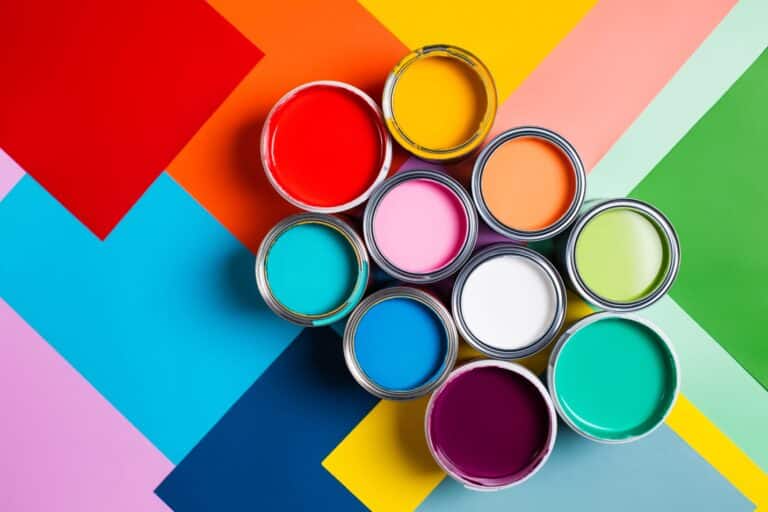
Select small, colorful items like glitter, beads, mini blocks, confetti, pipe cleaners, or decorative pebbles. These create a variety of visual and tactile experiences.
Make sure the items fit through the bottle opening. You can mix and match textures, colors, and themes to make each bottle unique and engaging for sensory play.
4. Add Fillers to Bottles
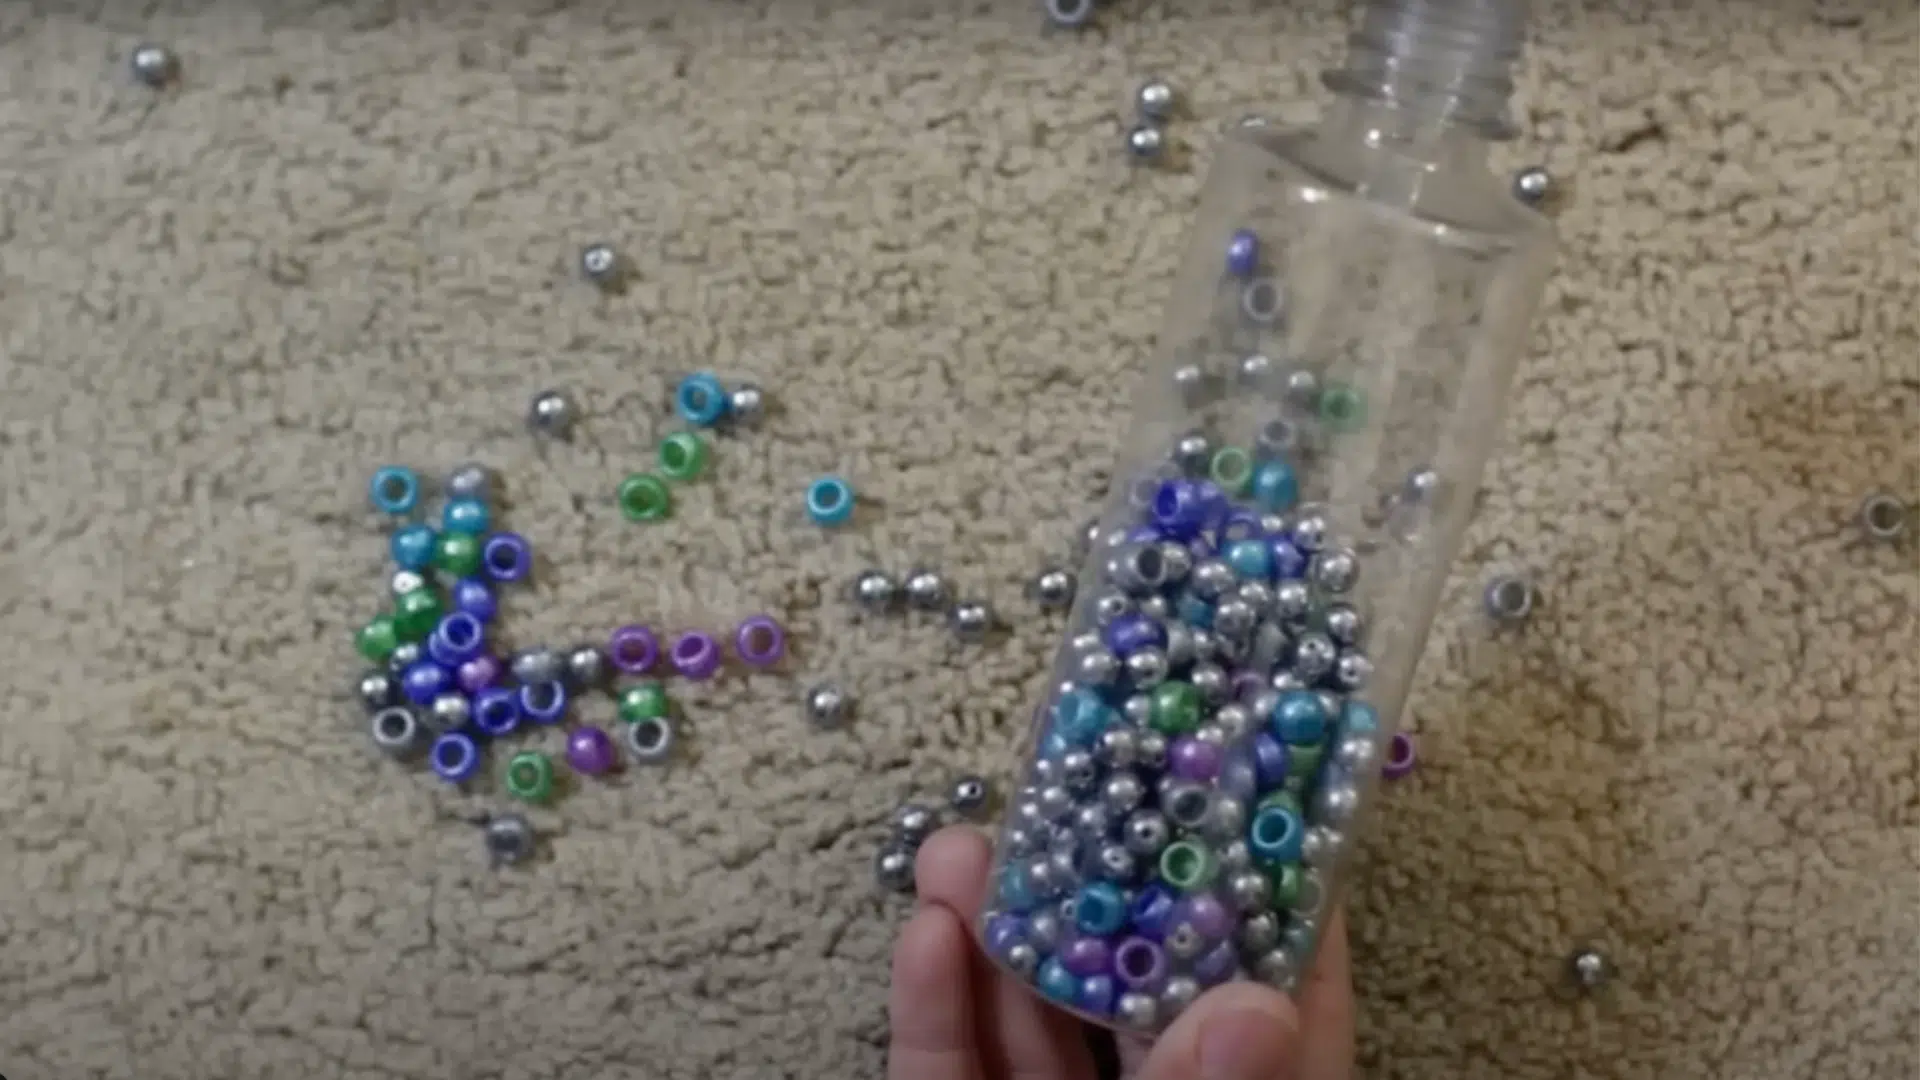
Insert your chosen materials into each bottle. Add them before pouring in water to avoid a mess.
You can create themes, for instance, rainbow beads, star glitter with matching ice cube shapes, or alphabet blocks for a seek-and-find game. For dry sensory bottles, skip the water entirely and go for sound or magnet-based exploration.
5. Fill with Water and Glycerin
Using a funnel, carefully pour distilled water into the bottles, leaving a little space at the top. Add a few drops of glycerin to thicken the liquid, slowing the movement of glitter and giving a dreamy, floating effect.
This step enhances the sensory experience visually and creates a soothing, mesmerizing motion inside the bottle.
6. Seal the Bottles
Securely glue the lids using hot glue or super glue around the rim before tightening them. This prevents leaks and keeps curious little hands from opening the bottles.
Safety is essential, especially for toddlers, and sealing ensures the contents remain intact for repeated play without spills or accidents.
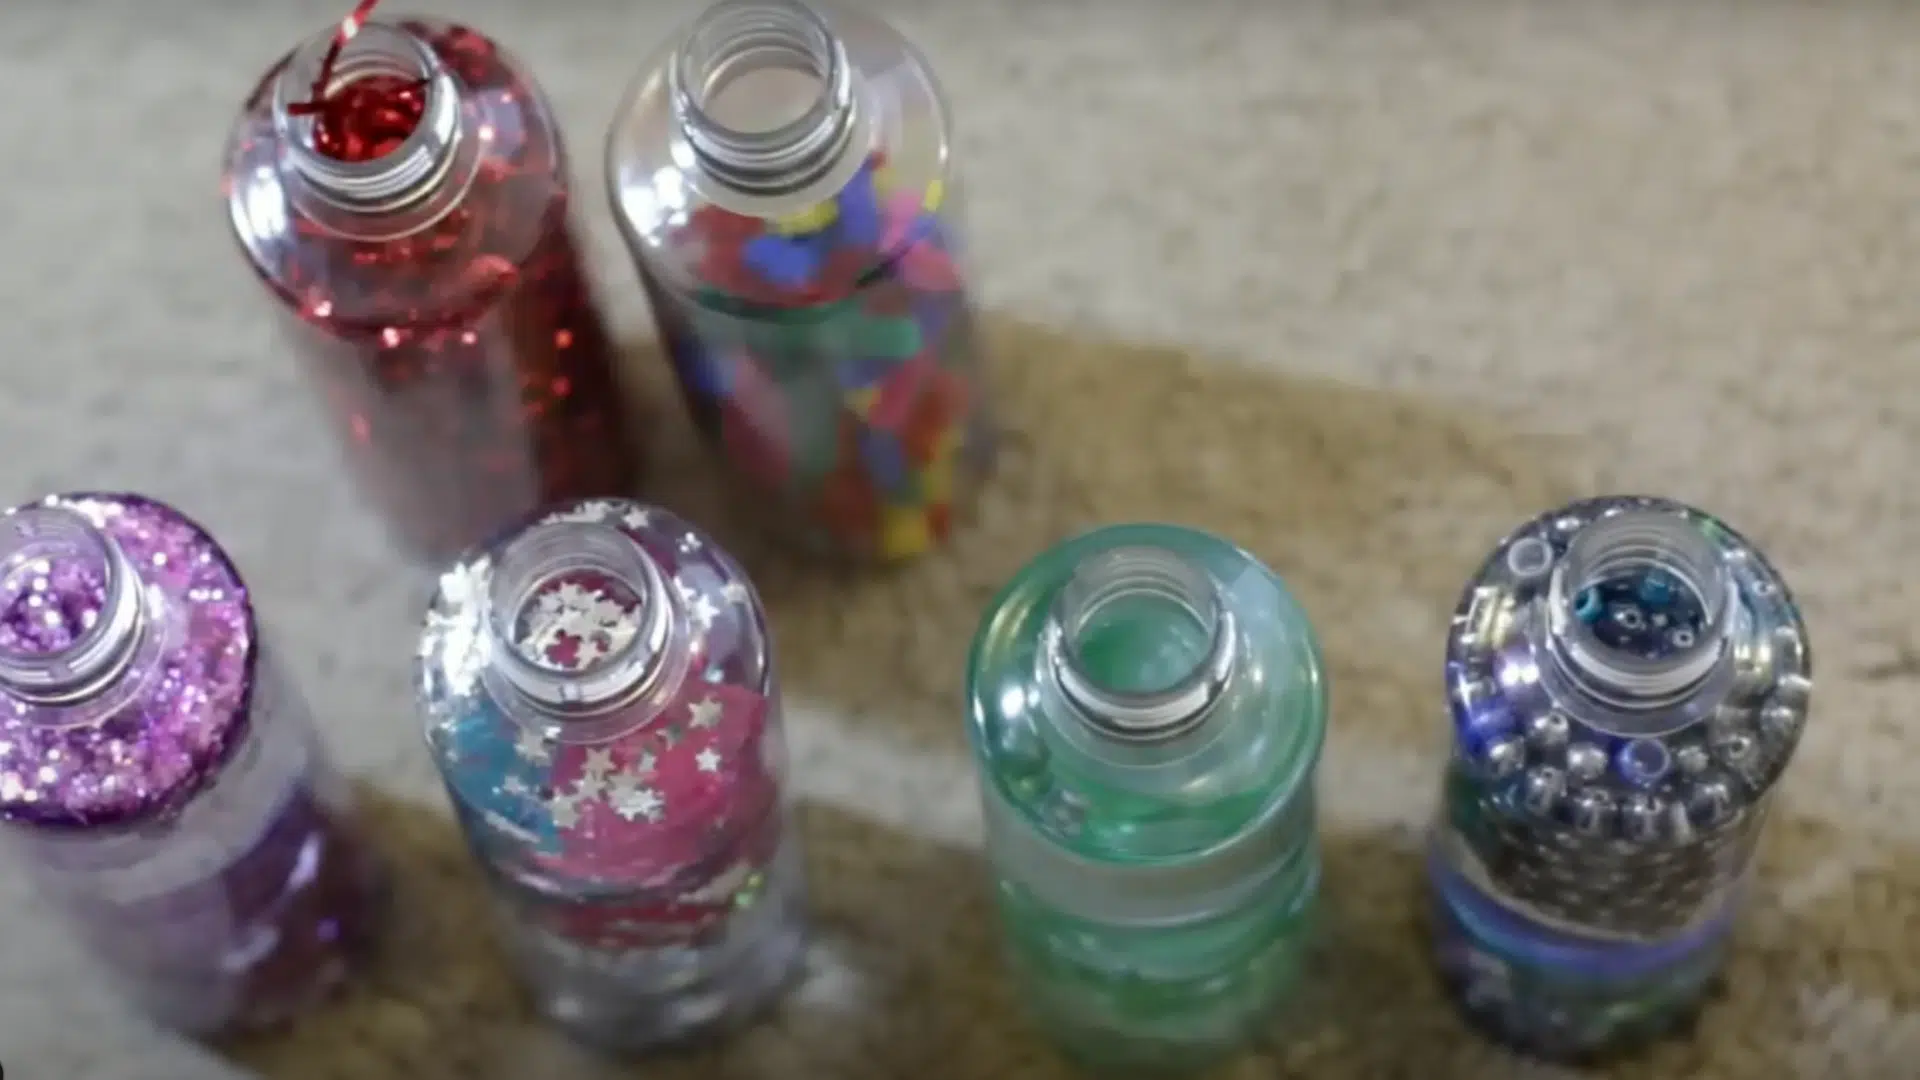
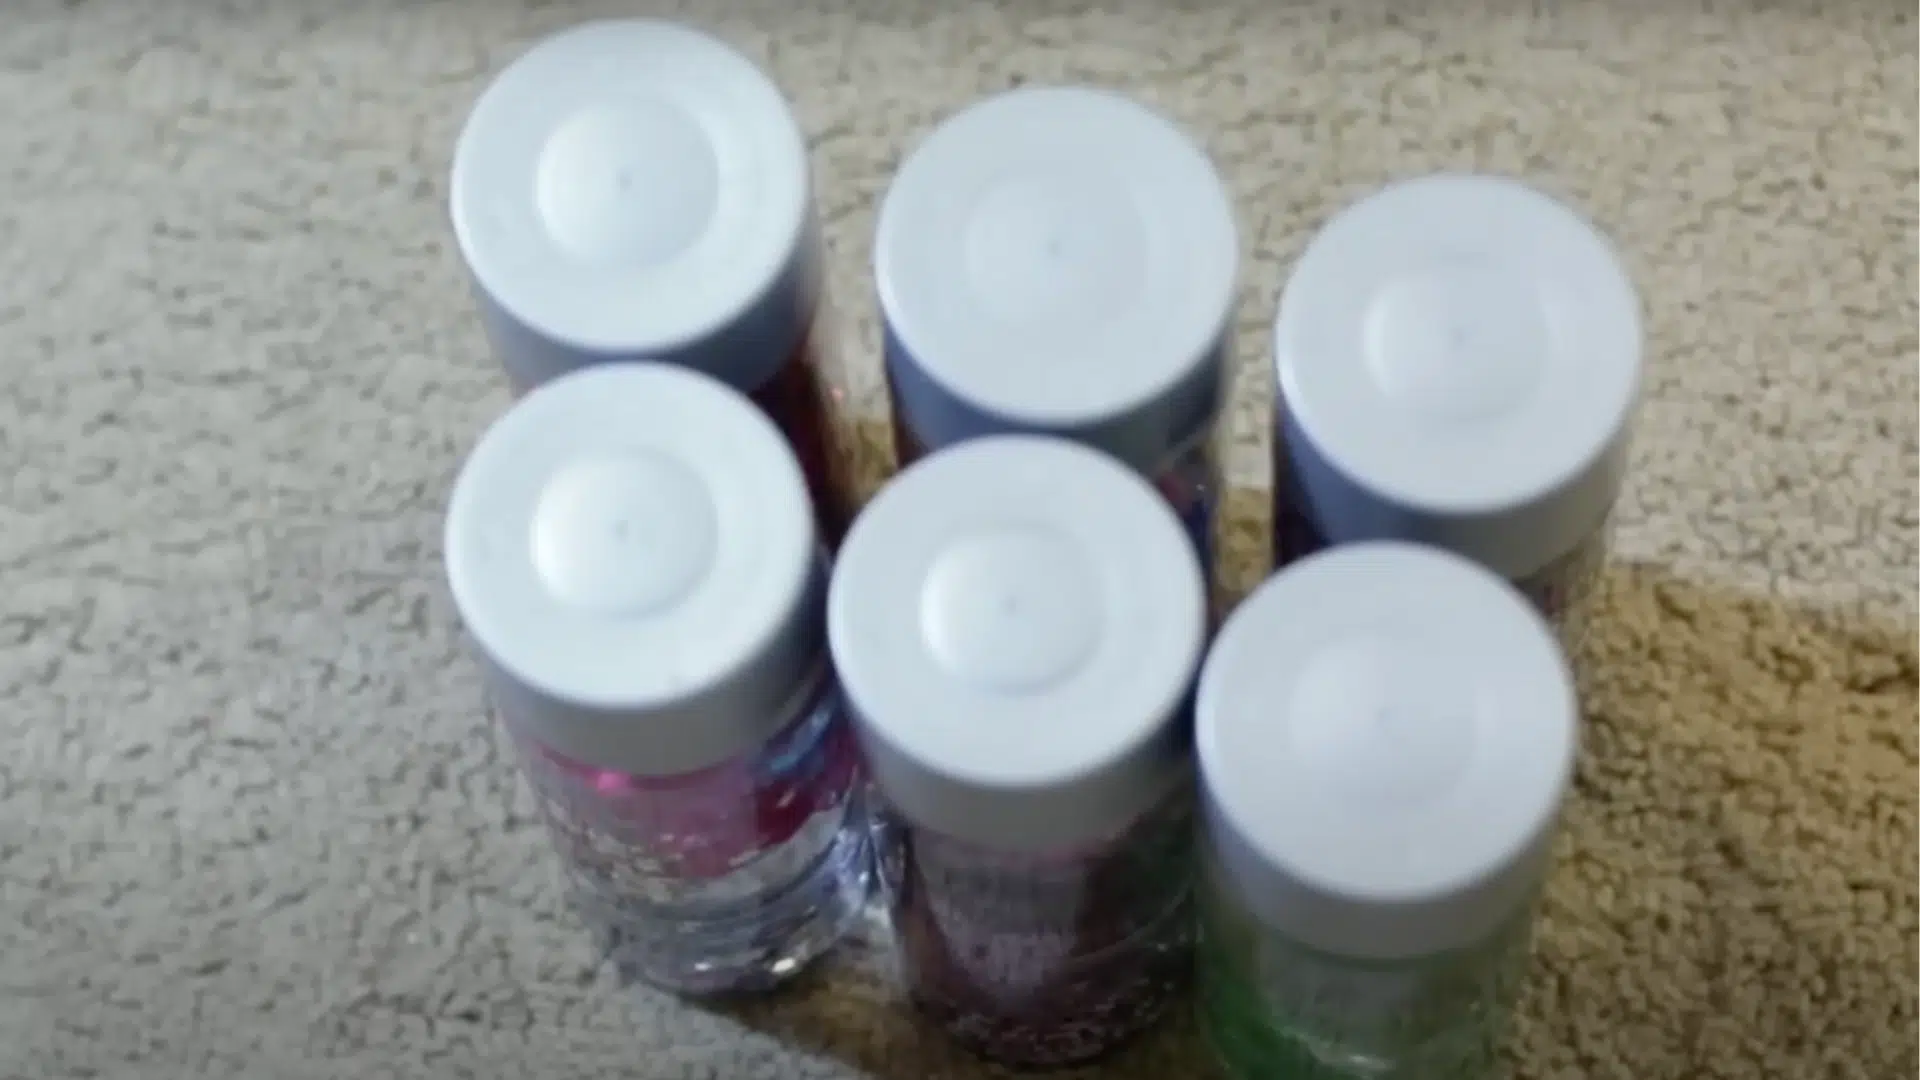
7. Analyze and Display
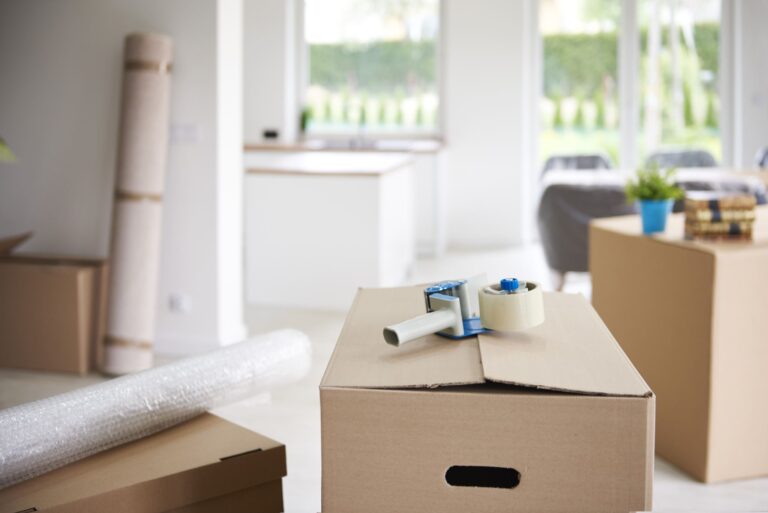
Once sealed, your sensory bottles are ready for action! Shake, roll, turn, or use magnets for interactive play. Try using a decorated storage box as a caddy. Each bottle provides different sensory feedback: visual, auditory, or magnetic.
These DIY creations are great for toddlers, classrooms, or calming corners at home. Get creative and customize freely!
Safety and Maintenance Tips for Sensory Bottles
Maintaining sensory bottles in a safe and functional state requires attention to detail in both construction and ongoing maintenance practices.
- Secure all bottle caps permanently: Use strong adhesive, hot glue, or tape around caps to prevent accidental opening and potential choking hazards.
- Avoid small objects for young children: Skip tiny beads, buttons, or coins that could pose choking risks if bottles break or open accidentally.
- Use only non-toxic materials: Ensure all contents, including glitter, food coloring, and liquids, are safe for children, even if they are accidentally ingested.
- Clean bottles periodically: Wipe the exteriors with disinfectant wipes and check for cloudiness or separation, which indicate the need for replacement.
- Supervise young children: Always monitor toddlers and preschoolers when using sensory bottles to ensure safe handling and appropriate play.
Wrapping It Up
DIY sensory bottles change simple household materials into powerful tools. They support children’s emotional regulation and learning needs.
These customizable creations offer endless possibilities for creativity while providing practical solutions for everyday challenges.
The techniques and variations covered here give you everything needed to create practical sensory tools tailored to individual preferences and developmental goals.
With proper construction and maintenance, these homemade sensory bottles can provide years of calming and engaging experiences that help children thrive in various environments and situations.