Your driveway takes a beating every single day. Cars, rain, ice, and heat slowly chip away at the surface. And one morning, you look outside and think: Is it time to tear this whole thing out and start over?
Not necessarily.
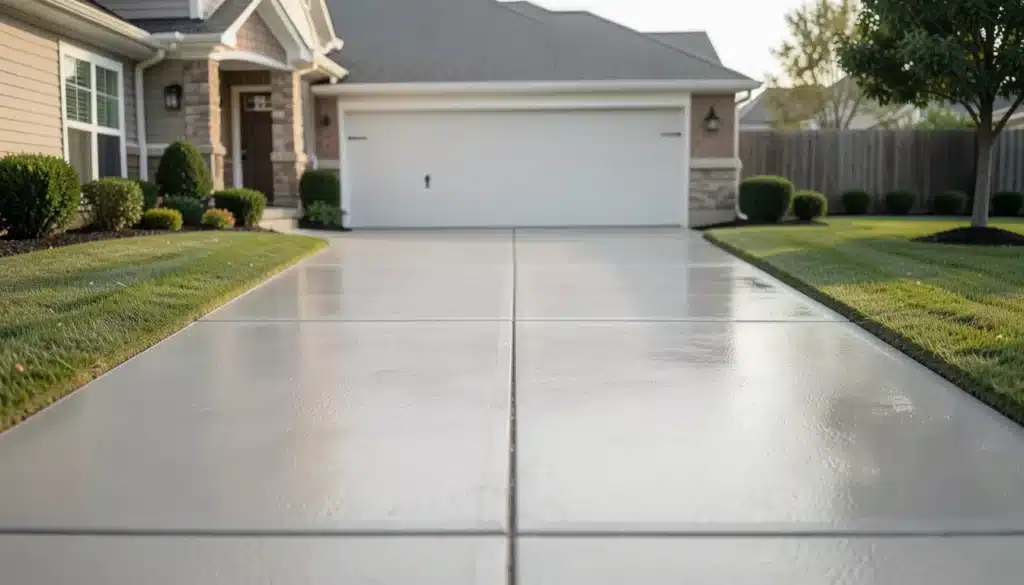
Concrete driveway resurfacing is one of the most cost-effective ways to fix a worn-out driveway without spending a fortune on a full replacement.
Instead of tearing out the old slab, you apply a fresh layer right over the existing concrete. It looks brand new.
This guide covers the signs you need resurfacing, the costs, the step-by-step process, and everything else you need to make the right call for your driveway.
What Is Concrete Driveway Resurfacing?
Concrete driveway resurfacing means applying a new layer of material over an existing concrete surface to fix cracks, smooth out rough spots, and restore the overall look.
It works best when the slab underneath is still structurally sound, but the top surface has worn down, spalled, or cracked. It is not a full replacement.
It is a cost-saving fix that bonds directly to the old concrete, giving your driveway a completely fresh surface without the expense of starting from scratch.
Signs Your Concrete Driveway Needs Resurfacing
Your driveway will tell you when something is wrong. You just need to know what to look for. Here are the most common signs that resurfacing is likely the right next step.
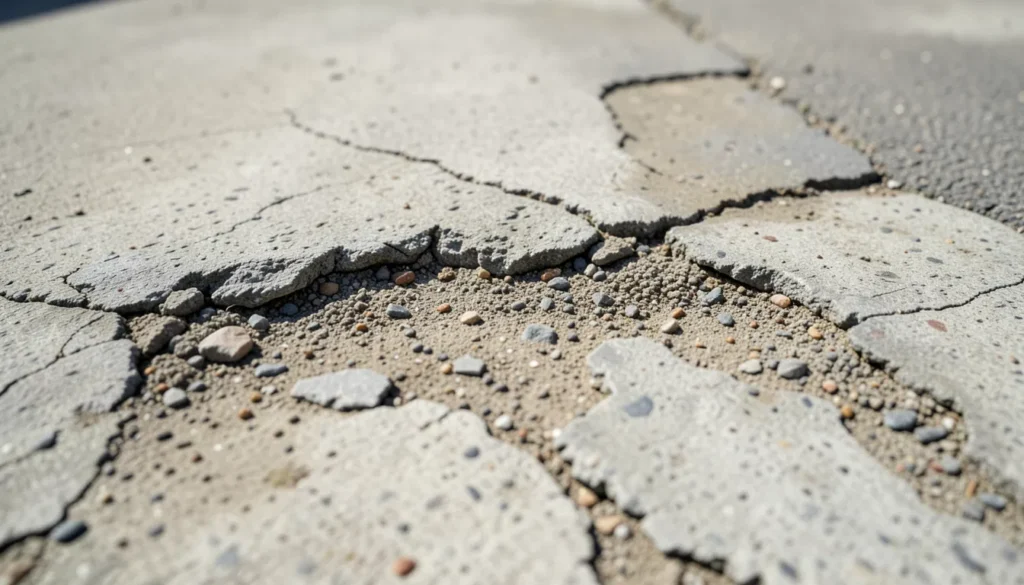
- Surface Spalling: The top layer of concrete is flaking, popping off, or crumbling in patches across the surface.
- Visible Surface Cracks: Cracks are running across the driveway, but they have not gone deep into the slab.
- Fading and Discoloration: The color has faded from years of sun, weather, or oil spills.
- Rough or Pitted Texture: The surface feels rough underfoot or has small pits and worn-down low spots.
- Persistent Stains: Oil, rust, or chemical stains that regular cleaning cannot remove.
Repair, Resurface, or Replace? How to Decide
This is the question almost every homeowner gets stuck on, and the answer comes down to one thing: how bad is the damage, and is the base still solid? Here is a straightforward breakdown to help you land on the right option.
| Feature | Repair | Resurface | Replace |
|---|---|---|---|
| Best For | Small cracks, isolated damage, or a single sunken slab | Widespread surface wear with a solid base still intact | Cracks over 1/4 inch throughout, buckling, or driveway over 20 years old |
| Average Cost | $100 to $500 | $3 to $25 per sq ft | $6 to $18 per sq ft (full tear-out and pour) |
| Lifespan After Work | 2 to 5 years on patched areas | 8 to 15 years with proper sealing | 25 to 40 years |
| Process Time | A few hours to one day | 2 to 4 days, including prep, coating, and curing | 5 to 7 days or more |
| Disruption Level | Very low | Moderate (driveway off-limits during curing) | High (full removal and pour required) |
Pro Tip: If parts of the slab have sunk, level them out before resurfacing. Adding a new layer over a sunken base will not fix what is happening beneath it.
Types of Concrete Driveway Resurfacing Options

Not every resurfacing product works the same way. The right choice depends on your budget, your climate, and the condition of your driveway. Here is a clear breakdown of the most common options available today.
- Concrete Overlay: A thin layer of new concrete applied over the existing surface to cover minor imperfections and restore a clean, smooth finish.
- Stamped Concrete Overlay: Concrete pressed with patterns that mimic the look of brick, stone, or slate for a more decorative result.
- Epoxy Coating: A strong resin-based coating that bonds tightly to the surface, best suited for driveways with more severe surface damage and high traffic.
- Acrylic Resurfacer: A polymer-based product that handles freeze-thaw climates well and cures relatively fast compared to other options.
- Cementitious Resurfacer: A cement-based product that holds up well under regular vehicle traffic and works on both indoor and outdoor concrete surfaces.
- Exposed Aggregate Overlay: Larger stones are left exposed on the surface, providing a textured, non-slip finish with a natural look.
- Texture Deck System: A spray-applied coating that adds color and texture in one process, particularly useful for driveways with widespread spalling across the surface.
How to Resurface a Concrete Driveway: Step-by-Step Process
Preparation is what makes or breaks a resurfacing job. Rush through it, and the new layer will lift, crack, or peel within a season. Here is exactly how the process works, broken into four clear steps based on real field experience from professional concrete crews.
Tools and Materials You Will Need
Tools:
- Angle grinder or concrete surface grinder
- Concrete saw (for cutting along cracks)
- Pressure washer with a surface cleaner attachment
- Sprayer (for texture coat and sealer application)
- Squeegee or finishing trowel
- Mixing buckets
- Cardboard or plastic sheeting for masking edges and landscaping
Materials:
- Concrete crack filler
- Concrete resurfacing product (overlay mix or texture deck system)
- Water-based concrete sealer
- Concrete-safe degreaser or surface cleaner
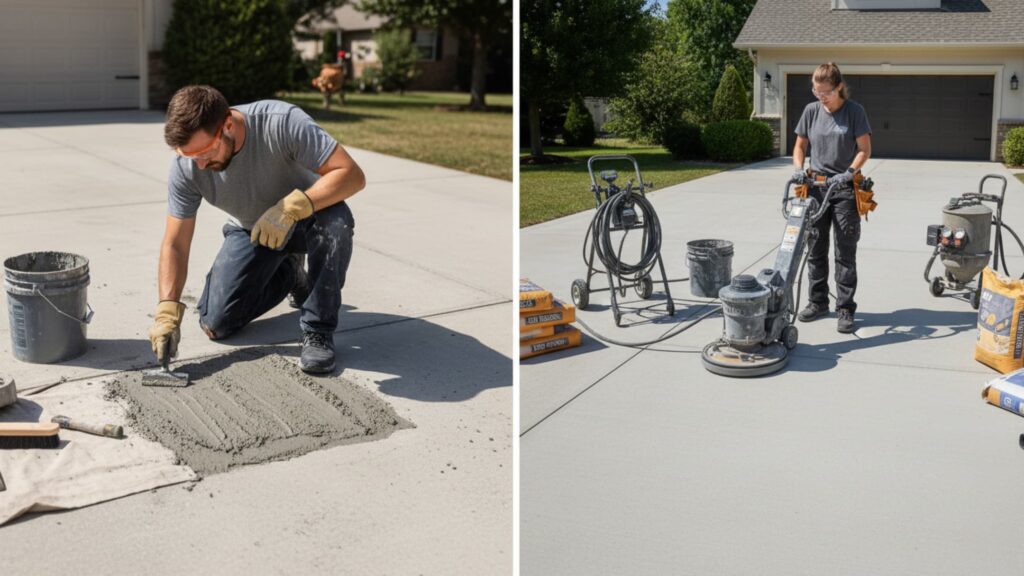
Step 1: Grind, Cut, and Prep the Surface
Start by grinding down any raised or rough spots and saw-cutting along larger cracks.
This opens the surface and gives the new overlay something solid to grip. Use an angle grinder along the edges and a flat surface grinder on the open areas.
One thing that often gets overlooked here: keep your resurfacing bags, buckets, and materials in the shade the entire time you are prepping.
If your product sits in direct sunlight for a few hours before you mix it, it heats up. That significantly reduces your working time and can affect the quality of the overlay bond.
Step 2: Pressure Wash the Surface
Once grinding and cutting are complete, pressure wash the entire driveway using a surface-cleaning attachment.
This pulls out dirt, oil, loose debris, and anything else that could stop the overlay from sticking properly. Let the surface dry fully before you move on.
A surface that is even slightly damp in the wrong spots can cause the overlay to lift later.
Step 3: Fill Cracks and Apply the First Coat
Fill any remaining cracks with concrete crack filler and let it cure before doing anything else. Then mix your resurfacing product and apply the first coat across the full surface.
A squeegee finish produces a smooth result. If you are using a texture deck system, a sprayer gives you better, more consistent coverage. Work the perimeter of the driveway first, then move to the interior.
In warm, sunny, or windy conditions, the first coat dries fast. On a good weather day, you can often walk on it within minutes.
Step 4: Spray the Texture Coat and Apply Sealer
Once the first coat is dry, apply the texture coat if you are using a spray system. Always shoot the edges first, then work toward the interior. Run cardboard along the borders to keep overspray off the landscaping, rocks, or the house itself.
After the texture coat dries, apply three to four thin coats of sealer with your sprayer. Let each coat dry fully before adding the next one.
The simple check: when the sealer has gone from white to clear and is no longer tacky, it is ready for the next coat. Thin coats bond far better than a single heavy application.
Hold off on driving on the surface for 24 to 72 hours, depending on the product instructions.
Video Tutorial
I’d like to give credit to Clay Banner Masonry for their informative video, which served as a reference for this guide.
How Much Does Concrete Driveway Resurfacing Cost?
The cost of concrete driveway resurfacing varies based on the size of the job, the finish you choose, and where you live. Here is a general breakdown to give you a realistic starting point before getting quotes.
| Project | Estimated Cost |
|---|---|
| Small area (100 sq ft) | $300 to $700 |
| Standard two-car driveway (400 to 600 sq ft) | $1,200 to $2,900 |
| Large three-car driveway (approx. 860 sq ft) | $2,600 to $4,300 |
| Basic resurfacing (per sq ft) | $3 to $10 |
| Decorative finish (per sq ft) | Up to $25 |
| Sealing add-on (per sq ft) | $1.00 to $1.75 |
| DIY materials for a small area | $200 to $400 |
Note: On professionally done jobs, materials typically make up around 20% of the total cost. Always get at least three quotes from licensed concrete contractors before committing to one.
How Long Does Resurfaced Concrete Last?
A properly done concrete driveway resurfacing job typically lasts 8 to 15 years, depending on the quality of the surface prep, the product used, and how well the driveway is maintained afterward.
Driveways in freeze-thaw climates tend to wear down faster without regular sealing. Applying a fresh coat of sealer every two to three years is the single biggest thing you can do to extend that lifespan.
For context, a concrete driveway with proper ongoing care can last up to 40 years.
DIY vs. Hiring a Professional: Which One Makes Sense?
This comes down less to confidence and more to the size and condition of the job. Here is an honest look at both sides so you can make the right call for your situation.
DIY Makes Sense When:
- The area is small, under 100 square feet
- The damage is surface-level only, with no structural concerns
- You have access to the right tools, including a grinder and pressure washer
- The finish is a basic overlay rather than a spray texture or stamped design
- You are comfortable following product mixing and application instructions closely
Hire a Professional When:
- The driveway is large or has widespread spalling across the full surface
- You want a decorative finish like a texture deck system or stamped overlay
- Is there any structural concern with the slab, like sunken sections or deep cracking
- This is your first time working with concrete resurfacing products
- You want results that will hold up for more than a couple of years without issues
The honest reality is that concrete is unforgiving. Once the material is set, there is no correcting mistakes.
Professionals also bring specialized tools that most homeowners do not have, such as surface grinders and spray rigs.
On larger jobs, hiring someone often costs less in the long run than a DIY repair that fails within two seasons.
Common Mistakes to Avoid During Resurfacing
Most resurfacing failures come down to one or two steps that got skipped or rushed. Here are the most common ones that show up on the job.
| Mistake | Why It Causes a Problem |
|---|---|
| Skipping surface prep | The overlay does not bond and starts peeling early |
| Applying coats too thick | Thick layers crack. Thin coats bond far better |
| Not filling cracks before applying the overlay | Cracks push back through the new layer within months |
| Working in extreme heat, cold, or rain | The product cures incorrectly, and the bond weakens |
| Using paint instead of a resurfacing product | Paint does not bond to concrete and peels off quickly |
| Not sealing after the job | Leaves the surface open to water damage and chemical spills |
| Leaving product materials in direct sunlight before mixing | The material heats up, working time drops, and the finish suffers |
| Skipping concrete leveling on sunken sections | Sunken slabs stay sunken even after a full resurface |
How to Maintain a Resurfaced Concrete Driveway?
Once the work is done, keeping it in good shape is straightforward. Sweep off debris regularly and wipe up oil or fluid spills before they have a chance to soak in.
In winter, use a concrete-safe ice melt product. Avoid calcium chloride and magnesium chloride, both of which break down concrete over time. Calcium magnesium acetate or sodium acetate are safer options.
Reseal the surface every two to three years to keep water out. And fix small cracks as soon as you spot them, before a cold season turns them into bigger, costlier problems
The Bottom Line
A cracked, faded driveway does not have to mean a full replacement.
Concrete driveway resurfacing gives you a strong, fresh-looking surface at a much lower cost, as long as the base is still solid and the job is done right.
Prep well, pick the right material for your climate, and seal it when the work is finished.
Take care of it after that, and it will hold up for years without much fuss.
So, have you recently had your driveway resurfaced, or are you still figuring out if it is the right call for yours? Drop your questions or experiences in the comments below. We would love to hear from you.