Drawing flowers seems particularly hard because of their complex shapes and delicate details. Most beginners struggle with where to start and how to make their drawings look realistic rather than childish.
Learning proper steps to draw a flower can change everything for aspiring artists.
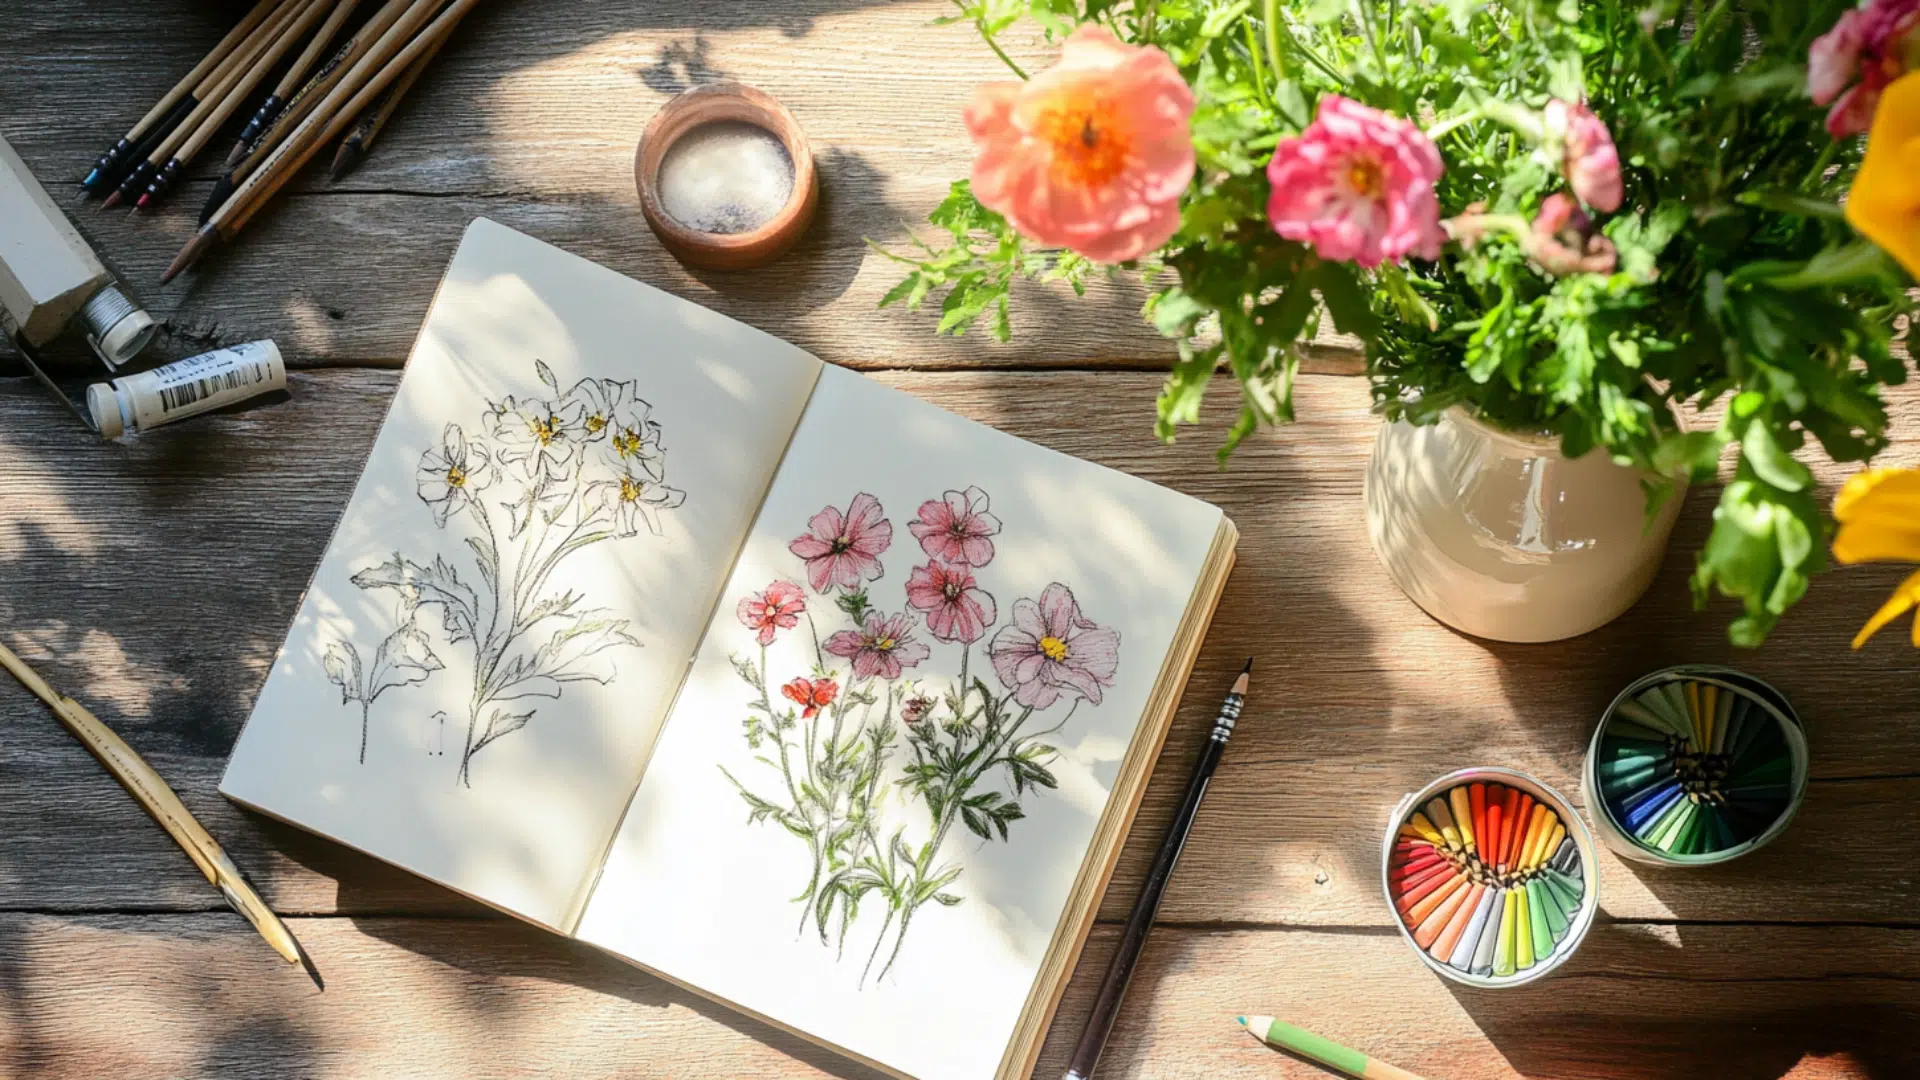
The following blog offers anyone the chance to evolve blank paper into lovely floral art that looks good enough to display.
Why is Drawing Flowers Important for Artists?
Artists often choose flowers as subjects for good reasons. Flowers offer a perfect blend of simplicity and complexity that helps build essential skills.
Learning the steps to draw a flower properly can serve as a foundation for more complex art projects later on.
Basic shape practice: Flowers help artists master fundamental shapes like circles, ovals, and triangles. A rose starts as a spiral, a daisy begins with a circle, and tulips form from simple curved lines.
Light and shadow work: Petals create natural shadows and catch light in ways that teach artists about depth. Each curve shows how light falls across surfaces, helping artists understand dimension.
Color theory application: Floral subjects allow artists to experiment with color combinations and blending. The subtle shifts in tone across petals teach how colors interact naturally.
Detail practice: Flower centers, petal edges, and leaf veins offer chances to work on small details. Artists build patience and precision that transfers to all other detailed subjects.
Composition skills: Arranging flowers in a bouquet teaches artists about balance and layout. They learn how to place objects in relation to each other within their artwork.
Seasonal studies: Flowers change through their life cycle, teaching artists to observe and capture time. This helps artists understand how to show growth and aging in their work.
Pattern recognition: Nature creates patterns in how petals form and spread from the center. Artists who study these patterns develop a better eye for natural design.
Tips for Drawing Realistic Flowers
Creating flowers that look true to life requires attention to specific details that many beginners miss. The right techniques can evolve a flat drawing into art that seems to come off the page. Below are some practical suggestions to help artists create more lifelike floral art.
Taking time to study real flowers or clear photographs helps catch subtle details that make art more realistic.
1. Work from background to foreground: Begin with the stem and leaves, then move to the flower body. This approach helps maintain proper proportions and creates a natural layering effect.
2. Pay attention to negative space: The gaps between petals are just as important as the petals themselves. Looking at these empty spaces helps get the overall shape right.
3. Use reference lines lightly: Light guide lines that can be erased later help place all elements correctly. These temporary marks ensure proper symmetry without becoming part of the final piece.
4. For the most natural results, vary these elements:
- Petal thickness
- Edge textures
- Color intensity
- Shadow placement
Patience matters more than perfect technique. Taking time with each section of the flower will yield better results than rushing through the process. Most realistic flower drawings take several sessions to complete properly.
Basic Steps to Draw a Flower
Drawing a flower can feel like magic when the right guidance lights the way.
For those wondering about the simple yet delightful steps to draw a flower, this guide unfolds it in the friendliest way possible.
By breaking the process down into manageable parts, anyone can enjoy the beauty of blossoming their art. Whether a beginner or a seasoned doodler, these steps promise to make the quest joyful and easy to follow.
Step 1. Sketch the Flower Shapes
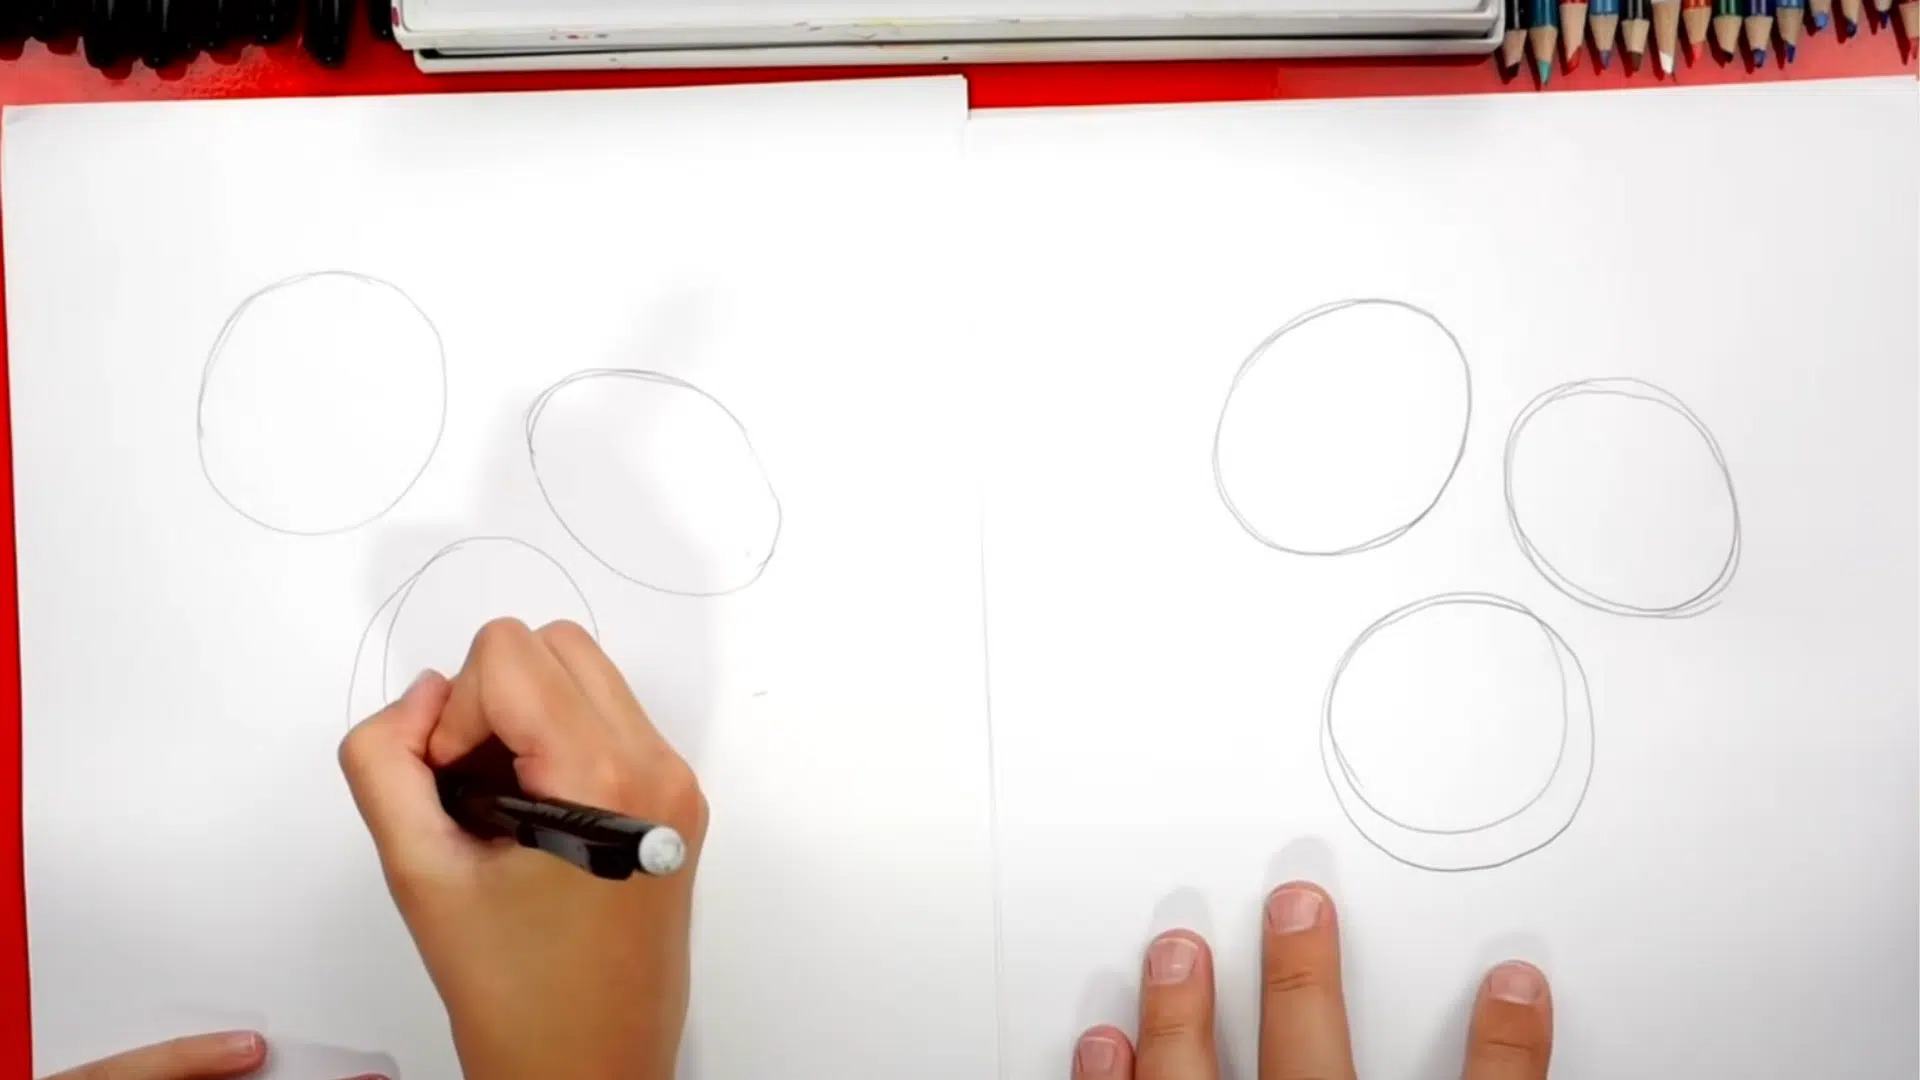
Begin by drawing three circles or ovals on your paper with a pencil. These serve as the basic framework for your flowers, showing how they will be positioned.
Let two of them be slightly tilted or squashed to create a natural look. Keep the lines light so they can be easily erased later. If needed, adjust the size and overlap until it feels balanced.
Step 2. Create the Flower Centers
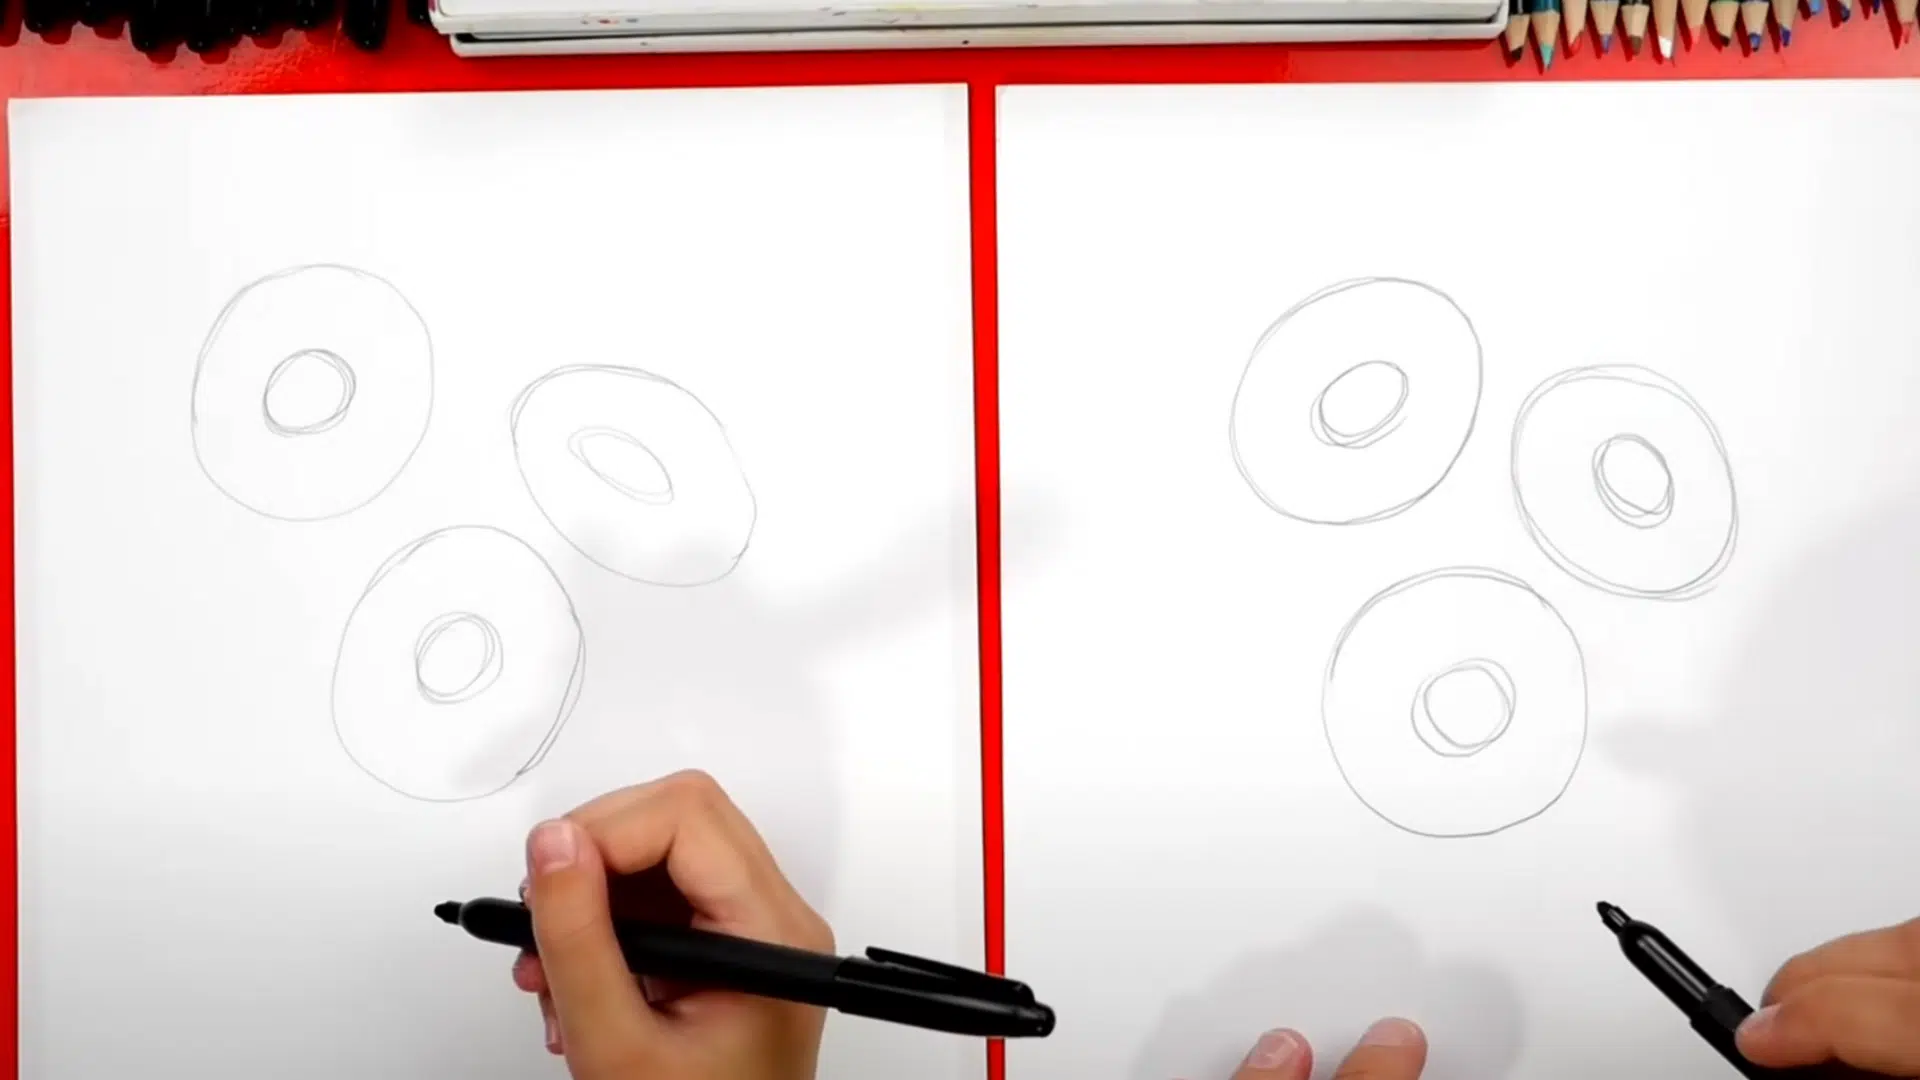
Inside each circle, draw a smaller circle to represent the center part of the flower. Try to place these a little off-center if you want the flower to appear angled.
These tiny circles will anchor your details later on. Press lightly with your pencil so adjustments are easy if needed. This step builds the heart of your blossoms.
Step 3. Add Textures to the Centers
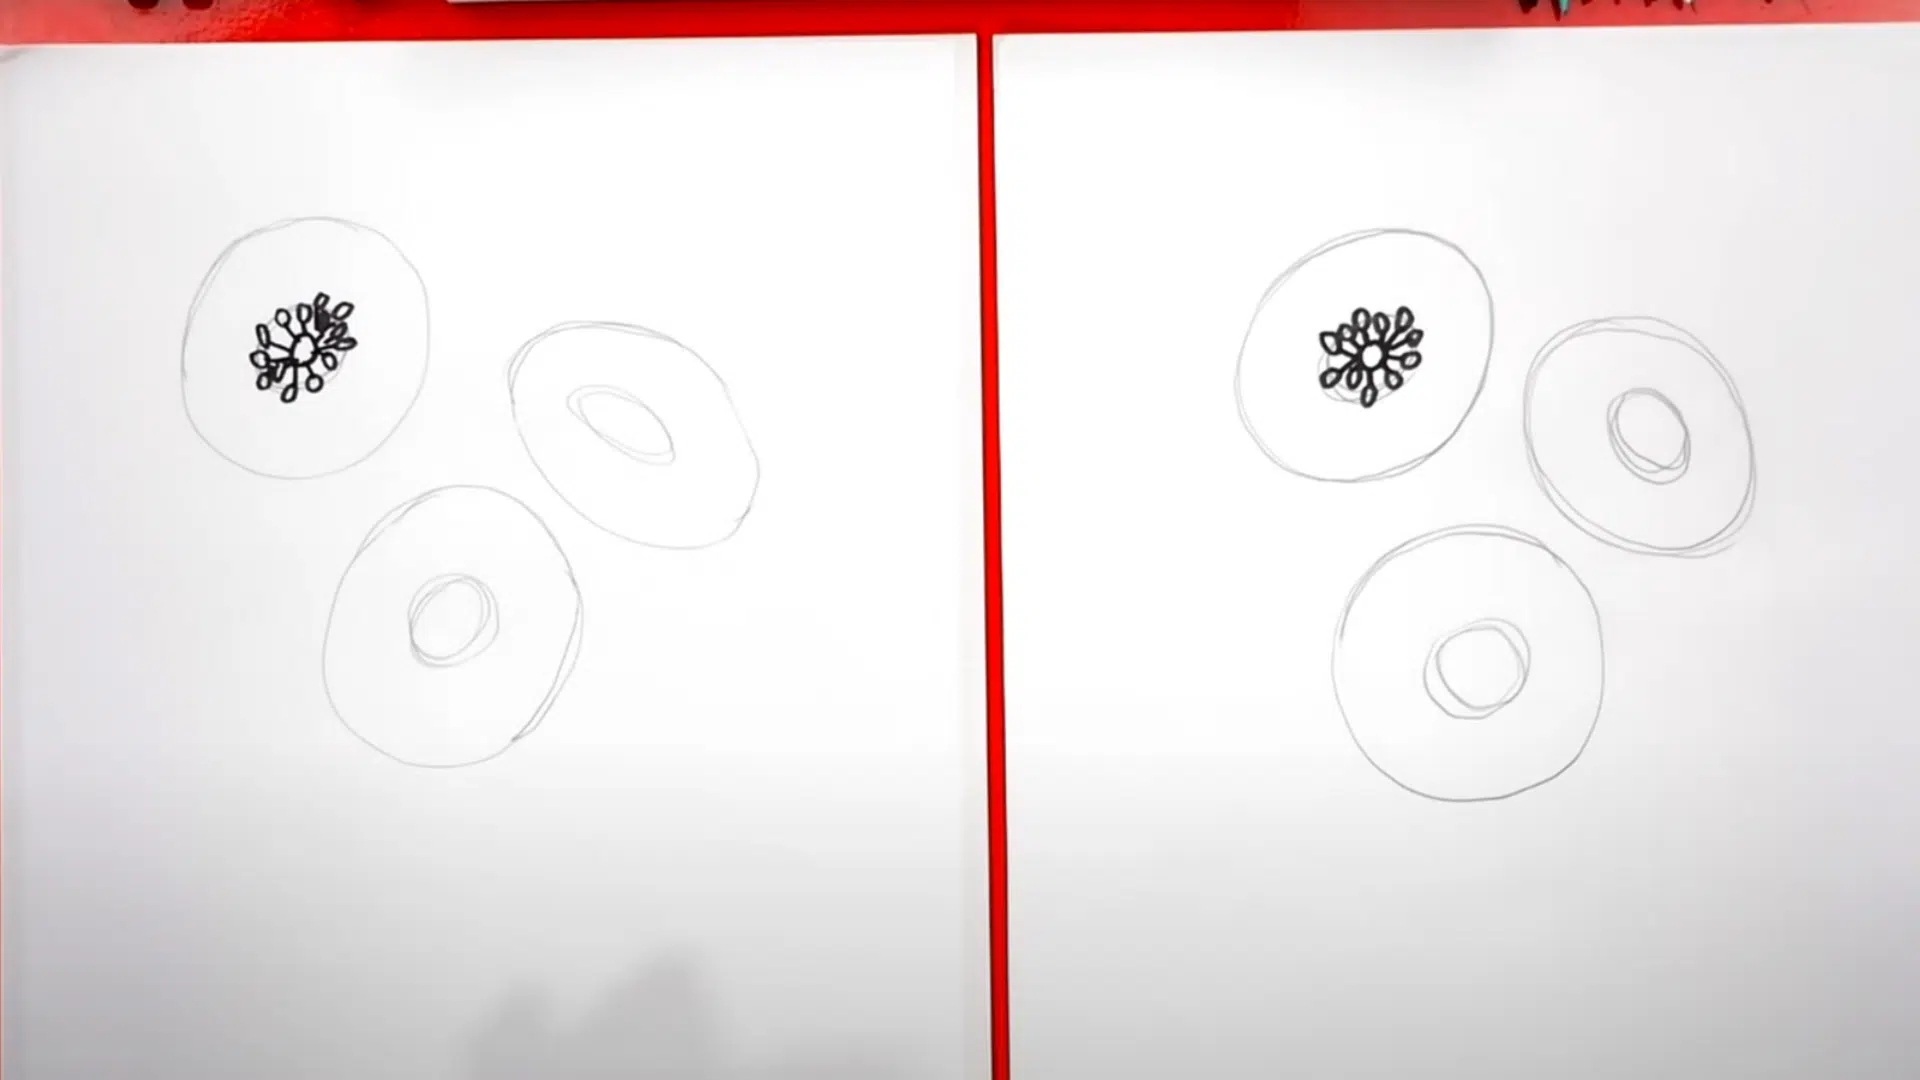
Switch to your marker and fill each smaller center with a cluster of tiny ovals or dots. These playful shapes mimic the stamen, the pollen-rich middle parts of real flowers.
Connect the center circle to each tiny oval using thin lines to form a beautiful texture. Do not worry about being perfect, little variations make it more charming.
Think of this as adding life inside the flower.
Step 4. Draw the Petals
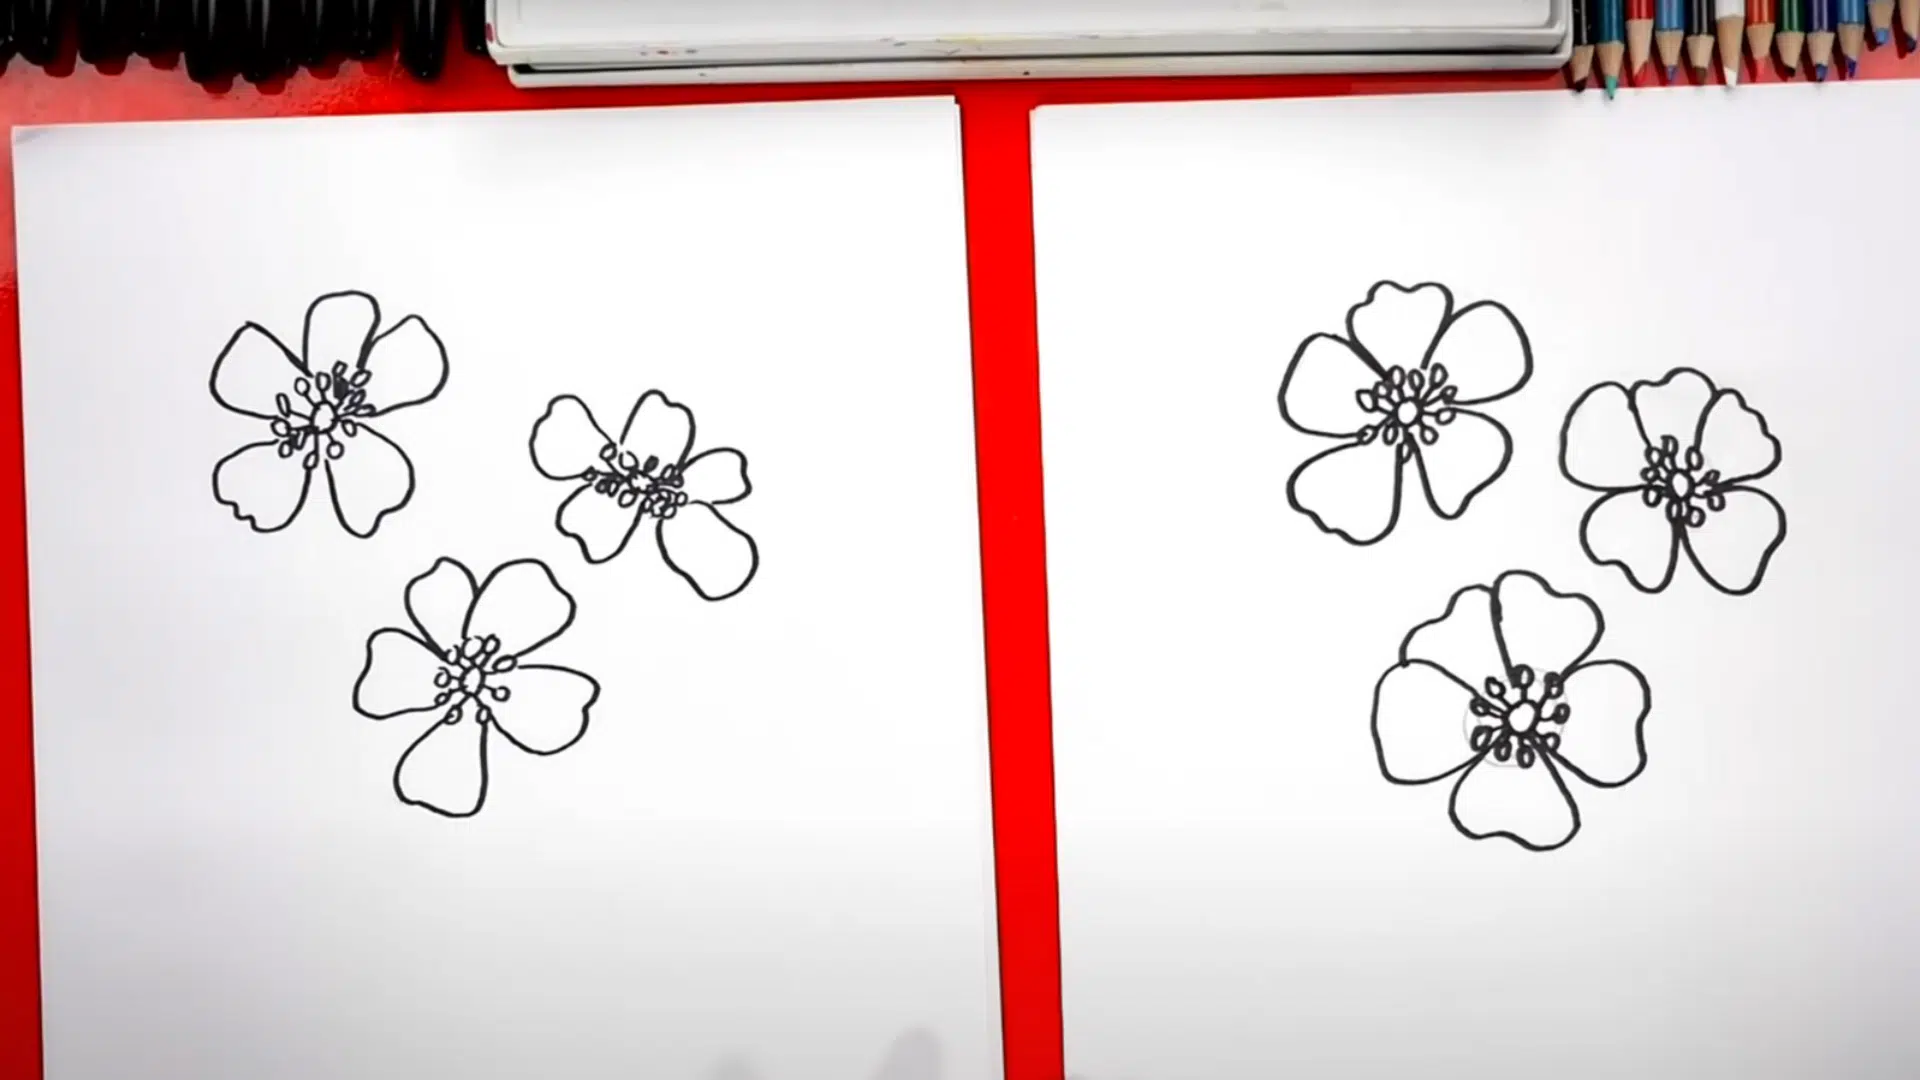
Once the flower centers are ready, it is time to craft the delicate petals. Begin at the edge of the inner circle and draw outward toward the larger guideline. Then, loop the line back toward the center, shaping a petal.
- Vary the petal edges with ripples or smooth curves for a natural effect.
- Overlap some petals to mimic real flower layering.
- Keep the flow loose, letting each petal curve gently.
- Continue around the entire flower until the outline feels full and organic.
Remember, slight imperfections add character and charm.
Step 5. Shape the Stems and Branches
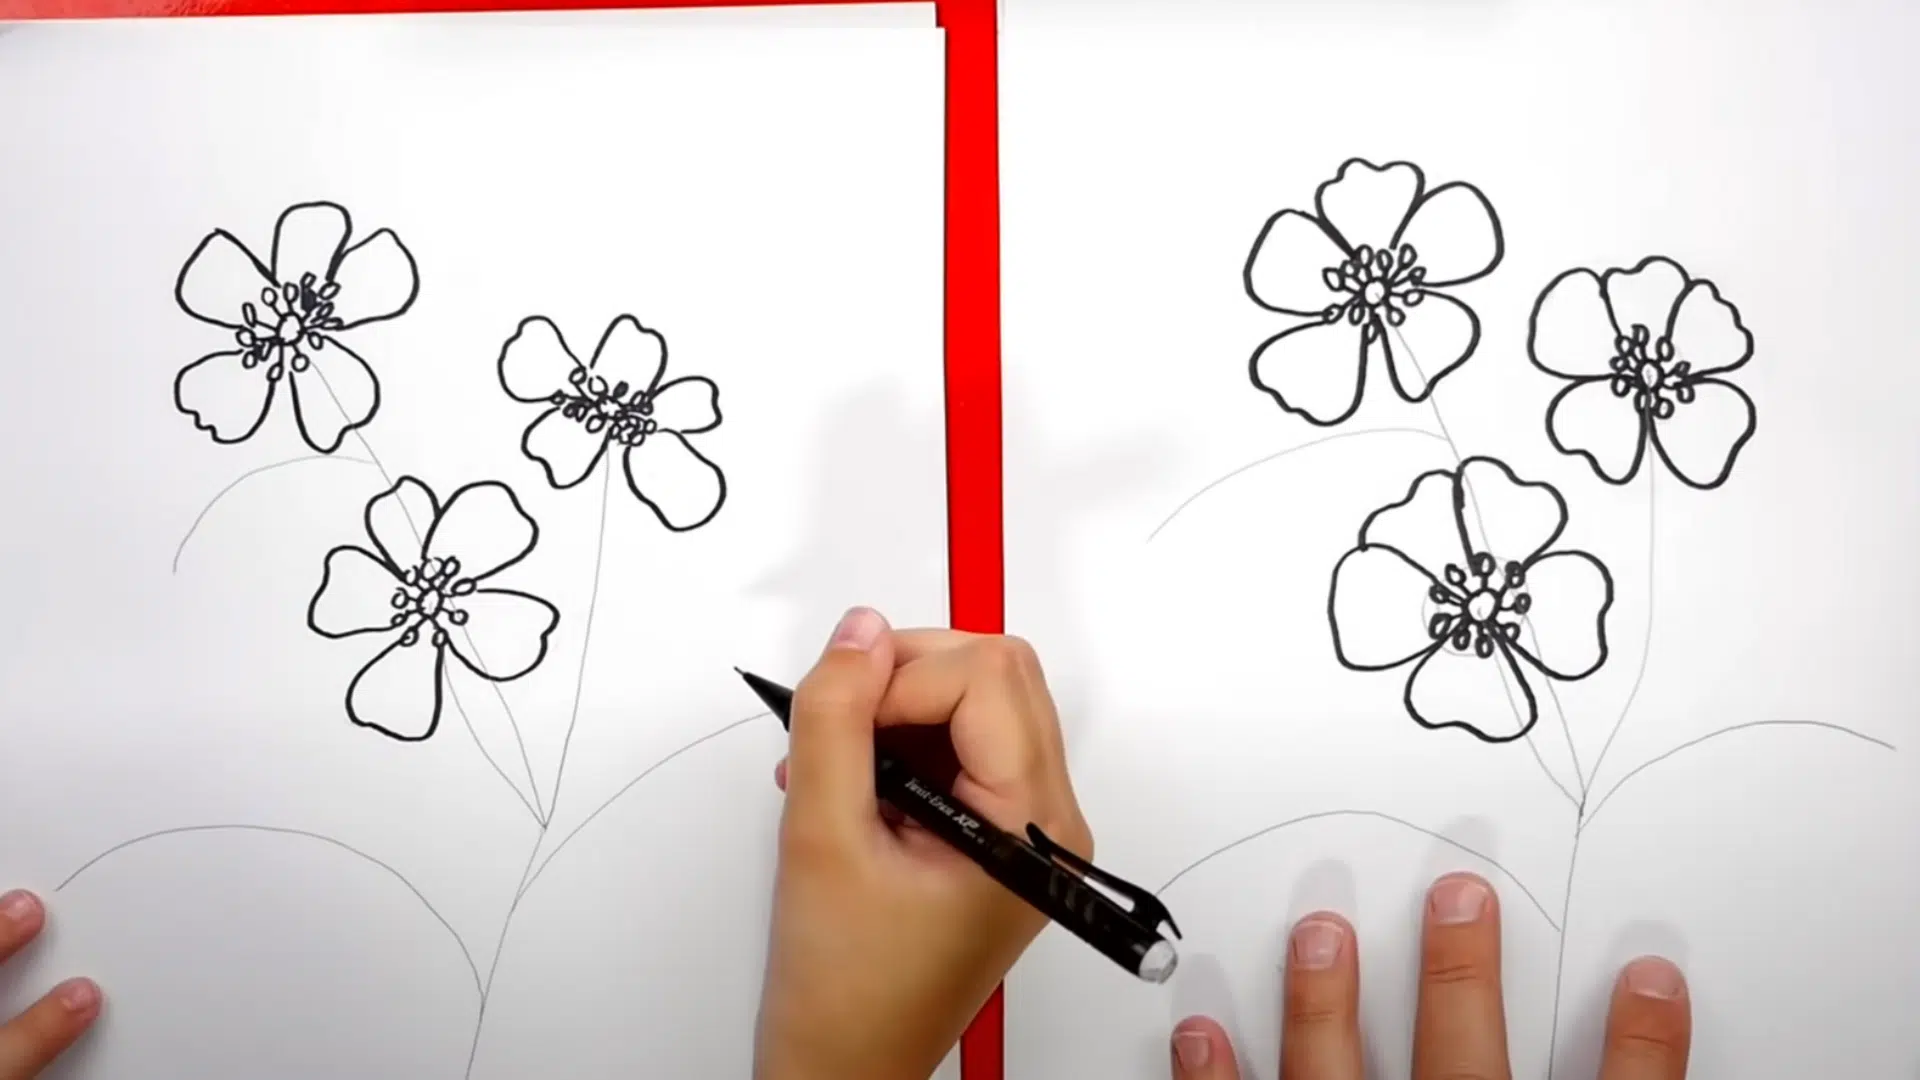
With the pencil, draw long, gentle lines starting from each flower’s center downward to form stems. Let the stems meet and merge near the bottom to create a unified bunch.
Add a few side branches shooting out from the main stem to prepare for leaves.
Try to keep the lines soft and flowing rather than stiff. This sets the foundation for a lively, natural arrangement.
Step 6. Design the Leaves
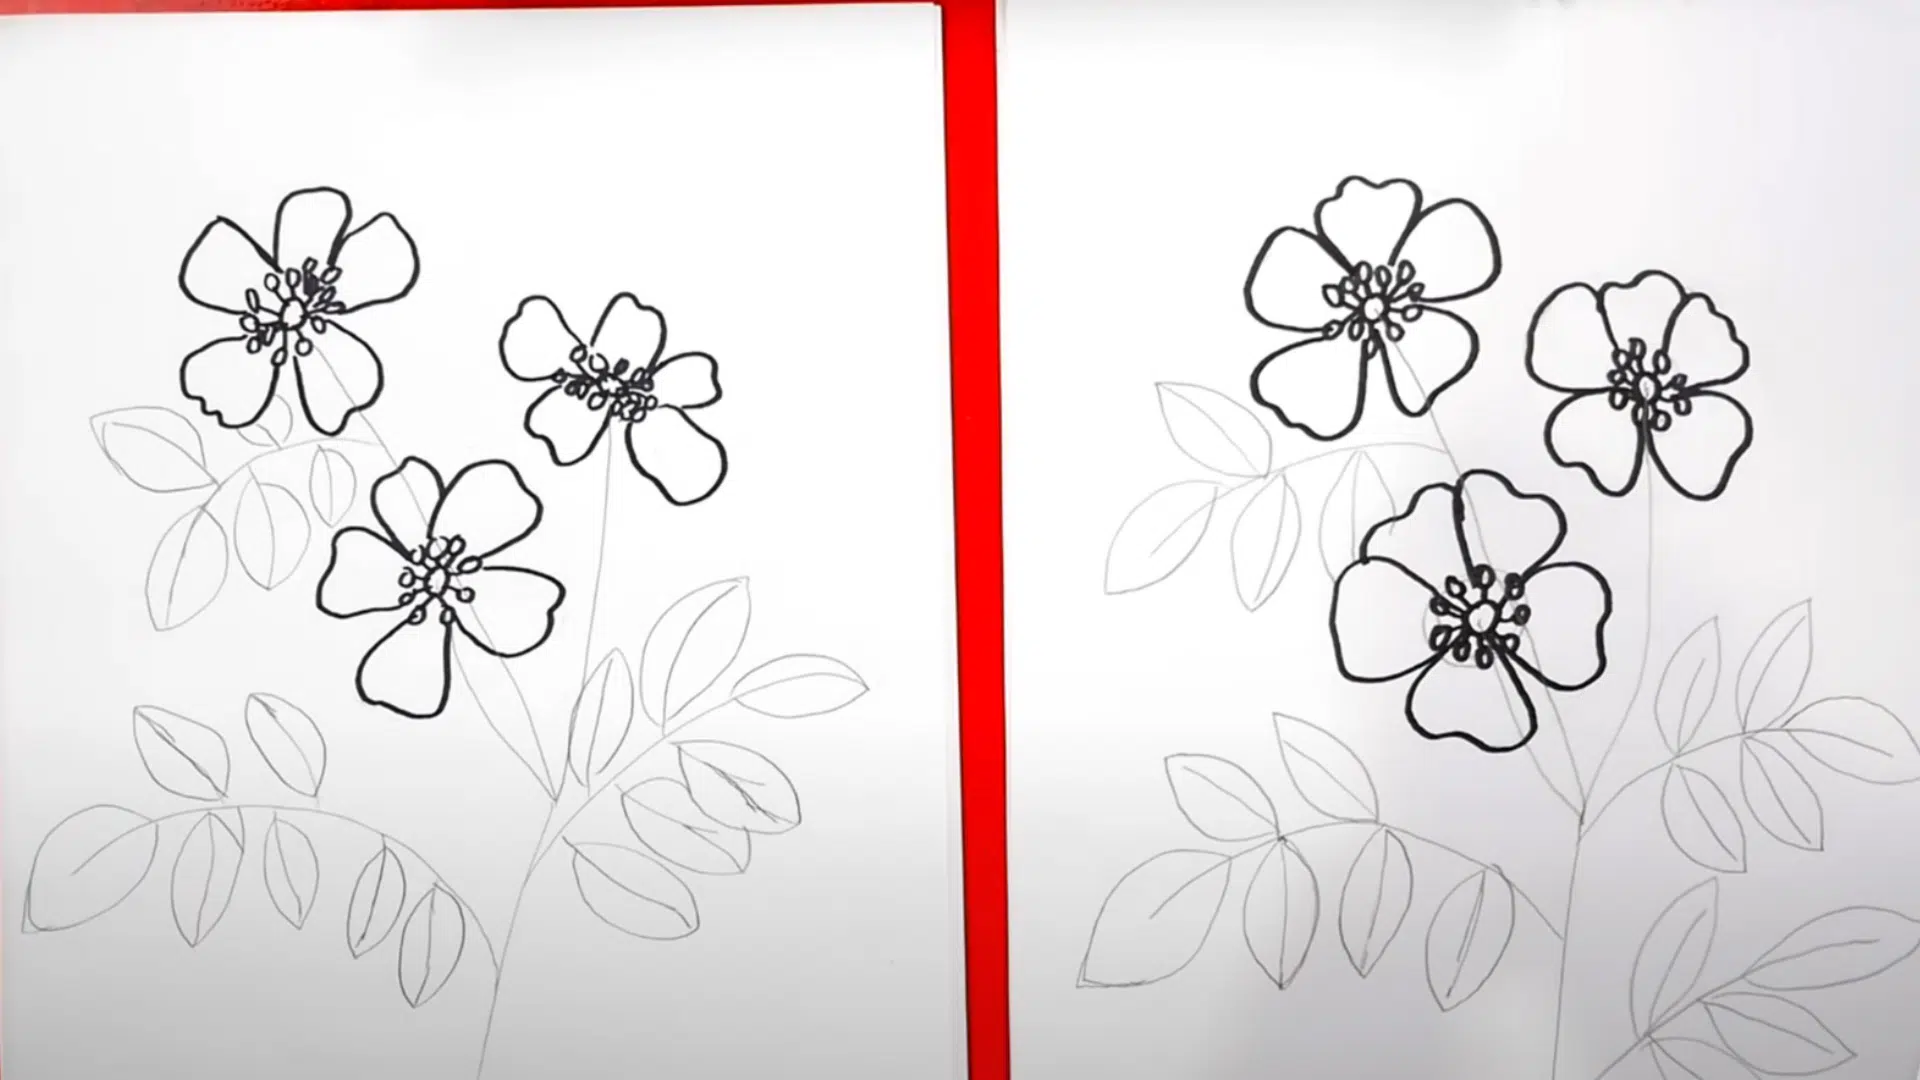
Draw football-shaped outlines coming off the side branches you sketched earlier. Keep the ends pointy and slightly varied in size for realism.
Once the shapes are in place, trace over them with a marker, adding small jagged edges along the outline to give the leaves texture.
Use the original pencil lines as a loose guide. The goal is to make the leaves feel like they are gently fluttering.
Step 7. Final Touches and Coloring
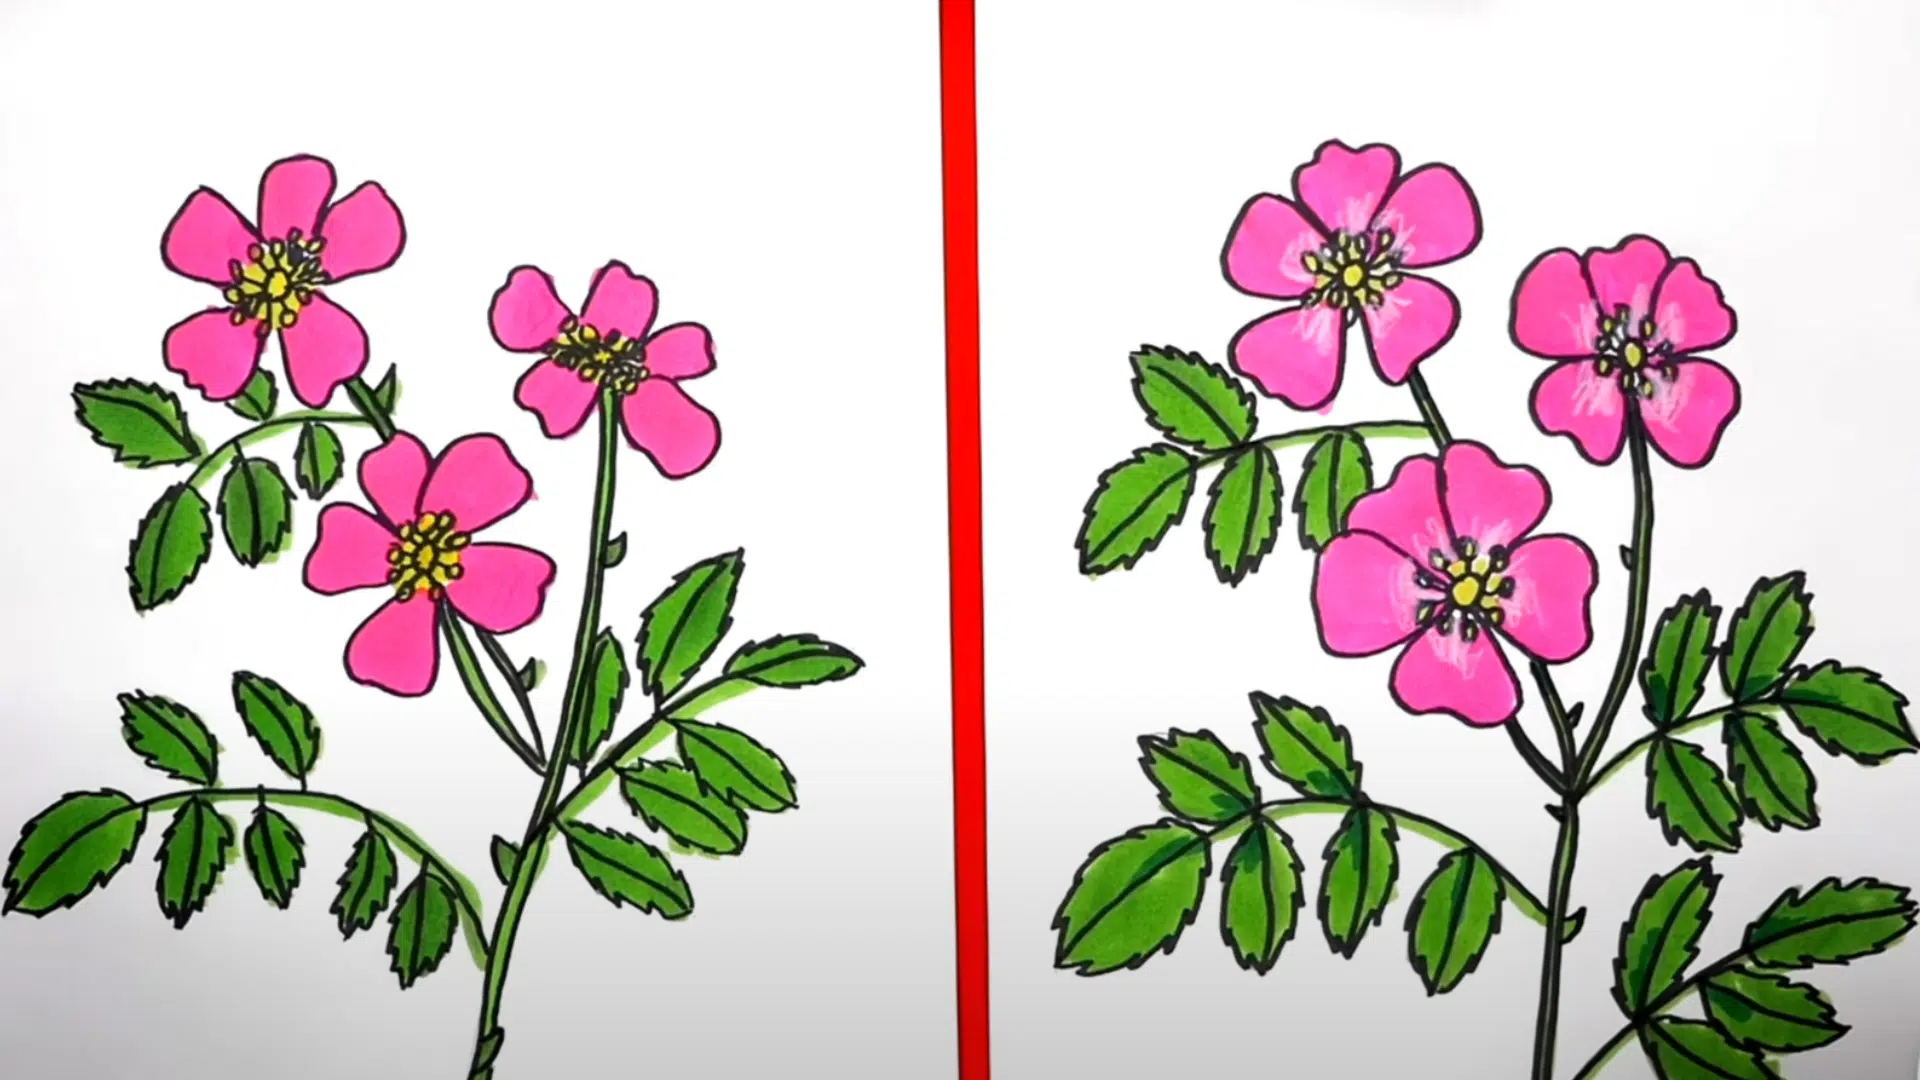
Now comes the most exciting part, where the flower truly comes to life. Carefully erase all leftover pencil guidelines without smudging the outlines.
- Choose bright, lively colors like soft pinks, yellows, or bold reds for the petals.
- Use green shades to color stems and leaves, adding variation for a richer look.
- Add tiny thorns on the stems for a realistic prairie rose touch.
- Layer colors lightly to create depth and dimension.
Take your time, enjoy the process, and let your creativity bloom beautifully.
Flower Drawing Ideas for Beginners
These flower drawing ideas are designed to be simple, approachable, and a joy to bring to life. Whether someone is sketching their first petal or experimenting with colors, each idea opens a new door to creativity.
Let the probe of simple floral art begin.
Simple and Quick Flower Ideas
1. Single Daisy Sketch
Drawing a single daisy with its thin petals and cheerful center is a perfect warm-up project for beginners. It teaches balance and proportion without overwhelming details.
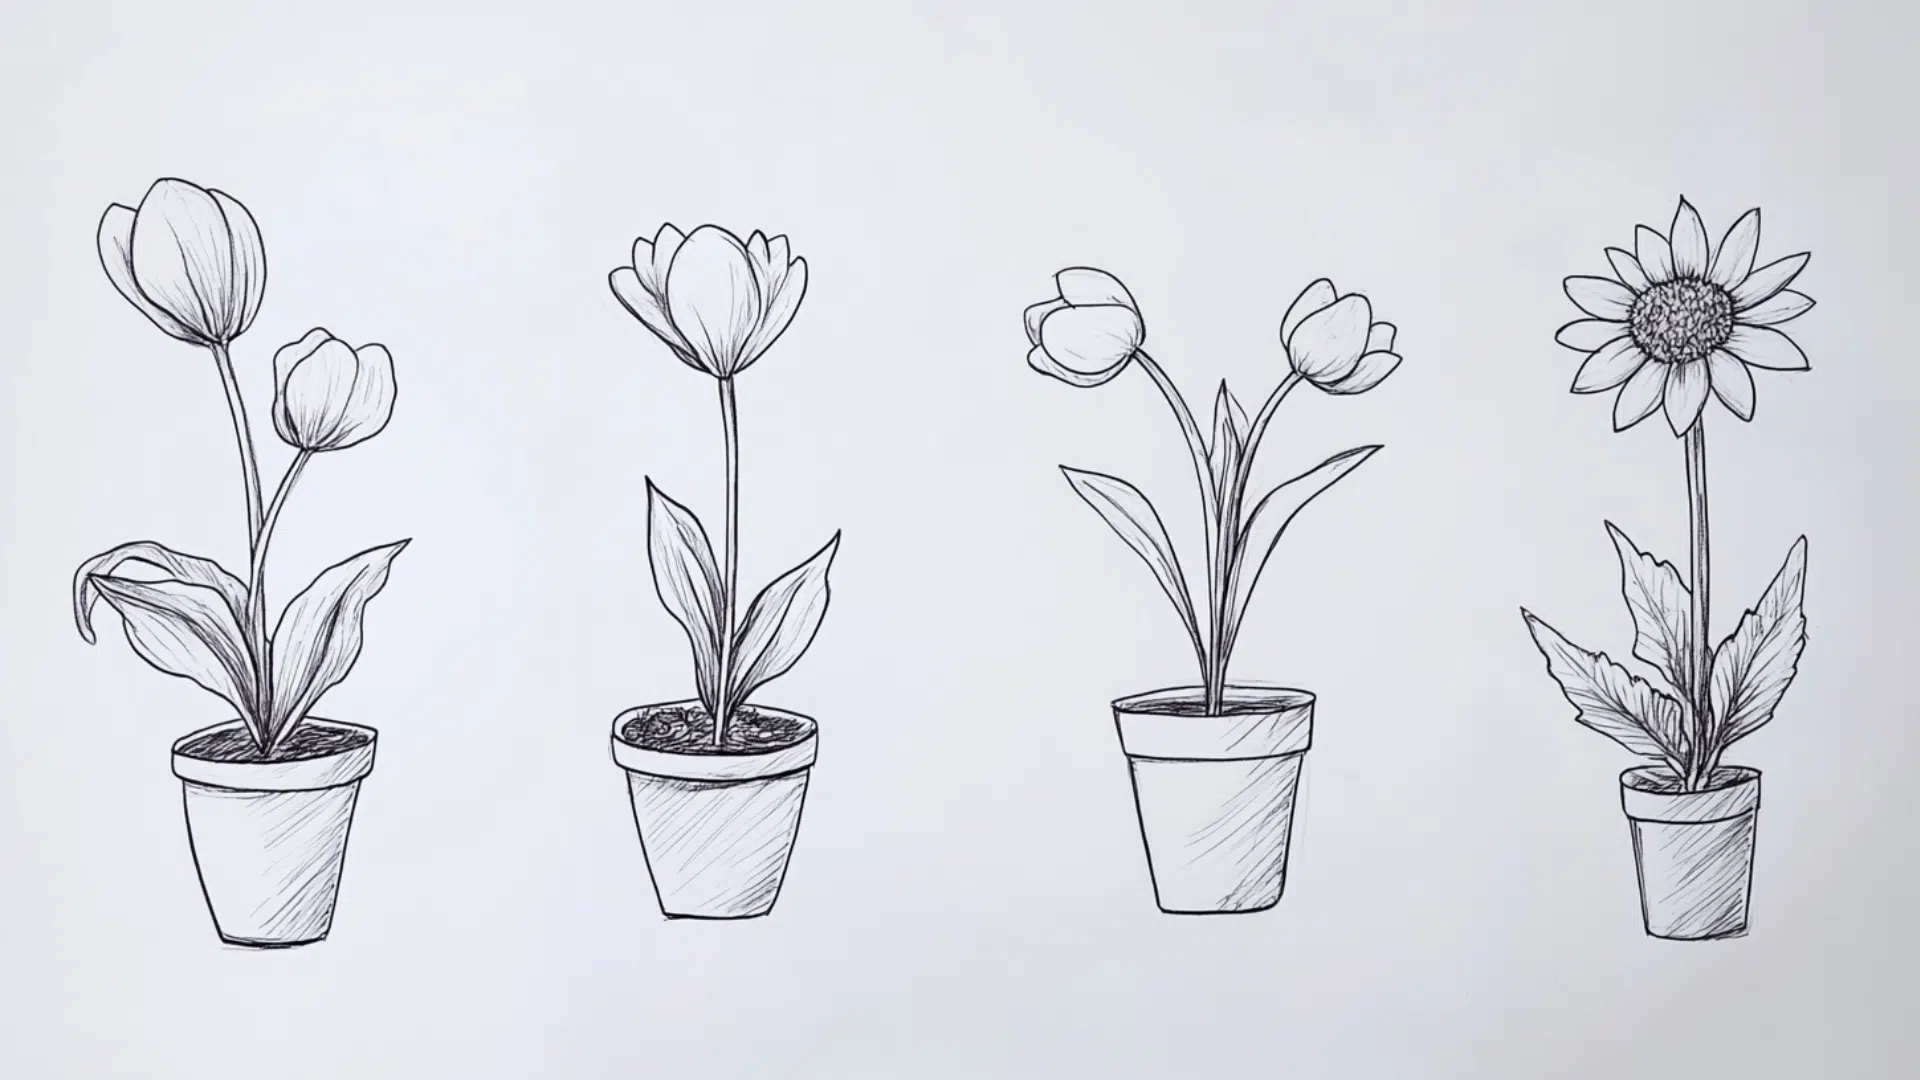
2. Basic Tulip in a Pot
A tulip’s simple, charming shape inside a small pot makes it an easy and satisfying sketch for practice. Beginners can focus on smooth curves and basic symmetry.
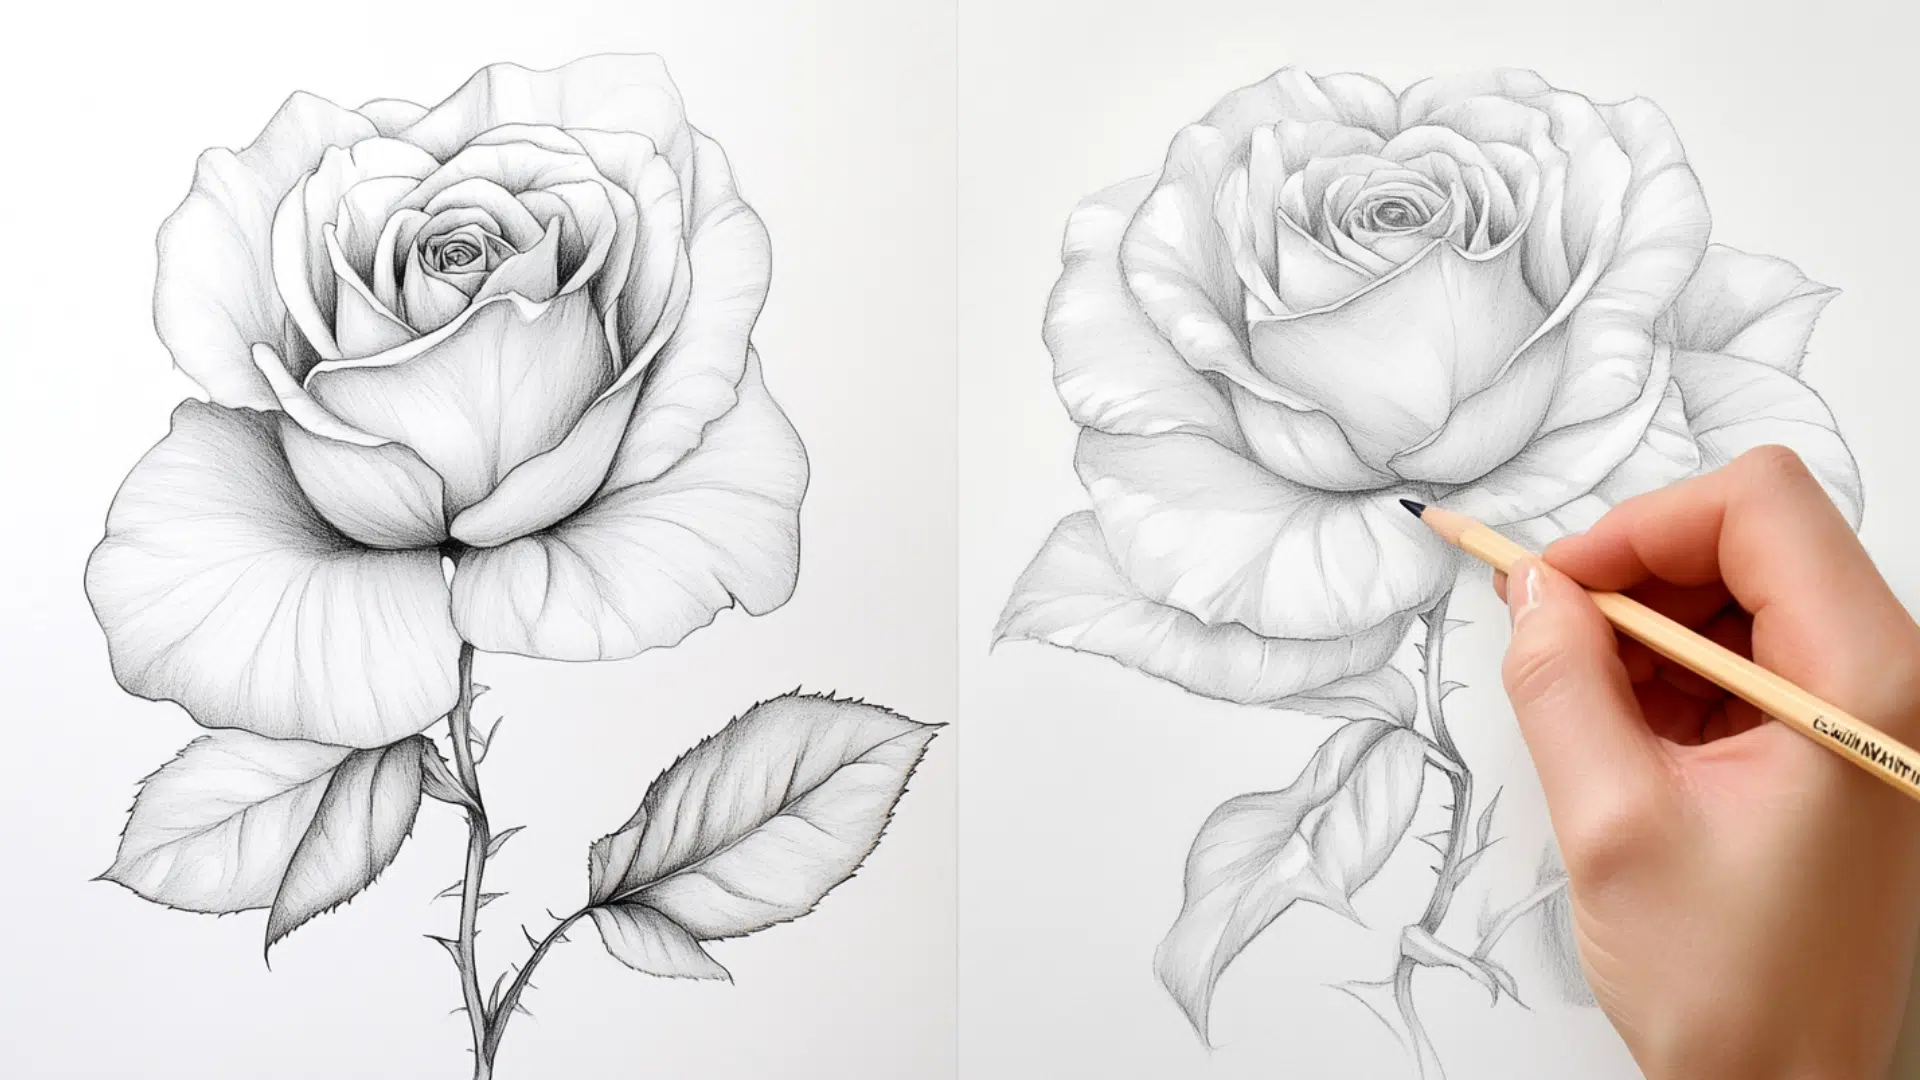
3. Heart-Shaped Rose
Starting with a heart shape as the base makes creating a soft, beautiful rose more approachable. It is a playful way to practice gentle curves and folds.
4. Five-Petal Wildflower
With just five rounded petals and a tiny center, a wildflower offers a sweet and quick drawing idea. It also introduces how flowers radiate naturally from the center.
5. Puffy Sunflower Head
Focusing only on the round head packed with thick petals allows beginners to practice layering without worrying about stems yet. It encourages attention to texture and fullness.
Creative Flower Combinations to Try
6. Trio of Tiny Blossoms
Drawing three tiny blooms together on a single branch introduces a fun way to experiment with spacing and grouping. It helps beginners explore arrangement and flow in art.
7. Flower with Swirling Vines
Sketching a small flower surrounded by swirling vines adds an elegant, whimsical touch. This idea strengthens a beginner’s confidence in drawing flowing, connected lines.
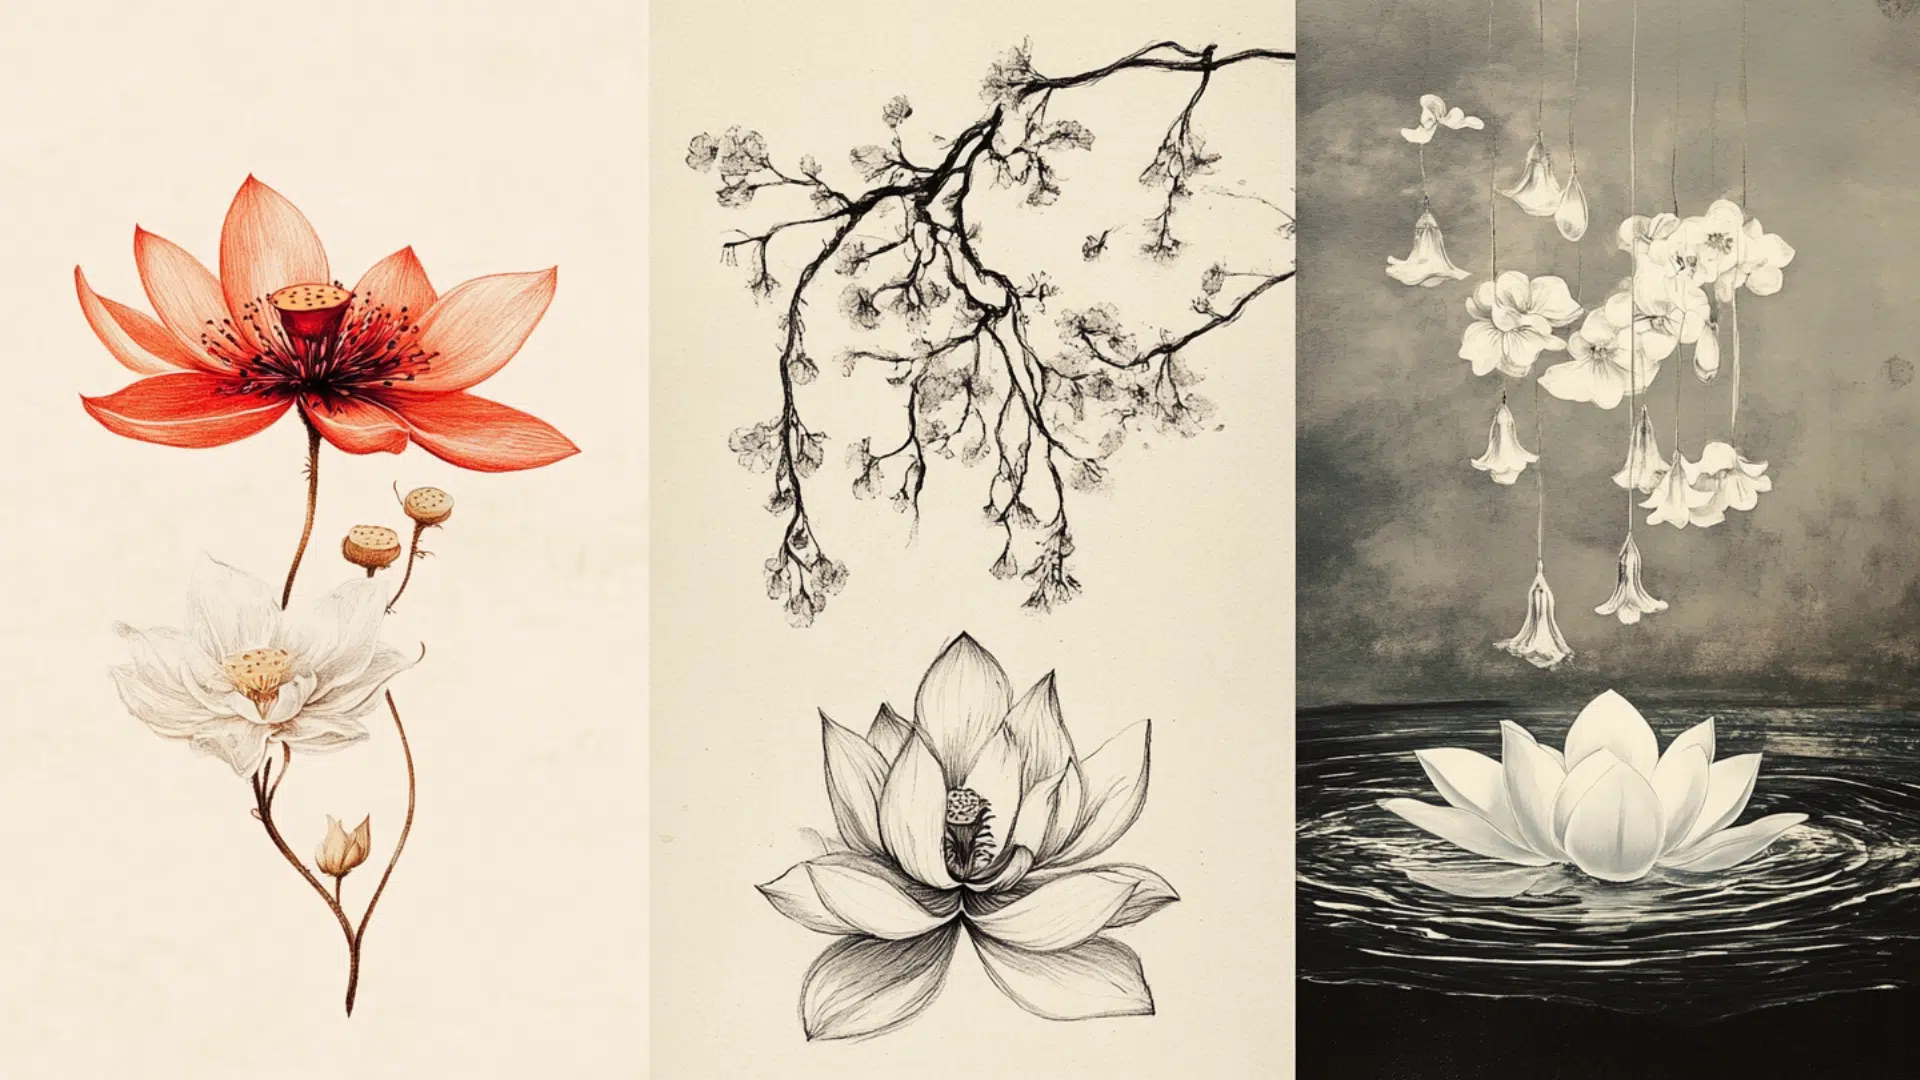
8. Floating Lotus on Water
A lotus with gentle curves and hints of water ripples offers a peaceful, meditative drawing experience. It invites beginners to explore layering and soft, rounded forms.
9. Hanging Bellflower Cluster
Drawing a few bellflowers drooping from a stem teaches how to handle angles and natural hanging motions. It adds variety and dynamic movement to beginner sketches.
Conclusion
Learning the steps to draw a flower opens doors to broader artistic skills.
The techniques covered in this blog provide a foundation that artists can build upon for years to come.
Anyone who practices these methods will notice improvements not just in floral drawings but in their overall artistic abilities. Drawing flowers teaches patience, observation, and attention to detail that transfer to all other art subjects.
The natural world offers endless variety for those willing to observe and practice. What might begin as simple petal shapes can grow into complex botanical illustrations with time and dedication.