Fresh greens from the grocery store wilt in days. They cost more each month. And you never know what chemicals were used during growing.
Growing microgreens at home solves all three problems. These tiny plants are ready in just one to three weeks. You need only a windowsill and a shallow tray to start.
No garden required. No special skills needed. This guide shows you exactly how to grow microgreens from seed to harvest.
You’ll learn which varieties work best for beginners, what supplies you actually need, and how to avoid common mistakes like mold or weak growth.
By the end, you’ll know if microgreens fit your lifestyle and how to get your first batch growing this week.
What Are Microgreens
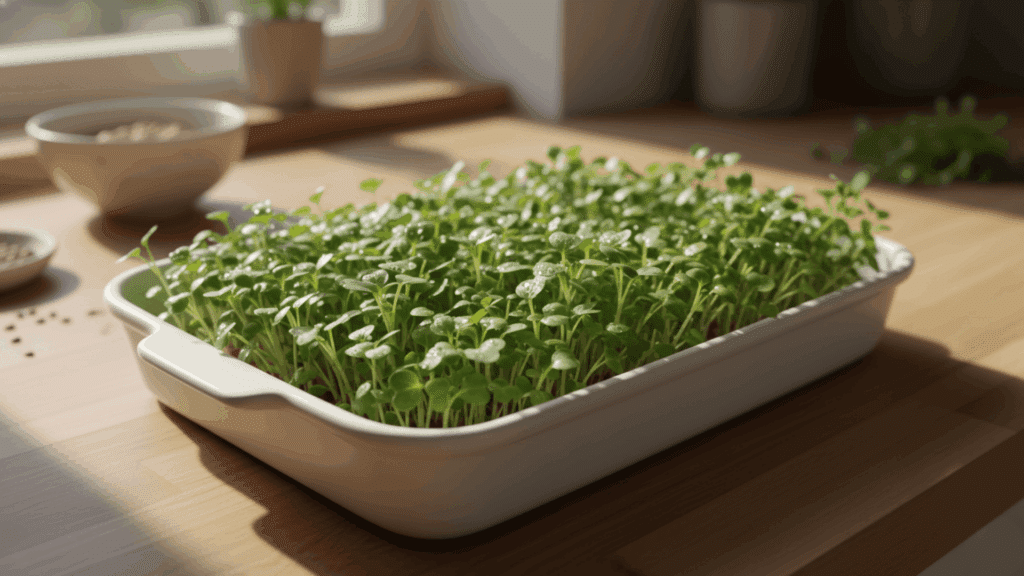
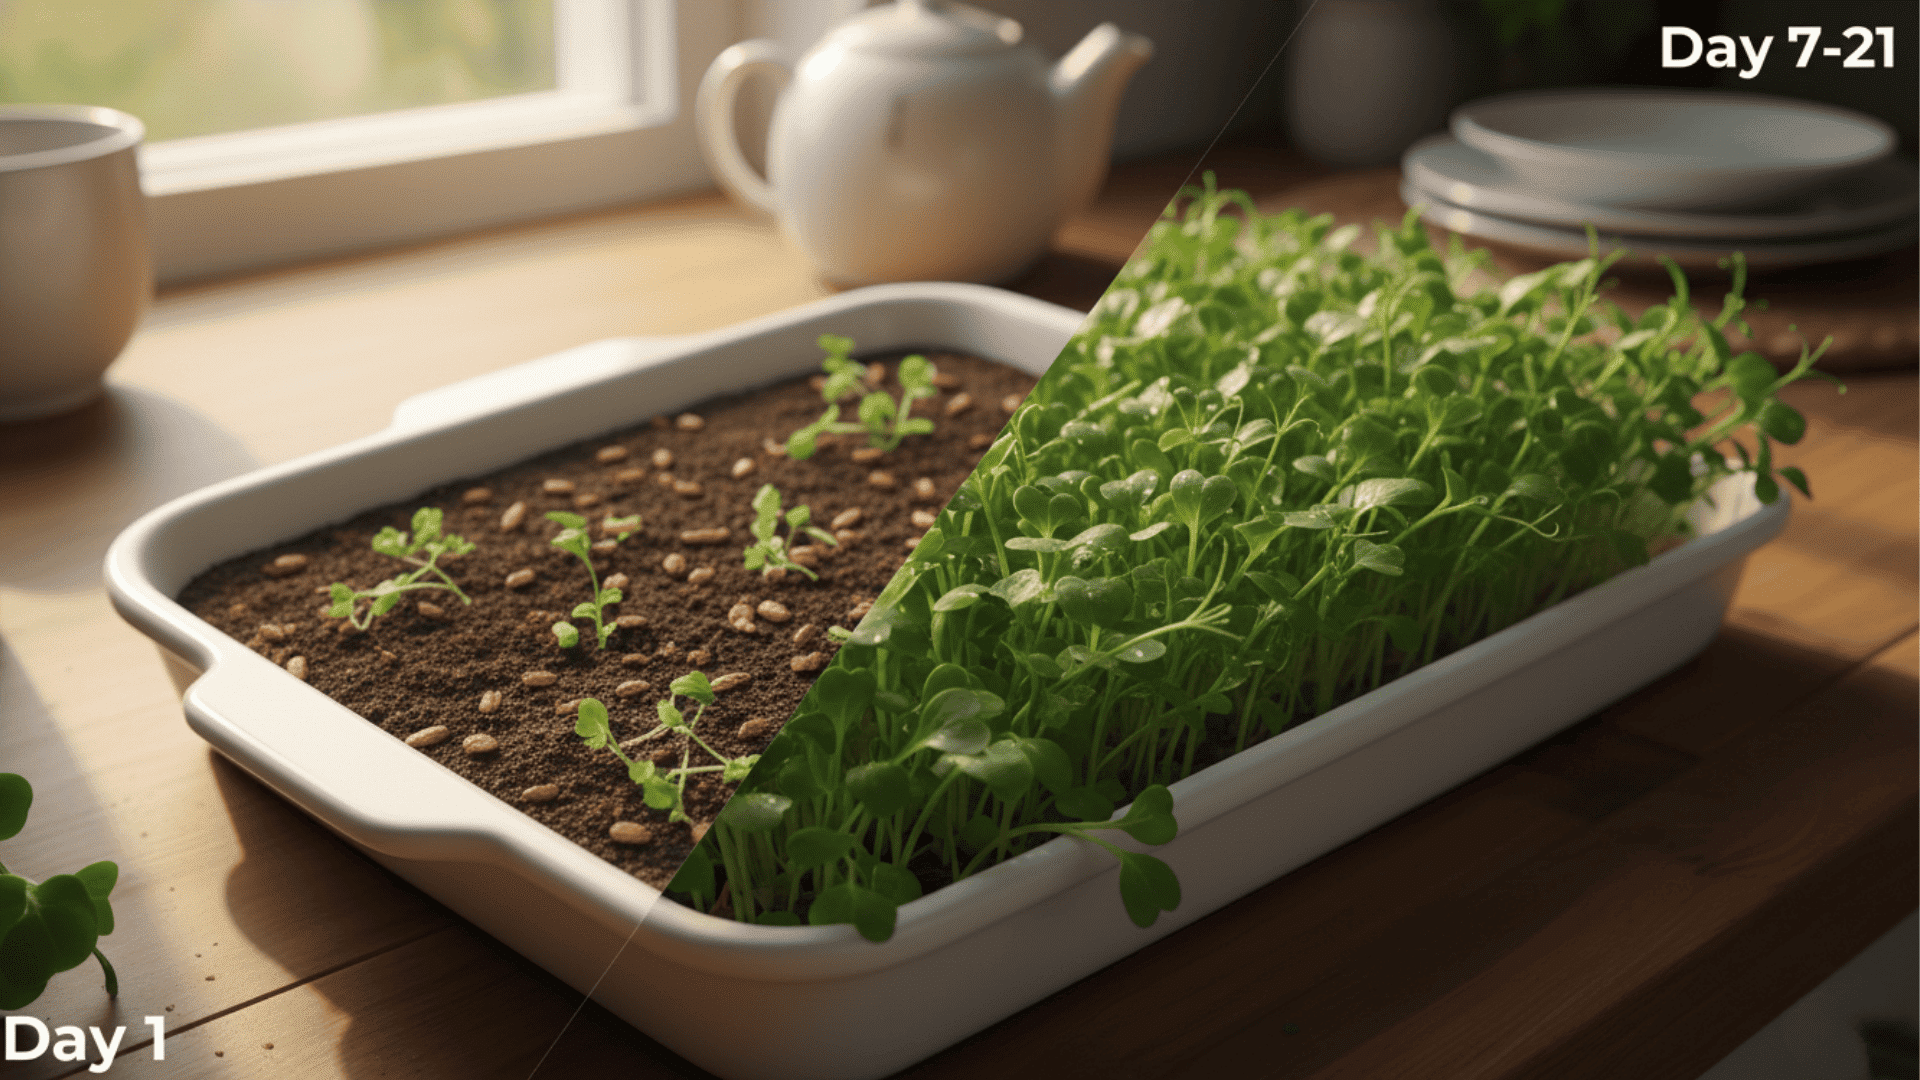
Microgreens are young vegetable or herb plants harvested just after their first true leaves appear. They grow for about 7 to 21 days before you cut them.
You harvest them by snipping the stems right above the soil line. Unlike mature greens that take weeks or months to grow fully, microgreens are ready when they’re still tiny.
They pack more concentrated flavor and nutrients than their full-grown versions. You eat the stems and leaves together, but not the roots or seeds.
Microgreens vs Sprouts: Key Differences
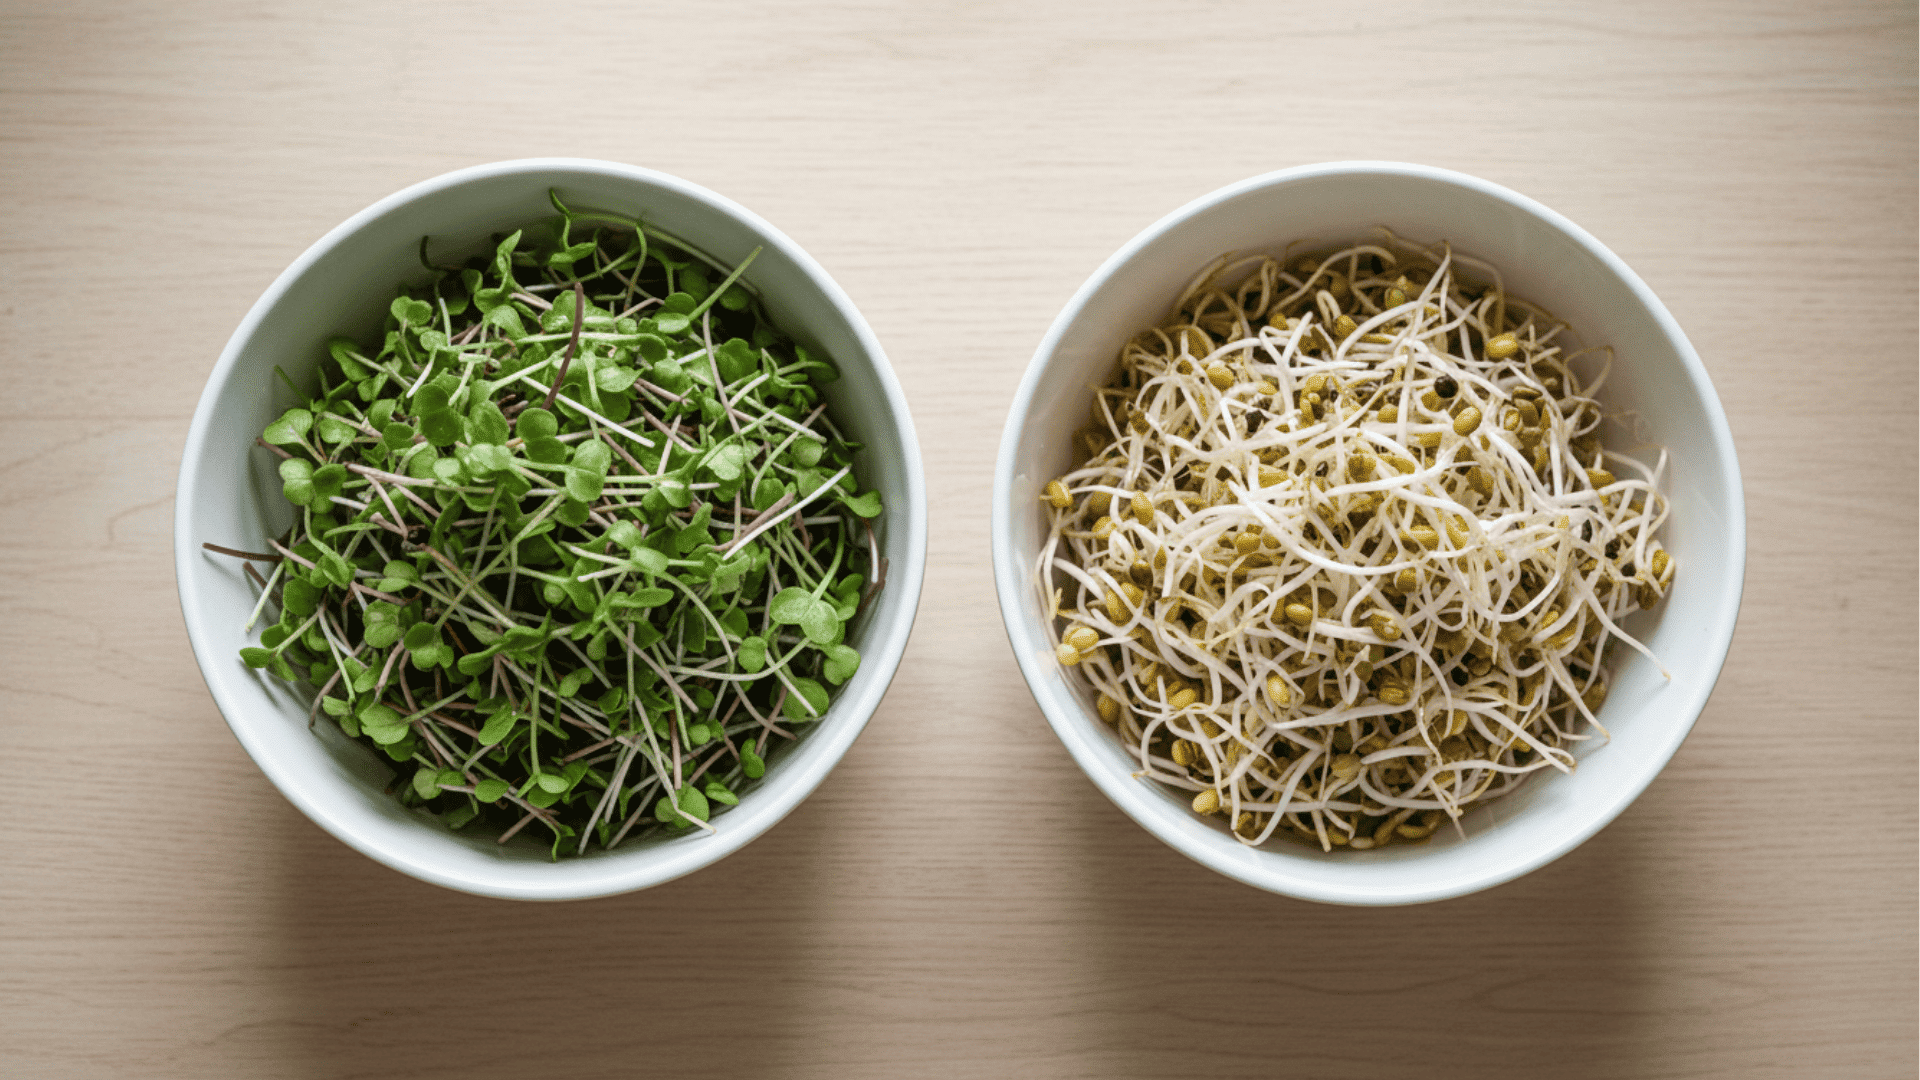
People often confuse microgreens with sprouts, but they’re not the same thing. Here’s a quick breakdown of how they differ in growing method, safety, and taste.
| Aspect | Microgreens | Sprouts |
|---|---|---|
| Growing Method | Grown in soil or a growing medium with light | Grown in water without soil or light |
| Growth Time | 7 to 21 days | 2 to 7 days |
| What You Eat | Stems and leaves only | Entire plant, including roots and seeds |
| Light Needed | Yes, requires sunlight or grow lights | No, grown in darkness |
| Safety | Lower risk of bacteria because they grow in the open air | Higher risk of bacteria due to warm, moist conditions |
| Hygiene | Easier to keep clean and dry | Needs careful rinsing to prevent mold |
| Taste | More developed flavor, often peppery or earthy | Mild, crunchy, slightly nutty |
| Texture | Tender leaves with crisp stems | Crunchy and juicy throughout |
| Best Used In | Salads, garnishes, and sandwiches | Stir-fries, smoothies, wraps |
Both are nutritious, but microgreens offer better flavor variety and safer growing conditions for home growers.
Types of Microgreens You Can Grow at Home
Not all microgreens are created equal. Some grow faster, taste milder, or look better on your plate than others.
- Beginner-friendly microgreens: Radish, sunflower, pea shoots, and broccoli are easy to grow and forgiving of small mistakes.
- Fast-growing varieties: Radish and mustard greens are ready in just 6 to 8 days after planting.
- Flavor-based categories: Mild options include sunflower and pea shoots, while spicy choices include radish, mustard, and arugula.
- Visual appeal and culinary uses: Red cabbage and amaranth add bright color to plates, while basil and cilantro bring fresh herb flavors to dishes.
How to Grow Microgreens: Step by Step
Ready to get started? Follow these six simple steps to grow your first batch of microgreens from seed to harvest.
Materials You Need to Grow:
| Material | Recommended Option | Beginner Mistakes to Avoid |
|---|---|---|
| Seeds | Microgreen-specific seeds | Using treated or non-edible seeds |
| Containers | Shallow trays with drainage | Containers without drainage holes |
| Growing Medium | Coconut coir or seed-start mix | Heavy garden soil |
| Light | Bright window or grow light | Too little light |
| Watering | Spray bottle or bottom watering | Pouring water directly on seeds |
Step 1: Choosing the Right Seeds
Look for untreated, organic seeds that are labeled for microgreens or sprouting. Avoid regular garden seeds because they often have chemical coatings.
First-time growers should start with radish, sunflower, or broccoli seeds since they grow fast and handle mistakes well. Buy seeds in bulk if you plan to grow multiple batches.
Step 2: Preparing the Growing Tray
Pick a shallow container that’s 1 to 2 inches deep with small drainage holes at the bottom. Fill it with potting soil or coconut coir up to about 1 to 1.5 inches from the top.
Press the soil down gently so it’s flat and even across the tray. Leave a small space between the soil and the rim for better airflow.
Step 3: Planting the Seeds
Spread your seeds evenly across the soil surface so they almost touch but don’t pile up. You can sprinkle them by hand or pour them into your palm and tap lightly over the tray.
Press the seeds gently into the soil with your fingers. Mist them with water using a spray bottle, then cover the tray with a clear lid or flip another tray on top.
Step 4: Watering and Moisture Control
Mist the seeds once or twice a day while they’re germinating under the cover. Once you see sprouts, remove the cover and water once daily when the soil feels dry to the touch.
Use a spray bottle for gentle watering or try bottom watering by placing your tray in a larger pan with 1/4 inch of water. Good airflow stops mold, so keep a small fan nearby if your space feels humid.
Step 5: Light Requirements for Healthy Growth
Place your trays on a sunny windowsill that gets 4 to 6 hours of direct sunlight each day. South-facing windows work best for natural light.
If sunlight is limited, use LED grow lights positioned 6 to 12 inches above the plants. Keep the lights on for 12 to 16 hours daily so the greens grow strong and colorful instead of pale and weak.
Step 6: Harvesting Microgreens
Your microgreens are ready when the first true leaves appear, usually 7 to 21 days after planting. Use clean kitchen scissors or a sharp knife to cut the stems just above the soil line.
Harvest only what you need and leave the rest growing. Rinse the cut greens gently under cool water, pat them dry, and use them right away for the best flavor.
Pros and Cons of Growing Microgreens at Home
Growing microgreens at home has clear benefits, but it also comes with some challenges. Here’s what you should know before you start.
Advantages
- Fresh greens on demand: You can harvest fresh, nutritious greens right when you need them without trips to the store.
- Minimal space requirements: A sunny windowsill or small shelf with a grow light is enough to produce several trays at once.
- Control over growing conditions: You decide what seeds to use, avoid pesticides, and grow organic greens safely at home.
Disadvantages
- Regular care required: Microgreens need daily watering and attention, so you can’t leave them for days without care.
- Initial setup effort: Buying seeds, trays, soil, and lights takes time and a small upfront investment before your first harvest.
- Limited shelf life after harvest: Cut microgreens last only 3 to 7 days in the fridge, so you need to use them quickly.
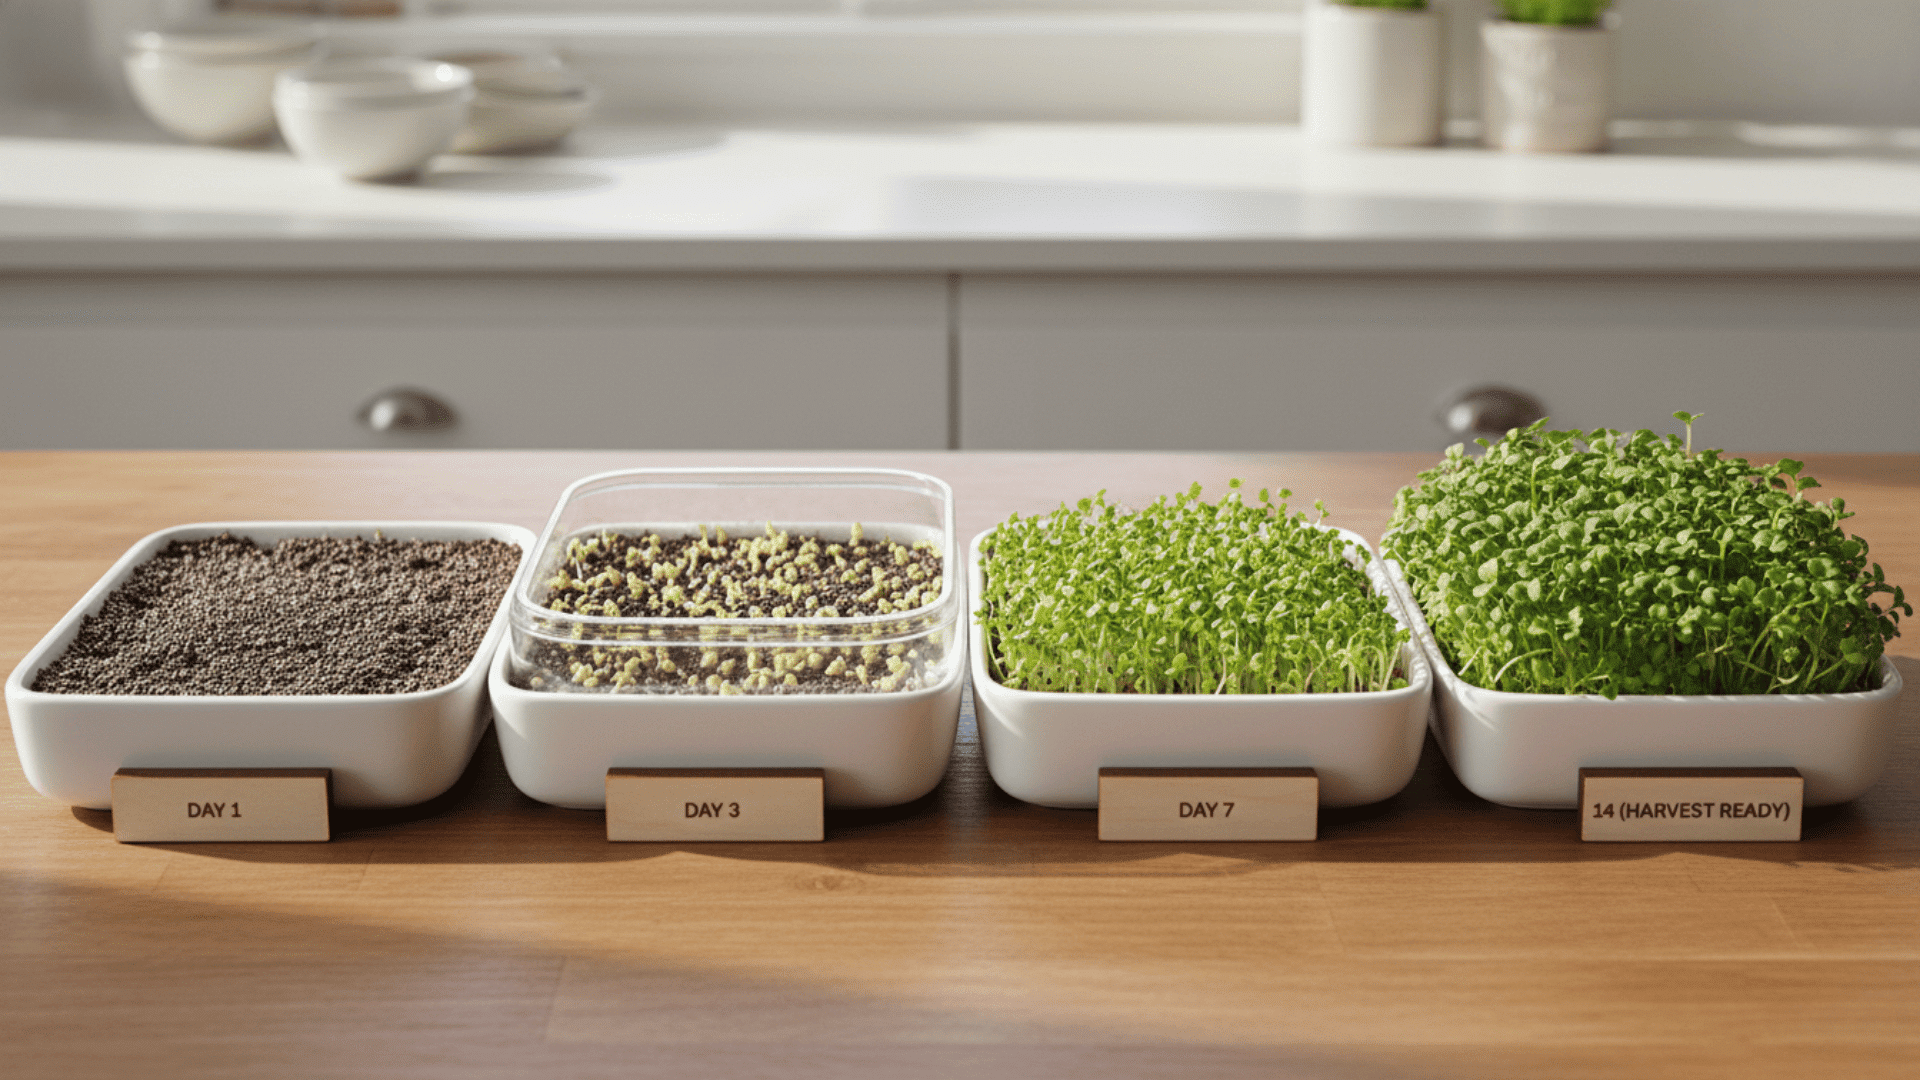
How Long Does It Take to Grow Microgreens?
Most microgreens are ready to harvest in 7 to 21 days from planting. Fast growers like radish and mustard take just 6 to 8 days. Slower varieties like basil or cilantro need 14 to 21 days.
Growth speed depends on temperature, light, and seed type. Warmer rooms between 65 and 75 degrees help seeds sprout faster. More light makes plants grow stronger and quicker.
Good airflow and proper watering also speed things up without causing mold or weak stems.
How to Fix Common Microgreens Problems
Even experienced growers run into issues from time to time. Here are the most common problems and exactly how to solve them.
| Problem | Cause | Solution |
|---|---|---|
| Mold | Too much moisture, poor airflow | Remove cover after 2 days, use a fan, water less |
| Weak or Leggy Growth | Not enough light | Move closer to the light source, increase to 14 hours daily |
| Uneven Germination | Seeds spread poorly, old seeds | Spread seeds evenly, buy fresh seeds, keep soil moist |
| Yellowing Leaves | Lack of light or overwatering | Add more light, let the soil dry between waterings |
Catch these problems early, and your next batch will turn out much better.
Is Growing Microgreens Right for You?
Growing microgreens works well if you can check on them daily for a few minutes. They fit busy lifestyles because they don’t need hours of work.
Beginners who enjoy cooking, want fresh greens year-round, or have limited outdoor space will find them perfect.
People who travel often or forget to water plants might struggle with the daily care needed. If you hate repetitive tasks or prefer low-maintenance hobbies, microgreens may not be your best choice.
But if you like quick results and fresh food, give them a try.
The Bottom Line
Growing microgreens at home gives you fresh, nutritious greens in just one to three weeks. You don’t need a garden or fancy equipment. A sunny spot and basic supplies get you started.
Yes, they need daily watering and attention. But the payoff is worth it. Fresh flavor, lower grocery bills, and control over what you eat.
Start with easy varieties like radish or sunflower. Follow the steps we covered. Watch for common problems early so you can fix them fast.
Ready to try your first batch? Pick up some seeds this week and give it a shot. Your kitchen is about to get a whole lot greener.
What microgreens will you grow first? Drop a comment below and let us know.